

• Skip to main content
  • Skip to primary sidebar

Blend with Spices logo

menu icon
go to homepage
  • Home
  • About Me
  • Recipe Index
  • Festival Recipes
  • Eggless Baking
    • Facebook
    • Instagram
    • Pinterest
    • Twitter
    • YouTube
  • search icon
    Homepage link
    • Home
    • About Me
    • Recipe Index
    • Festival Recipes
    • Eggless Baking
    • Facebook
    • Instagram
    • Pinterest
    • Twitter
    • YouTube
  • ×
    Home » Recipes

    7 Best Snowball Cookie Recipes for Christmas

    7 Best Snowball Cookie Recipes for Christmas

    December 20, 2023

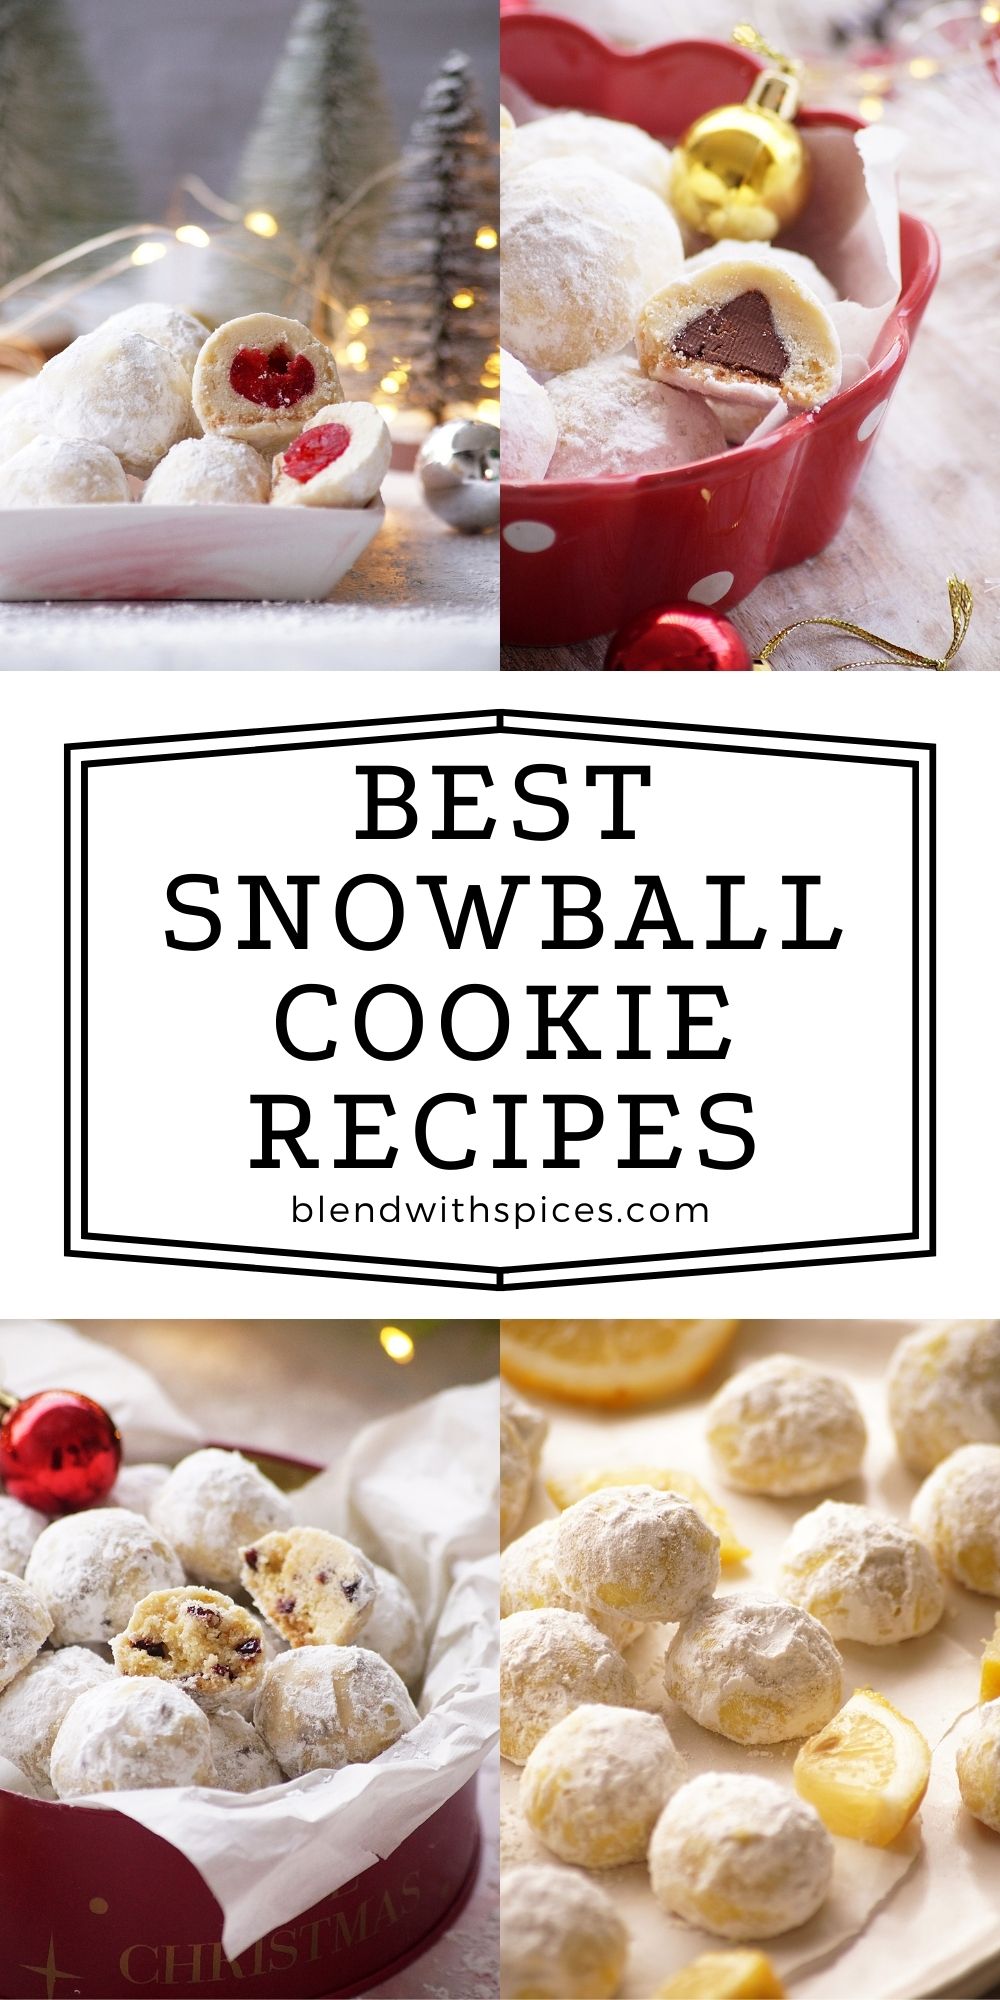
    Elevate your Christmas baking with this collection of the 7 best snowball cookie recipes. From classic snowballs to creative variations like lemon, cherries, chocolate and more, these recipes are perfect for your celebrations.
    1. Classic Snowball Cookies
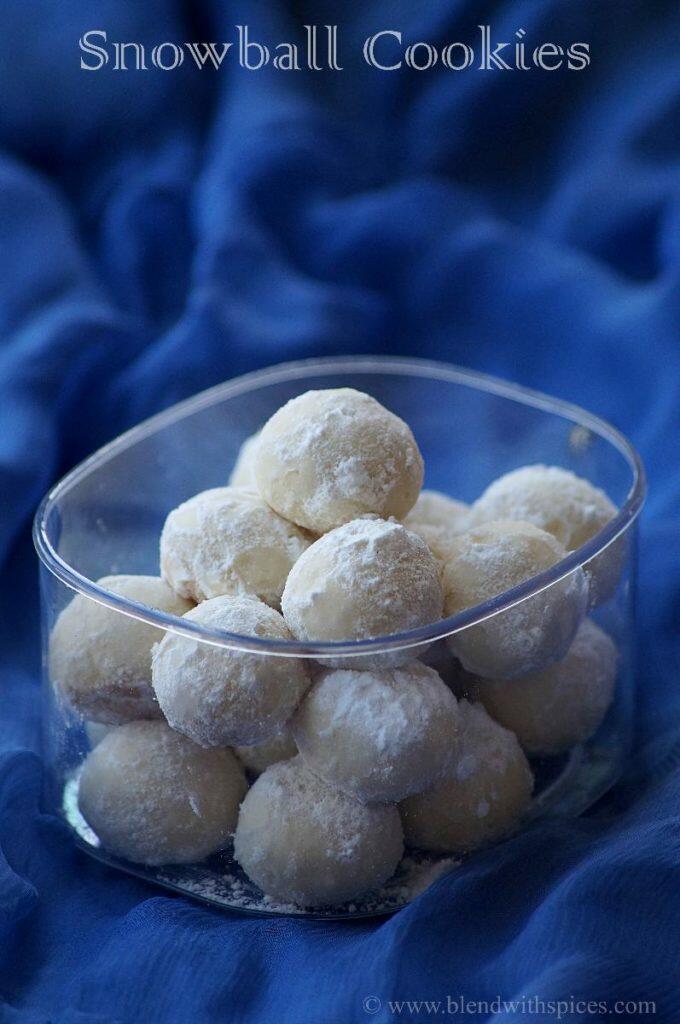
    These classic snowball cookies are also known ad Mexican wedding cookies or Russian tea cakes. These are rich, buttery and delicious shortbread cookies that melt in your mouth. An easy and perfect cookie recipe for Christmas! Check out the Recipe

    2. Cherry Snowballs
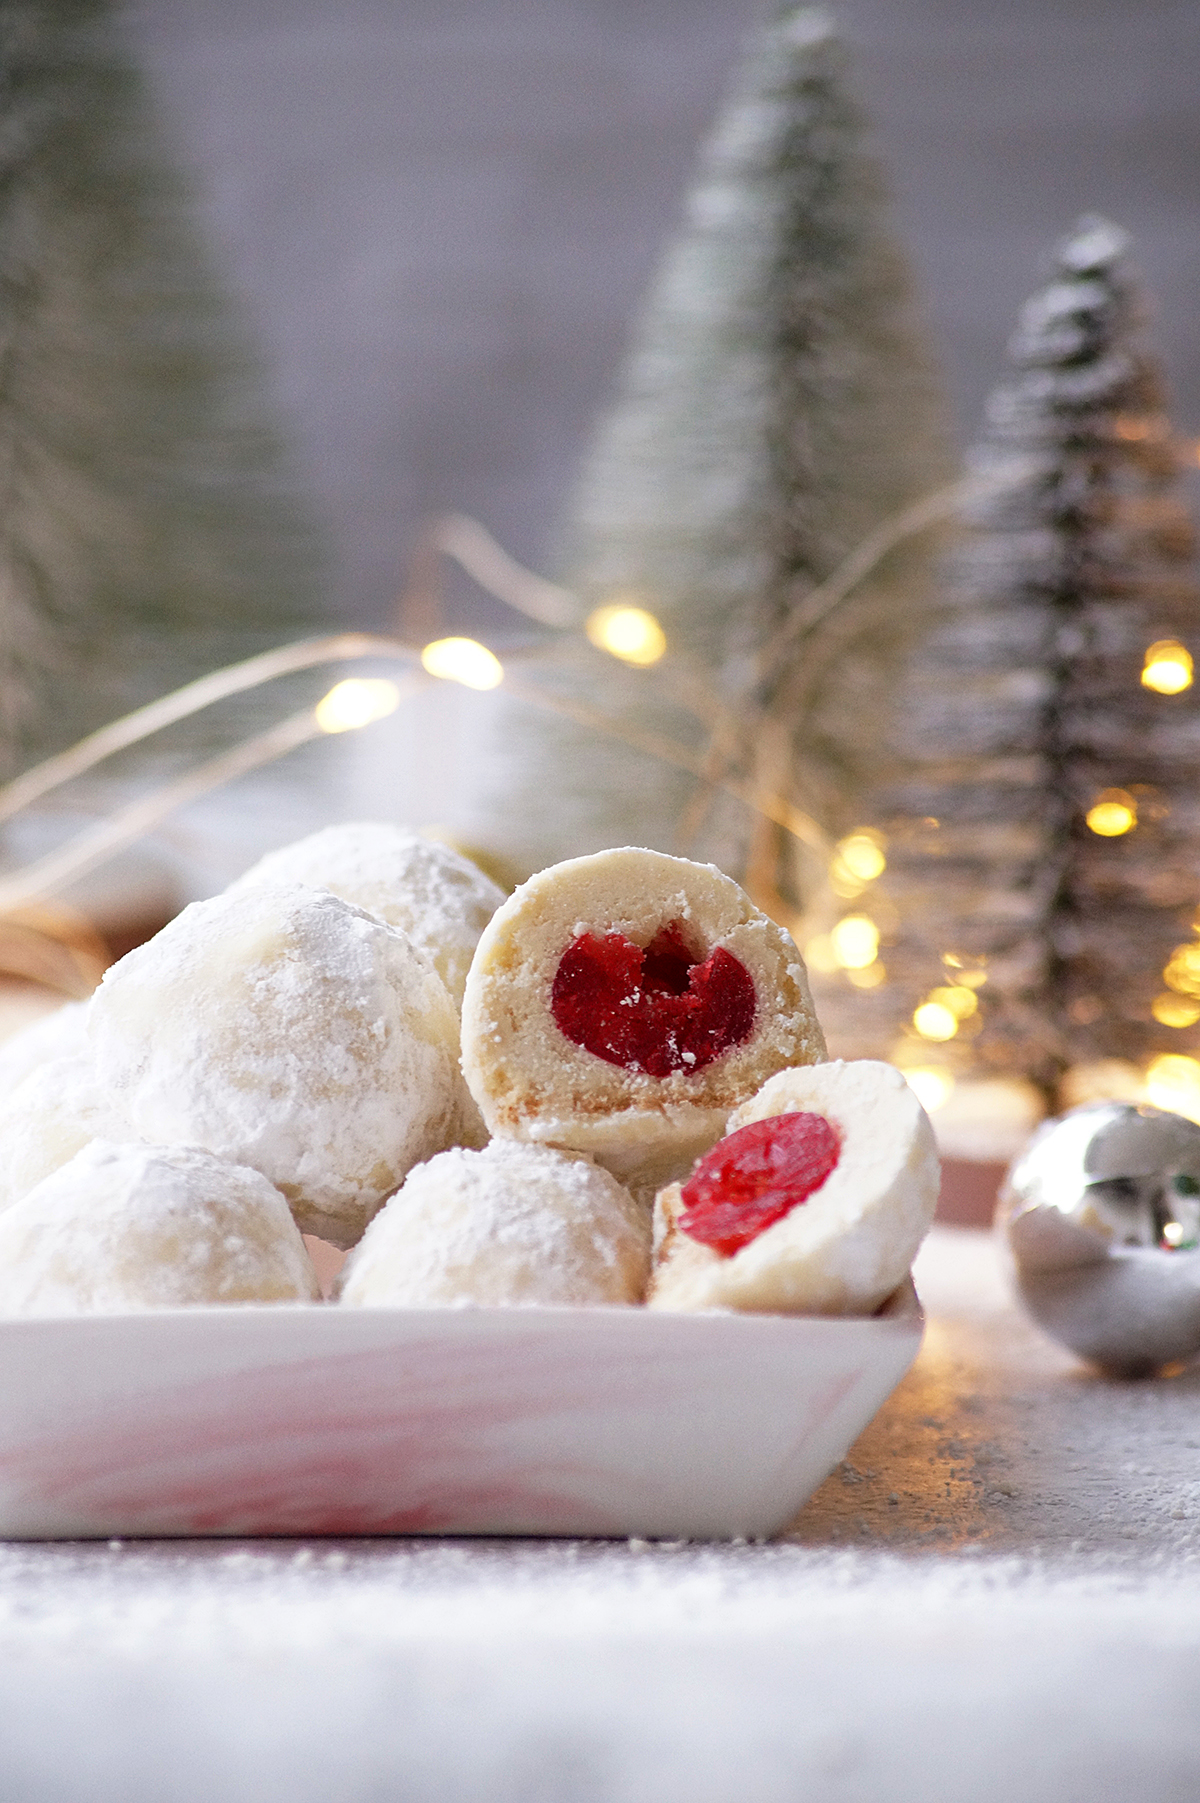
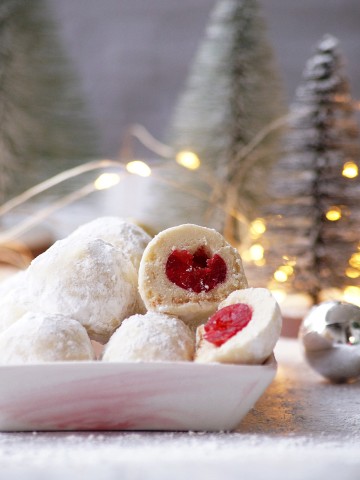
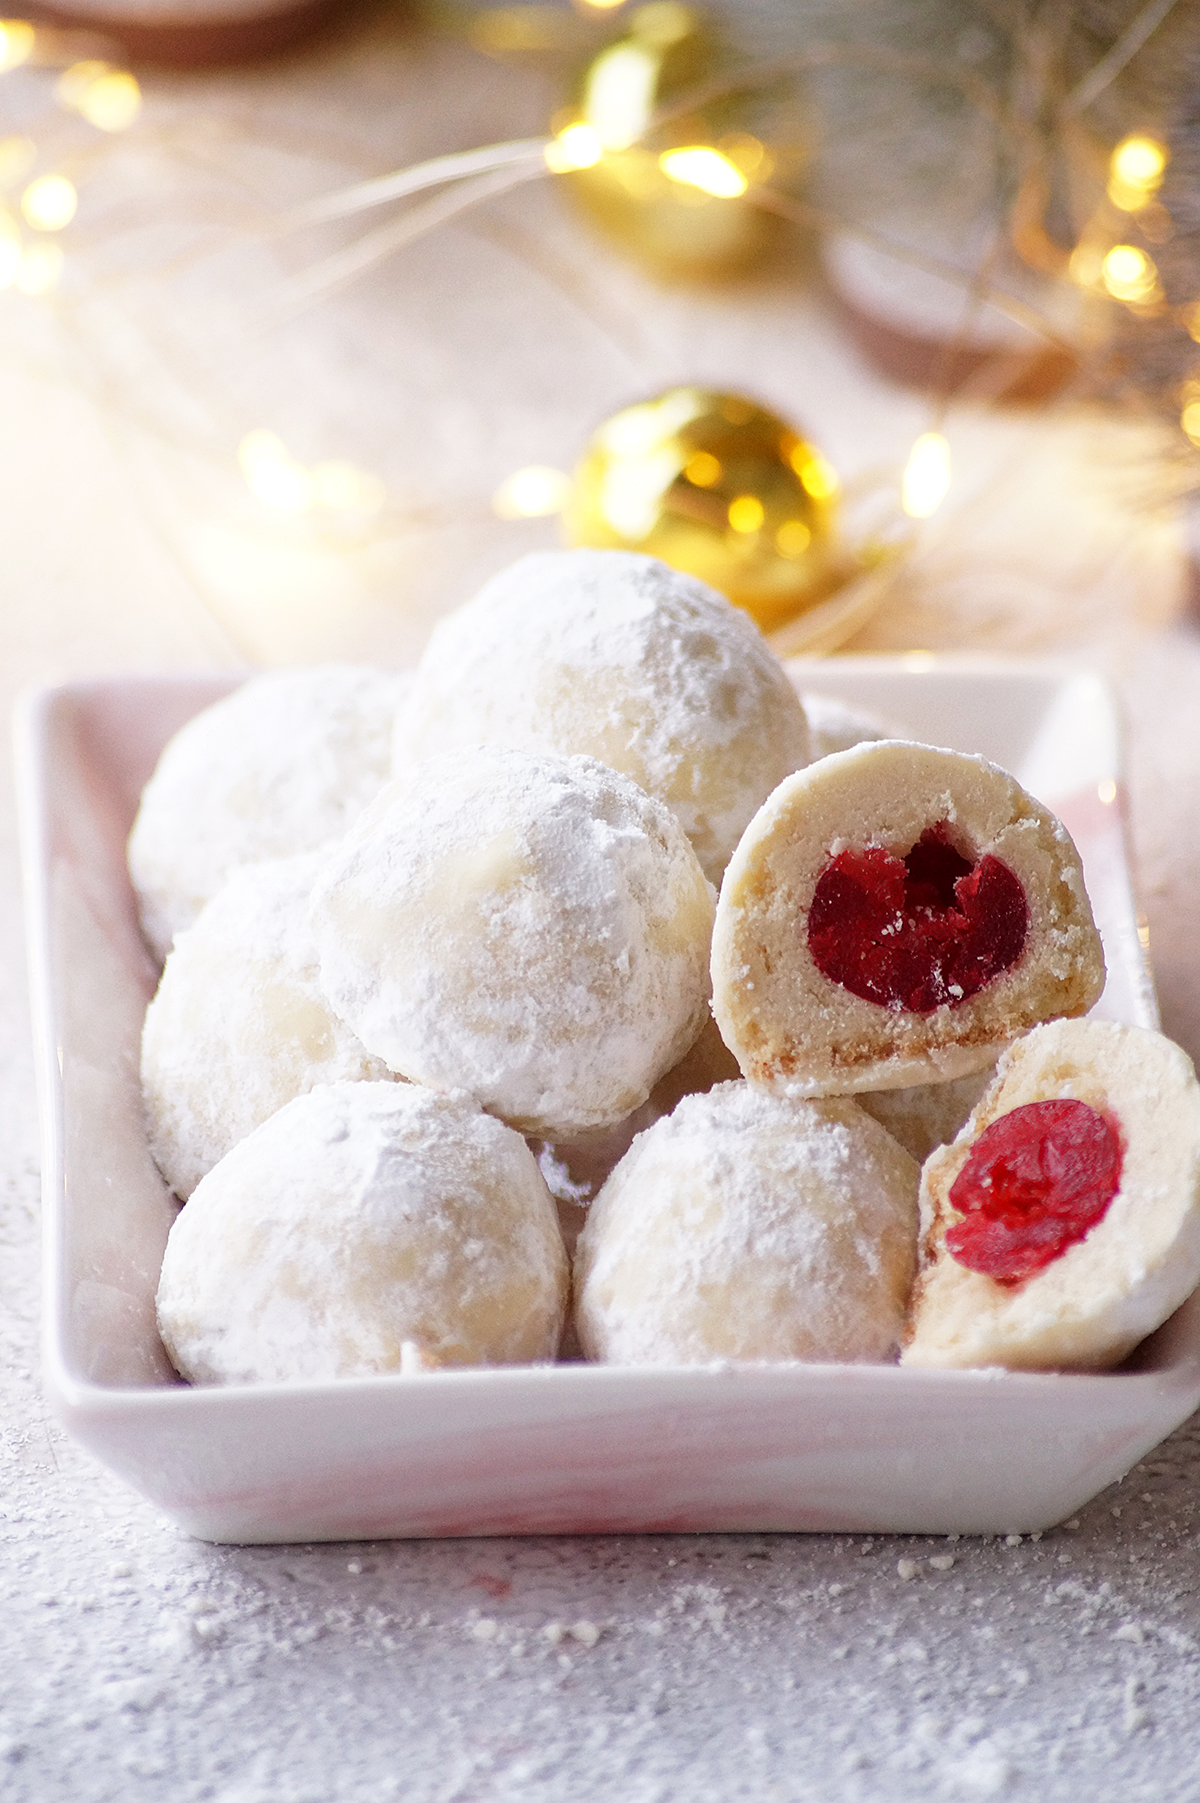
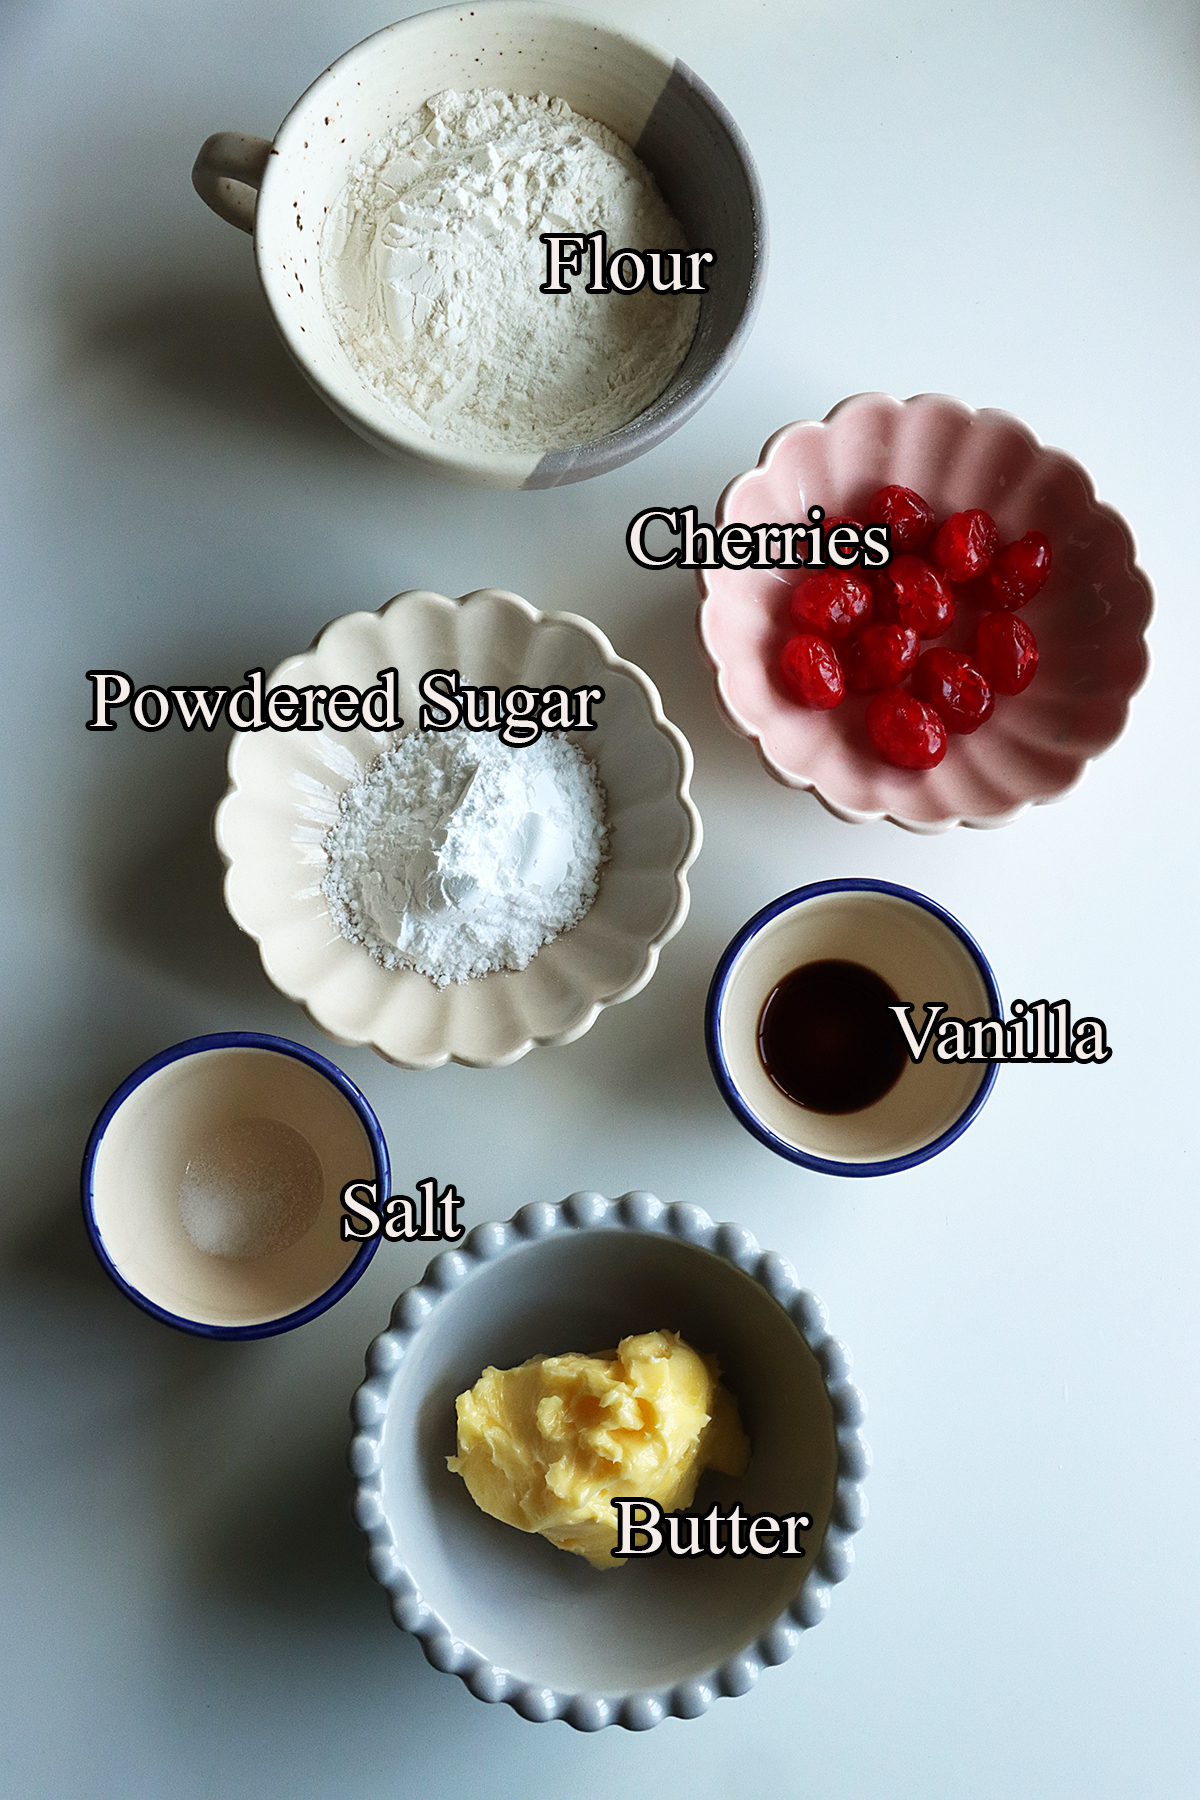
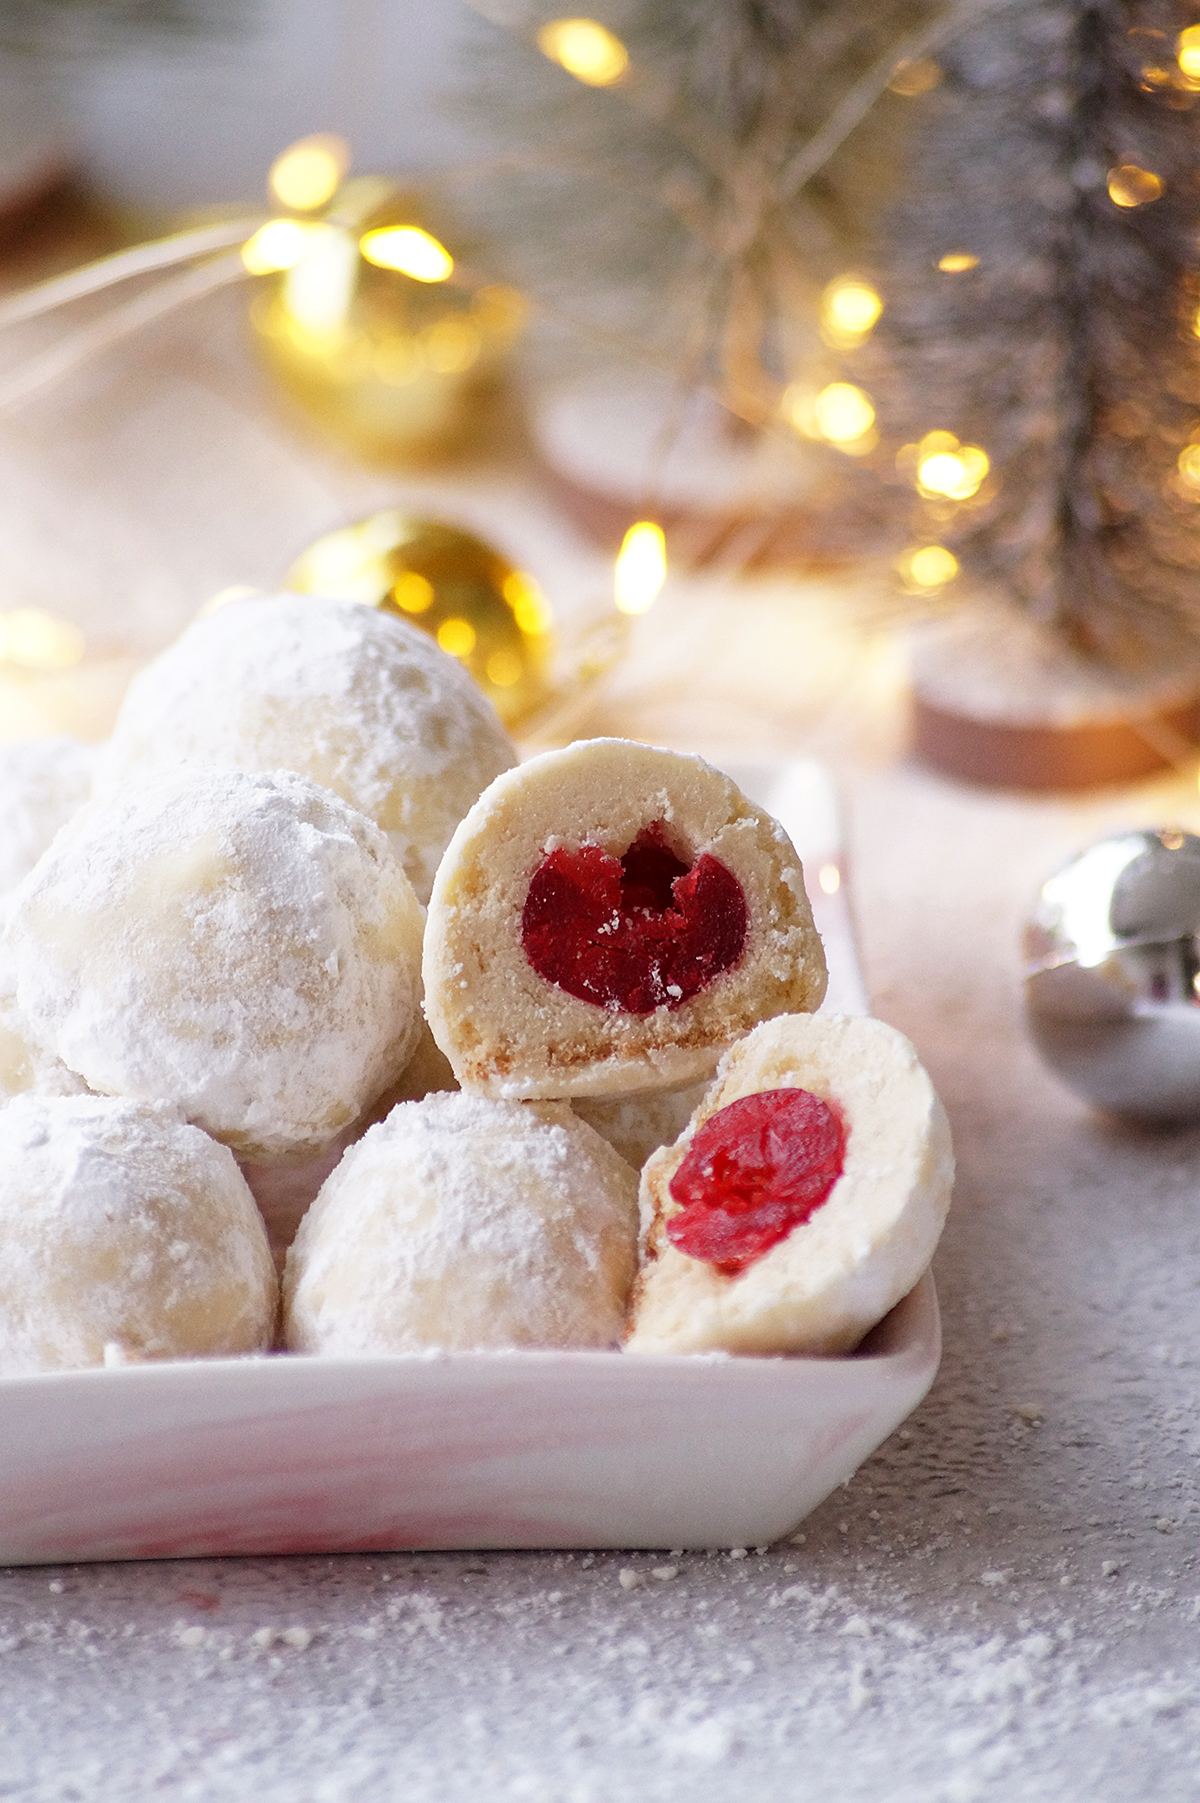
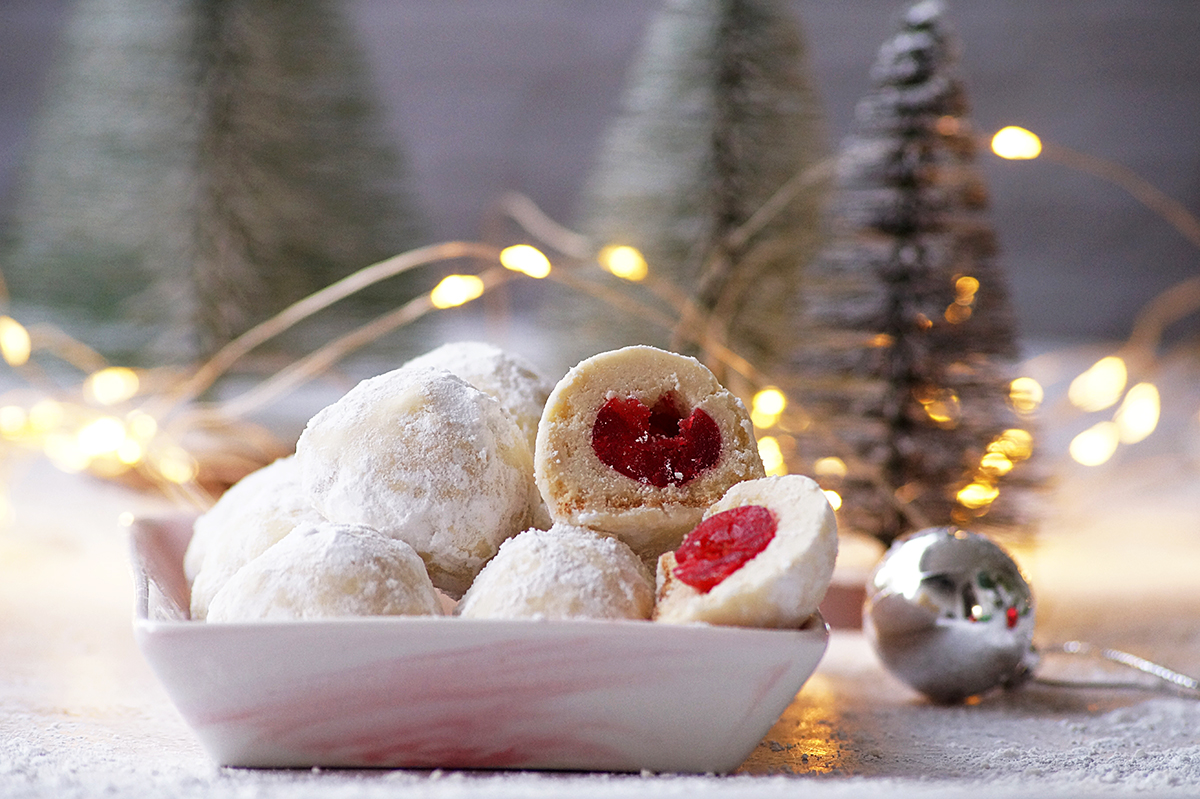
    Buttery, crumbly, and delicious snowy cookie filled with cherries. An irresistible holiday treat for any cookie lover! Check out the Recipe

    3. Cranberry Orange Snowball Cookies
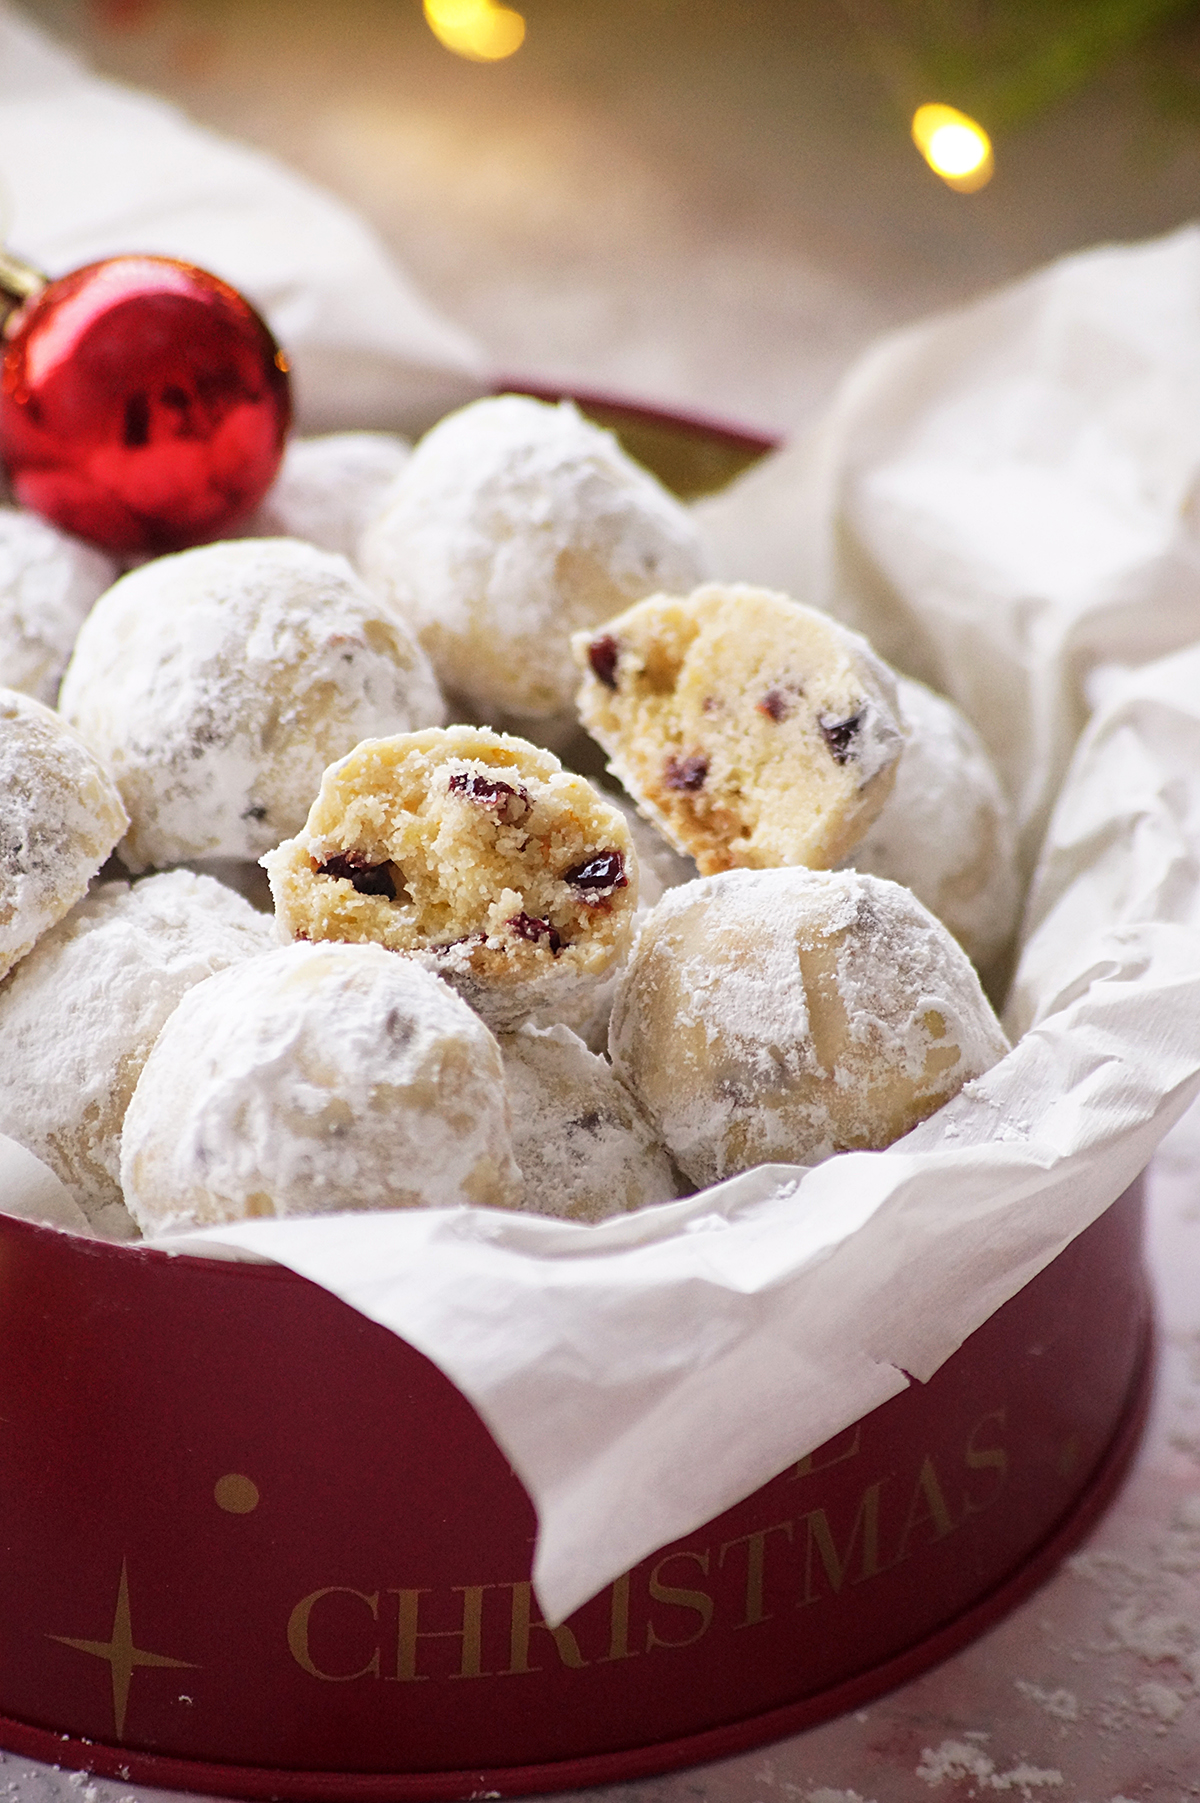
    Super easy, irresistible and buttery cookies bursting with the tang of cranberries and bright zest of orange. A perfect Christmas cookie recipe that everyone will love! Check out the Recipe

    4. Lemon Snowballs
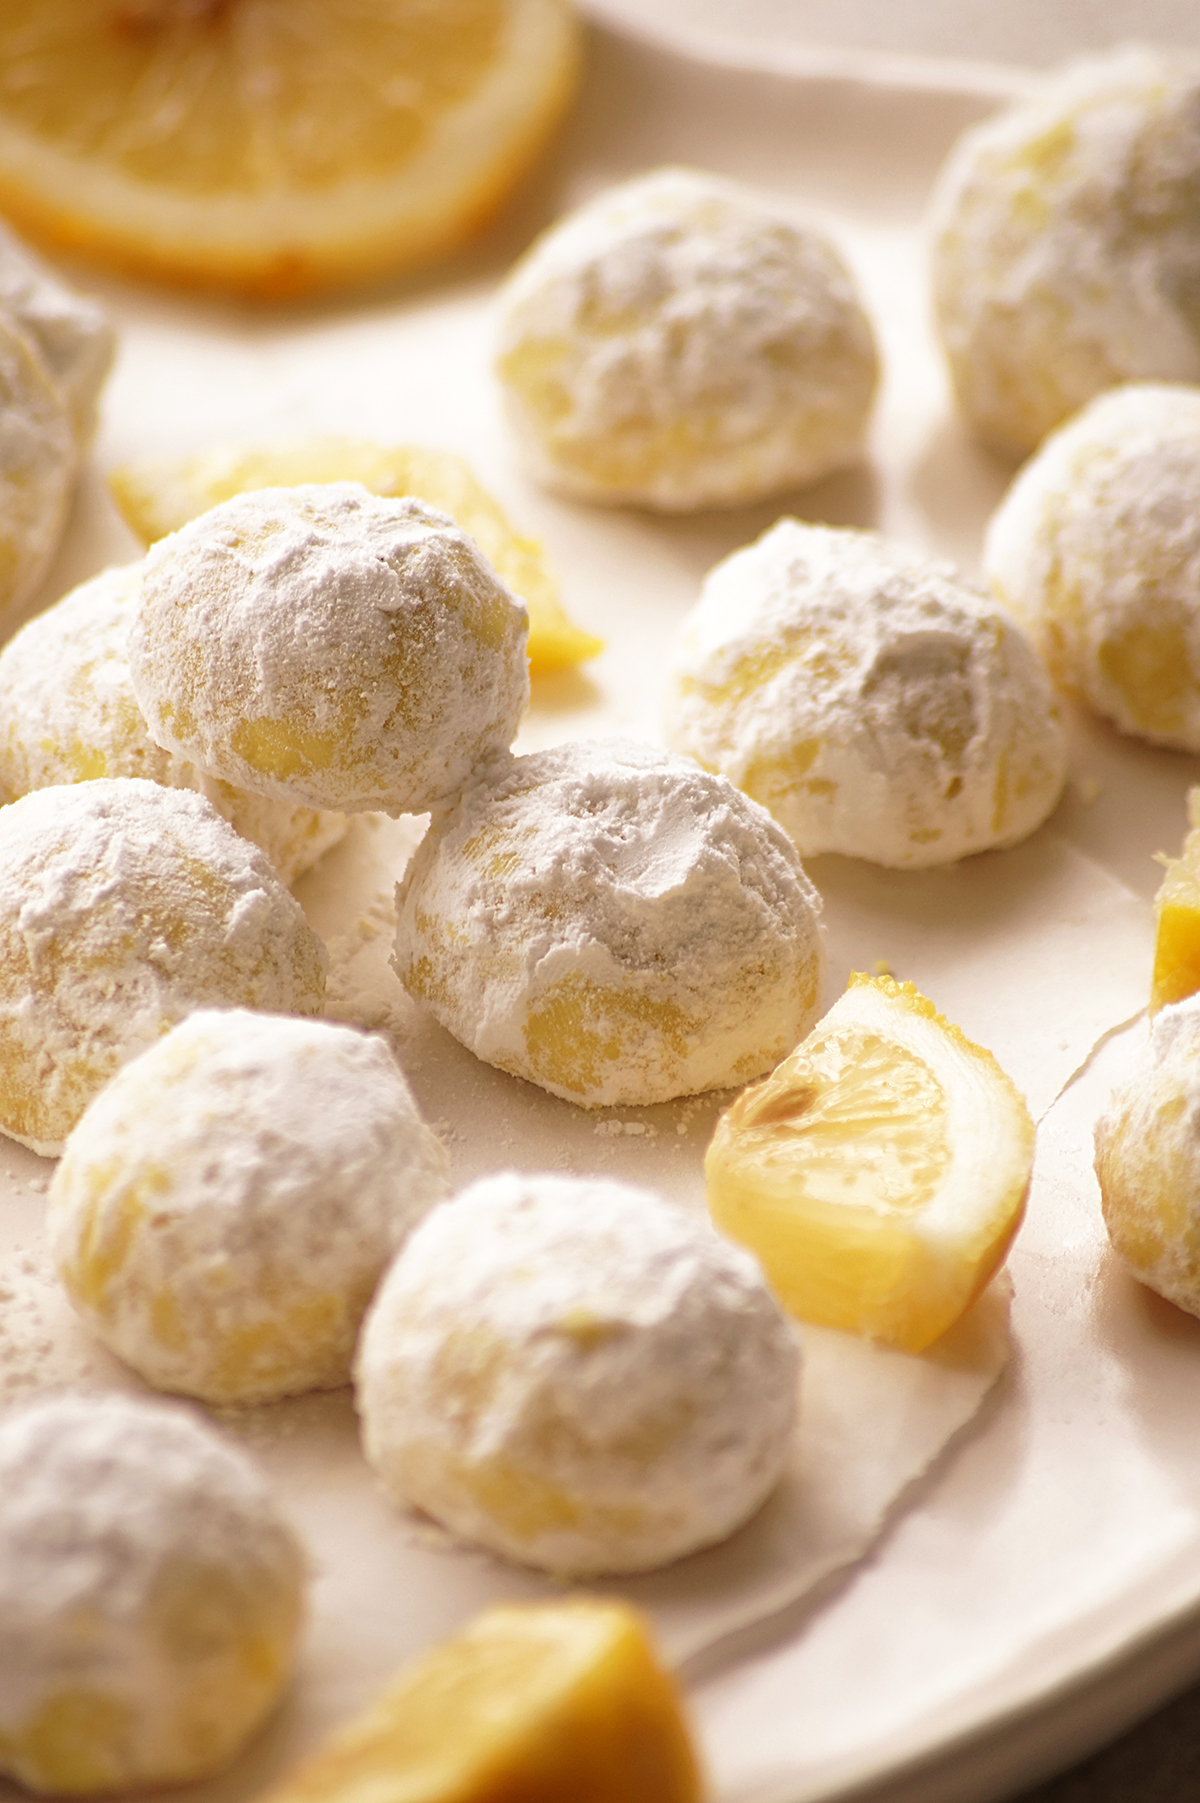
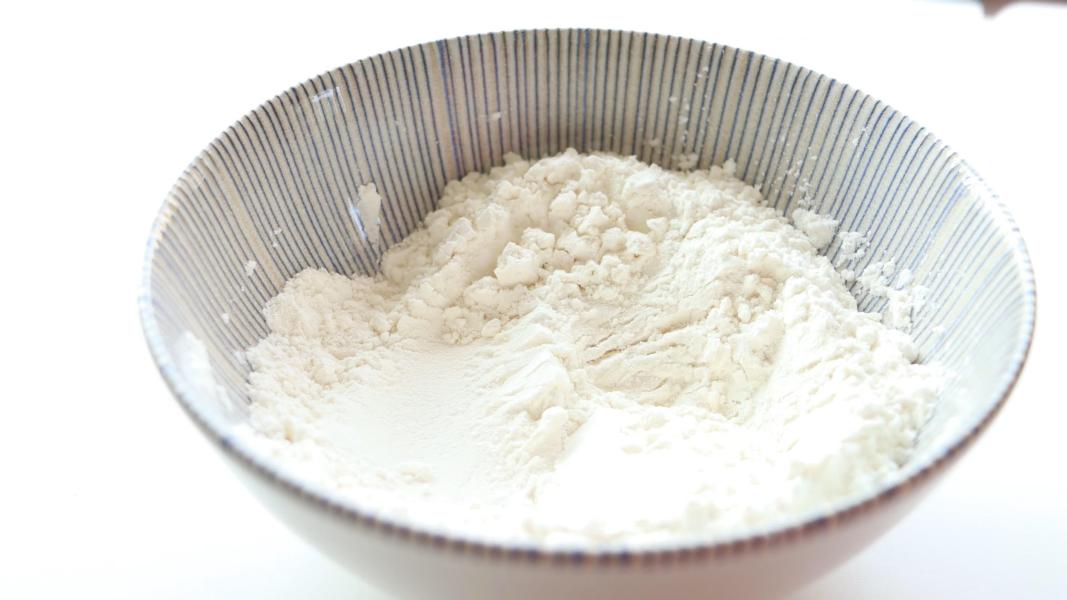
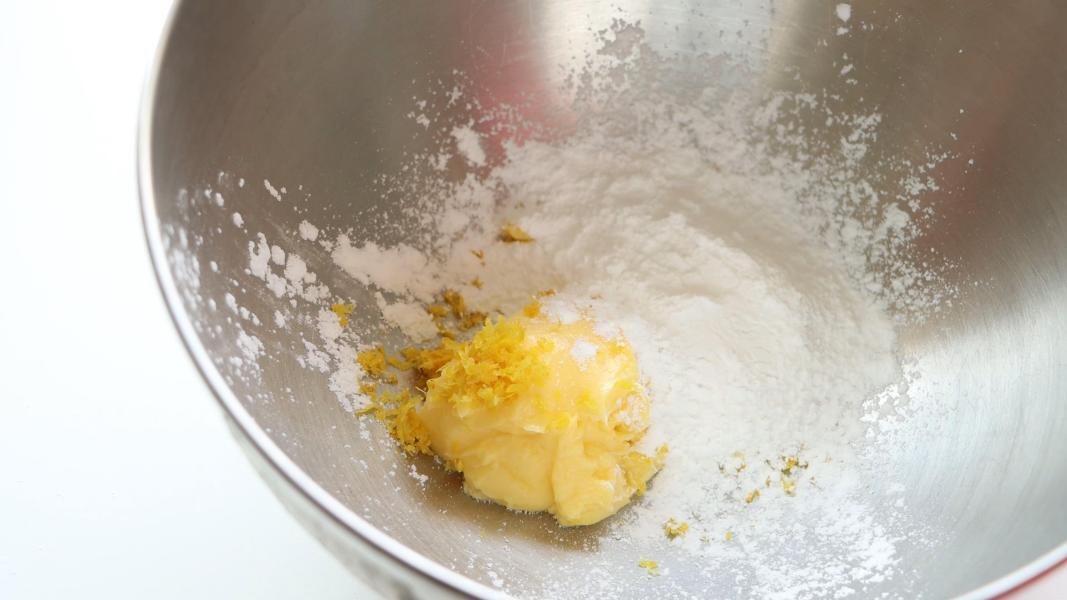
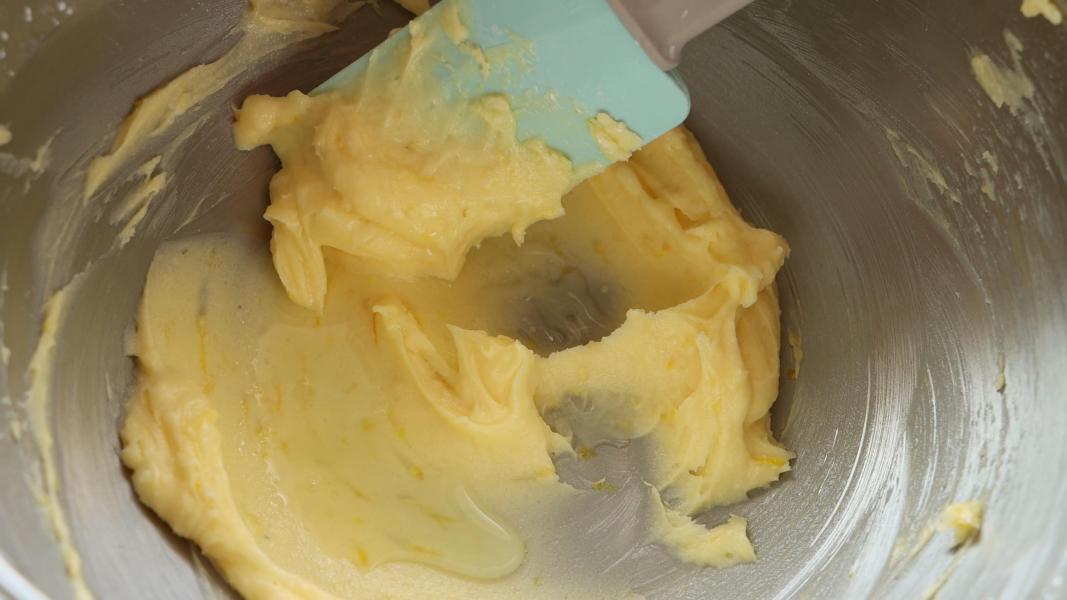
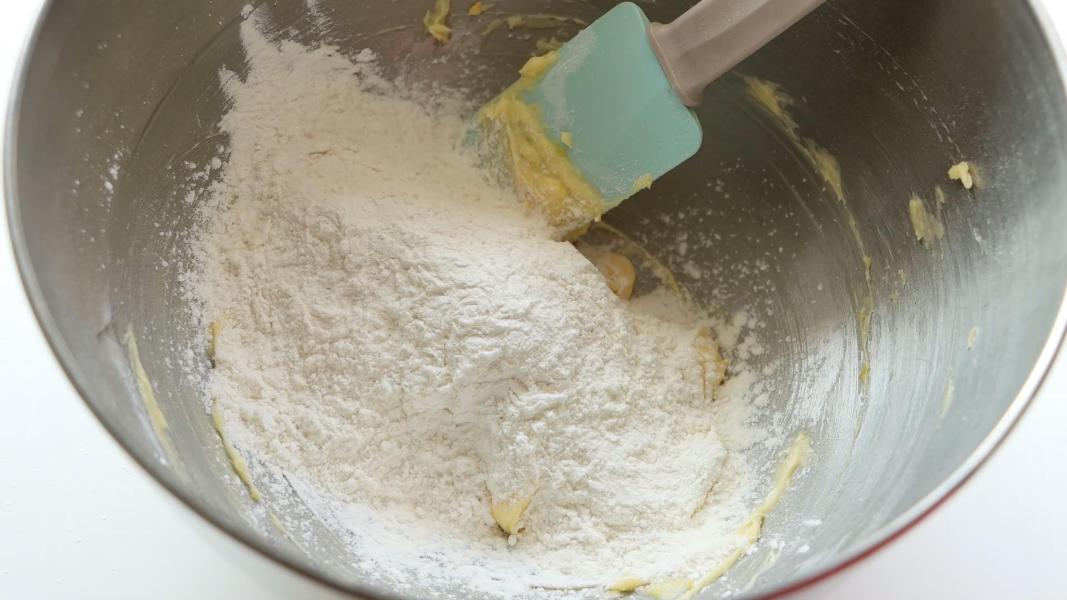
    Rich, buttery, zesty, delicate and delicious lemon snowballs or wedding cookies that melt in your mouth. You only need couple of ingredients to make them. A holiday favorite! Check out the Recipe

    5. Chocolate Kiss Snowball Cookies
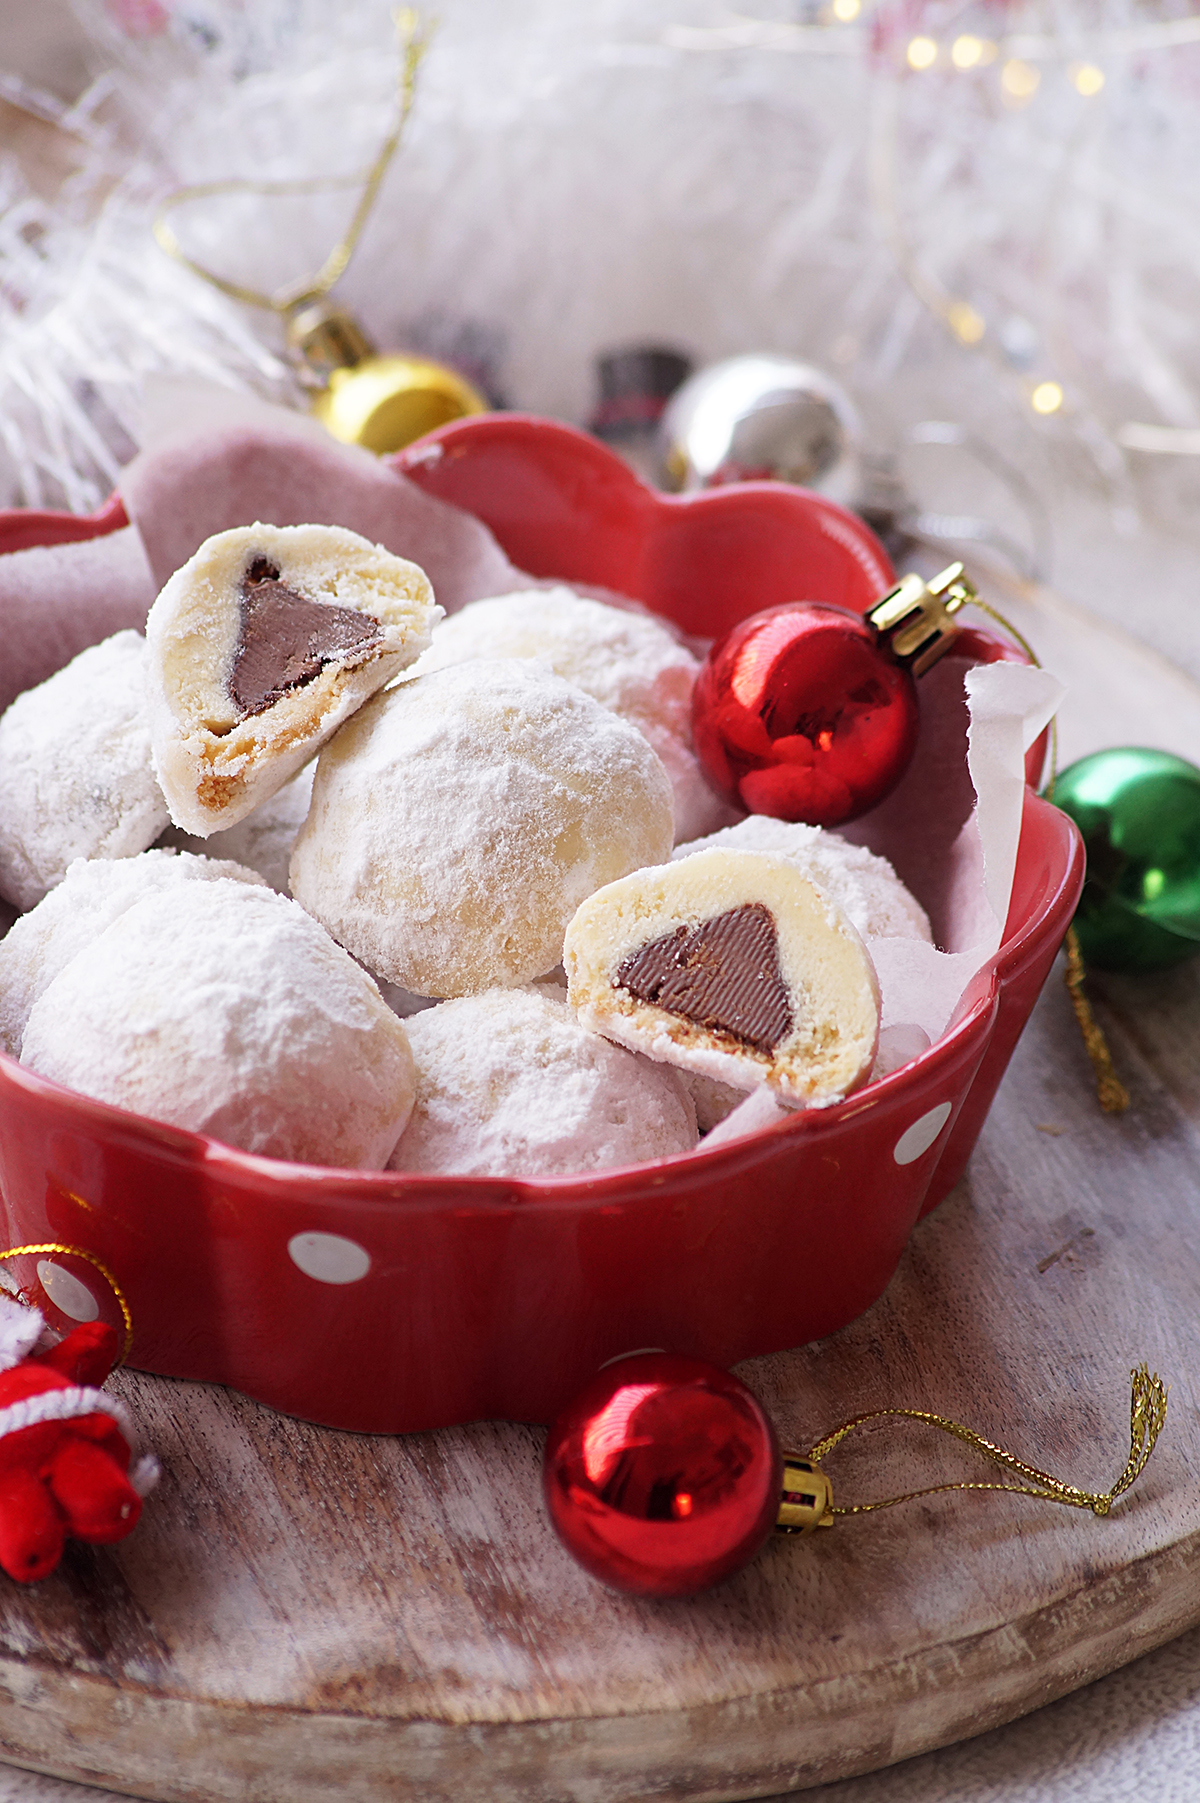
    These are also known as Secret Kiss Cookies. These are nothing but classic snowball cookies filled with a chocolate surprise inside. Perfect for the holidays! Check out the Recipe

    6. Chocolate Chip Snowballs
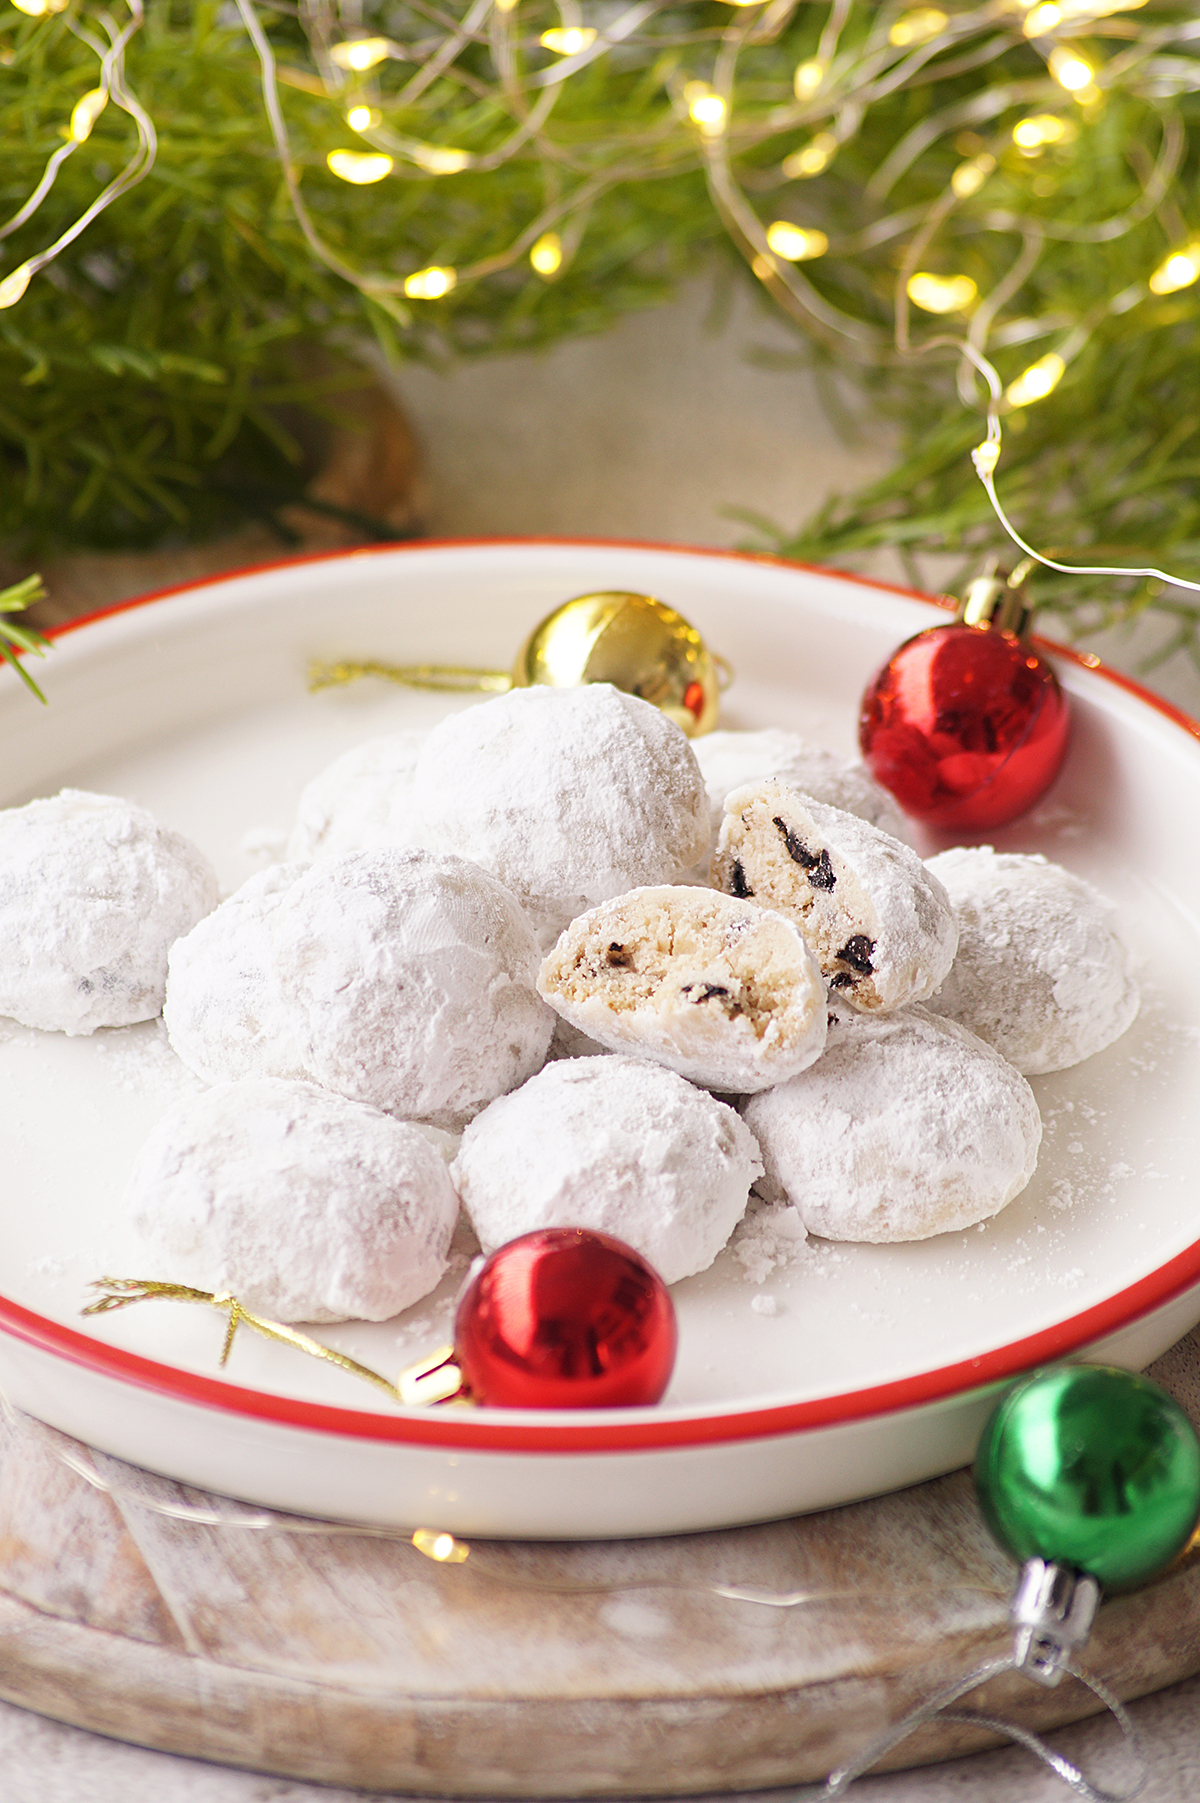
    These tiny cookies are delicious, tender, and have a rich, buttery flavor with a hint of chocolate. A perfect Christmas cookie recipe for anyone who loves chocolate and cookies! Check out the Recipe

    7. Chocolate Snowballs
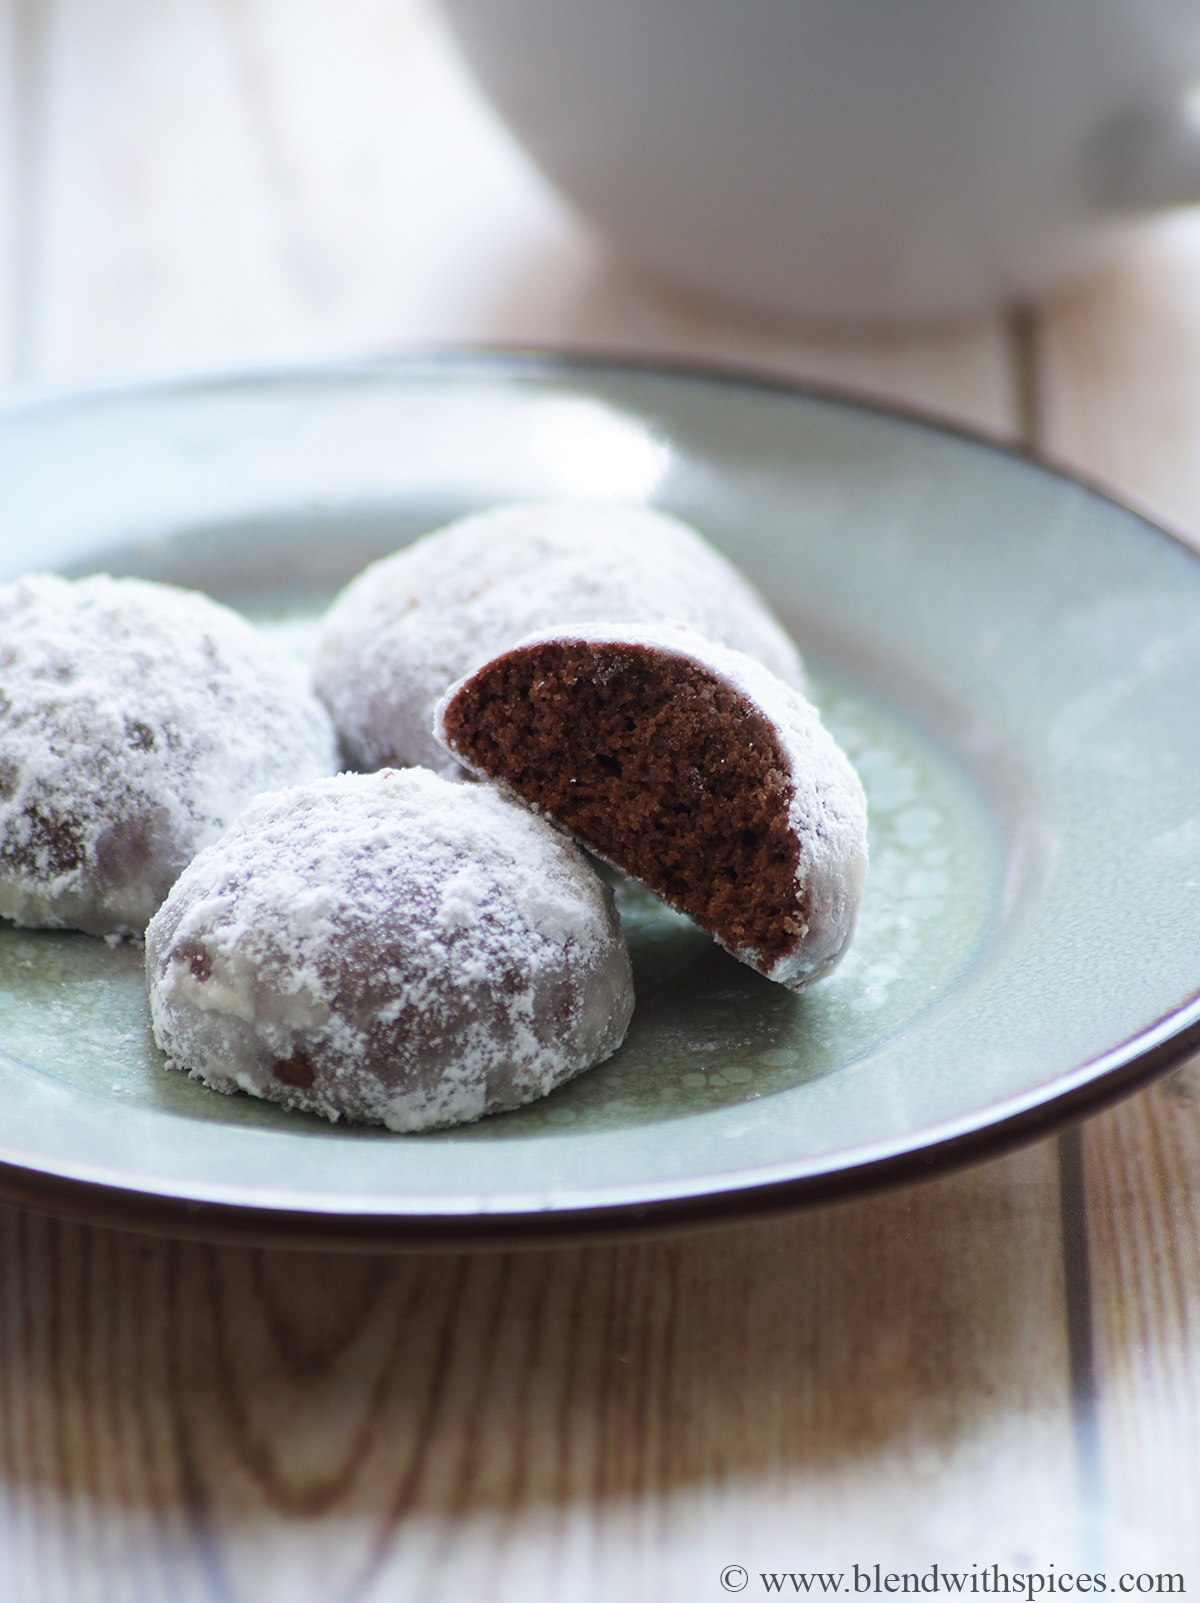
    A simple, delicious and chocolatey shortbread cookies that melt in your mouth. A perfect addition to the cookie platter! Check out the Recipe
    Coconut Ice

    December 20, 2023

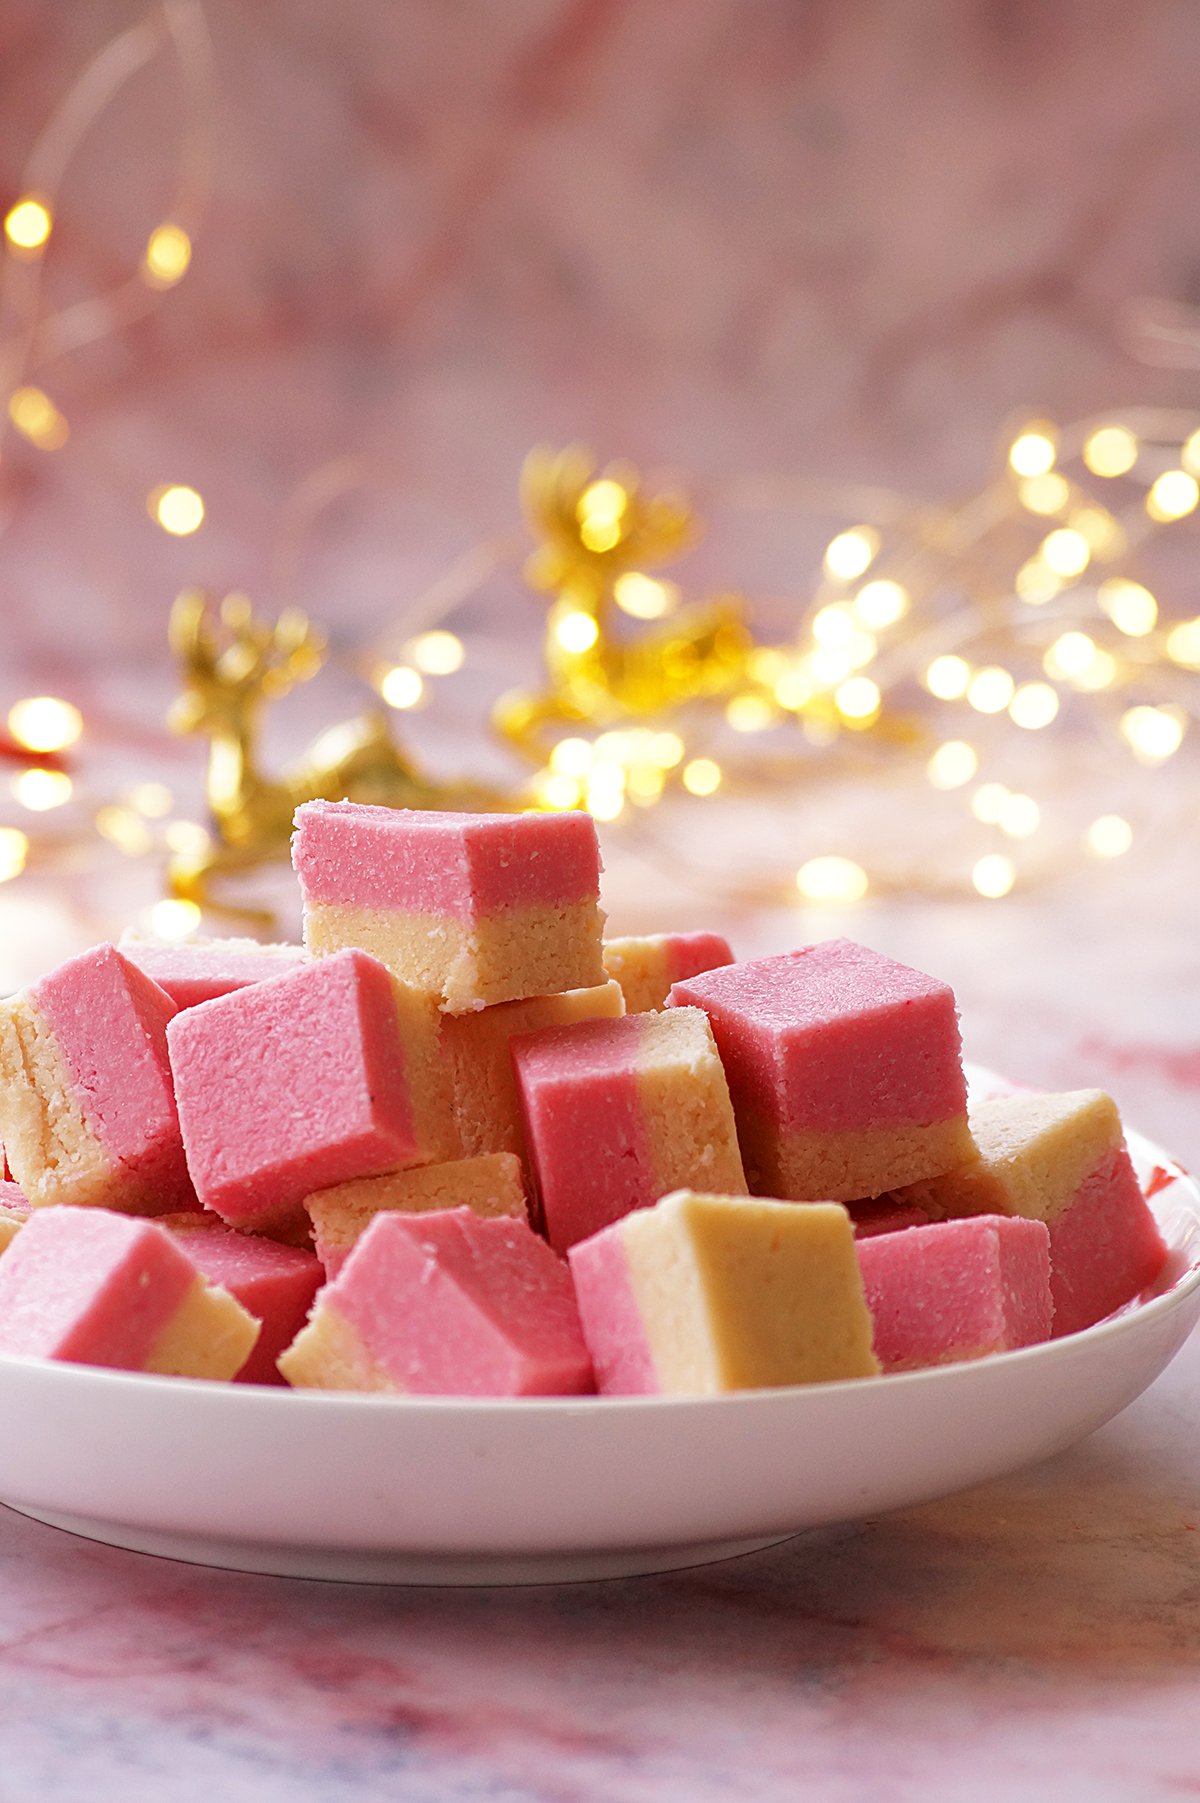
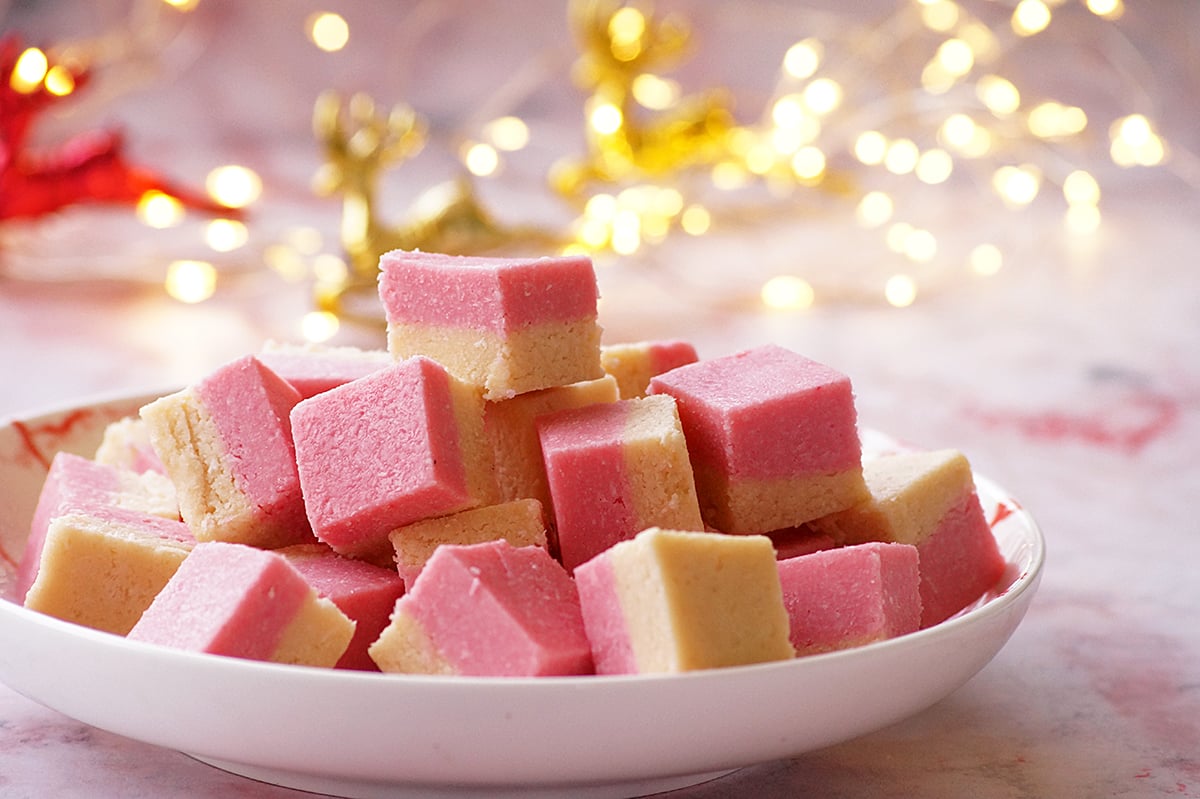
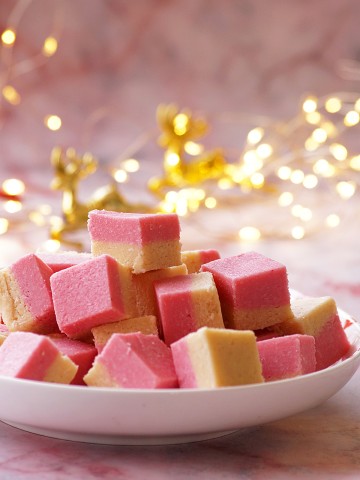
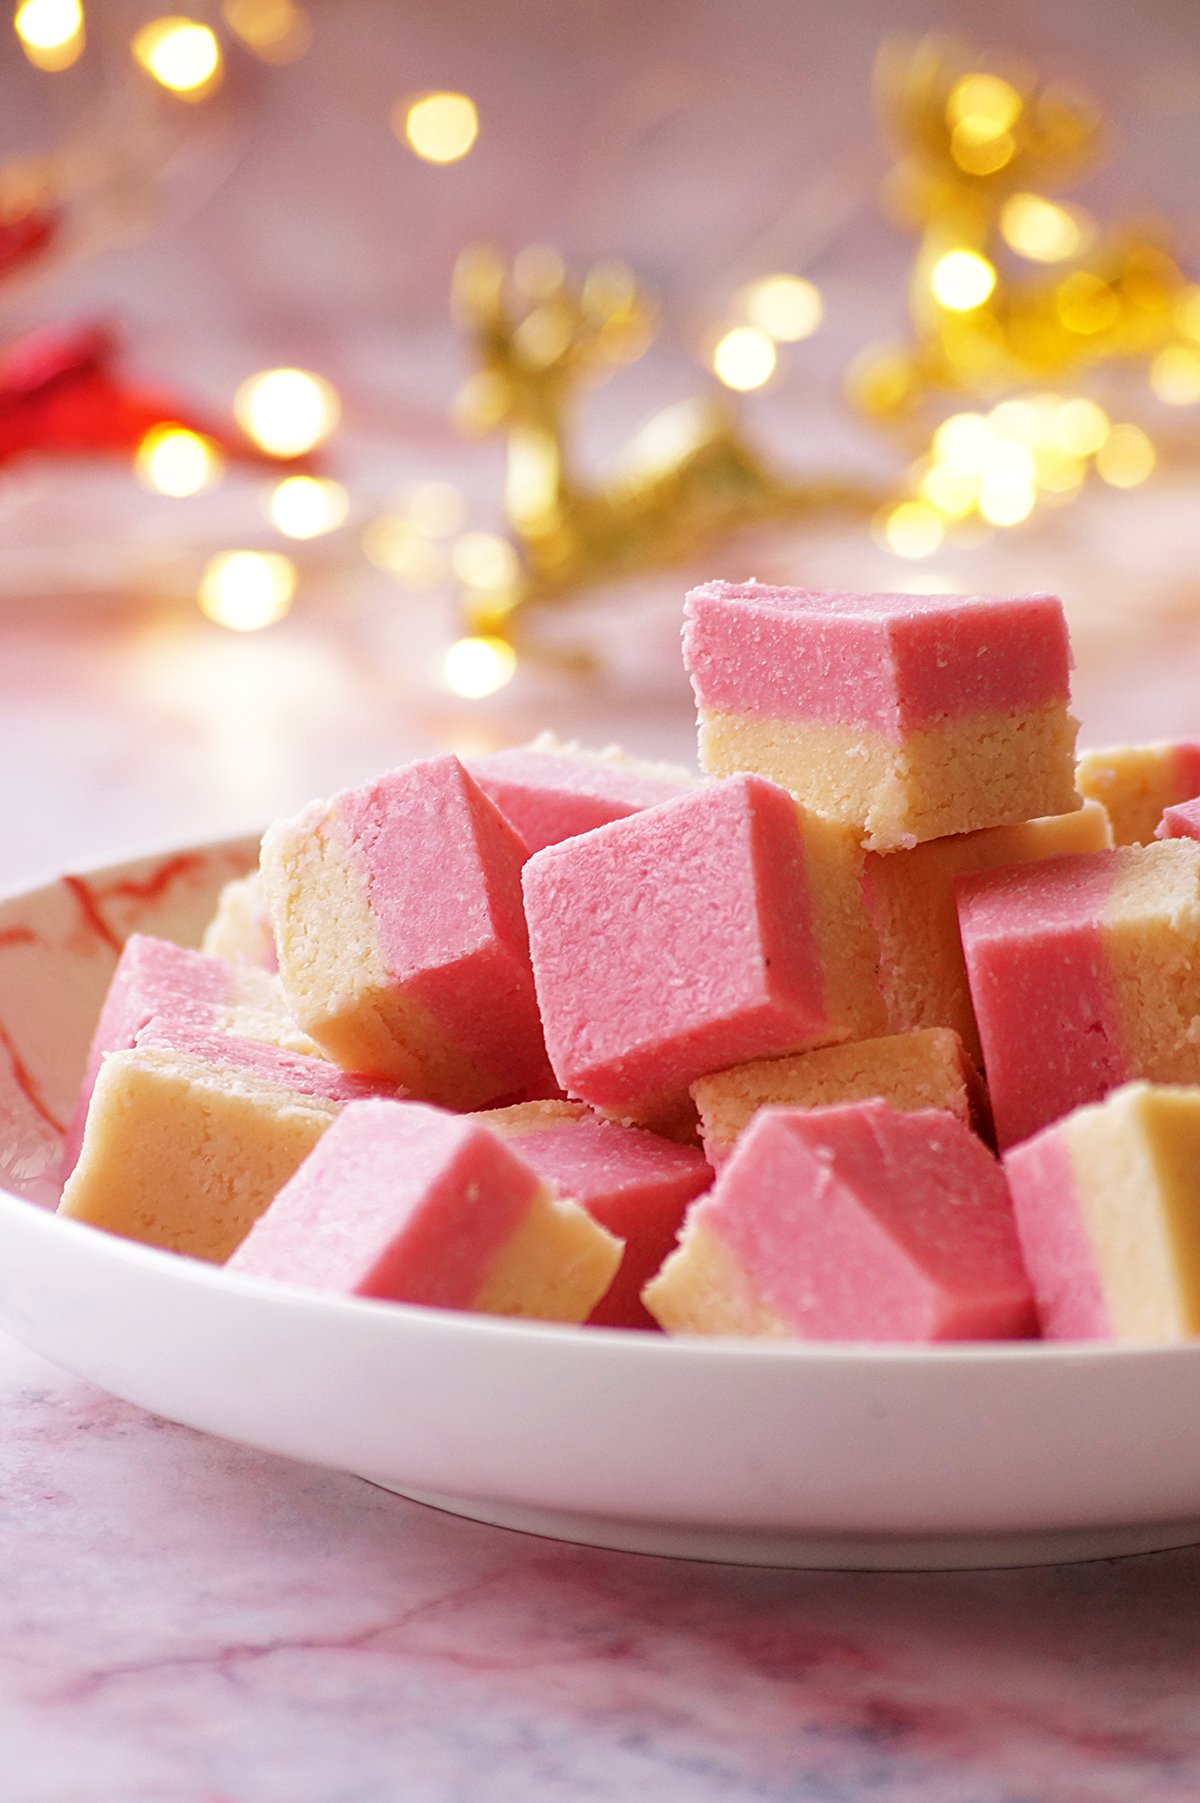
    Coconut Ice - Coconut ice is a classic British confectionery made with desiccated coconut, icing sugar and condensed milk. It is sweet, chewy, soft and a perfect addition to your Christmas dessert platter!

    What is coconut ice?

    Coconut Ice is a traditional British sweet confection made with desiccated coconut and powdered sugar and condensed milk which makes a soft and chewy candy. It is also very popular in Goa, India during Christmas time. The traditional methods requires cooking milk, coconut and sugar together until it reaches a candy consistency. However, this recipe is a shortcut and it's equally good without any cooking or baking.

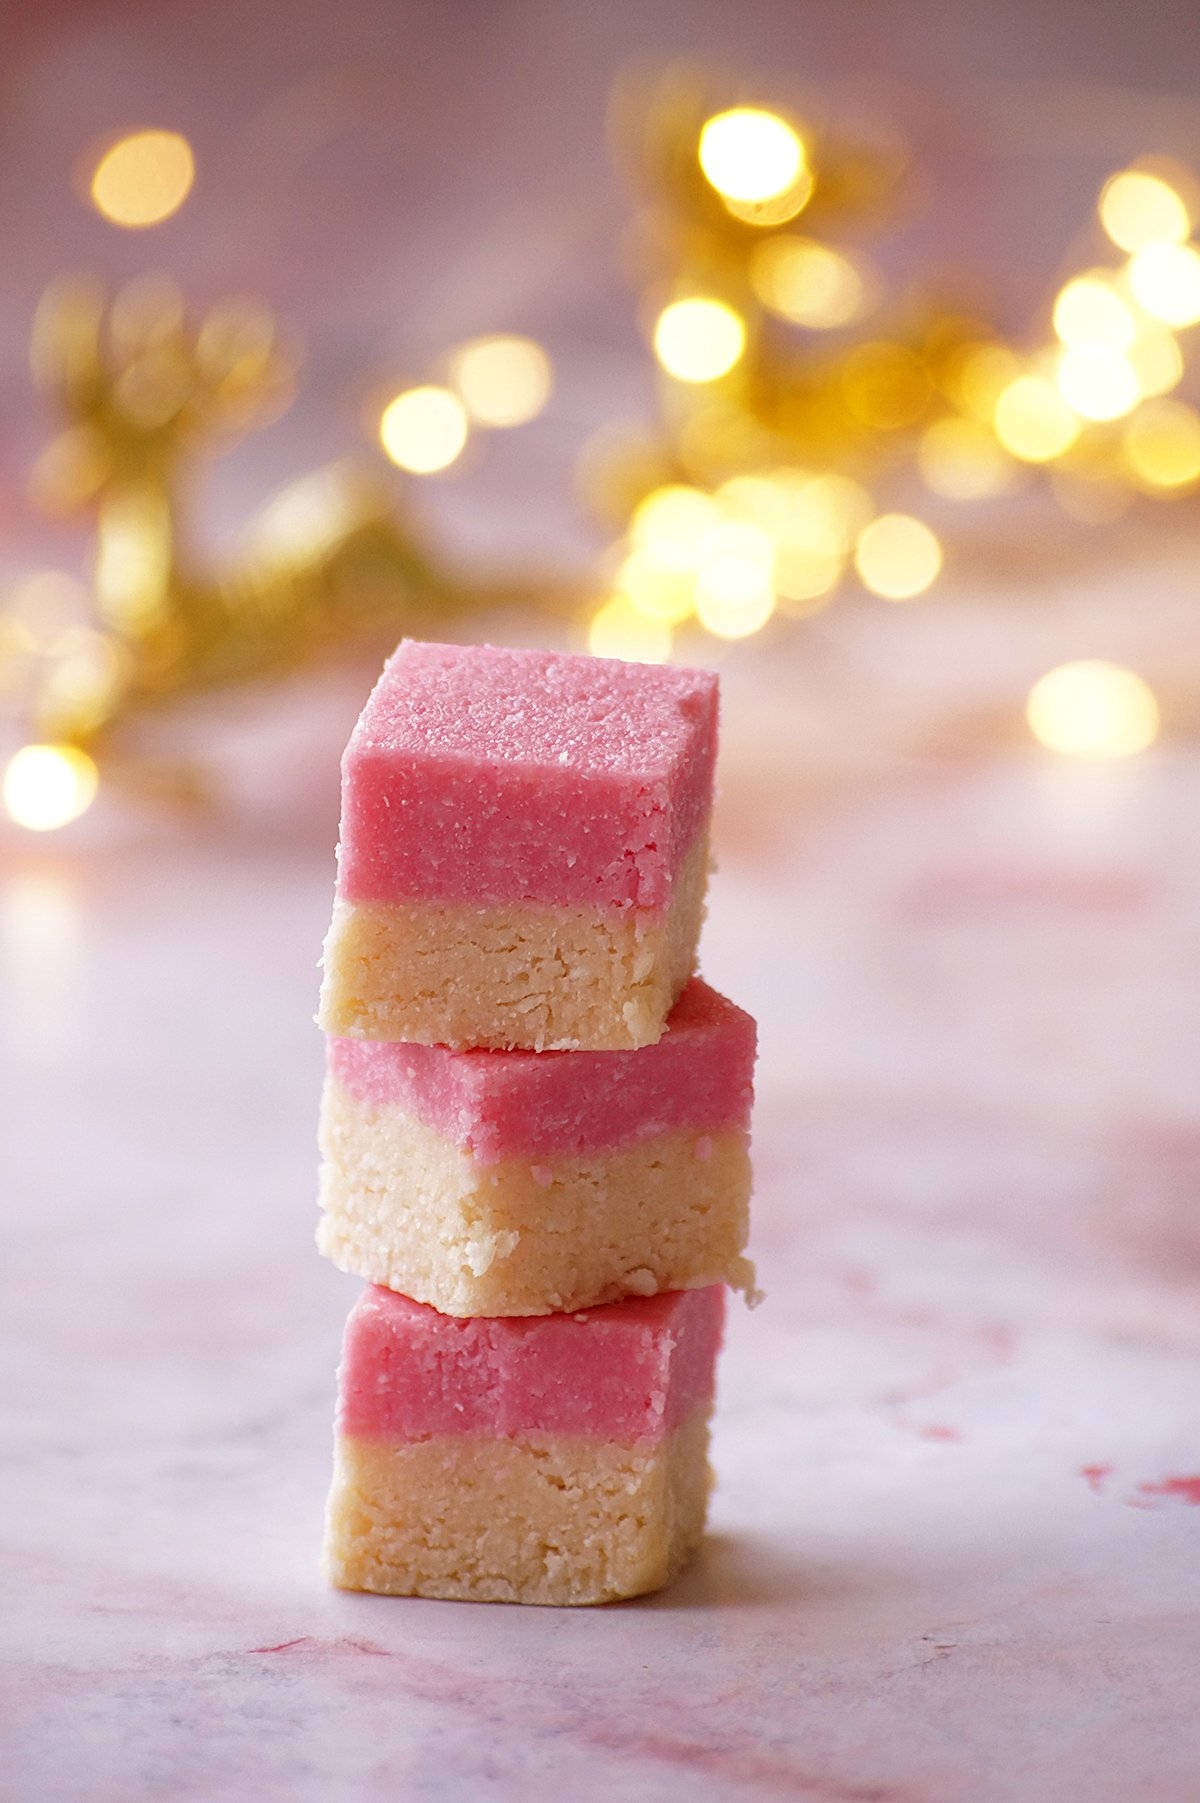
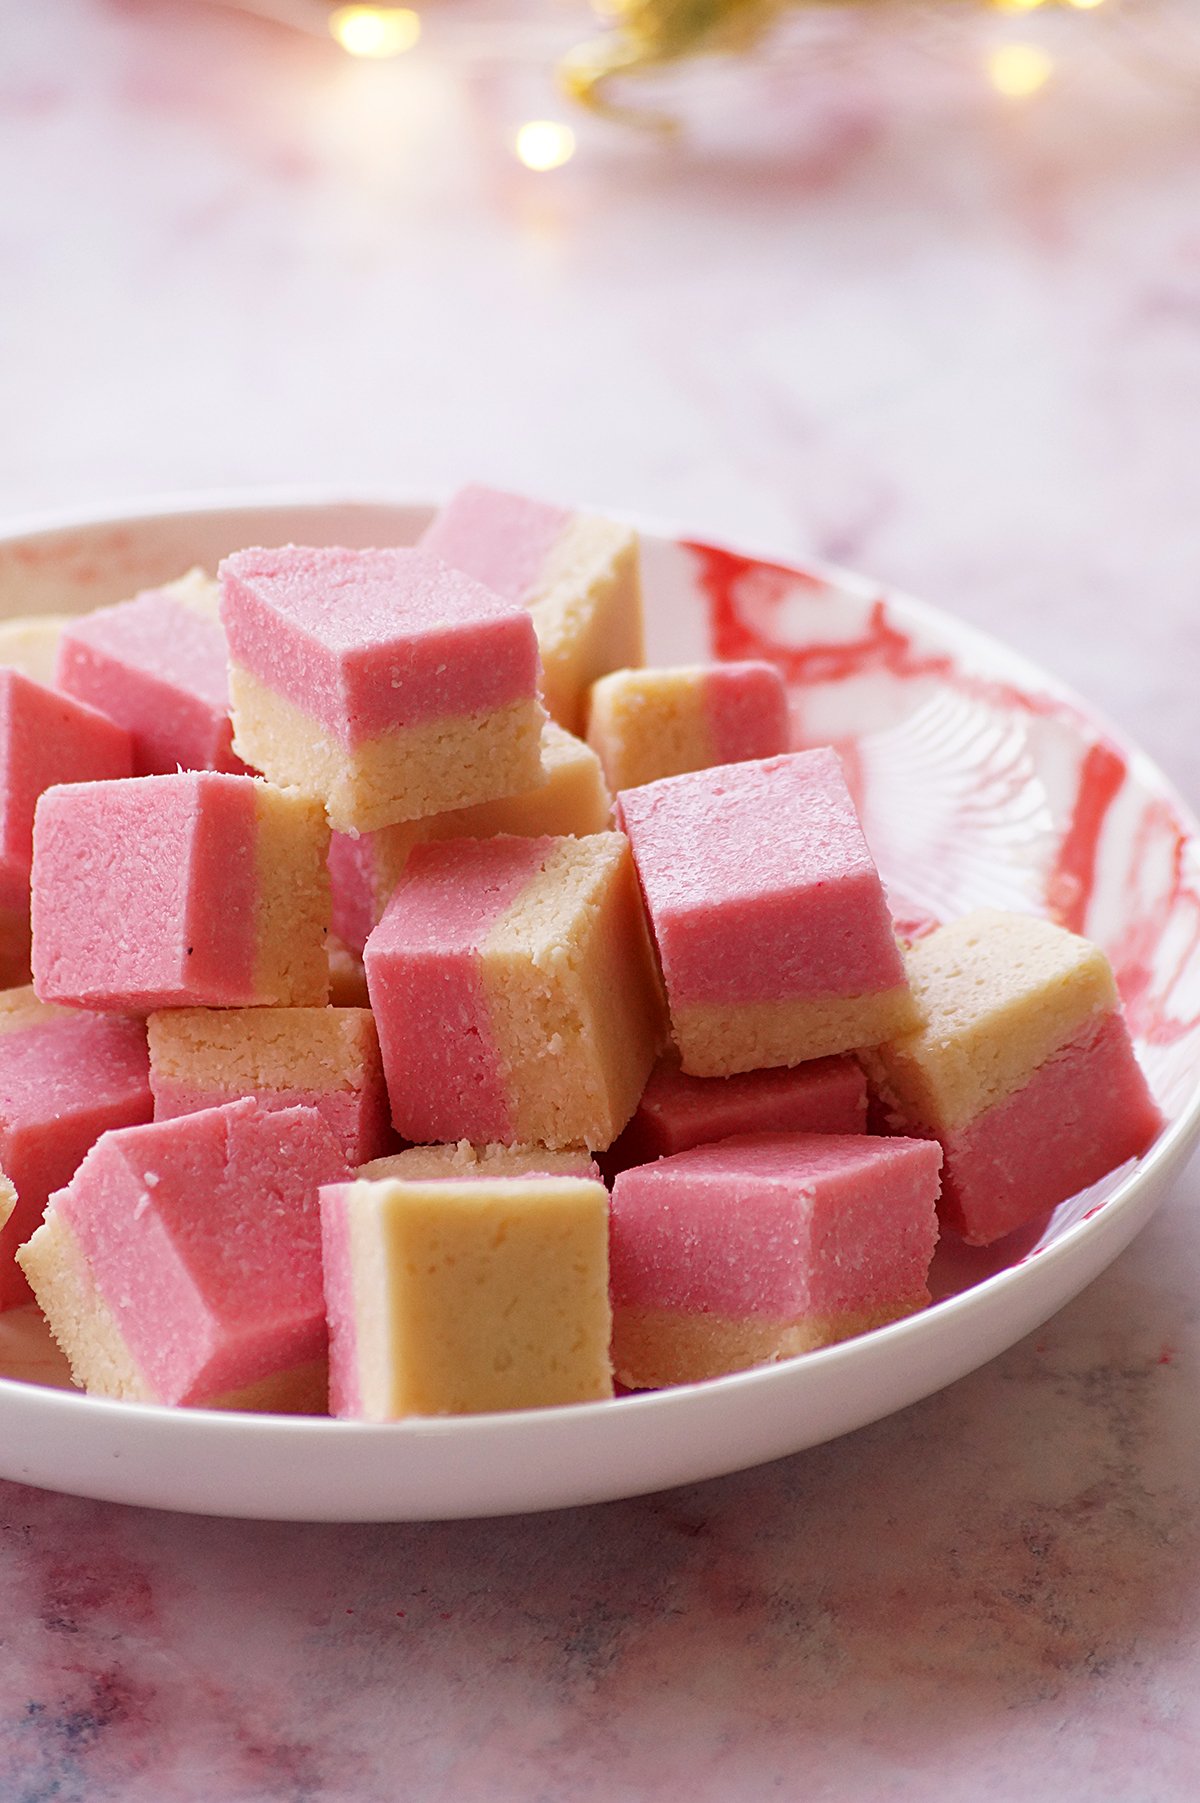
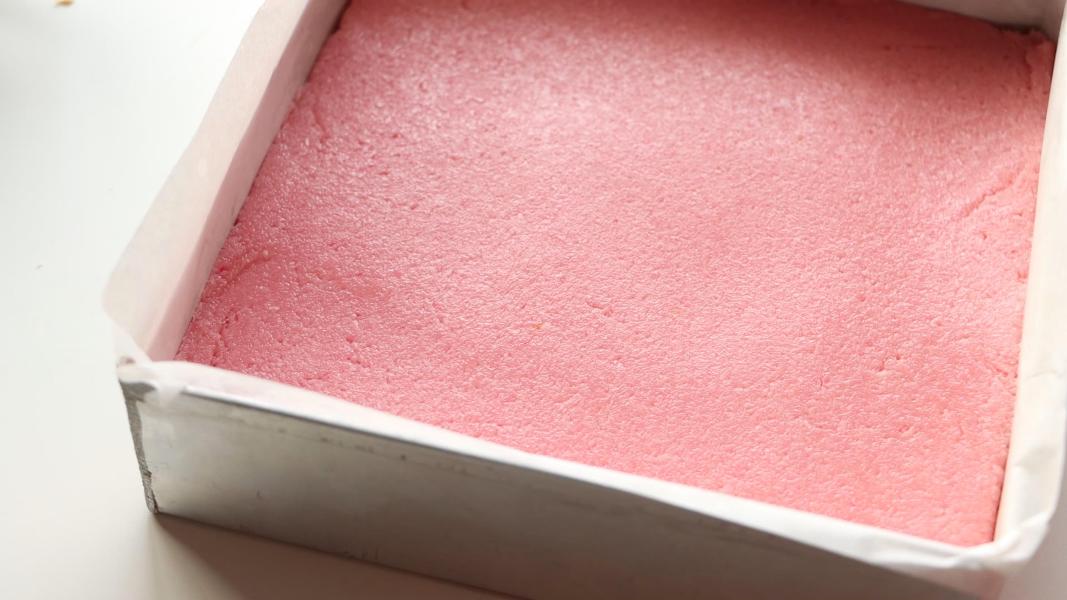
    The coconut ice has two layers: one is uncolored, and the other is pink. Making it involves mixing the ingredients together, pressing them into a lined tin in layers, and letting it set in the refrigerator. Once it is firm, cut it into squares.

    Why you'll love this recipe:

    It's a no-bake recipe that doesn't require any cooking.

    A simple homemade treat that is perfect for the festive seasons.

    It has longer shelf life.

    Easy and quick sweet treat recipe for kids and novice cooks.

    Ingredients & Substitutions:

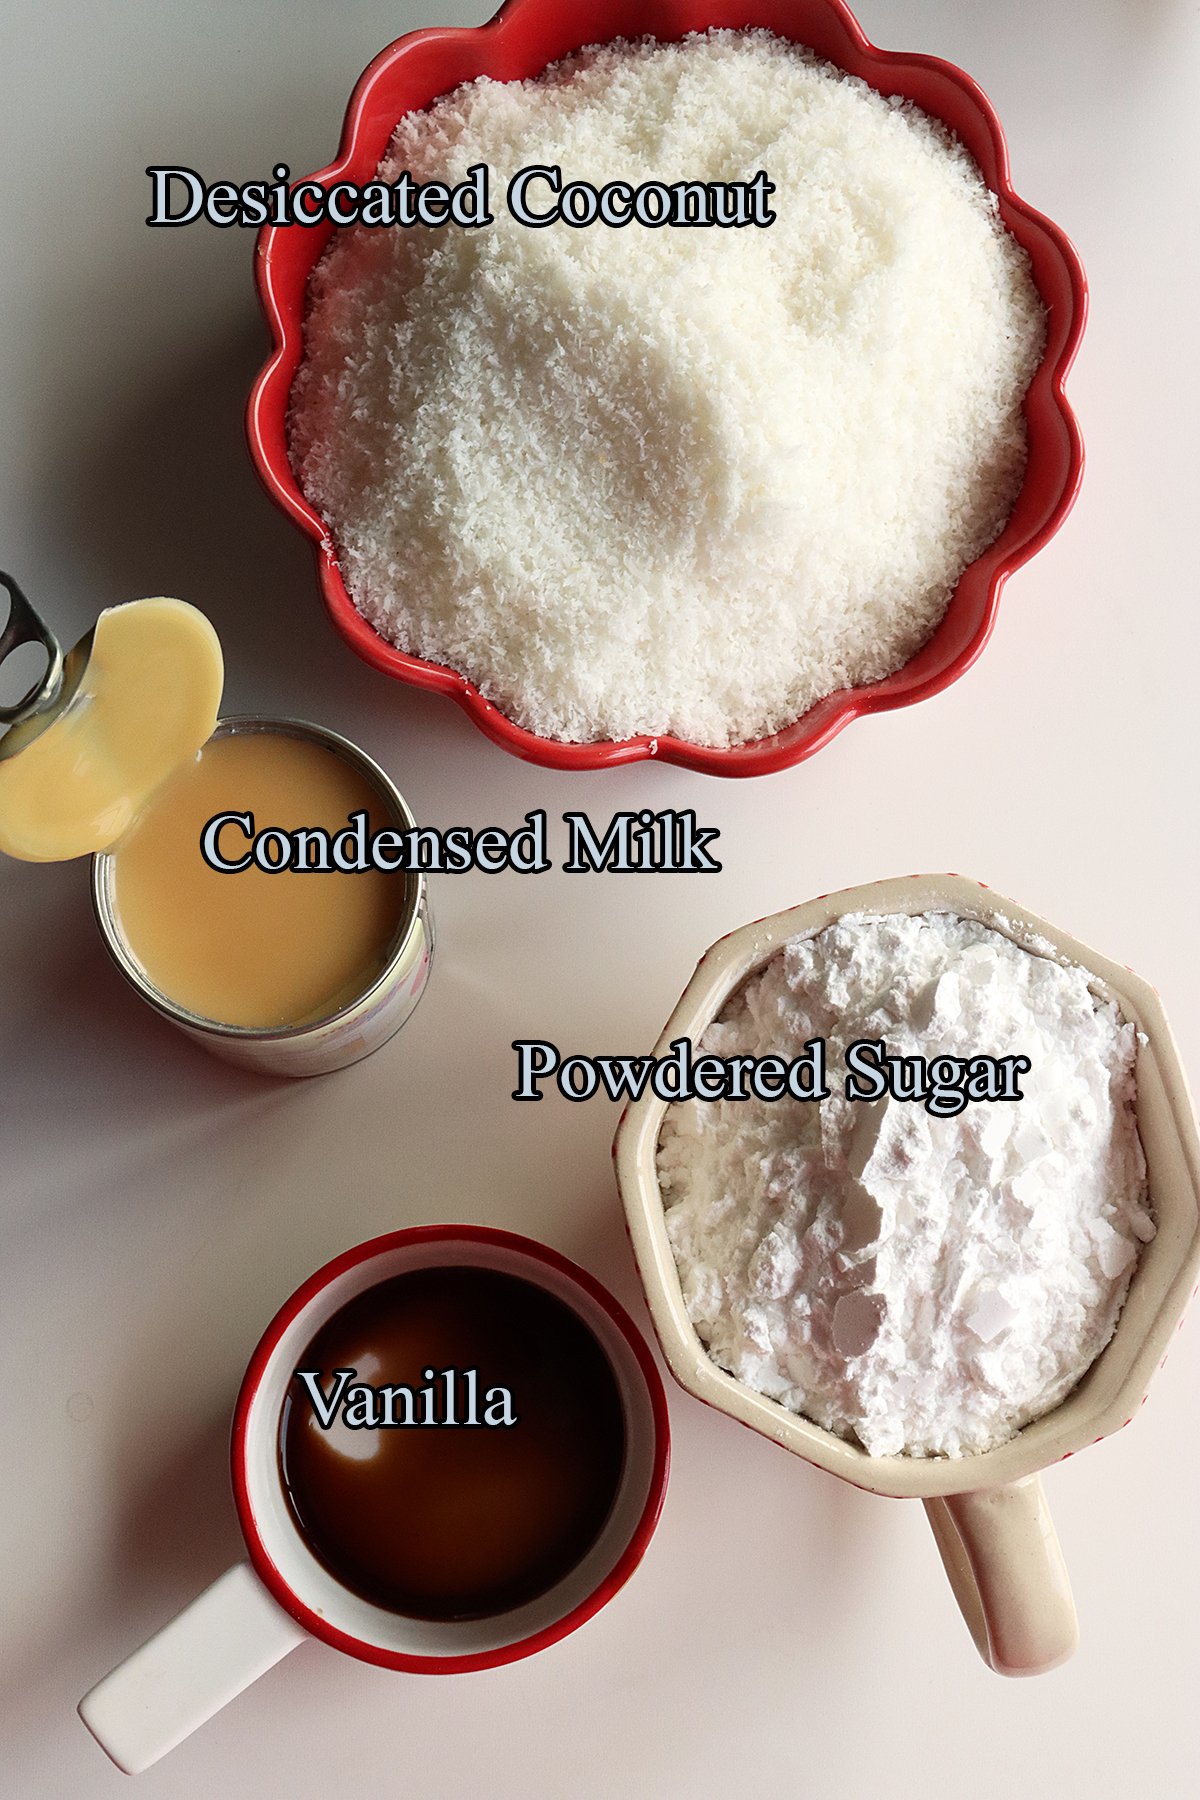
    Desiccated Coconut - It can be substituted with unsweetened shredded coconut. However, desiccated coconut will give the smooth texture. Do not replace it with fresh coconut.

    Condensed Milk - Adds richness, smoothness and helps bind the all the ingredients together.

    Powdered Sugar - Also known as icing sugar or confectioners sugar. It adds sweetness to the coconut ice and helps bind the ingredients together. Add more or less to suit your taste preferences. If you don't have it, simply grind sugar to a fine powder and use.

    Vanilla Extract - Enhances the flavor.

    Food Color - Traditionally, coconut ice has a pink layer. You can use any of your preferred color or skip it for a plain coconut ice.

    Serving suggestions:

    Serve it as a sweet snack or dessert.

    Pack them in decorative bags for a homemade edible gift or party favors.

    Storage suggestions:

    They have a really good shelf life. Store them in an airtight container for up to 2 weeks. If you want to store them for longer period of time, store in the refrigerator for up to a month. You can also freeze them for 3 months.

    Variations:

    Feel free to use different flavor extracts such as almond or lemon for a flavor variation.

    You can experiment with spices like cinnamon, cardamom or nutmeg.

    You can also add cocoa powder to one layer of coconut mixture for a chocolate layer.

    Add any of your favorite chopped nuts or dried fruits for added crunch and flavor.

    Tips & Notes:

    Use high quality ingredients for the best flavor and texture.

    Add more or less powdered sugar as per your taste preferences.

    Let it set properly in the refrigerator before cutting into squares.

    If you are planning to make a single layer coconut ice without pink colored layer, just mix all the ingredients together and press it evenly in a lined tin and set it in the refrigerator.

    Step by step instructions:

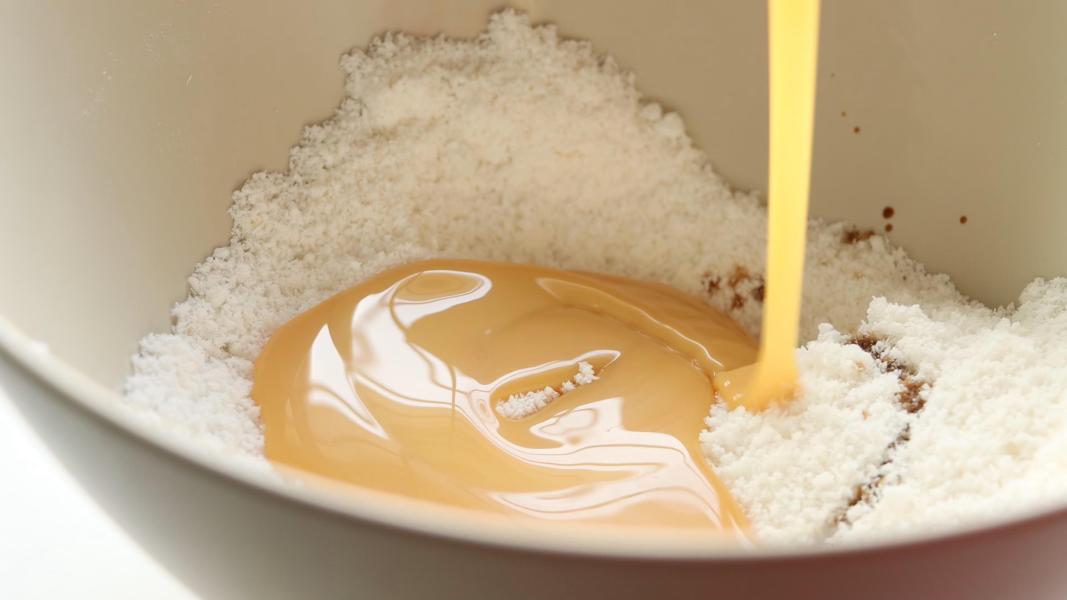
    To make the uncolored coconut ice layer, combine the half of the ingredients except food color in a mixing bowl.

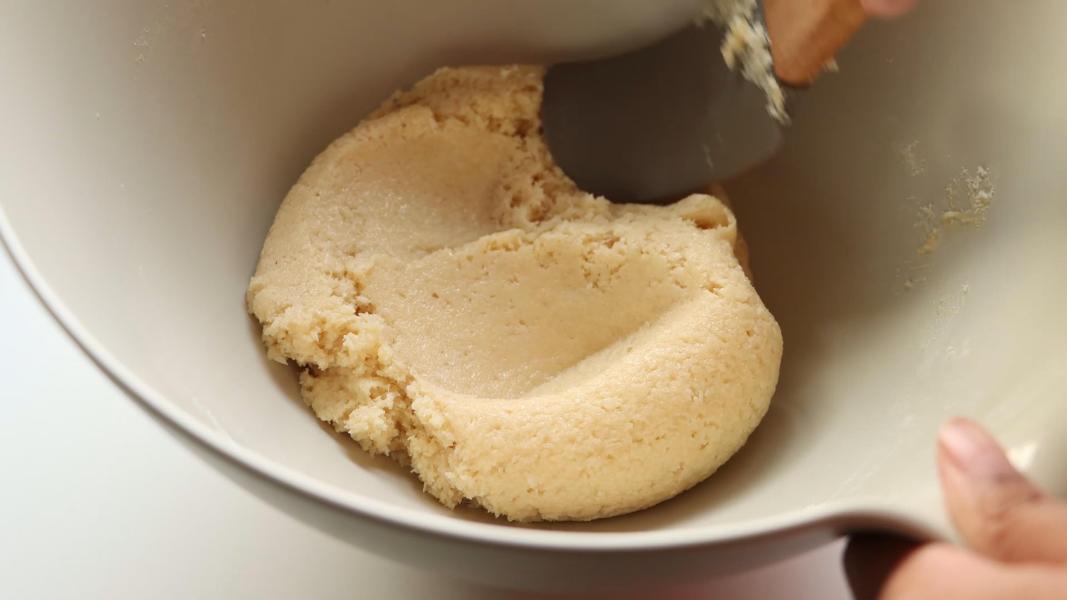
    Mix everything well using a spatula until it forms a dough.

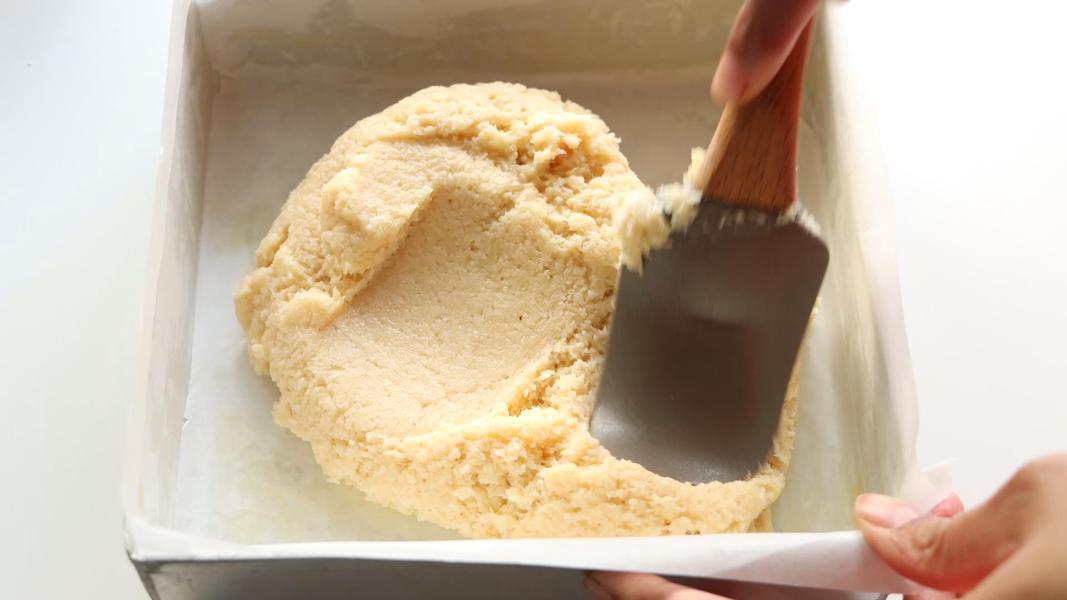
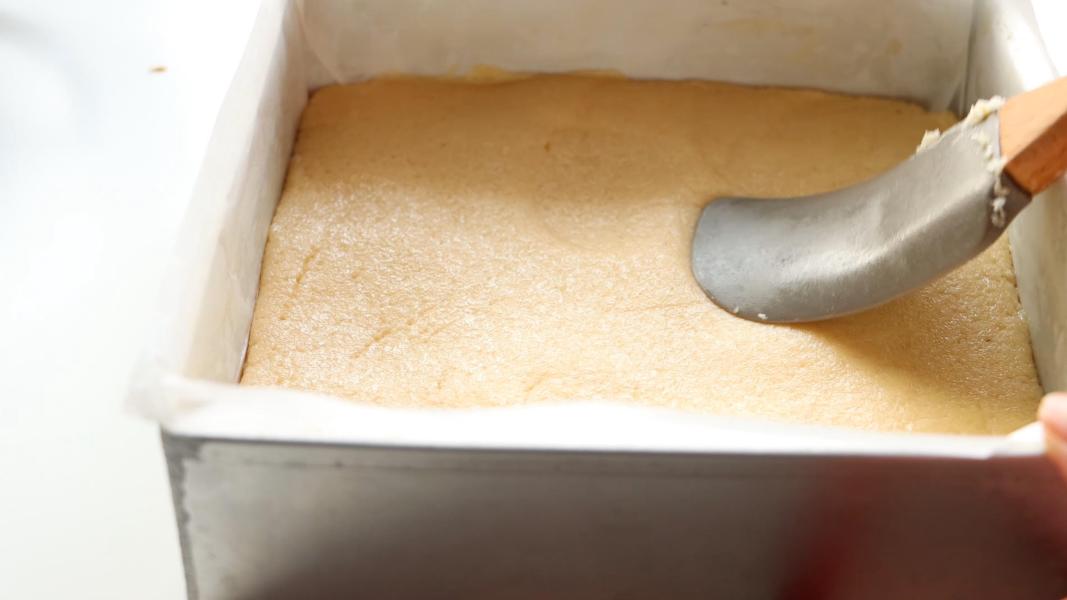
    Transfer the coconut mixture to a lined 7x7 inch baking tin.

    Spread it evenly and set aside.

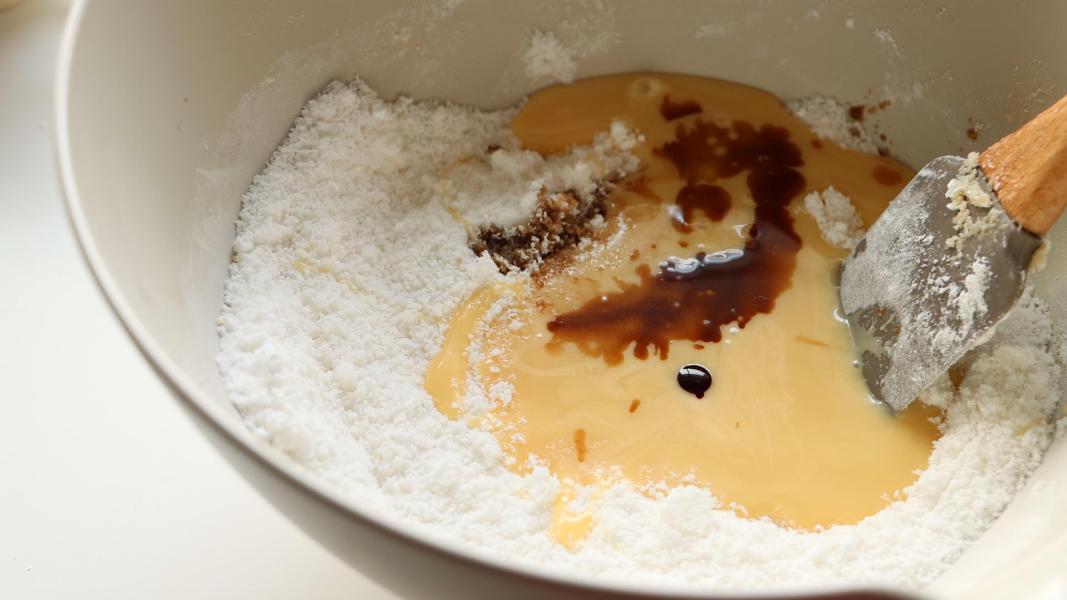
    To make the pink colored layer, combine the remaining coconut and icing sugar.

    Add condensed milk, vanilla and pink food color.

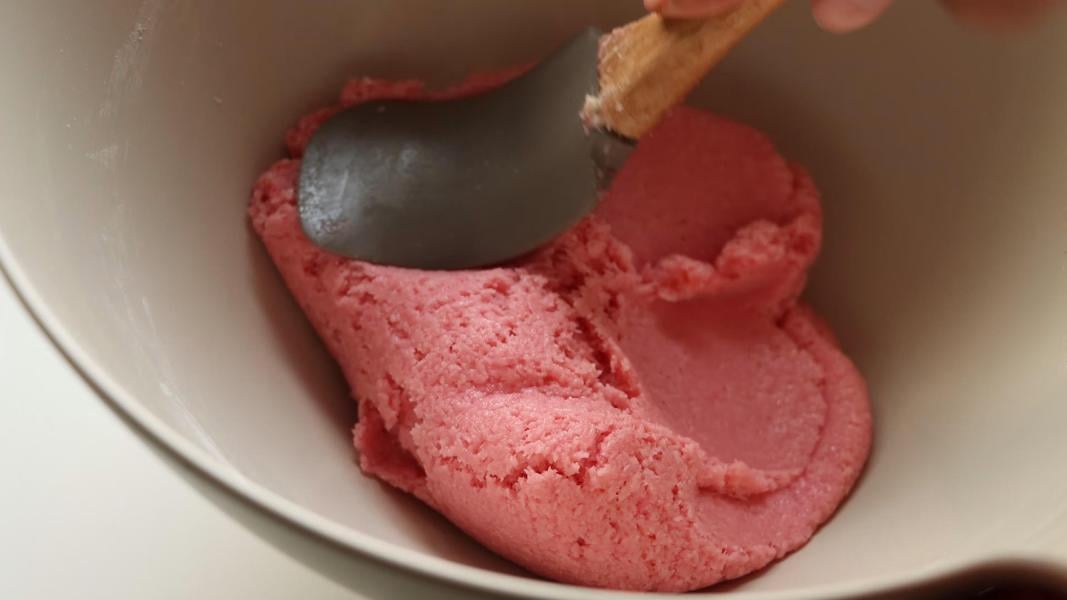
    Mix everything to make a dough.

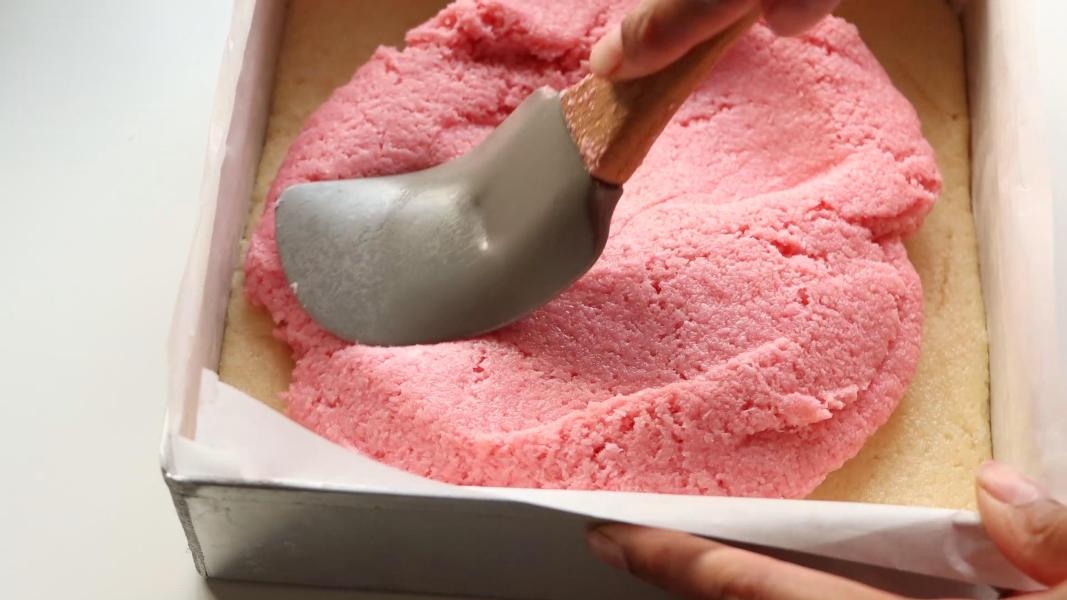
    Add the pink colored mixture on the top of the white coconut layer and press it down evenly using a spatula or spoon.

    Let it set in the refrigerator for 2-3 hours or until it is firm.

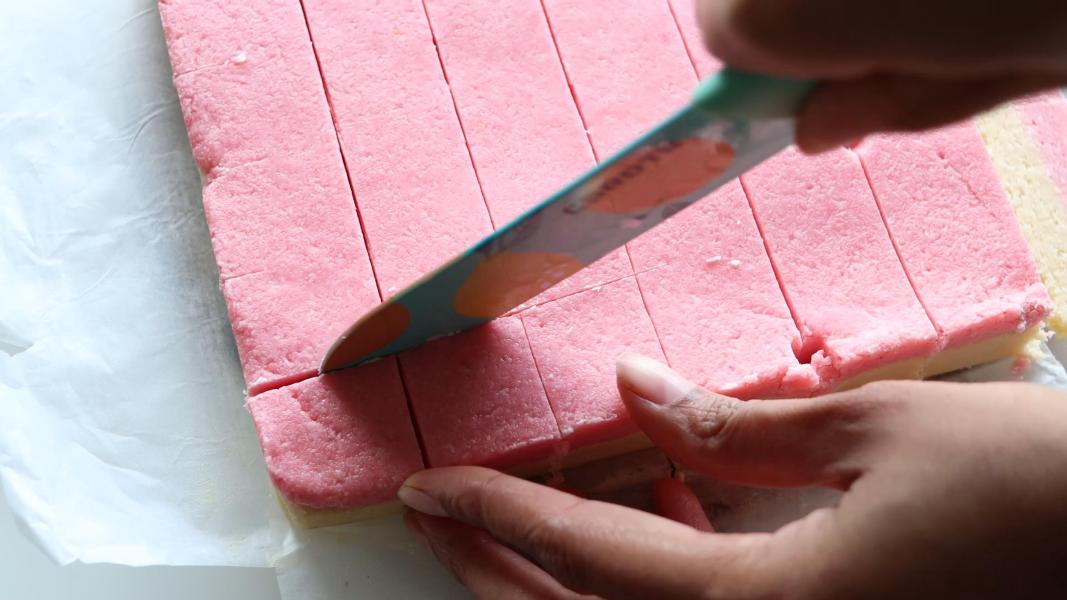
    Remove it from the refrigerator and cut into 1 inch square pieces.

    You might love these recipes:

    • Kulkuls
    • Whole Wheat Coconut Cookies
    • Santas Whiskers Cookies
    • Saffron Cookies
    • Red Hot Cinnamon Apples
    • Raspberry Fool
    • Orange Tutti Frutti Cake
    • Vegan Mango Cake

    How to make coconut ice recipe video below:

    Print Recipe

    Coconut Ice Recipe
    Coconut Ice - Coconut ice is a classic British confectionery made with desiccated coconut, icing sugar and condensed milk. It is sweet, chewy, soft and a perfect addition to your Christmas dessert platter!
    Prep Time10 minutes mins
    Chilling Time2 hours hrs
    Total Time2 hours hrs 10 minutes mins
    Course: Dessert, Snack
    Cuisine: Australian, British, Goan
    Keyword: christmas recipes, coconut ice recipe
    Servings: 36
    Calories: 124kcal
    Author: Hari Chandana Ponnaluri

    Ingredients

    • 4 Cups Desiccated Coconut
    • 2 Cups Powdered Sugar
    • 400 Grams Condensed Milk
    • 1 Teaspoon Vanilla Extract
    • Pink food color as needed

    Instructions

    • To make the uncolored coconut ice layer, combine 2 cups of coconut, 1 cup of powdered sugar, 200 grams of condensed milk and ½ teaspoon of vanilla extract in a mixing bowl.
    • Mix everything well using a spatula until it forms a dough.
    • Transfer the coconut mixture to a lined 7×7 inch baking tin.
    • Spread it evenly and set aside.
    • To make the pink colored layer, combine the remaining coconut and icing sugar.
    • Add remaining condensed milk, vanilla and pink food color.
    • Mix everything to make a dough.
    • Add the pink colored mixture on the top of the white coconut layer and press it down evenly using a spatula or spoon.
    • Let it set in the refrigerator for 2-3 hours or until it is firm.
    • Remove it from the refrigerator and cut into 1 inch square pieces.
    • Serve & enjoy!

    Video

    Nutrition

    Calories: 124kcal | Carbohydrates: 15g | Protein: 2g | Fat: 7g | Saturated Fat: 6g | Polyunsaturated Fat: 0.1g | Monounsaturated Fat: 1g | Cholesterol: 4mg | Sodium: 18mg | Potassium: 93mg | Fiber: 2g | Sugar: 13g | Vitamin A: 30IU | Vitamin C: 0.4mg | Calcium: 34mg | Iron: 0.3mg

    No Bake Avalanche Cookies

    December 17, 2023

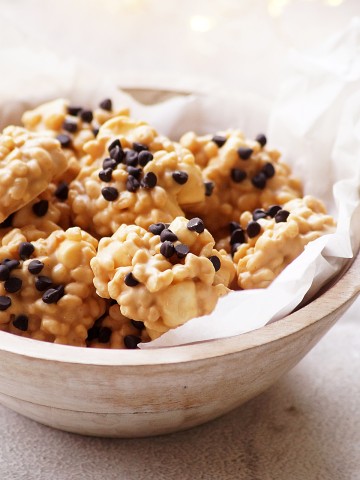
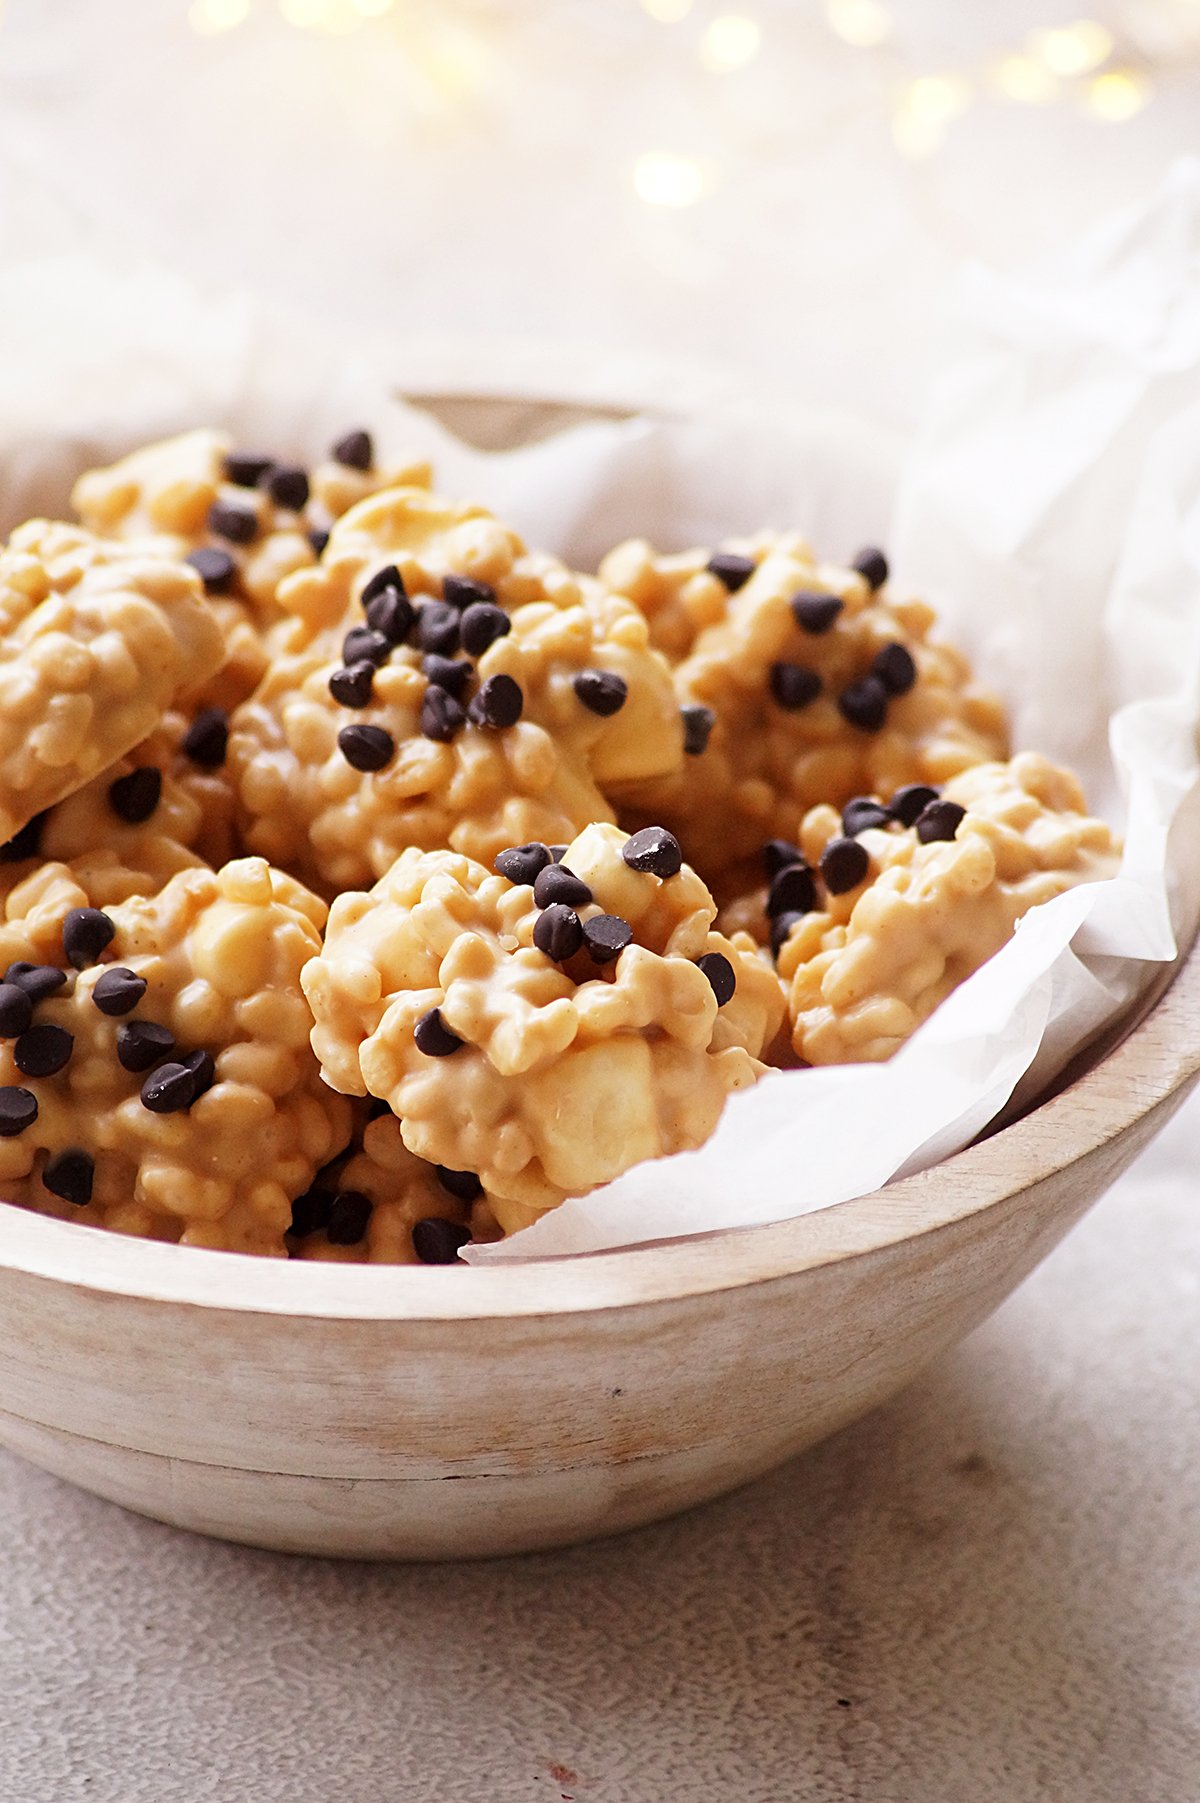
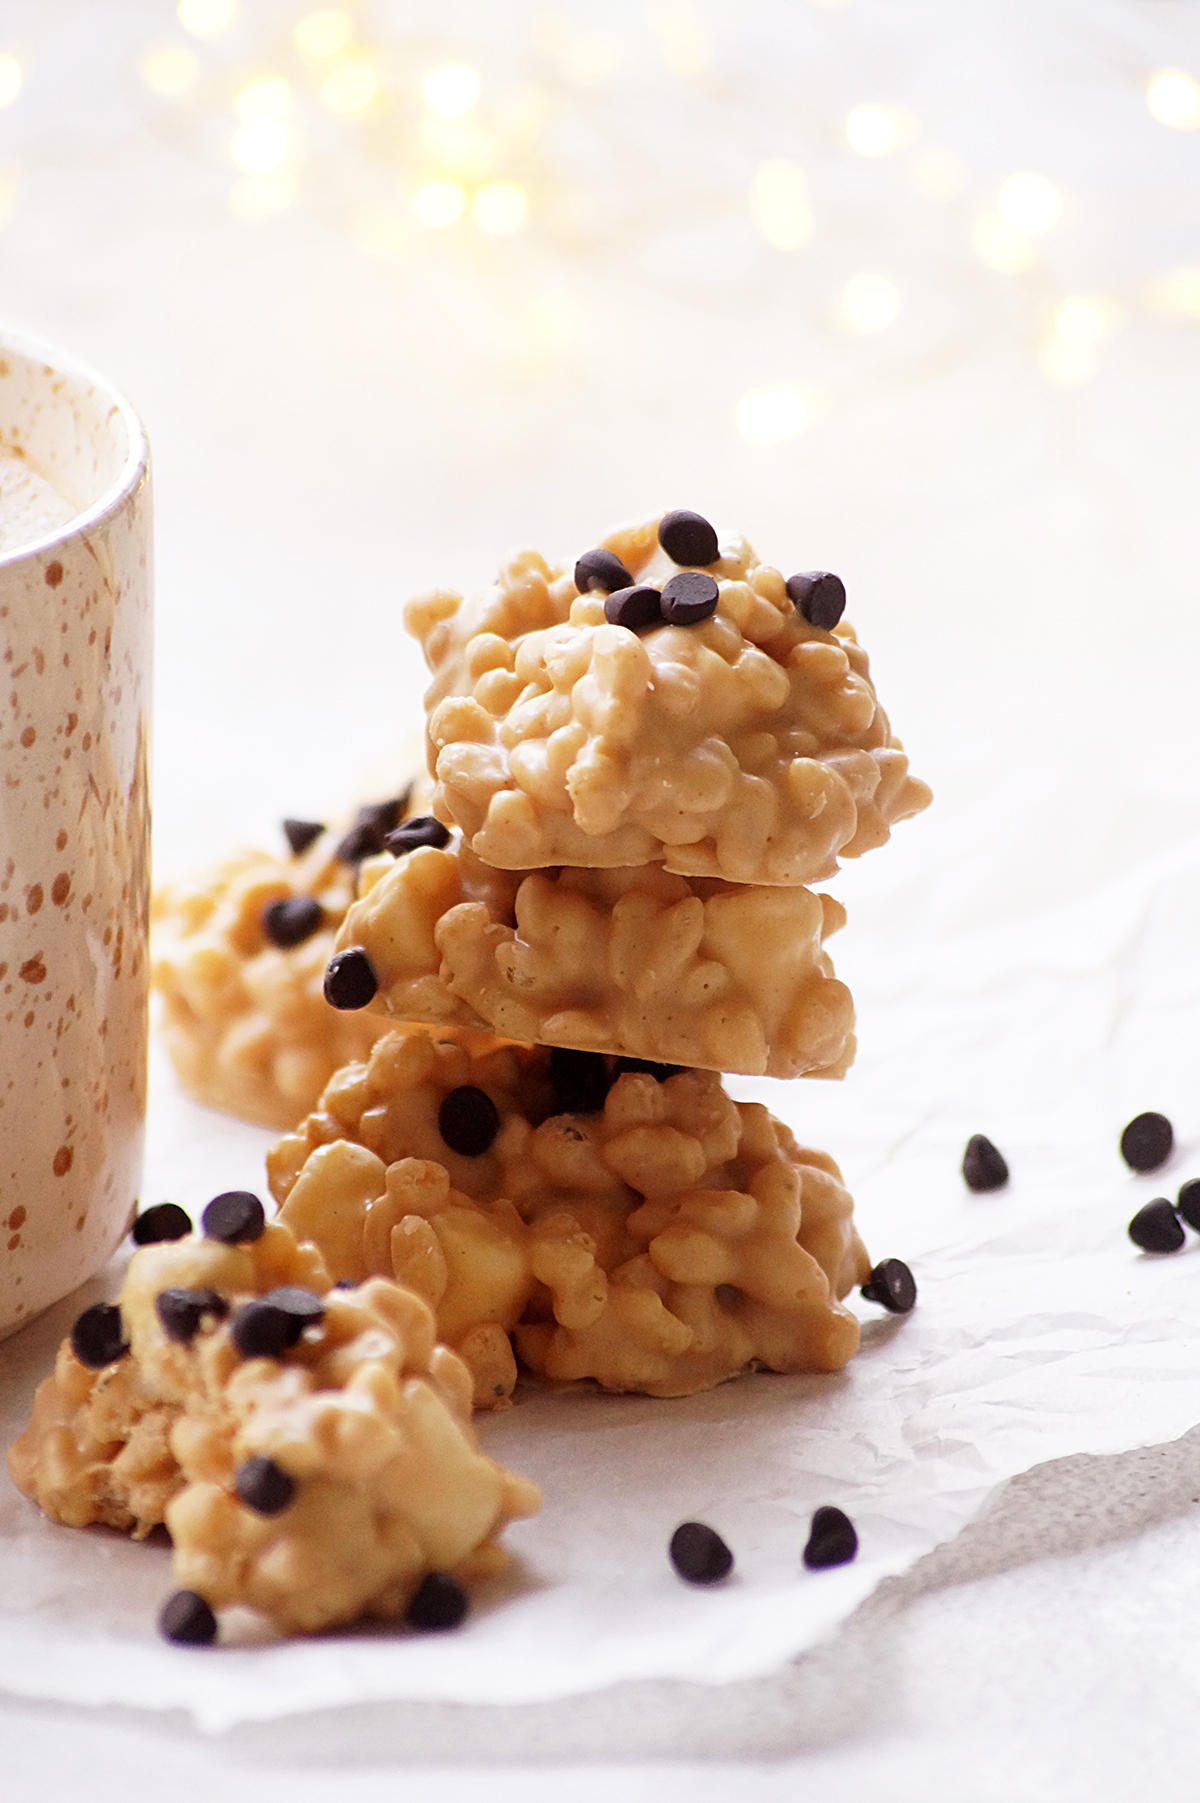
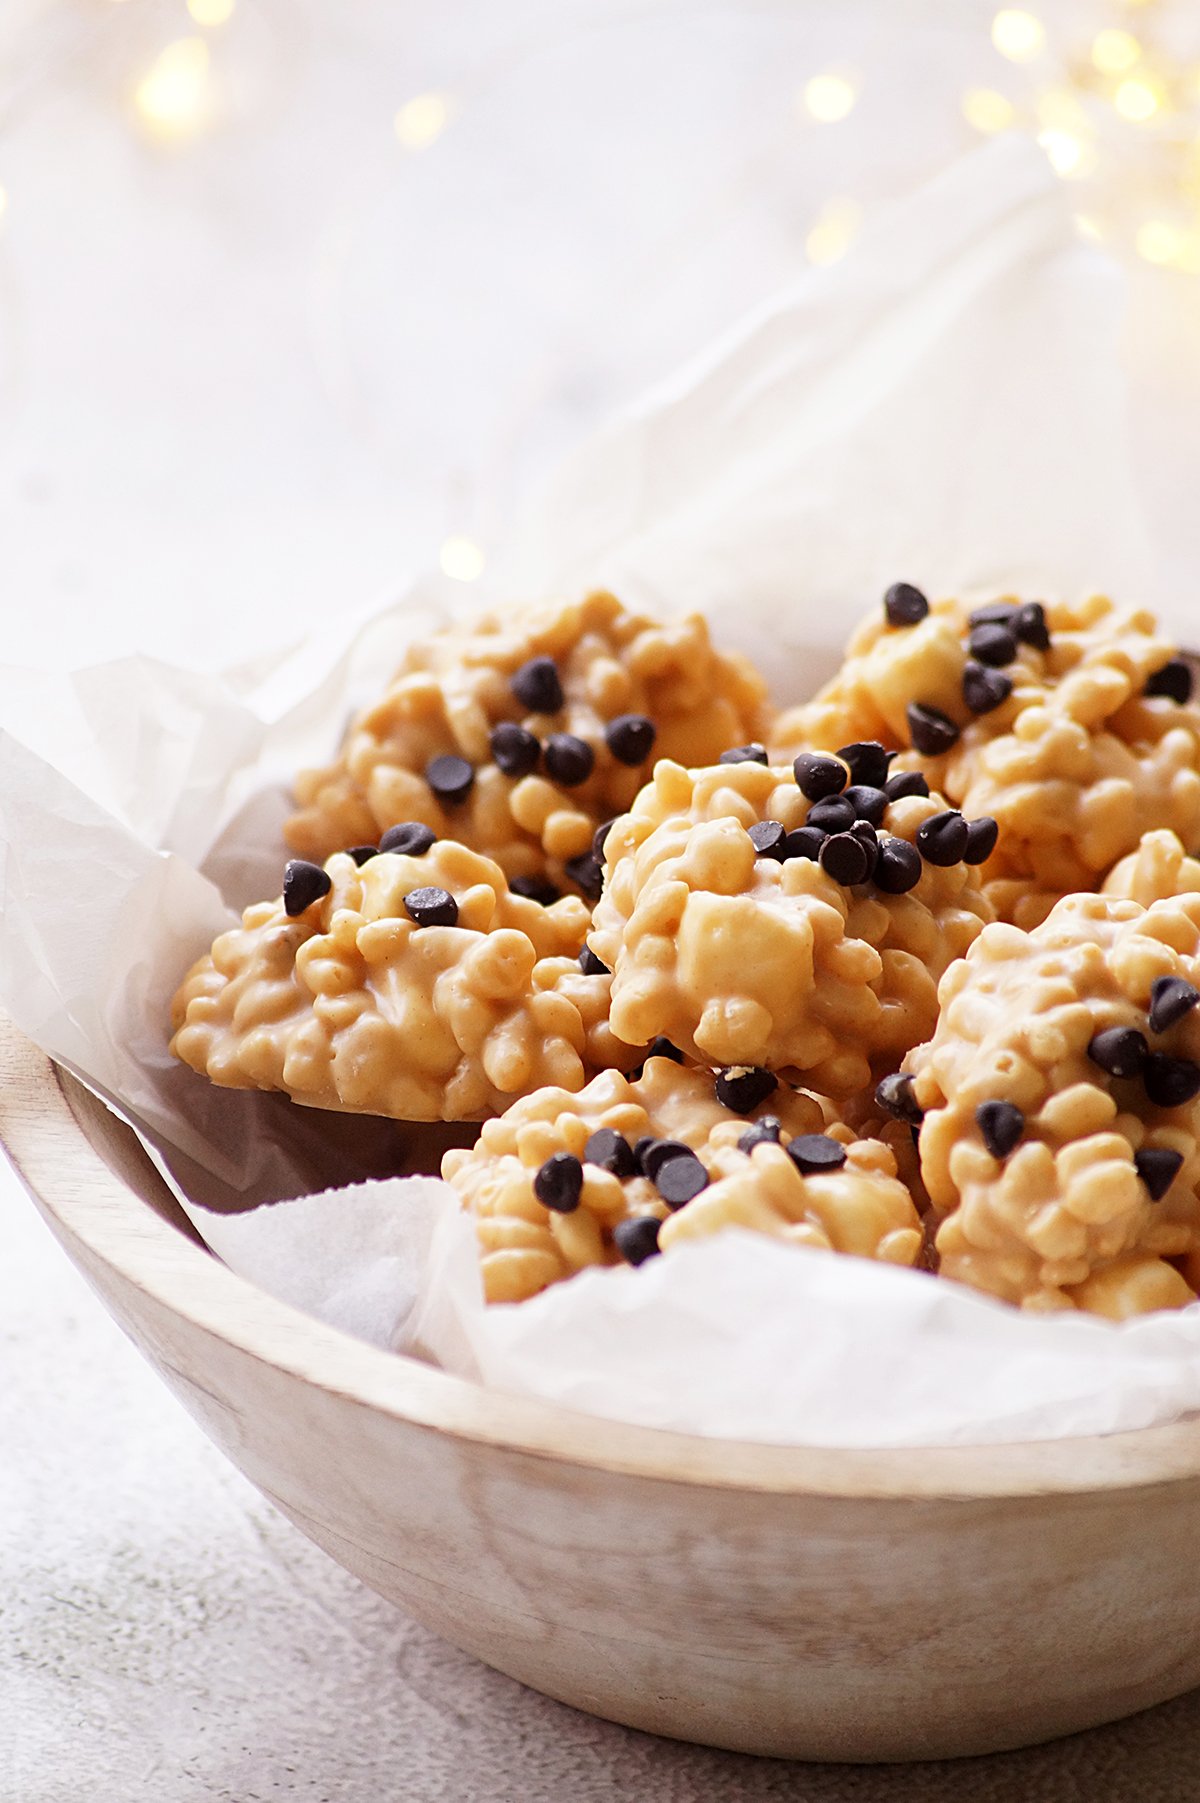
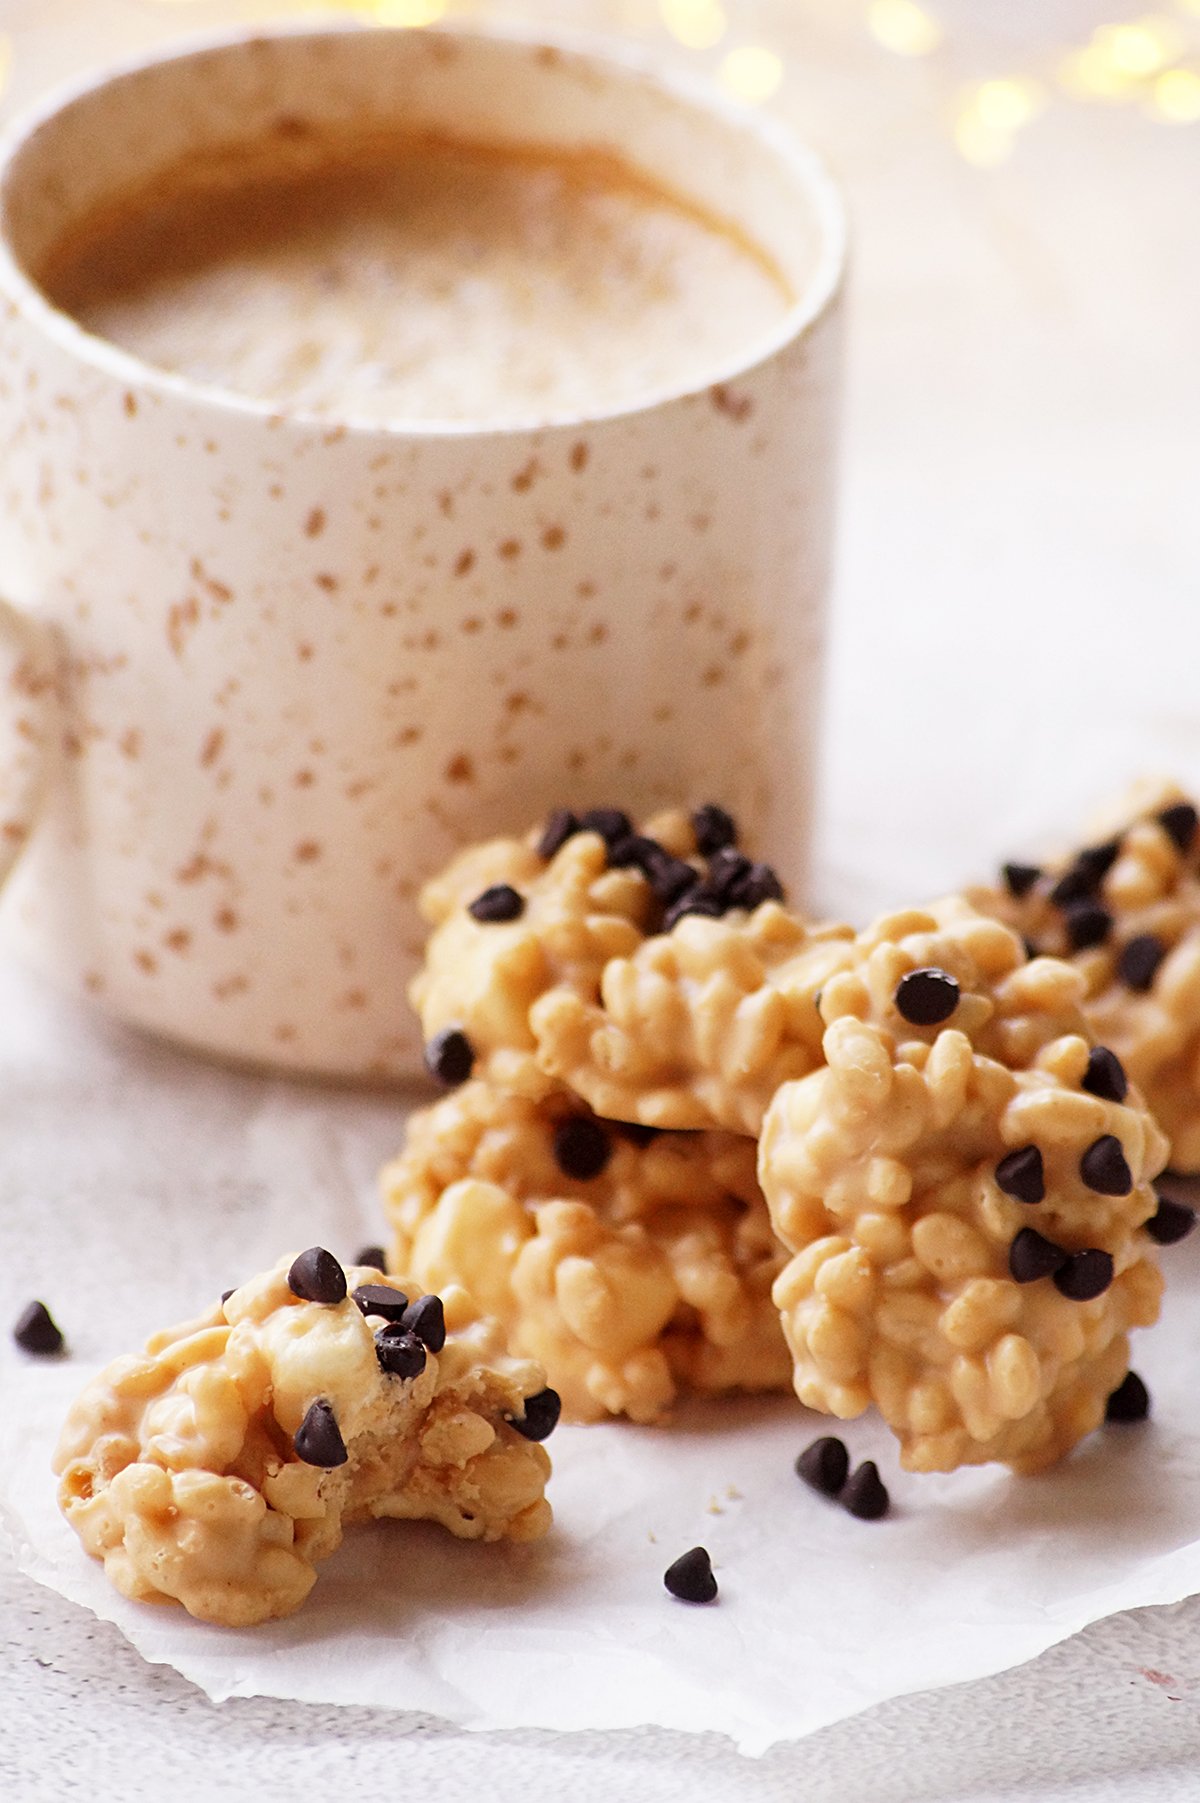
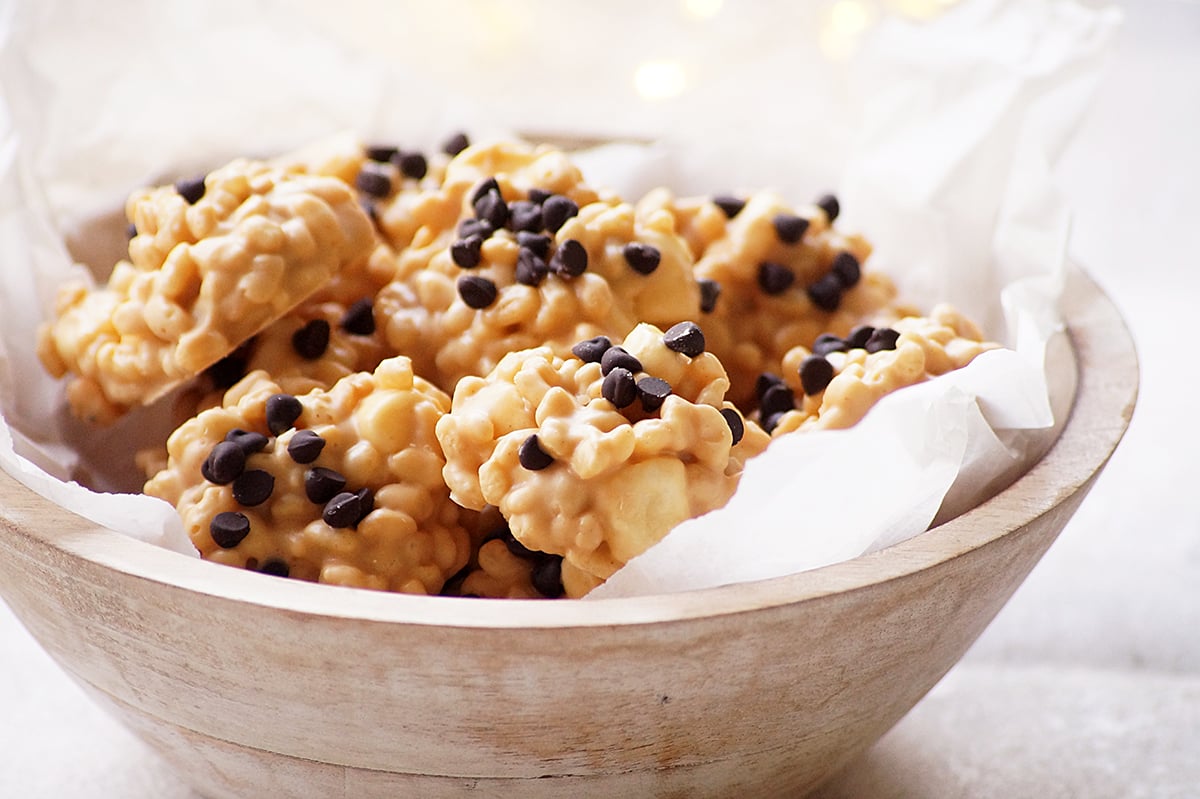
    No Bake Avalanche Cookies - These easy, crispy, crunchy and delicious no-bake treats made with just 4 ingredients. They are so good and perfect for Christmas!

    What are avalanche cookies?

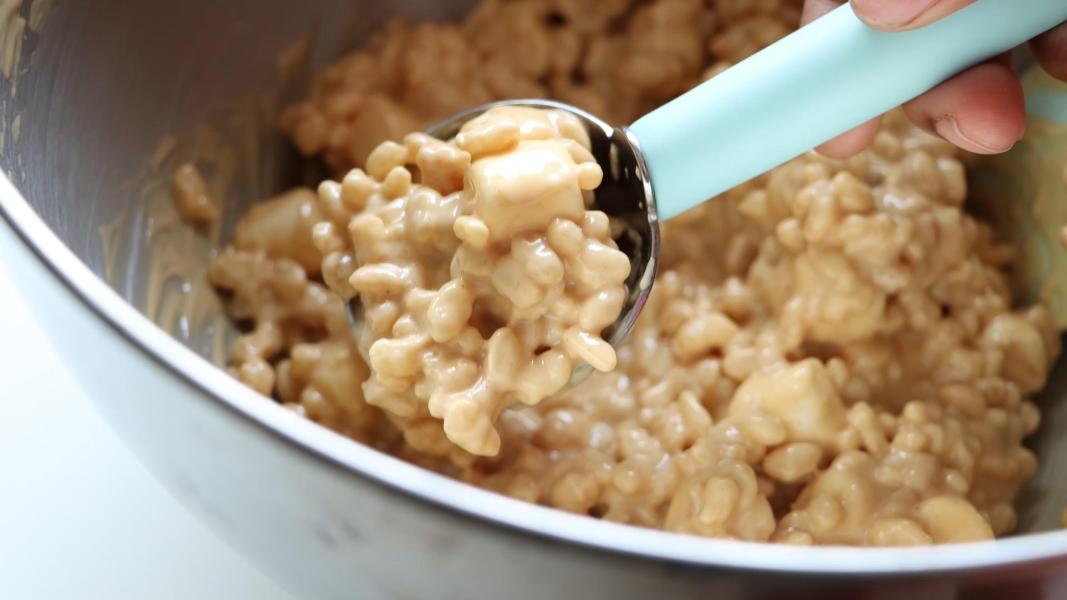
    Avalanche Cookies are a popular no-bake cookies made with crispy rice cereal, soft marshmallows, rich white chocolate and creamy peanut butter. These are a wonderful choice for those who want a quick and easy treat without the hassle of using an oven. The process of making avalanche cookies are super easy and can be done under 20 minutes - just mixing, shaping, and refrigerating.

    The name "Avalanche" comes from their appearance, resembling a snowy avalanche with all the delicious ingredients mixed together. These no-bake cookies are so delicious and perfect as a sweet snack.

    Why you'll love this recipe:

    Quick and simple to prepare, no oven needed.

    A fun recipe to involve children in the kitchen.

    Perfect for those who are looking for a last minute holiday treat!

    Makes a great edible gift!

    Ingredients & Substitutions:

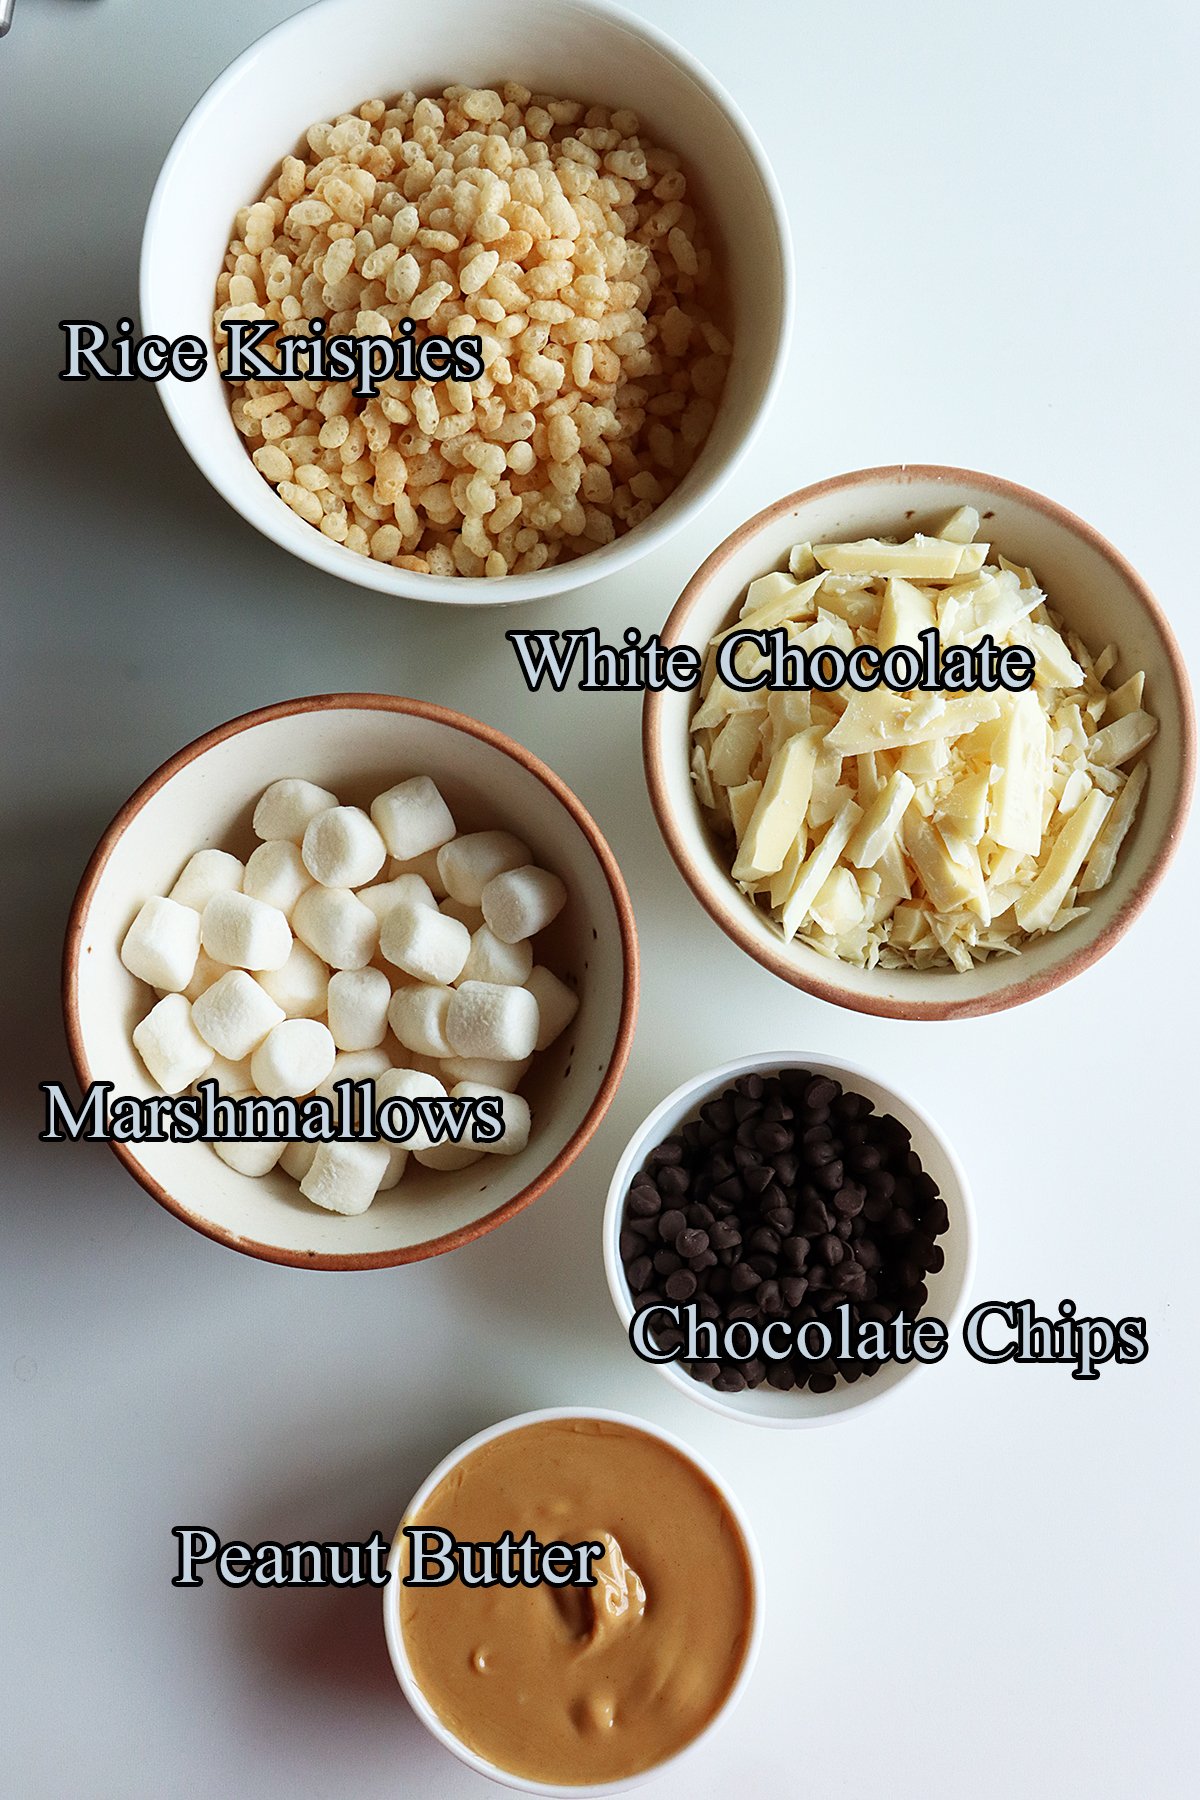
    Rice Krispies - Also known as rice cereal or rice bubbles. Adds a wonderful crunch.

    Marshmallows - Use a good quality mini marshmallows. I have used vegan marshmallows in this recipe.

    White Chocolate - I have used white chocolate bars in this recipe. You could also use almond bark or melting wafers. Use high quality chocolate for the best flavor and taste.

    Peanut Butter - Use a smooth and natural peanut butter for best results. You could also use crunchy peanut butter

    Mini Chocolate Chips - This is totally optional. You can swap them with sprinkles or m&ms.

    Serving suggestions:

    Serve alongside other dessert during special occasions.

    Serve as a sweet snack along with a cup of coffee or tea.

    Pack them in boxes for a thoughtful homemade gift or as party favors.

    Storage suggestions:

    Place them in an airtight container or ziplock bag and store them in the refrigerator for up to a week. Do not store them in a warm place, they will become sticky. It's best to store them in the fridge or freezer to maintain their shape and texture. Freeze them for up to 2-3 months. Allow them to thaw in the refrigerator before serving.

    Variations:

    Feel free to experiment with different types of chocolates like dark or milk chocolate for a different taste and flavor.

    Replace peanut butter with cashew butter or almond butter for another variation.

    You can also add chopped nuts for added crunch.

    Drizzle the cookies with melted chocolate, sprinkle with coconut flakes, colorful sprinkles or sparkling sugar, or decorate with Christmas m&ms for a playful touch.

    Instead of shaping the mixture into cookies, mold it into bars, balls, or even press it into a pan to create bars that can be cut into squares.

    Tips & Notes:

    When melting chocolate, use low heat or microwave in short bursts, stirring frequently to avoid burning.

    Gently combine the ingredients, ensuring an even distribution without crushing the cereal too much.

    Allow the cookies enough time to set in the refrigerator.

    Use good quality ingredients for the best results.

    Use a cookie scoop or tablespoon to make even sized cookies.

    Step by step instructions:

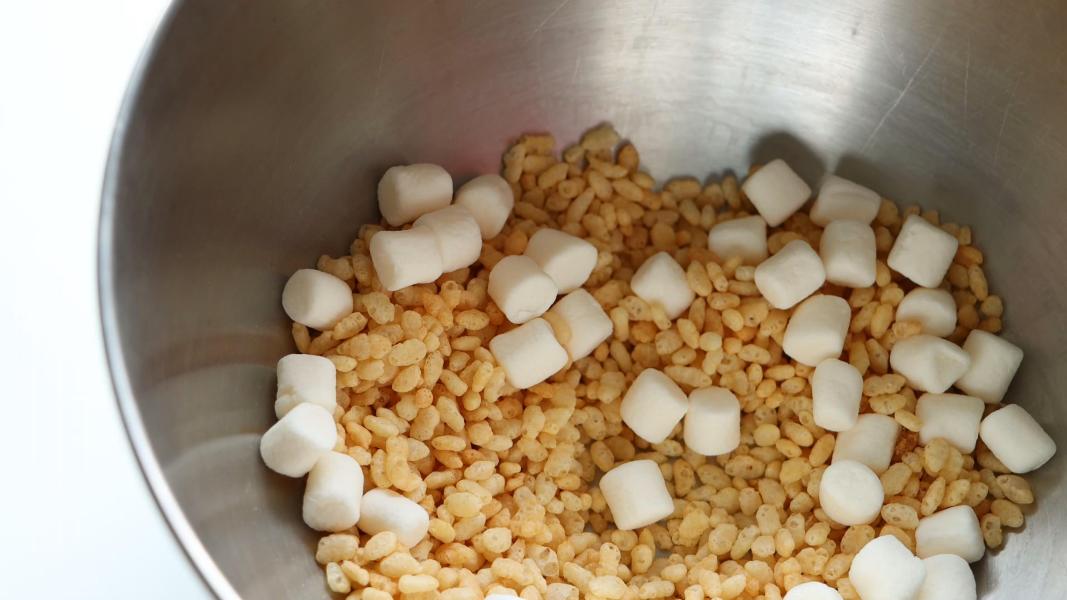
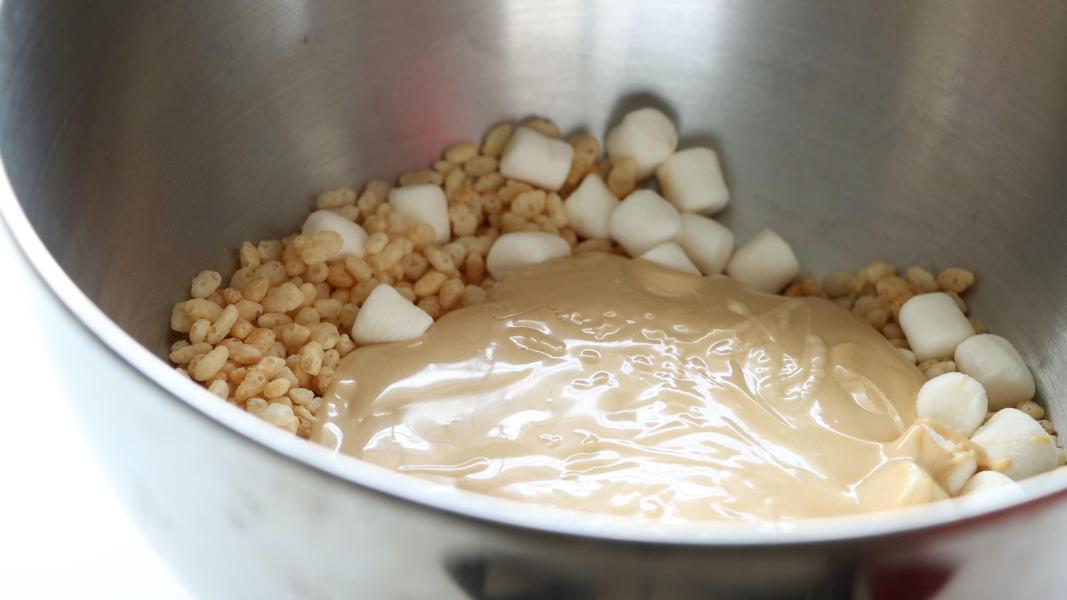
    Combine rice cereal and marshmallows in a mixing bowl and keep it aside.

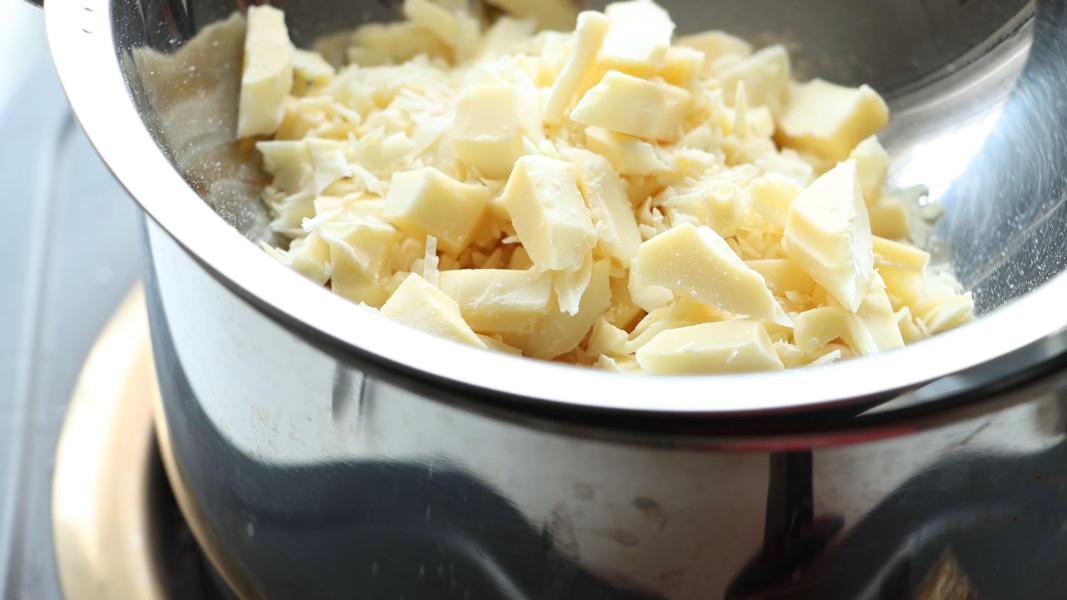
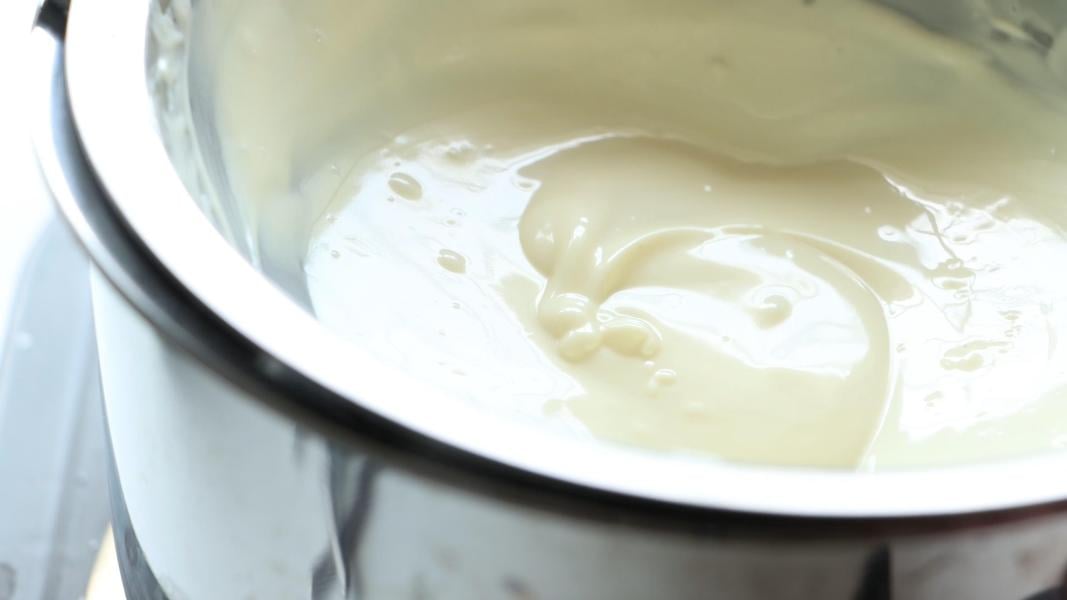
    Heat water in a pot and place a heat resistant bowl on top of it.

    Add measured chopped chocolate and keep stirring.

    Stir until the chocolate is smooth and melted. You can also melt it in the microwave.

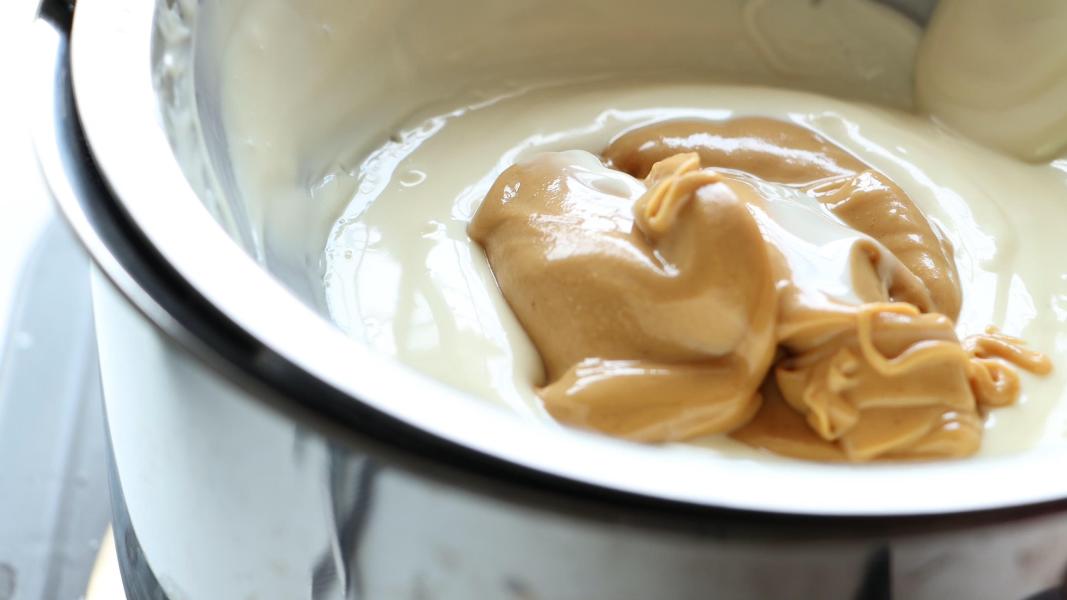
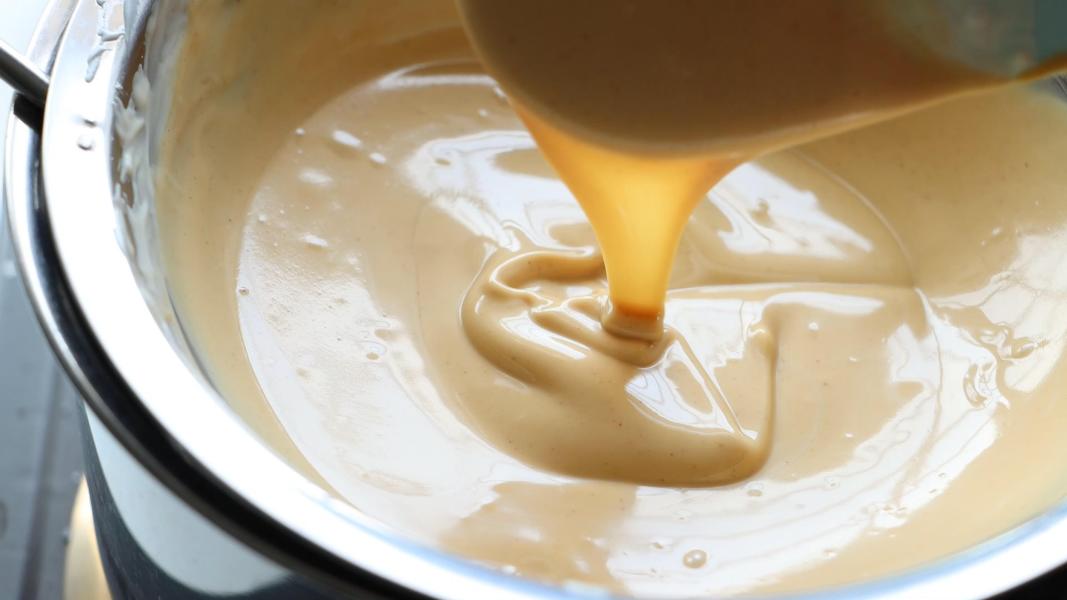
    Add peanut butter to the melted chocolate and mix well.

    Once it is well combined and smooth, remove it from the heat.

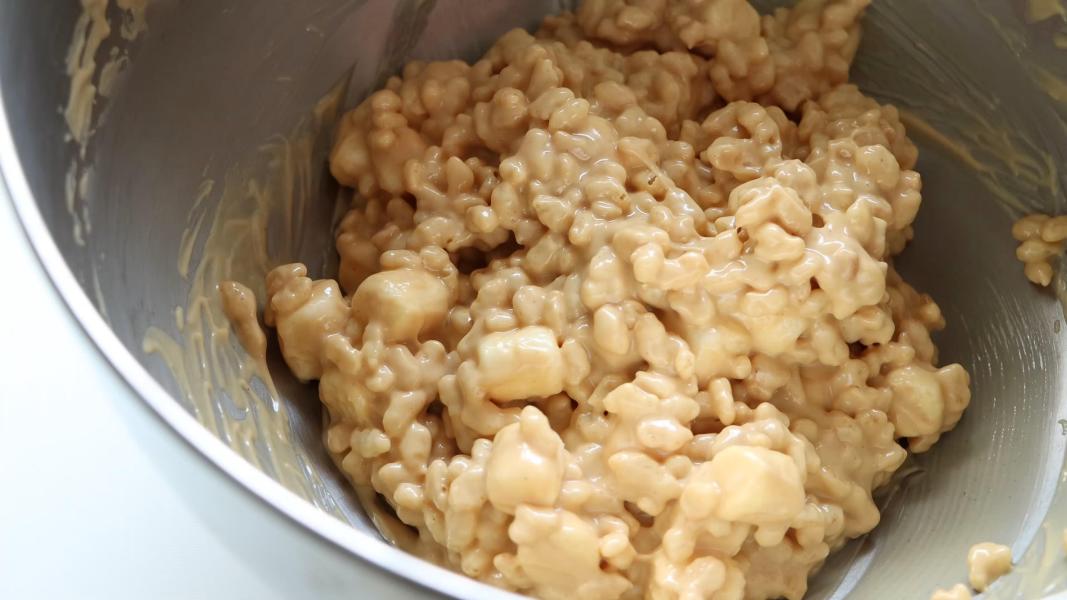
    Pour it over the rice krispies.

    Gently mix everything until well combined.

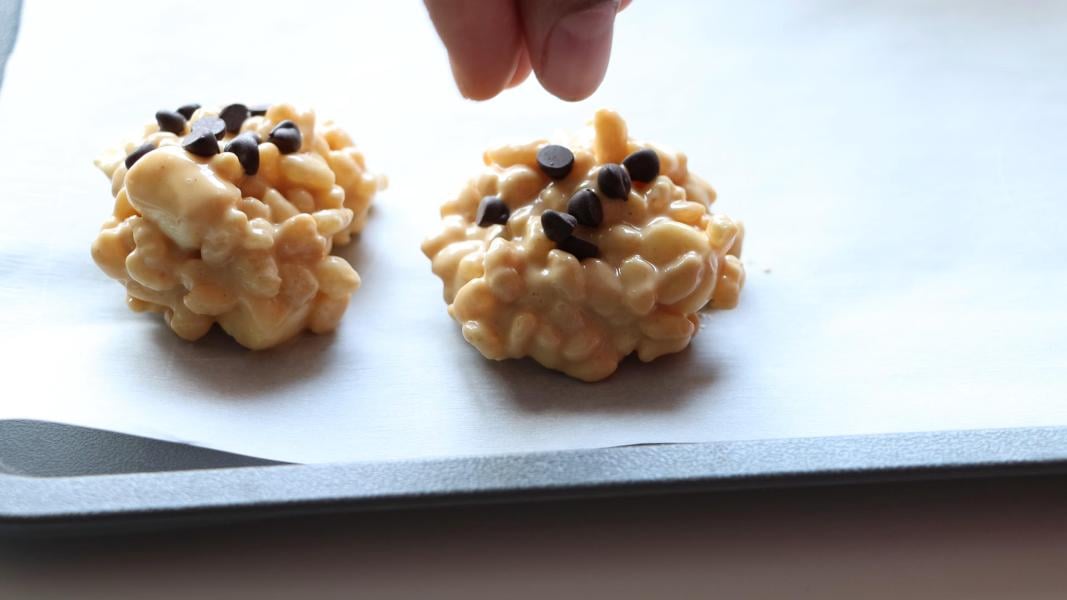
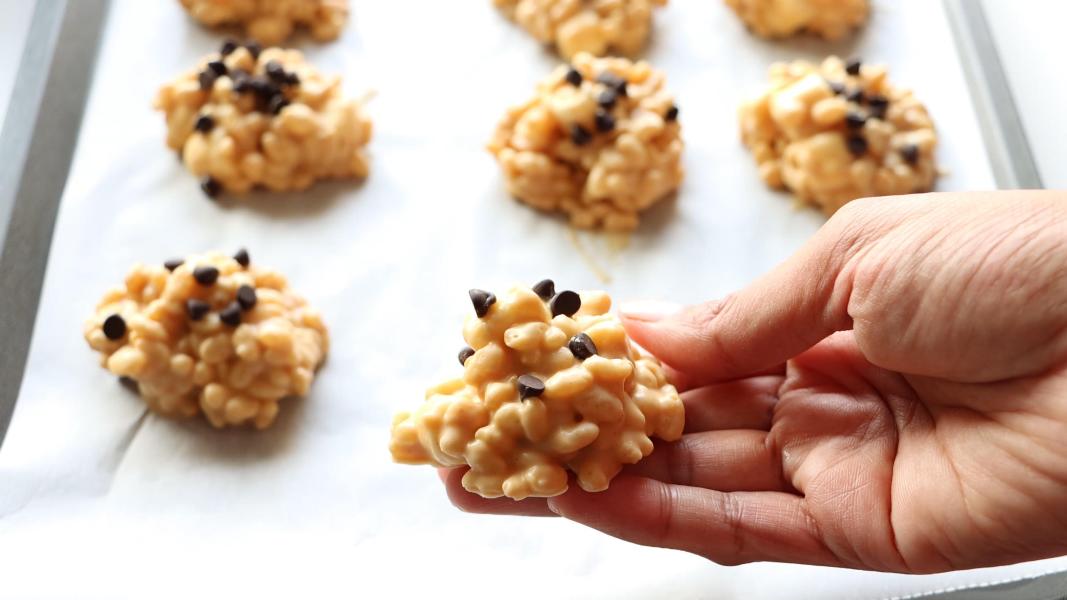
    Using a cookie scoop or a spoon, take a small portion of the chocolate-cereal mixture.

    Drop the mixture on to a parchment paper lined tray and decorate them with mini choco chips.

    Repeat the process with the remaining mixture, you will get 12 cookies.

    Let them chill in the refrigerator for 30 minutes or until the cookies are firm and set.

    Serve and enjoy!

    You might love these recipes:

    • Cranberry Orange Snowball Cookies
    • Easter Popcorn
    • White Chocolate Pistachio Butter
    • Peppermint Fudge
    • Thandai Bark
    • Swedish Christmas Chocolate
    • Peanut Butter Buckeyes
    Print Recipe
    No Bake Avalanche Cookies

    No Bake Avalanche Cookies - These easy, crispy, crunchy and delicious no-bake treats made with just 4 ingredients. They are so good and perfect for Christmas!
    Prep Time10 minutes mins
    Cook Time5 minutes mins
    Chilling Time30 minutes mins
    Total Time45 minutes mins
    Course: Dessert, Snack
    Cuisine: American, International
    Keyword: Avalanche Cookies, No Bake Avalanche Cookies
    Servings: 12 Cookies
    Calories: 120kcal
    Author: Hari Chandana Ponnaluri

    Ingredients

    • 1 Cup Rice Krispies
    • ½ Cup Mini Marshmallows
    • ¾ Cup White Chocolate
    • 2 Tablespoons Mini Chocolate Chips
    • 6 Tablespoons Peanut Butter

    Instructions

    • Combine rice cereal and marshmallows in a mixing bowl and keep it aside.
    • Heat water in a pot and place a heat resistant bowl on top of it.
    • Add measured chopped chocolate and keep stirring.
    • Stir until the chocolate is smooth and melted. You can also melt it in the microwave.
    • Add peanut butter to the melted chocolate and mix well.
    • Once it is well combined and smooth, remove it from the heat.
    • Pour it over the rice krispies. Gently mix everything until well combined.
    • Using a cookie scoop or a spoon, take a small portion of the chocolate-cereal mixture.
    • Drop the mixture on to a parchment paper lined tray and decorate them with mini choco chips.
    • Let them chill in the refrigerator for 30 minutes or until the cookies are firm and set.
    • Serve and enjoy!

    Video

    Nutrition

    Calories: 120kcal | Carbohydrates: 12g | Protein: 3g | Fat: 7g | Saturated Fat: 3g | Polyunsaturated Fat: 1g | Monounsaturated Fat: 3g | Trans Fat: 0.01g | Cholesterol: 2mg | Sodium: 57mg | Potassium: 72mg | Fiber: 0.5g | Sugar: 9g | Vitamin A: 163IU | Vitamin C: 2mg | Calcium: 23mg | Iron: 1mg

    Cranberry Orange Snowball Cookies

    December 16, 2023

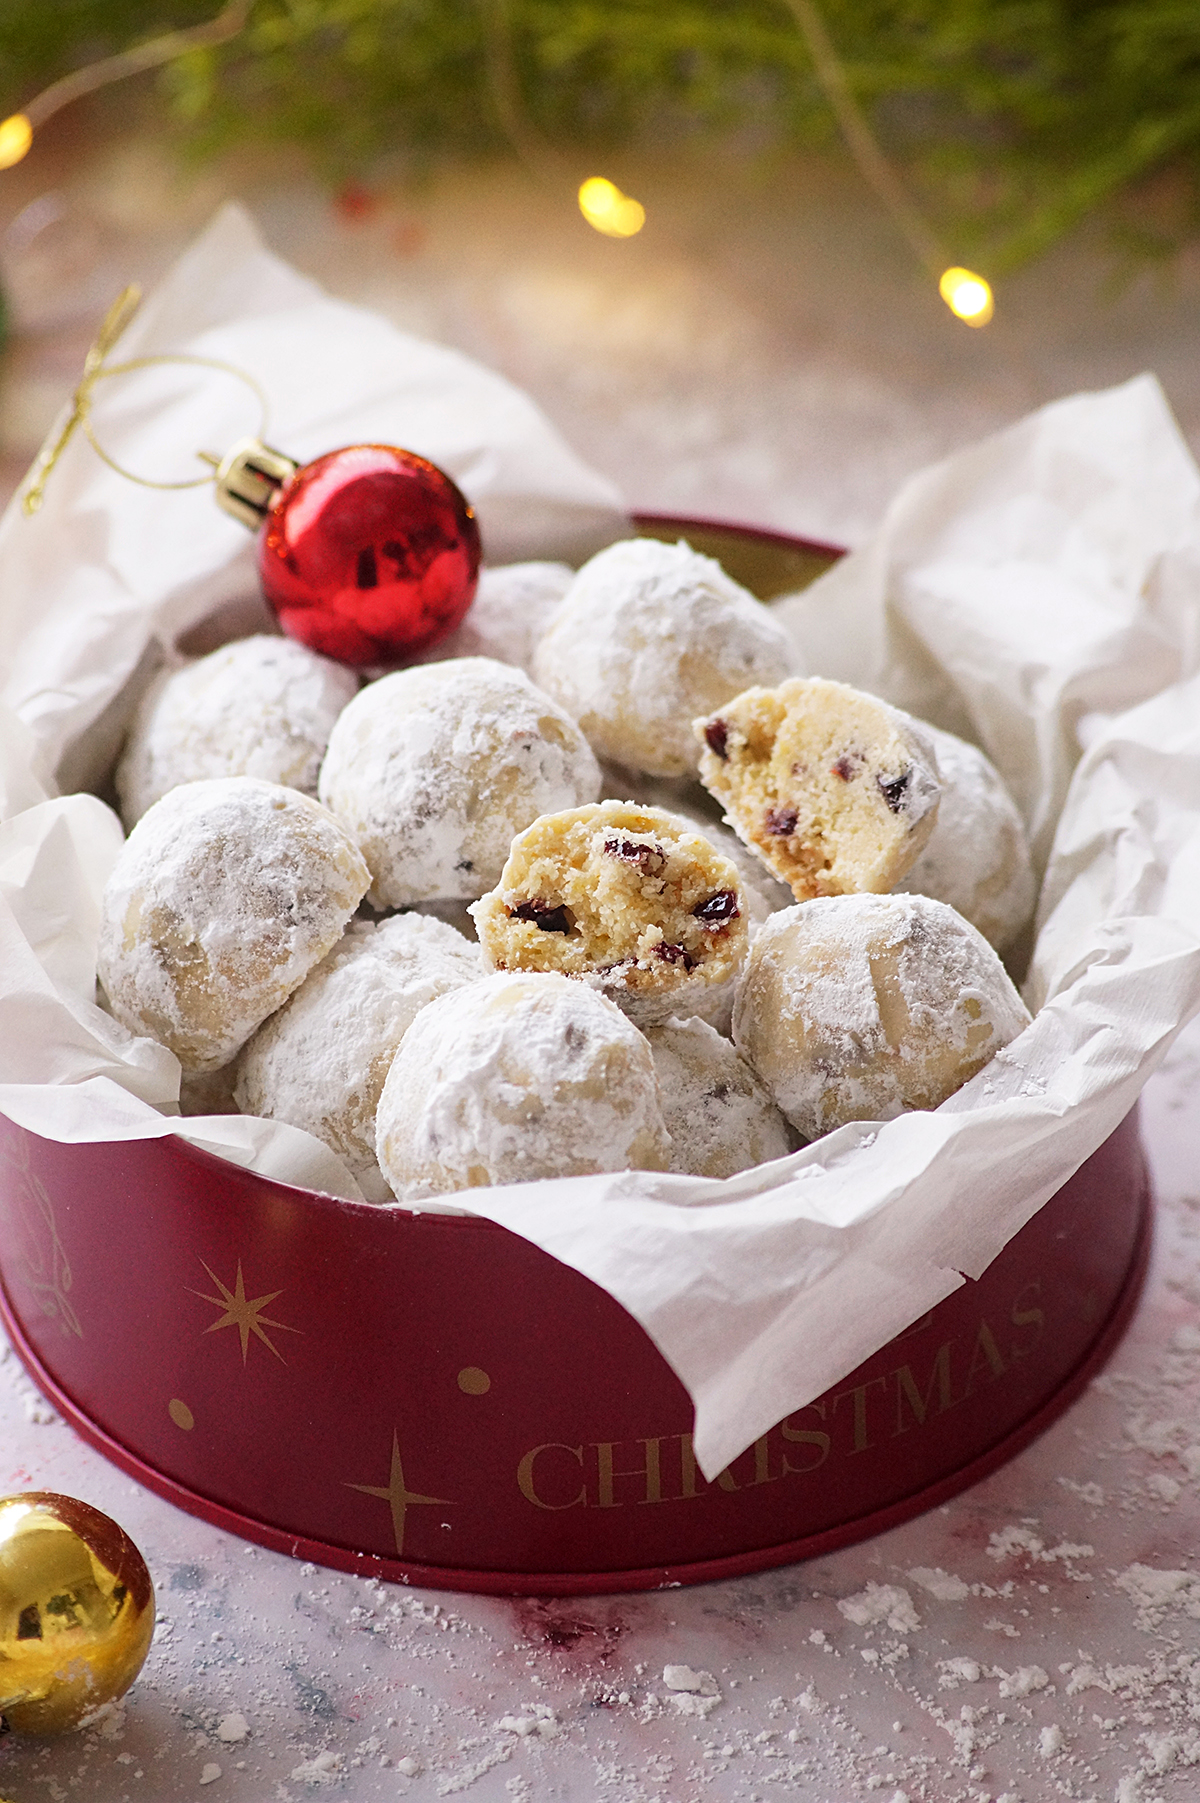
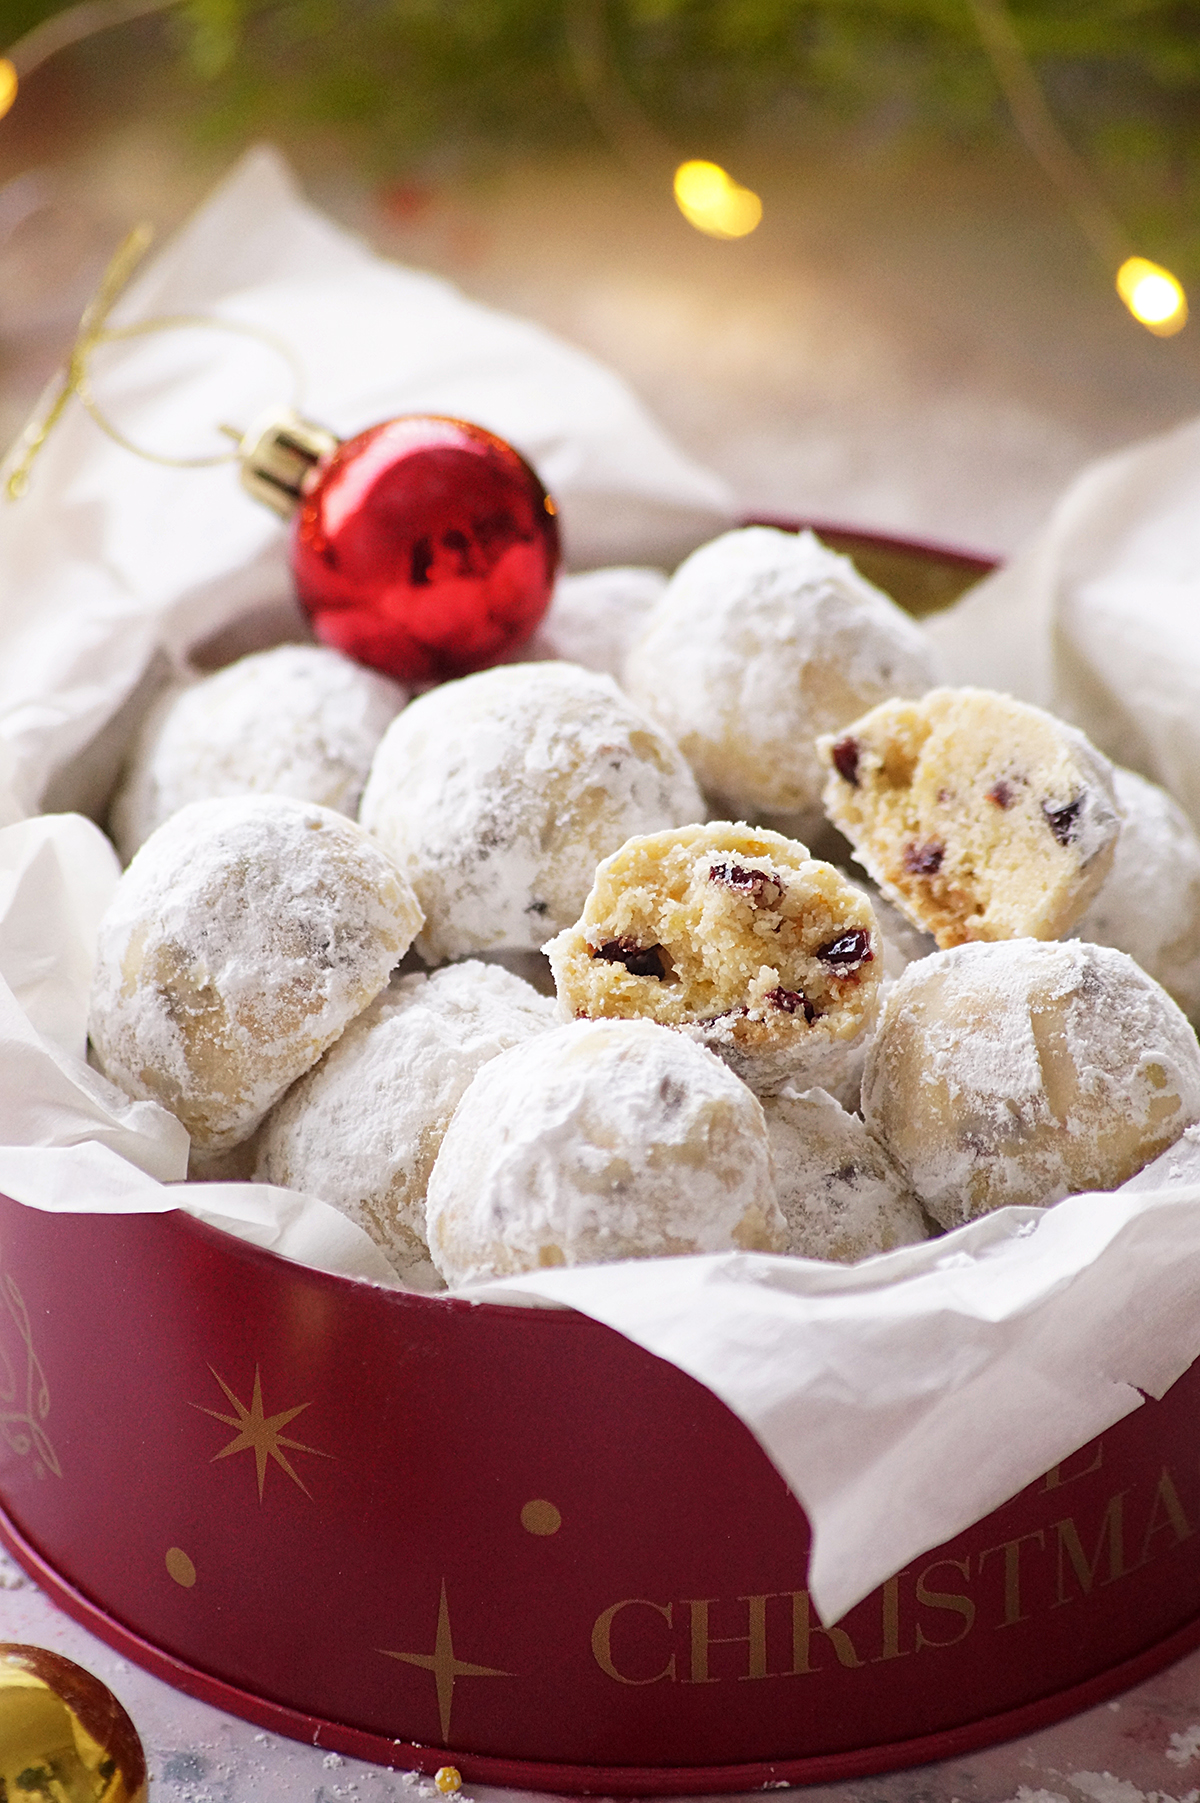
    Cranberry Orange Snowball Cookies - Super easy, irresistible, delicate and buttery cookies bursting with the tang of cranberries and the bright zest of orange. A perfect Christmas cookie recipe that everyone will love!

    Looking for more holiday cookies? Try my Pecan Snowball Cookies, Candy Cane Blossoms, and Polish Kolaczki Cookies.

    What are cranberry orange snowballs?

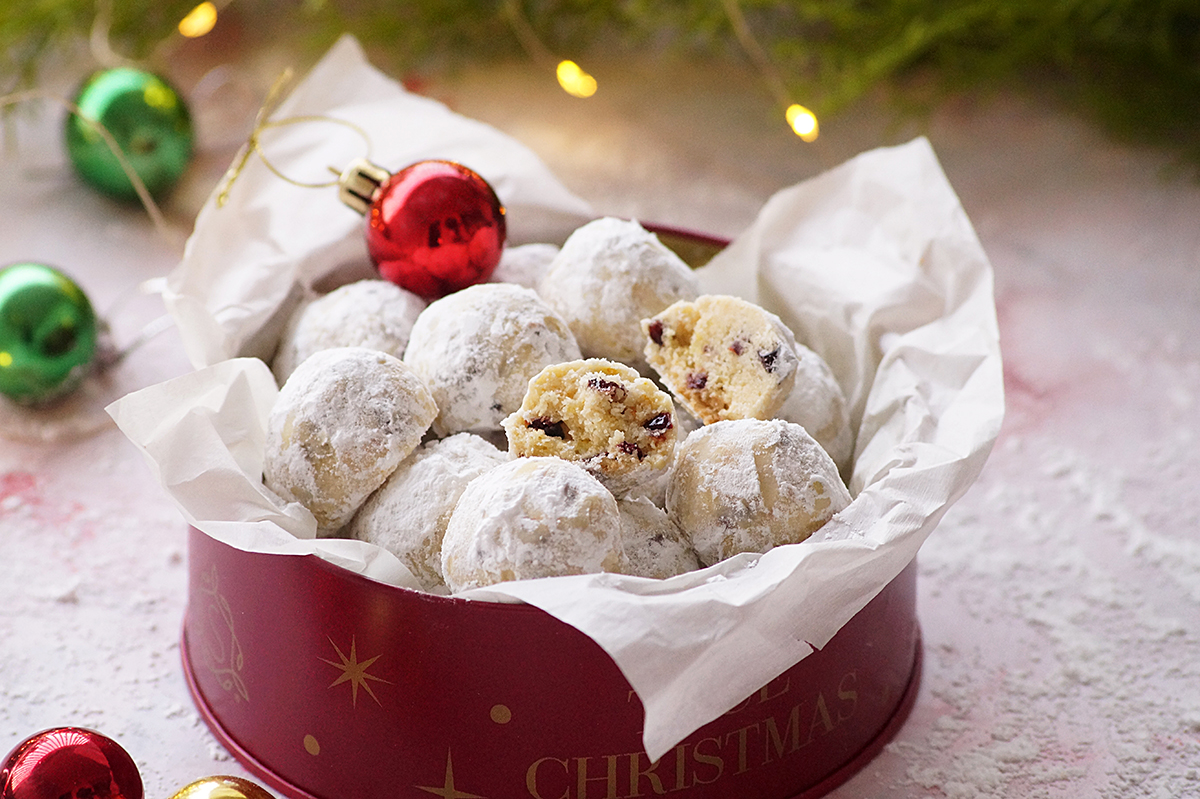
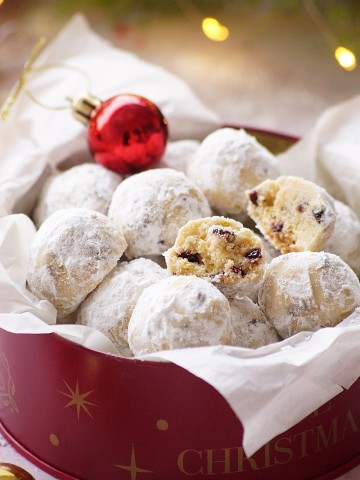
    Cranberry orange snowballs are delightful bite-sized cookies made with a classic buttery snowball cookie base. These are filled with dried cranberries and flavored with freshly grated orange zest.

    Snowballs, also known as Russian tea cakes or Mexican wedding cookies, are small, buttery cookies that are rolled in powdered sugar, which gives them a white, snow-like appearance. They are often made with pecans or walnuts and have a crumbly, melt-in-your-mouth texture.

    These cookies have a wonderful blend of sweet, tart, bright citrusy flavors which makes them perfect for the holidays.

    Why you'll love this recipe:

    Super easy and fun to make!

    Super simple and doesn't require complex techniques or ingredients.

    Perfect for special occasions, especially during the holiday season!

    It's a freezer friendly cookie recipe!

    Makes a wonderful edible gift!

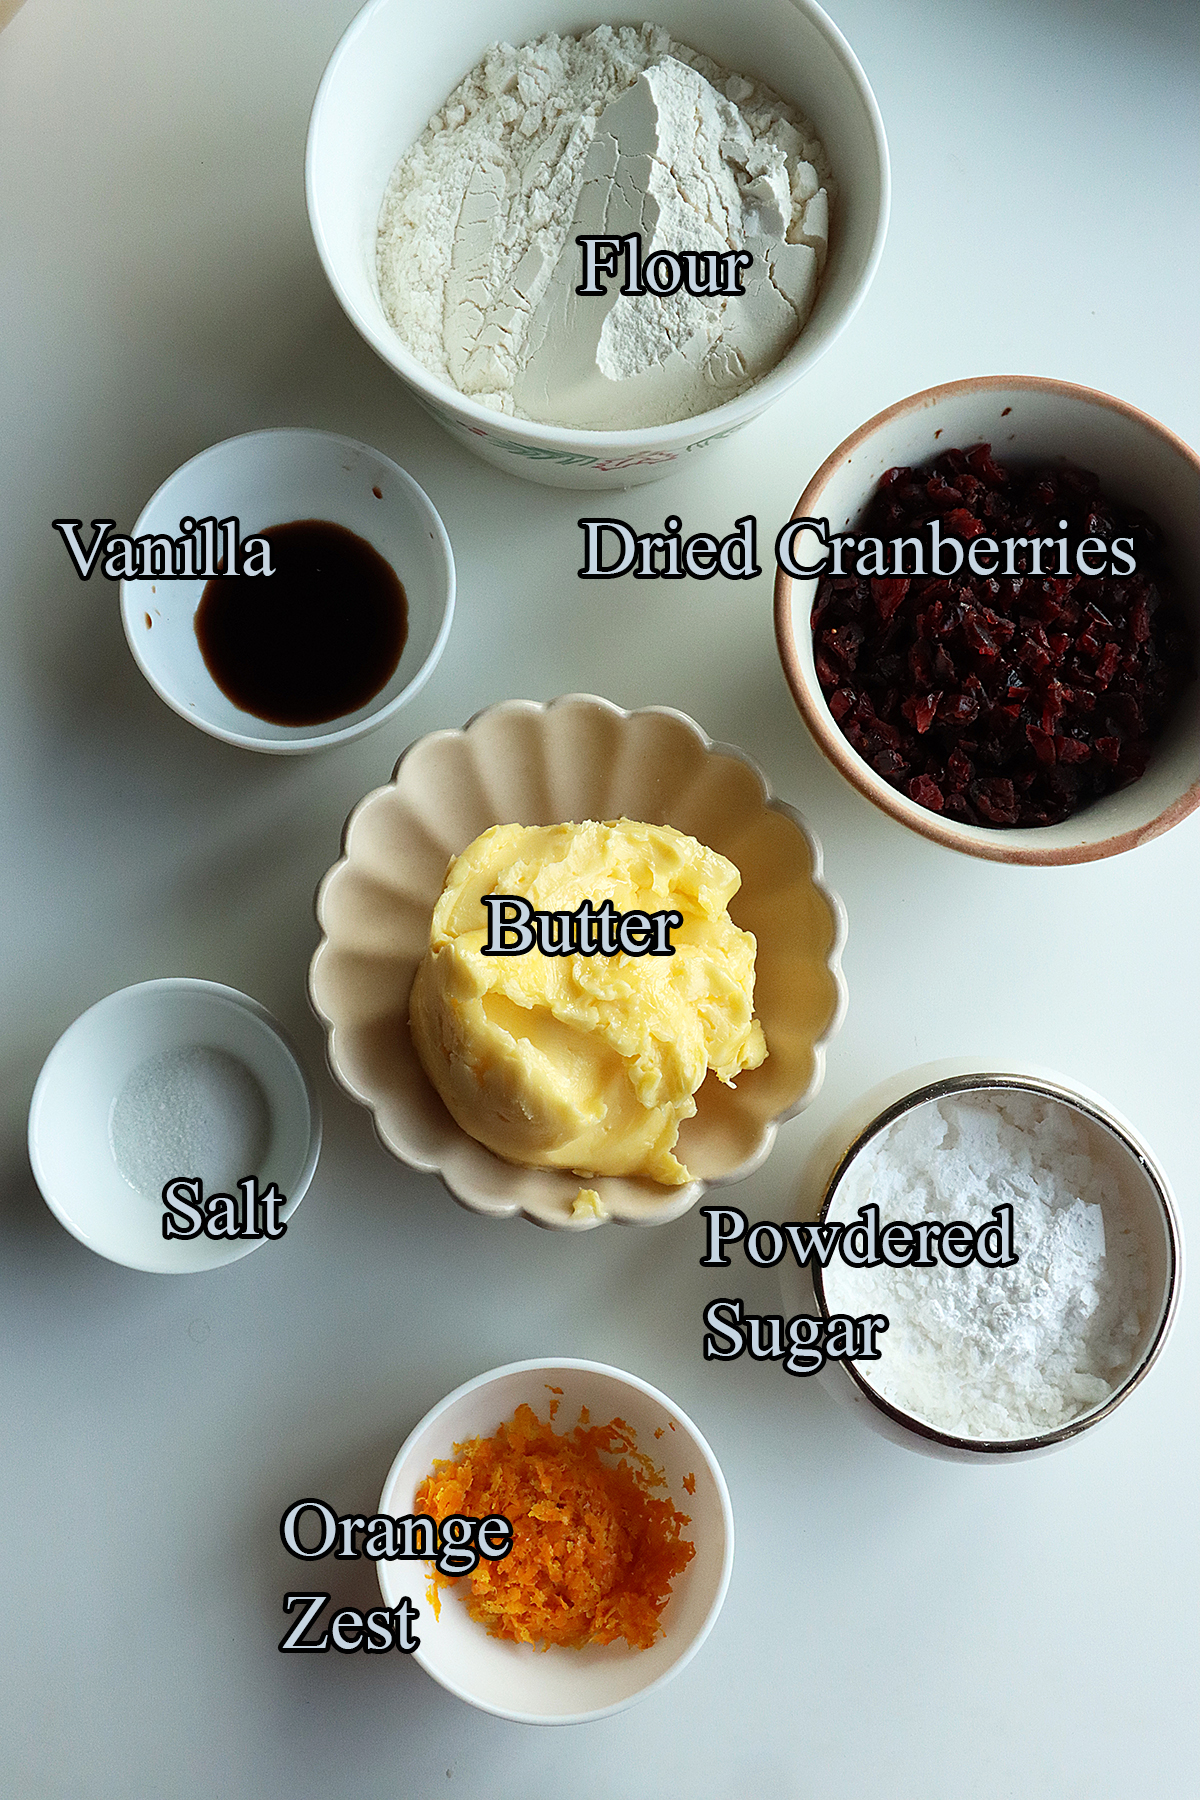
    Ingredients & Substitutions:

    Flour - Plain flour or all purpose flour is the base of the cookie dough. You could also use whole wheat flour but the texture of the baked cookie will be vary.

    Butter -  have used softened unsalted butter in this recipe. It can be replaced with margarine but the flavor and texture might vary slightly. Make sure the butter is at room temperature before making the dough. Replace it with vegan butter if you are looking for a plant-based cookie recipe.

    Dried Cranberries - I do not recommend fresh cranberries for this recipe. Try to use high quality dried cranberries for the best results. Chop them before adding to the dough. Dried cherries, blueberries, or raisins could replace cranberries if desired.

    Orange Zest - Do not skip adding orange zest, it adds a wonderful citrus flavor to the cookies. You can substitute it with lemon zest though.

    Powdered Sugar - Also known as confectioners sugar. If you don't have it, grind sugar into a smooth powder.

    Vanilla - Adds a wonderful flavor to the cookies. You can also use other extracts like almond or lemon for a different flavor.

    Salt - Skip it if you are using salted butter.

    Storage suggestions:

    Once the cookies are completely cooked, store them in an airtight container at room temperature. They'll stay fresh for about a week at room temperature.

    You can also freeze them for up to 2 months. Once the cookies are baked and rolled in powdered sugar, arrange them in an airtight container and separate the layers with parchment papers and store in the freezer. Let them thaw at room temperature and roll them in some powdered sugar again before serving.

    You can also store the unbacked cookie dough in the refrigerator for couple of days. If you want to store it for longer period of time, wrap the dough tightly in plastic wrap, then place it in a freezer safe bag or airtight container. Thaw in the refrigerator before using. It can be stored in the freezer for up to 3 months.

    Serving suggestions:

    Serve them with hot beverages like tea, coffee or hot cocoa. The contrast between the sweet-tart cookies and a warm drink is delicious.

    Add these cookies to your holiday cookie platter.

    These can be a perfect edible gift during the festive season.

    Tips & Notes:

    Use a good quality butter and other ingredients for the best flavor.

    When zesting the orange, be cautious to only get the outer, orange colored part of the peel, avoiding the bitter white pith underneath.

    Feel free to experiment with difference citrus flavors like lemon or lime instead of orange.

    Use a cookie scoop or tablespoon to portion out the dough, ensuring uniform sizes for even baking.

    DO NOT skip chilling the dough. Refrigerating the shaped dough balls for an hour before baking can prevent excessive spreading while baking.

    Be careful not to overbake them.

    You will need to roll the baked ones in powdered sugar while they are still warm.

    If you want to make super white snowball cookies, roll them twice in powdered sugar.

    Feel free to customize by adding nuts or spices to suit your taste.

    Step by step instructions:

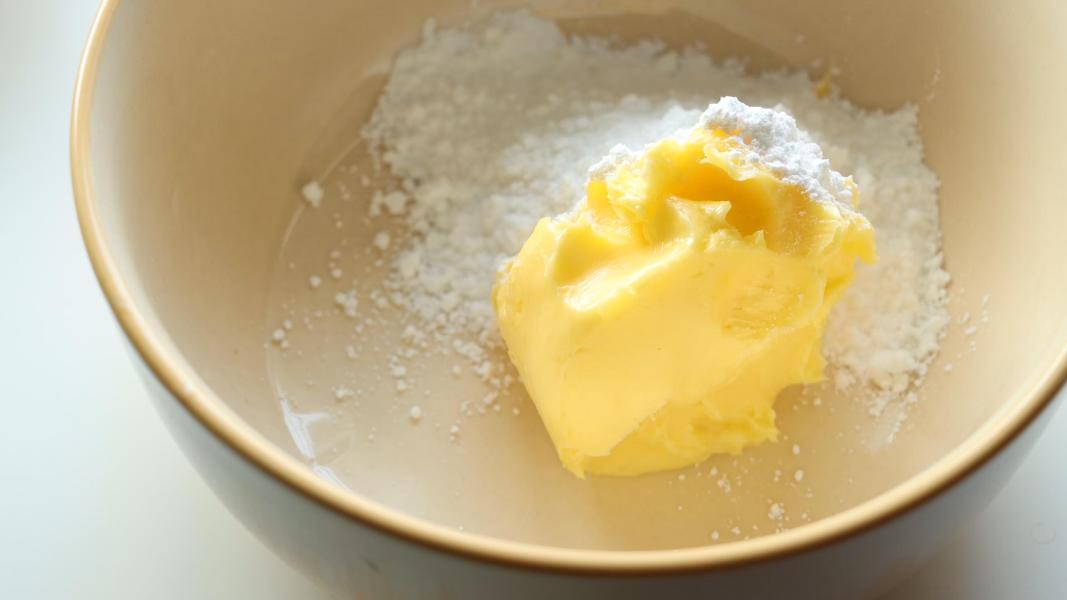
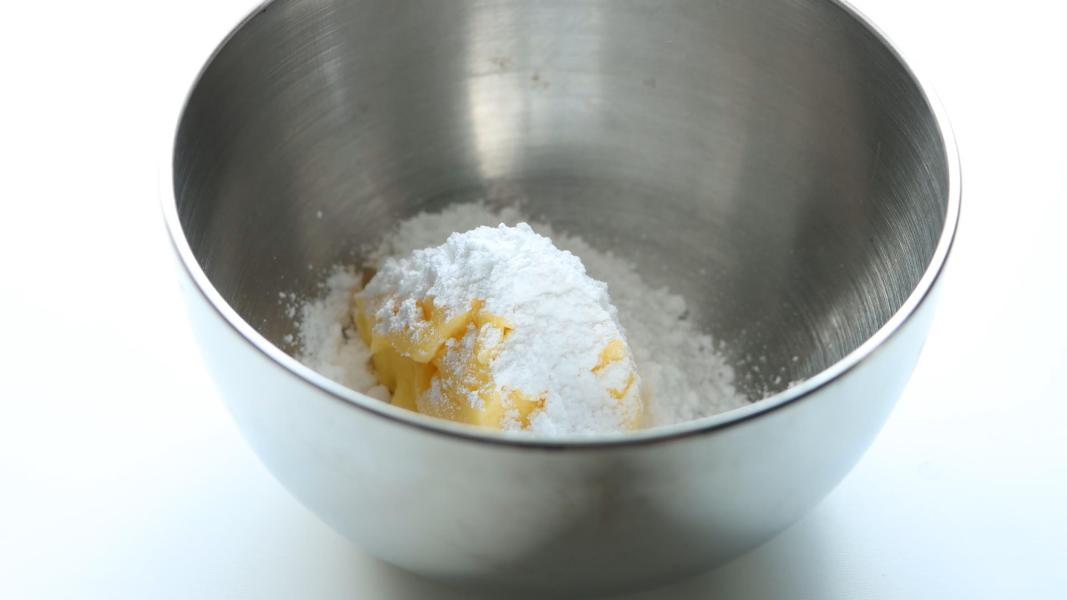
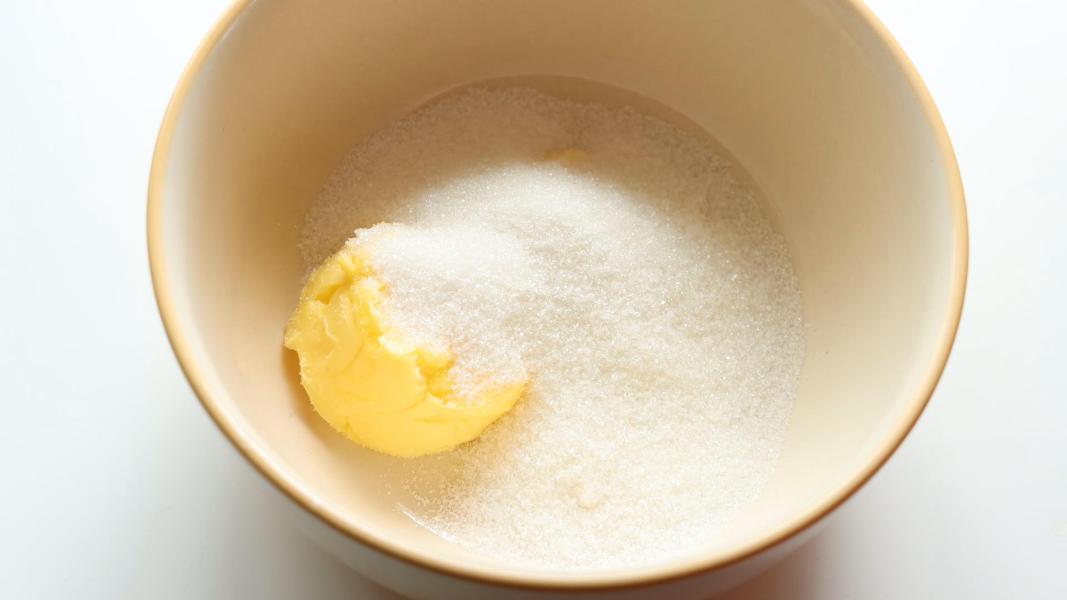
    Combine softened butter and powdered sugar in a mixing bowl. Mix until light and creamy.

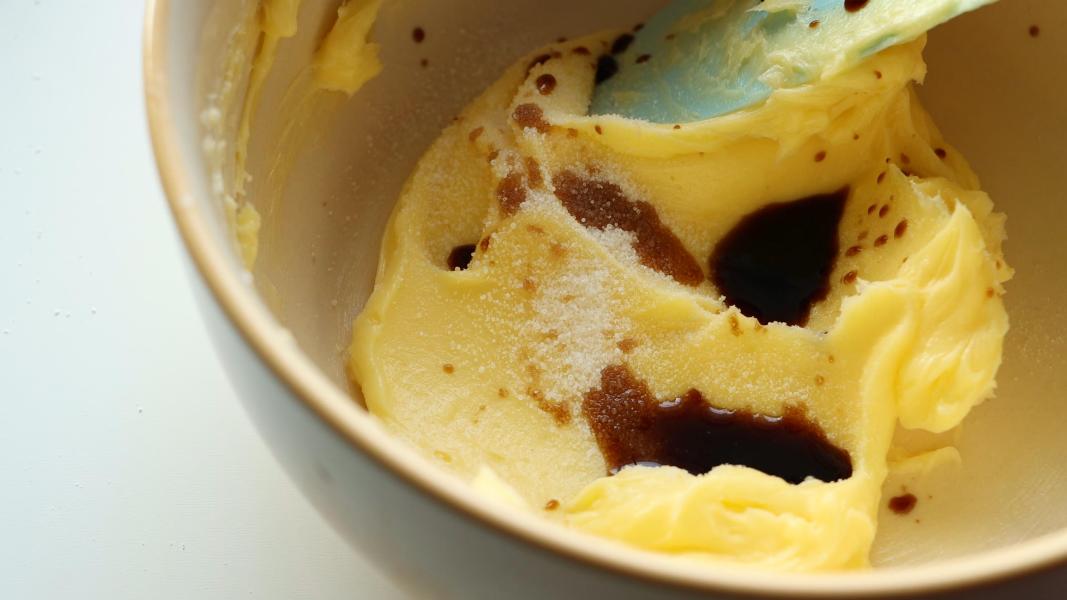
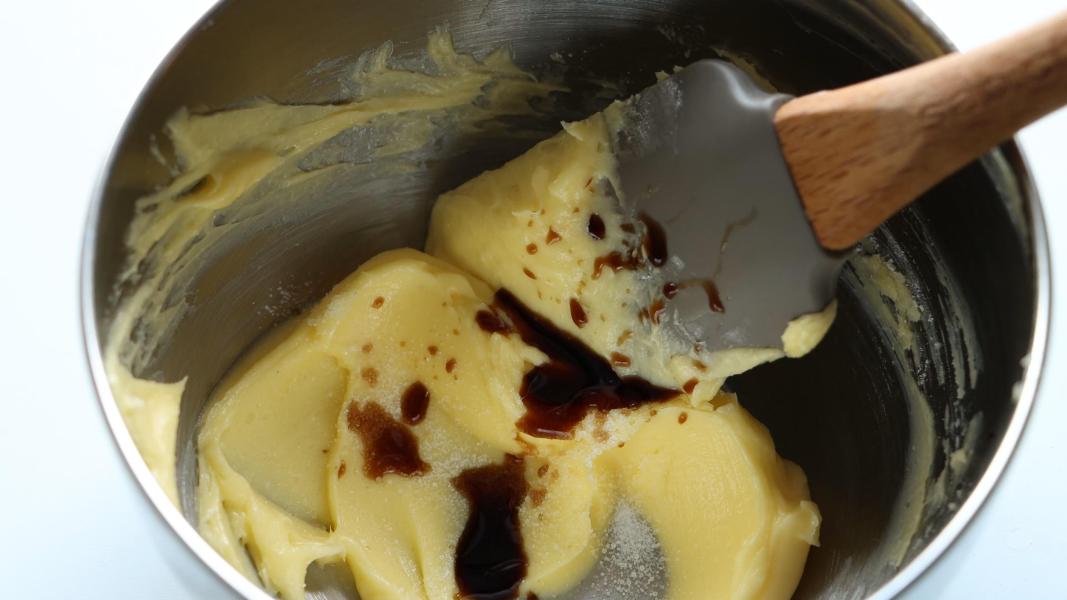
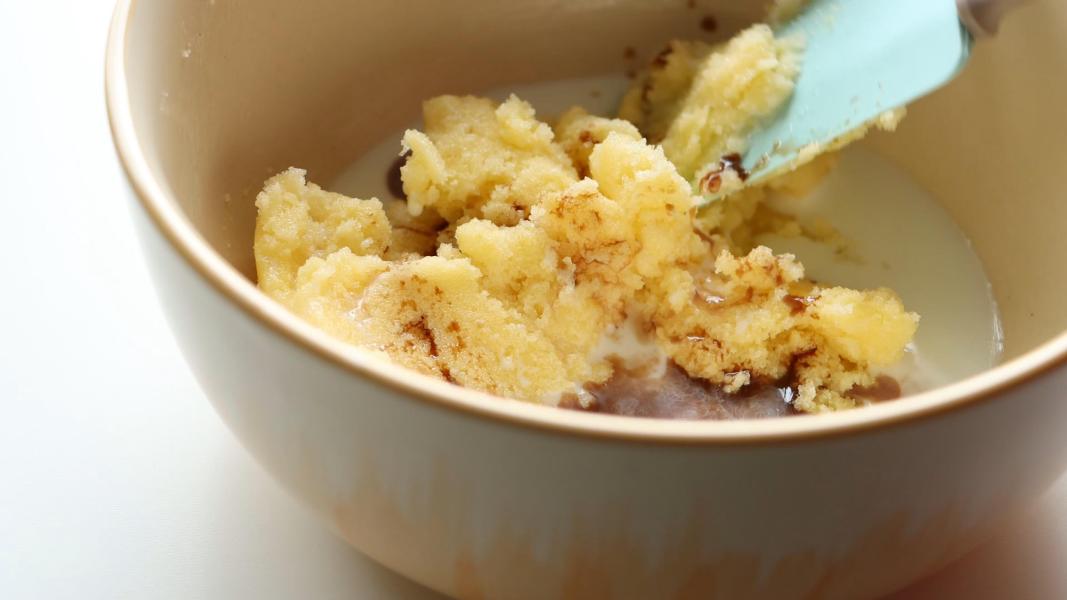
    Add vanilla extract and salt. Mix well.

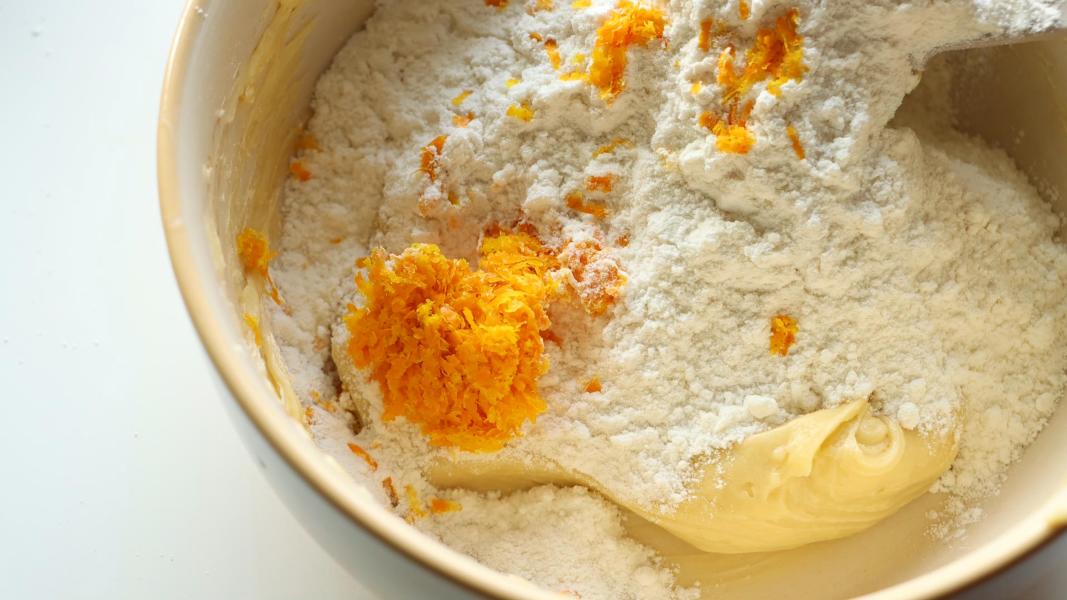
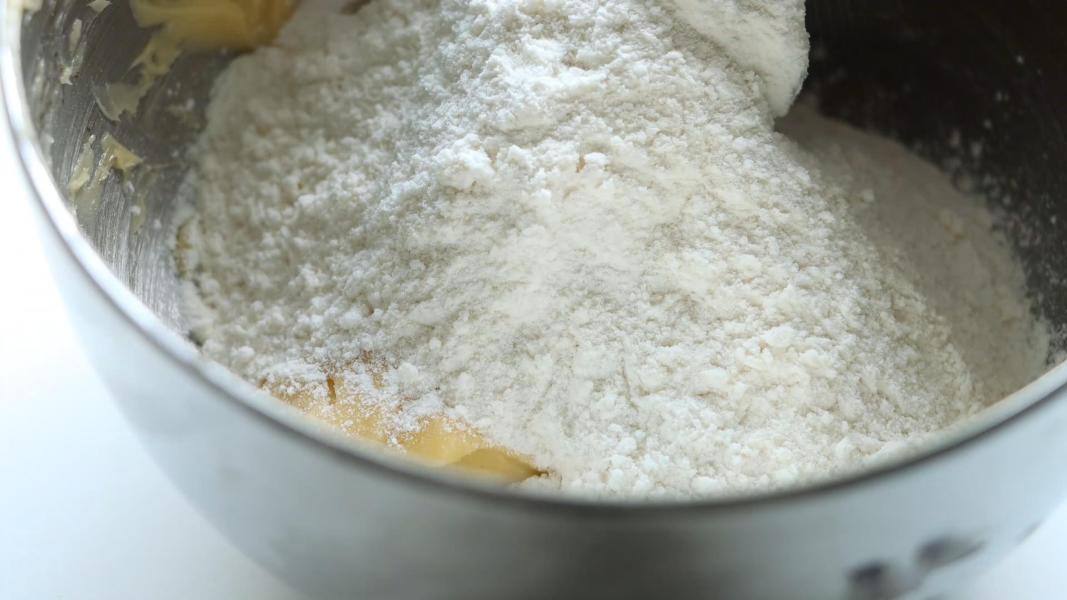
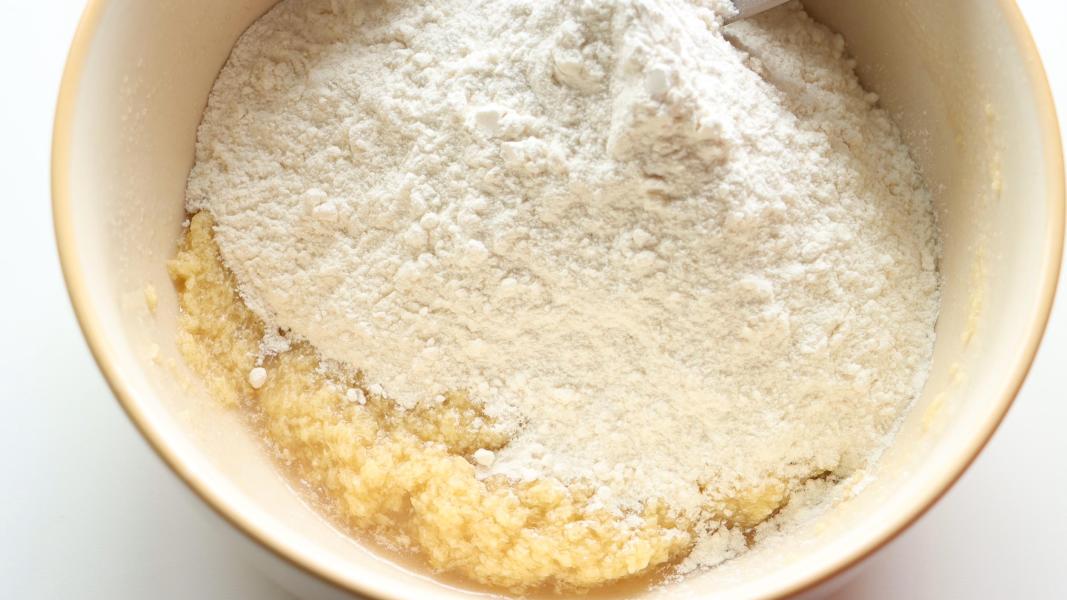
    Add flour and orange zest to the butter-sugar mixture and gently mix everything.

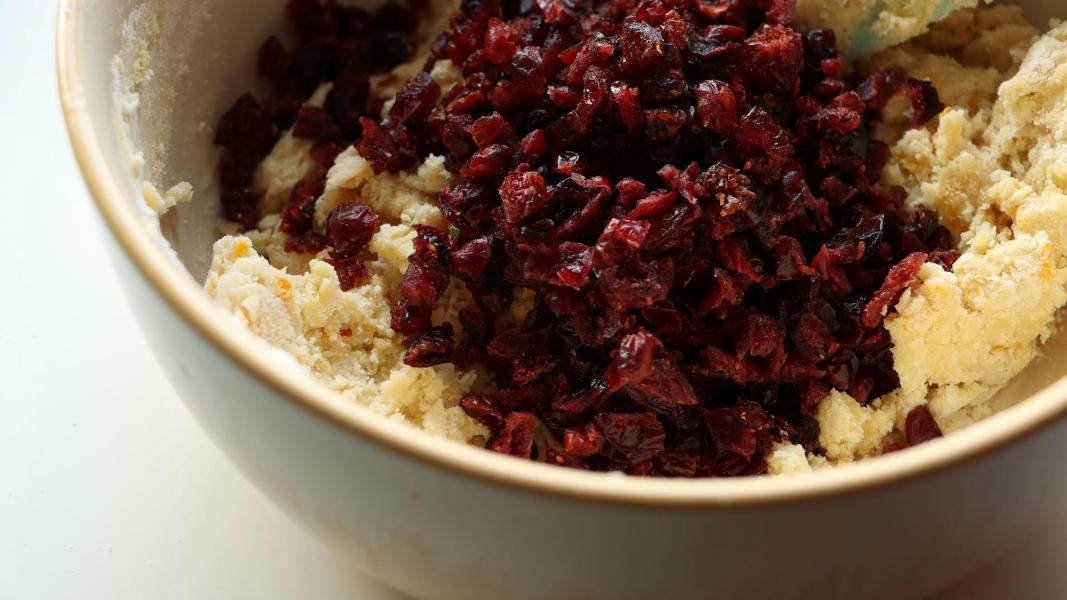
    Add chopped cranberries to the butter-flour mixture.

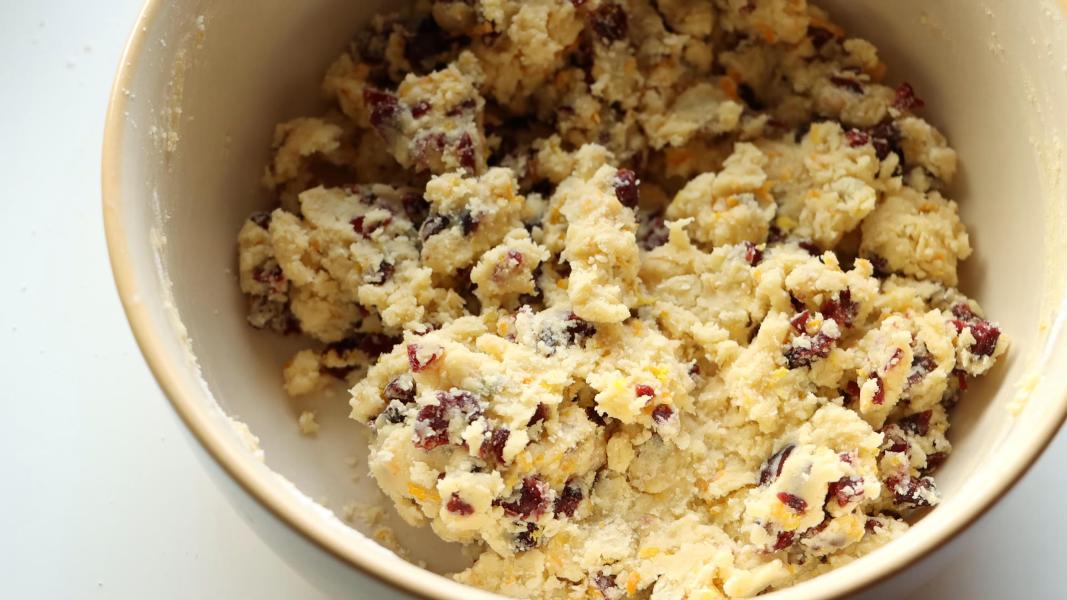
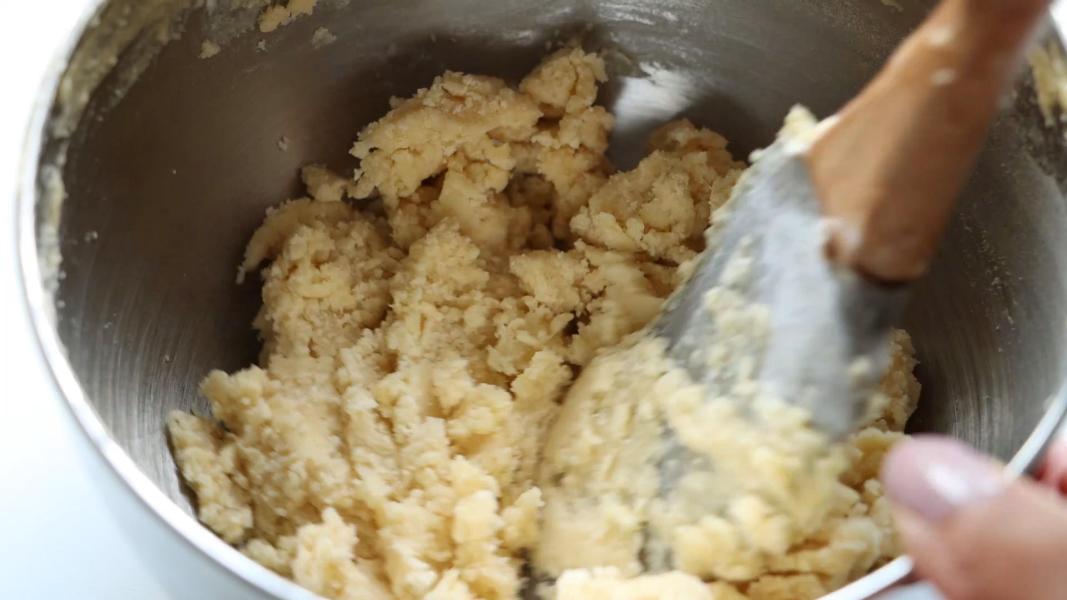
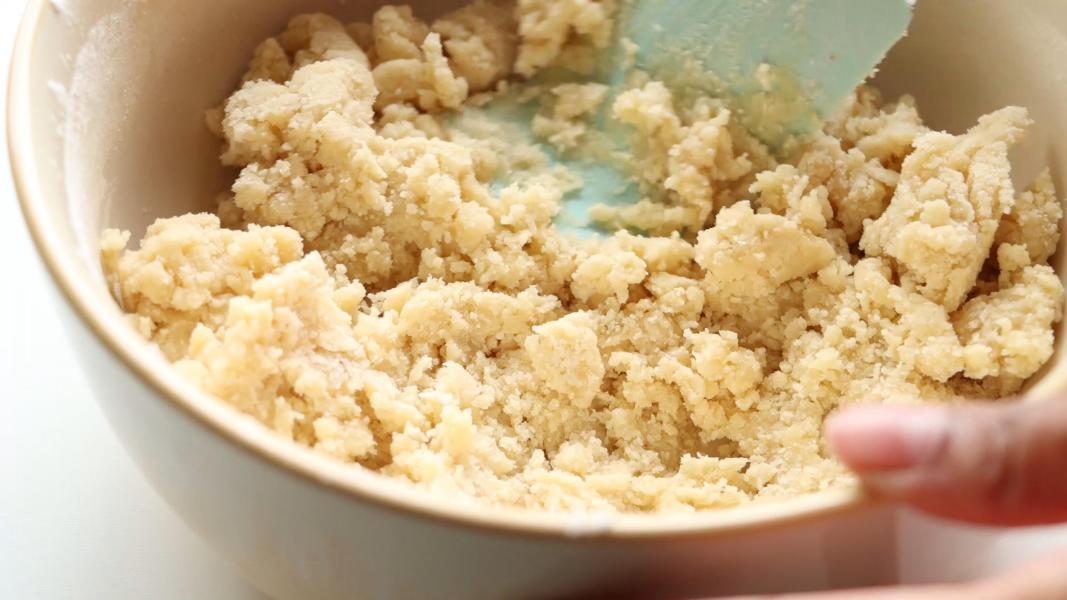
    Mix everything well to make a soft dough.

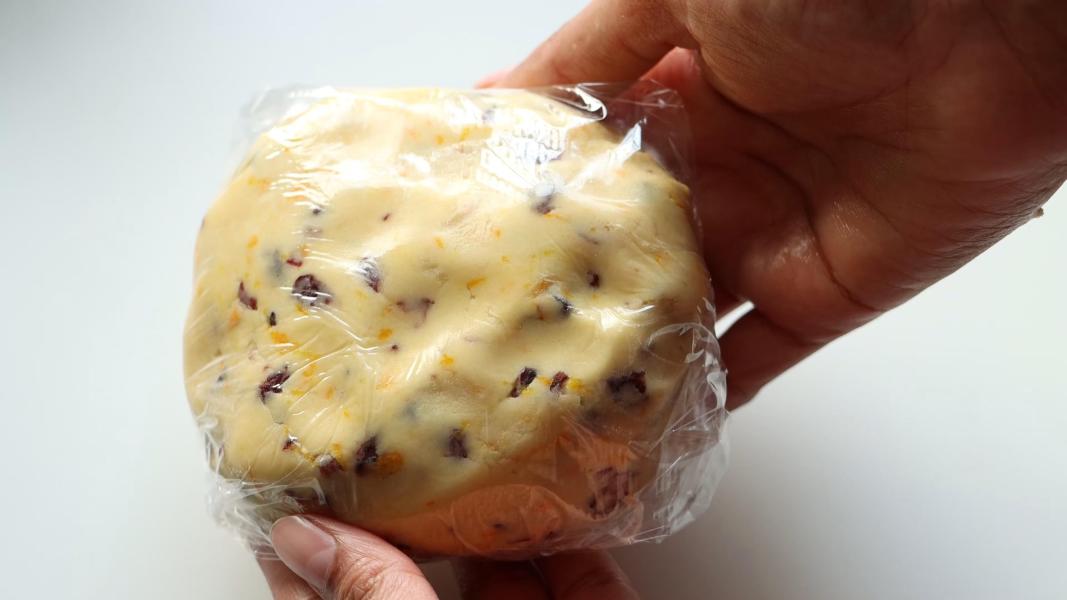
    Wrap the prepared dough with cling film and chill it in the refrigerator for an hour or until the dough is firm.

    Line a baking tray with parchment paper and keep it aside.

    Preheat the oven to 180 degrees C.

    Remove the dough from the refrigerator and let it sit at room temperature for few minutes for easy rolling.

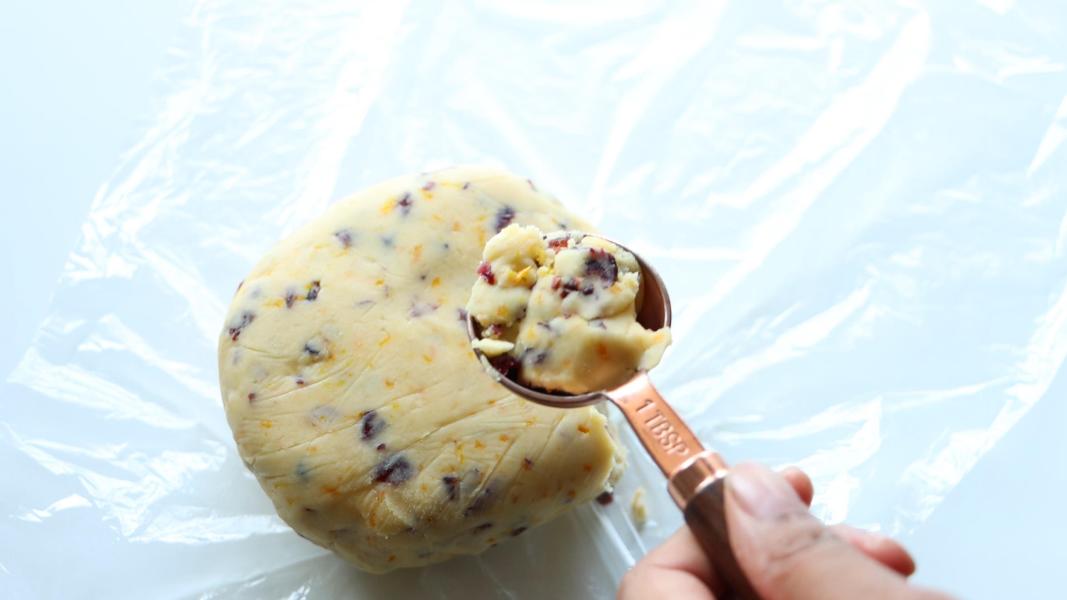
    Using a cookie scoop or tablespoon, take a portion of the chilled dough.

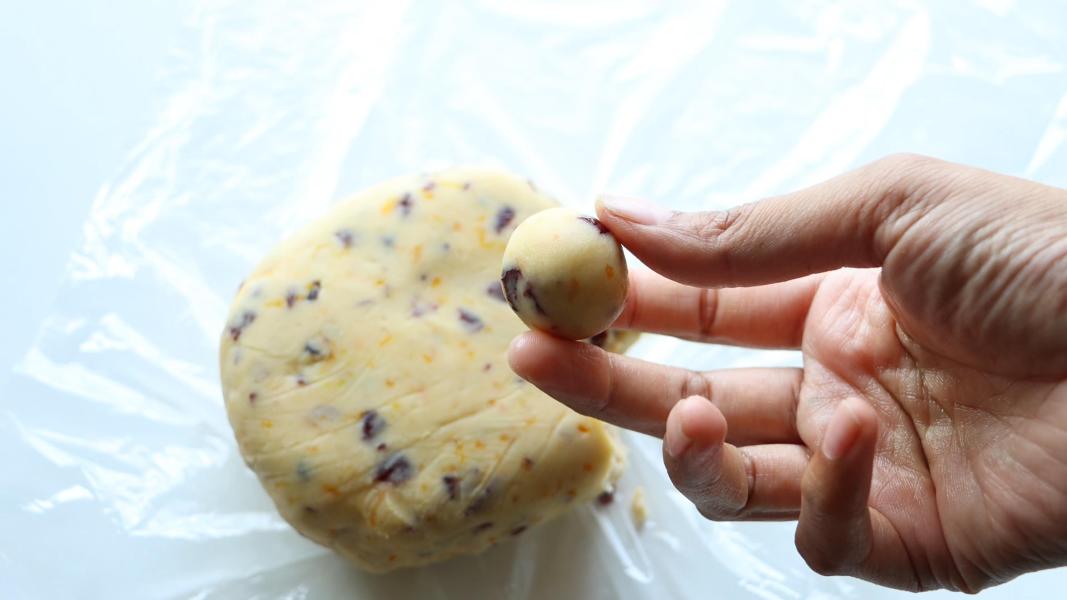
    Roll the dough into 1 inch small balls.

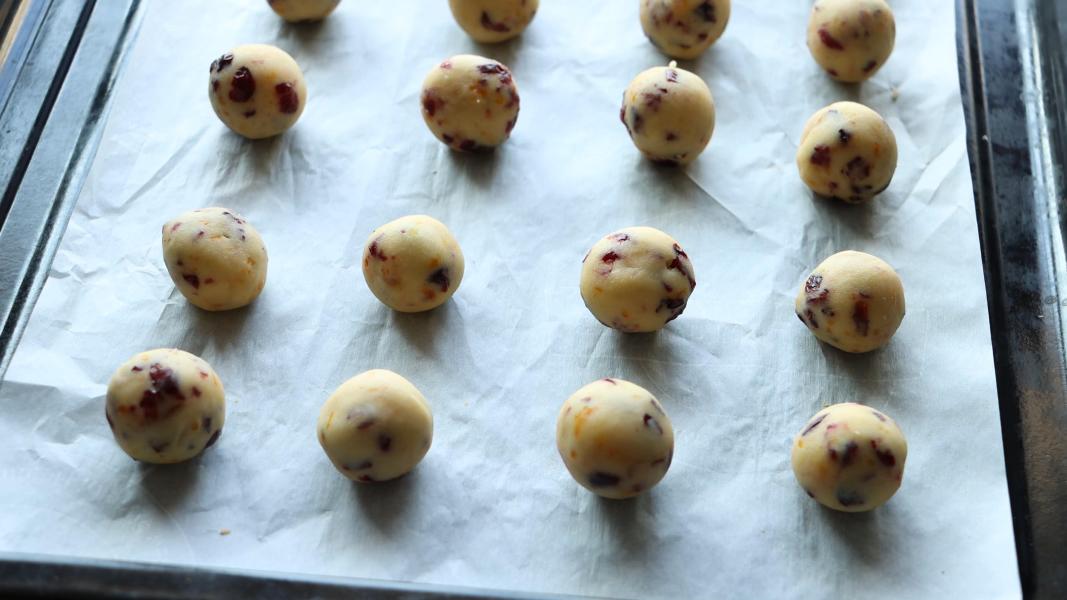
    Repeat the process with remaining dough and arrange them on the lined baking sheet.

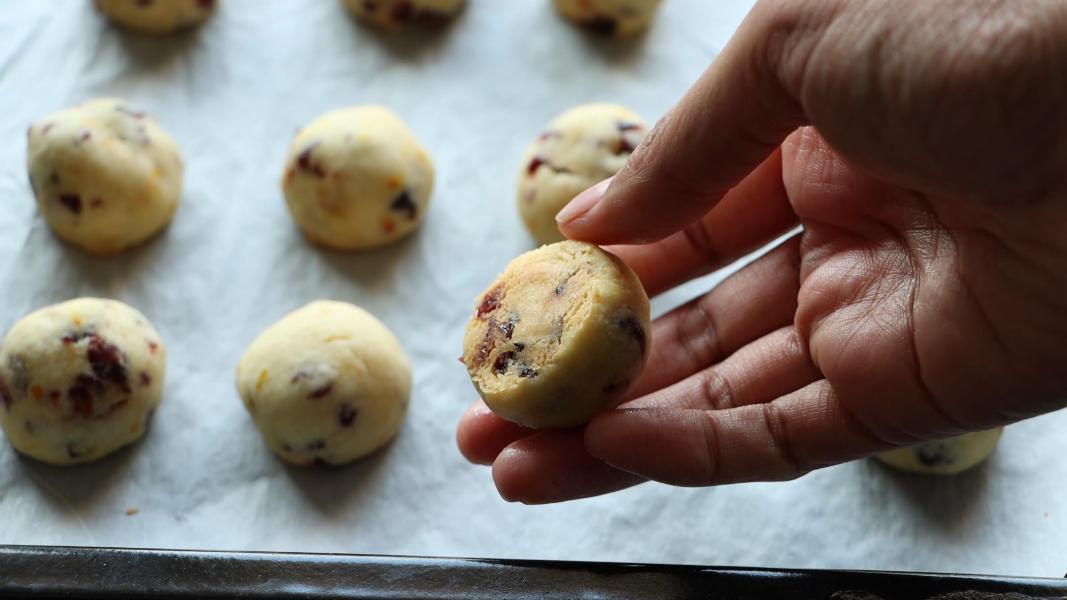
    Let them bake in the preheated oven for about 15 minutes or until the bottom of cookies are slightly browned at 180 degrees C.

    Once they are baked, take them out of the oven and let them cool down a bit.

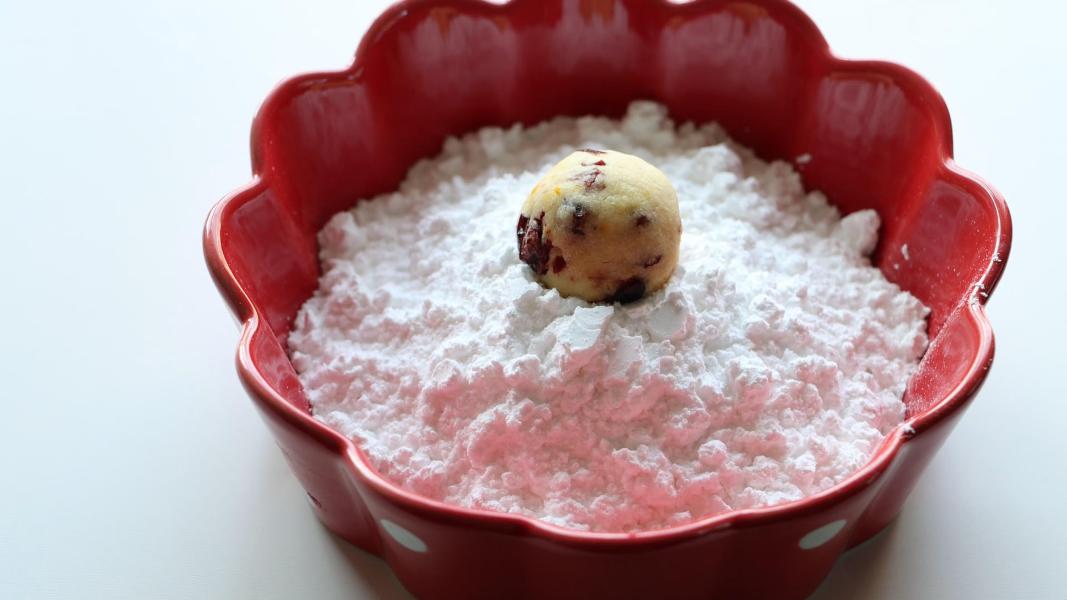
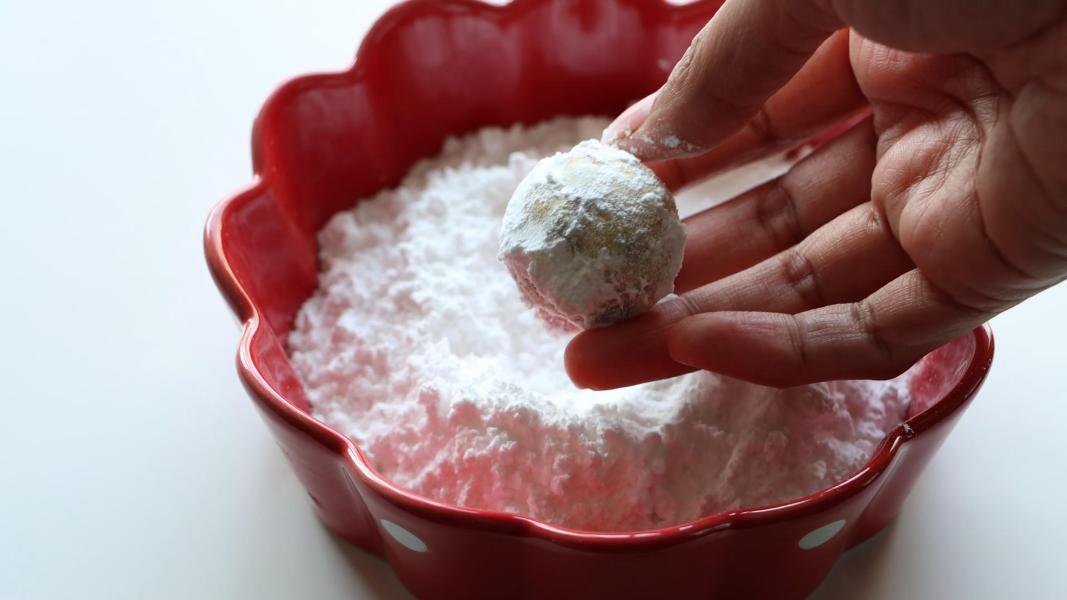
    While the baked cookies are still warm, roll them in powdered sugar.

    Arrange them on a wire rack and let them cool completely.

    Once they are cooled, roll them again in the powdered sugar for super white snowballs.

    Serve and enjoy!

    You might love these Holiday recipes:

    • Lemon Snowballs
    • Cherry Winks
    • Red Hot Cinnamon Apples
    • Peppermint Kiss Cookies
    • Cherry Snowballs
    • Lemon Meltaways
    • Easter Popcorn
    • Peppermint White Chocolate Chip Cookies
    • Greek Koulourakia
    • Chocolate Nonpareils

    How to make cranberry orange snowballs recipe below:

    Print Recipe
    5 from 4 votes

    Cranberry Orange Snowball Cookies

    Cranberry Orange Snowball Cookies - Super easy, irresistible, delicate and buttery cookies bursting with the tang of cranberries and the bright zest of orange. A perfect Christmas cookie recipe that everyone will love!
    Prep Time20 minutes mins
    Cook Time15 minutes mins
    Chilling Time1 hour hr
    Total Time1 hour hr 35 minutes mins
    Course: Cookies, Dessert
    Cuisine: International
    Keyword: Christmas Cookies, christmas recipes, cookies for christmas, cranberry orange snowball cookies, easy cookies
    Servings: 27 Cookies
    Calories: 67kcal
    Author: Hari Chandana Ponnaluri

    Ingredients

    • ½ Cup Unsalted Butter, softened
    • ¼ Cup Powdered Sugar (for the dough)
    • ½ Teaspoon Salt
    • ½ Teaspoon Vanilla Extract
    • ½ Cup Chopped Dried Cranberries
    • 1 Tablespoon Orange Zest
    • 1 Cup All Purpose Flour / Plain Flour
    • ½ Cup Powdered Sugar (to coat the baked cookies)

    Instructions

    • Combine butter and powdered sugar in a bowl and mix until light and creamy.
    • Add vanilla and salt. Mix until well combined.
    • Add measured flour and orange zest to the creamed butter and mix well using a spatula.
    • Add chopped cranberries and mix everything to make a smooth dough.
    • Wrap the prepared dough with cling film and refrigerate it for an hour or until the dough becomes firm.
    • Once it is chilled, take it out of the refrigerator and let it sit at room temperature for few minutes.
    • Roll the chilled dough into small 1-inch size round balls.
    • Arrange them on a lined baking tray. Let them bake in the preheated oven for about 15 minutes or until the bottom of cookies are slightly browned at 180 degrees C.
    • Once they are baked, take them out of the oven and allow them to cool down a bit.
    • When the baked cookies are still warm, roll them in powdered sugar.
    • Once cooled, roll them again in powdered sugar for super white snowballs.
    • Serve and enjoy!

    Video

    Nutrition

    Calories: 67kcal | Carbohydrates: 9g | Protein: 1g | Fat: 3g | Saturated Fat: 2g | Polyunsaturated Fat: 0.2g | Monounsaturated Fat: 1g | Trans Fat: 0.1g | Cholesterol: 9mg | Sodium: 44mg | Potassium: 8mg | Fiber: 0.3g | Sugar: 5g | Vitamin A: 106IU | Vitamin C: 0.3mg | Calcium: 2mg | Iron: 0.2mg

    Chocolate Nonpareils

    December 13, 2023

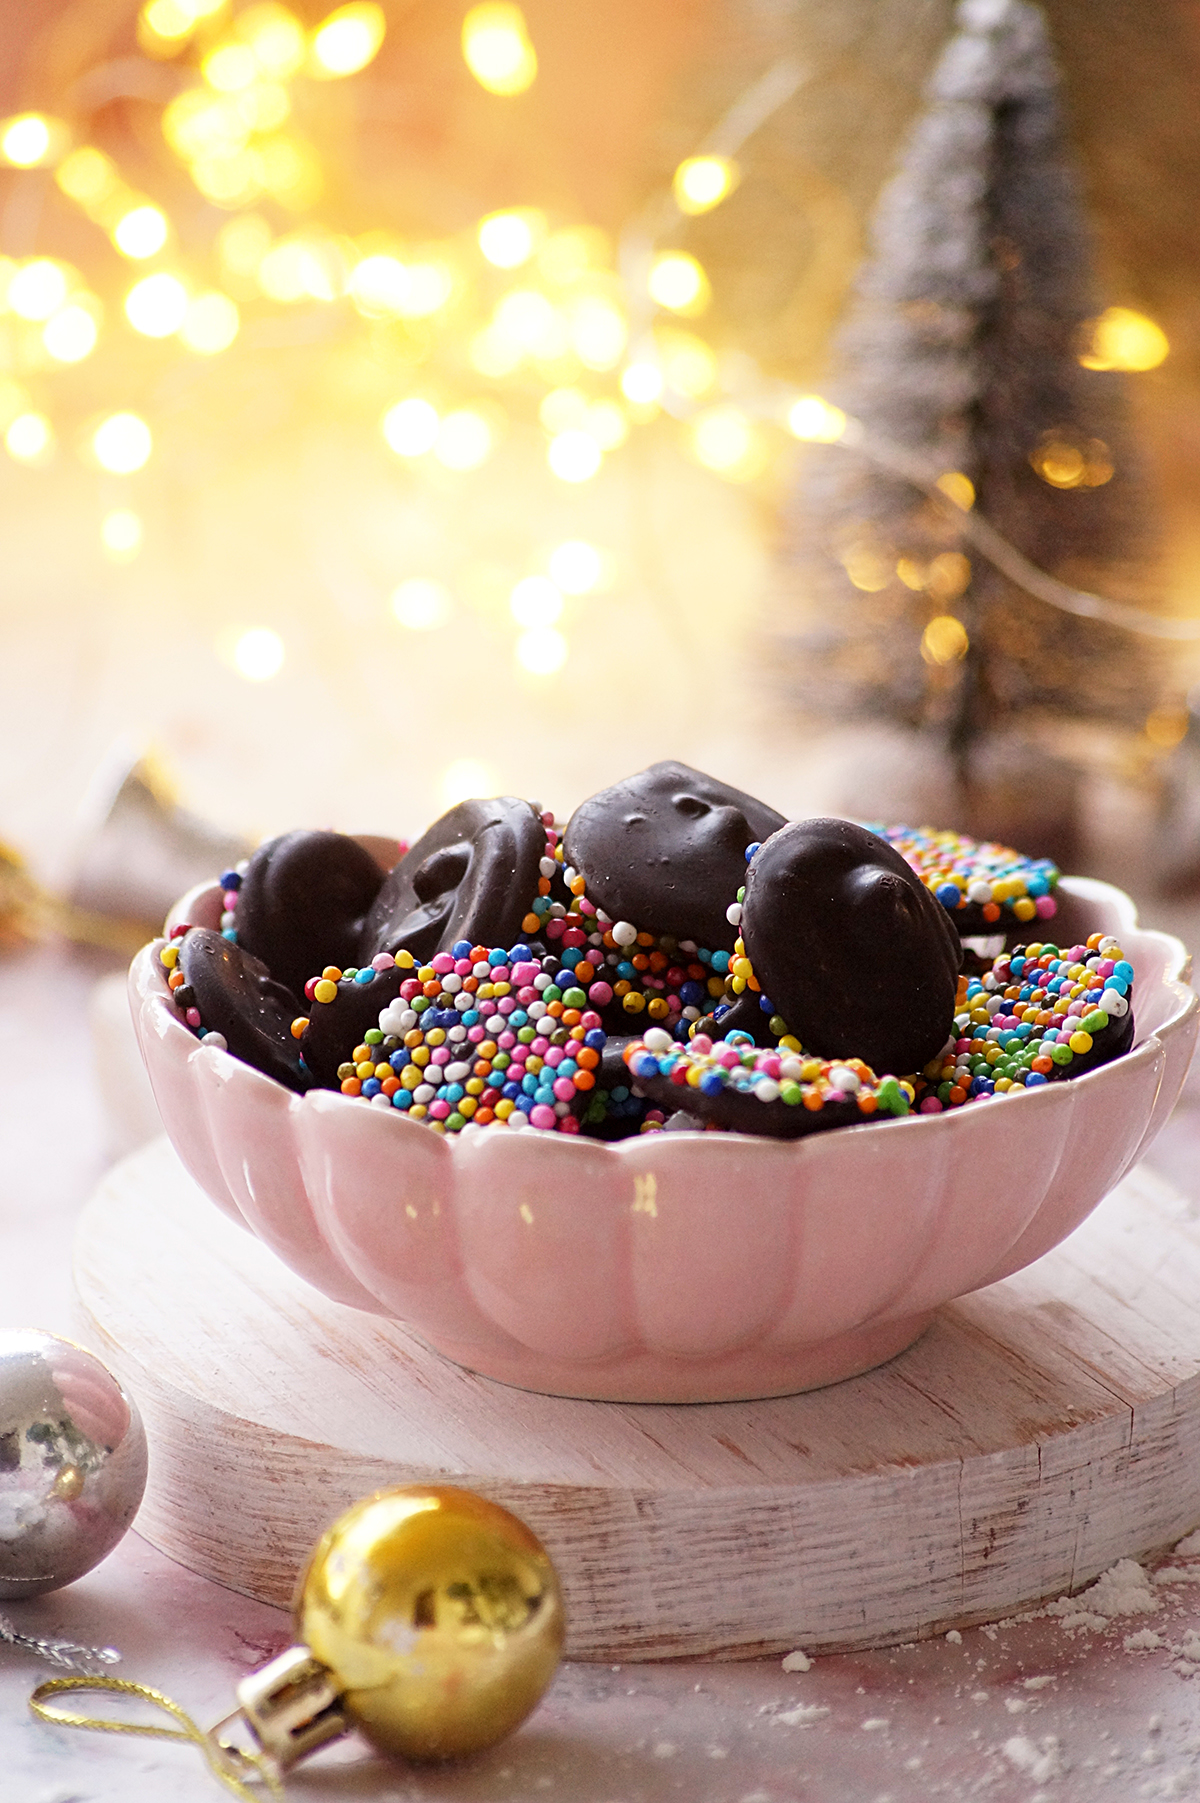
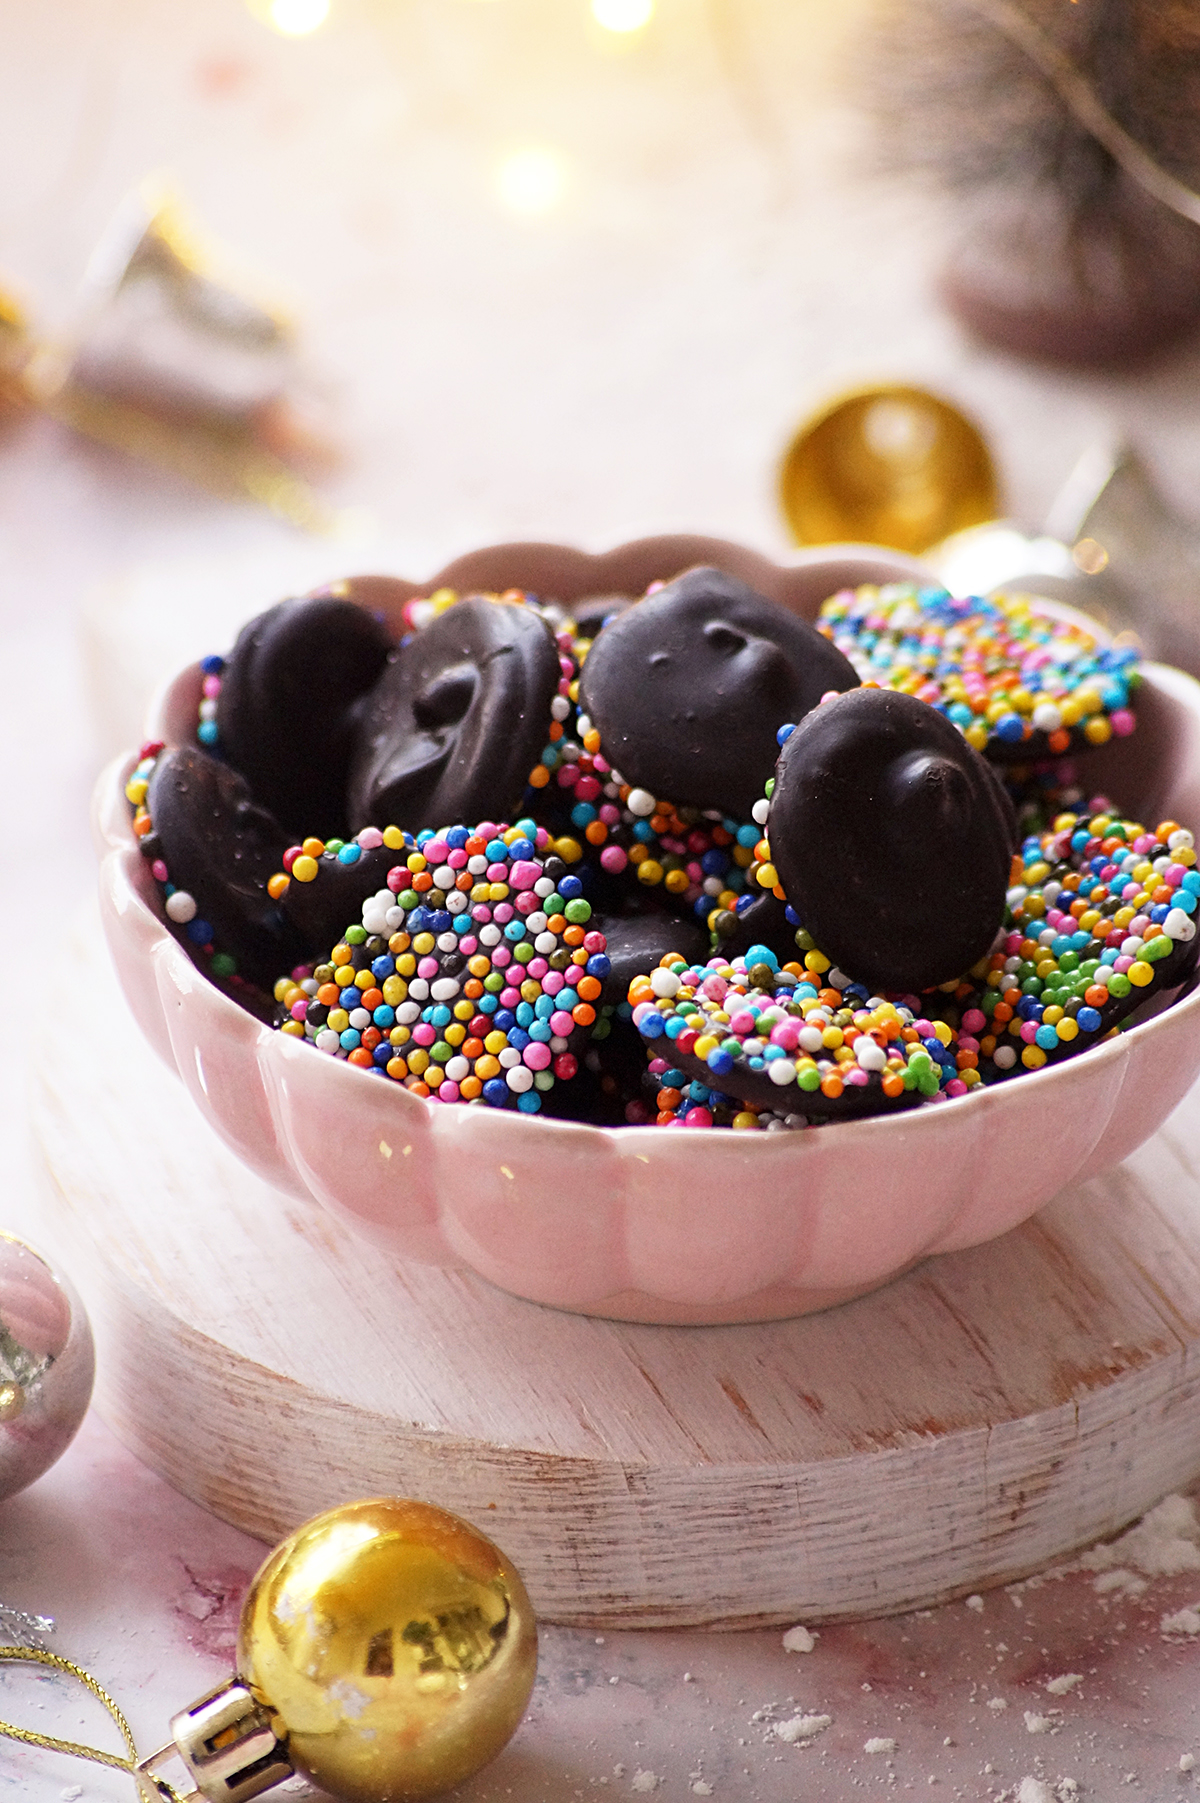
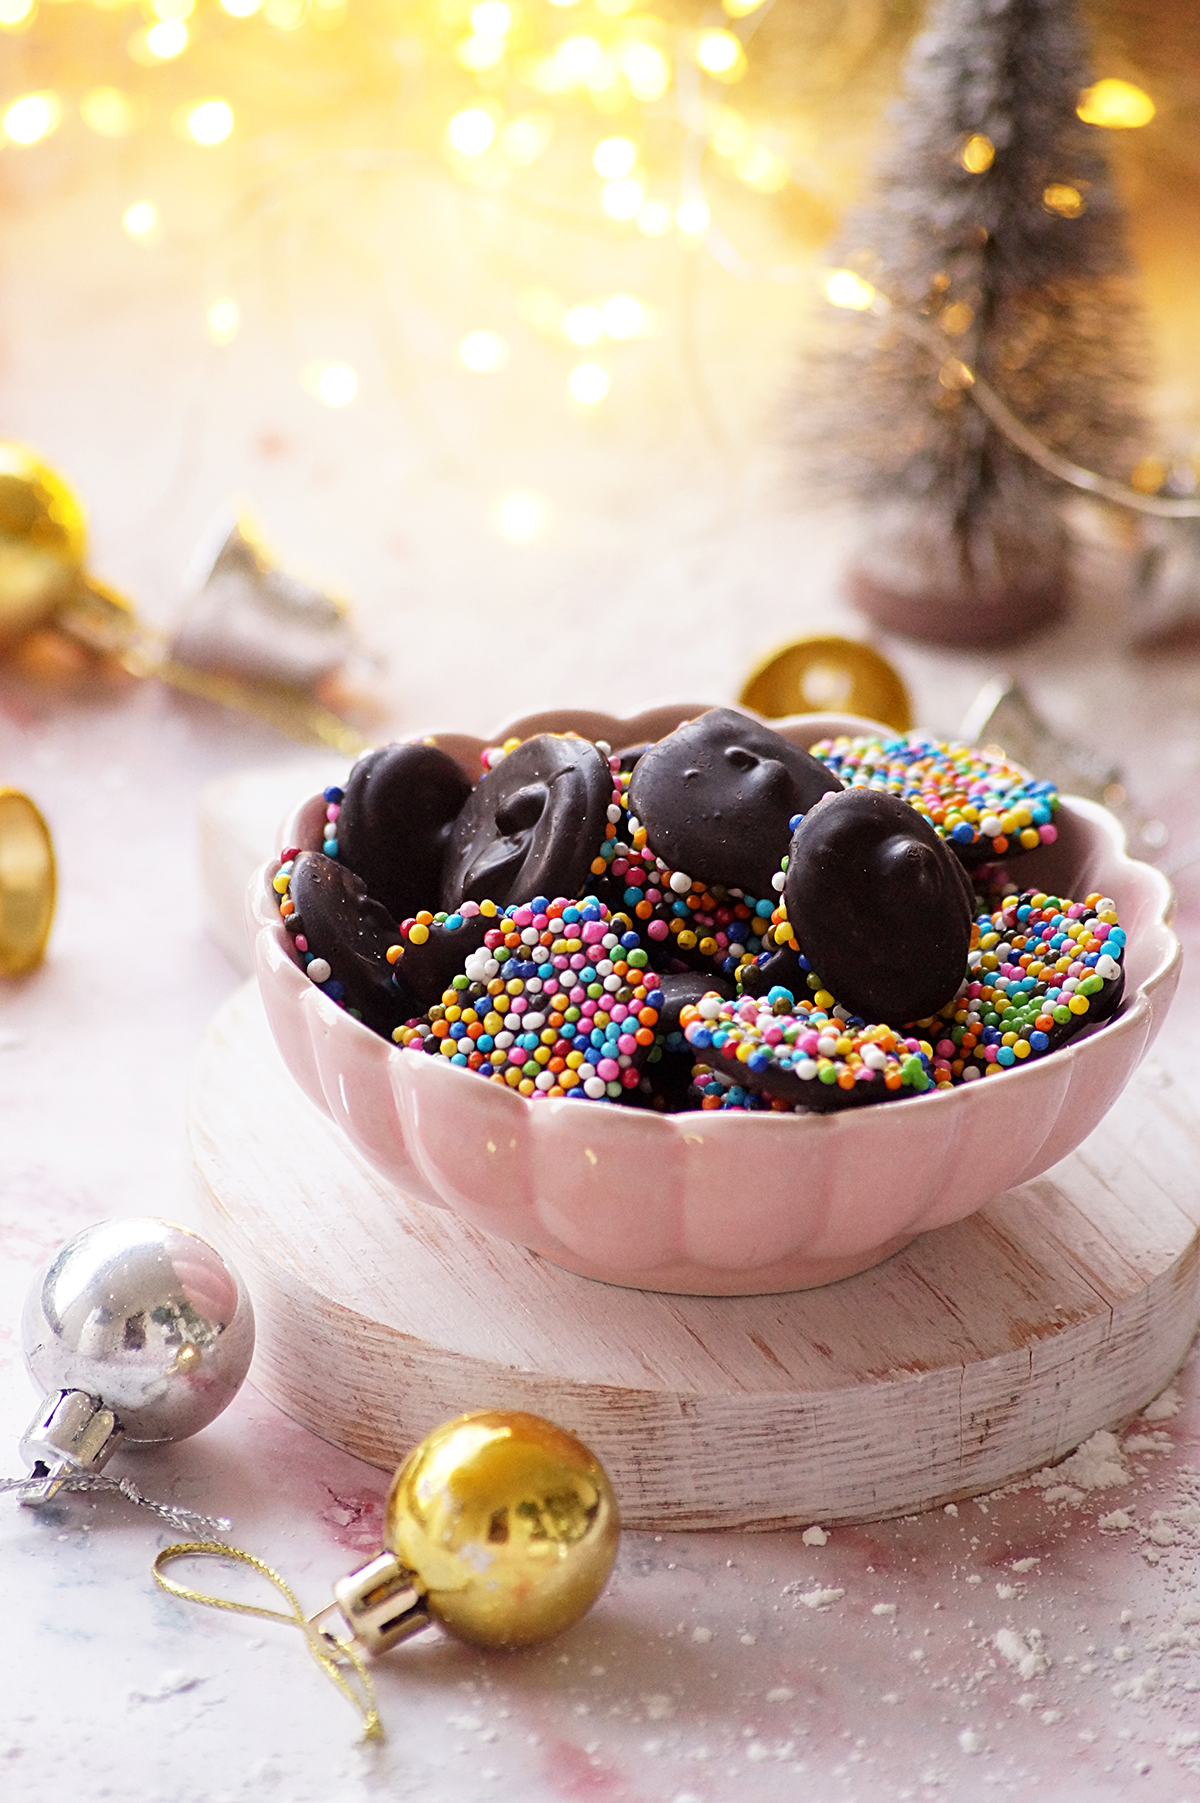
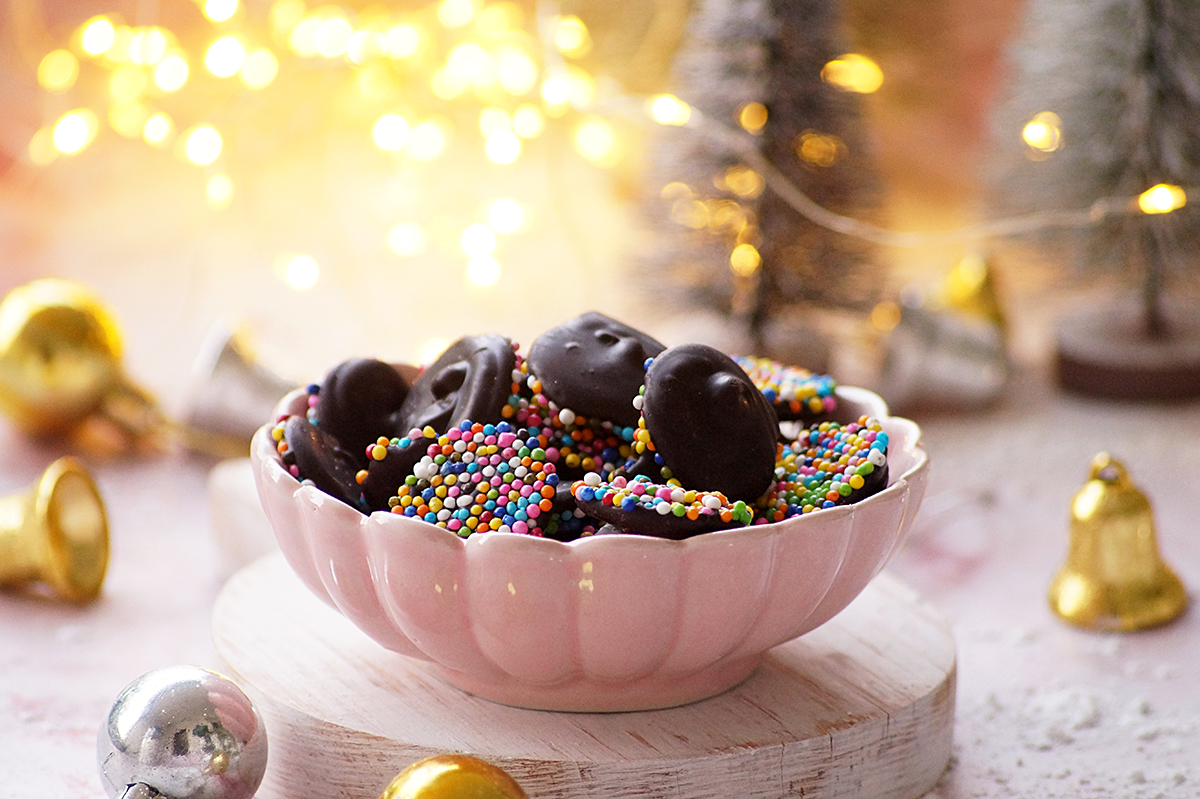
    Chocolate Nonpareils - Easy and delicious bite-sized homemade chocolate candies coated with crunchy and colorful sprinkles. These are festive and perfect for Christmas!

    What are chocolate nonpareils?

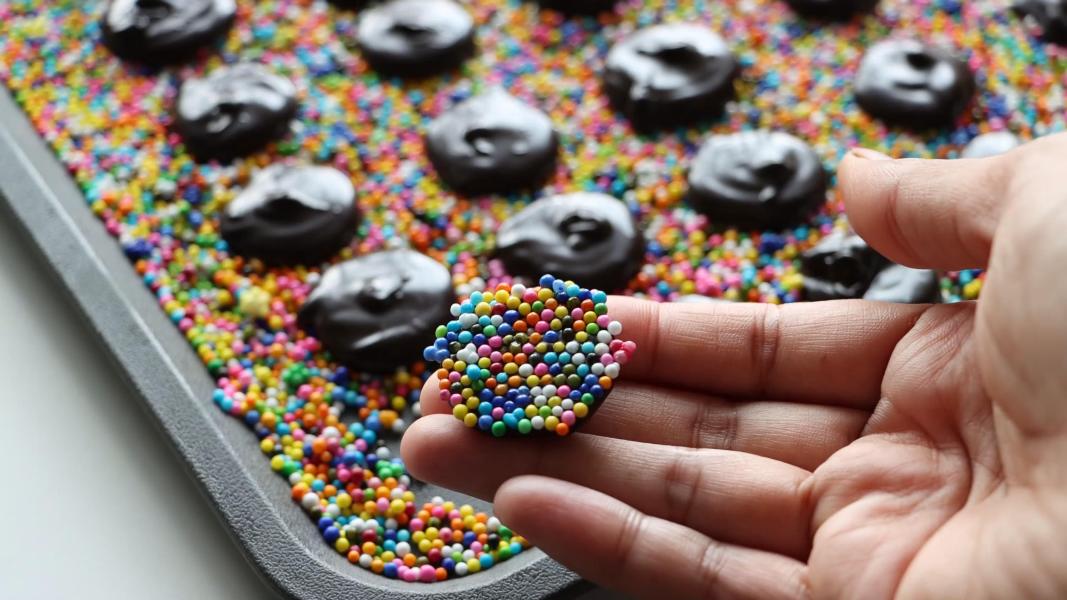
    It is a delicious and easy homemade treat made by coating one side of the small chocolate discs with nonpareil sprinkles. Nonpareils are tiny round sprinkles, often used in baking and decorating desserts. These are typically made with dark chocolate, milk chocolate or white chocolate.

    You only need 2 ingredients and few minutes to make this delightful treat. These candies are perfect for the holiday season or any occasion.

    Why you'll love this recipe:

    Incredibly easy to make!

    Perfect for beginners and kids!

    Can easily personalize these candies by using different types of chocolate and various colors of sprinkles.

    These are versatile. Can be enjoyed on their own or used as a decorative element.

    They make a wonderful homemade edible gift!

    Ingredients & Substitutions:

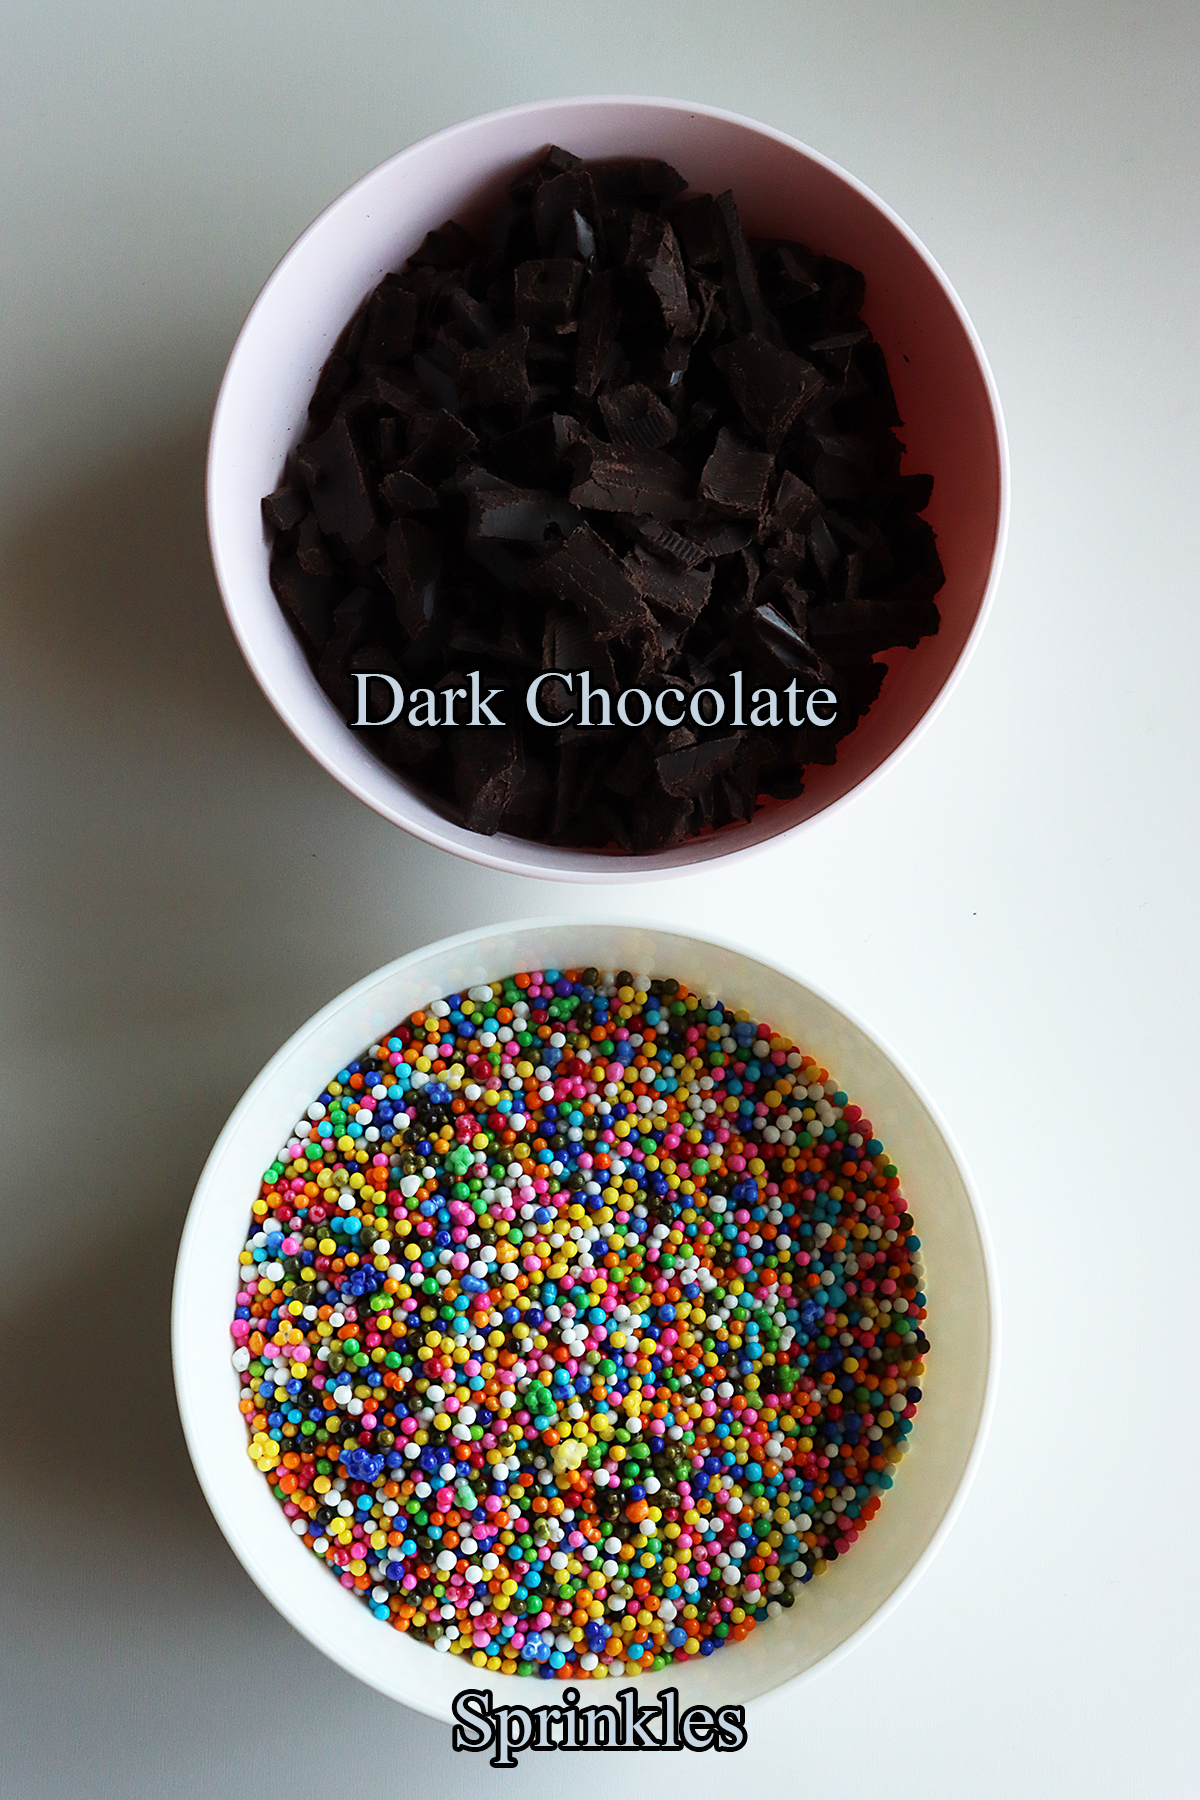
    Chocolate - It is the base of these candies, so make sure you are using high quality product for the best taste. You can use dark chocolate, milk chocolate or white chocolate based on you preference. Use dairy-free chocolate for vegan version of nonpareils.

    Nonpareils - Nonpareils are the tiny, colorful round sprinkles that adds a wonderful crunch and unique appearance to these candies. If you can't find nonpareils, replace them with regular sprinkles. Feel free to use different colors of sprinkles.

    Serving suggestions:

    Serve them as a standalone sweet treat or snack. They are perfect for munching.

    You can also use them as decorations on cupcakes, cookies, desserts, ice cream, frozen yogurt or cakes.

    These are perfect for Christmas or any other special occasions.

    Storage suggestions:

    Store them in the refrigerator for 2-3 months. If you want to store them for longer period of time, freeze them.

    Step by step instructions:

    Heat water in a pot and place a heat resistant bowl over it.

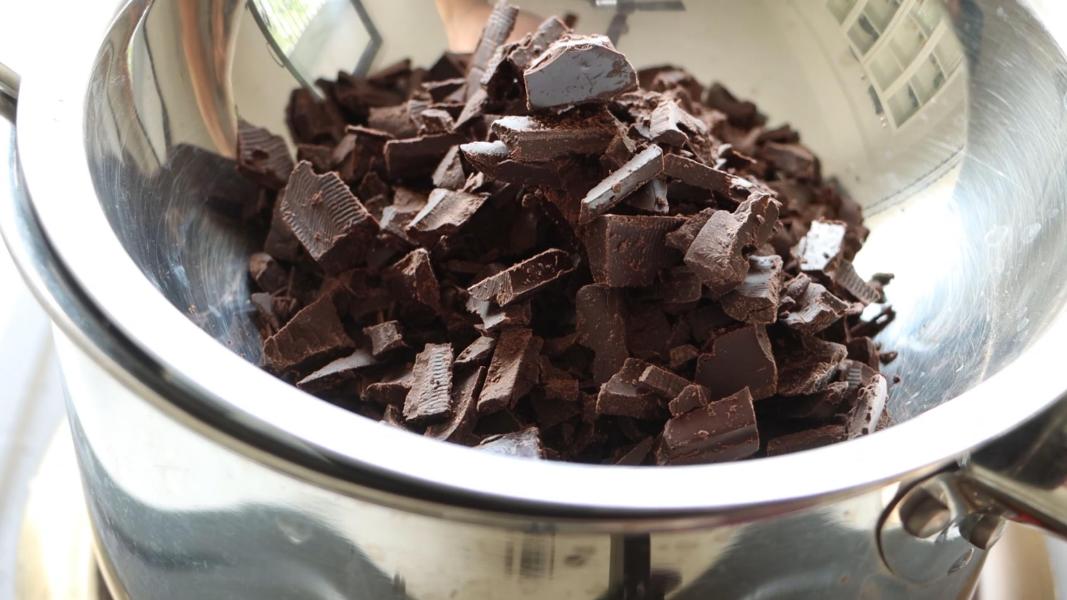
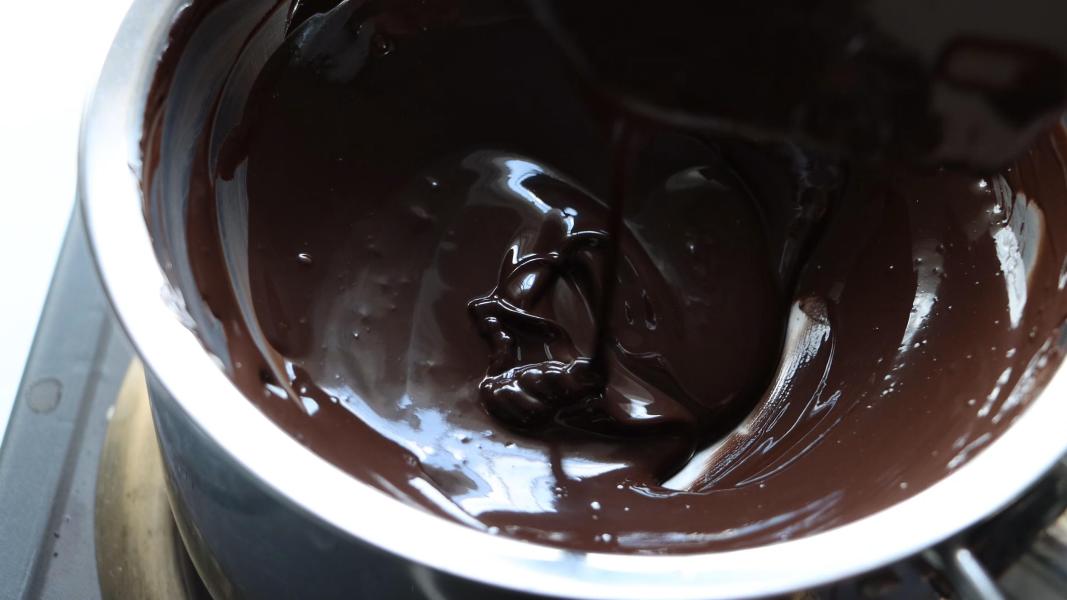
    Add chopped chocolate and keep stirring until it is smooth and melted. You could also melt it in microwave.

    Once it is smooth, remove it from heat.

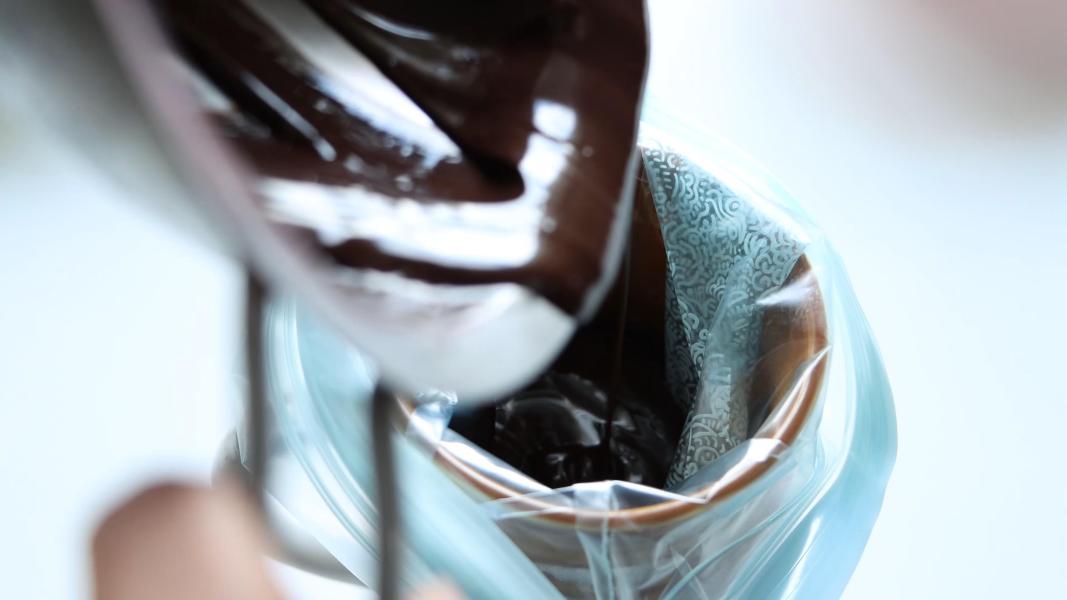
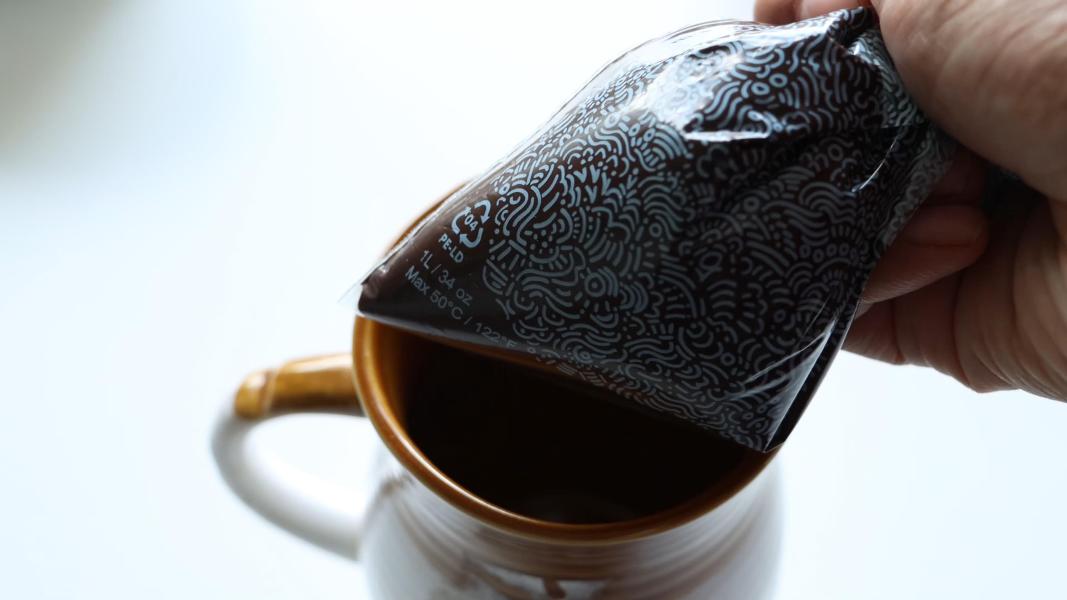
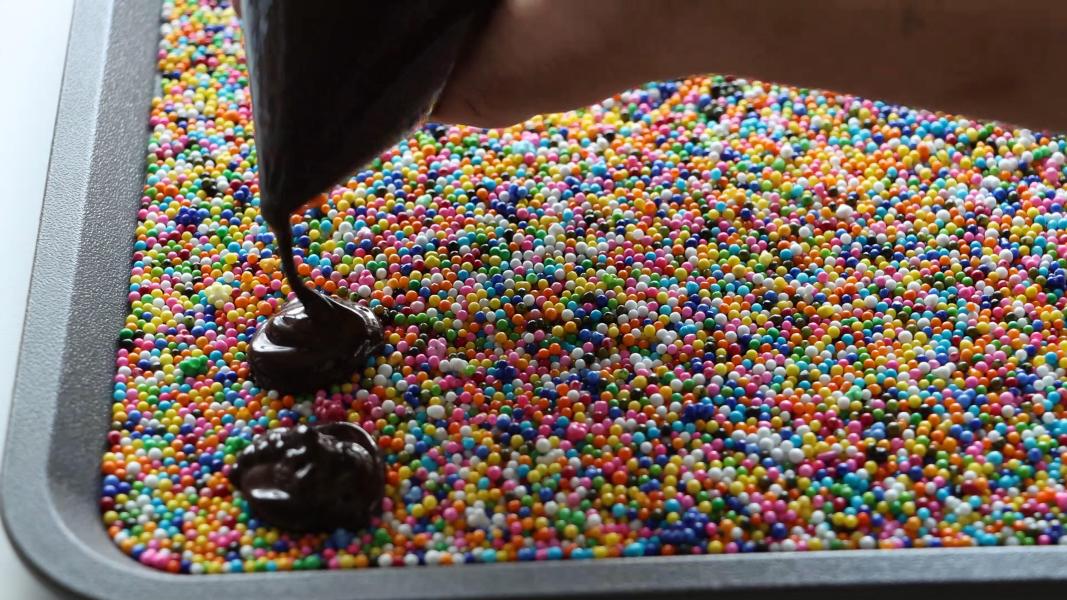
    Transfer it to a piping bag or ziplock bag.

    Cut a small tip off the bottle corner.

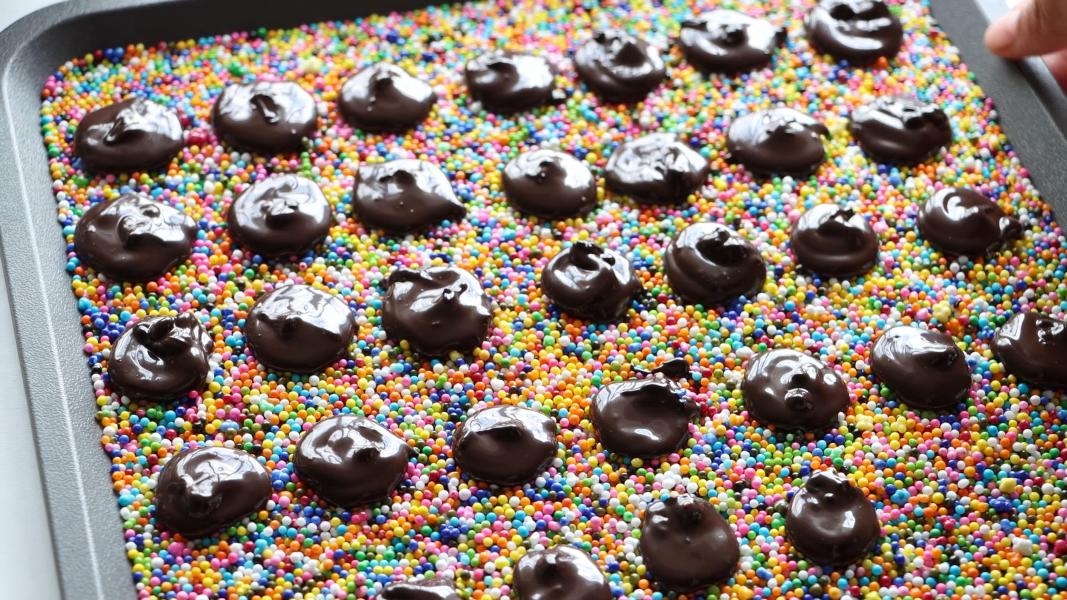
    Pipe small round discs directly onto the sprinkles layer. You can also drop it using a spoon.

    Transfer the tray to the refrigerator and let them chill for an hour to set completely.

    Serve and enjoy!

    You'll love these recipes:

    • Cherry Wink Cookies
    • Candy Cane Blossoms
    • Cherry Snowballs
    • Christmas Oreos
    • Oreo Bark
    • Peppermint Fudge
    • Peanut Butter Buckeyes
    • Raspberry Fool

    How to make nonpareils candy recipe video below:
    Print Recipe
    Chocolate Nonpareils Recipe
    Chocolate Nonpareils - Easy and delicious bite-sized homemade chocolate candies coated with crunchy and colorful sprinkles. These are festive and perfect for Christmas!
    Prep Time10 minutes mins
    Cook Time5 minutes mins
    Total Time15 minutes mins
    Course: Dessert, Snack
    Cuisine: American, French, International
    Keyword: chocolate nonpareils recipe, chocolate recipes, christmas recipes
    Servings: 33 Small Candies
    Calories: 42kcal
    Author: Hari Chandana Ponnaluri

    Ingredients

    • 1 Cup Dark Chocolate
    • 1 Cup Nonpareils Sprinkles

    Instructions

    • Melt chopped chocolate using a double boiled method or microwave.
    • Spread sprinkled on a tray or baking sheet.
    • Transfer it to a ziplock cover or pastry bag. Cut a small tip off the bottom corner.
    • Pipe small circles onto the sprinkles.
    • Let them set in the refrigerator for an hour.
    • Serve and enjoy!

    Video

    Nutrition

    Calories: 42kcal | Carbohydrates: 5g | Protein: 0.4g | Fat: 2g | Saturated Fat: 1g | Polyunsaturated Fat: 0.1g | Monounsaturated Fat: 1g | Trans Fat: 0.002g | Cholesterol: 0.2mg | Sodium: 1mg | Potassium: 38mg | Fiber: 1g | Sugar: 3g | Vitamin A: 2IU | Calcium: 4mg | Iron: 1mg

    Cherry Wink Cookies

    December 11, 2023

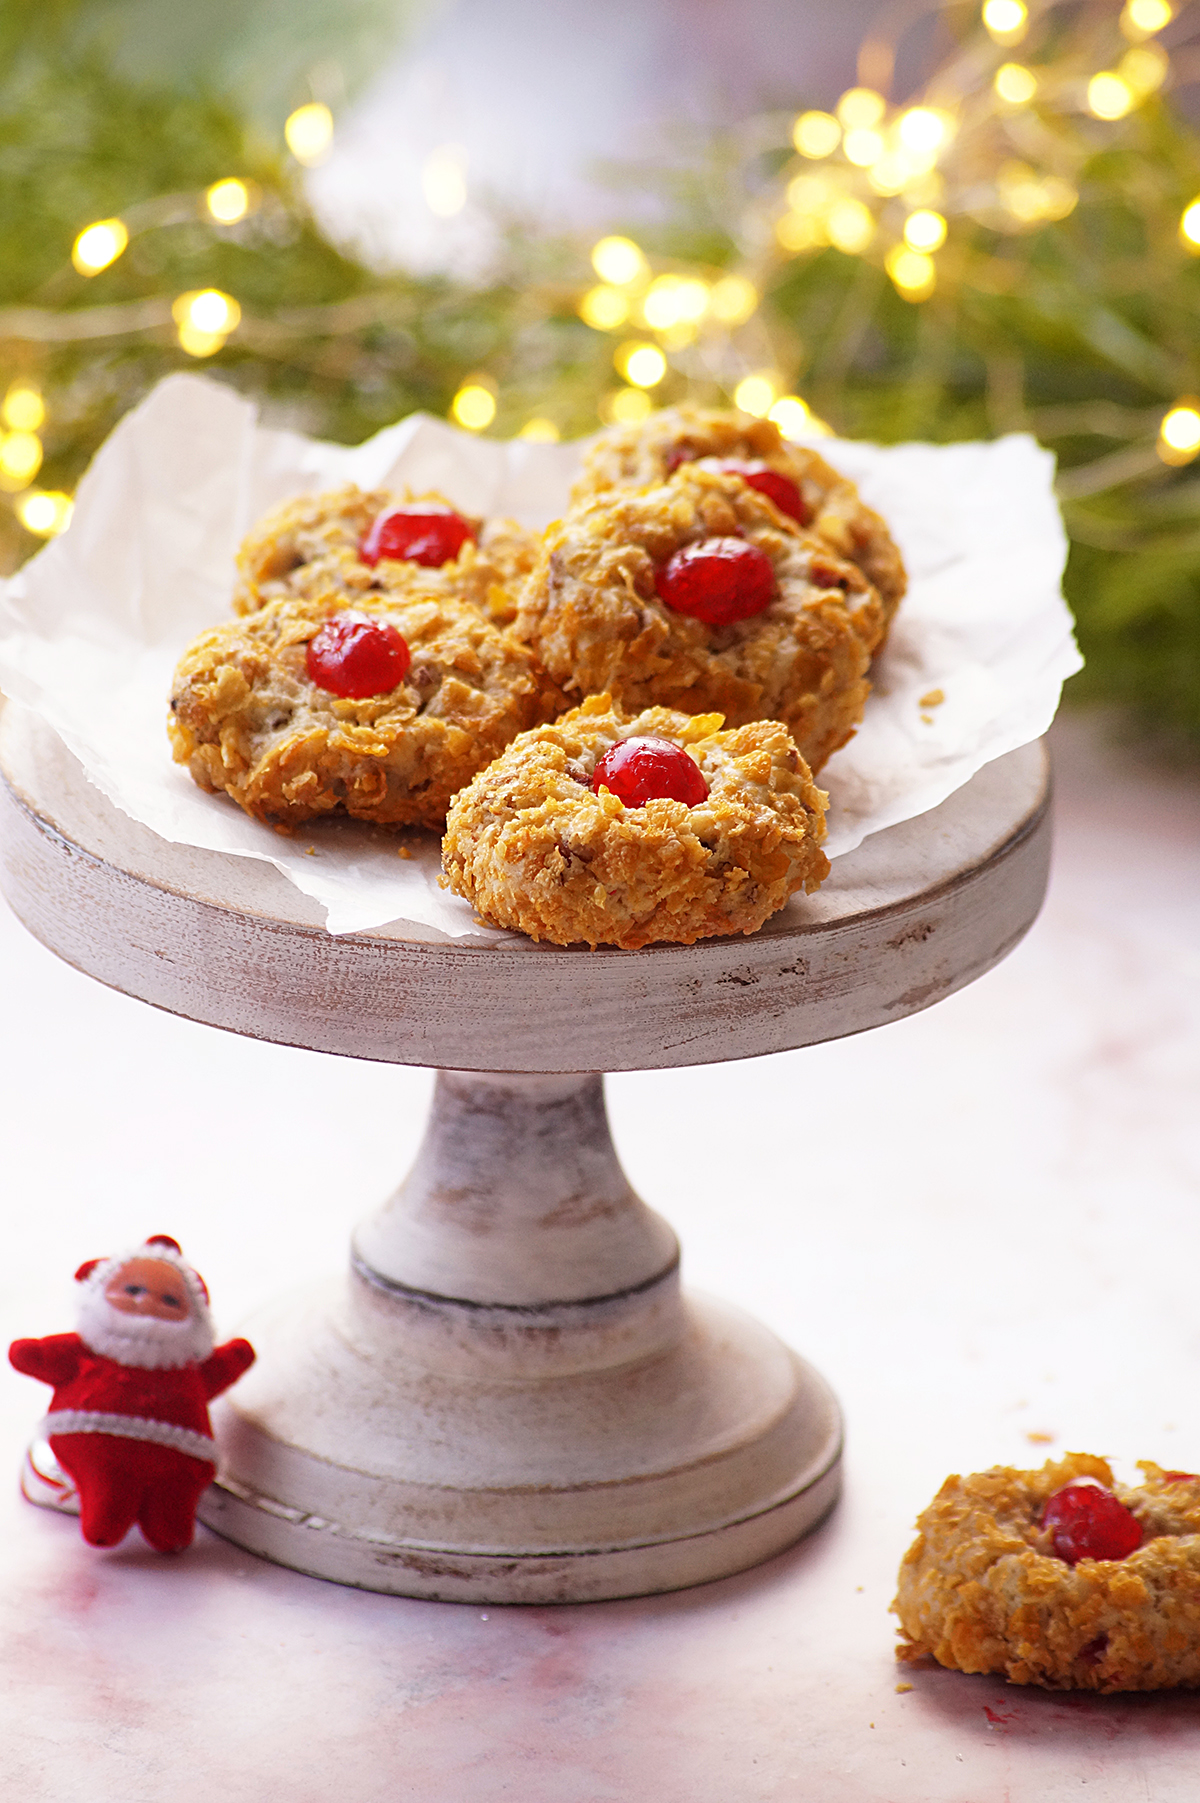
    Cherry Wink Cookies - These sweet, rich, and delicious old-fashioned holiday cookies are filled with pecans, dates, and cherries, then rolled in a crunchy cornflakes coating. A must-have vintage cookie recipe for Christmas!

    What are cherry wink cookies?

    Cherry winks are a popular old fashioned cookie, often made during the holiday season. These vintage cookies gained popularity through a national Pillsbury baking contest in the 1950s. What makes them unique are the sweetness from the cherries, nuttiness from the pecans, and the crunch of cornflakes.

    They're chewy on the inside but crispy on the outside. The fruity, nutty, and buttery dough shaped into a ball then rolled in crushed cornflakes cereal before baking, adding a wonderful crunch and an extra layer of texture to the finished cookies. Cherry winks are topped with a halved cherry before baking to add a charming and festive touch.

    Why you'll love this recipe:

    The mix of nutty, and fruity tastes in every bite is irresistible.

    It's a no-chill cookie recipe and the process is pretty straightforward.

    Sweet, delicious and festive. Perfect for holiday gatherings and cookie exchanges!

    These are wonderful for gifting.

    Ingredients & Substitutions:

    Flour - This is the base of the cookie dough. I used all purpose flour / plain flour here. Gluten-free flour blends can be replaced regular flour for a gluten-free version of these cookies.

    Butter - Make sure the butter is at room temperature for easy blending. Margarine or a vegan butter substitute can work for those avoiding dairy.

    Sugar - Can be replaced with brown sugar.

    Cornflakes - This is the star ingredient. It is used to coat the cookie dough for a crunchy exterior. Do not skip this ingredient if possible.

    Cherries - Adds a burst of flavor and sweetness. I have used candied cherries here. If you are using maraschino cherries, make sure they are not too wet to prevent affecting the dough consistency. You will need chopped cherries for the dough and halved cherries to decorate the cookies.

    Pecans - Adds a wonderful crunch and nutty taste. Other nuts such as walnuts, almonds, or hazelnuts can also be used.

    Dates - Adds extra sweetness and chewiness. You can replace it with any other dried fruit but the taste and flavor will be different. Raisins, dried cranberries, or apricots can be used instead of dates.

    Milk - The original recipe calls for eggs but I have substituted it with milk.

    Vanilla - Adds a wonderful flavor. You can also use almond extract if you want.

    Baking Powder & Baking Soda - Helps the cookies rise. Do not skip this.

    Salt - Skip this if you are using salted butter.

    Serving suggestions:

    Serve them with a cup of coffee, tea, or hot cocoa.

    Arrange these cookies alongside other festive treats for a colorful holiday platter.

    Pack them in decorative boxes to give as gifts during the holiday season.

    Storage suggestions:

    These can be stored in an airtight container at room temperature for up to 5 days. If you want to store them for longer period of time, store them in the freezer for up to 3 months. To freeze the cookies, transfer the cooled cookies to a ziplock bag or freezer safe container and store in the freezer. You could also freeze the unbaked cookie dough for up to 3 months

    Tips & Notes:

    Ensure the pecans, dates, and cherries are chopped into relatively uniform pieces for even distribution.

    If using maraschino cherries, drain and pat them dry with a paper towel. Excess moisture can affect the dough's consistency.

    Do not crush the cornflakes too finely. You want them to coat the dough evenly.

    The dough should be sticky so that the cornflakes will stick well to the dough balls. To shape the cookies, just drop of a spoonful of dough into crushed cornflakes and gently roll to make a round ball. If you find it challenging to roll the dough, chill it for 30 minutes for easier handling.

    While they taste equally good without the cornflakes coating, I highly recommend not skipping it as it adds both crunch and flavor to the cookies and facilitates easier dough rolling.

    Do not overbake the cookies. They should turn golden brown, but be careful not to overbake, as this can make them too crispy.

    Step by step instructions:

    Combine flour, baking powder, baking soda and salt in a mixing bowl and keep it aside until use.

    Cream butter and sugar together in a mixing bow.

    Add vanilla and milk to the creamed butter mixture. Mix until well combined.

    Add the flour mixture to the sugar butter mixture.

    Mix everything together until dough forms.

    Add chopped candied cherries, chopped pecans and chopped dates. Gently fold everything until well combined.

    The dough should be sticky. If you feel you are not able to shape it, chill the dough for 30 minutes.

    Take a spoonful of cookie dough.

    Crush cornflakes using your hands or rolling pin. Drop the dough into the crushed cornflakes and gently roll and shape it into a round ball.

    Repeat the process with remaining dough.

    Arrange them on a lined baking sheet spacing 2 inches apart. Top them with halved cherry and gently press.

    Bake them in the preheated oven for 12-15 minutes at 190 degrees C.

    Once cookies are set and lightly browned around edges, remove them from the oven and let them cool completely.

    You might love these recipes:

    • Peppermint Kiss Cookies
    • Red Hot Cinnamon Apples
    • Cherry Snowballs
    • White Chocolate Peppermint Fudge
    • Mango Quinoa Salad
    • Instant Pot Boiled Peanuts
    • Orange Blueberry Muffins
    • Santa's Whiskers Cookies
    • Buckeyes
    • Oreo Bark

    Recipe adapted from Pillsbury
    How to make cherry winks recipe video below:

    Print Recipe
    Cherry Wink Cookies Recipe
    Cherry Wink Cookies - These sweet, rich, and delicious old-fashioned holiday cookies are filled with pecans, dates, and cherries, then rolled in a crunchy cornflakes coating. A must-have vintage cookie recipe for Christmas!
    Prep Time25 minutes mins
    Cook Time15 minutes mins
    Total Time40 minutes mins
    Course: Cookies, Dessert
    Cuisine: American, International
    Keyword: cherry wink coookies, cherry winks, Christmas Cookies, christmas recipes, cookies for christmas
    Servings: 12 Cookies
    Calories: 143kcal
    Author: Hari Chandana Ponnaluri

    Ingredients

    • ½ Cup + 1 Tablespoon All Purpose Flour / Plain Flour
    • ¼ Teaspoon Baking Powder
    • ⅛ Teaspoon Baking Soda
    • ⅛ Teaspoon Salt
    • 3 Tablespoons Unsalted Butter, softened
    • ¼ Cup Sugar
    • 2.5 Tablespoons Milk
    • ¼ Teaspoon Vanilla Extract
    • 1.5 Tablespoons Chopped Cherries
    • ¼ Cup Chopped Pecans
    • ¼ Cup Chopped Dates
    • 6 Candied Cherries
    • ⅓ Cup Crushed Cornflakes

    Instructions

    • Combine flour, baking powder, baking soda and salt in a mixing bowl and keep it aside until use.
    • Cream butter and sugar together in a mixing bowl.
    • Add vanilla and milk to the creamed butter mixture. Mix until well combined.
    • Add the flour mixture to the sugar butter mixture.
    • Mix everything together until dough forms.
    • Add chopped candied cherries, chopped pecans and chopped dates. Gently fold everything until well combined.
    • The dough should be sticky. If you feel you are not able to shape it, chill the dough for 30 minutes.
    • Take a spoonful of cookie dough. Drop the dough into the crushed cornflakes and gently roll and shape it into a round ball.
    • Arrange them on a lined baking sheet spacing 2 inches apart. Top them with halved cherry and gently press.
    • Bake them in the preheated oven for 12-15 minutes at 190 degrees C.
    • Once cookies are set and lightly browned around edges, remove them from the oven and let them cool completely.

    Video

    Nutrition

    Calories: 143kcal | Carbohydrates: 24g | Protein: 2g | Fat: 5g | Saturated Fat: 2g | Polyunsaturated Fat: 1g | Monounsaturated Fat: 2g | Trans Fat: 0.1g | Cholesterol: 8mg | Sodium: 86mg | Potassium: 66mg | Fiber: 1g | Sugar: 9g | Vitamin A: 210IU | Vitamin C: 1mg | Calcium: 13mg | Iron: 3mg

    Peppermint Kiss Cookies

    December 9, 2023

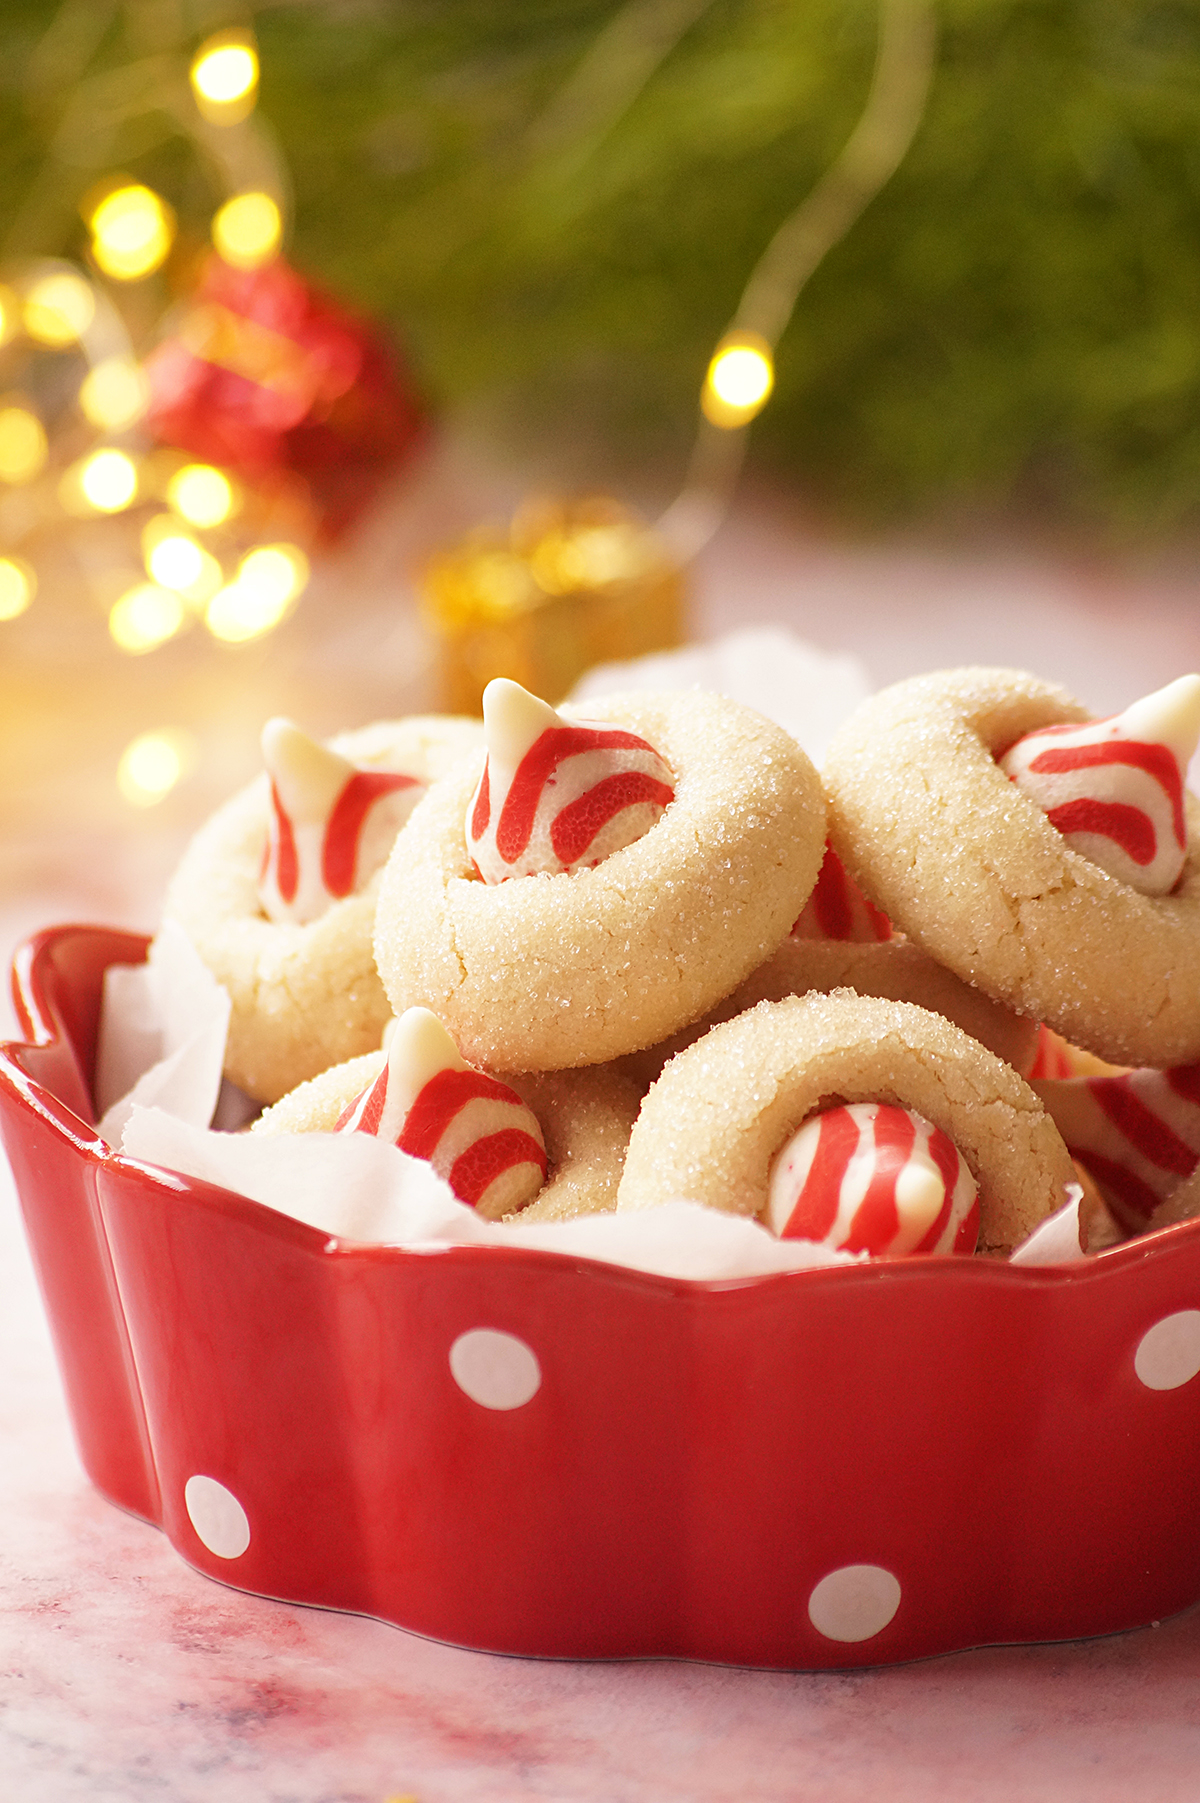
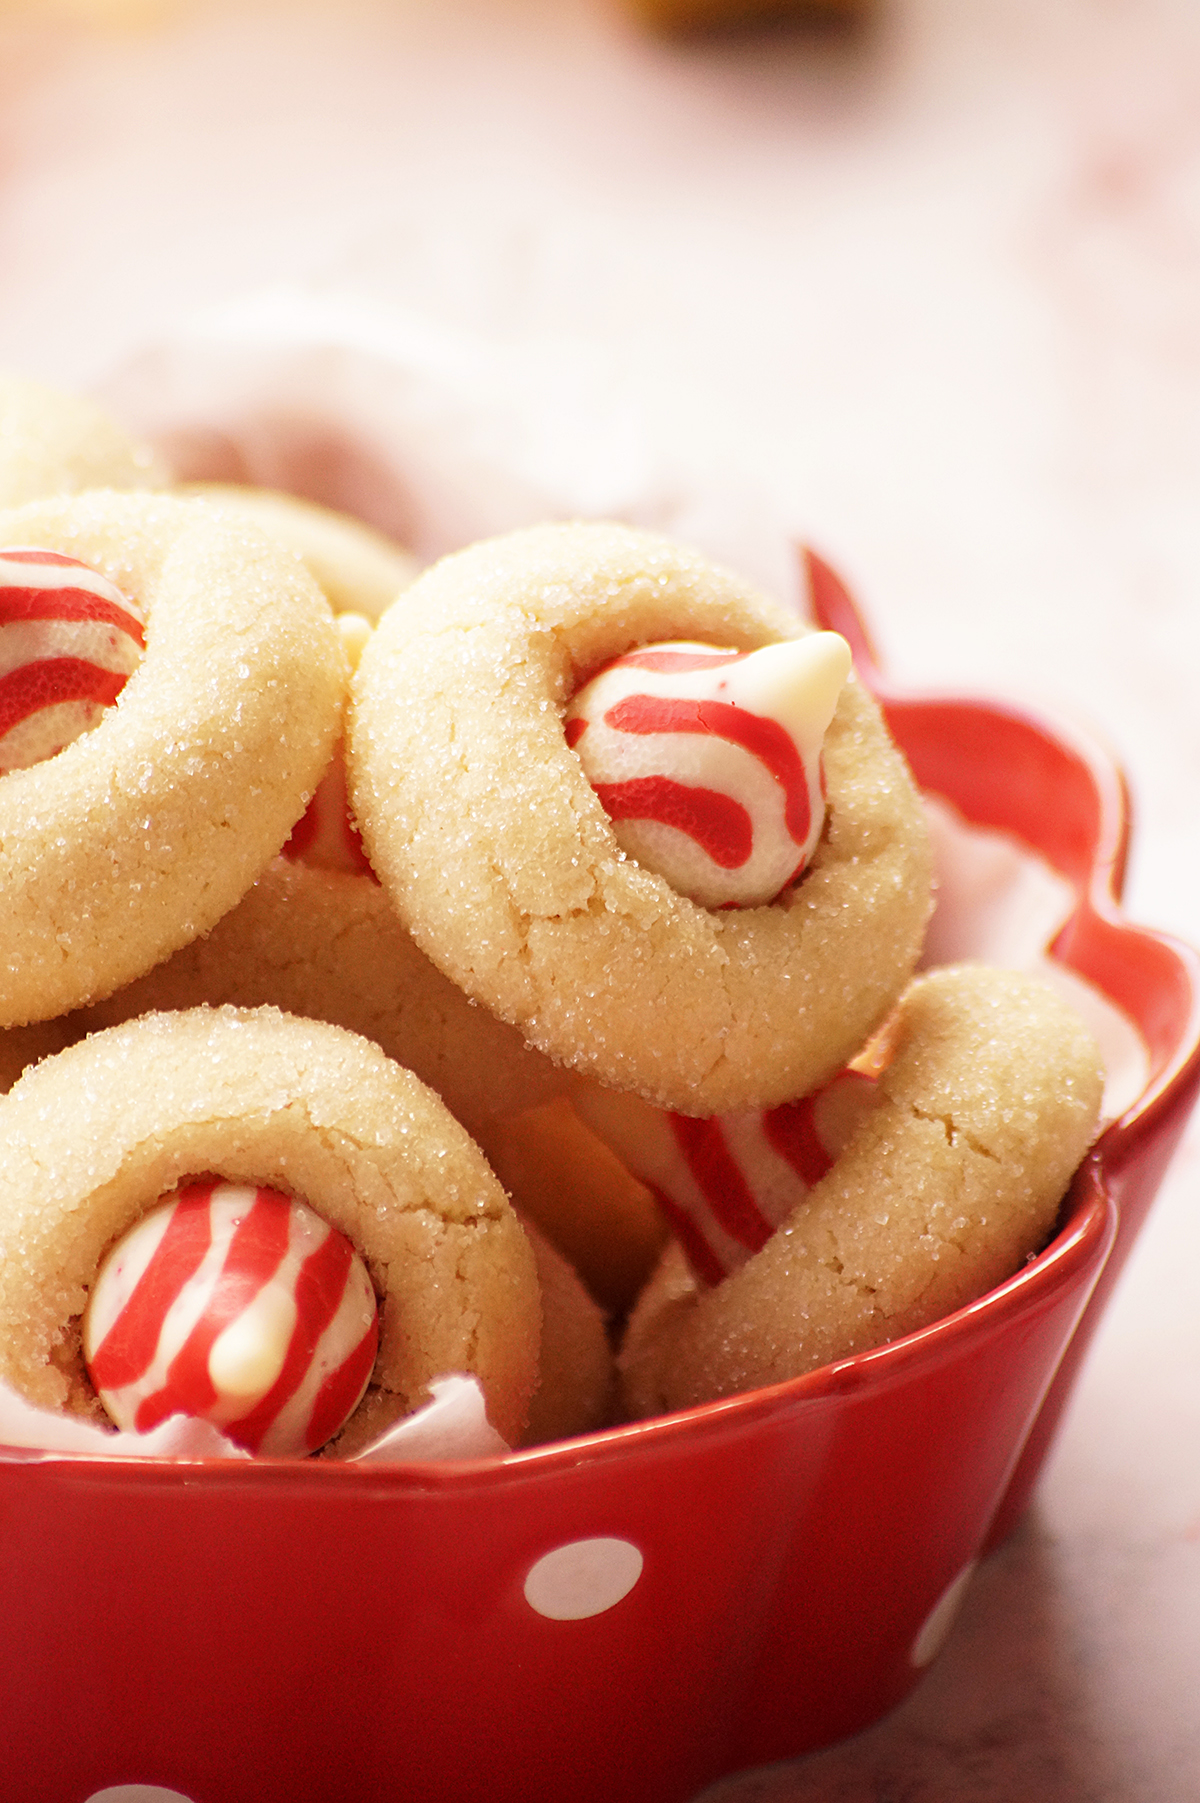
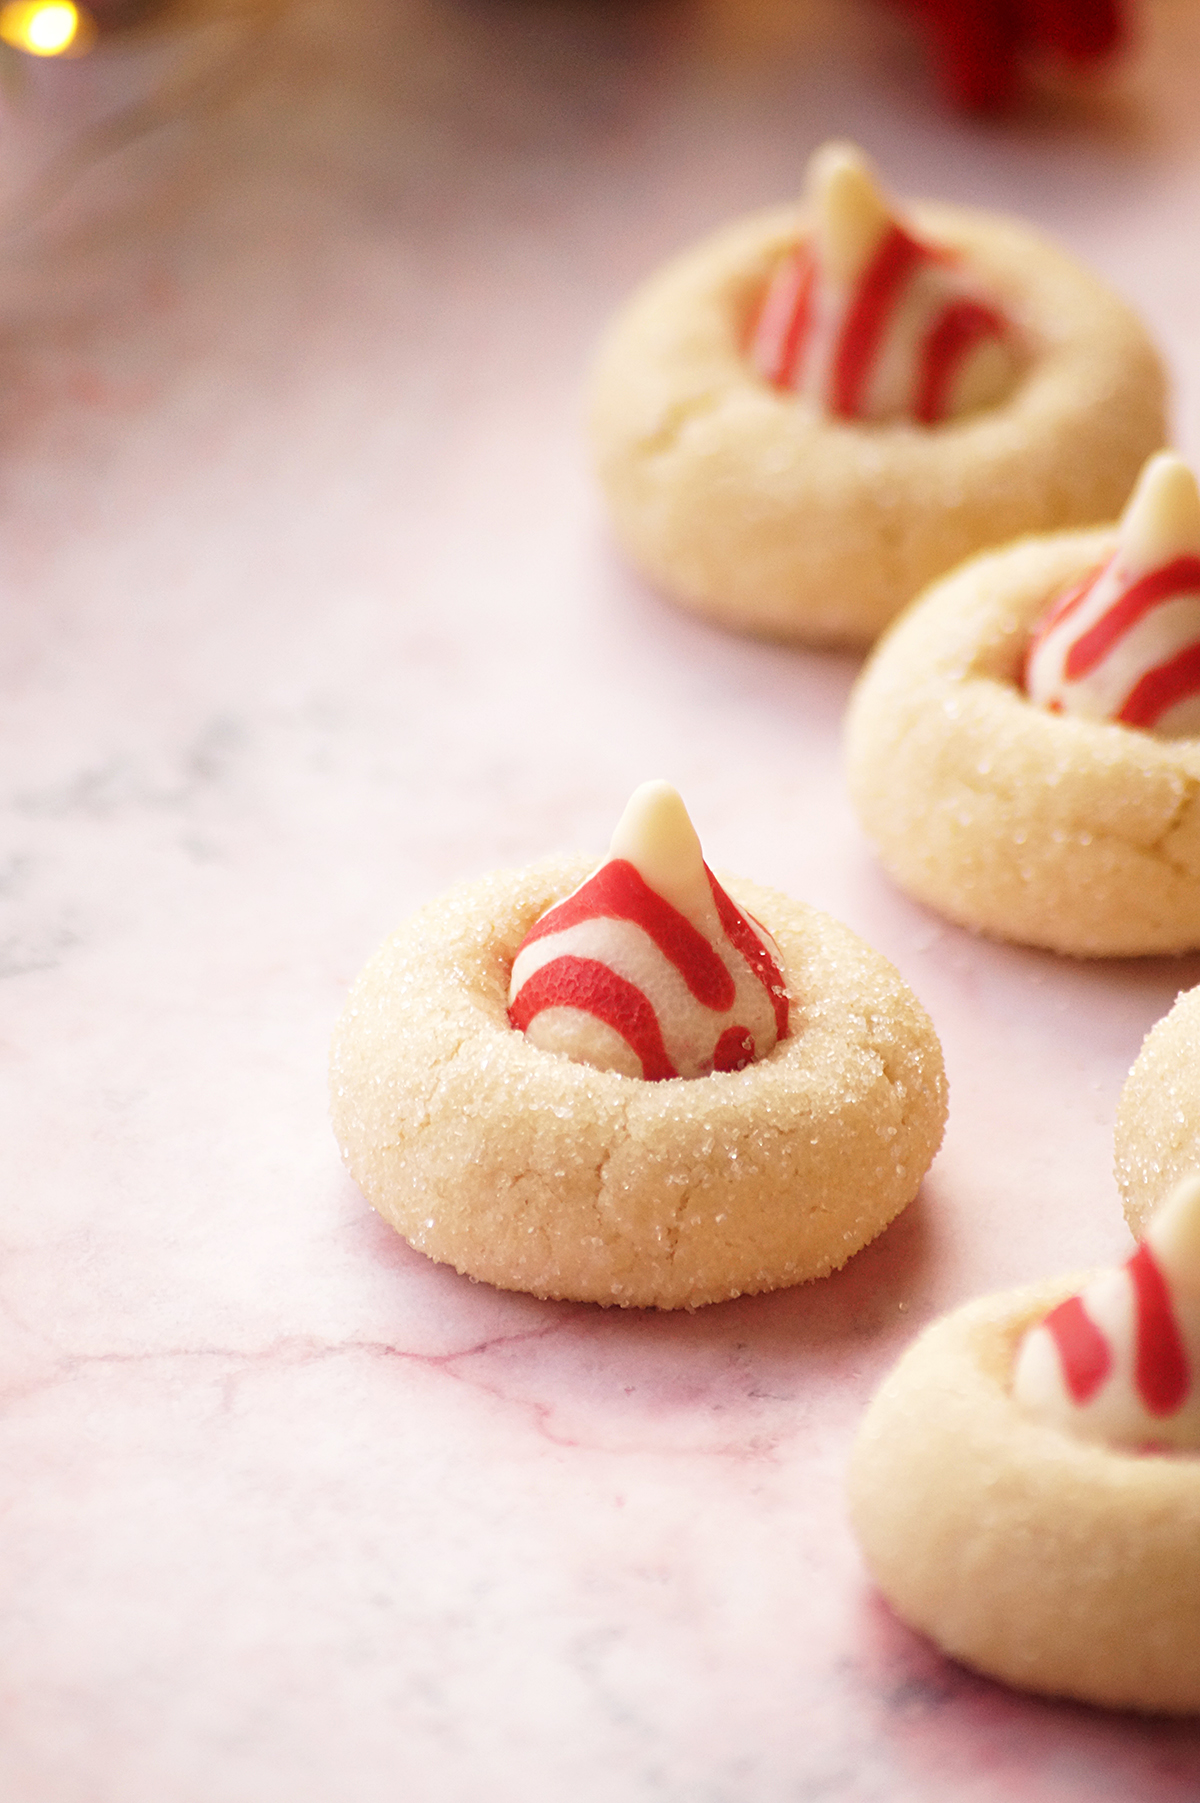
    Peppermint Kiss Cookies or Candy Cane Blossoms - These are soft, no-chill, flavorful, and delicious festive cookies that are perfect for the holiday season!

    What are peppermint kiss cookies?

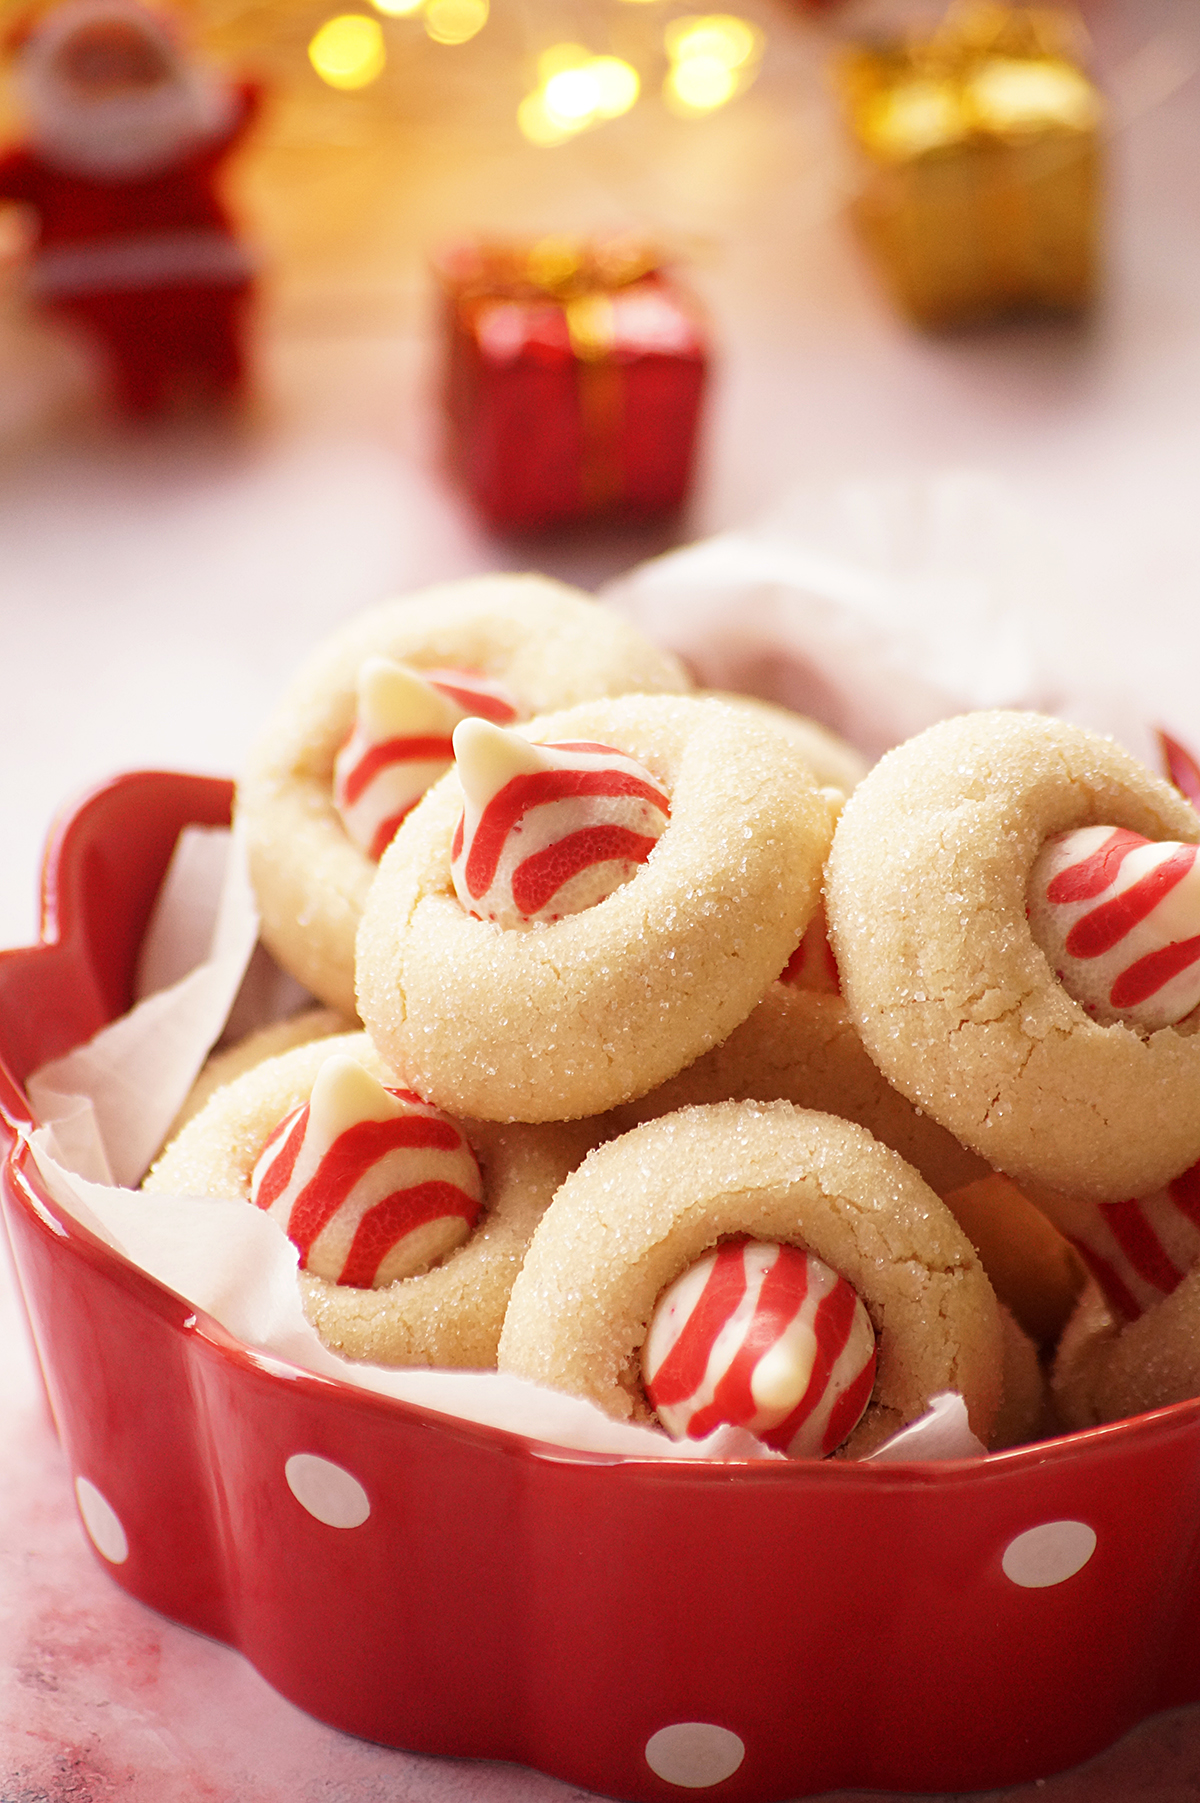
    Peppermint Kiss Cookies also known as Candy Cane Blossoms are a soft and festive treat made with a buttery dough and peppermint flavored kisses.

    As the cookie cools, the Kiss softens slightly, creating a deliciously sweet and minty center. These are popular during the holiday season and are often enjoyed as a sweet treat or given as homemade gifts.

    Why you'll love this recipe:

    Perfect for the holiday season with their refreshing peppermint flavor.

    It's a no-chill cookie recipe and can be made under 30 minutes.
    Wonderful as homemade gifts.

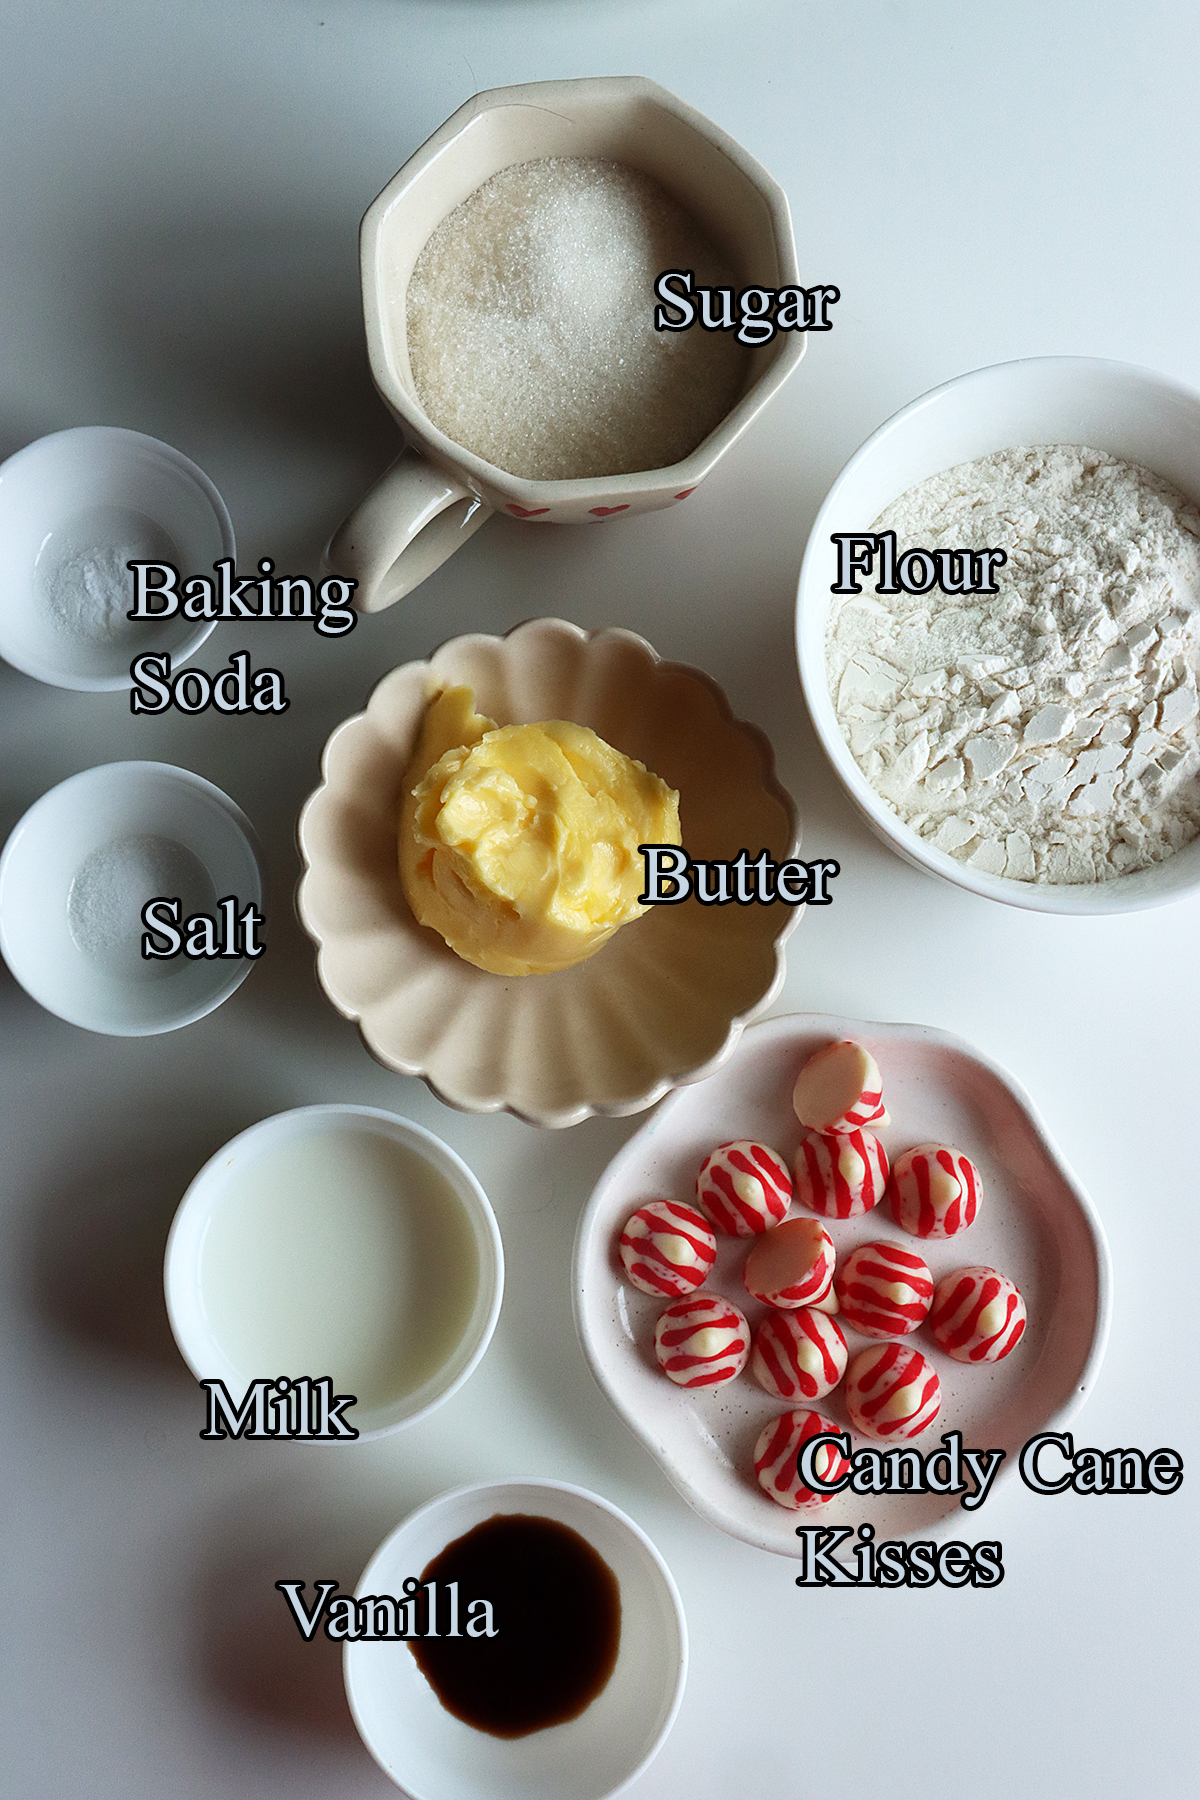
    Ingredients & Substitutions:

    Candy Cane Kisses - Hershey's peppermint flavored kisses are the key ingredient. You could also use any type of hershey's kisses.
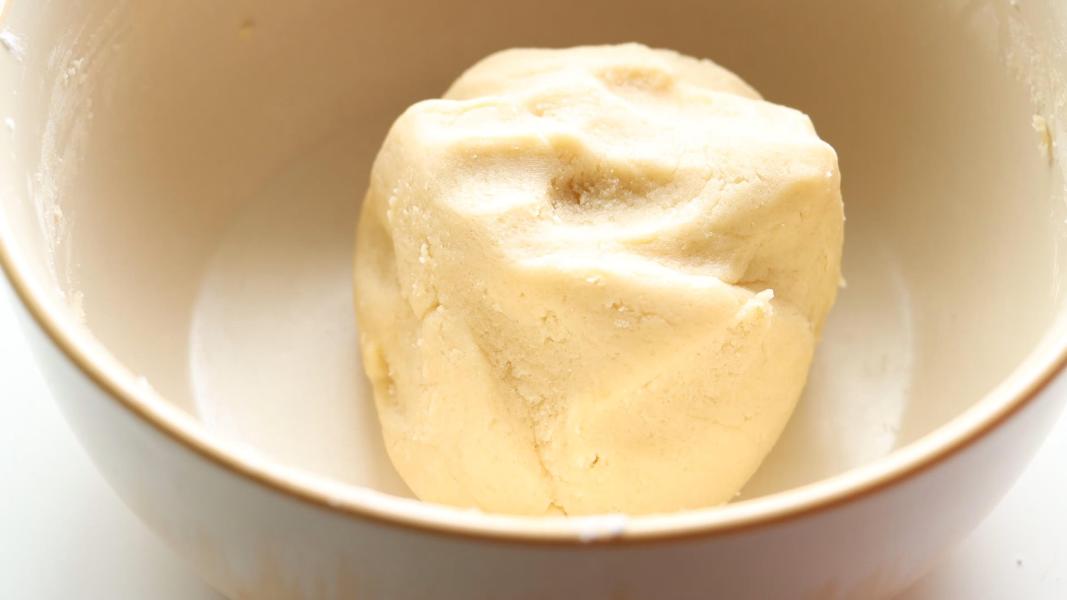
    All Purpose Flour - Also known as plain flour. I haven't tried them with any gluten-free flours yet.
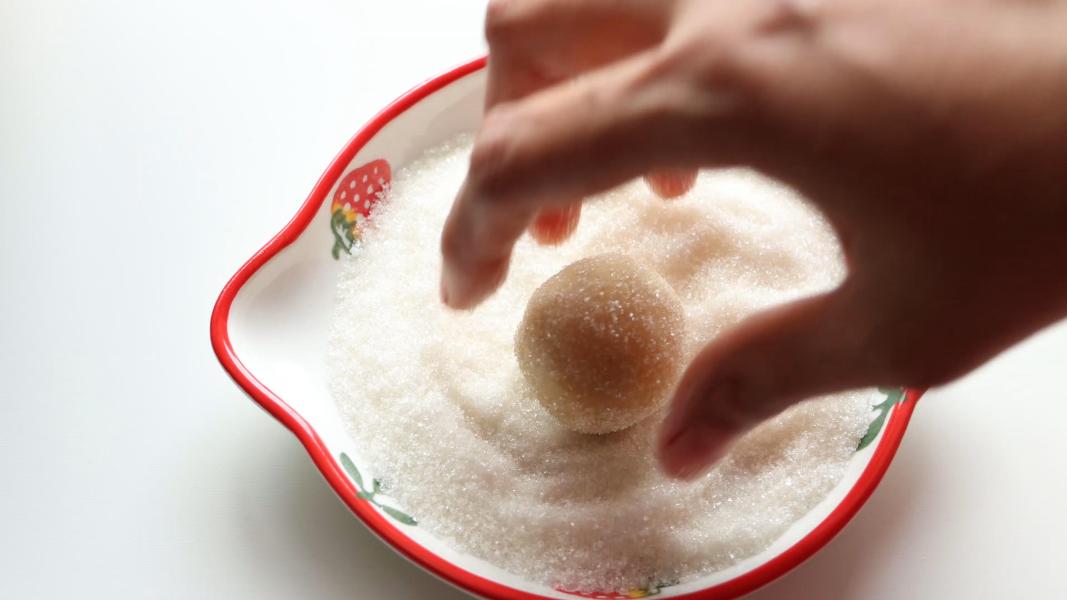
    Butter - I have used unsalted butter. Skip salt if you are going to use salted butter.

    Sugar - I have used fine sugar for the dough and rolling.

    Milk - The original recipe calls for an egg. I have replaced it with milk.

    Vanilla - Enhances the flavor. You could use peppermint extract as well.

    Baking Soda - Do not skip this. It will help cookies rise and gives them a slightly lighter texture.

    Salt - Skip it if you are using salted butter.

    Serving suggestions:

    Serve them alongside a cup of coffee, tea or hot cocoa for a cozy and comforting treat.

    Arrange the cookies on a festive dessert platter along with other holiday treats.

    Storage suggestions:

    These can be stored in an airtight container at room temperature for up to a week. Freeze them for up to 2 months if you want to store them for longer period of time.

    Tips & Notes:

    Make sure your butter is softened. Room temperature butter blends better with the sugar.

    Add a little bit of peppermint extract to the dough if you want a stronger flavor.

    Try to roll the cookie dough into even size balls. This ensures even baking.

    Roll the shaped dough balls in colored sparkling sugar instead of regular sugar to add a festive touch.

    Do not overbake cookies. They should be just set and slightly golden around the edges.

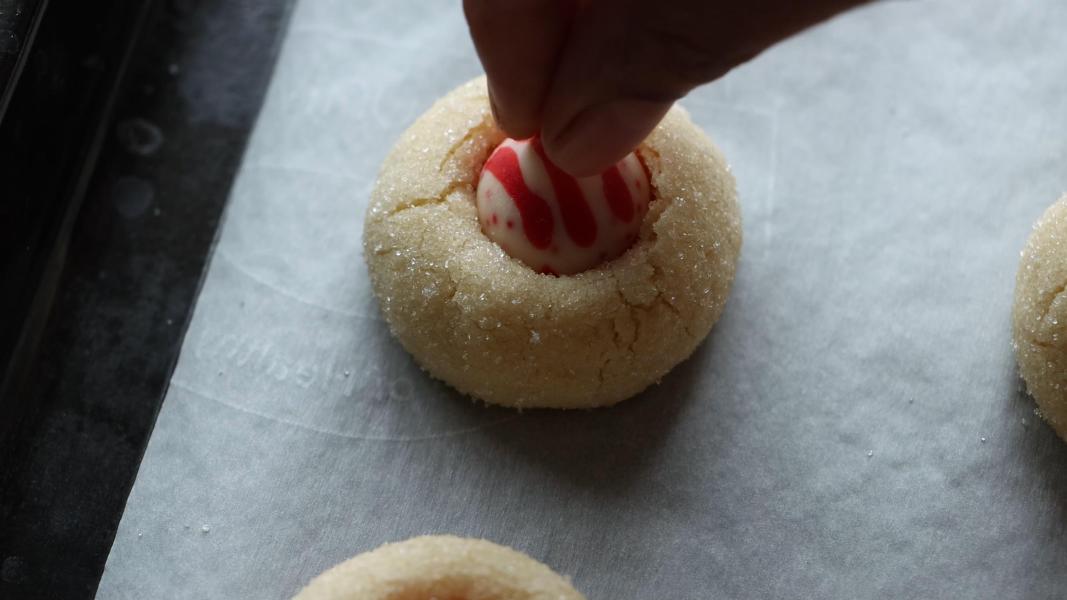
    Once the cookies are baked, DO NOT let them cool completely. Allow them to cool for 2-3 minutes and while they are still warm, gently press a kiss into the middle of each cookie.

    DO NOT move the cookies immediately after placing the kisses on the top. Otherwise, they will collapse.

    Step by step instructions:

    Preheat the oven to 180 degrees C. Line a baking tray with parchment paper.

    Add softened butter and sugar in a mixing bowl. Mix using a spatula or beater until combined.

    Add milk and vanilla and mix well.

    Add flour, baking soda and salt to the sugar and butter mixture.

    Keep mixing until a dough forms.

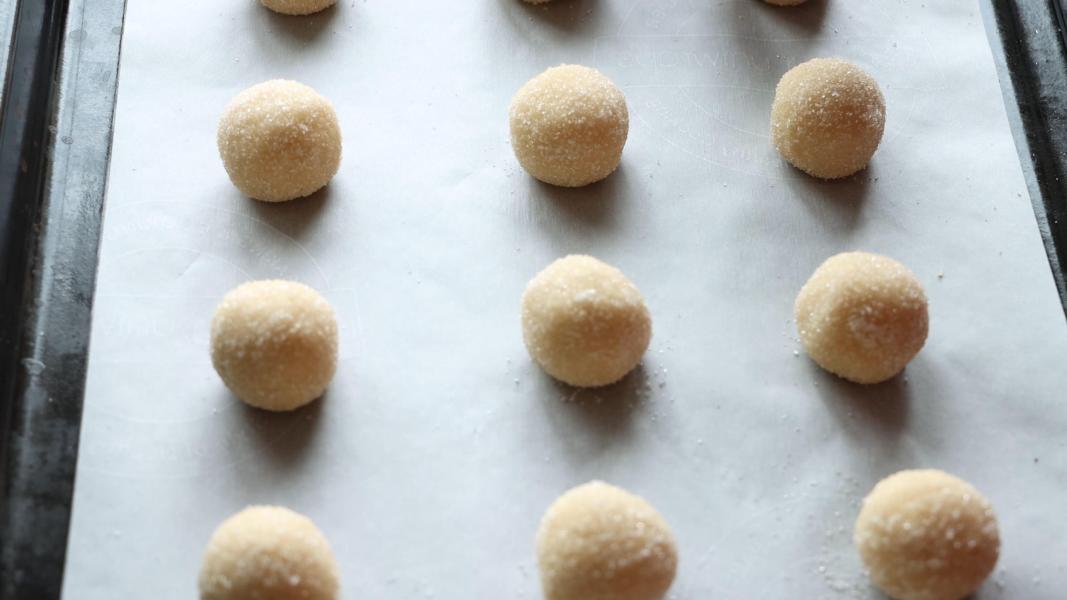
    Gently knead until the dough is soft and smooth. Take a tablespoonful of dough and shape it into round ball.

    Roll the shaped dough ball in sugar.

    Arrange them on the prepared baking sheet, spacing them about 2 inches apart.

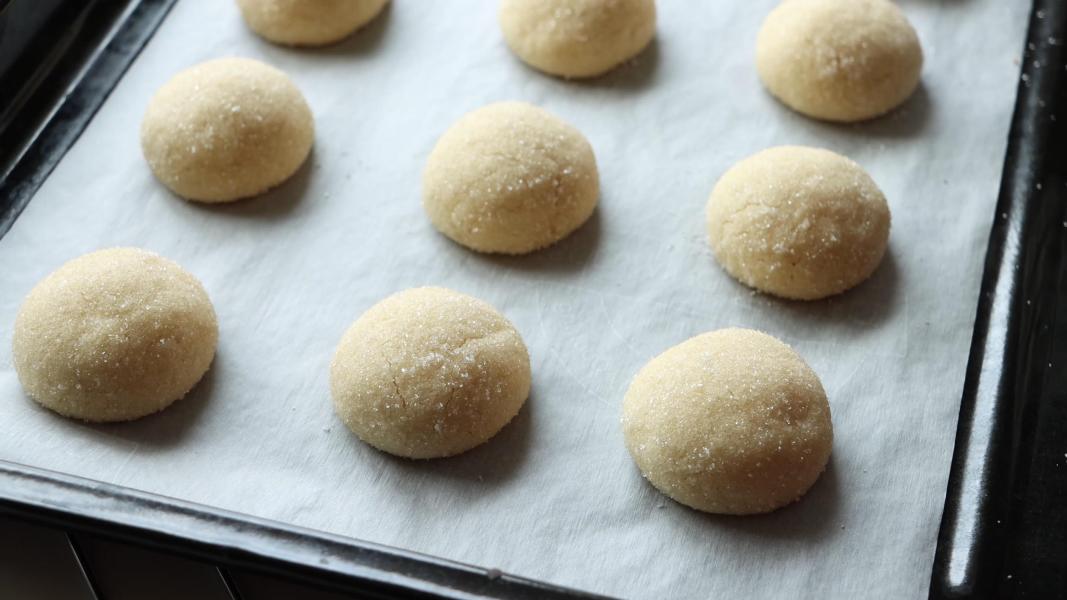
    Bake the cookies in the preheated oven for 10 minutes or until the edges are just set and lightly golden.

    Once the cookies are baked, remove them from the oven. Let them cool down for 2-3 minutes.

    While the cookies are still warm, press a Hershey's Kiss into the center of each cookie.

    Let them cool completely and serve.

    You might love these Christmas recipes:

    • Swedish Christmas Chocolate
    • Red Hot Cinnamon Apples
    • Cherry Snowball Cookies
    • Lemon Snowballs
    • Peppermint Fudge
    • Chocolate Crinkles
    • Santa's Whiskers
    • Lemon Meltaways
    • Biscotti Regina

    Recipe adapted from Hershey

    How to make candy cane blossoms recipe video below:

    Print Recipe

    Peppermint Kiss Cookies

    Peppermint Kiss Cookies or Candy Cane Blossoms - These are soft, no-chill, flavorful, and delicious festive cookies that are perfect for the holiday season!
    Prep Time20 minutes mins
    Cook Time10 minutes mins
    Total Time30 minutes mins
    Course: Cookies, Dessert
    Cuisine: American, International
    Keyword: candy cane blossoms recipe, Christmas Cookies, christmas recipes, peppermint kiss cookies recipe
    Servings: 16 Cookies
    Calories: 102kcal
    Author: Hari Chandana Ponnaluri

    Ingredients

    • ¼ Cup Unsalted Butter, Softened
    • ½ Cup Sugar
    • 3 Tablespoons Milk
    • ¾ Teaspoon Vanilla Extract
    • 1 Cup All Purpose Flour / Plain Flour
    • ¼ Teaspoon Baking Soda
    • ⅛ Teaspoon Salt
    • 16 Candy Cane Kisses

    Instructions

    • Preheat the oven to 180 degrees C. Line a baking tray with parchment paper.
    • Add softened butter and sugar in a mixing bowl. Mix using a spatula or beater until combined.
    • Add milk and vanilla and mix well.
    • Add flour, baking soda and salt to the sugar and butter mixture.
    • Keep mixing until a dough forms.
    • Gently knead until the dough is soft and smooth. Take a tablespoonful of dough and shape it into round ball.
    • Roll the shaped dough ball in sugar.
    • Arrange them on the prepared baking sheet, spacing them about 2 inches apart.
    • Bake the cookies in the preheated oven for 10 minutes or until the edges are just set and lightly golden.
    • Once the cookies are baked, remove them from the oven. Let them cool down for 2-3 minutes.
    • While the cookies are still warm, press a Hershey's Kiss into the center of each cookie.
    • Let them cool completely and serve.

    Video

    Nutrition

    Calories: 102kcal | Carbohydrates: 15g | Protein: 1g | Fat: 4g | Saturated Fat: 3g | Polyunsaturated Fat: 0.1g | Monounsaturated Fat: 1g | Trans Fat: 0.1g | Cholesterol: 9mg | Sodium: 41mg | Potassium: 14mg | Fiber: 0.3g | Sugar: 9g | Vitamin A: 92IU | Vitamin C: 0.01mg | Calcium: 15mg | Iron: 0.4mg

    Red Hot Cinnamon Apples

    December 7, 2023

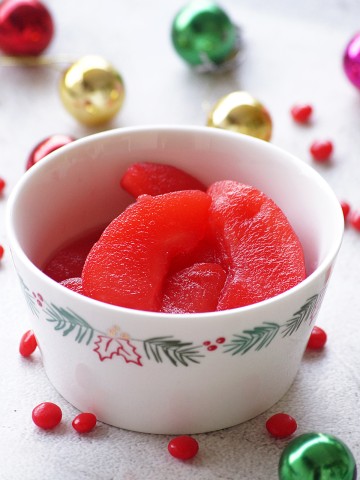
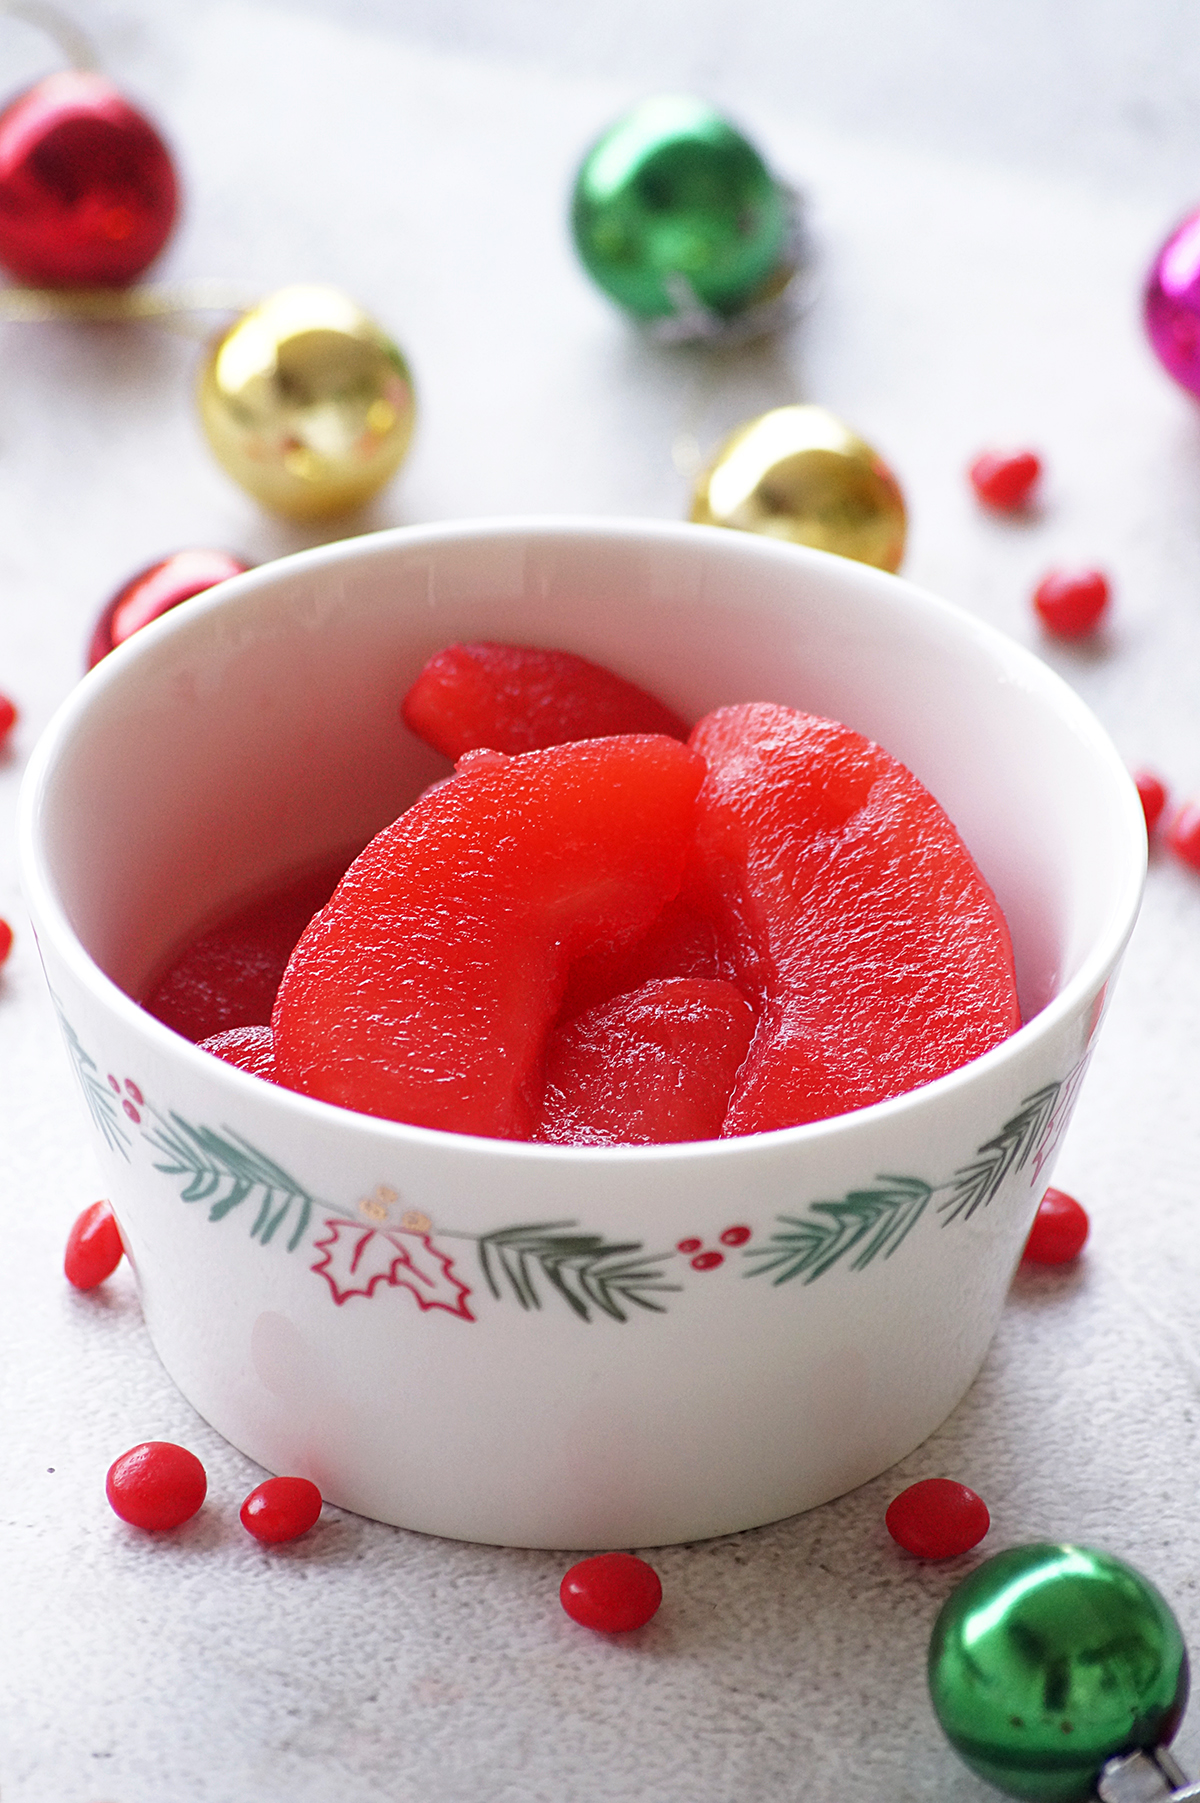
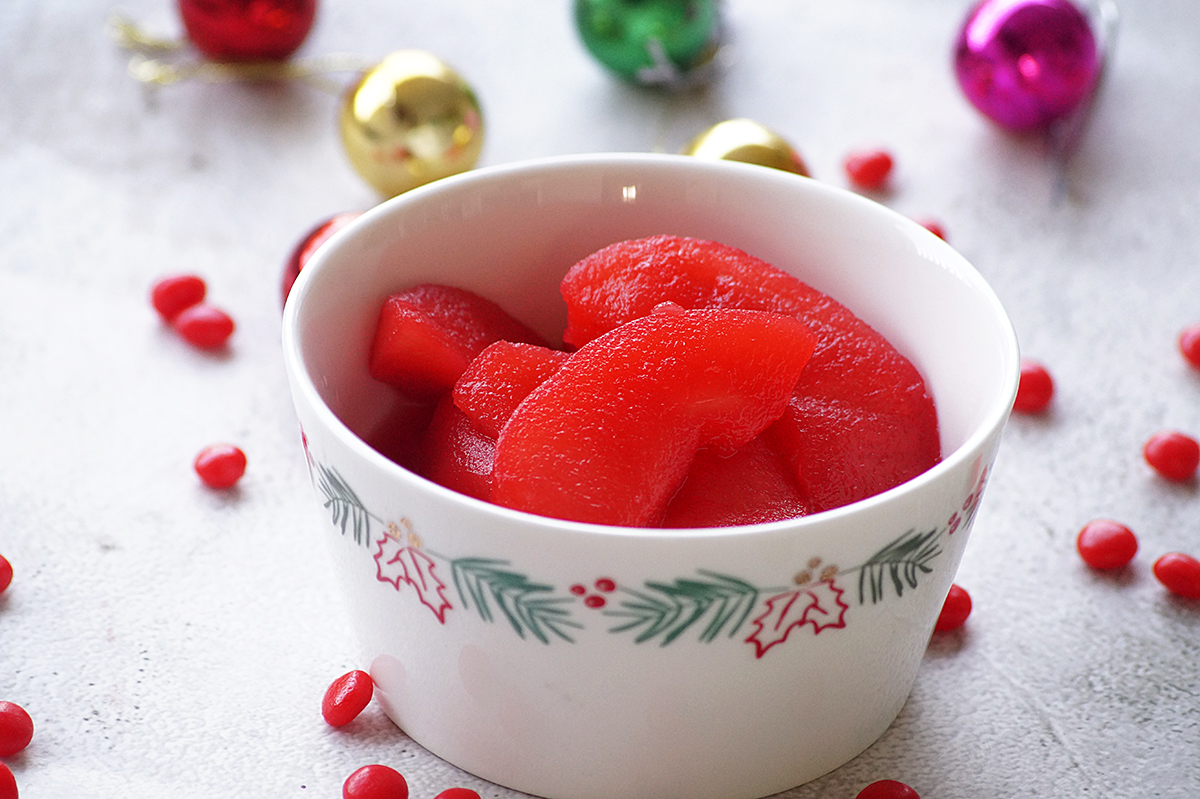
    Red Hot Cinnamon Apples - Old fashioned sweet and spicy stewed apples made with cinnamon candies. A comforting addition to your Thanksgiving or Christmas feast!

    What are red hot cinnamon apples?

    Red hot apples are a old fashioned sweet and spicy dish made by cooking apples with red hot cinnamon candies or cinnamon imperials. The process typically involves simmering sliced apples in a mixture of cinnamon candies, sugar water until the they are tender and infused with the cinnamon flavor.

    The addition of red hot candies or cinnamon imperials will add a lovely red color and cinnamon flavor to the dish. It's a classic and popular treat that can be enjoyed during the fall or winter season. It can be served as a side dish or dessert.

    Why you'll love this recipe:

    Requires only 3 ingredients!

    They're incredibly versatile. Can be served in various ways!

    It's a perfect dish for the holiday season!

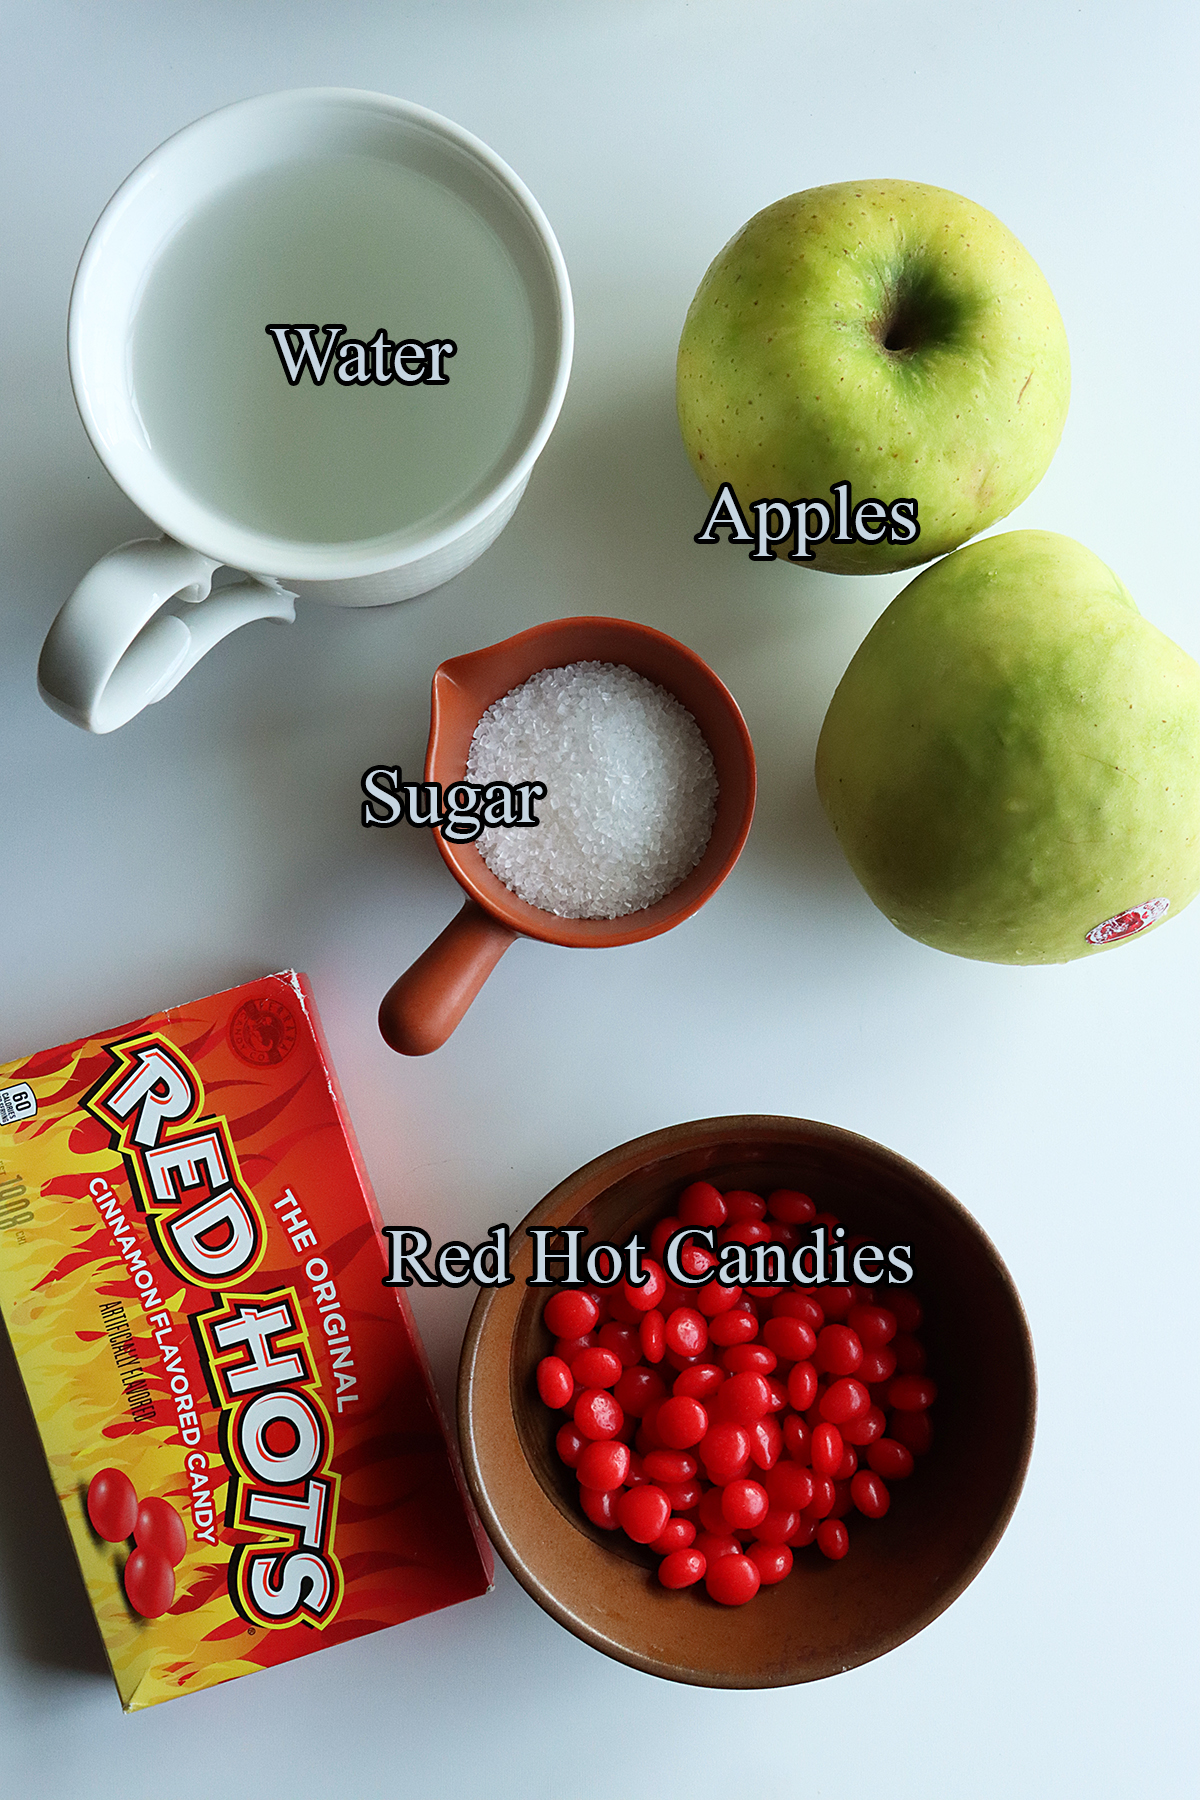
    Ingredients & Substitutions:

    Red Hots - These are tiny, sweet, spicy and cinnamon flavored candies that are bright red in color. These are known for their intense cinnamon flavor. Adds a bright red color and cinnamon flavor to the apples. You can use any similar candies in this recipe.

    Apples - I have used granny smith apples as they have a good balance of sweetness and tartness. The best apples for making red hot apples are ones that hold their shape well during cooking. Granny smith, honeycrisp, or golden delicious can be used.

    Sugar - You can add more or less sugar according to your taste preference.

    Water

    Serving suggestions:

    Serve as a side dish alongside savory main dishes.

    It can also be served as a dessert or as a complement to breakfast dishes like pancakes, waffles, oatmeal, french toast, crepes or cereal.

    Serve warm with yogurt or ice cream.

    Use it as a filling for pies, turnovers, strudels, or tarts for a delicious dessert.

    Use them as a topping for cheesecakes, or puddings to add a pop of color and flavor.

    Storage suggestions:

    Let the cooked fruit to cool completely and transfer them to an airtight container. Store it in the refrigerator for up to 5 days.

    Tips & Notes:

    Choose firm and fresh apples for the best taste and texture.

    You can also chop the fruit into rings, cubes or wedges. Slice them into even size pieces for even cooking.

    You can add cinnamon sticks or cloves for extra flavor.

    Soak the cooked apples in the syrup for 2-3 hours for deeper red color and flavor.

    You can add a drop of red food color for deeper color.

    Step by step instructions:

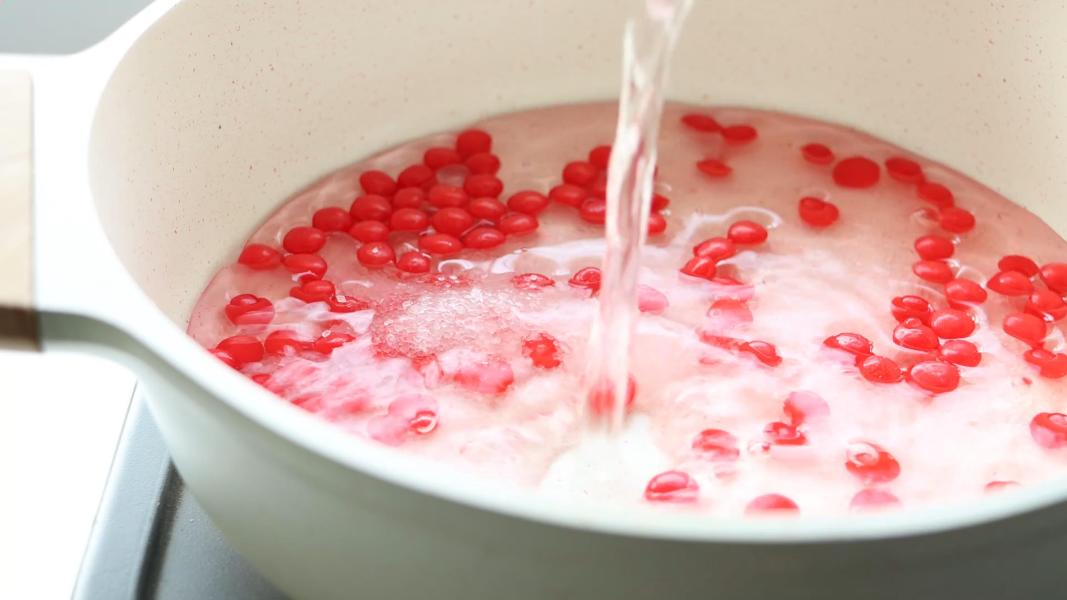
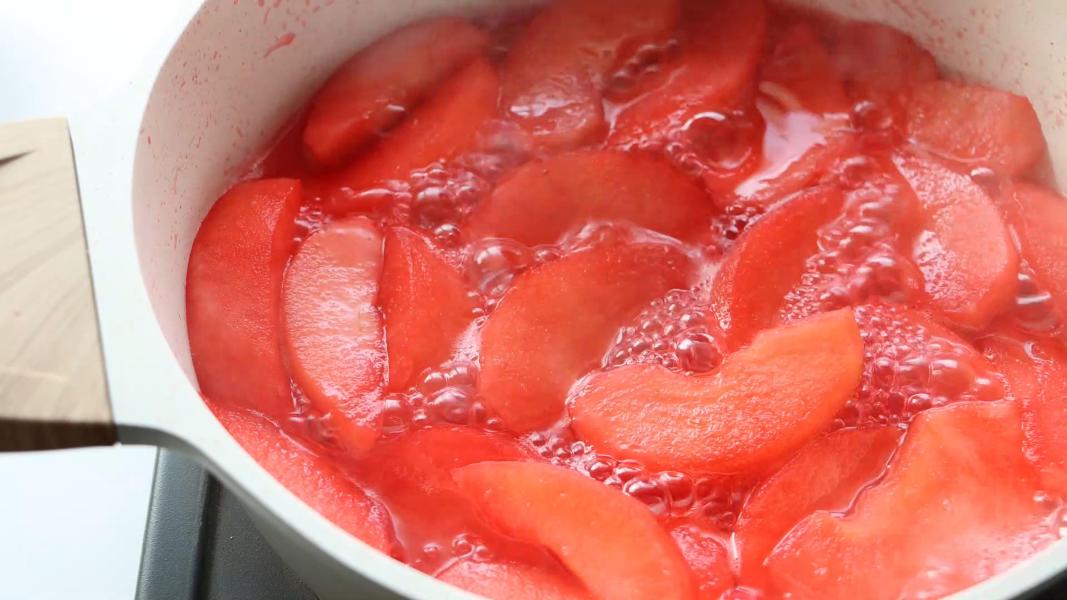
    Combine cinnamon candies, water and sugar in a pan.

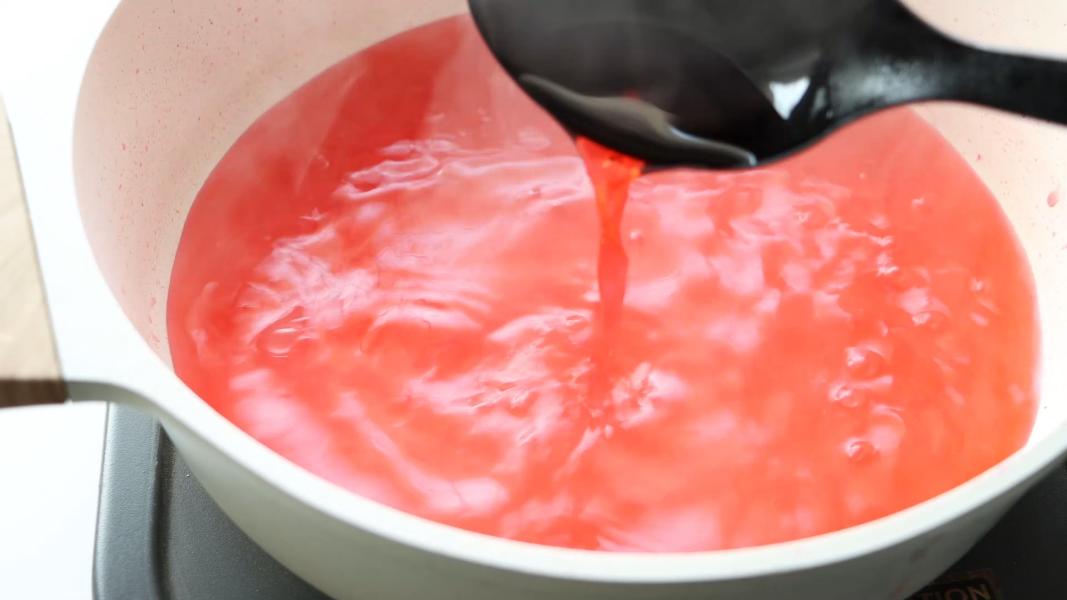
    Heat over a medium flame and mix until the candies and sugar dissolve completely.

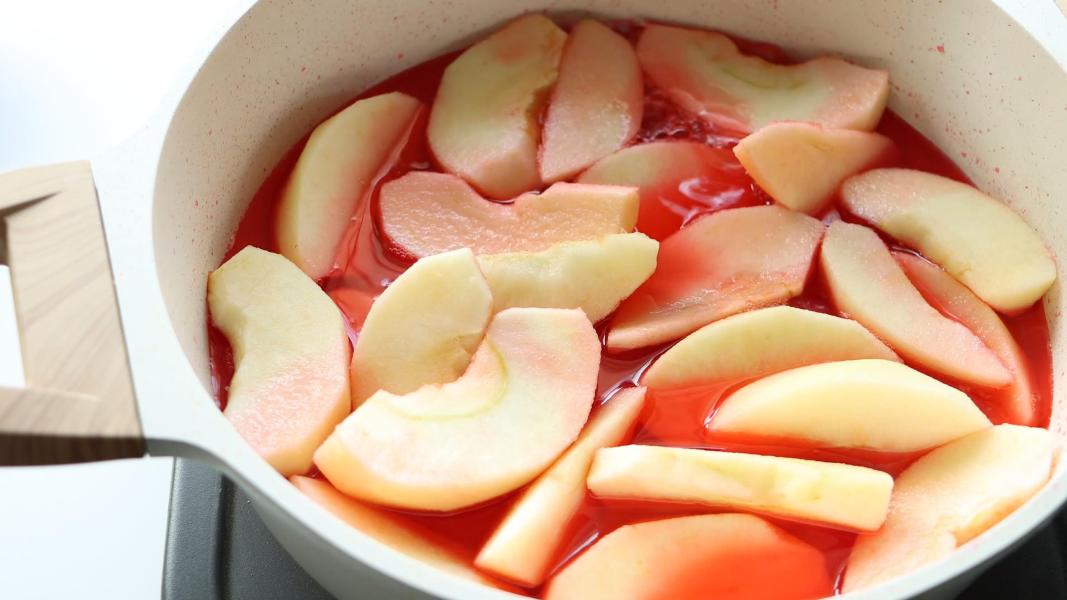
    Peel, core and slice apples into even pieces. Slowly drop them into the candy and sugar mixture. Stir gently to coat them with the syrup.

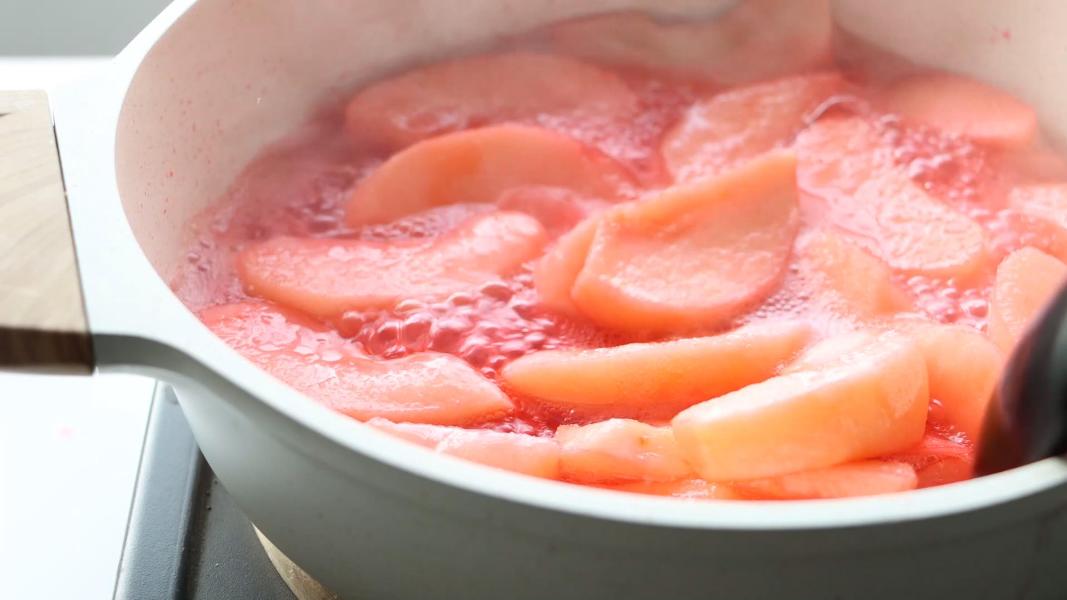
    Let them cook over a medium heat for about 10 minutes or until they are tender but still hold their shape.

    Once the they are cooked to your liking, transfer them to a bowl and let them soak in the syrup for 2-3 hours for strong flavor and color. The soaking step is completely optional.

    You might love these recipes:

    • Pumpkin Spice Chia Pudding
    • Homemade Pumpkin Spice
    • Peppermint Meltaways
    • Hasselback Butternut Squash
    • Brussels Sprouts Grilled Cheese Sandwich
    • Cherry Turnovers
    • Chestnut Cardamom Milk
    • Instant Pot Chestnuts
    • Swedish Christmas Chocolate

    How to make red hot cinnamon apples recipe video below:

    Print Recipe

    Red Hot Cinnamon Apples

    Red Hot Cinnamon Apples - Old fashioned sweet and spicy stewed apples made with cinnamon candies. A comforting addition to your Thanksgiving or Christmas feast!
    Prep Time5 minutes mins
    Cook Time15 minutes mins
    Total Time20 minutes mins
    Course: Dessert, Side Dish
    Cuisine: American, International
    Keyword: christmas recipes, easy apple recipes, Thanksgiving Recipes
    Servings: 6
    Calories: 97kcal
    Author: Hari Chandana Ponnaluri

    Ingredients

    • ⅓ Cup Red Hots Cinnamon Candies
    • 3 Tablespoons Sugar
    • 1 Cup Water
    • 2 Large Granny Smith Apples

    Instructions

    • Peel, core and slice apples into even pieces.
    • Combine cinnamon candies, water and sugar in a pan.
    • Heat over a medium flame and mix until the candies and sugar dissolve completely.
    • Slowly drop sliced fruit into the candy and sugar mixture. Stir gently to coat them with the syrup.
    • Let them cook over a medium heat for about 10 minutes or until they are tender but still hold their shape.
    • Once the they are cooked to your liking, transfer them to a bowl and let them soak in the syrup for 2-3 hours for strong flavor and color. The soaking step is completely optional.

    Video

    Nutrition

    Calories: 97kcal | Carbohydrates: 26g | Protein: 0.2g | Fat: 0.1g | Saturated Fat: 0.02g | Polyunsaturated Fat: 0.04g | Monounsaturated Fat: 0.01g | Sodium: 3mg | Potassium: 80mg | Fiber: 2g | Sugar: 22g | Vitamin A: 40IU | Vitamin C: 3mg | Calcium: 6mg | Iron: 0.1mg

    Ischoklad - Swedish Christmas Chocolate

    December 6, 2023

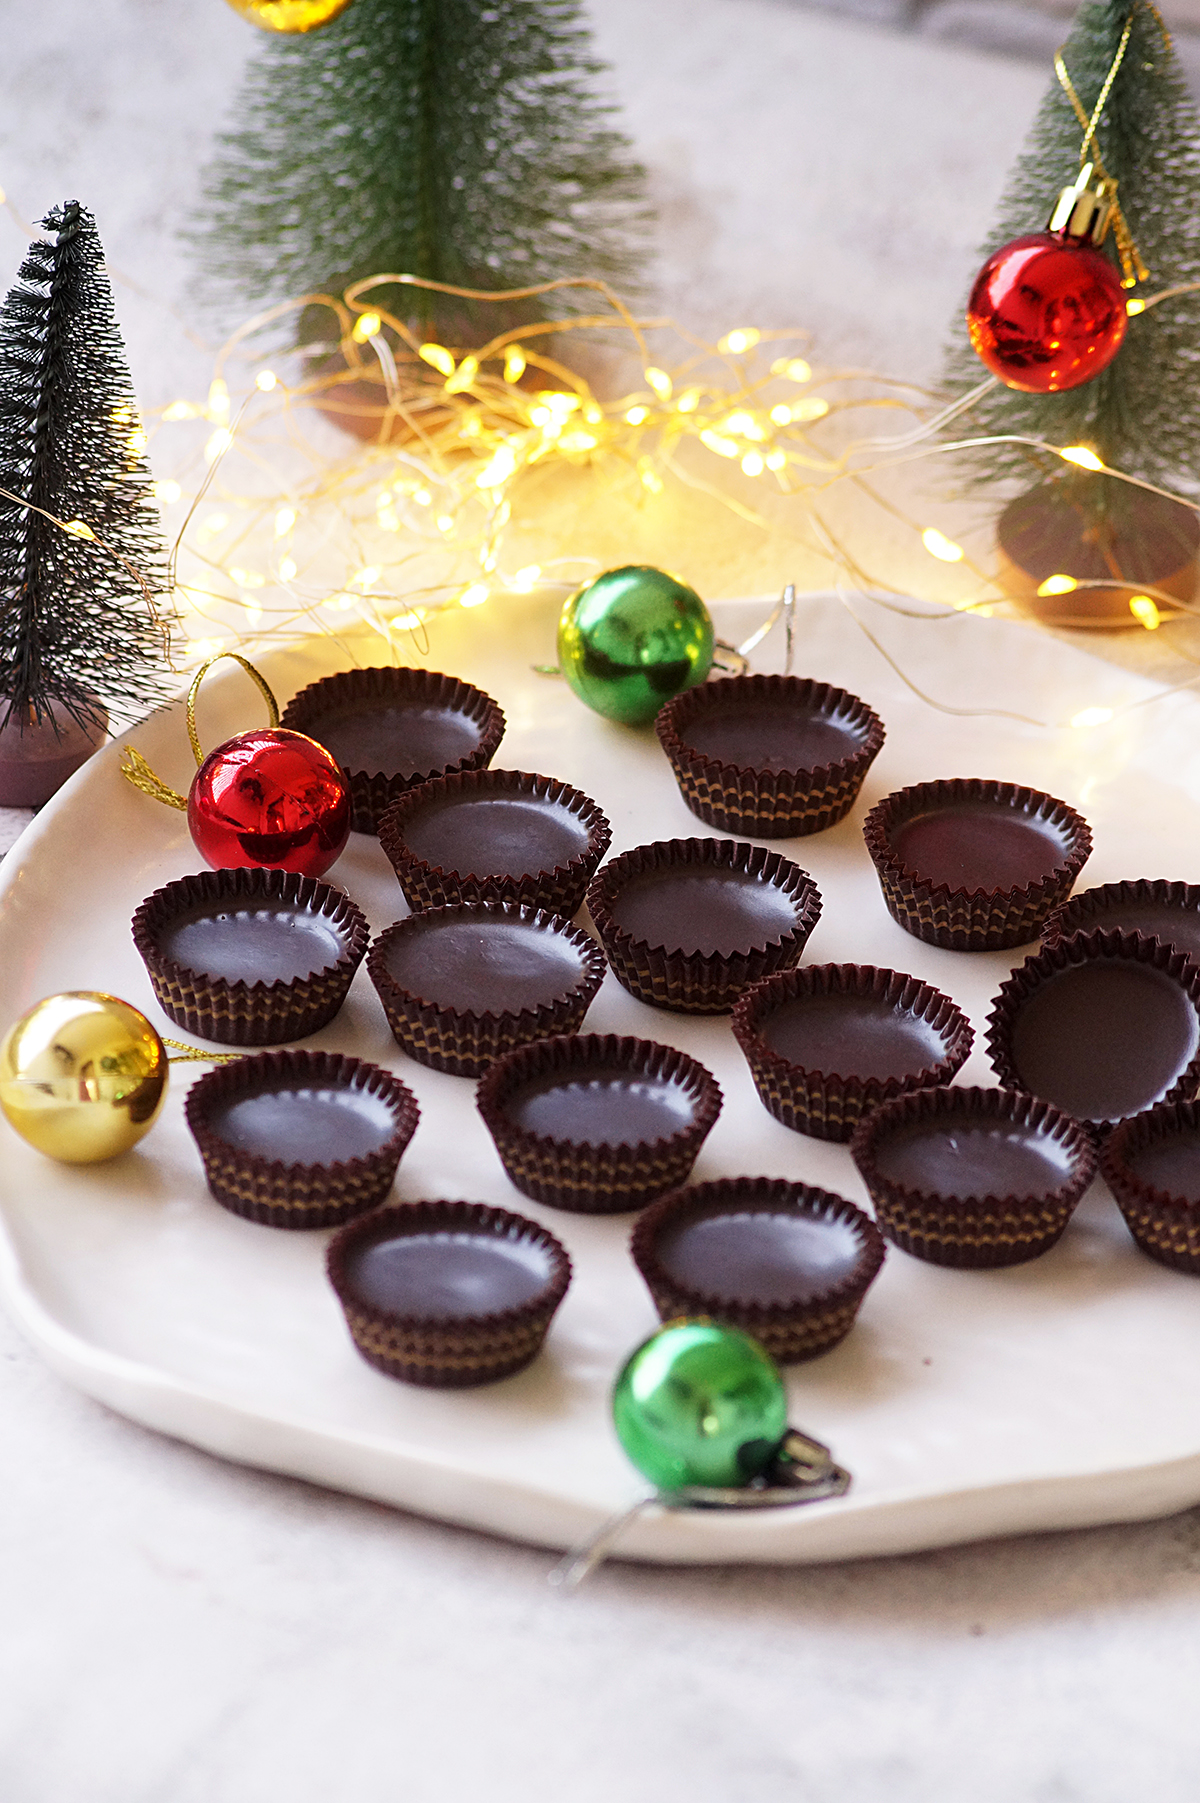
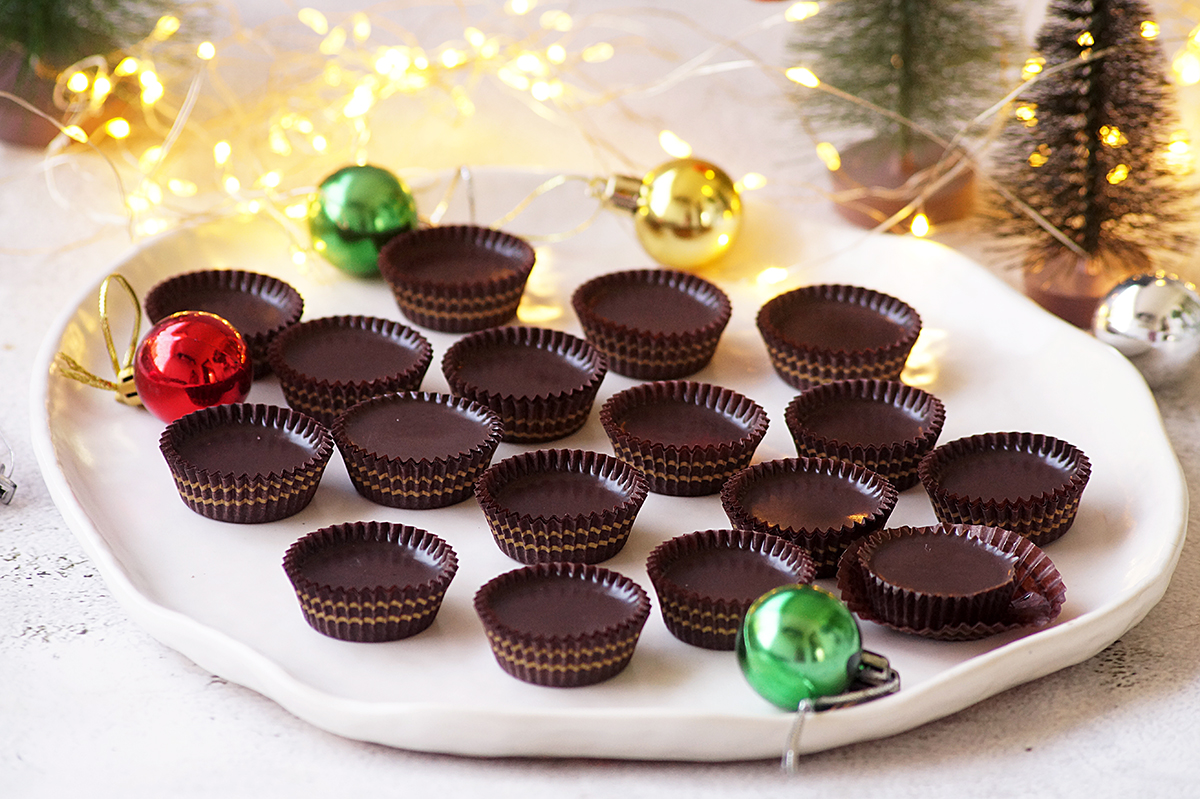
    Ischoklad - A classic, delicate, creamy, and delicious Swedish chocolates for the holiday season!

    What is Ischoklad?

    Ischoklad is a traditional Swedish chocolate typically made during the Christmas season. The name "Ischoklad" translates to "Ice Chocolate" in English and they just melt in your mouth like ice.

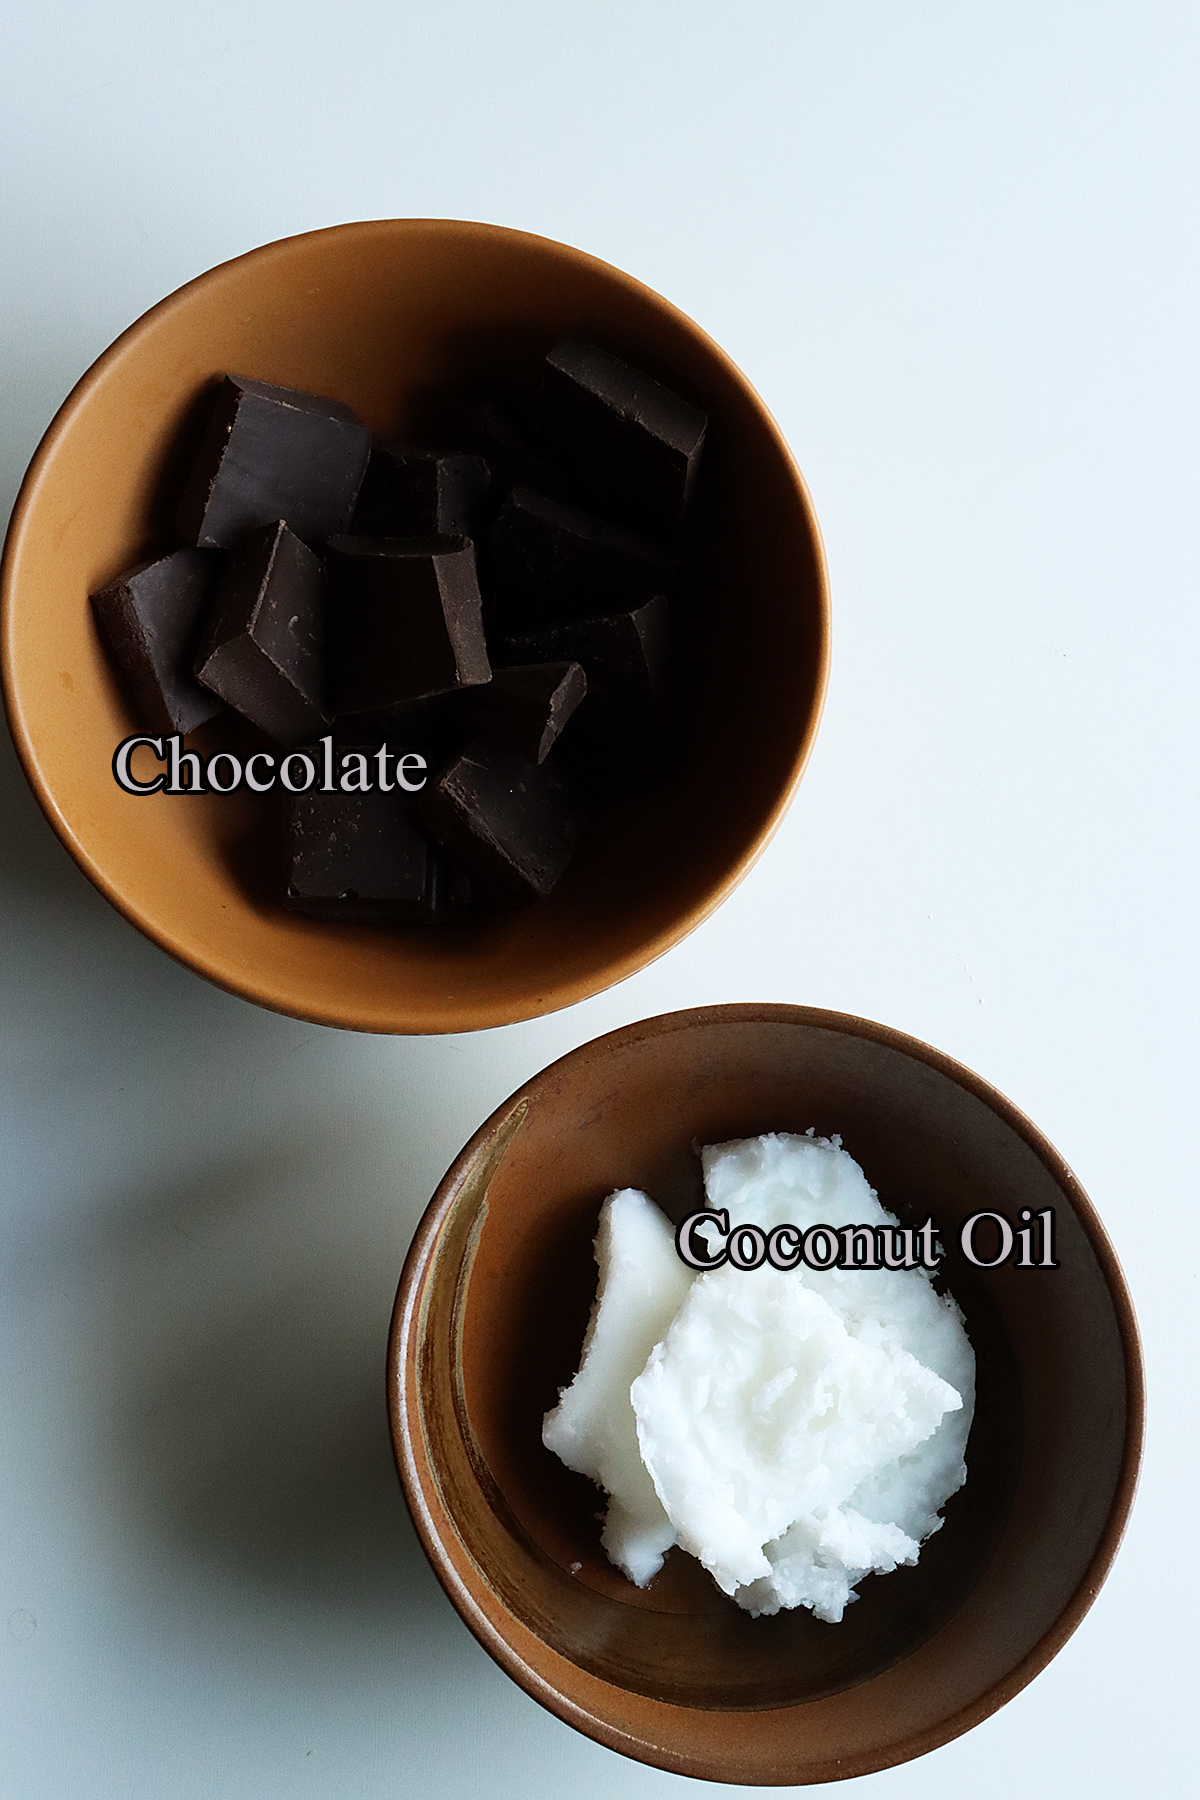
    It is one the simple and classic Swedish Christmas treats made with 2 key ingredients: chocolate and coconut oil. Traditionally, coconut fat is used to make these ice chocolates. Coconut fat is also knows as "kokosfett" in Swedish.

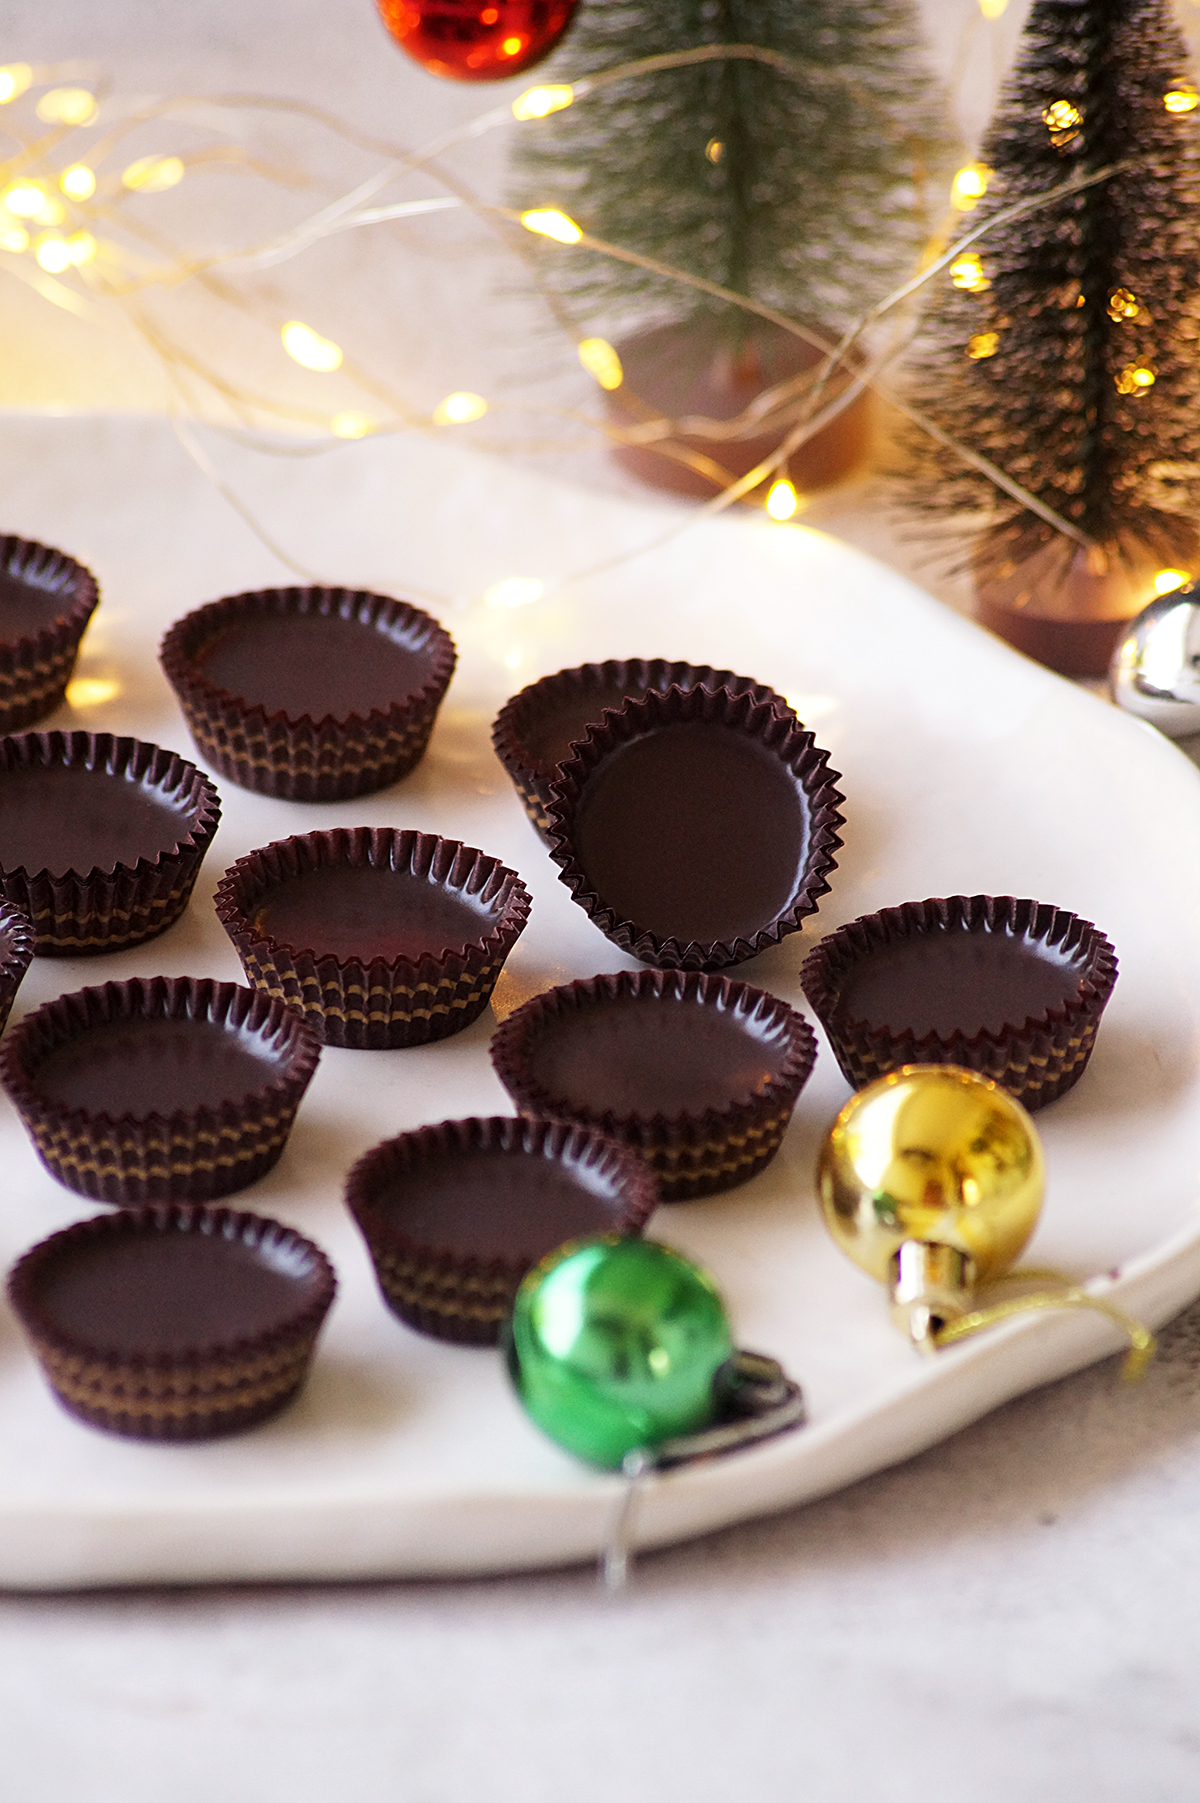
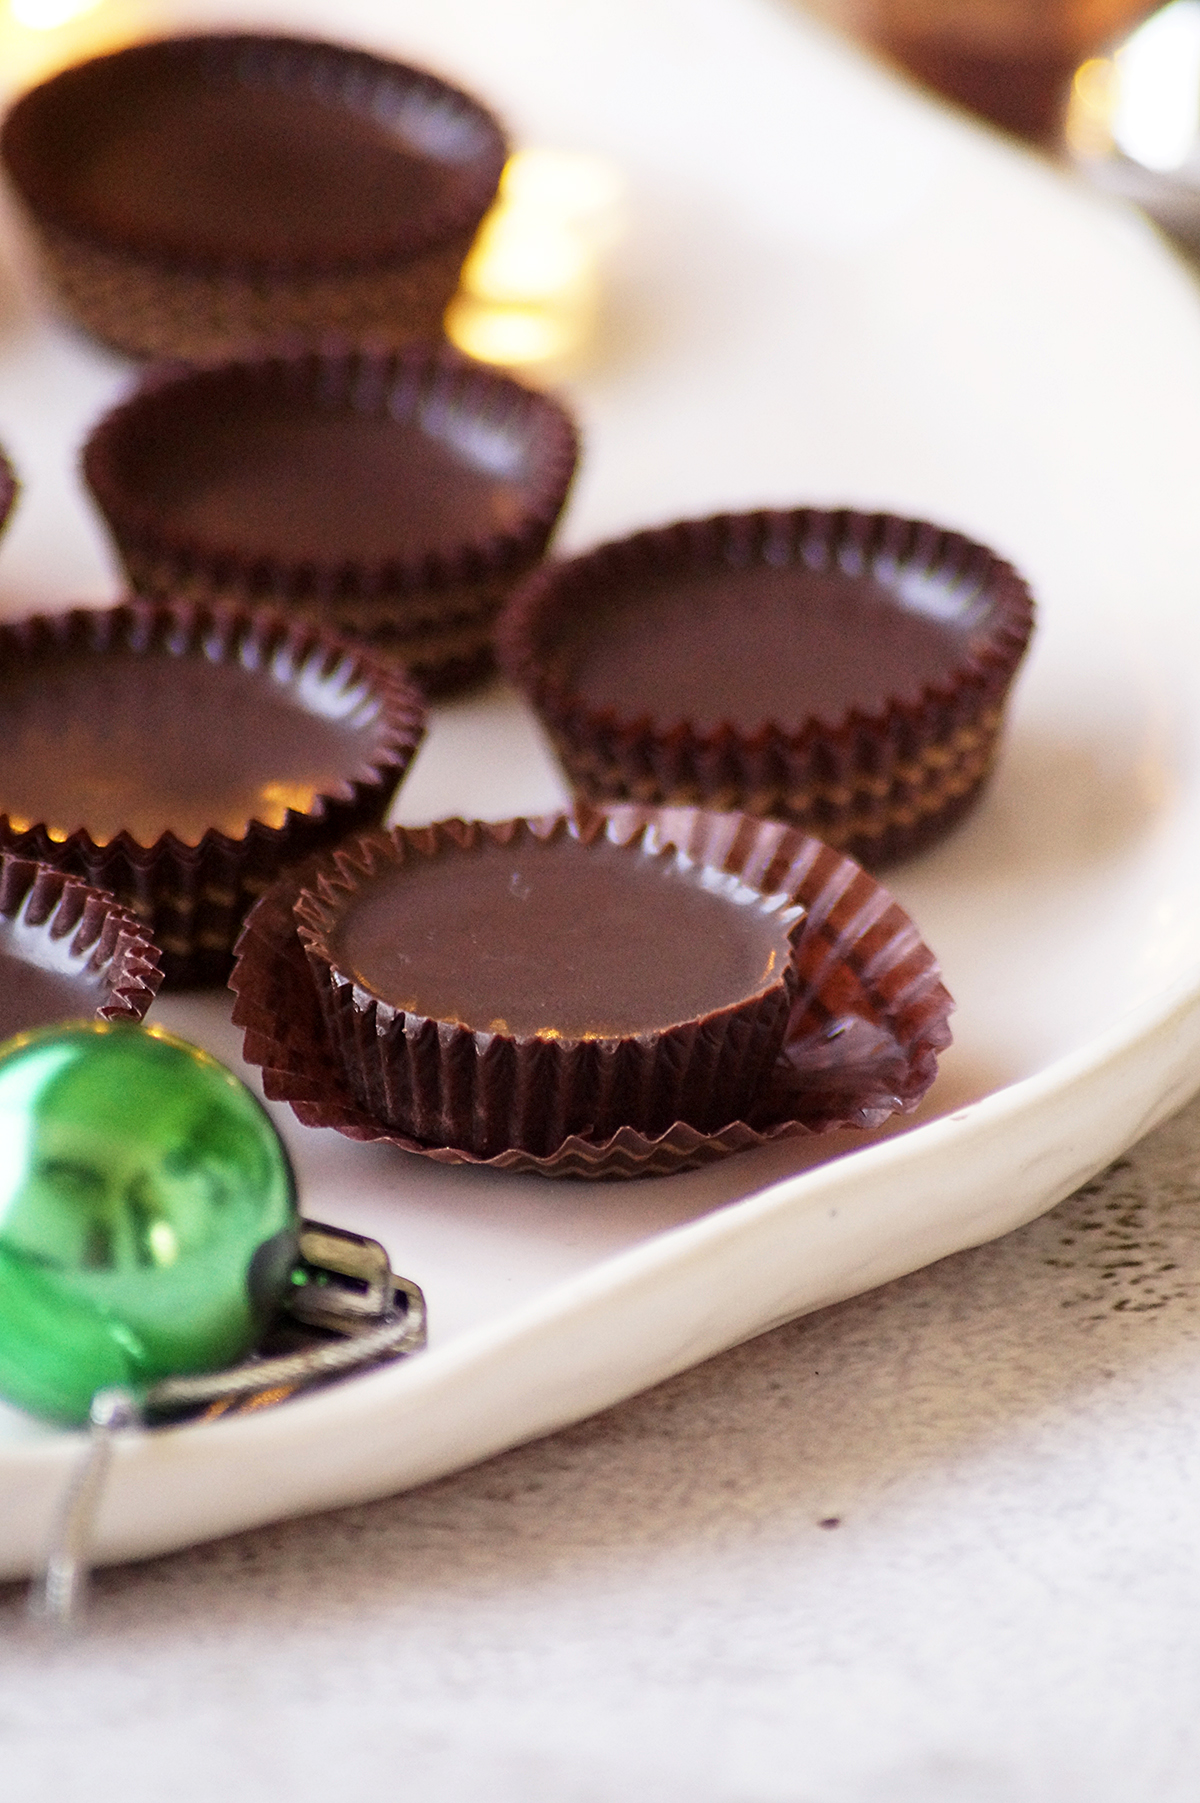
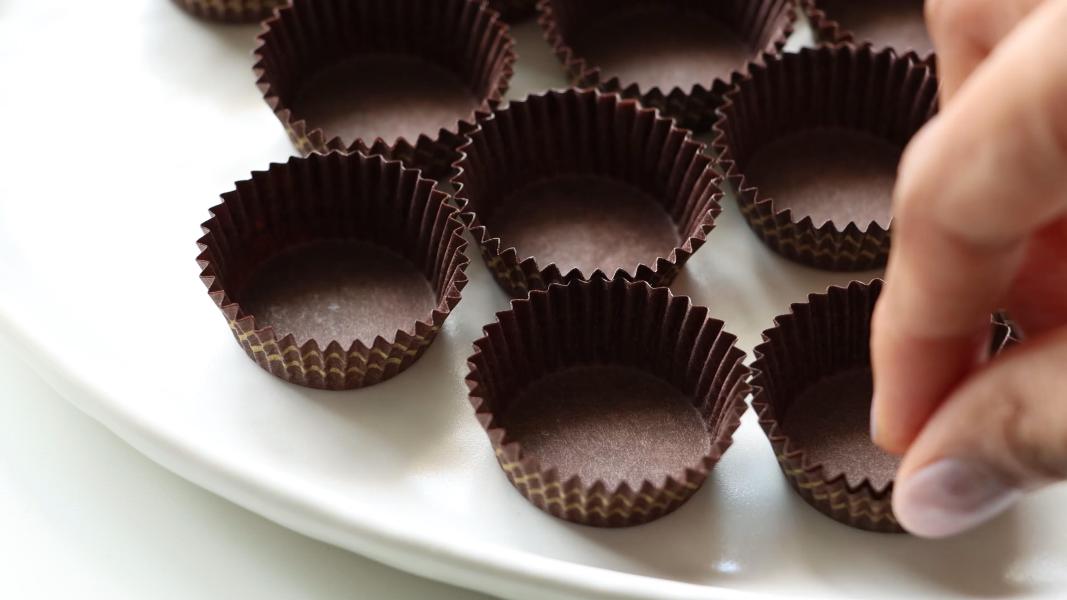
    These tiny chocolates are usually set in colorful foil molds called "Ischokladformar". You can use multiple layers of mini cupcake liners if you can't find the foil molds.

    It's often made during the holiday season and can be flavored with ingredients like coffee, vanilla, or nuts.

    Why you'll love this recipe:

    Incredibly easy to make with 2 ingredients.

    Unique, delicious and perfect for gifting!

    Can experiment with different types of flavors to suit different tastes.

    Ingredients & Substitutions

    Chocolate - Use a good quality dark chocolate (at least 70% cocoa) for the best taste and flavor. You can substitute it with white chocolate, milk chocolate or vegan chocolate.

    Coconut Oil - Traditionally, coconut fat (kokosfett) is used to make these ice chocolates. But, I have used coconut oil since I couldn't find coconut fat.

    How to avoid coconut flavor in ischoklad?

    If you are using coconut oil, the chocolates with have a little bit of coconut flavor. Refined coconut oil has a more neutral taste and scent compared to unrefined (virgin or extra-virgin) coconut oil. Look for "refined" coconut oil specifically to reduce the coconut flavor in your ischoklad.

    You could also add flavorings like vanilla, almond, or other extracts to complement the coconut taste.

    Variations:

    Feel free to experiment with different types of chocolates like milk, dark, or white chocolate.

    Enhance the flavor by adding additional flavors like vanilla, almond, peppermint, or orange. These extracts can complement the chocolate and adds a delightful twist.

    You can also add chopped nuts such as almonds, hazelnuts, pistachios, or peanuts for added crunch. Add chopped dried fruits like candied cherries, cranberries, raisins, or apricots for added sweetness or texture.

    Sprinkle a bit of sea salt on top before it sets to make a sweet and salty treat.

    To make spiced ischoklad, add a little bit of cinnamon or nutmeg to infuse warm flavors. You can also incorporate a hint of coffee into the chocolate mixture for a mild coffee flavor.

    Serving suggestions:

    Simply serve ischoklad as a sweet treat on its own. Place the chocolates on a decorative plate for an elegant presentation.

    They can be part of a Swedish-themed holiday celebration or added to the dessert platter during festive gatherings.

    They taste best with a cup of coffee, tea or hot cocoa.

    Storage suggestions:

    Store them in an airtight container in the refrigerator to prevent melting.

    They can be stored in the refrigerator for 2-3 months.

    Step by step instructions:

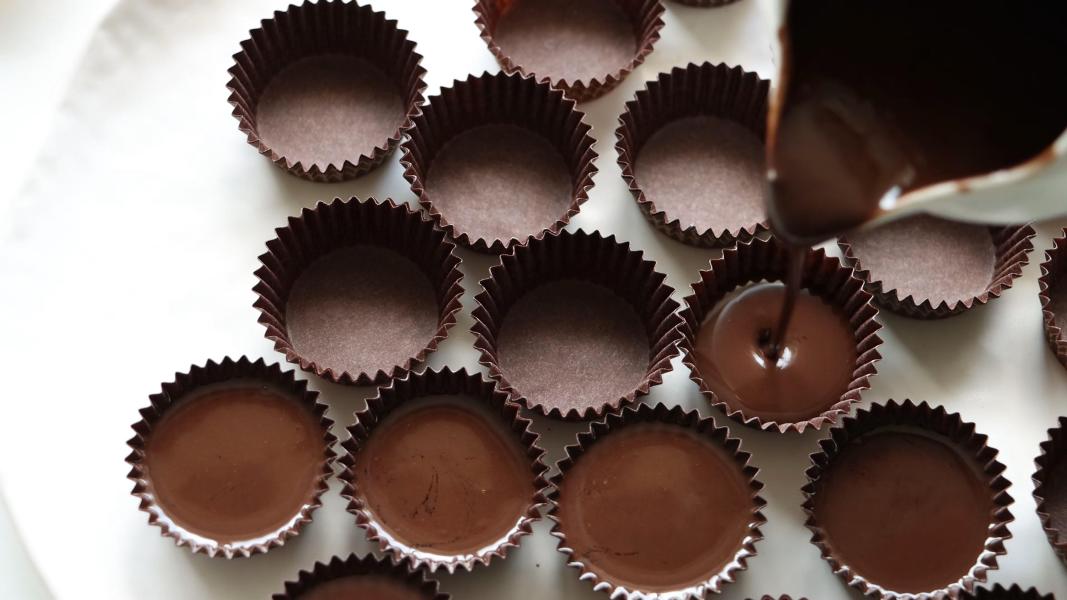
    Arrange mini cupcake liners on a tray. Use 2-3 liners together to hold the chocolate better.

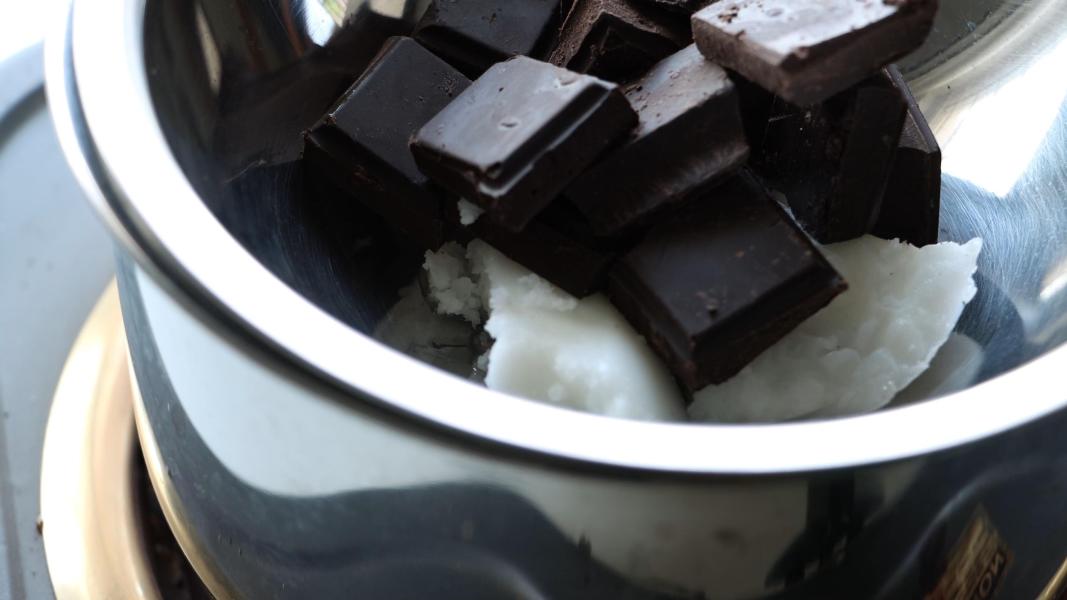
    Heat some water in a pan or vessel over low heat and place a heat resistant bowl on top of the water pot.

    Add chocolate and coconut oil into the top bowl.

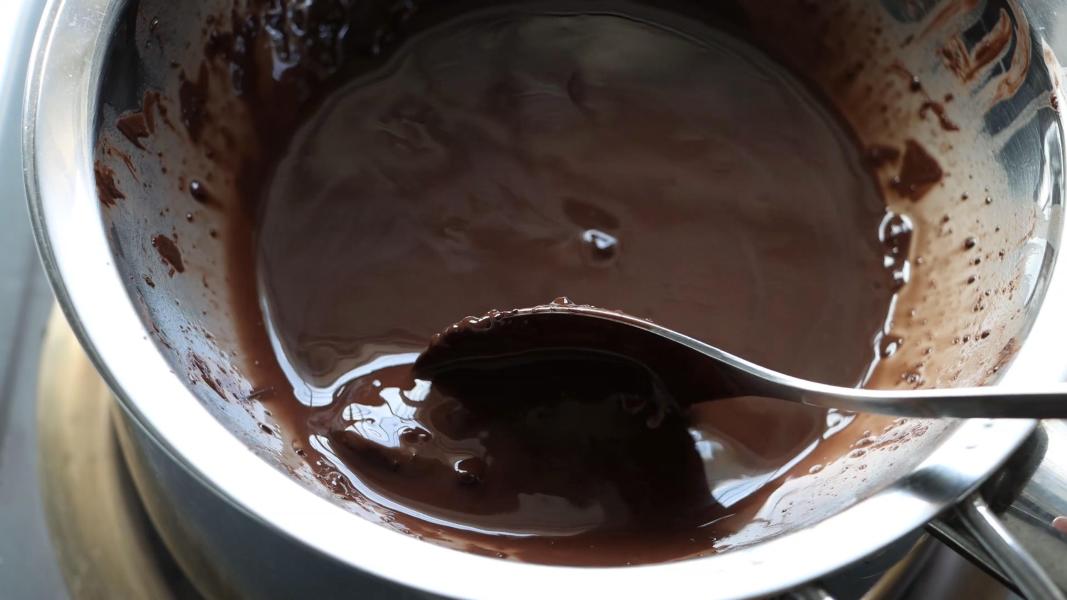
    Keep stirring with a spatula until it is smooth and shiny.

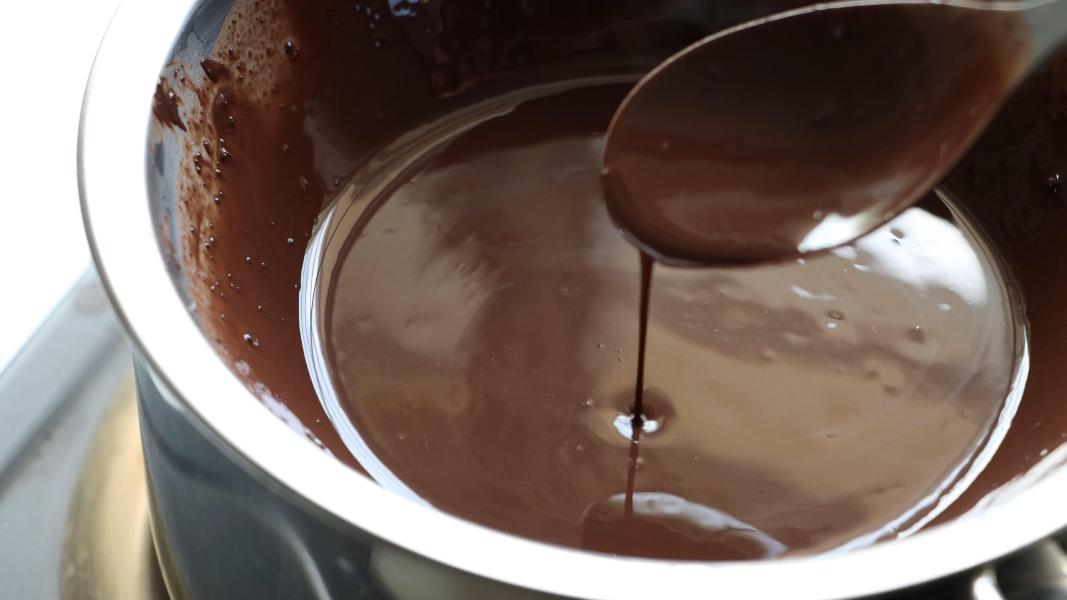
    Once the chocolate is melted, remove it from heat and transfer it to a creamer or jug for easy pouring.

    Pour melted chocolate and coconut oil mixture into the liners, filling them to your desired thickness.

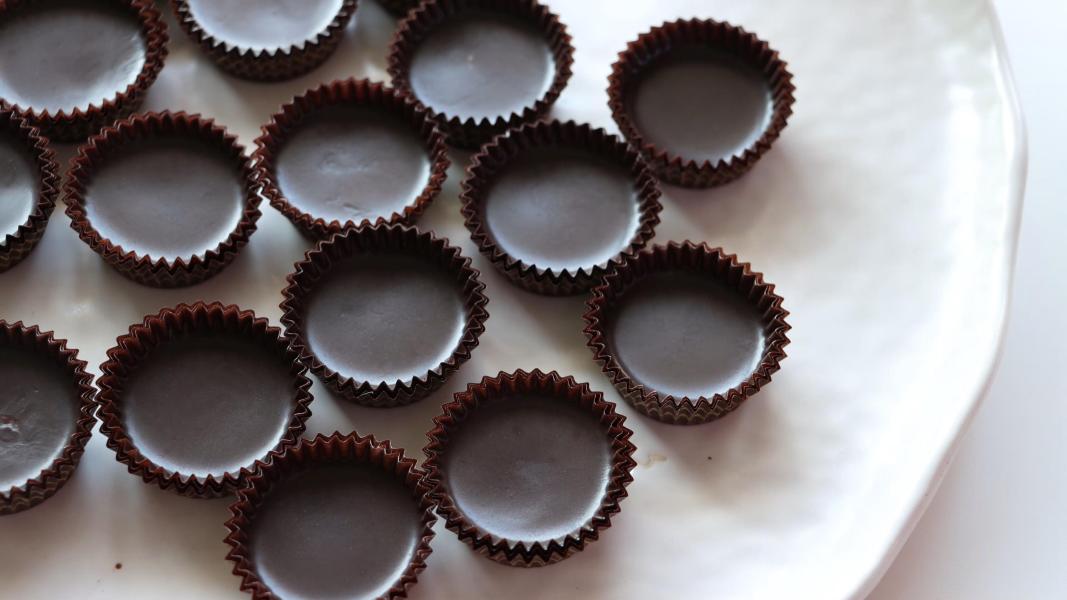
    Transfer them to the refrigerator and chill for few hours or until set.

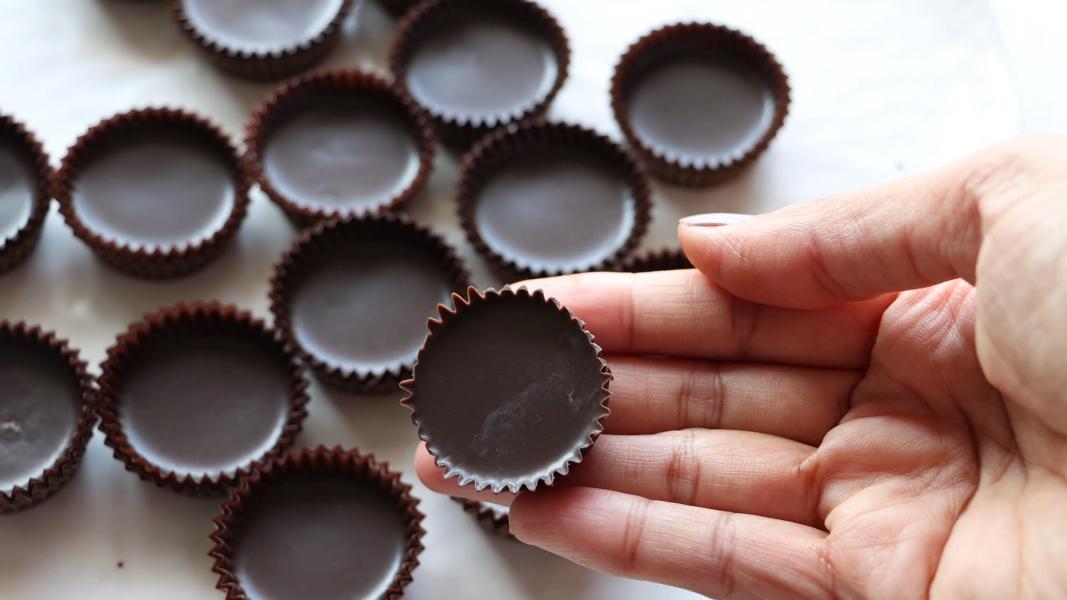
    Once they are firm, remove from the fridge and serve.

    You might love these recipes:

    • Cherry Snowball Cookies
    • Lemon meltaway Cookies
    • Oreo Bark
    • Chestnut Truffles
    • Kulkuls
    • Nutella Sandwich Cookies
    • Peanut Butter Buckeyes
    • Swedish Chocolate Balls
    • Peppermint Fudge

    Swedish Christmas chocolate recipe video below:

    Print Recipe

    Ischoklad - Swedish Christmas Chocolate

    Ischoklad - A classic, delicate, creamy, and delicious Swedish chocolates for the holiday season!
    Prep Time10 minutes mins
    Cook Time5 minutes mins
    Total Time15 minutes mins
    Course: Dessert, Snack
    Cuisine: International, Swedish
    Keyword: christmas recipes, swedish christmas chocolate
    Servings: 18 Chocolates
    Calories: 56kcal
    Author: Hari Chandana Ponnaluri

    Ingredients

    • 100 Grams Dark Chocolate
    • 50 Grams Coconut Oil

    Instructions

    • Arrange mini cupcake liners on a tray. Use 2-3 liners together to hold the chocolate better.
    • Heat some water in a pan or vessel over low heat and place a heat resistant bowl on top of the water pot.
    • Add chocolate and coconut oil into the top bowl.
    • Keep stirring with a spatula until it is smooth and shiny.
    • Once the chocolate is melted, remove it from heat and transfer it to a creamer or jug for easy pouring.
    • Pour melted chocolate and coconut oil mixture into the liners, filling them to your desired thickness.
    • Transfer them to the refrigerator and chill for few hours or until set.
    • Once they are firm, remove from the fridge and serve.

    Video

    Nutrition

    Calories: 56kcal | Carbohydrates: 3g | Protein: 0.4g | Fat: 5g | Saturated Fat: 4g | Polyunsaturated Fat: 0.1g | Monounsaturated Fat: 1g | Trans Fat: 0.002g | Cholesterol: 0.2mg | Sodium: 1mg | Potassium: 40mg | Fiber: 1g | Sugar: 1g | Vitamin A: 2IU | Calcium: 4mg | Iron: 1mg

    Cherry Snowball Cookies

    December 4, 2023

    Cherry Snowball Cookies - Buttery, crumbly, and delicious snowy cookie filled with cherries. An irresistible holiday treat for any cookie lover!

    What are cherry snowball cookies?

    Snowballs, also known as Russian tea cakes or Mexican wedding cookies, are bite-sized, buttery cookies that are rolled in powdered sugar, which gives them a white, snow-like appearance. They are often made with pecans or walnuts and have a crumbly, melt-in-your-mouth texture.

    There are many variations of classic snowballs and cherry stuffed snowballs are one of them. The buttery dough is rolled into balls, stuffed with candied cherries, baked until light golden and then rolled in powdered sugar while cookies are still warm, creating a snowy appearance. These are delicious and festive.

    Why you'll love this recipe:

    Delicious and crumbly cookies that literally melt in your mouth.

    Can be a great addition to your Christmas cookie platter.

    The dough can be made ahead of time and kept in the refrigerator or freezer until ready to bake.

    Great for gifting!

    Ingredients & Substitutions:

    All Purpose Flour - Also known as plain flour. It is the base of the cookie dough.

    Powdered Sugar - Also known as confectioners sugar. If you don't have it, grind sugar into a smooth powder.

    Butter - I have used softened unsalted butter in this recipe. It can be replaced with margarine but the flavor and texture might vary slightly. Make sure the butter is at room temperature before making the dough.

    Cherries - Candied or maraschino cherries are used and should be well-drained before using.

    Vanilla - Enhances the flavor of the cookies.

    Salt - Skip it if you are using salted butter.

    Serving suggestions:

    Serve them with a cup of tea, coffee or hot cocoa.

    Pack them in a festive box or tin along with other holiday treats for a wonderful gift

    Add these cookies to a dessert platter alongside other treats, brownies, or sweets during holiday gatherings.

    Storage suggestions:

    You can store the baked goods in an airtight container at room temperature for up to a week.

    Can I freeze the dough?

    You can also freeze the unbacked dough easily. Roll it into a ball, wrap it tightly in plastic wrap, then place it in a freezer bag or airtight container. Thaw in the refrigerator before baking.

    Can the baked snowballs be frozen?

    If you want to store them for longer period of time, freeze them for up to 2 months. Once the cookies are baked and rolled in powdered sugar, arrange them in an airtight container and separate the layers with parchment papers and store in the freezer. Let them thaw at room temperature and roll them in some powdered sugar again before serving.

    Variations:

    You can use any of your favorite dried fruit or chocolate kisses instead of candied cherries.

    You can also incorporate spices like cinnamon, nutmeg, or cardamom into the dough for a warm, aromatic and festive touch.

    You could also add some finely chopped nuts like pecans, walnuts or almonds to the dough.

    Roll the finished cookies in colored sugar or sprinkles for a festive appearance.

    Tips & Notes:

    Use a good quality butter and other ingredients for the best flavor.

    If using maraschino cherries, make sure they're well-drained and patted dry to prevent excess moisture in the dough, which could affect the cookie's texture.

    Refrigerating the shaped dough balls for an hour before baking can prevent excessive spreading while baking.

    Do not roll the them in powdered sugar while they are too hot. They should be just warm, so the sugar sticks well without melting. Once cooled, roll them again in the powdered sugar for an extra coating.

    Step by step instructions:

    Combine softened butter and powdered sugar in a mixing bowl.

    Mix together until creamy. Add vanilla extract and salt and mix well.

    Add flour to the creamed butter mixture.

    Mix everything using a spatula.

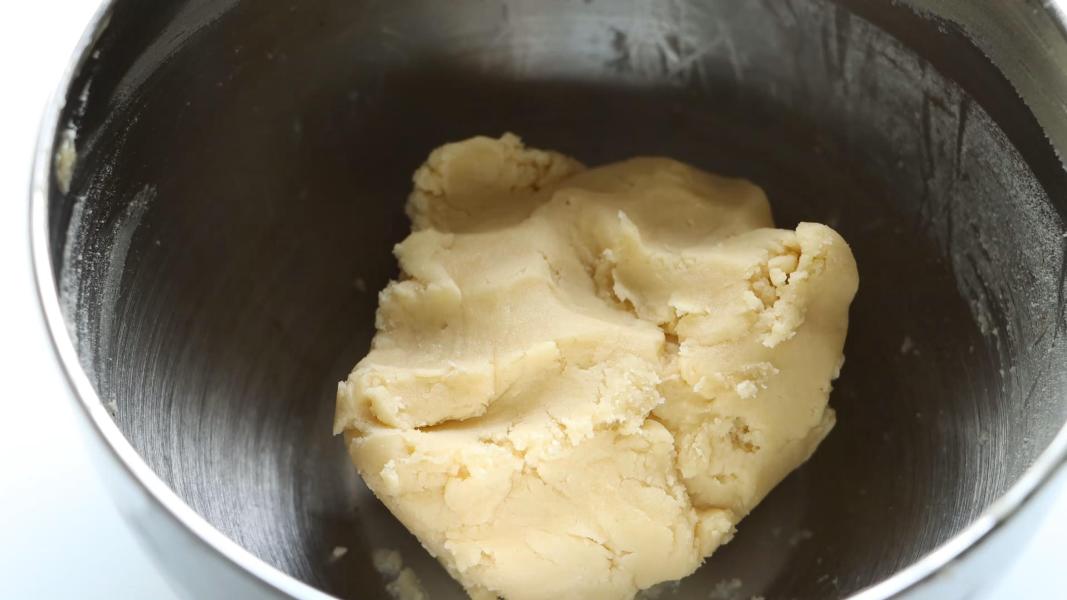
    Make a nice and smooth dough.

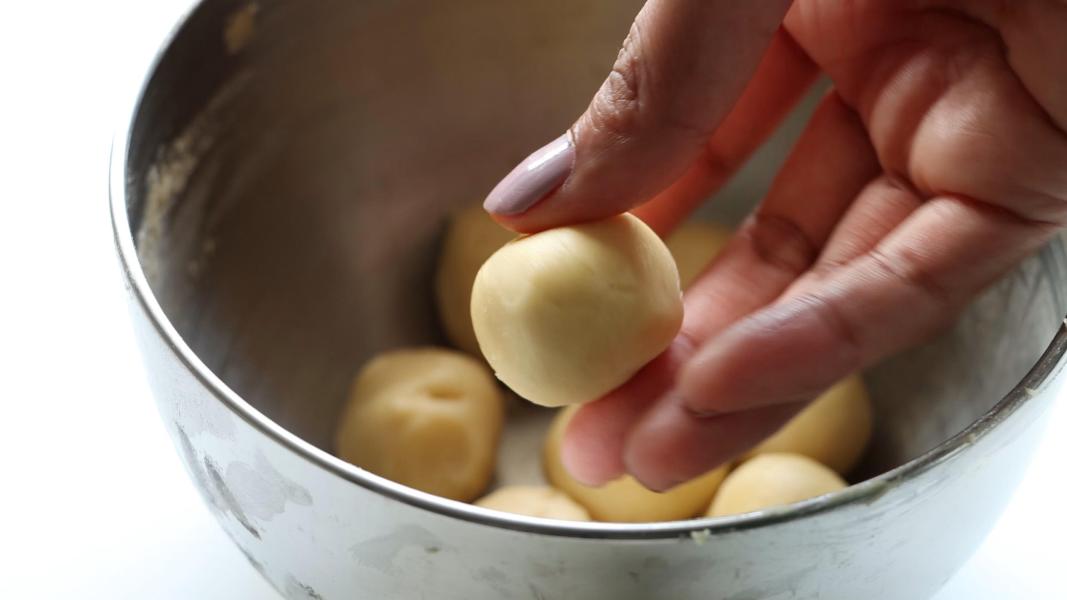
    Divide the into 18 even sized balls.

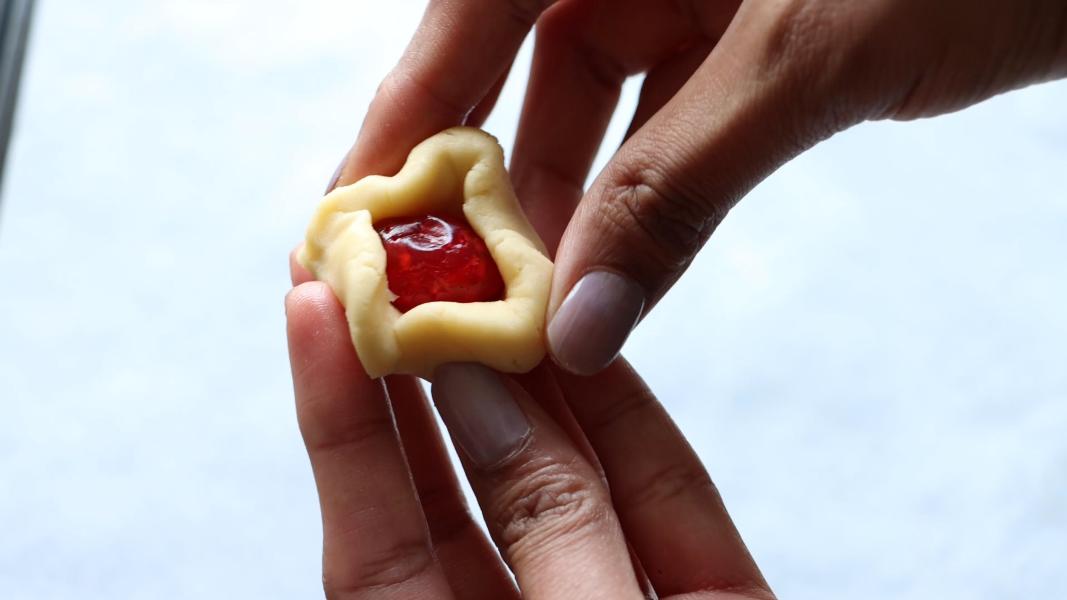
    Flatten each ball a little and place a cherry in the middle. Grab the edges to seal it.

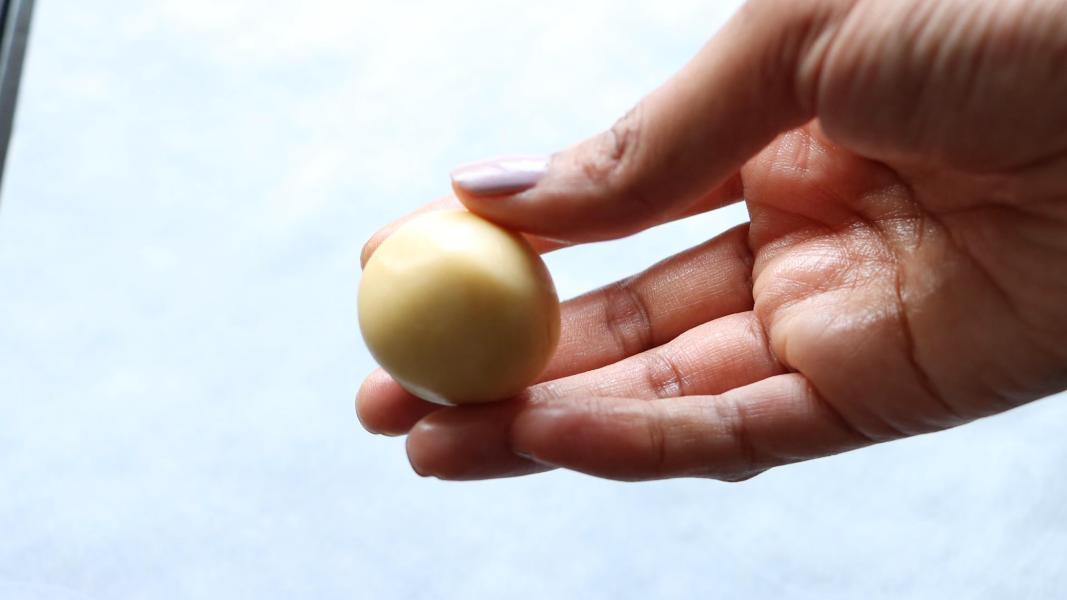
    Gently roll it between your palms to make a round ball.

    Place the shaped dough balls on a lined baking tray and let them chill in the refrigerator for an hour.

    Once the cookies are chilled, bake them in the preheated oven at 180 degrees C for 12-15 minutes or until the bottom of the cookies are light brown color.

    When the cookies are still warm, roll them in the powdered sugar and let them cool completely.

    Roll them again the powdered sugar before serving.

    You might love these recipes:

    • Lemon Meltaways
    • Festive Goat Cheese Balls
    • Peppermint Fudge
    • Chocolate Covered Oreos
    • Oreo Bark
    • Peppermint White Chocolate Cookies
    • Chestnut Cardamom Milk

    How to make cherry snowballs recipe video below:

    Print Recipe
    4.50 from 2 votes

    Cherry Snowball Cookies

    Cherry Snowball Cookies - Buttery, crumbly, and delicious snowy cookies filled with cherries. An irresistible holiday treat for any cookie lover!
    Prep Time15 minutes mins
    Cook Time15 minutes mins
    Total Time30 minutes mins
    Course: Baking, Cookies, Dessert
    Cuisine: International
    Keyword: Christmas Cookies, christmas recipes, cookies for christmas
    Servings: 18
    Calories: 107kcal
    Author: Hari Chandana Ponnaluri

    Ingredients

    • 1 Cup All Purpose Flour / Plain Flour
    • ½ Cup Unsalted Butter
    • ¼ Cup Powdered Sugar for the dough
    • ⅔ Cup Powdered Sugar to coat the cookies
    • 18 Candied Cherries
    • ½ Teaspoon Vanilla Extract
    • ¼ Teaspoon Salt

    Instructions

    • Combine softened butter and powdered sugar in a mixing bowl, mix everything.
    • Add vanilla extract and salt and mix well.
    • Add flour to the creamed butter mixture. Mix everything using a spatula.
    • Make a nice and smooth dough.
    • Divide the into 18 even sized balls.
    • Flatten each ball a little and place a cherry in the middle. Grab the edges to seal it.
    • Gently roll it between your palms to make a round ball.
    • Place the shaped dough balls on a lined baking tray and let them chill in the refrigerator for an hour.
    • Once the cookies are chilled, bake the chilled cookies in the preheated oven at 180 degrees C for 12-15 minutes or until the bottom of the cookies are light brown color.
    • When the cookies are still warm, roll them in the powdered sugar and let them cool completely.
    • Roll them again in the powdered sugar before serving.

    Video

    Nutrition

    Calories: 107kcal | Carbohydrates: 14g | Protein: 1g | Fat: 5g | Saturated Fat: 3g | Polyunsaturated Fat: 0.2g | Monounsaturated Fat: 1g | Trans Fat: 0.2g | Cholesterol: 14mg | Sodium: 33mg | Potassium: 9mg | Fiber: 0.2g | Sugar: 8g | Vitamin A: 158IU | Calcium: 3mg | Iron: 0.3mg

    Festive Goat Cheese Balls

    December 2, 2023

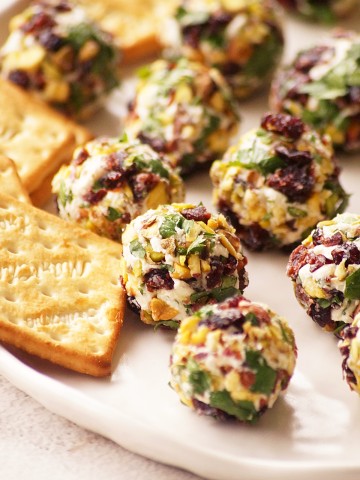
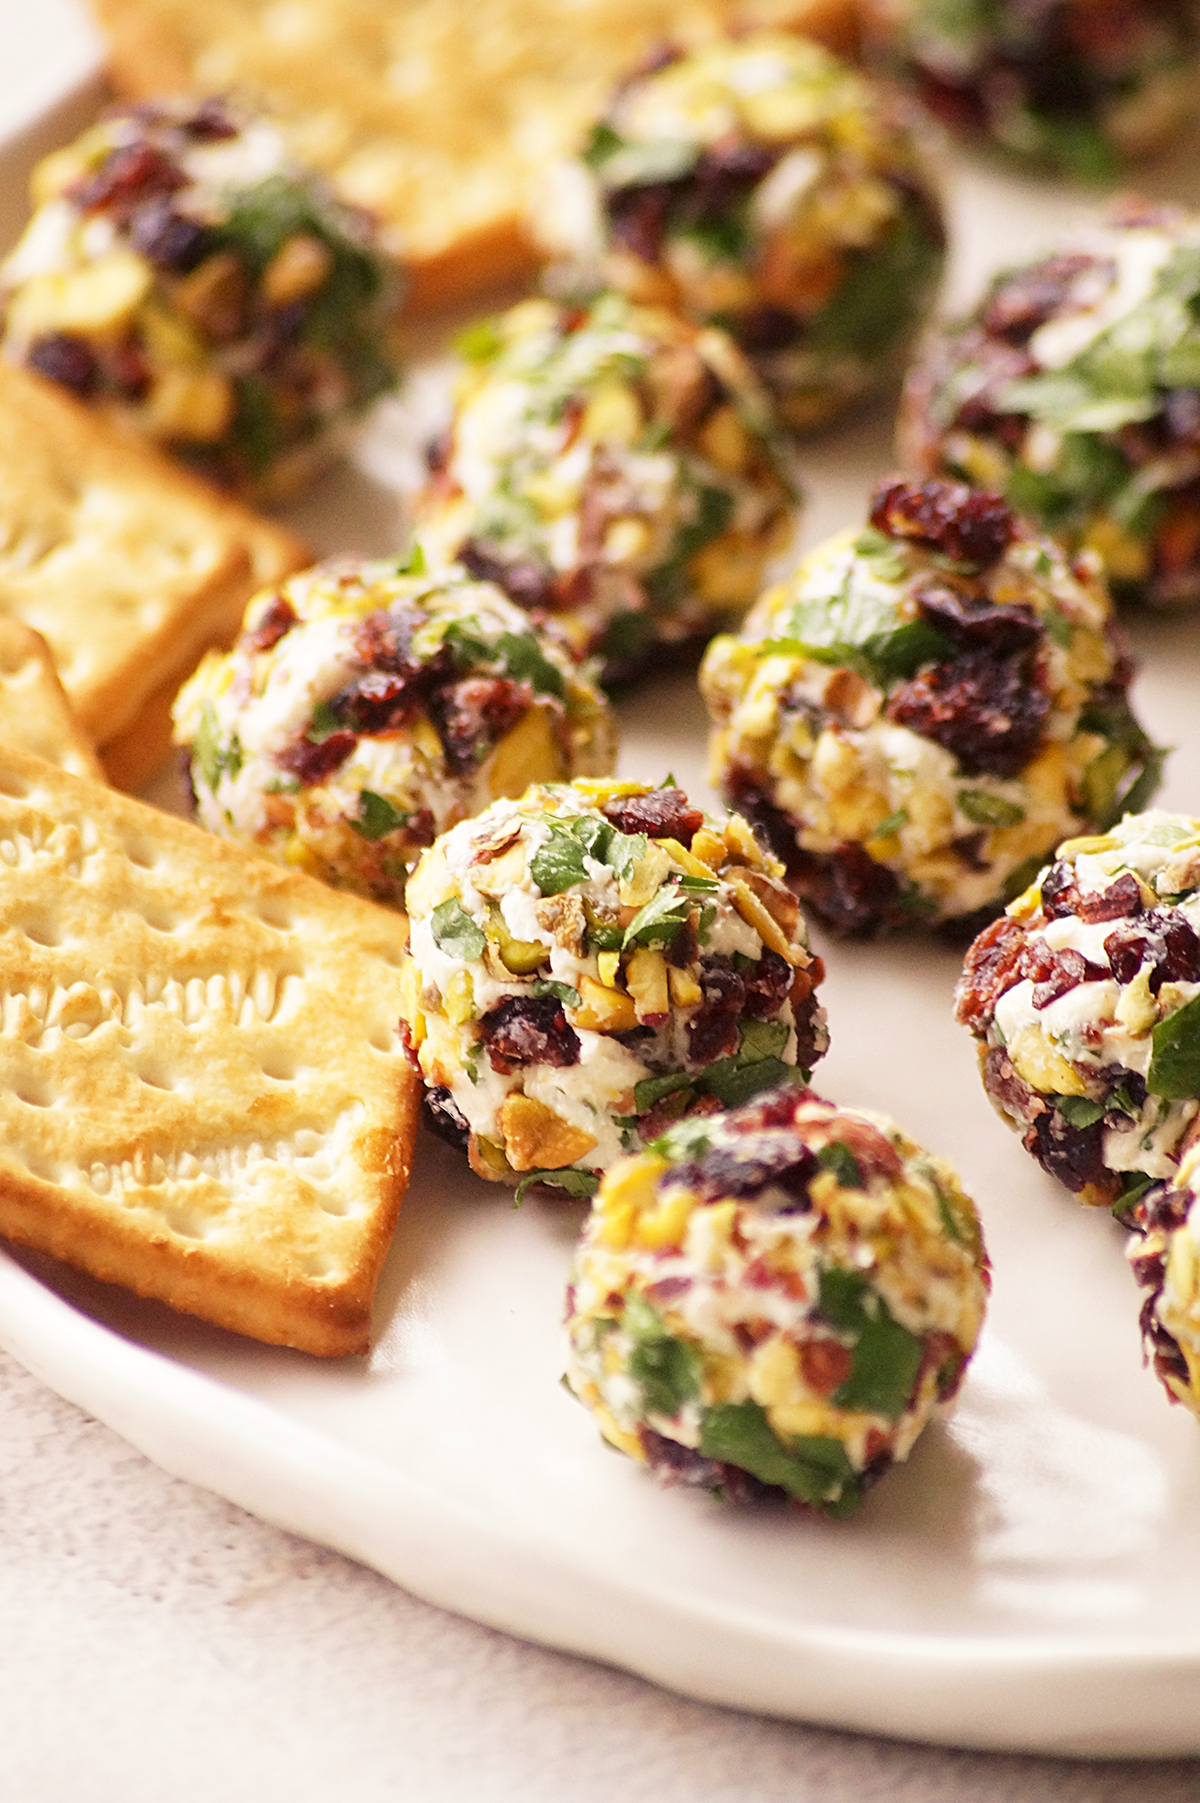
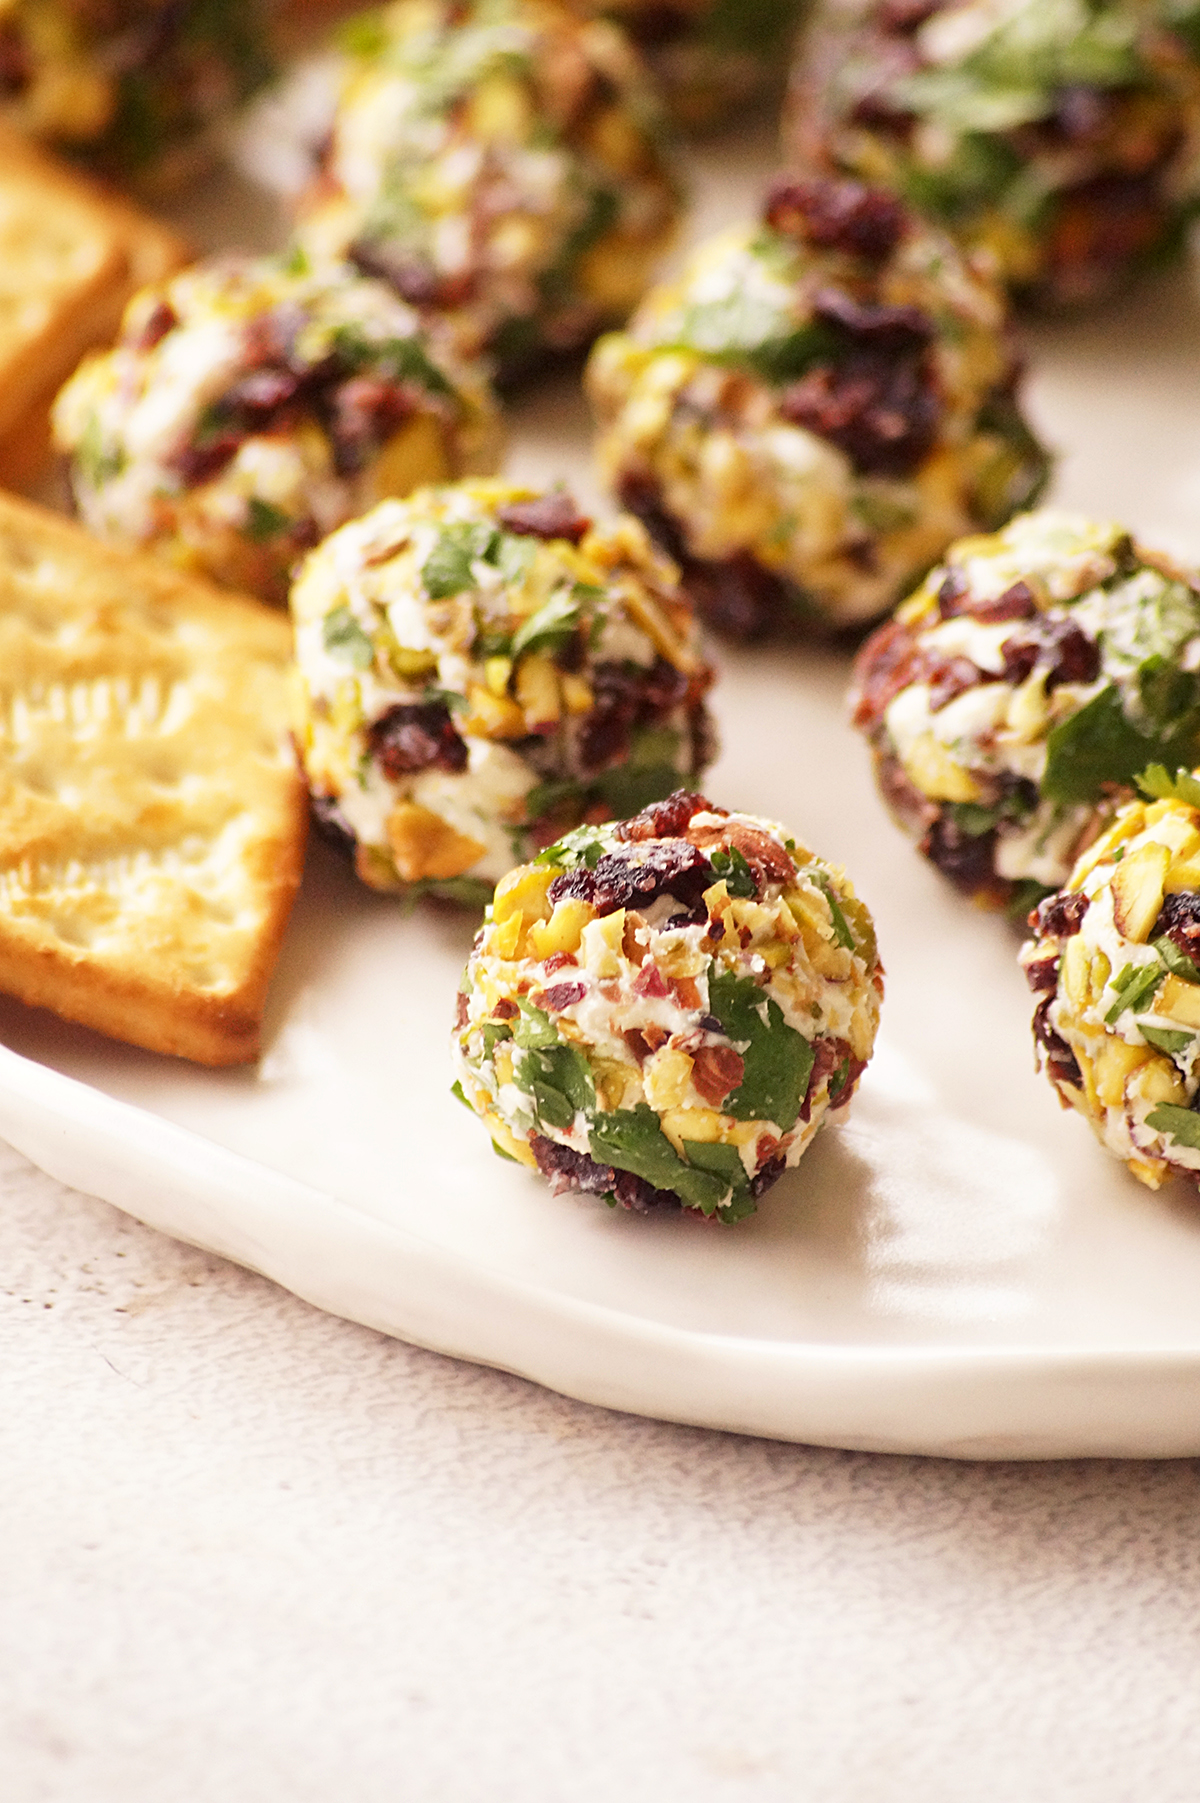
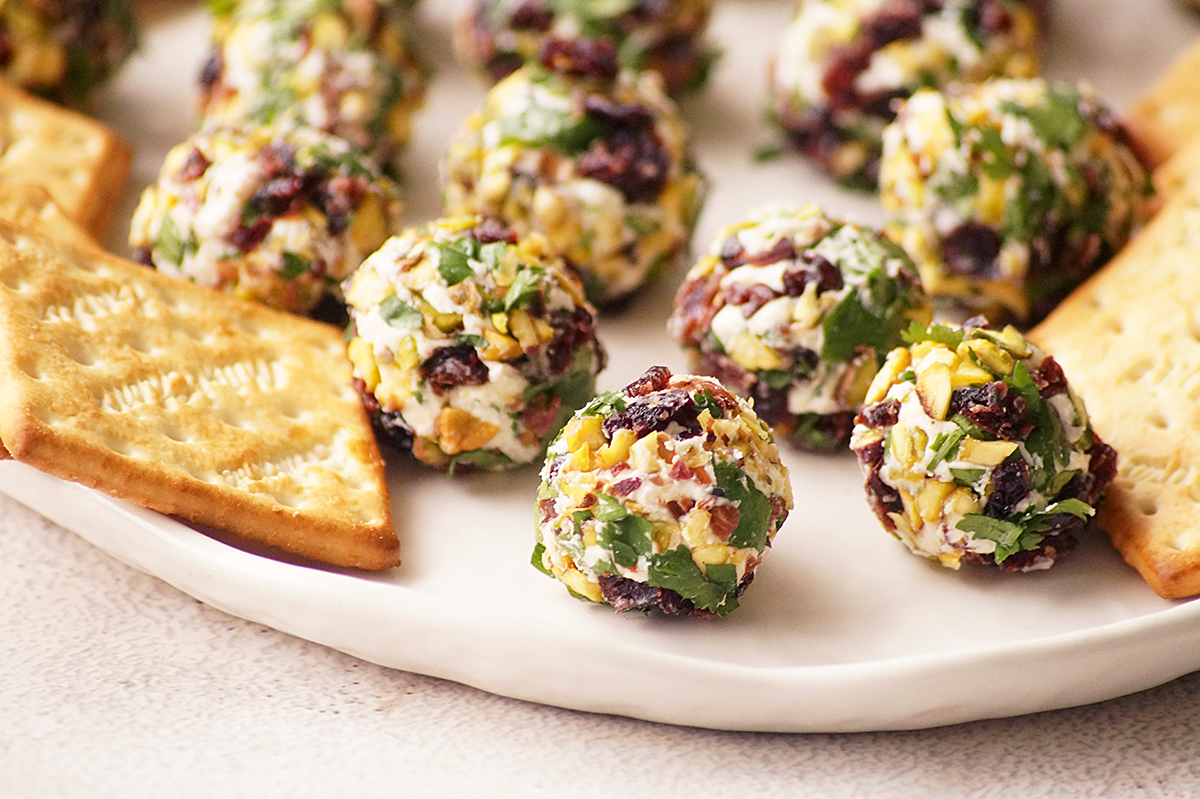
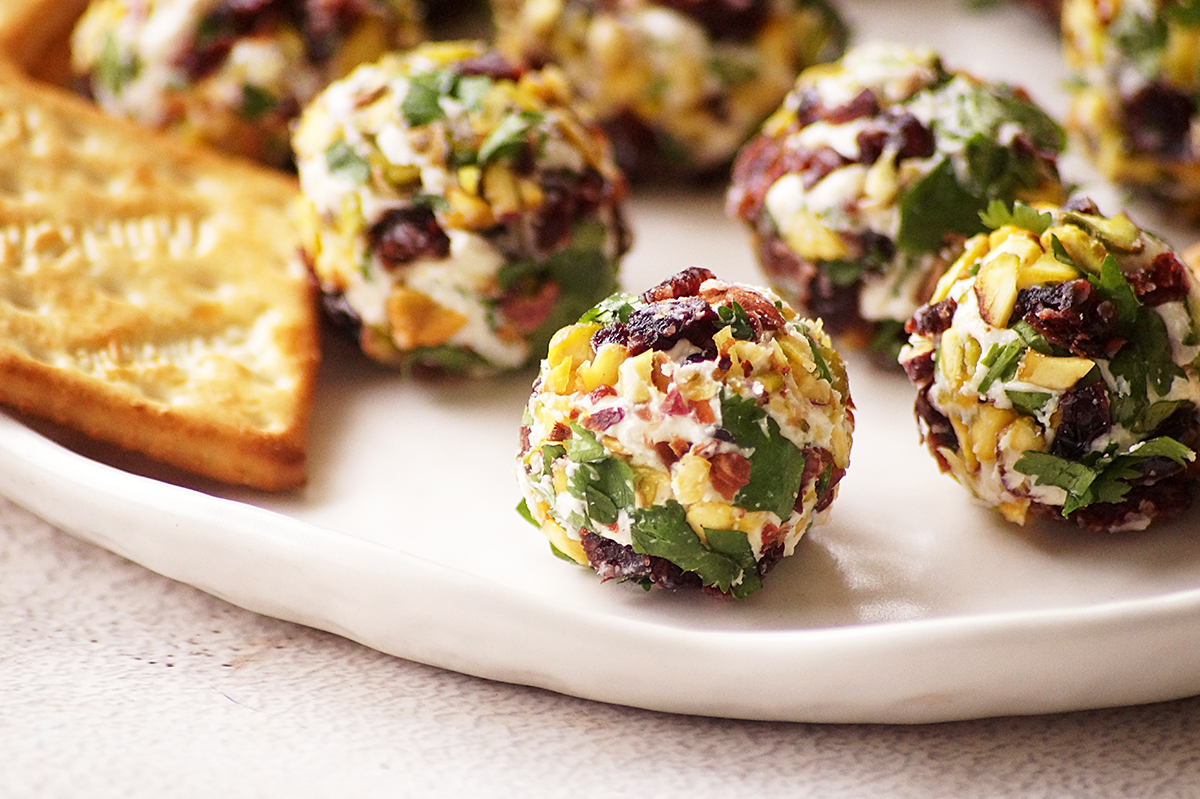
    Festive Goat Cheese Balls - Creamy, sweet, tangy and delicious festive appetizer made with goat cheese, cream cheese, cranberries and pistachios. Perfect for Christmas!

    What are goat cheese balls?

    These are a festive dish made with goat cheese, cream cheese, dried cranberries, and pistachios. It is a simple, no-cook, no-bake and delightful holiday appetizer that can be made in no time.

    The combination of creamy goat cheese and cream cheese with the tartness of cranberries and the nuttiness of pistachios creates a wonderful blend of flavors. These are creamy, tangy, sweet and often served as bite-sized snacks or appetizers, perfect for parties and celebrations during the holiday season.

    These are a wonderful option if you are looking for a easy and quick festive appetizer. Makes a great addition to your cheese board.

    Why you'll love this recipe:

    Creamy, sweet, savory and festive!

    Straightforward and easy to make.

    You can easily modify it by adding your favorite spice or herbs!

    Can be make ahead and perfect for gatherings and celebrations.

    Ingredients & Substitutions:

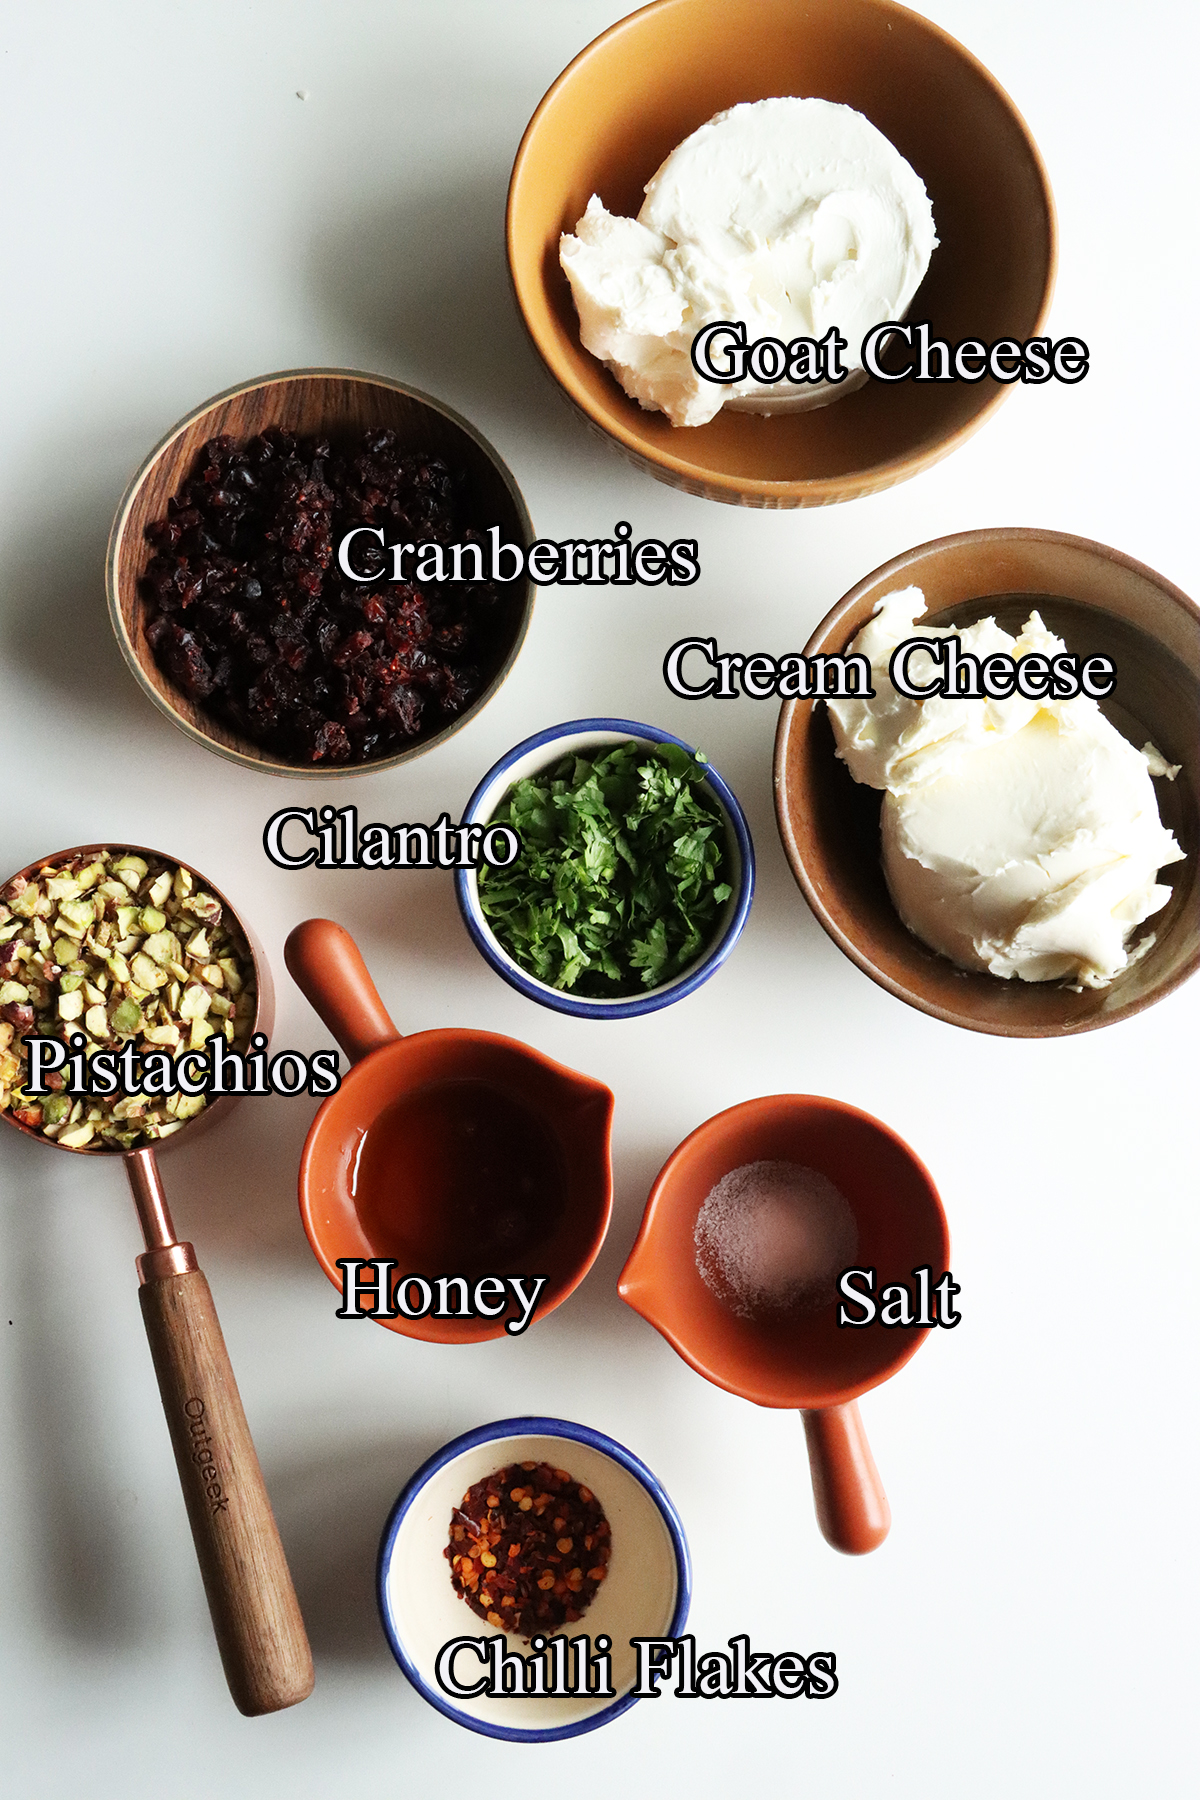
    Goat Cheese - It is the key ingredient. It adds the creaminess and tangy flavor to the balls. Make sure to soften it at room temperature for easy mixing.

    Cream Cheese - Adds additional creaminess to the dish and helps bind the ingredients together.

    Cranberries - Adds a sweet and tart flavor. Make sure you chop the dried cranberries so they will stick to the cheese balls easily.

    Pistachios - I love the combination of cranberries and pistachios. They will add a nutty flavor and texture. You can use raw or roasted pistachios. Almonds, walnuts, or pecans could be used instead.

    Cilantro - It can be replaced with fresh parsley.

    Honey - Do not skip adding sweetener. Maple syrup or agave can also be used.

    Red Chilli Flakes - Adds a hit of spice. You can swap it with paprika, cayenne pepper, or minced jalapenos.

    Salt - A pinch of salt is enough.

    Serving suggestions:

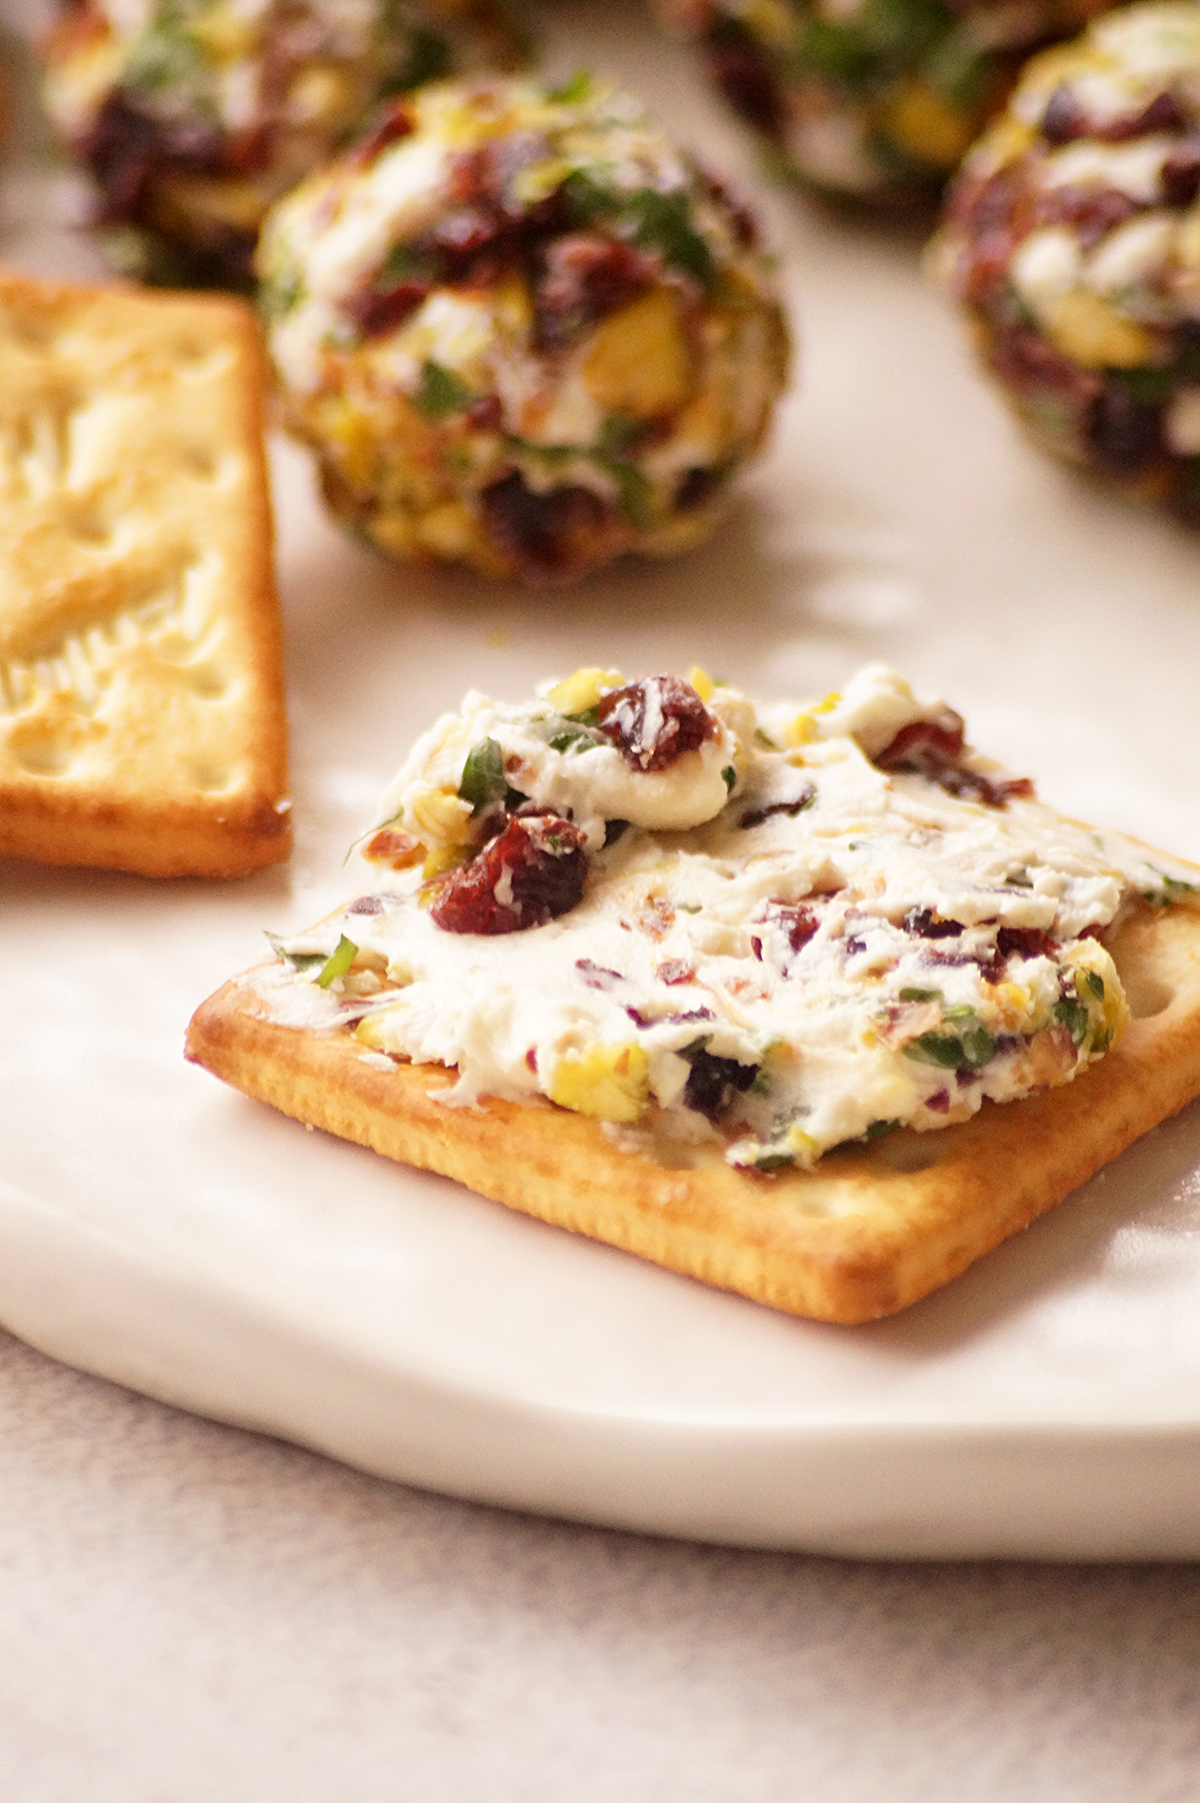
    Serve the cheese balls with your favorite crackers, pretzels, veggie sticks or slices of crusty bread.

    Incorporate them into a larger charcuterie or cheese board. Arrange them alongside other cheeses, olives, nuts, and dips.

    You can also use them as a flavorful salad topping.

    Storage suggestions:

    These require refrigeration. Store them in an airtight container in the refrigerator for few days. Avoid freezing.

    Tips & Notes:

    Ensure the cheeses are at room temperature before mixing.

    If you are not able to roll the cheese mixture into balls, chill it for sometime to make it easier to shape them.

    Use fresh and high quality ingredients for the best flavor and taste.

    Step by step instructions:

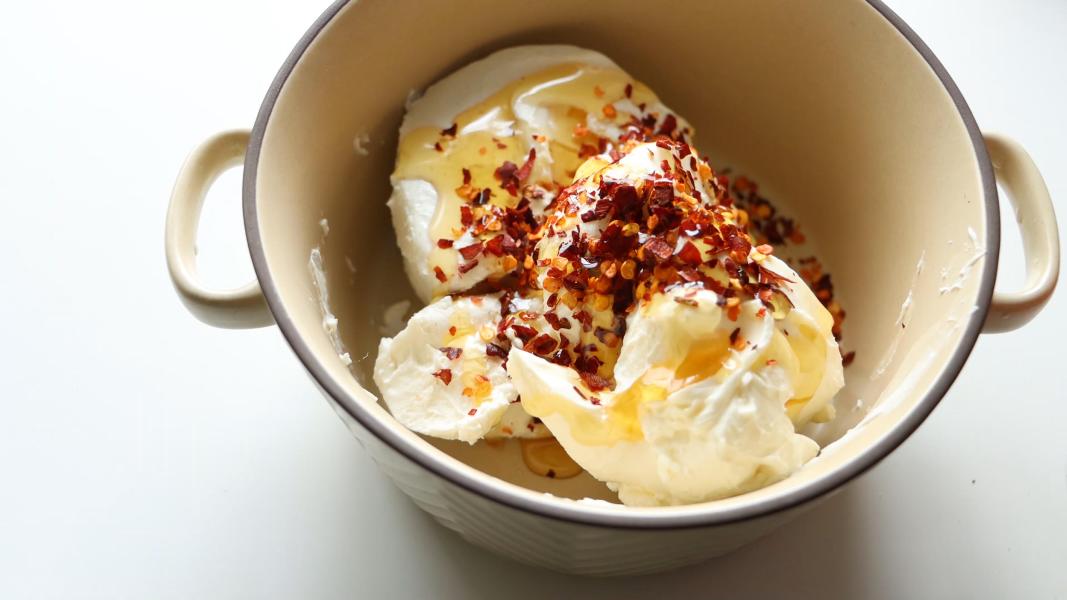
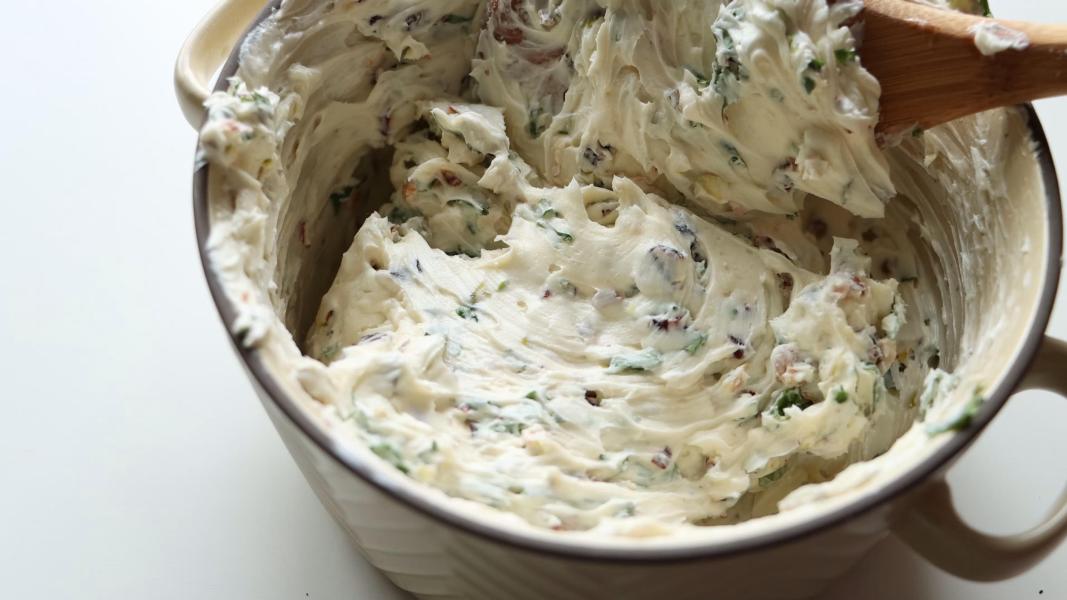
    Combine the softened goat cheese, cream cheese, salt, honey and red chilli flakes in a mixing bowl.

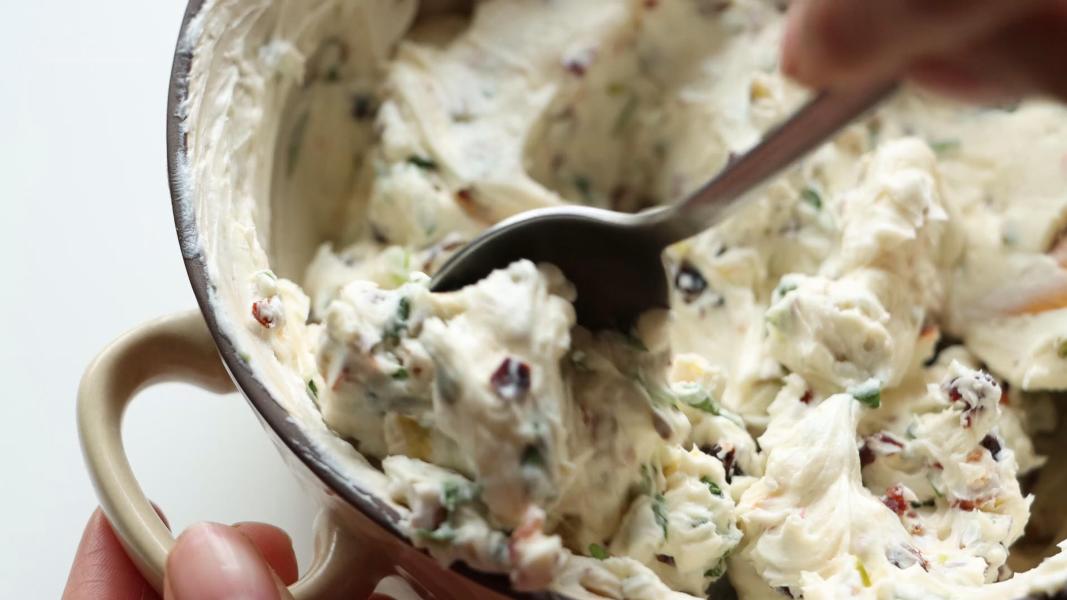
    Mix everything until creamy and well combined.

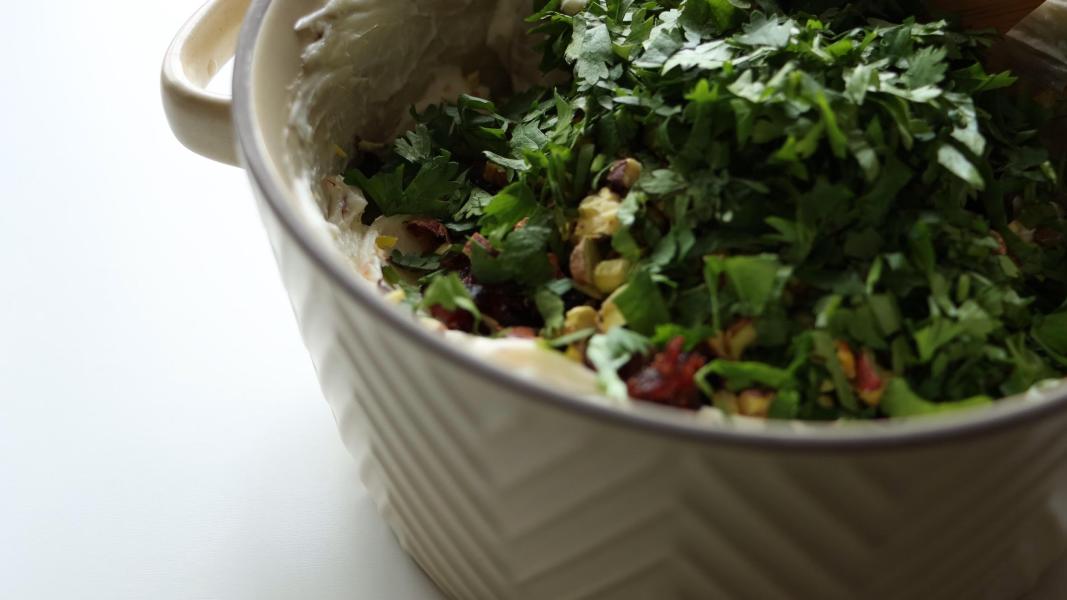
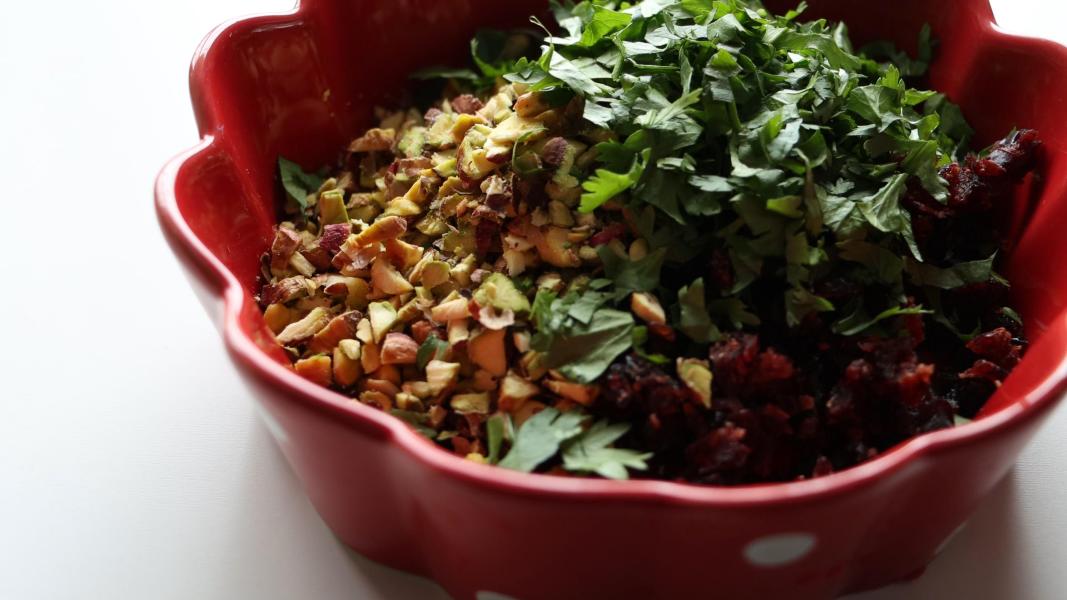
    Add ¼th cup of chopped dried cranberries, ¼th cup of chopped pistachios and ⅛th cup chopped cilantro to the creamed cheeses.

    Gently mix everything using a spatula. If you want to shape the mixture into a large ball instead of tiny balls, chill the mixture at this stage for at least 30 minutes for easy rolling. You don't need to chill the mixture before rolling if you want to make small balls.

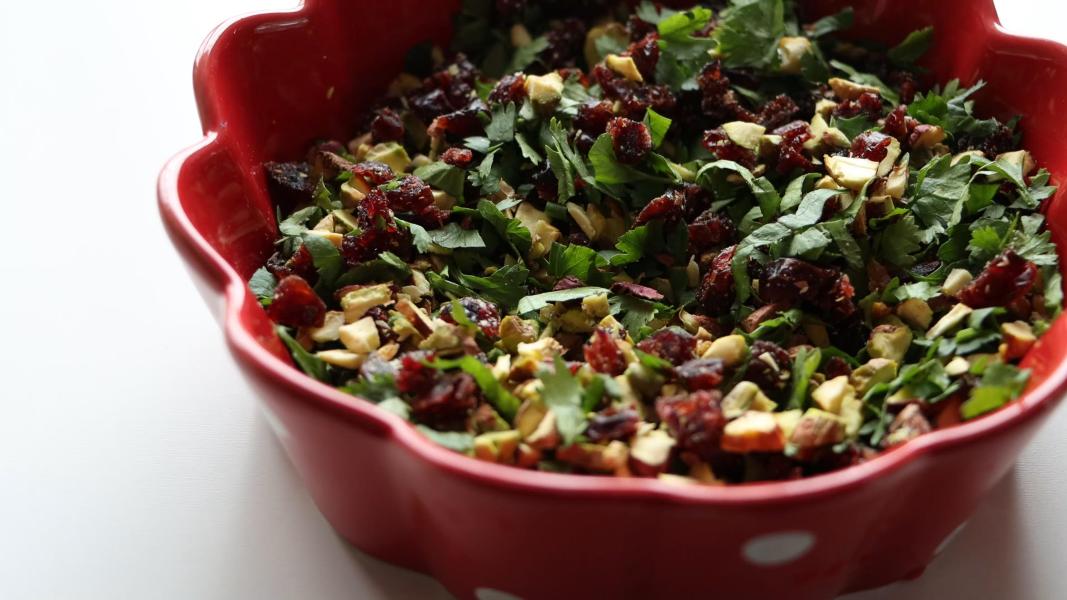
    Combine the remaining chopped cranberries, pistachios and cilantro in a small bowl or plate.

    Give it a mix.

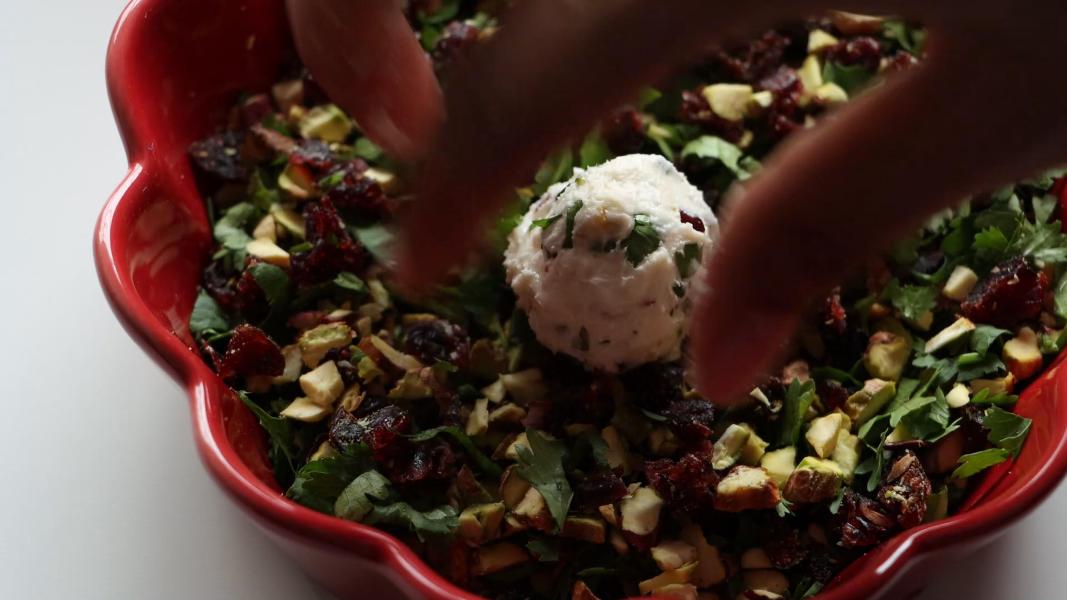
    Take a spoonful of the prepared mixture and lightly roll it into a ball.

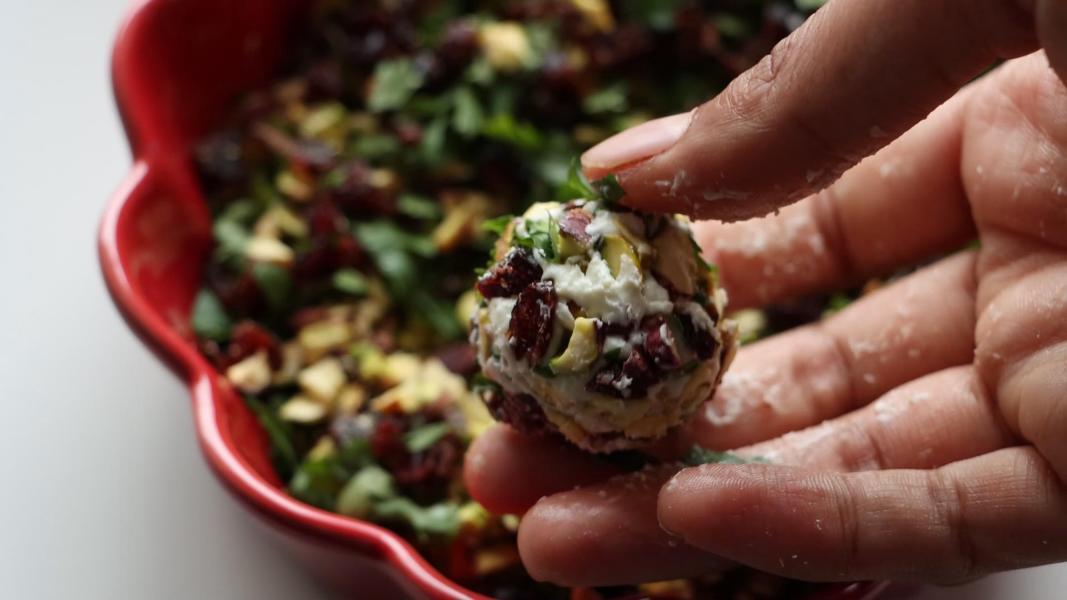
    Roll it in the cranberry nut mixture well.

    Take it out of the bowl and roll it between your palms to coat the cranberries neatly.

    Let them chill in the refrigerator for at least an hour. Serve them with crackers.

    You might love these recipes:

    • Lemon Meltaway Cookies
    • Pumpkin Chia Pudding
    • Persimmon Pineapple Salsa
    • Mango Cucumber Salsa
    • Chestnut Hummus
    • Cherry Cream Cheese Spread
    • Avocado Yogurt Dip
    • Sweet Potato Pizza Bites

    Recipe inspirations: Food Network

    Cranberry goat cheese balls recipe video below:

    Print Recipe

    Festive Cranberry Goat Cheese Balls

    Festive Goat Cheese Balls - Creamy, sweet, tangy and delicious festive appetizer made with goat cheese, cream cheese, cranberries and pistachios. Perfect for Christmas!
    Prep Time20 minutes mins
    Cook Time0 minutes mins
    Total Time20 minutes mins
    Course: Appetizer, Snack
    Cuisine: American
    Keyword: christmas recipes, Holiday Recipes
    Servings: 22 Balls
    Calories: 68kcal
    Author: Hari Chandana Ponnaluri

    Ingredients

    • 10 Tablespoons Goat Cheese
    • 10 Tablespoons Cream Cheese
    • ½ Cup Chopped Dried Cranberries
    • ½ Cup Chopped Pistachios
    • ¼ Cup Chopped Cilantro or Parsley
    • 1 Tablespoon Honey
    • A Pinch of Salt
    • 1 Teaspoon Red Chilli Flakes

    Instructions

    • Combine the softened cheeses, salt, honey and red chilli flakes in a mixing bowl.
    • Mix everything until creamy and well combined.
    • Add ¼th cup of chopped dried cranberries, ¼th cup of chopped pistachios and ⅛ th cup chopped cilantro to the creamed cheeses.
    • Gently mix everything using a spatula. If you want to shape the mixture into a large ball instead of tiny balls, chill the mixture at this stage for at least 30 minutes for easy rolling. You don't need to chill the mixture before rolling if you want to make small balls.
    • Combine the remaining chopped cranberries, pistachios and cilantro in a small bowl or plate.
    • Give it a mix.
    • Take a spoonful of cheese mixture and lightly roll it into a ball.
    • Roll it in the cranberry nut mixture well.
    • Take it out of the bowl and roll it between your palms to coat the cranberries neatly.
    • Let them chill in the refrigerator for at least an hour. Serve them with crackers.

    Video

    Nutrition

    Calories: 68kcal | Carbohydrates: 4g | Protein: 2g | Fat: 5g | Saturated Fat: 2g | Polyunsaturated Fat: 1g | Monounsaturated Fat: 2g | Cholesterol: 10mg | Sodium: 46mg | Potassium: 43mg | Fiber: 0.5g | Sugar: 3g | Vitamin A: 201IU | Vitamin C: 0.1mg | Calcium: 19mg | Iron: 0.3mg

    Lemon Meltaway Cookies

    November 26, 2023

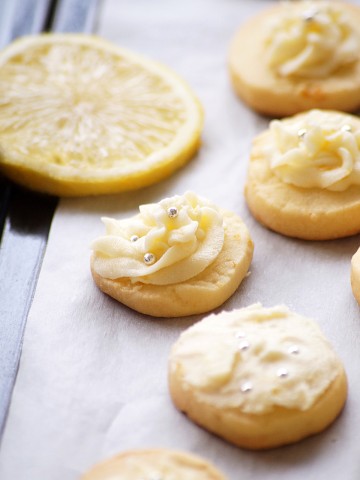
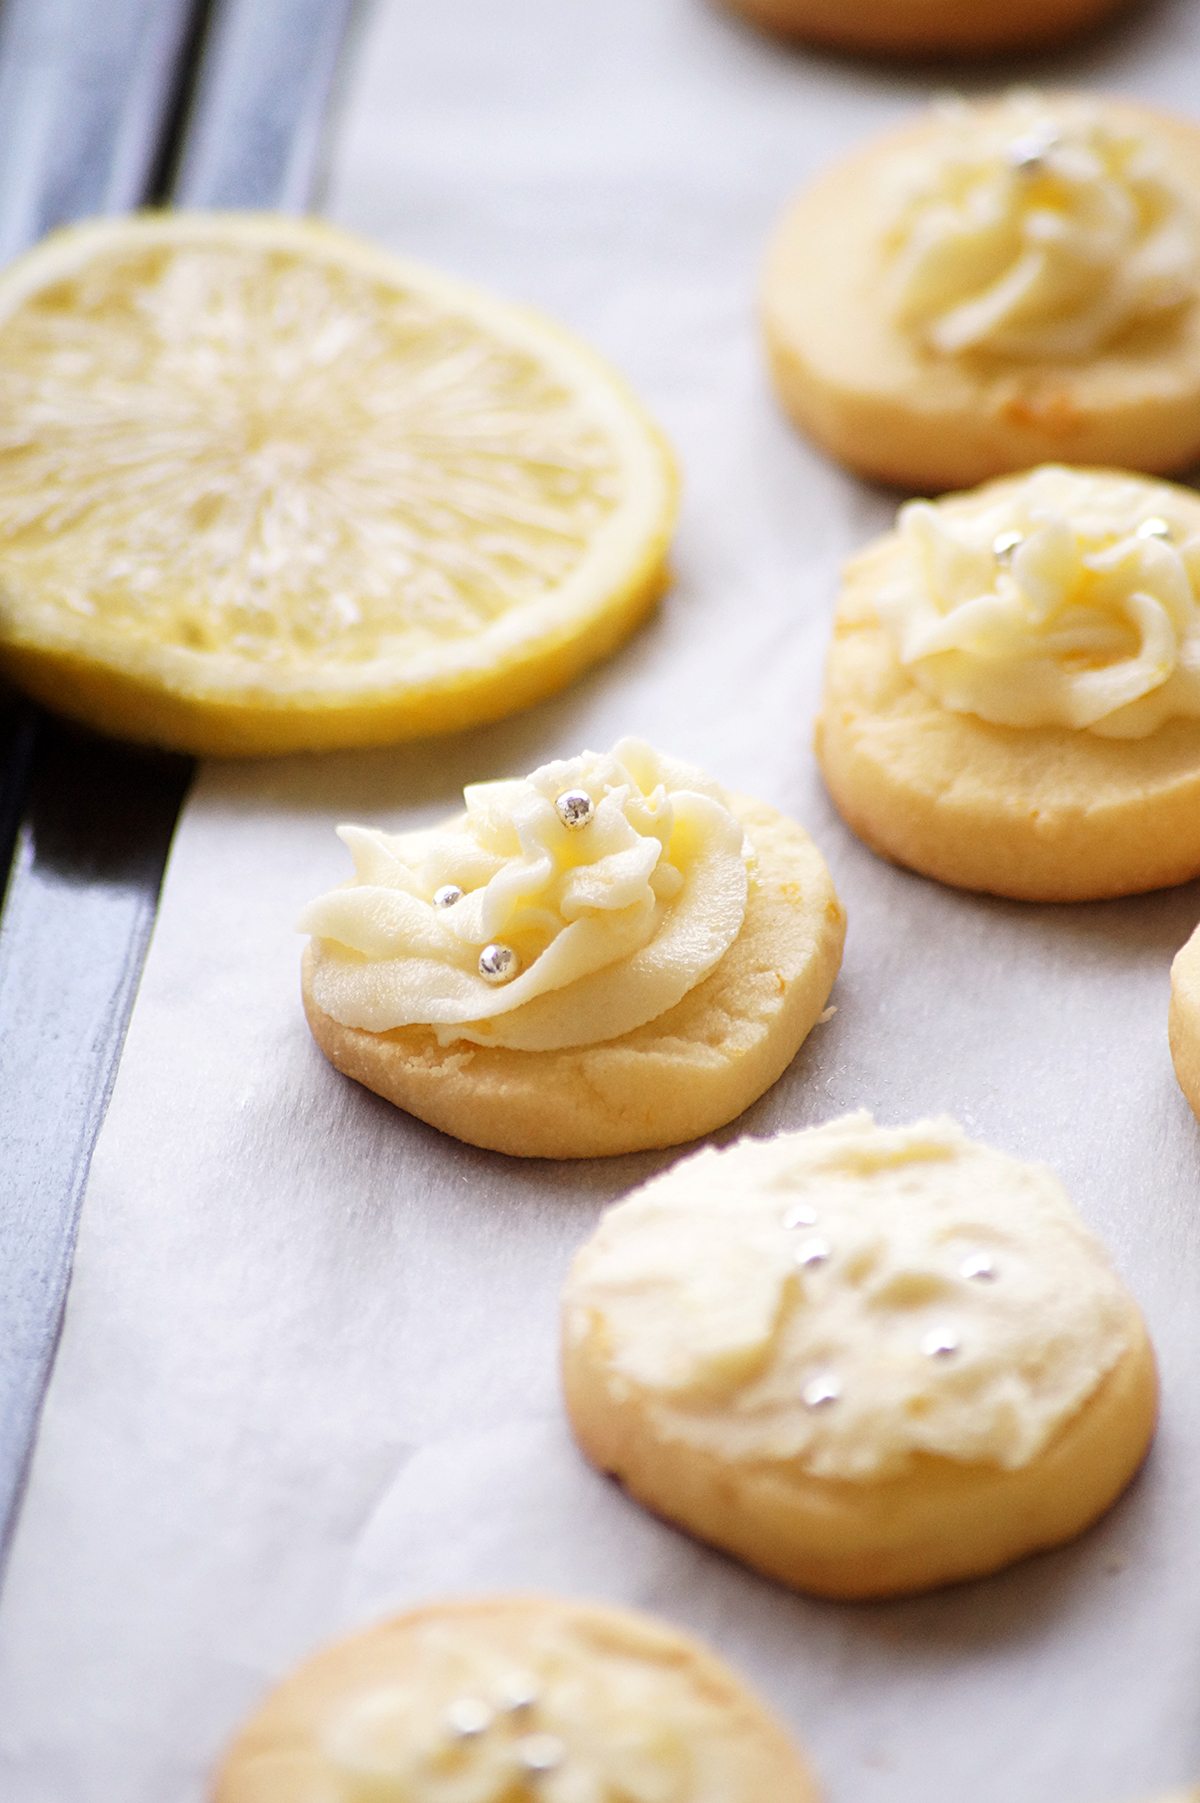
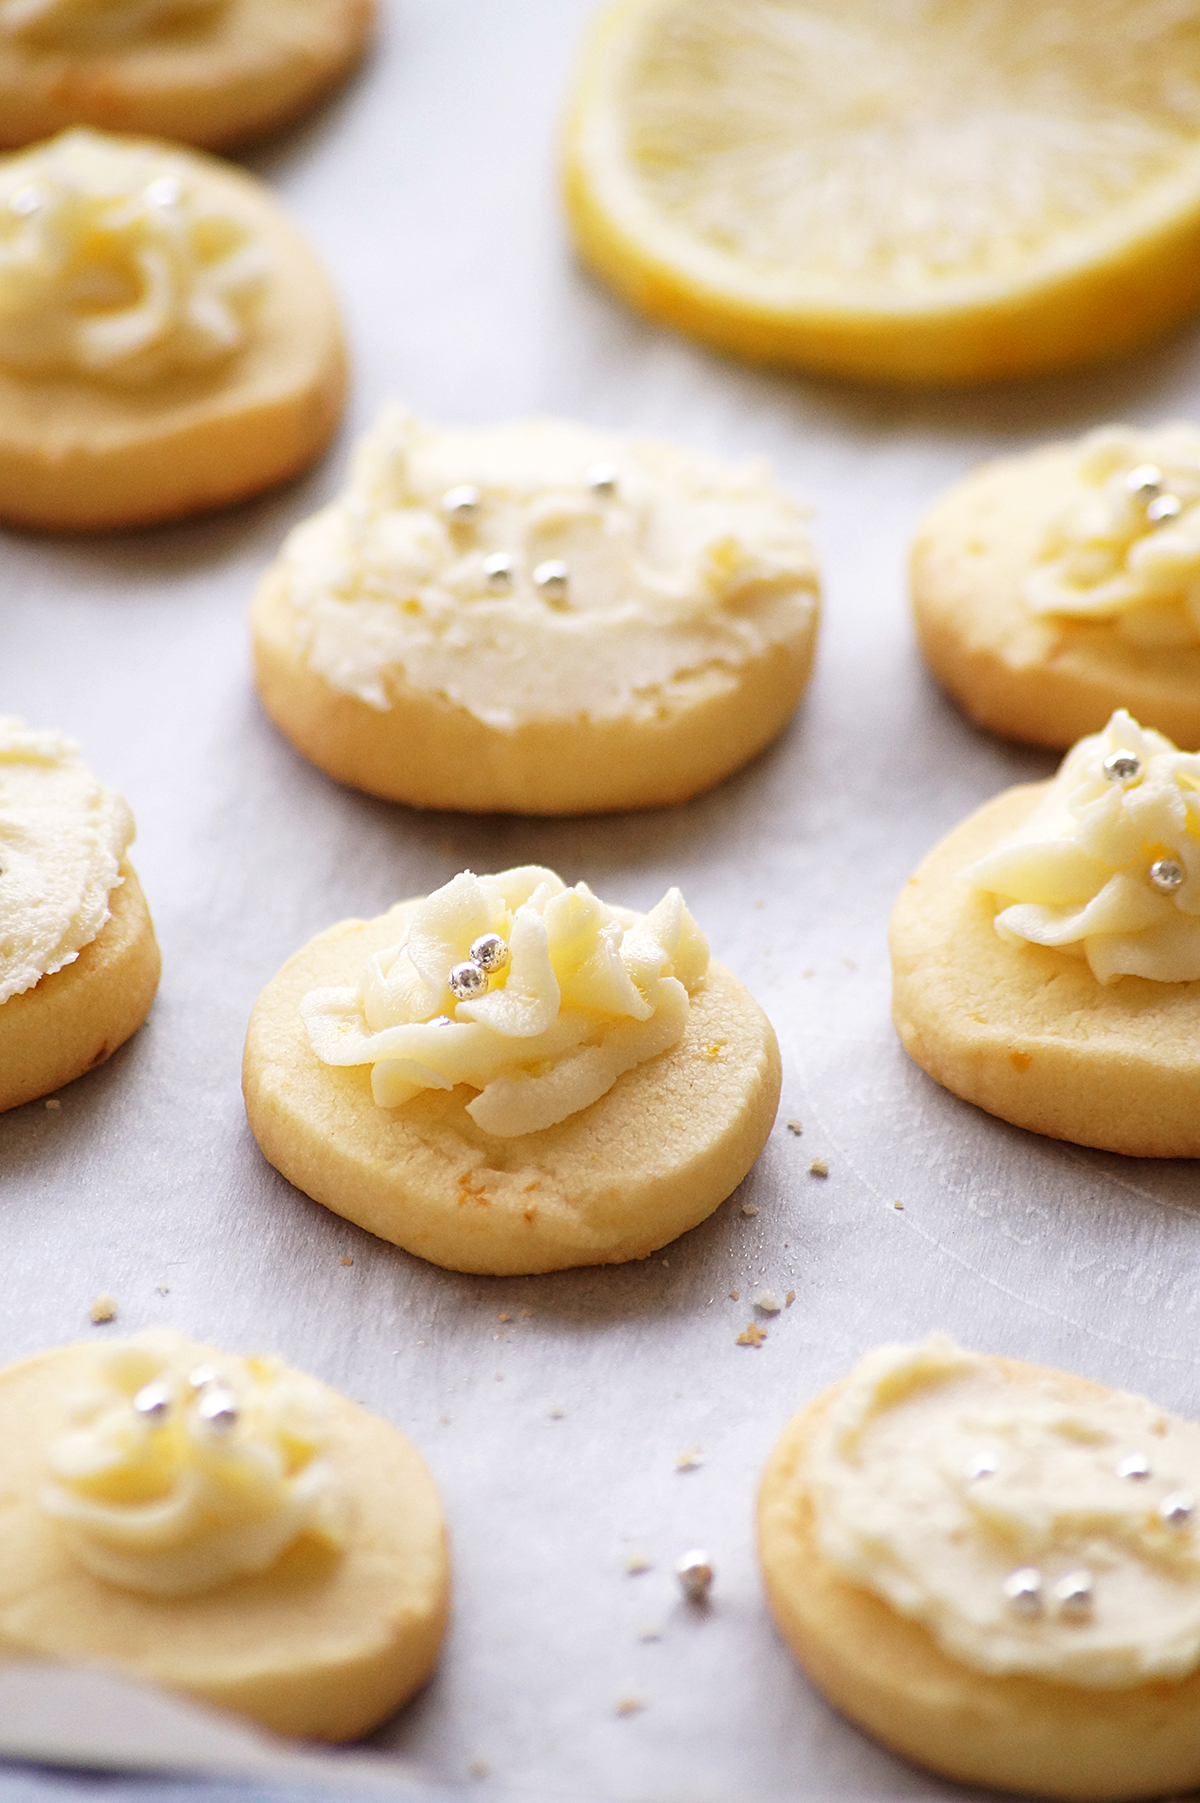
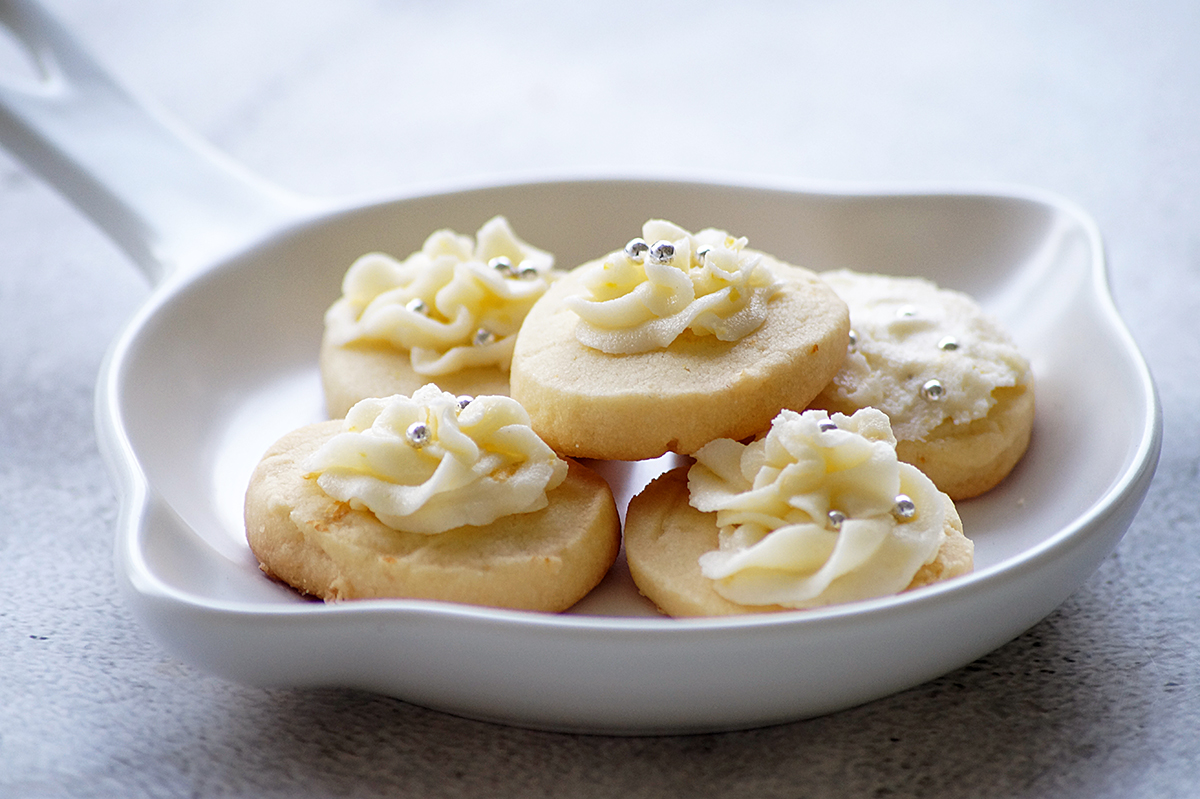
    Lemon Meltaway Cookies - Simple, buttery, delicate and crumbly lemon cookie that is crowned with vibrant zesty frosting. A perfect cookie recipe for the festive season!

    What are lemon meltaway cookies?

    Lemon meltaways are a type of small cookie made with a soft, buttery and zesty dough and topped with lemon flavored frosting and sprinkles. These cookies are a wonderful holiday treat and are often enjoyed with a cup of hot cocoa or coffee.

    These cookies are delightful, and crumbly cookies that literally melt in your mouth.

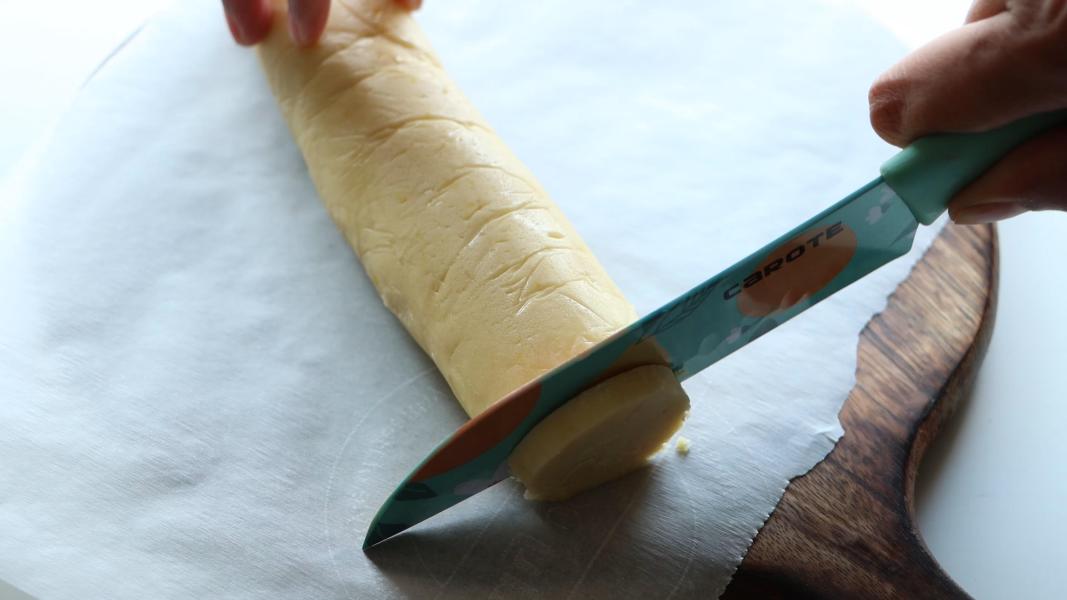
    The cookie dough is typically shaped into a log, chilled until firm, and then sliced into round cookies before baking. After baking, they are frosted with zesty buttercream frosting, which adds an extra layer of sweetness.

    Why you'll love this recipe:

    Tangy, delicious, delicate and perfect for any occasion!

    These are versatile. Can be easily made with different flavors and toppings!

    The dough can be made ahead of time and kept in the refrigerator or freezer until ready to bake.

    Perfect for the holiday season!

    They look super pretty and are a lovely addition to any holiday trays!

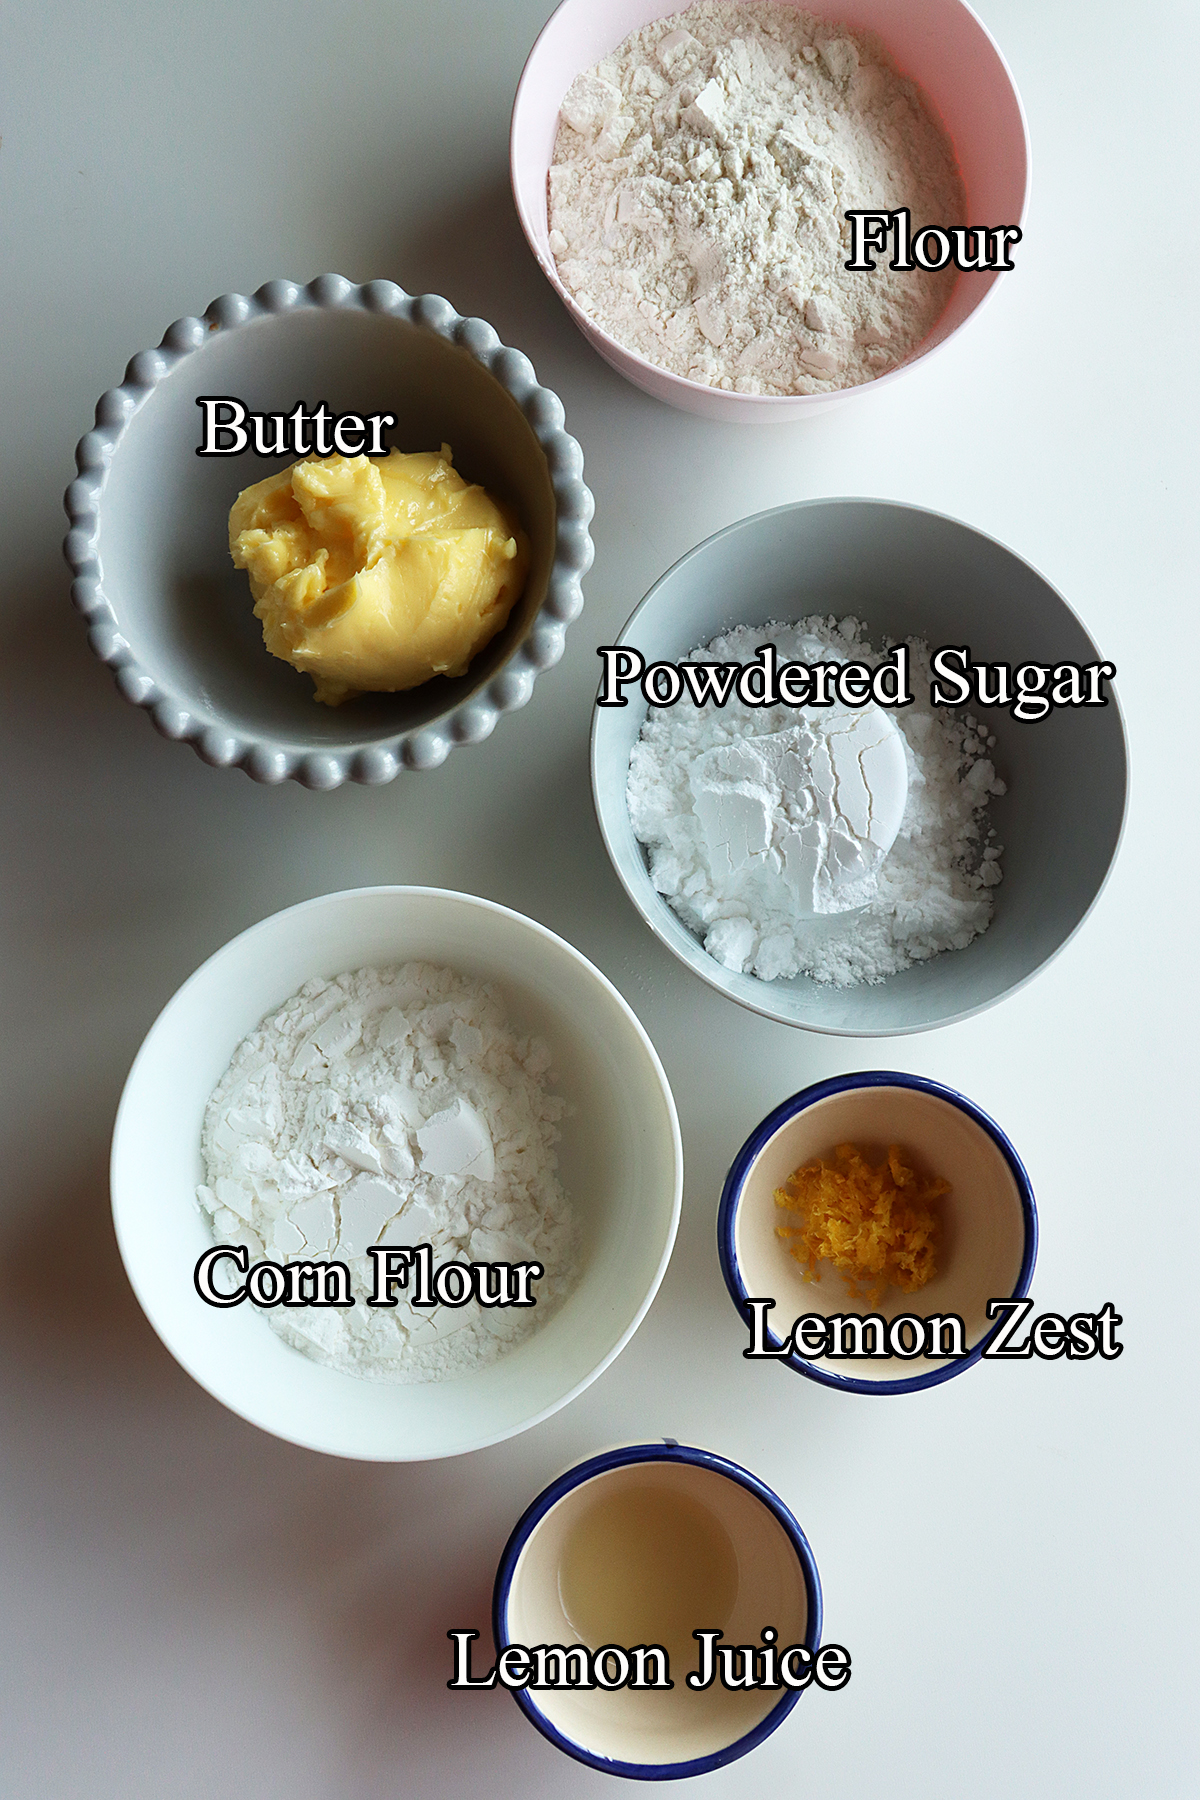
    Ingredients & Substitutions:

    All Purpose Flour - Also known as plain flour. I haven't tested this recipe with any other flour yet.

    Corn Flour - Also known as corn starch. Do not skip this. It gives cookies a soft, melt-in-your-mouth texture. You can substitute arrowroot powder or potato starch for cornstarch in equal amounts.

    Unsalted Butter - It can be replaced with margarine but the flavor and texture might vary slightly.

    Powdered Sugar - Also known as confectioners sugar. If you don't have it, grind sugar into a fine powder.

    Lemon Zest - Freshly grated lemon zest adds the vibrant citrus flavor to these cookies.

    Lemon Juice - Use freshly squeezed juice. Do not substitute it with bottled juice.

    Sprinkles - It is totally optional. You can use any of your favorite sprinkles to add a festive touch.

    Serving suggestions:

    Serve them with a cup of tea or coffee.

    Include these cookies on a dessert platter along with other treats during the holiday season.

    You can pack them in boxes to give as gifts during gatherings or holidays.

    Storage suggestions:

    They can be stored in an airtight container at room temperature for up to 4-5 days. If you'd like to store them for longer, they can be frozen for up to 2-3 months.

    To freeze the cookies, place them in a freezer-safe container or bag. Add a piece of wax paper or parchment paper between each layer of cookies to prevent the icing from sticking to other cookies.

    Whenever you want to have a cookie, allow them to thaw at room temperature on in the refrigerator.

    Tips & Notes:

    Use a good quality butter and other ingredients for the best flavor.

    When zesting lemons, do not grate the white pith beneath the yellow skin, as it can impart bitterness. Use only the yellow outer layer.

    Adjust the quantity of lemon zest and lemon juice according to your preference for a stronger or milder lemon flavor.

    Slice the dough into even sized cookies to bake them evenly.

    Ensure the baked cookies are cooled before frosting.

    Step by step instructions:

    Mix together all purpose flour and corn flour in a mixing bowl and keep it aside until use.

    Combine softened butter, lemon zest and powdered sugar in a mixing bow. Mix until light and creamy.

    Add lemon juice and mix everything.

    Add the flour mixture and gently mix everything.

    Knead it to make a soft and smooth dough.

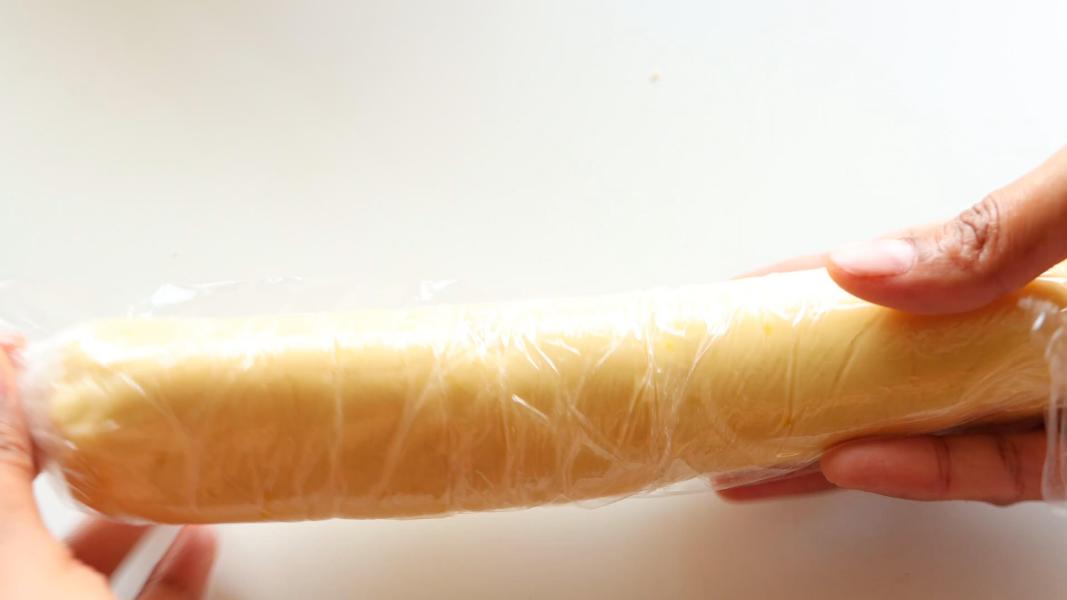
    Roll the dough into a 7-8 inch log and wrap it in a cling film or parchment paper.

    Place the dough log in the refrigerator and chill it for 1-2 hours or until firm.

    Take it out of the refrigerator and remove the cling film. Cut the dough into ¼ inch slices.

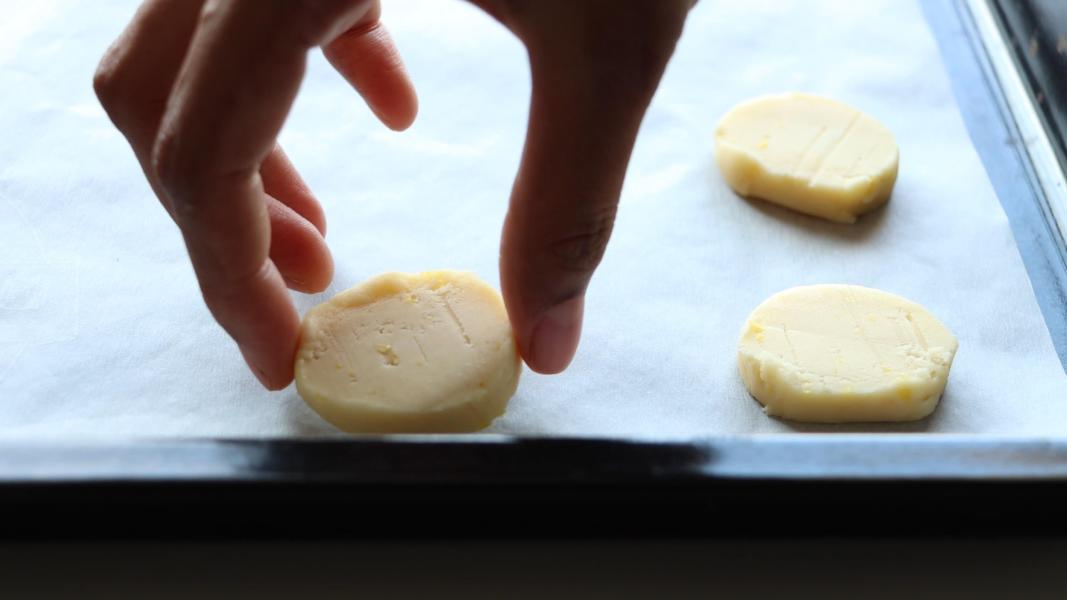
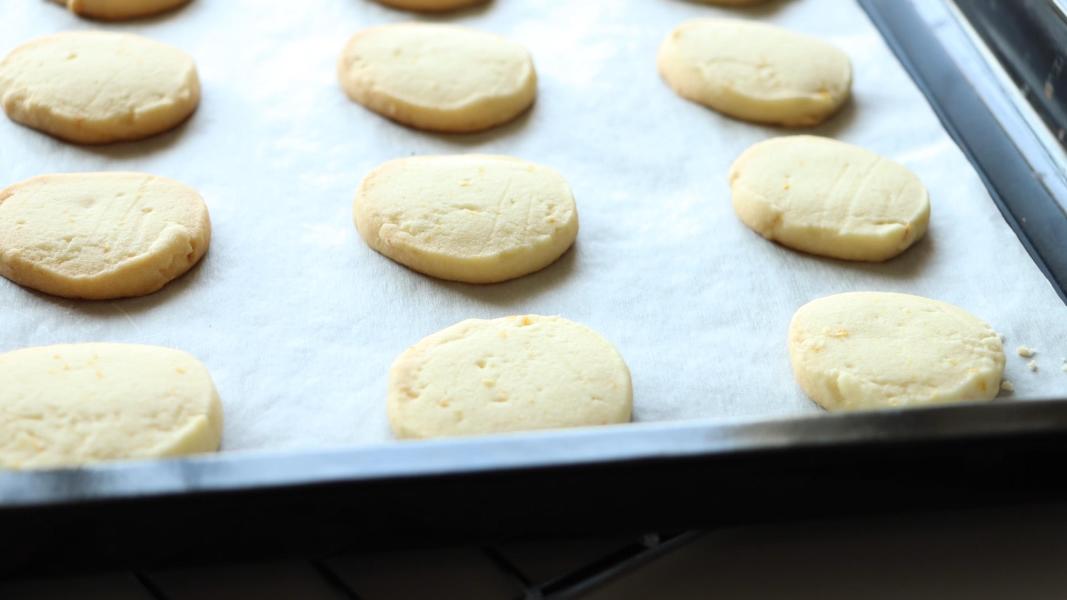
    Arrange them on a lined baking tray and bake them in the preheated oven for 12-15 minutes at 180 degrees C.

    Let them cool completely.

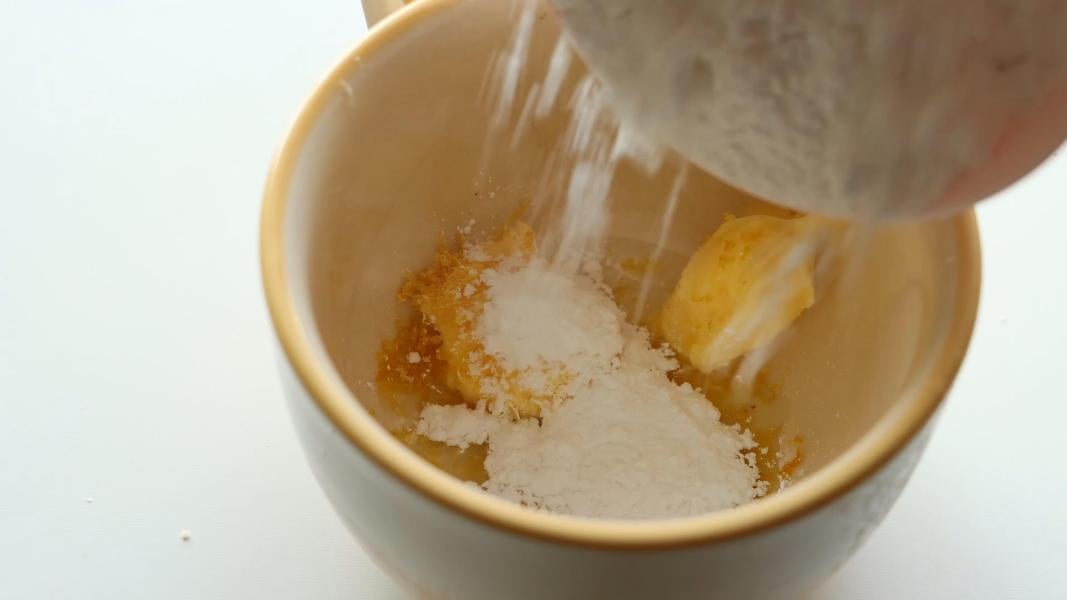
    To make the frosting, combine butter, lemon zest and powdered sugar in a bowl.

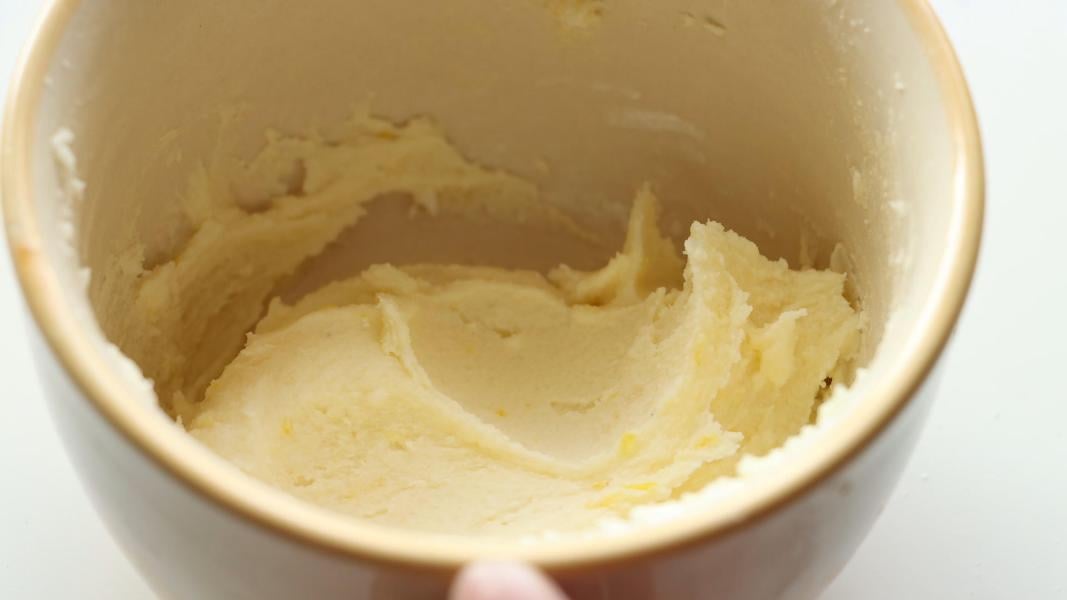
    Mix everything until smooth and creamy.

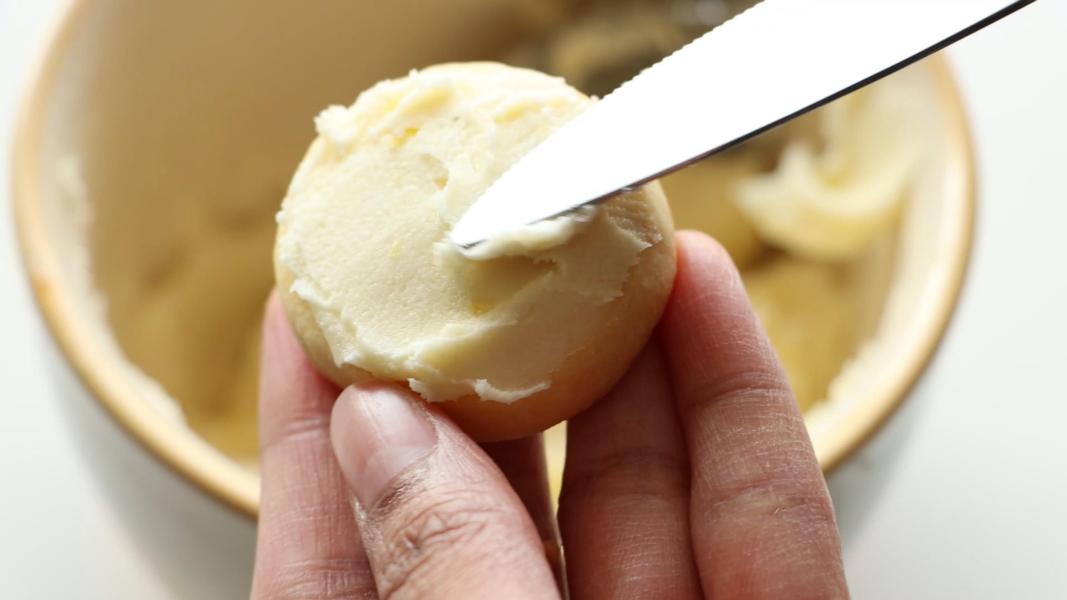
    Spread the frosting over the cooled cookies.

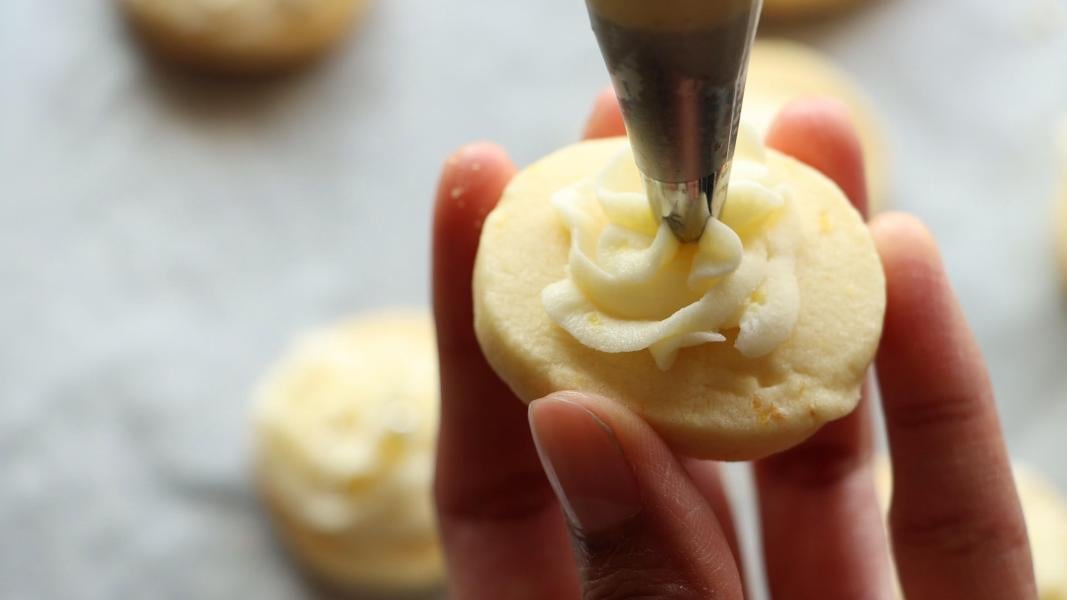
    You can also use a piping bag for frosting.

    Leave them for some time until frosting has set.

    Few more Christmas recipes on the blog:

    • Lemon Snowball Cookies
    • Peppermint Fudge
    • Peppermint White Chocolate Cookies
    • Peppermint Meltaways
    • Santa's Whiskers
    • Chocolate Kiss Snowballs
    • Oreo Bark
    • Chocolate Covered Oreos
    • Peanut Butter Buckeyes

    How to make lemon meltaways recipe video below:

    Print Recipe

    Lemon Meltaway Cookies

    Lemon Meltaway Cookies - Simple, buttery, delicate and crumbly lemon cookie that is crowned with vibrant zesty frosting. A perfect cookie recipe for the festive season!
    Prep Time20 minutes mins
    Cook Time15 minutes mins
    Total Time35 minutes mins
    Course: Baking, Cookies, Dessert
    Cuisine: American, International
    Keyword: Christmas Cookies, cookies for christmas, cookies for holidays, Eggless Baking, Eggless Cookies
    Servings: 23 Cookies
    Calories: 78kcal
    Author: Hari Chandana Ponnaluri

    Ingredients

    • ½ + ⅛ Cup All Purpose Flour
    • ⅓ Cup + 1 Tablespoon Unsalted Butter
    • ¼ Cup Corn Flour
    • ¼ Cup Powdered Sugar
    • ½ Tablespoon Lemon Juice
    • 1 Teaspoon Lemon Zest

    For Frosting

    • ¾ Cup Powdered Sugar
    • 2.5 Tablespoons Butter
    • ½ Teaspoon Lemon Zest
    • ½ Tablespoon Lemon Juice

    Instructions

    • Combine both flours in a mixing bowl and keep it aside.
    • Cream together butter, zest and powdered sugar in a mixing bowl. Add lemon juice and mix everything well.
    • Add the flour mixture and mix everything well using a spatula.
    • Knead it to make a smooth dough.
    • Form the dough into a 7-8 inch log and wrap it in a cling film.
    • Let it chill the dough for 1-2 hours or until firm.
    • Slice the chilled dough into ¼ inch thick rounds and place them on a lined baking tray.
    • Bake them in the preheated oven for 12-15 minutes at 180 degrees C.
    • Remove and let them cool completely before frosting.
    • Combine all the frosting ingredients until creamy.
    • Spread a spoonful of frosting over the cooled cookies and add sprinkles on top if using.
    • Leave them for some time until frosting has set.
    • Store them in an airtight container.

    Video

    Nutrition

    Calories: 78kcal | Carbohydrates: 9g | Protein: 0.4g | Fat: 5g | Saturated Fat: 3g | Polyunsaturated Fat: 0.2g | Monounsaturated Fat: 1g | Trans Fat: 0.2g | Cholesterol: 12mg | Sodium: 11mg | Potassium: 6mg | Fiber: 0.1g | Sugar: 5g | Vitamin A: 140IU | Vitamin C: 0.4mg | Calcium: 2mg | Iron: 0.2mg
    • « Go to Previous Page
    • Page 1
    • Interim pages omitted …
    • Page 5
    • Page 6
    • Page 7
    • Page 8
    • Page 9
    • Interim pages omitted …
    • Page 93
    • Go to Next Page »

    Primary Sidebar

    Welcome!

    I’m Hari Chandana Ponnaluri, the creator, recipe developer, and photographer of Blend with Spices, a food blog where I share flavorful, approachable, and authentic vegetarian recipes from India and beyond..

    More about me

    Popular Recipes

    • Cranberry Orange Snowball Cookies
    • Chocolate Crinkle Cookies (Eggless)
    • kolaczki Cookies (Polish Christmas Jam Cookies)
    • Sugar Plums
    • Peppermint Kiss Cookies
    • Potato Chip Cookies

    Indian Festival Recipes

    • Moru Curry (Kerala Moru Kachiyathu)
    • Palada Payasam (Palada Pradhaman)
    • Nellikai Sadam (South Indian Amla Rice)
    • Instant Pot Avial (Kerala Mixed Vegetable Curry)
    • Mawa Modak
    • Upma Kozhukattai
    See more Festival Recipes →

    Footer

    About

    • Privacy Policy

    Don’t Miss A Recipe!

    Subscribe to our mailing list

    Contact

    • Contact

    Copyright © 2020 Blend with Spices