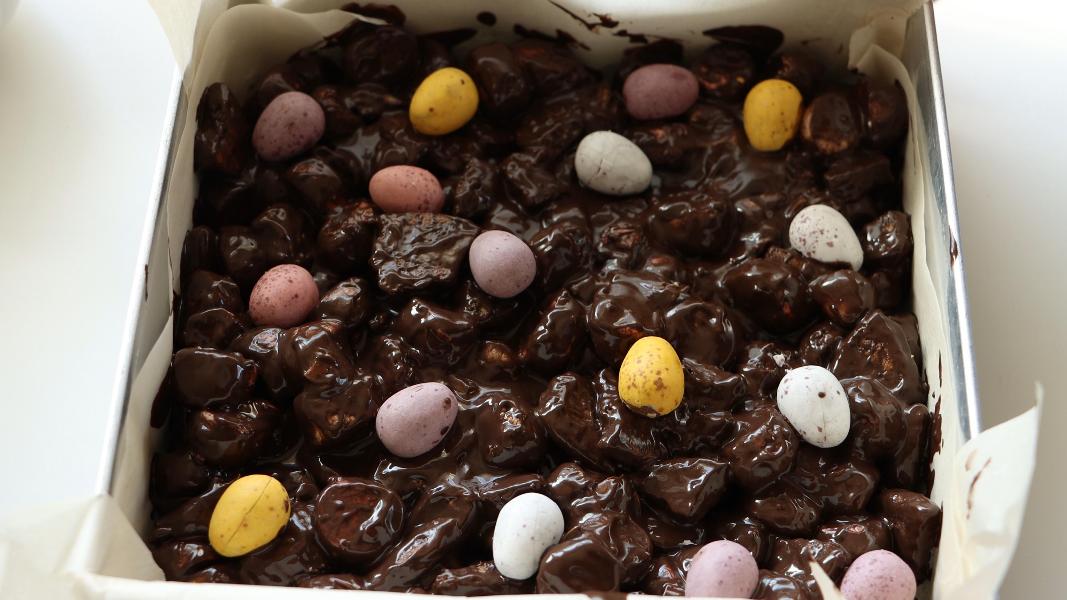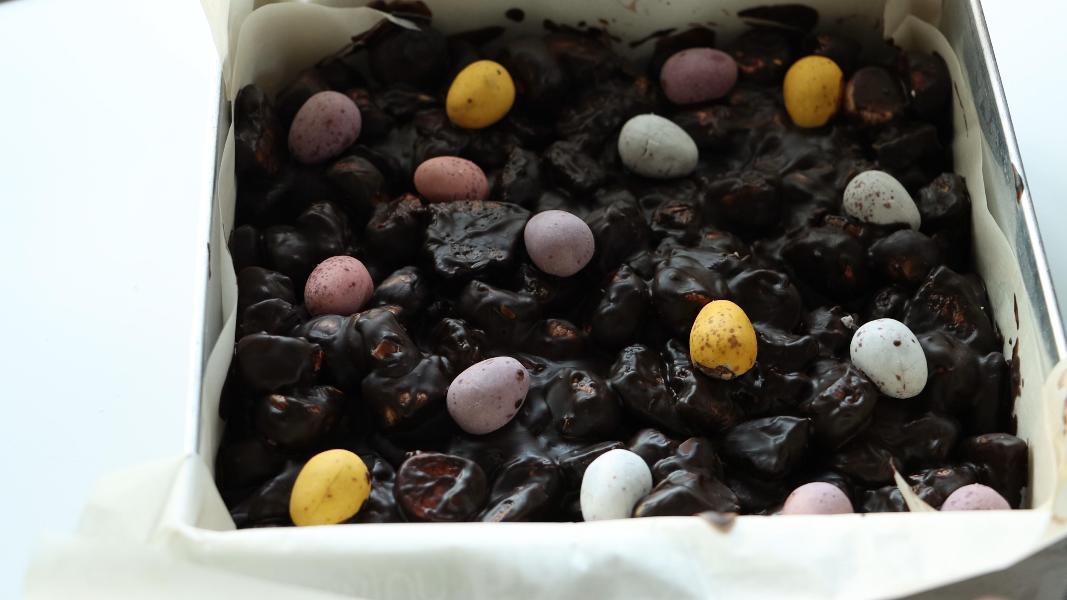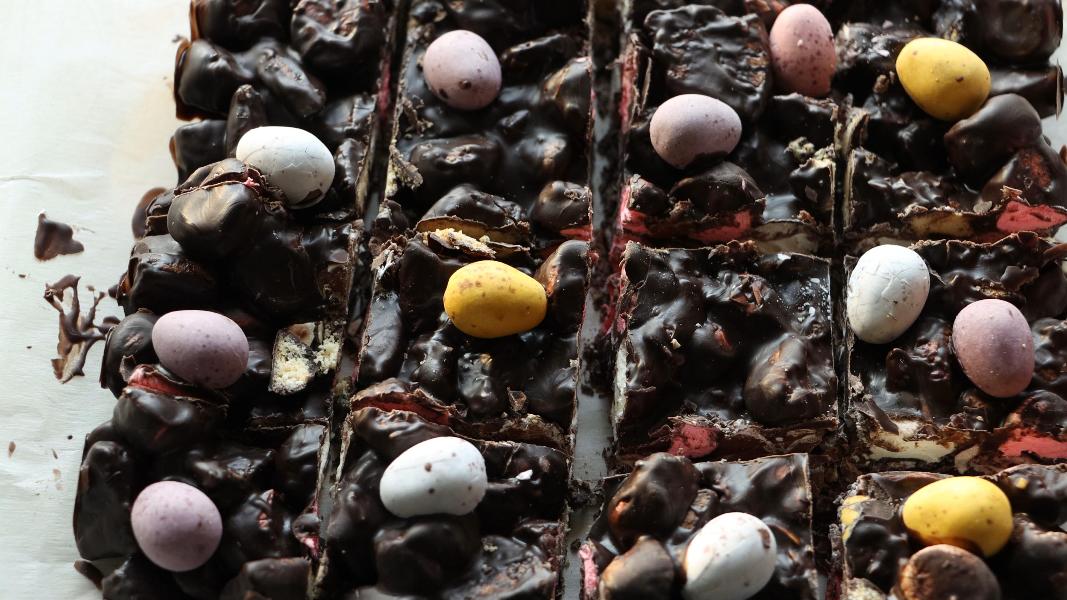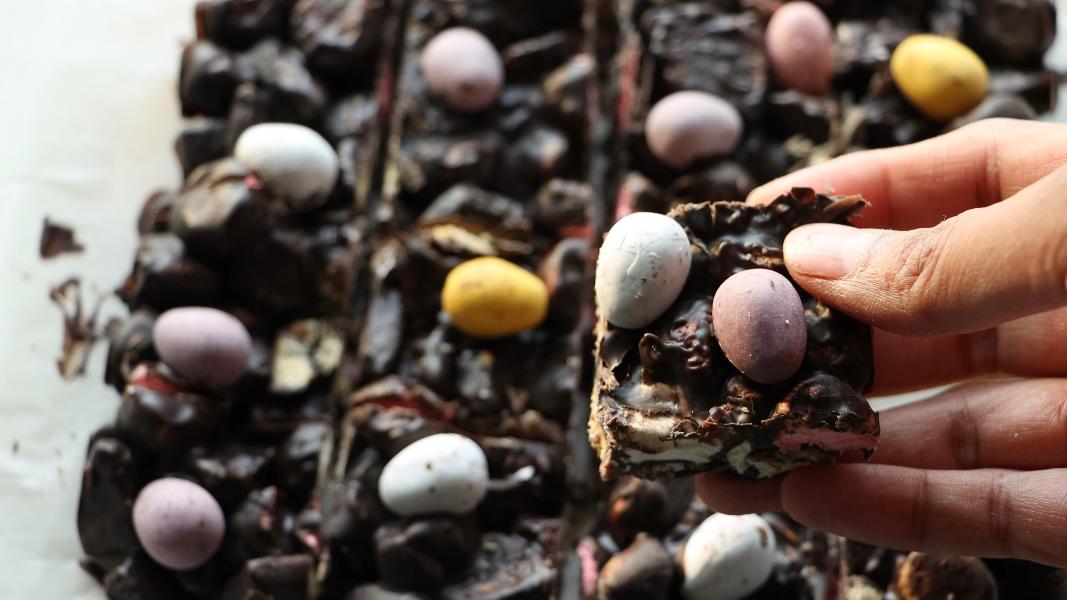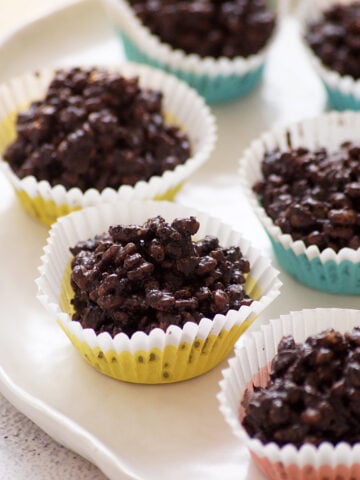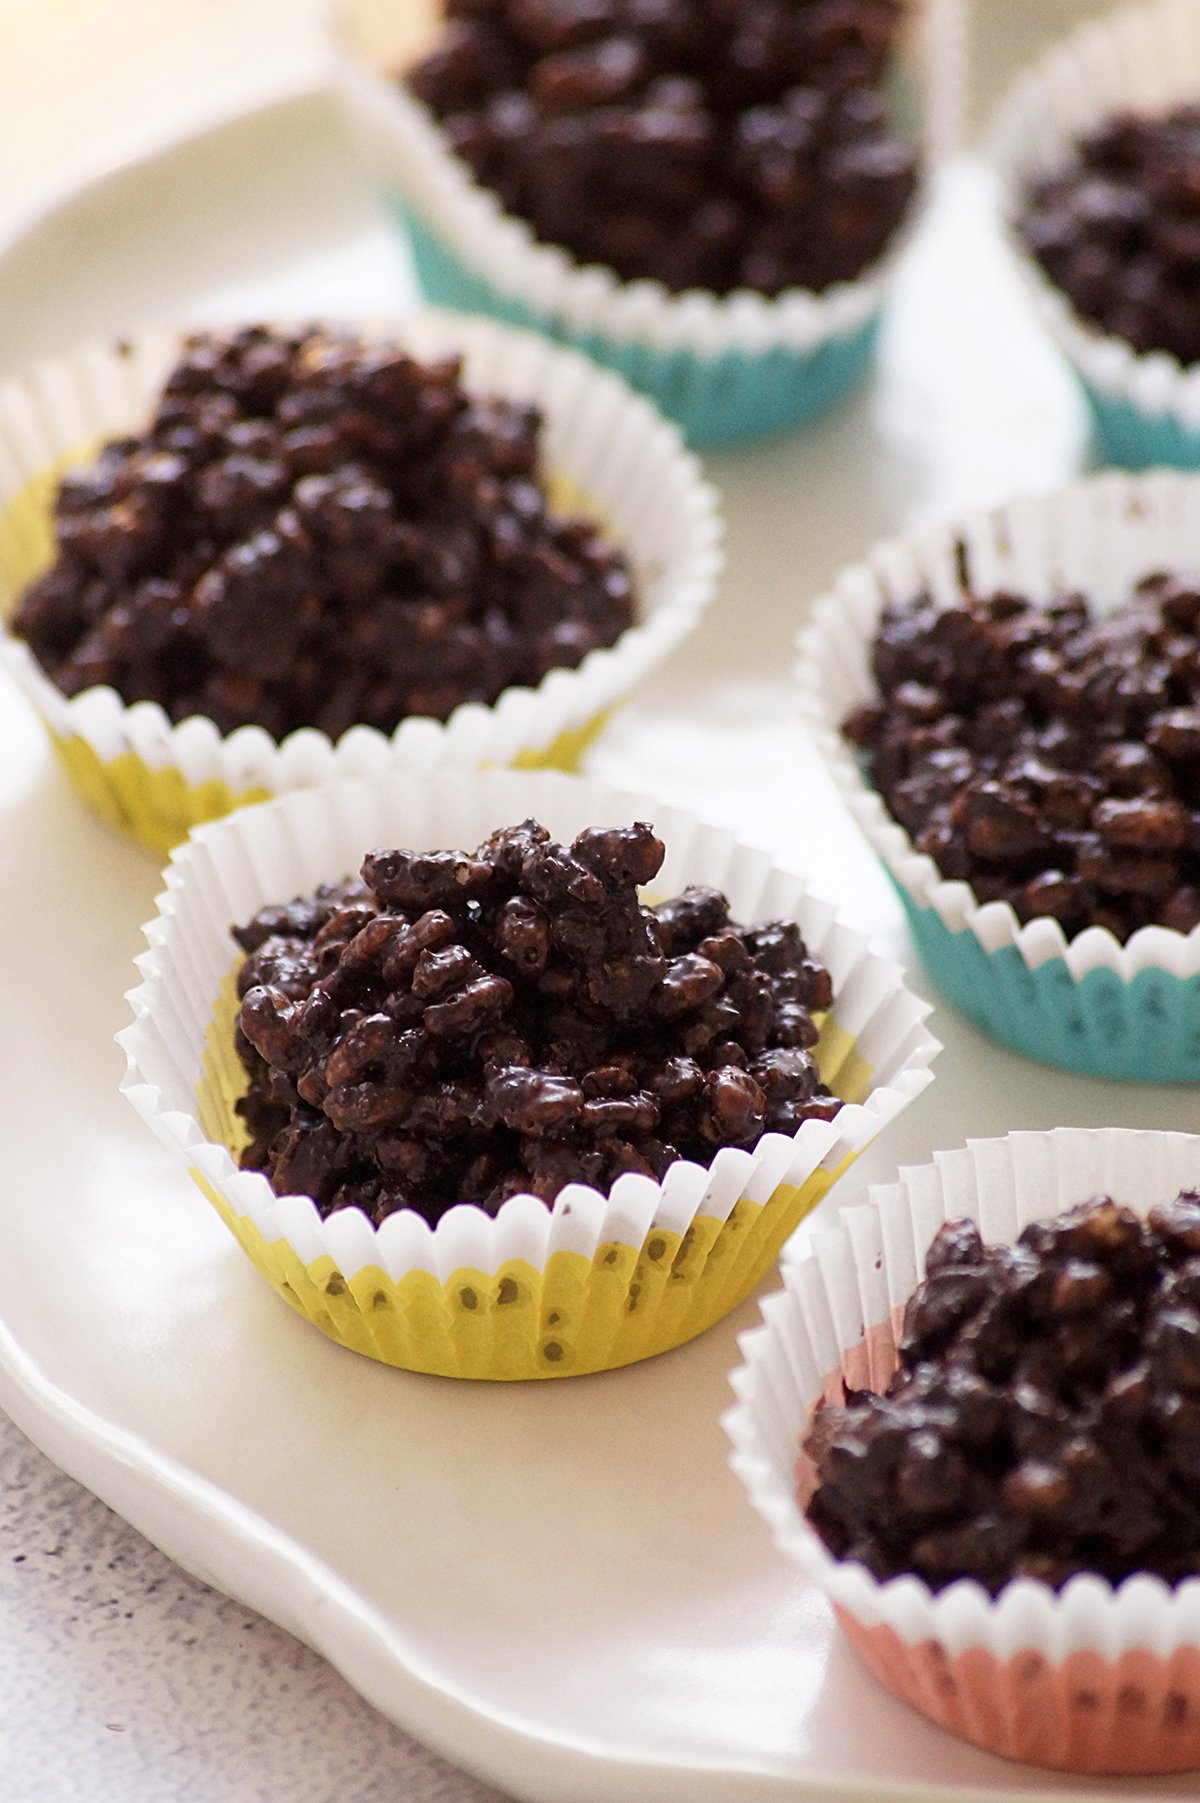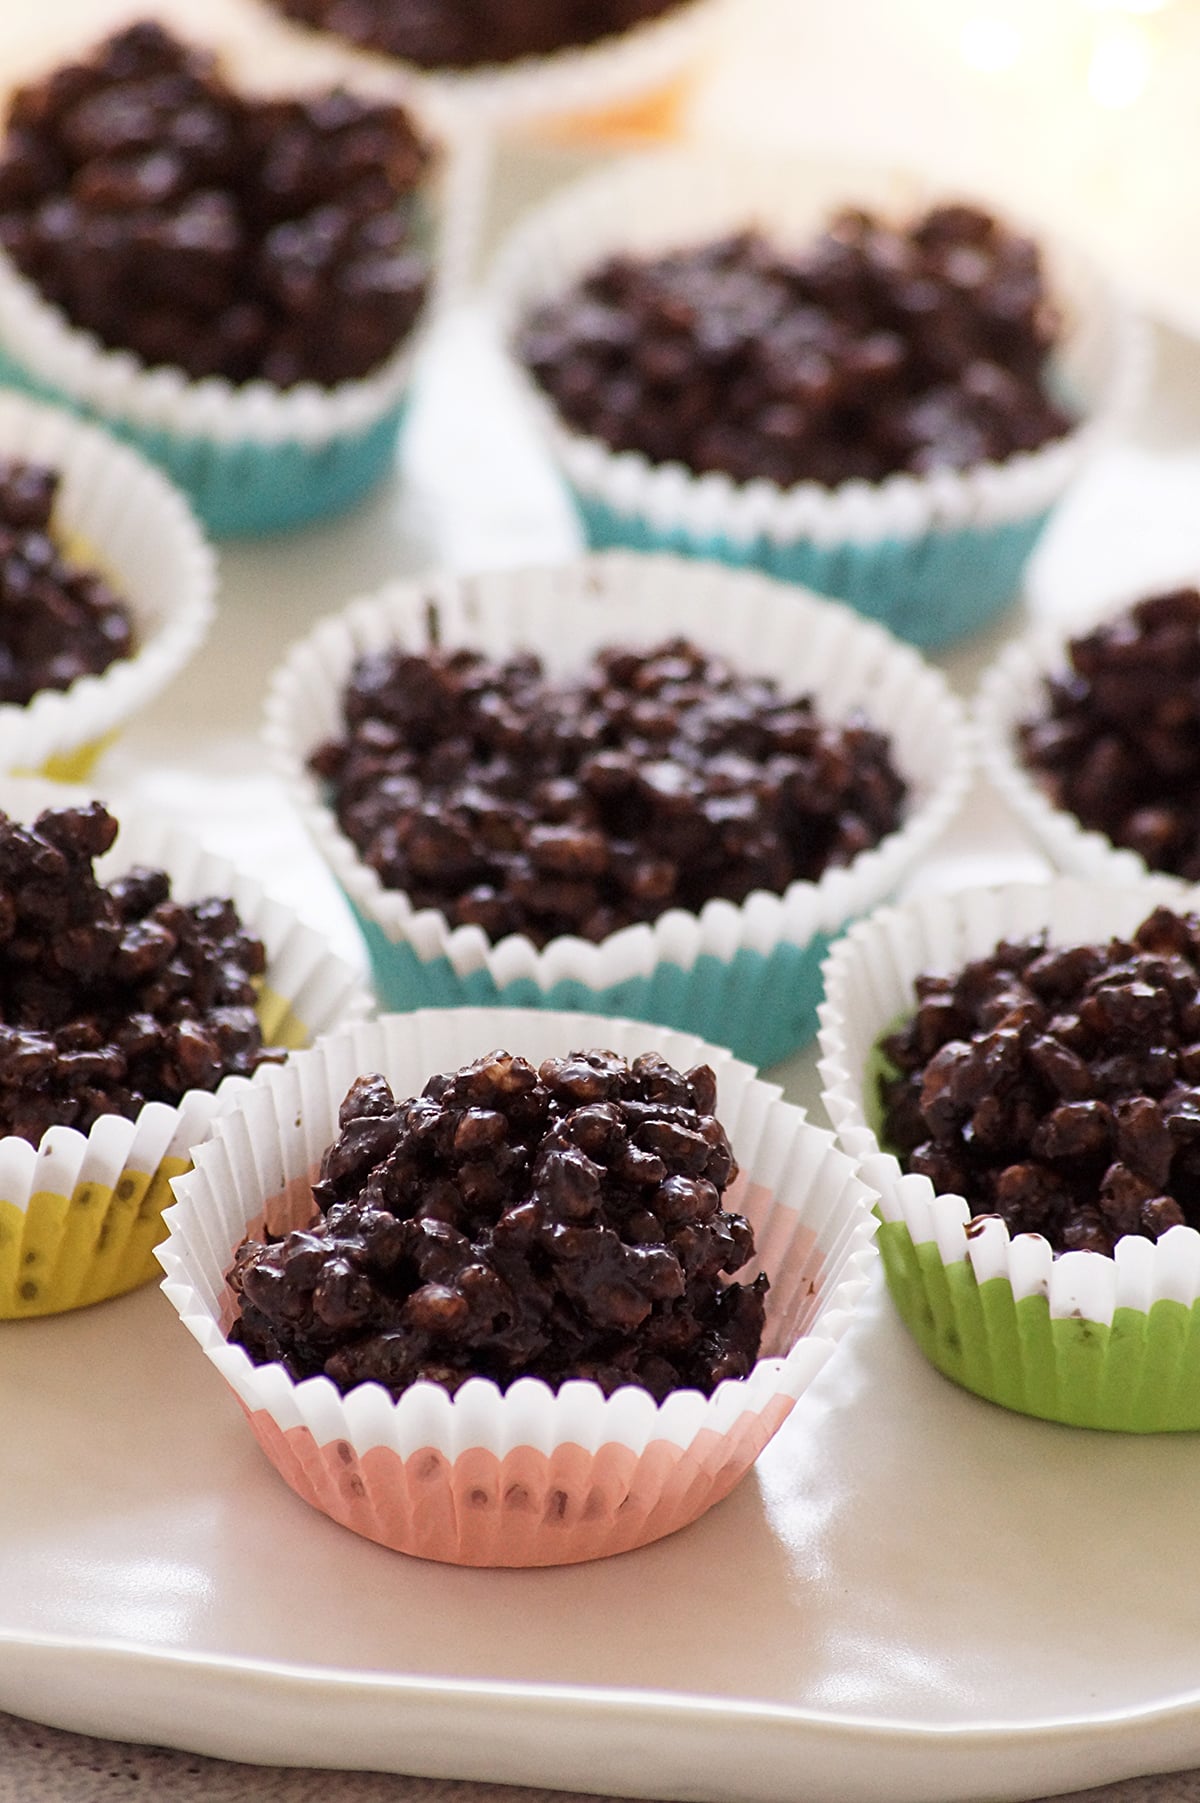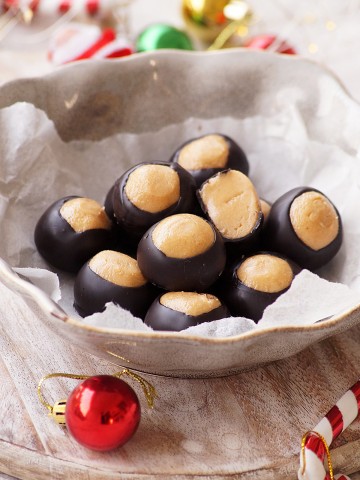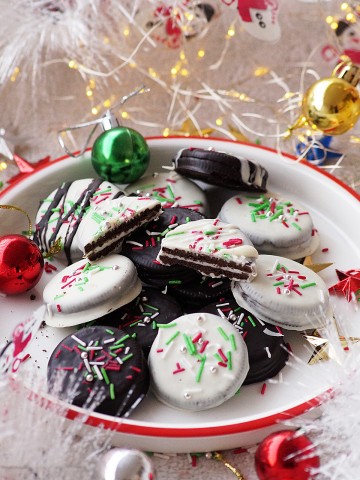

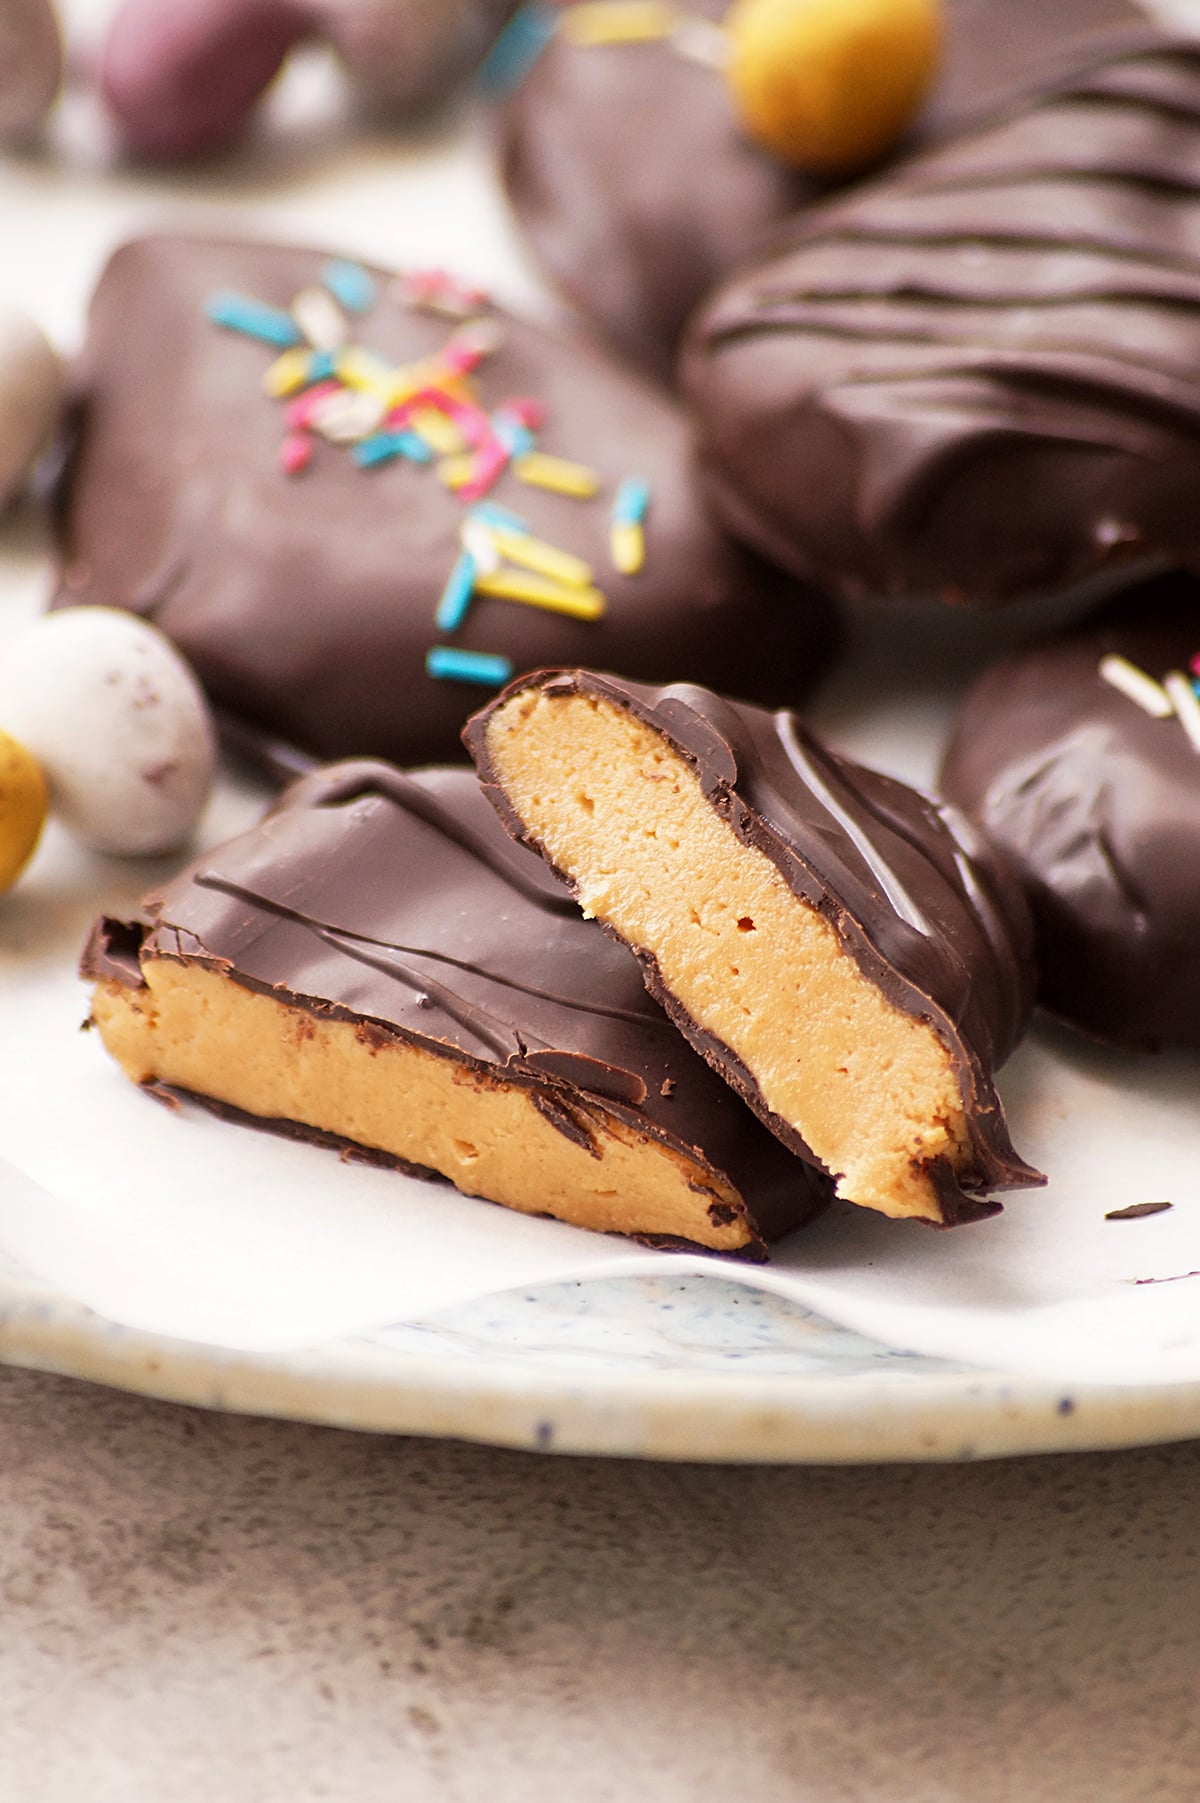
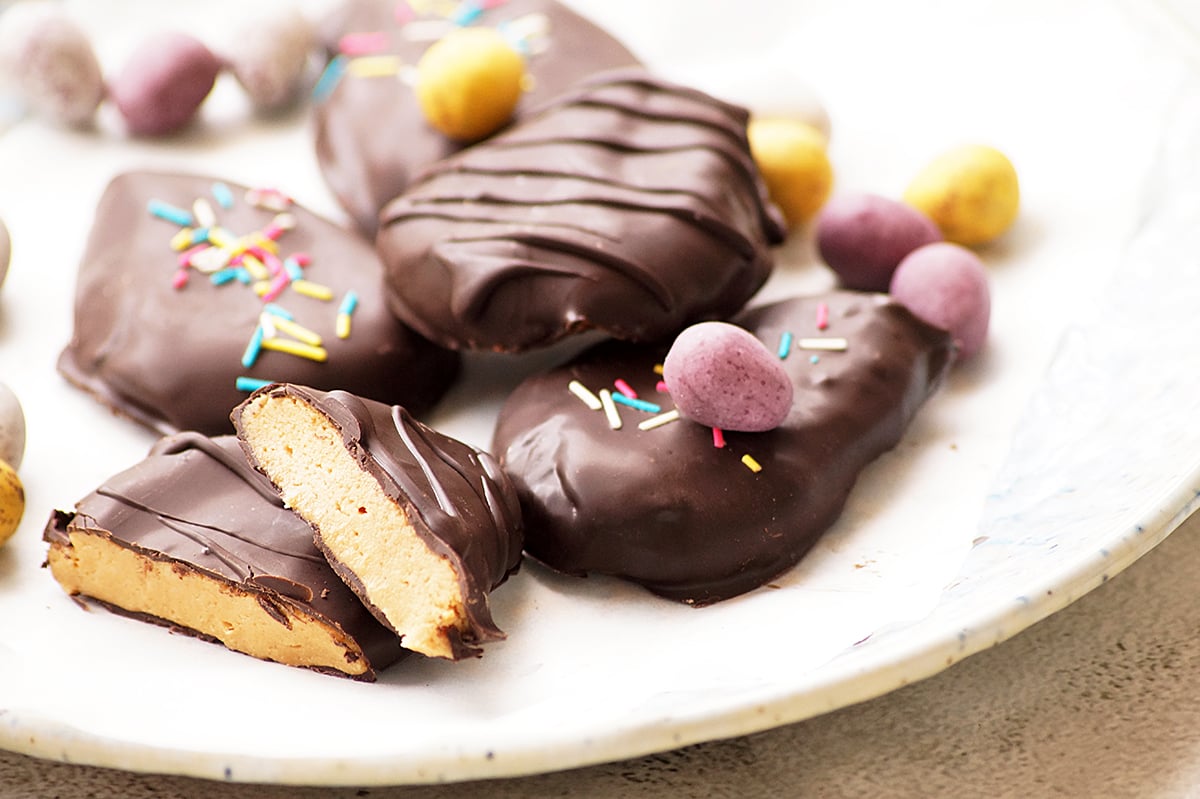
These Homemade Peanut Butter Eggs are a simple, easy, and delicious sweet treat made with a creamy peanut butter filling and coated in dark chocolate. A no-bake treat that's perfect for Easter.
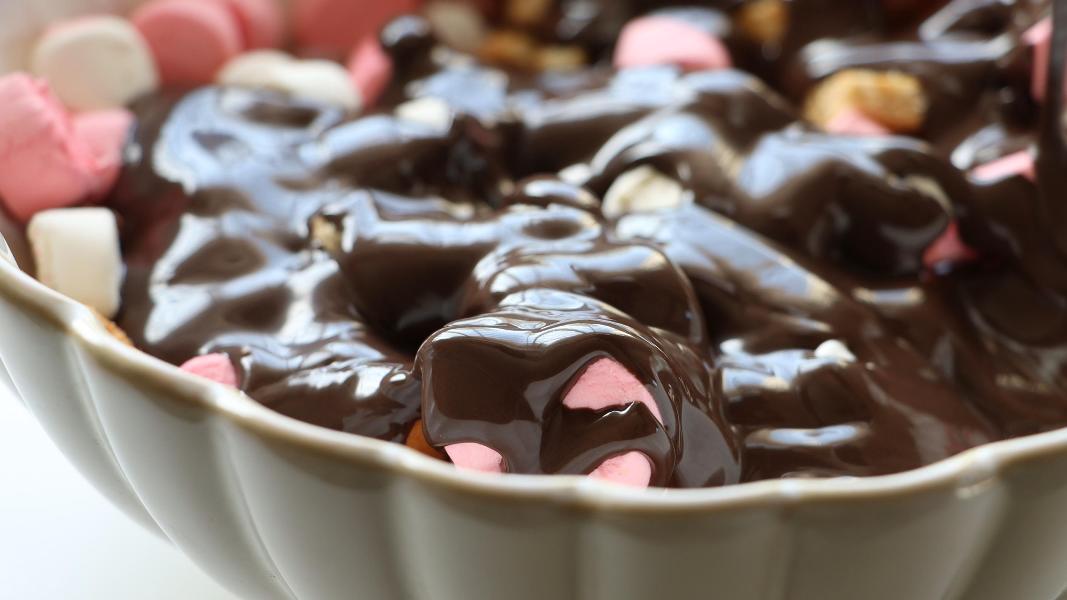
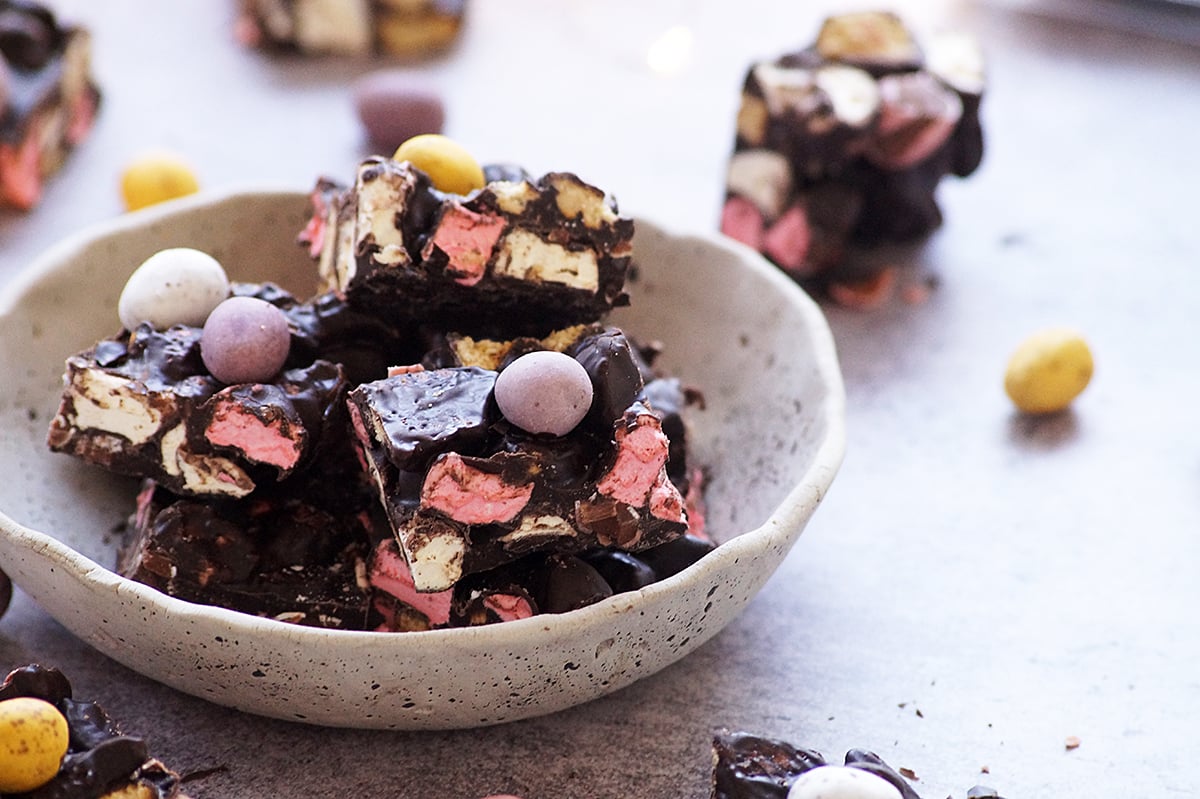
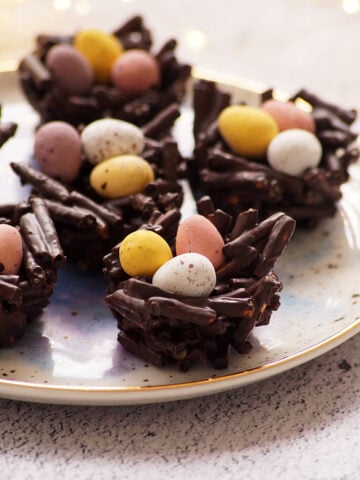
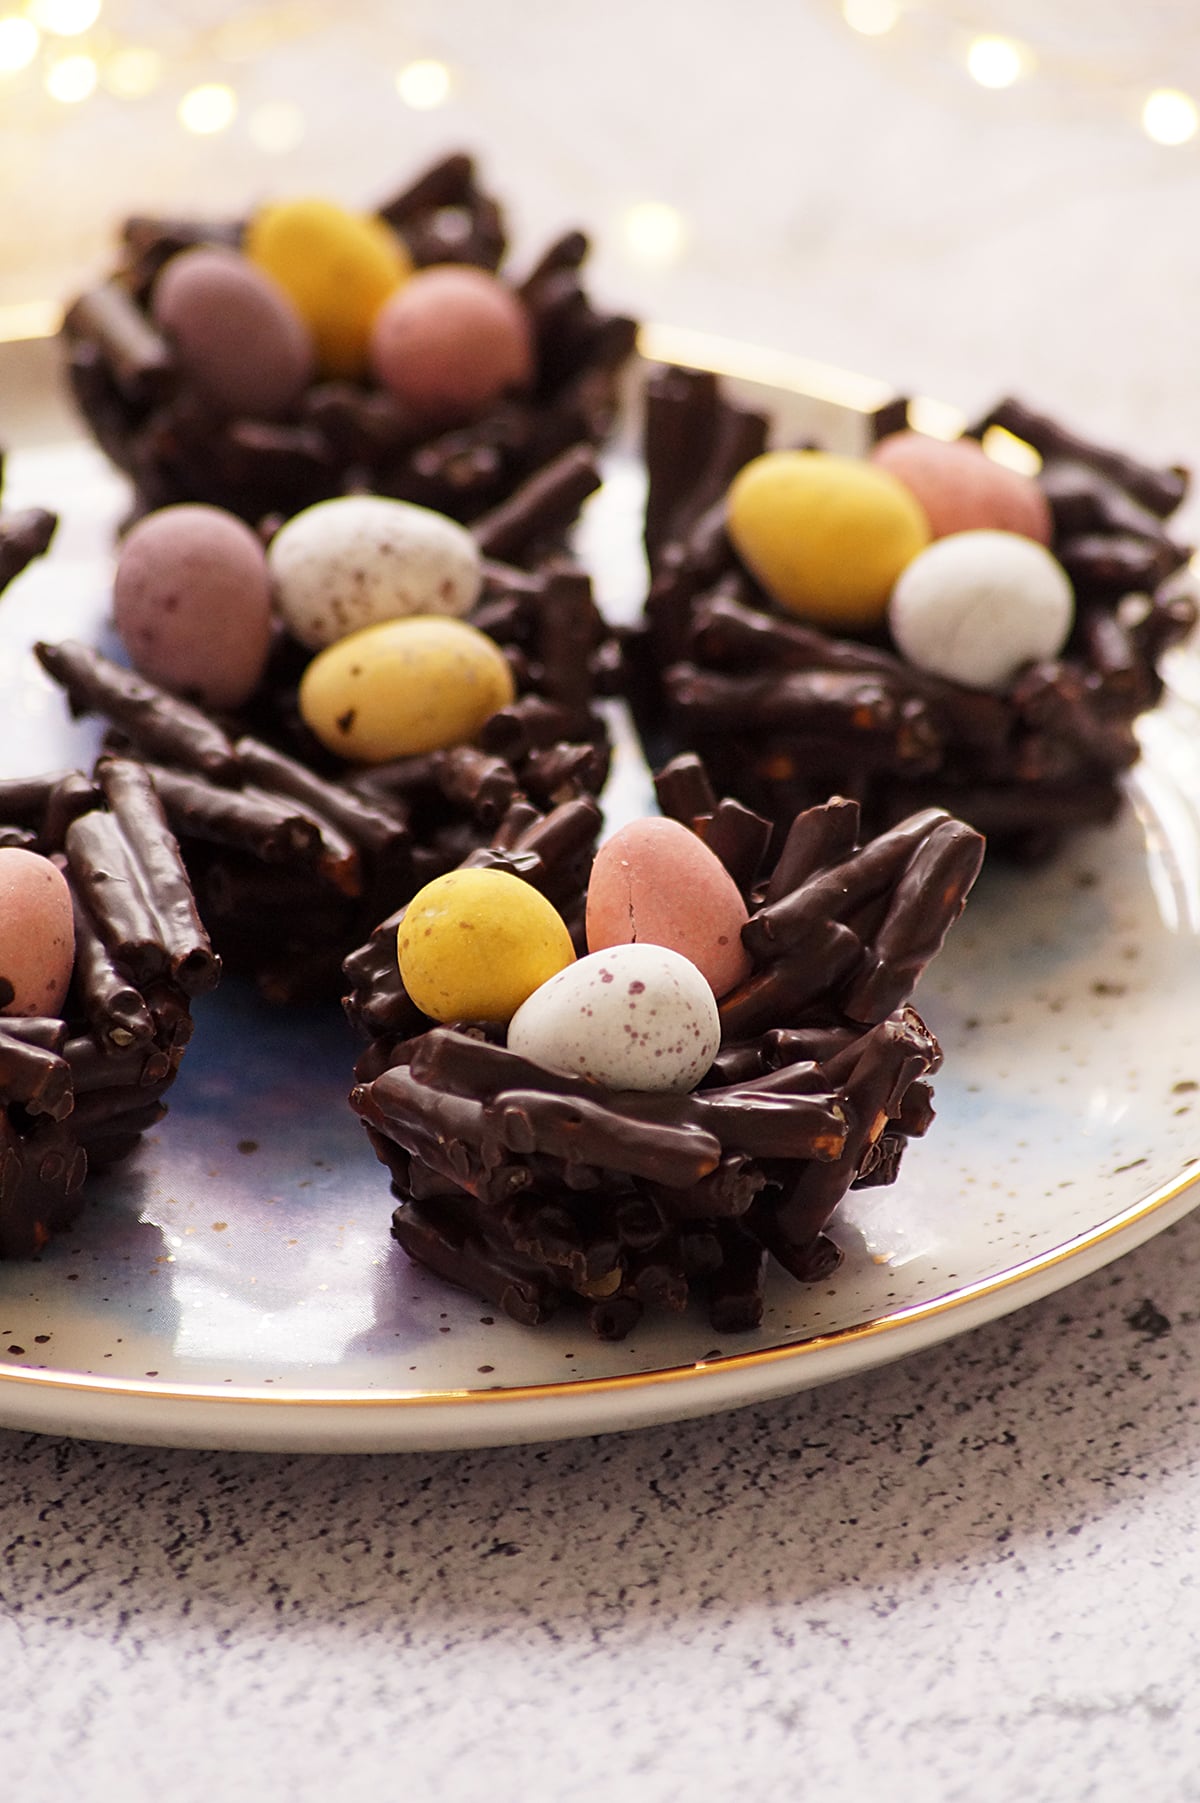
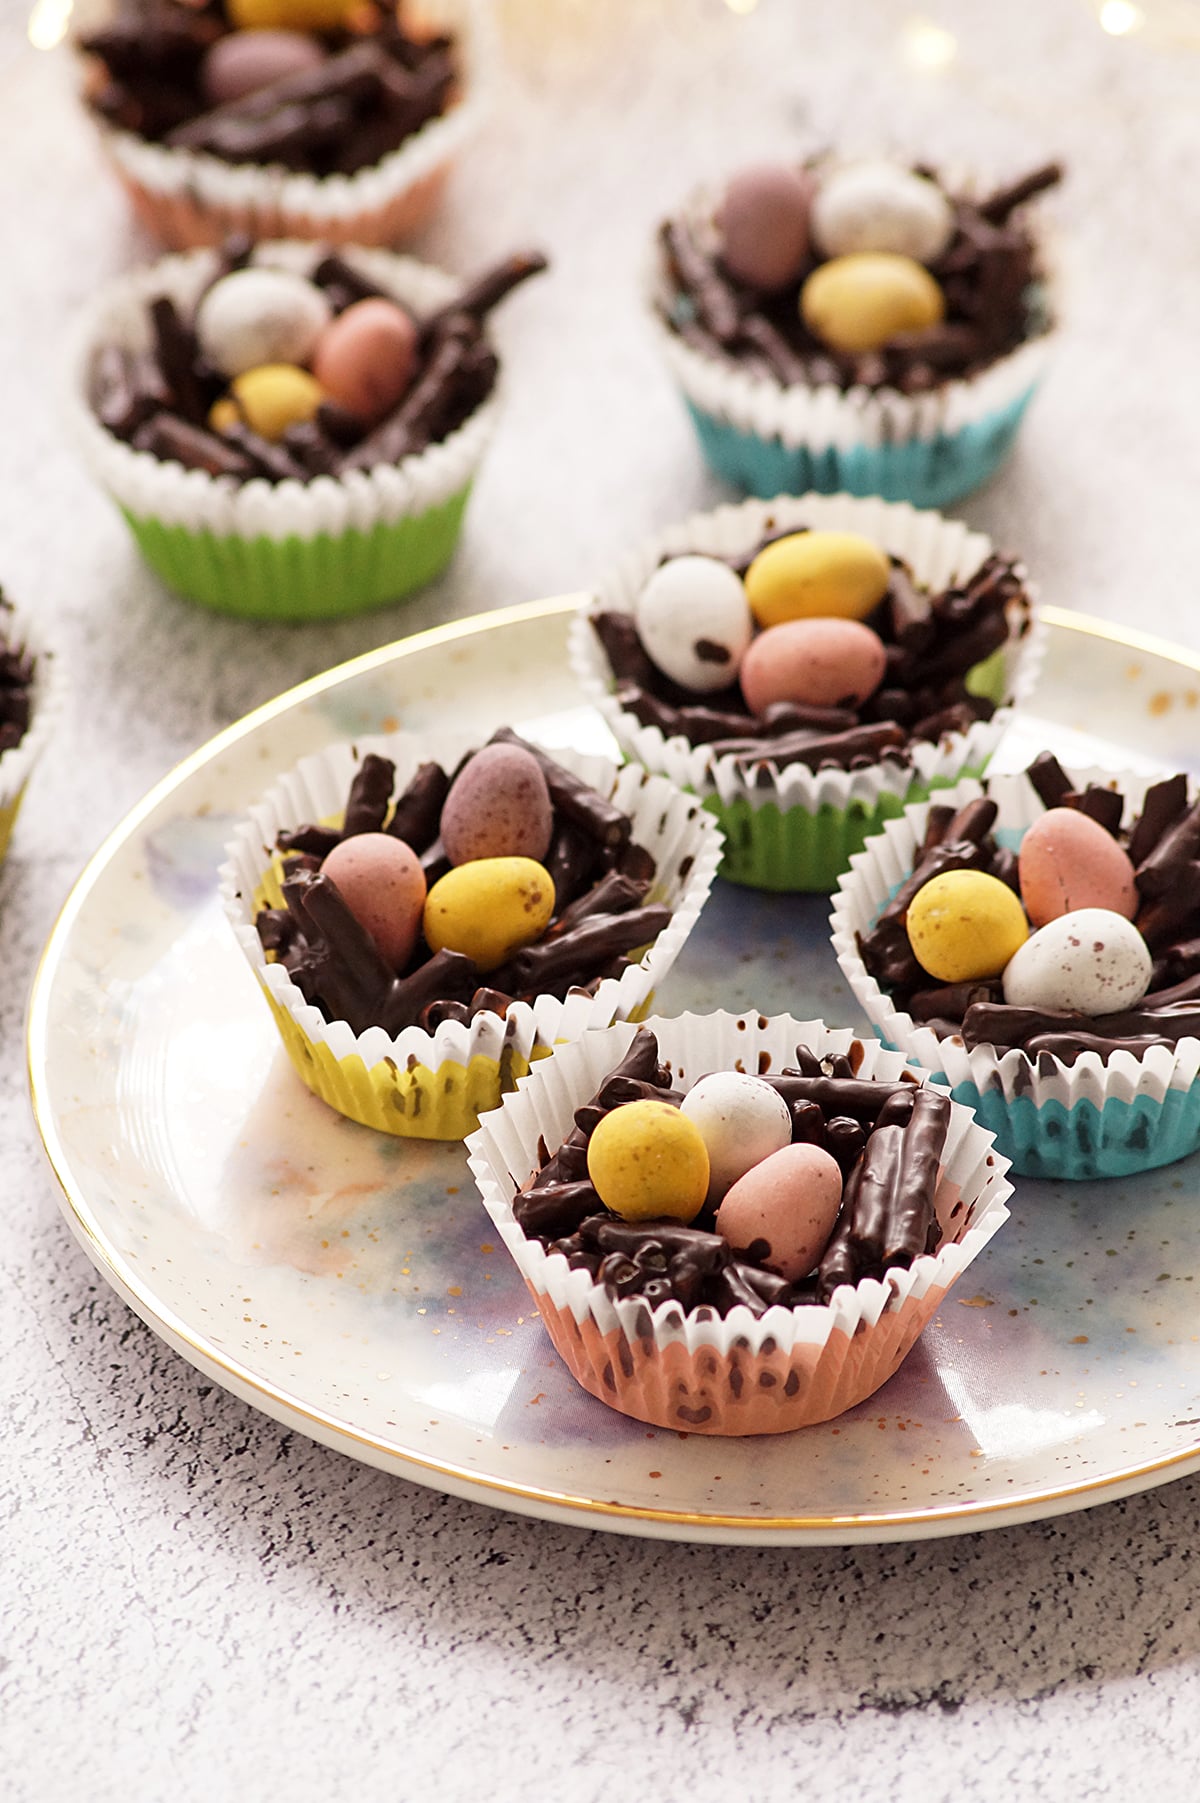
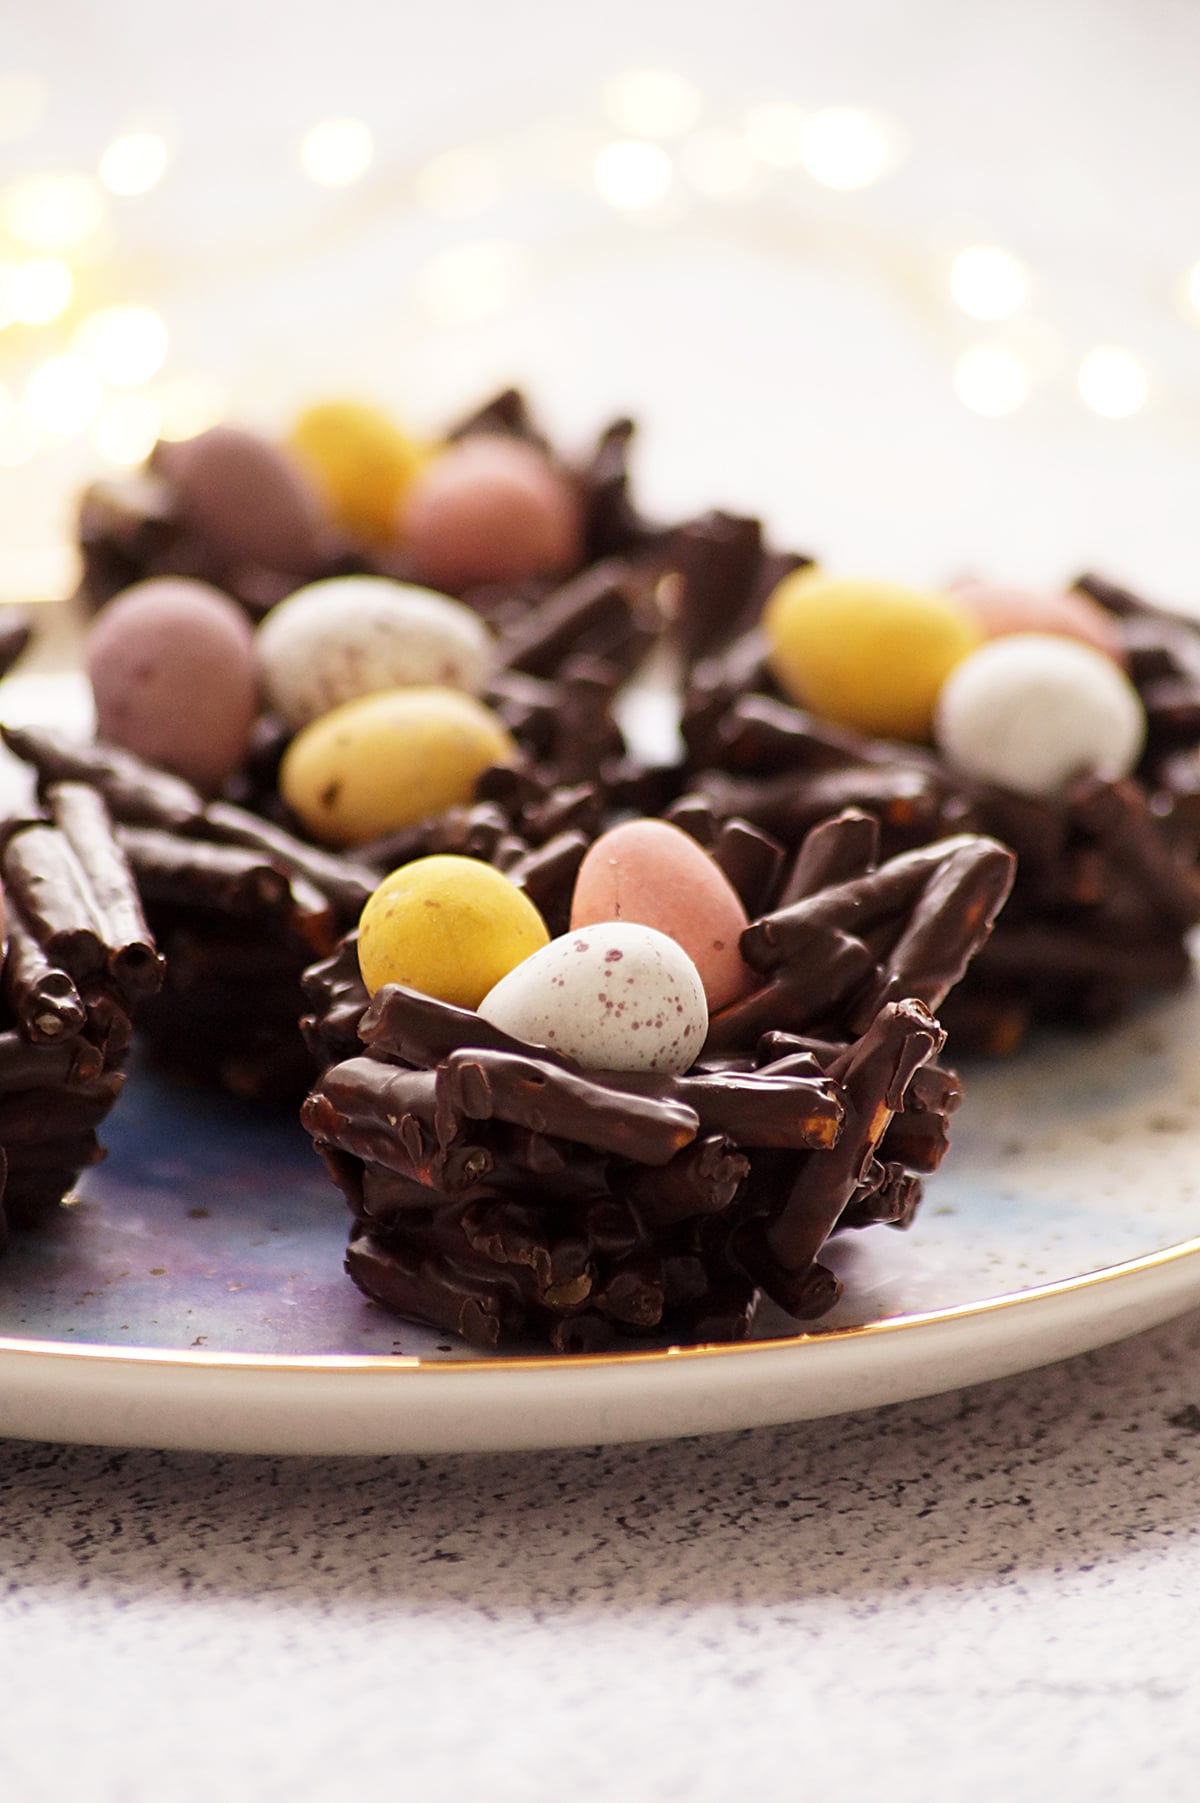
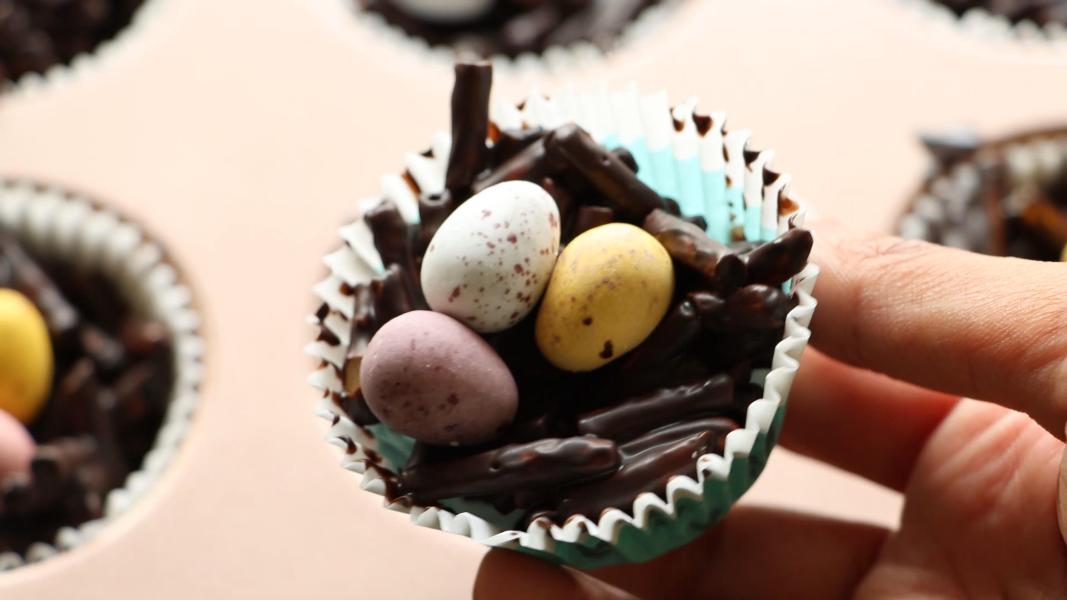
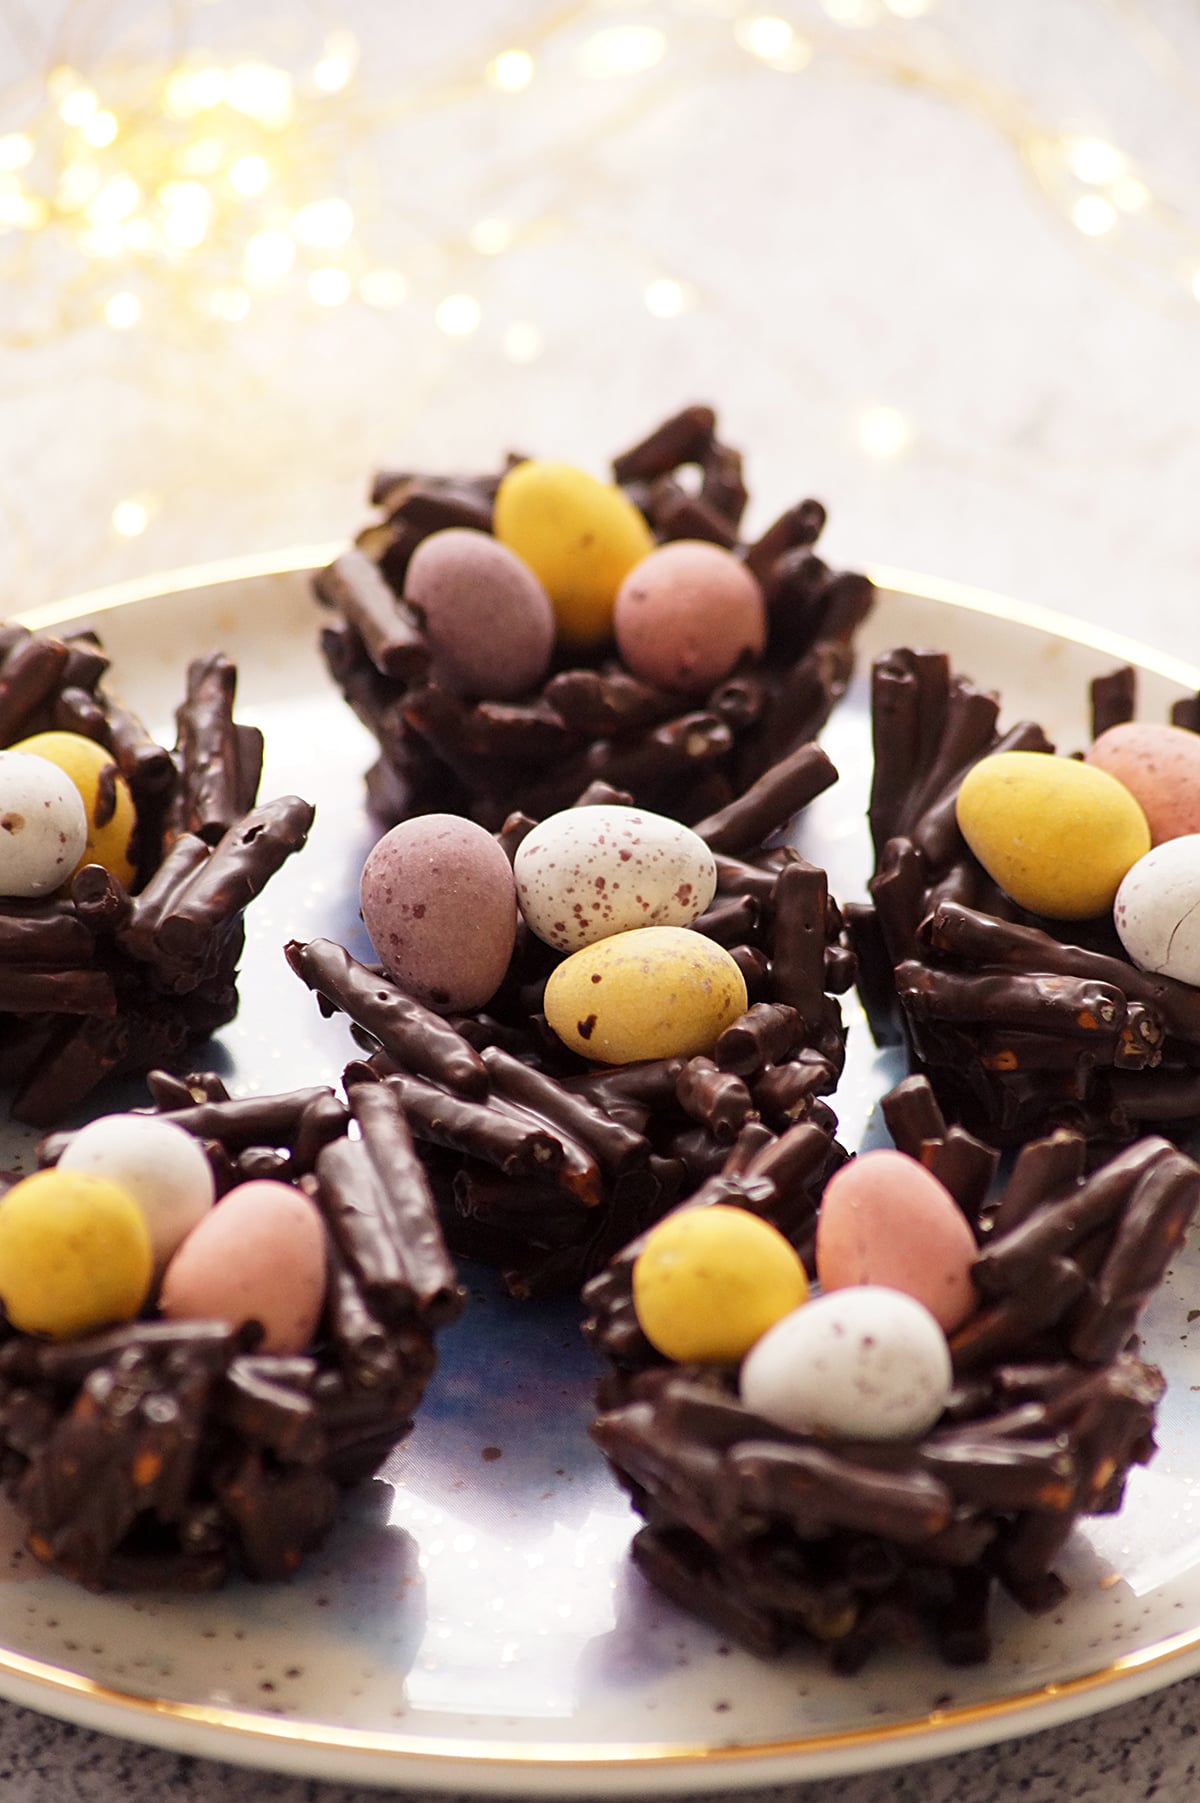
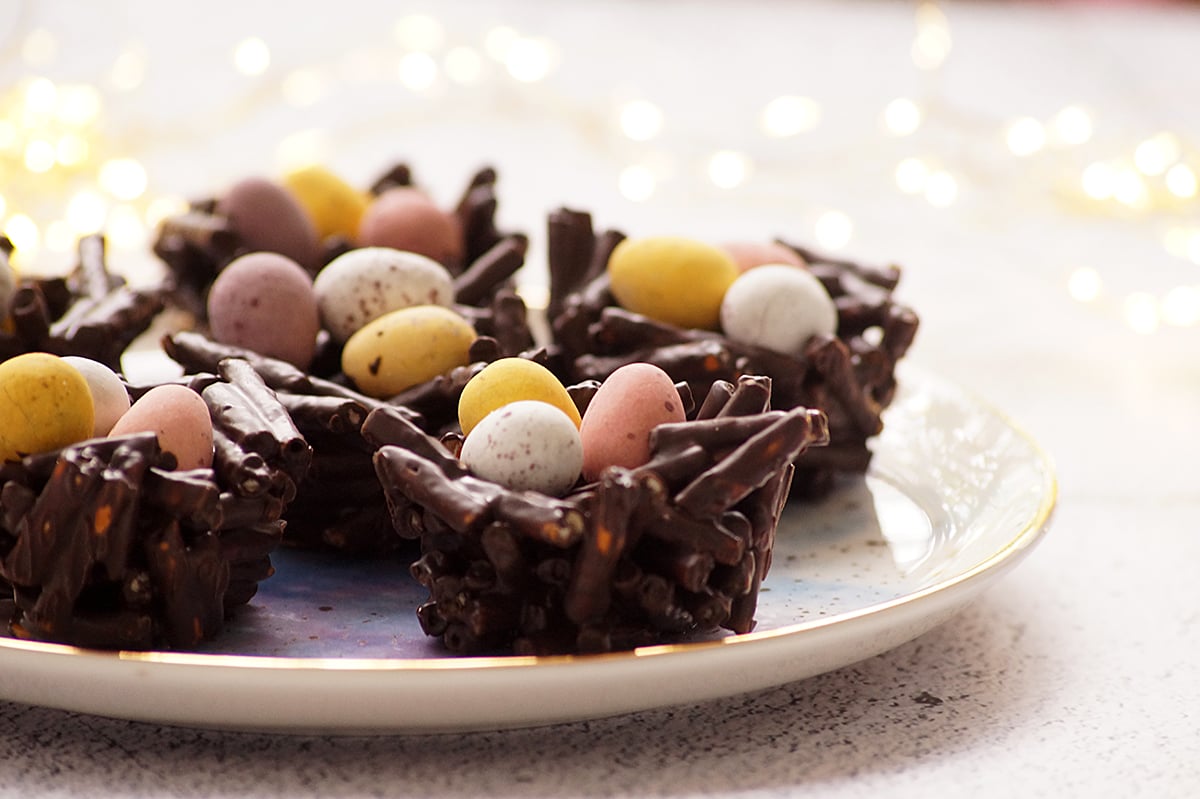
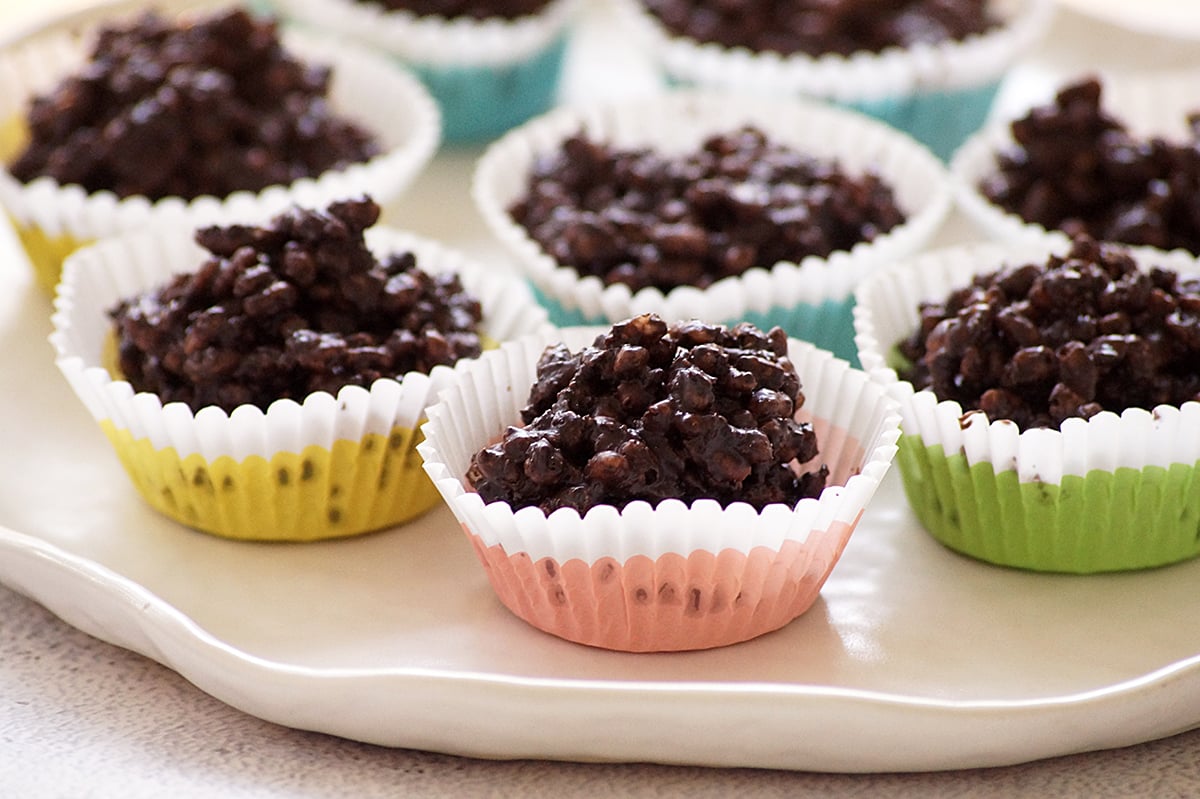
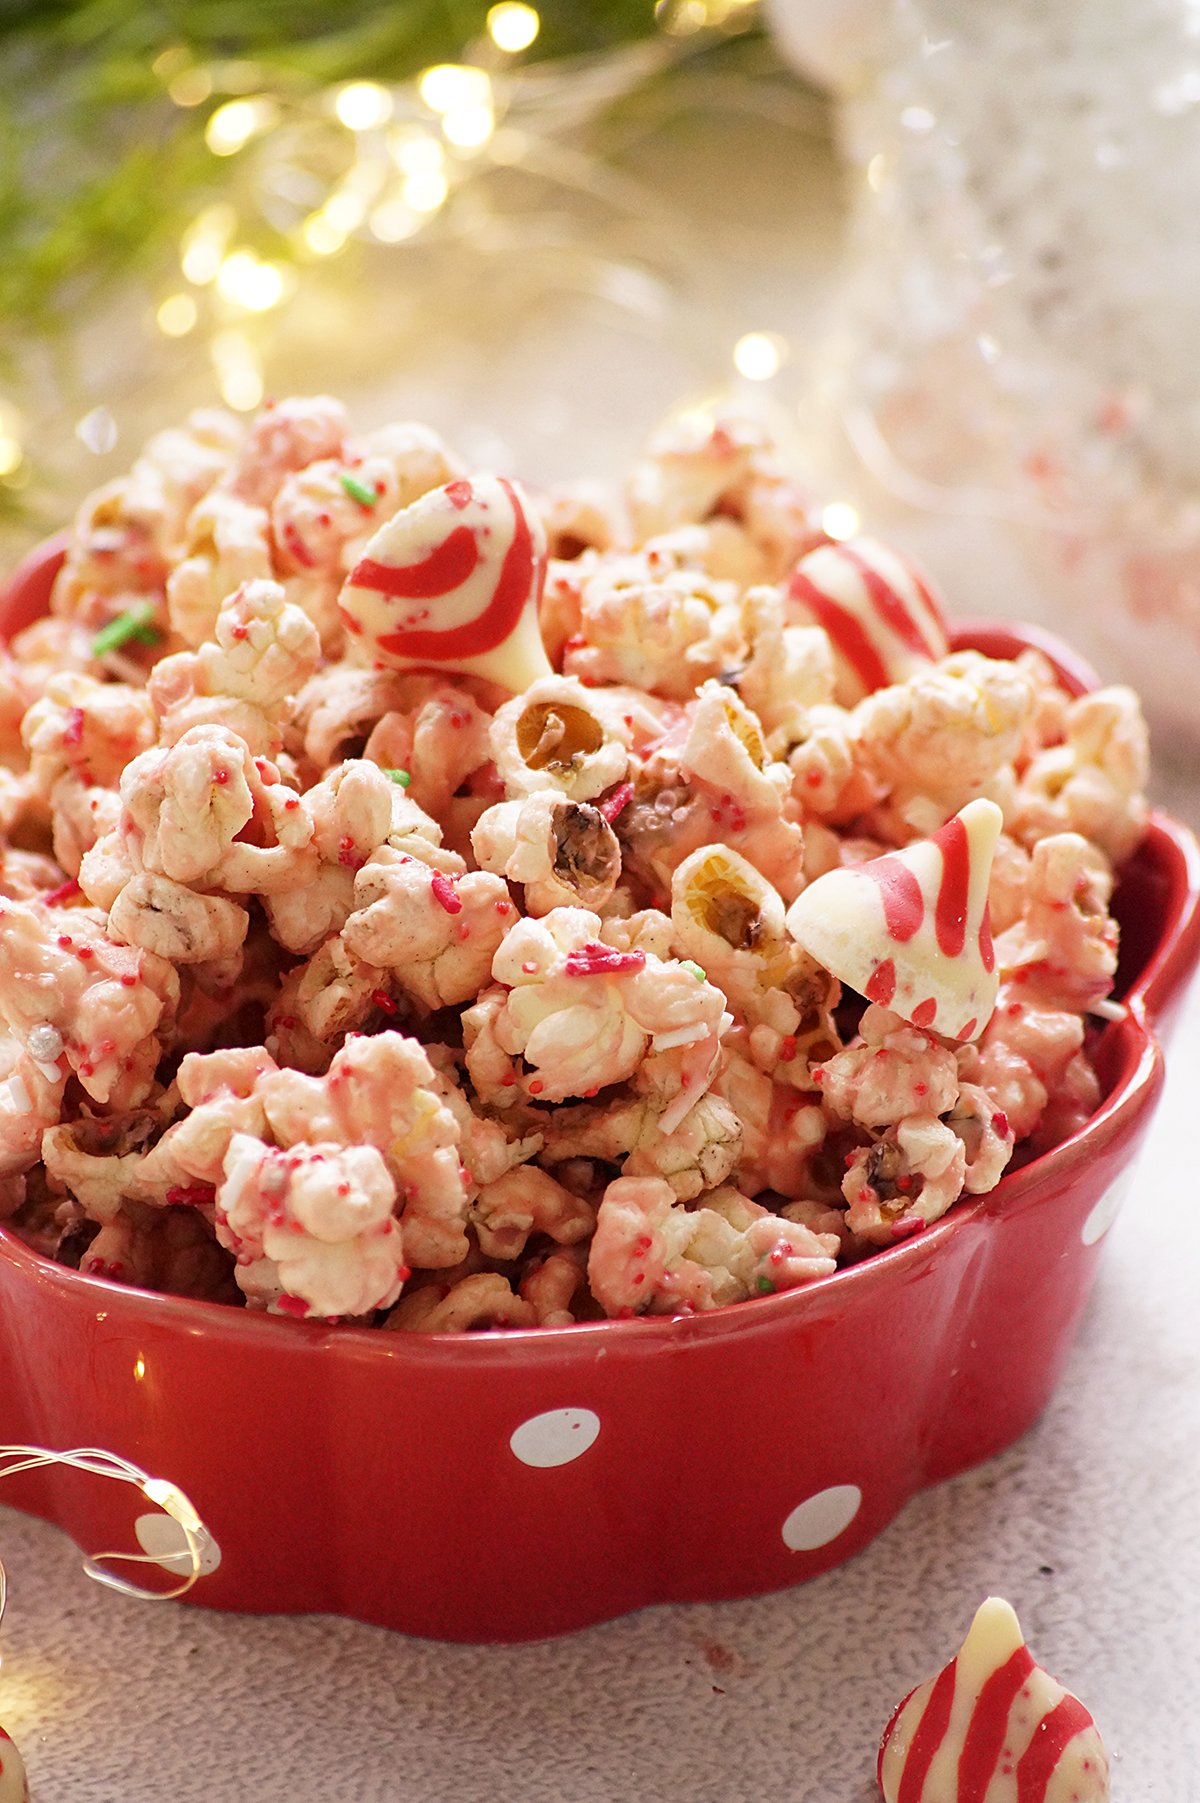
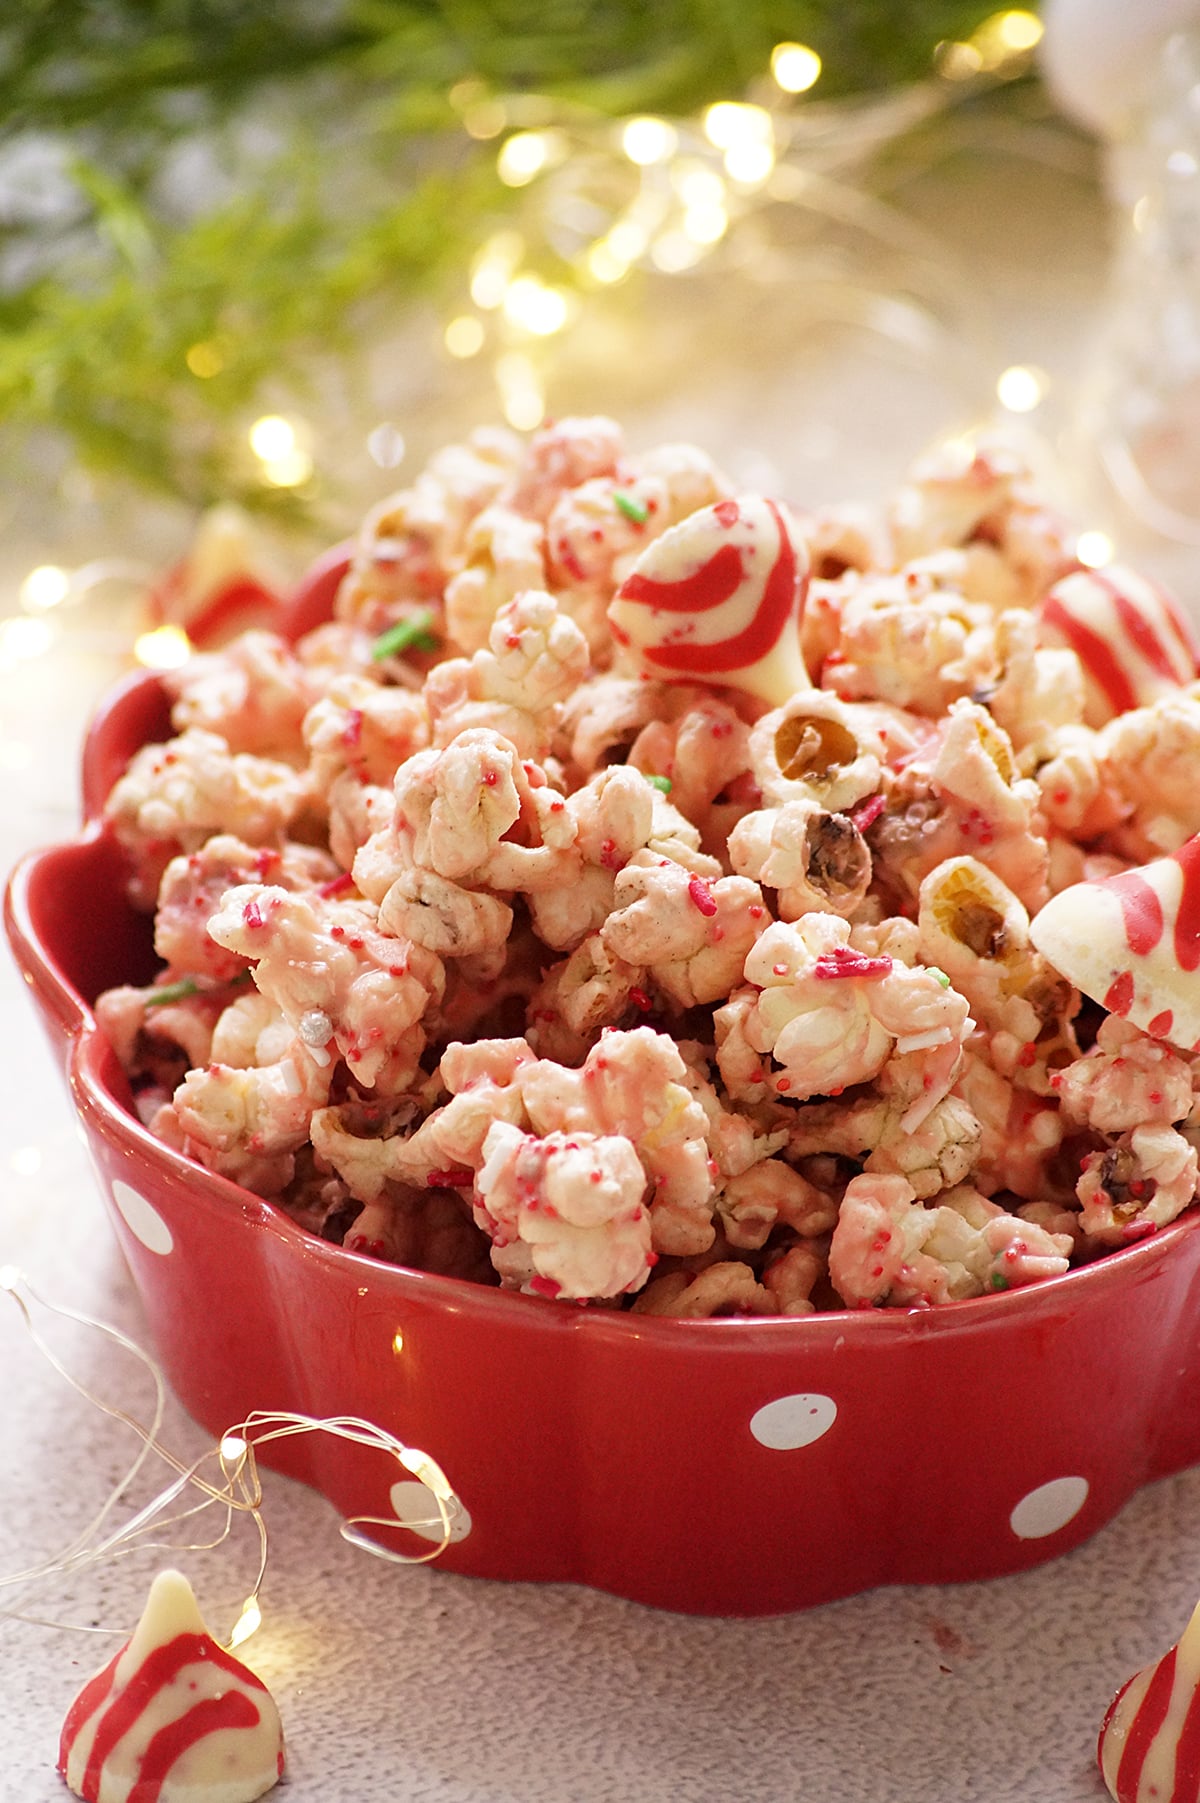
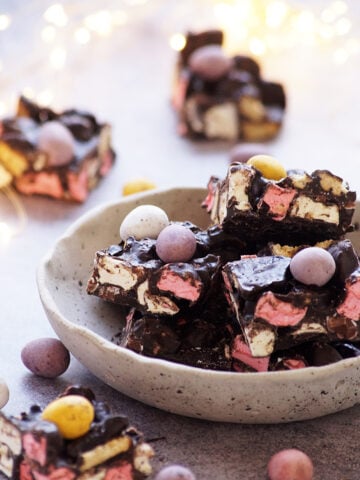
If you're making treats for Easter, you can also try my Chocolate Pretzel Nests, Easter Rocky Road, Easter Popcorn, and Cream Cheese Mints.

Quick Look: Peanut Butter Eggs Recipe
- Prep Time: 20 Minutes
- Chill Time: 30 Minutes
- Total Time: 50 Minutes
- Servings: 7
- Difficulty: Easy, perfect for Easter celebrations.
- Dietary info: Vegetarian, egg-free.
SUMMARIZE & SAVE THIS CONTENT ON
What are Peanut Butter Eggs?
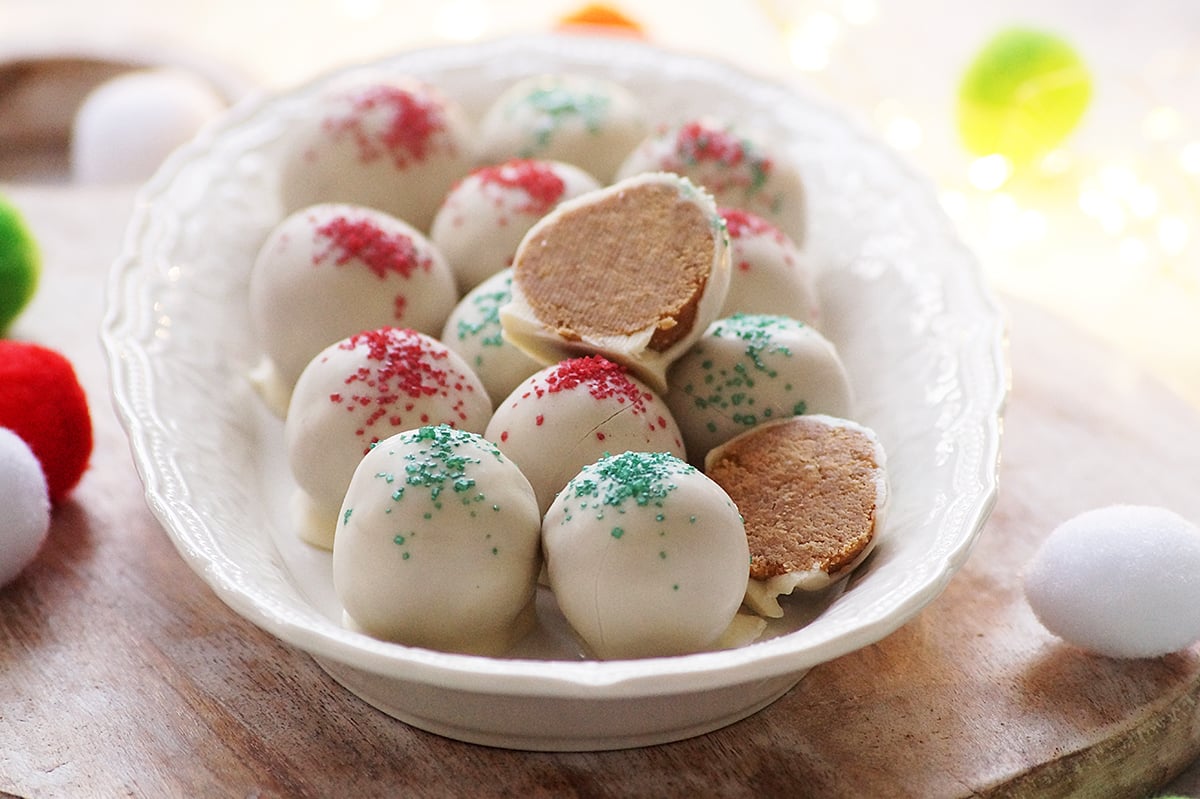
Peanut butter eggs are a classic no-bake Easter treat made with a soft, sweet peanut filling that is shaped into egg-like forms, chilled and then coated in melted chocolate. The peanut butter mixture is made by mixing creamy peanut butter with softened butter, powdered sugar, vanilla extract and salt.
The texture is what makes these stand out. The center stays soft and creamy, while the chocolate outer layer adds structure and a slight snap. Peanut butter and chocolate are one of the simple and classic combinations, but they work really well. If you love this combination, try my Peanut Butter Blossom Cookies, Easy Buckeys, and Chocolate Peanut Butter Pudding.
These peanut butter eggs are especially popular during Easter, but the same recipe can be used to make different shapes for other occasions or holidays. It is one of the easiest and most delicious sweet treat recipes that can be made with simple ingredients in no time.
If you enjoy making no-bake sweets like this, you might also like trying my Thandai Bark, Chocolate Nonpareils, Swedish Ischoklad, and Coconut Ice.
Why you'll love this recipe:
- This recipe is incredibly convenient and time-saving.
- This is a no-bake Easter treat. No oven needed.
- The peanut butter mixture is smooth, soft and easy to shape.
- You can make it ahead and store it in the refrigerator.
- Better than store-bought Easter candy.
Ingredients & Substitutions
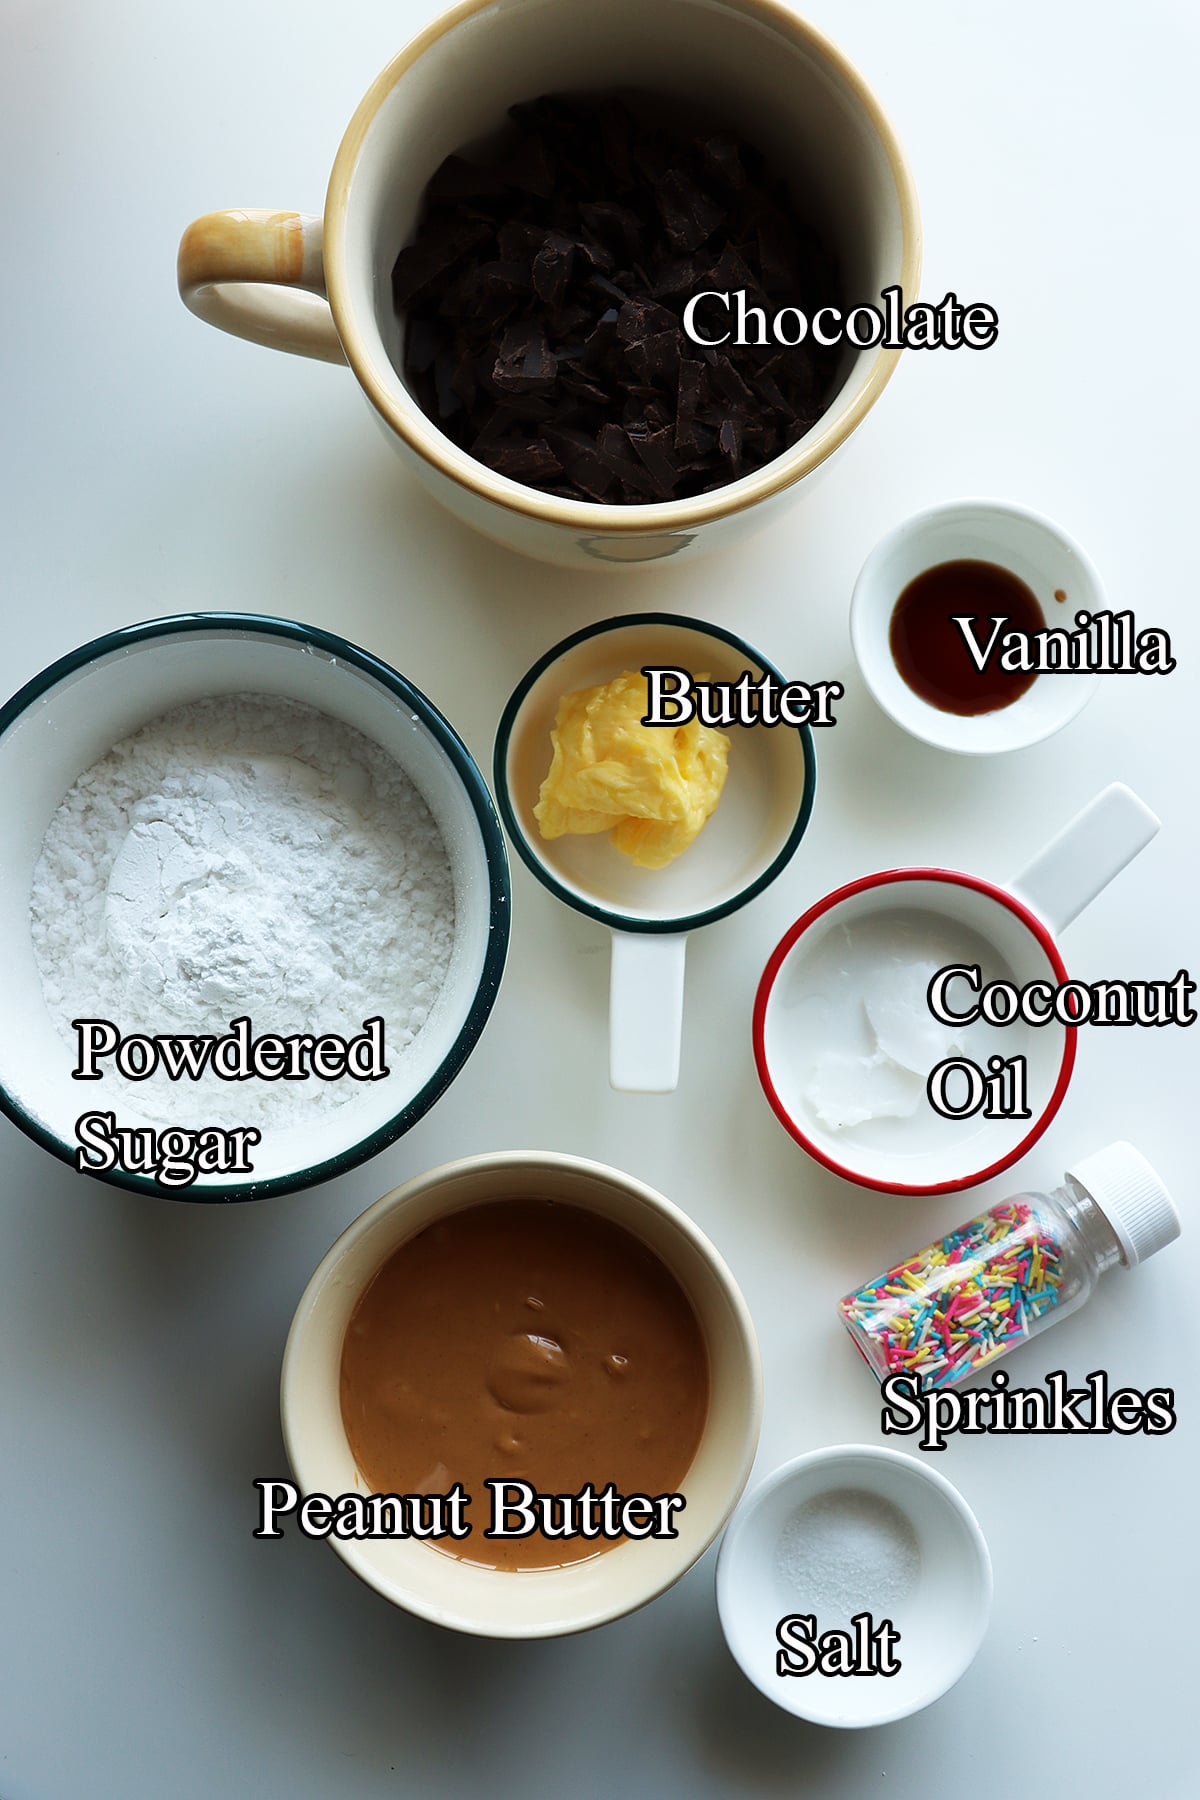
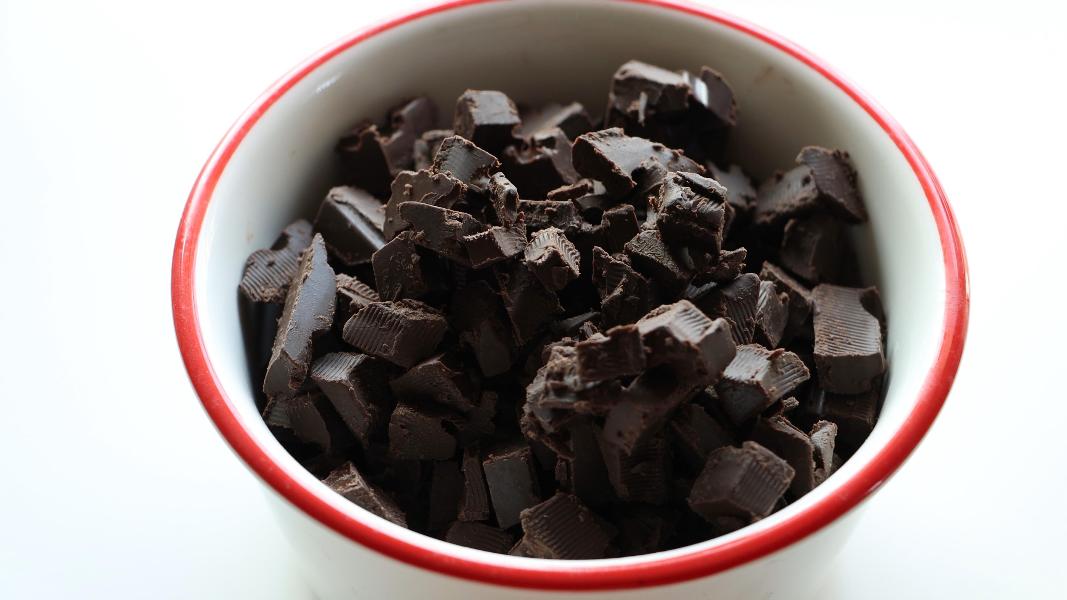
Dark Chocolate - You will need a good-quality dark chocolate to coat the peanut butter eggs. You can also use milk chocolate if you prefer a sweeter coating.
Peanut Butter - This is the base of the recipe. It gives structure, flavor and texture. Use a smooth, creamy unsweetened peanut butter for the best results. Do not use very runny peanut butter as it can make the mixture very soft.
Powdered Sugar - Also known as confectioner's sugar. It sweetens the peanut mixture and helps firm it up into a dough-like consistency.
Butter - Adds richness. Make sure you are using softened butter. I have used unsalted butter in this recipe. You can also use salted butter, just reduce or skip the added salt. Replace it with vegan butter if you want to make a vegan version of peanut butter easter eggs.
Vanilla - Adds a wonderful flavor. Do not skip this.
Coconut Oil - You will need a little bit of coconut oil. It will make the chocolate smooth and make it easier to dip.
Salt - Balances the sweetness and enhances the peanut butter flavor. Add less or skip if you are using salted butter.
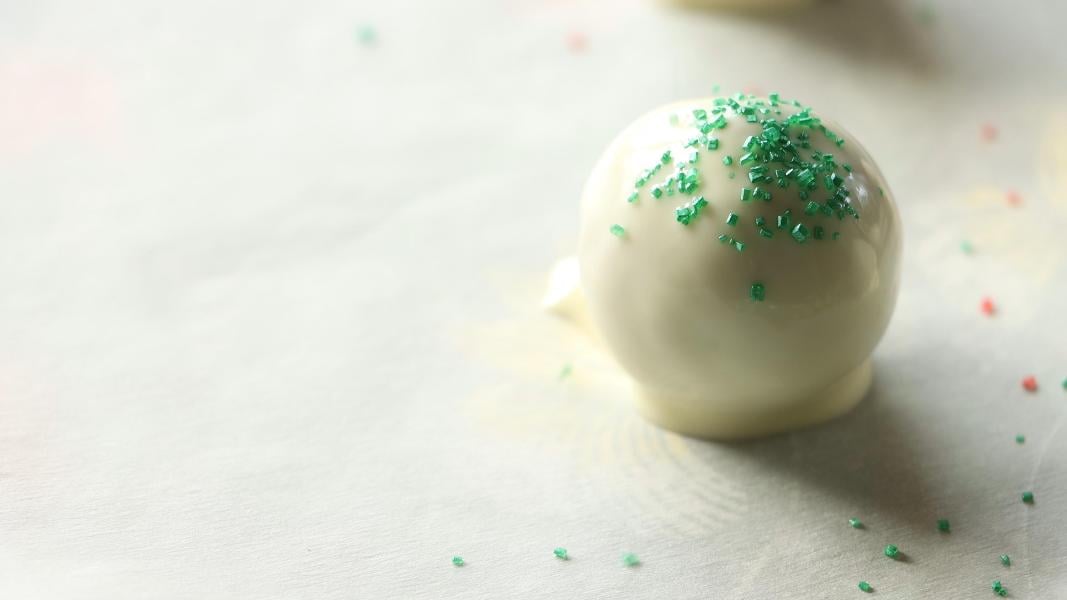
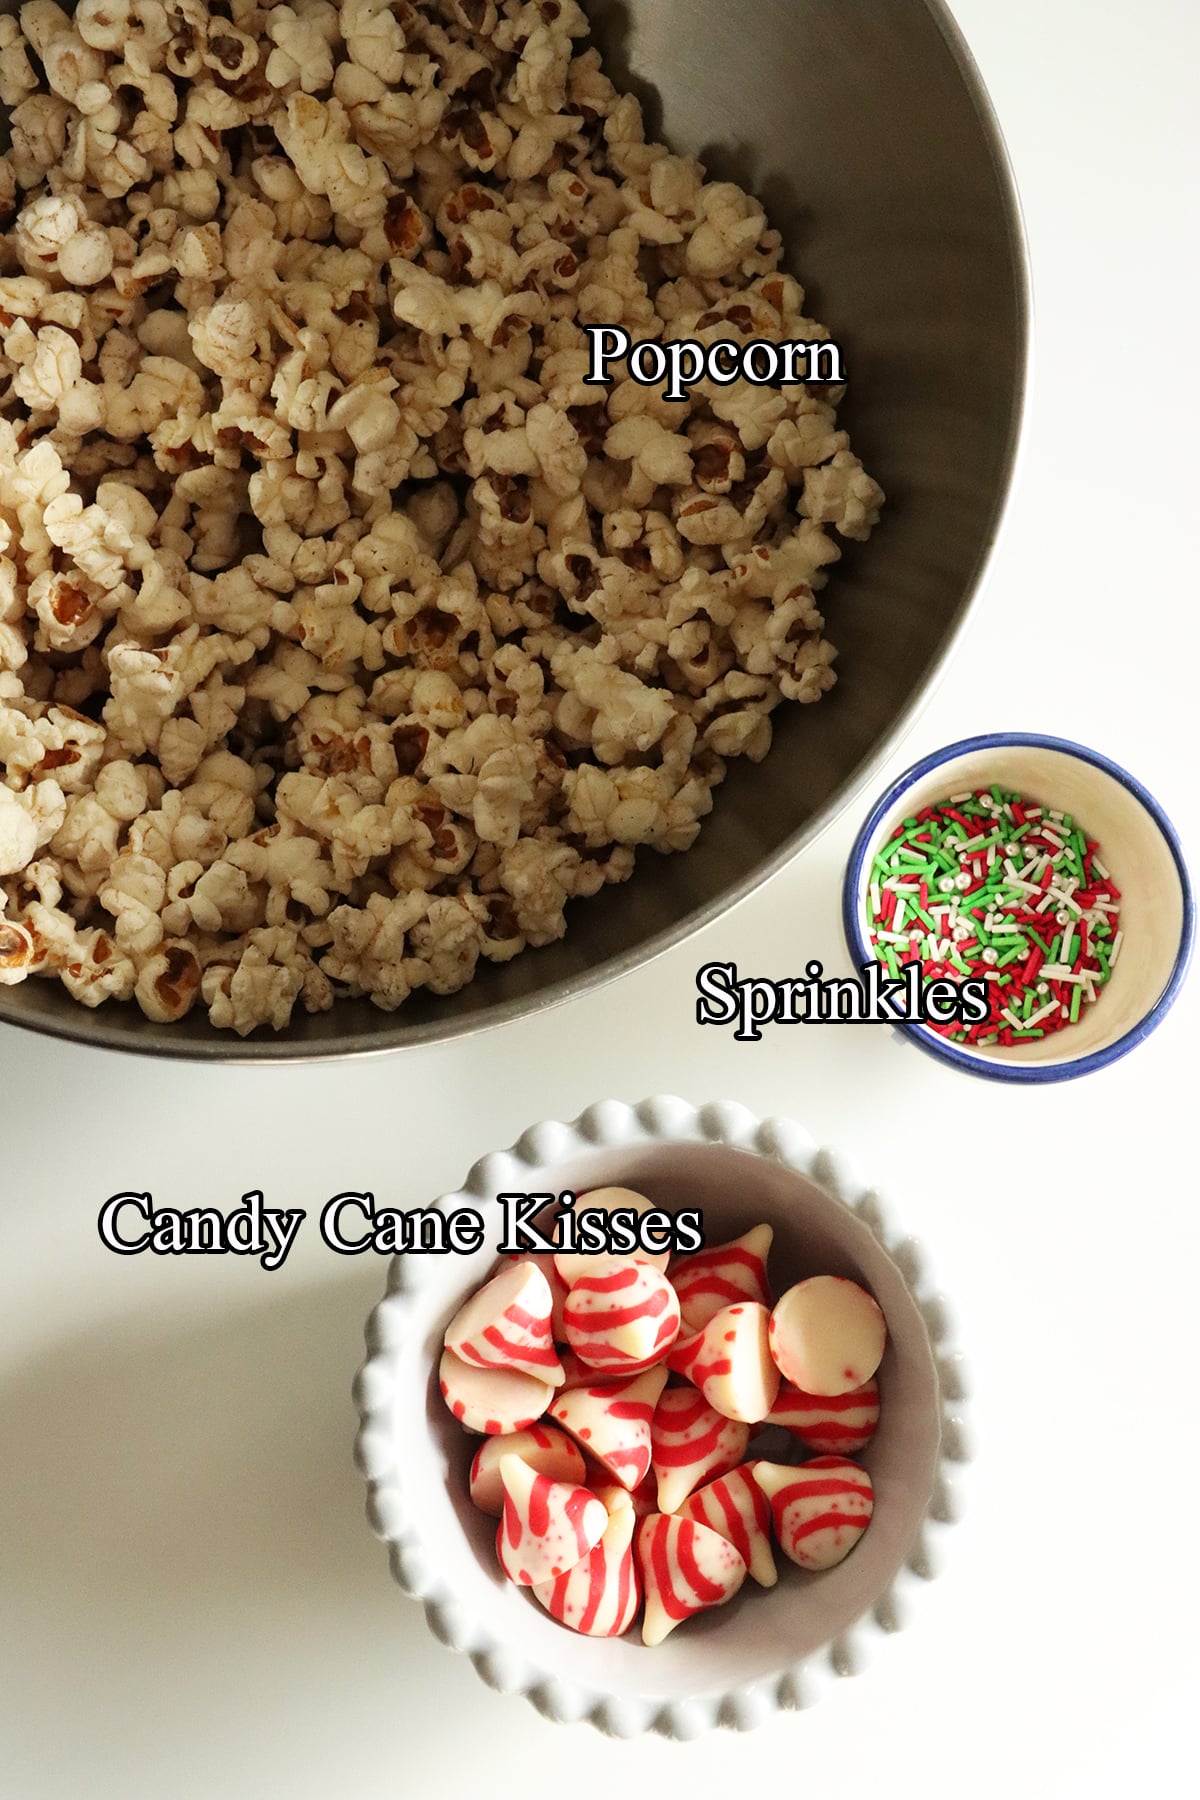
Sprinkles - These are totally optional. I have added them on top for a simple finish and festive look. You can skip or replace with chopped nuts or extra chocolate drizzle.
A full ingredient list with exact amounts can be found in the recipe card below.
Variations
Use milk chocolate instead of dark chocolate for a sweeter outer layer. If you want to use white chocolate, you can divide it into portions and mix it with pastel colors to make pastel-colored white chocolate peanut butter eggs.
Instead of sprinkles, you can use crushed peanuts, mini chocolate chips, crushed mini eggs, or even a sprinkle of sea salt.
Use both dark and milk chocolate for a more balanced coating.
How to Make Peanut Butter Easter Eggs
Line a tray with parchment paper and keep it aside.
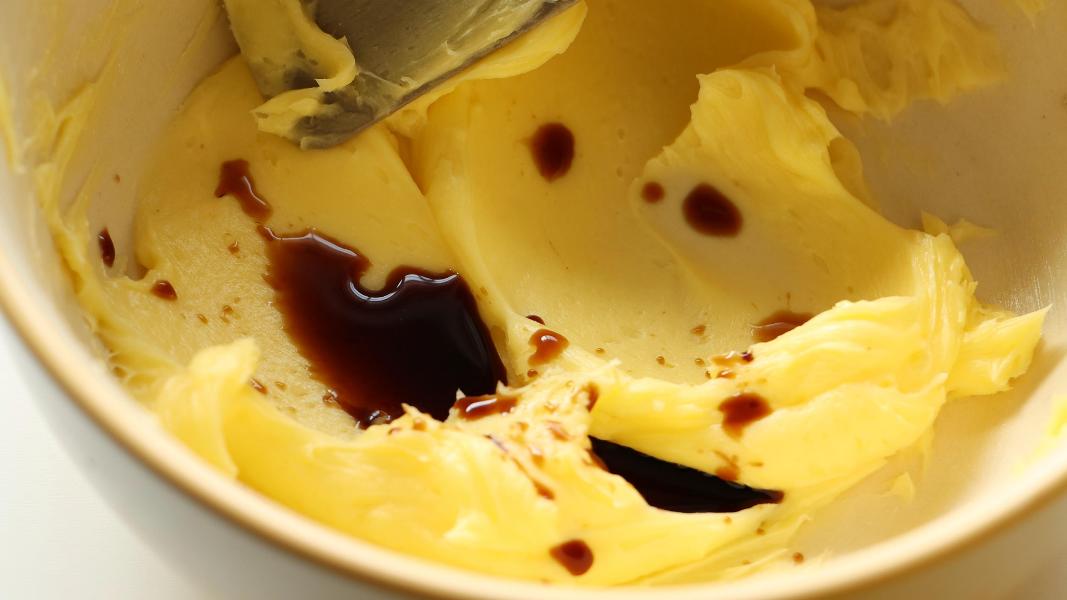
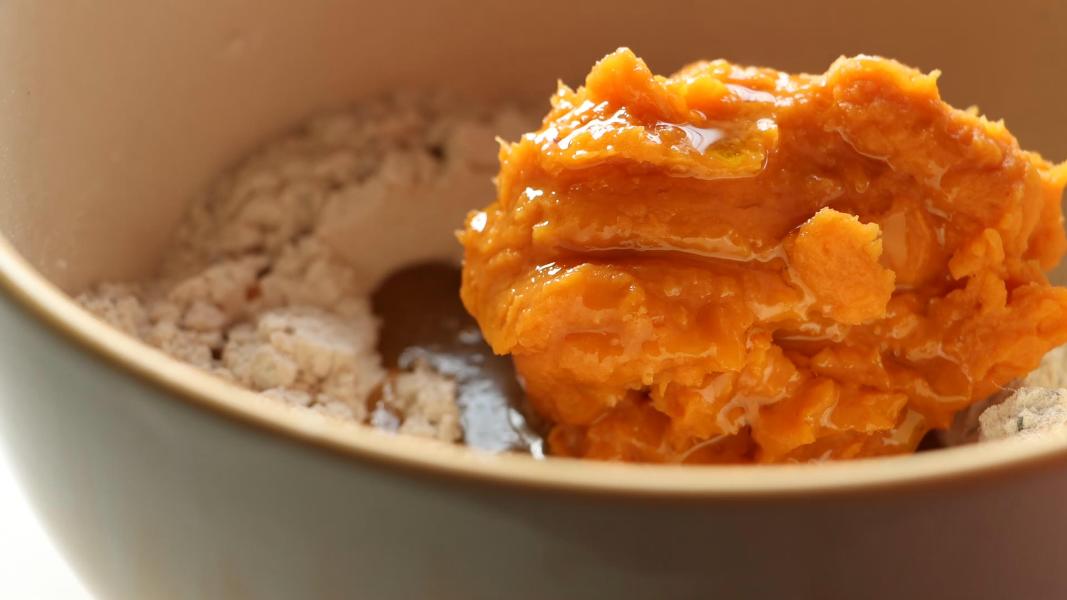
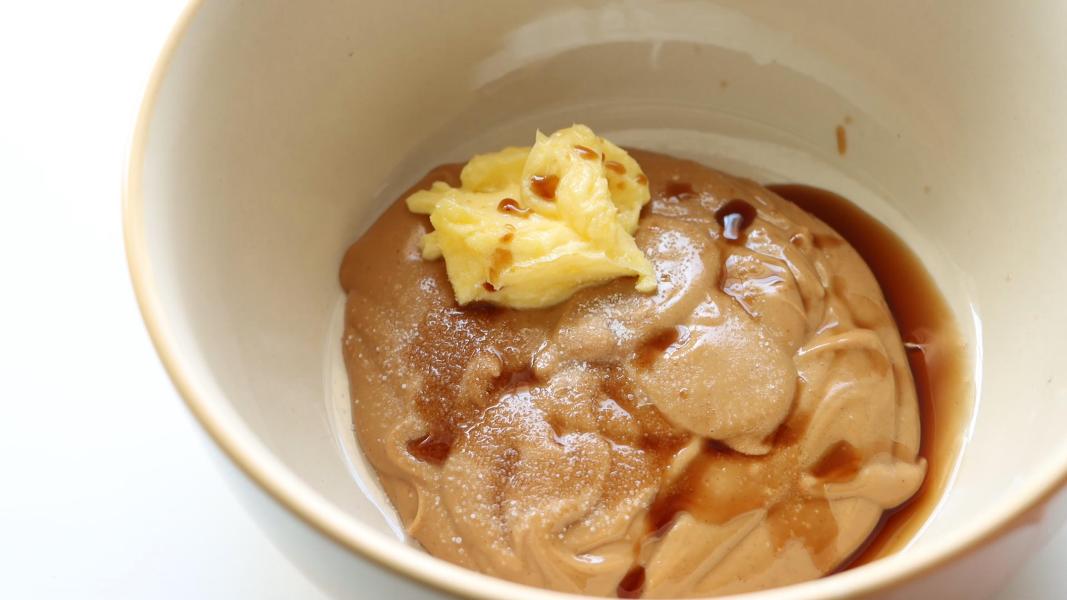
In a mixing bowl, add the peanut butter, softened butter, vanilla and salt.
Mix everything until well combined using a spoon or spatula.
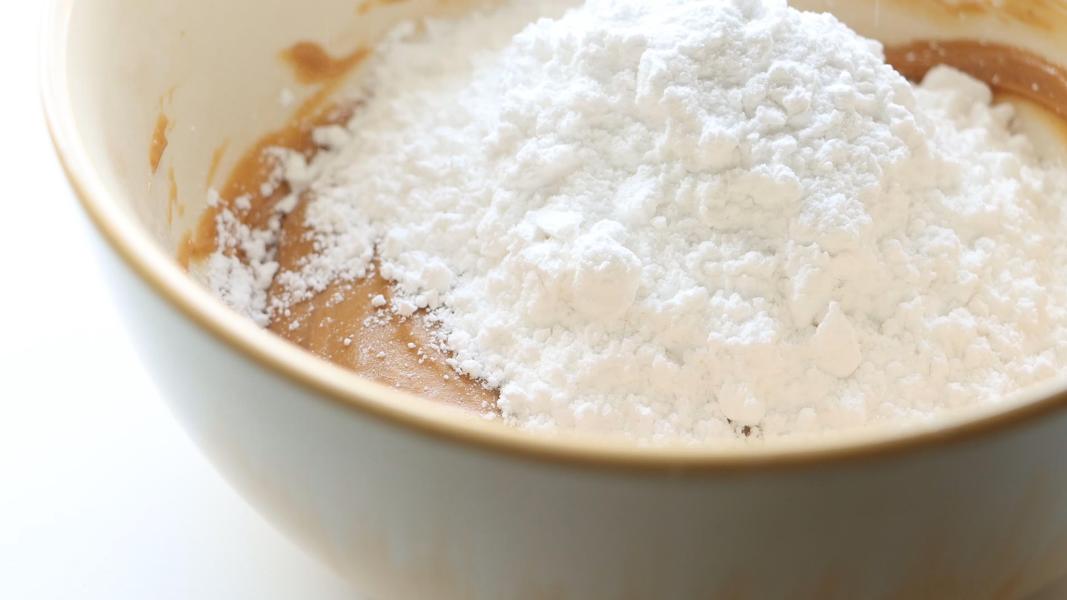
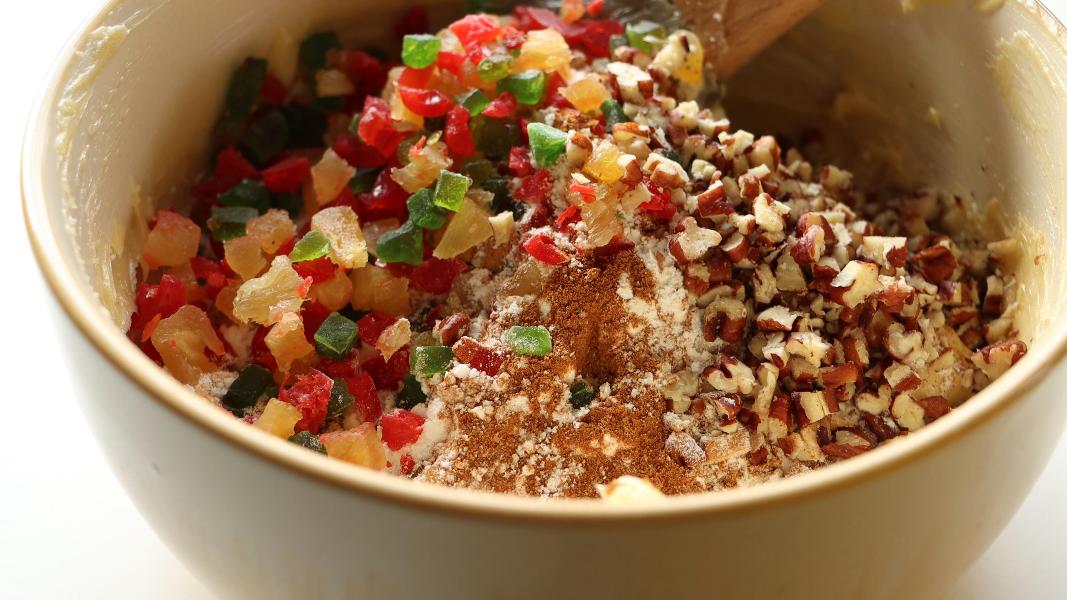
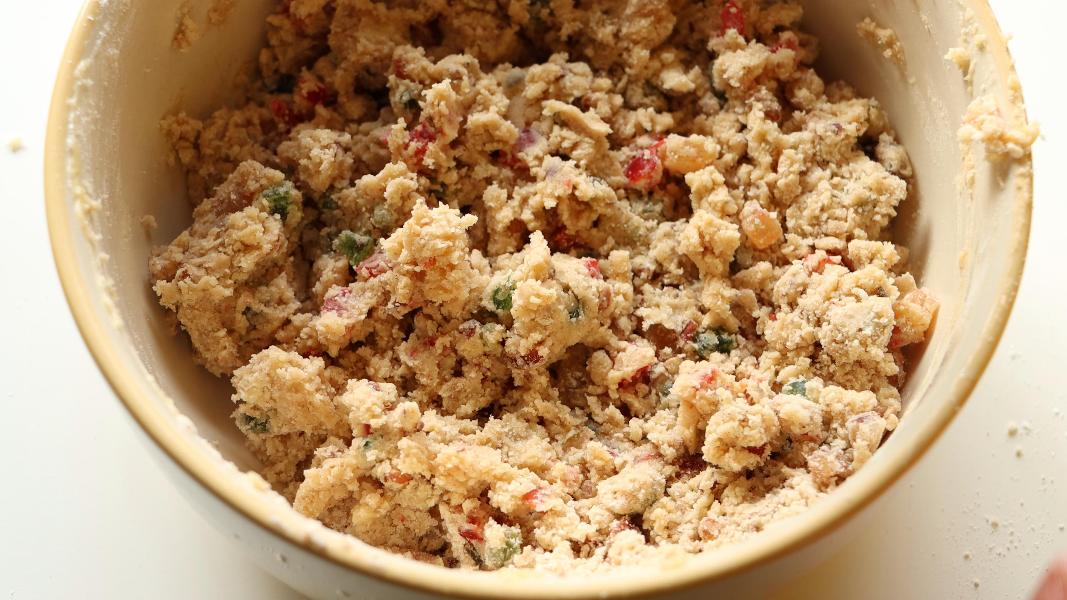
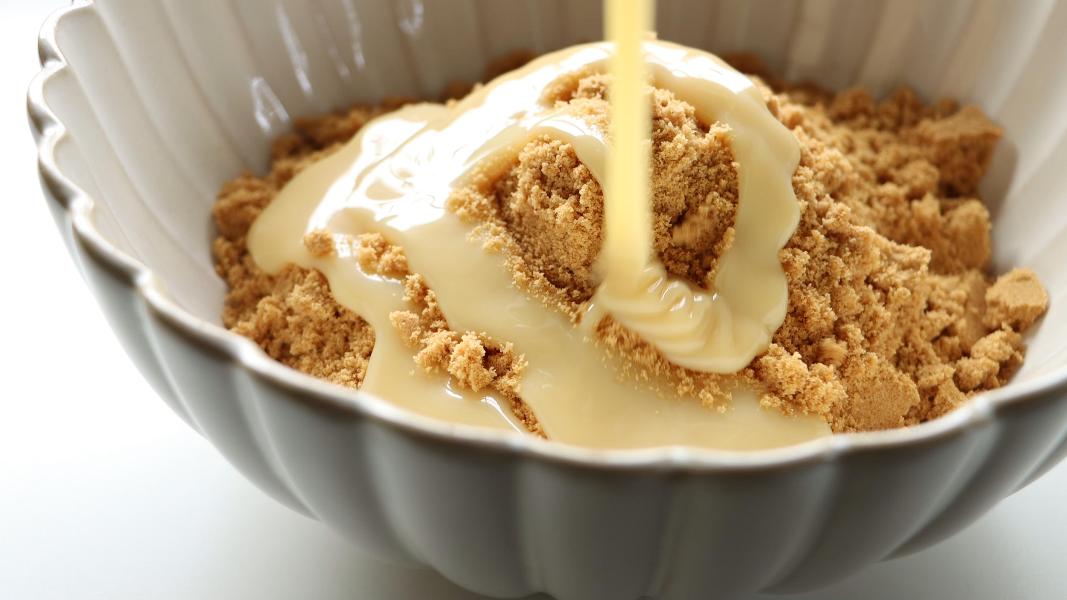
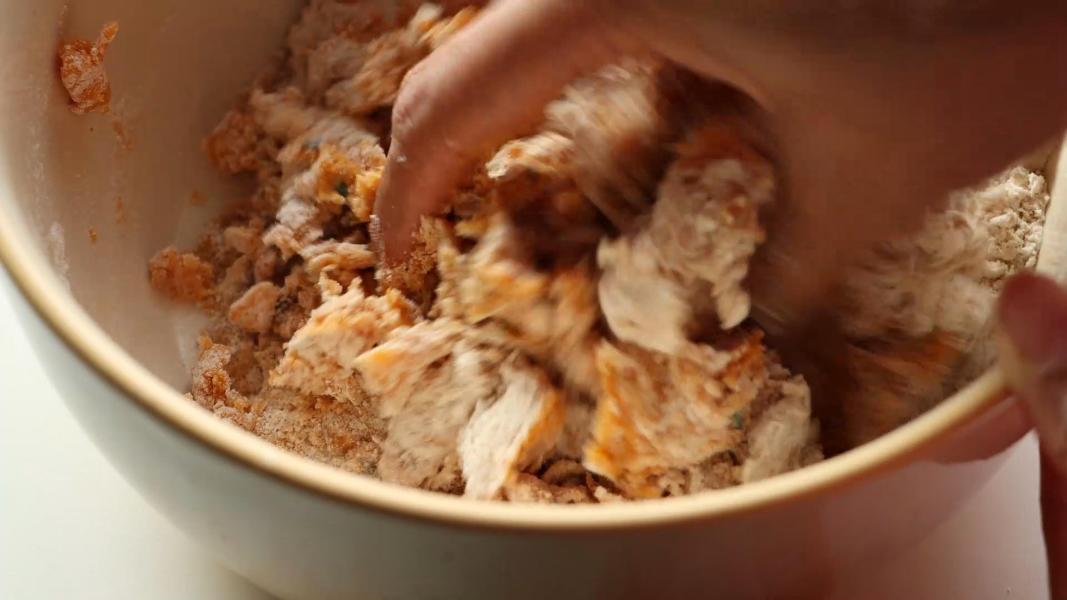
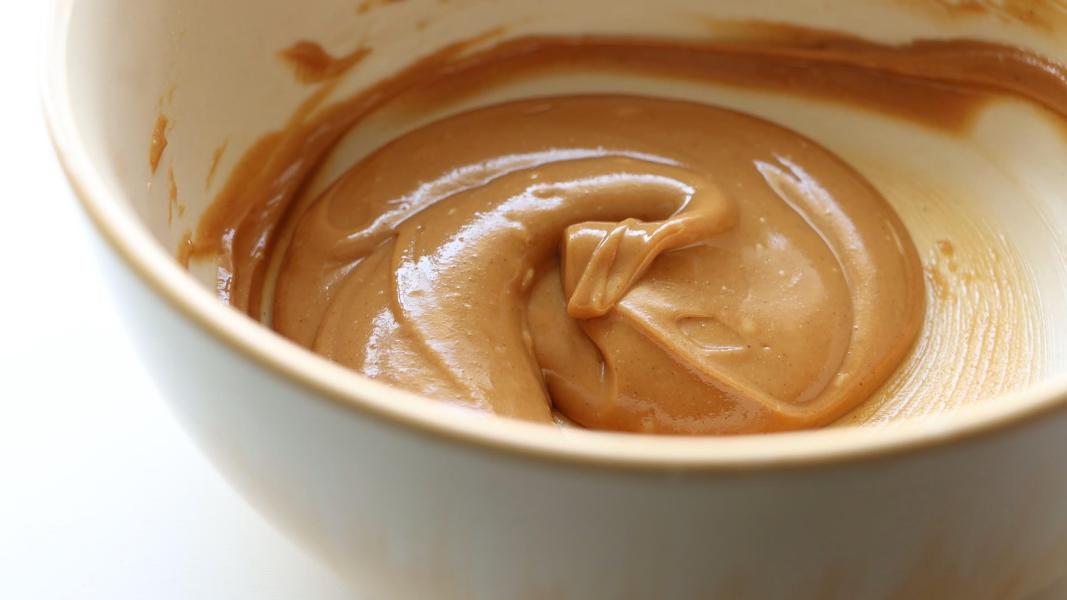
Add the powdered sugar and mix again.
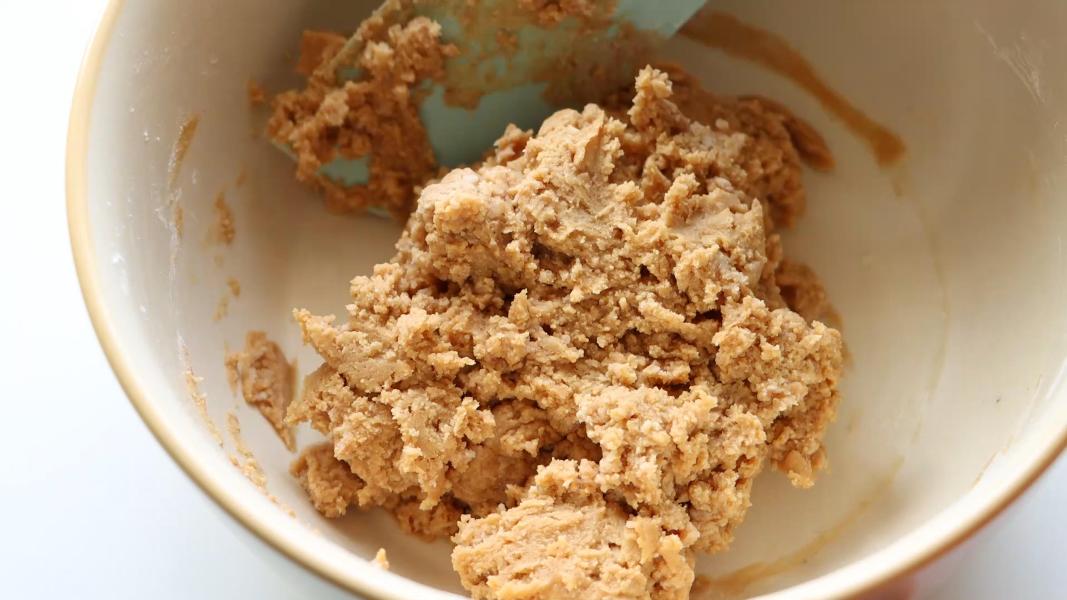
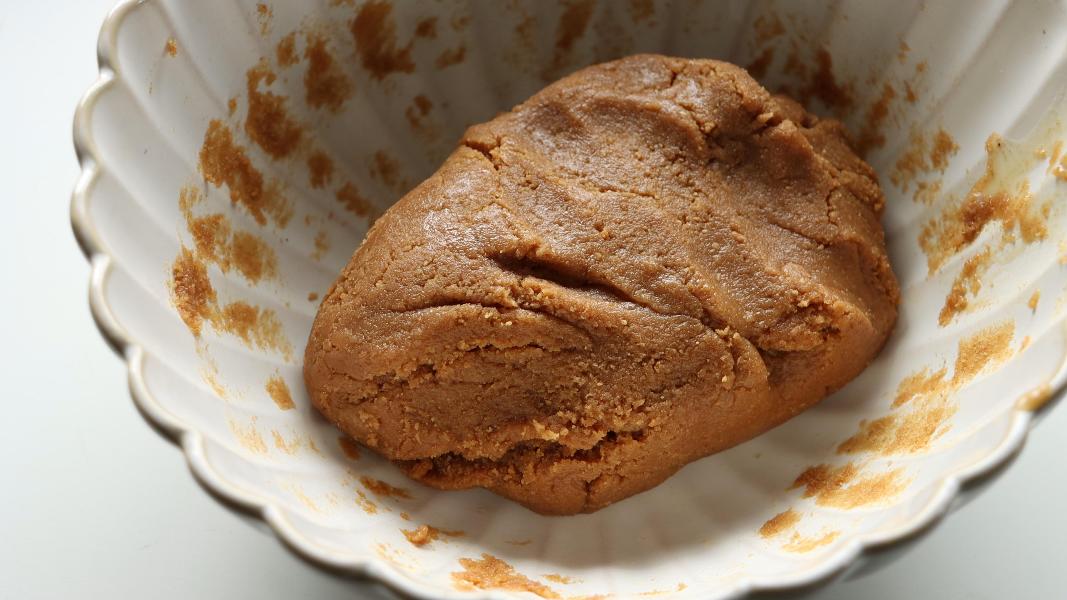
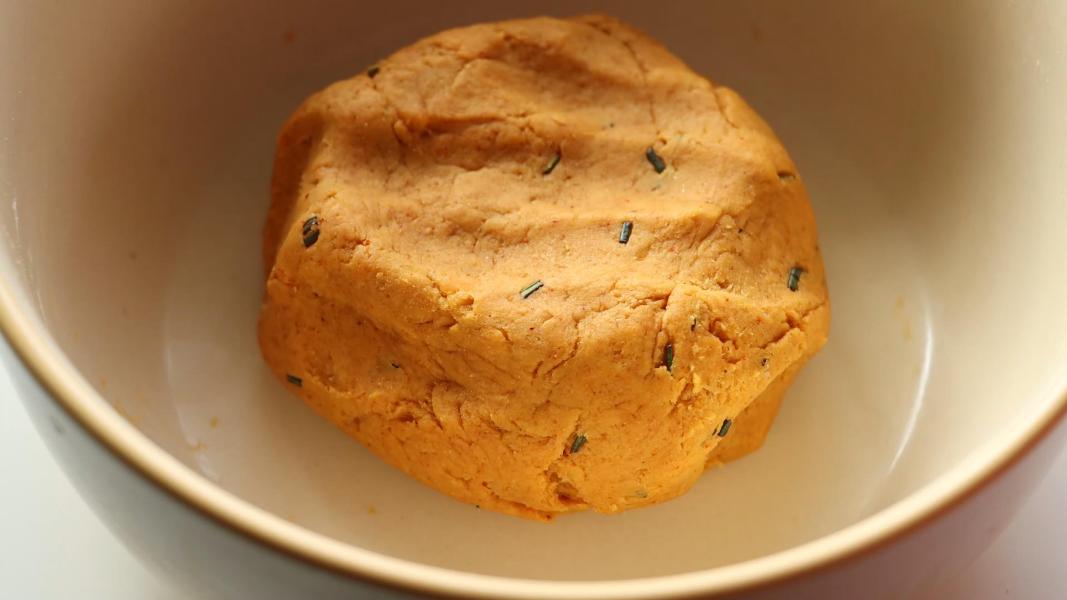
Mix until it forms a soft, slightly firm dough that holds its shape.
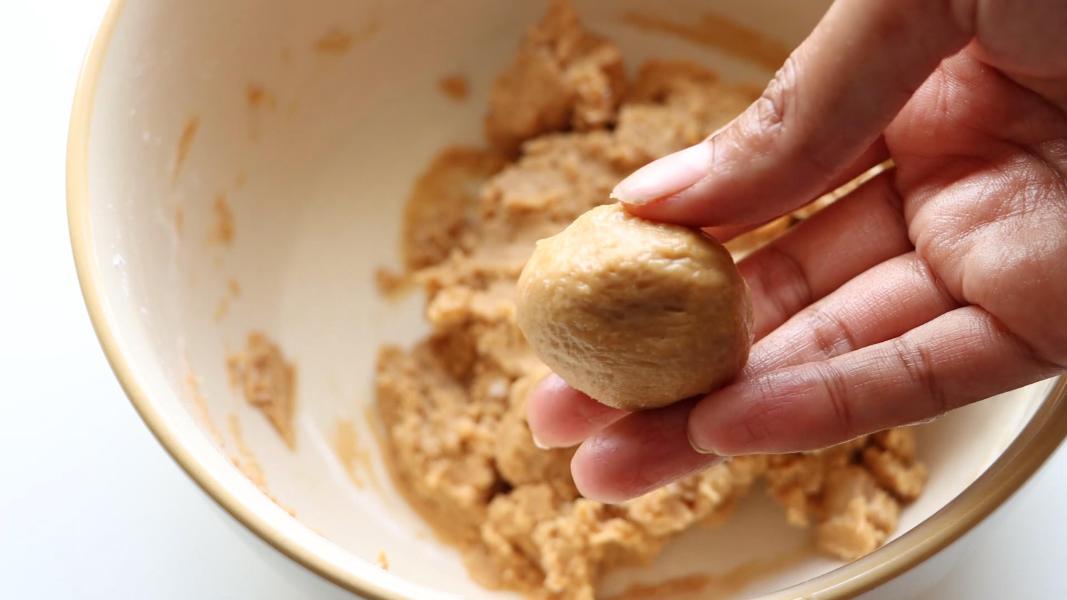
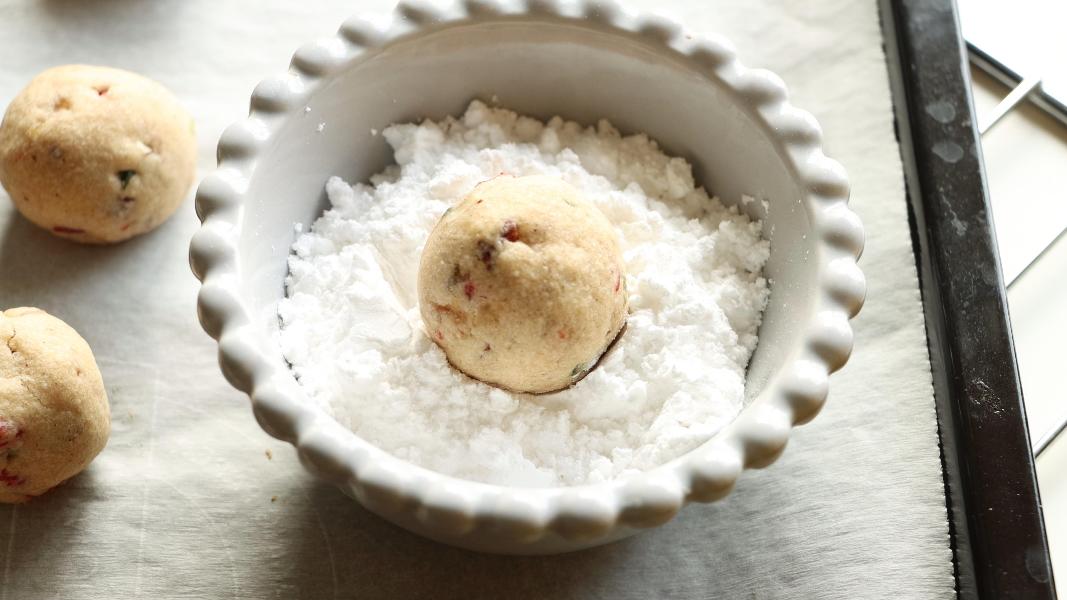
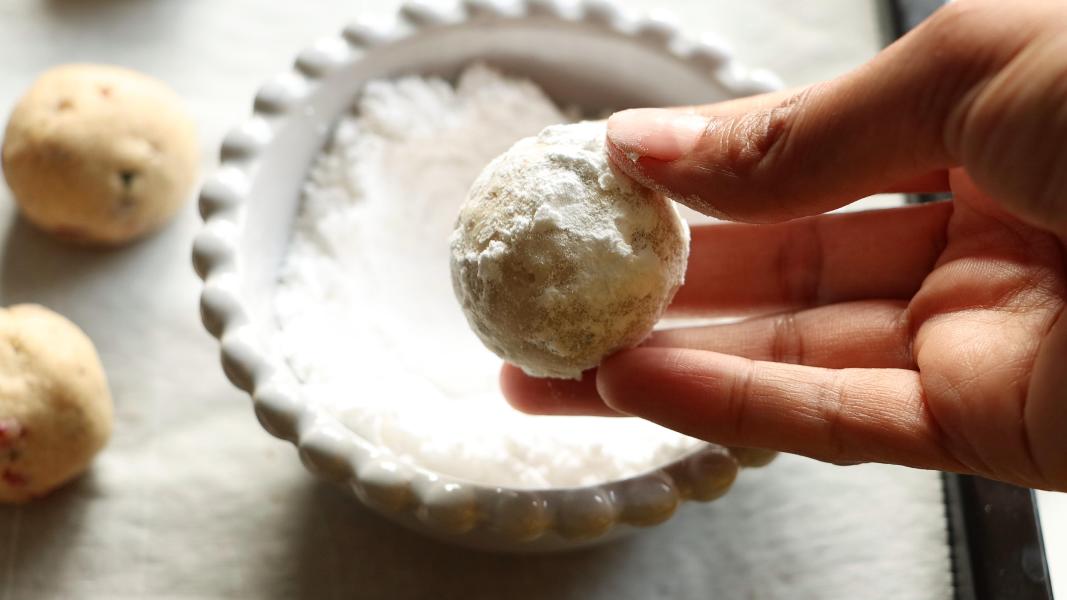
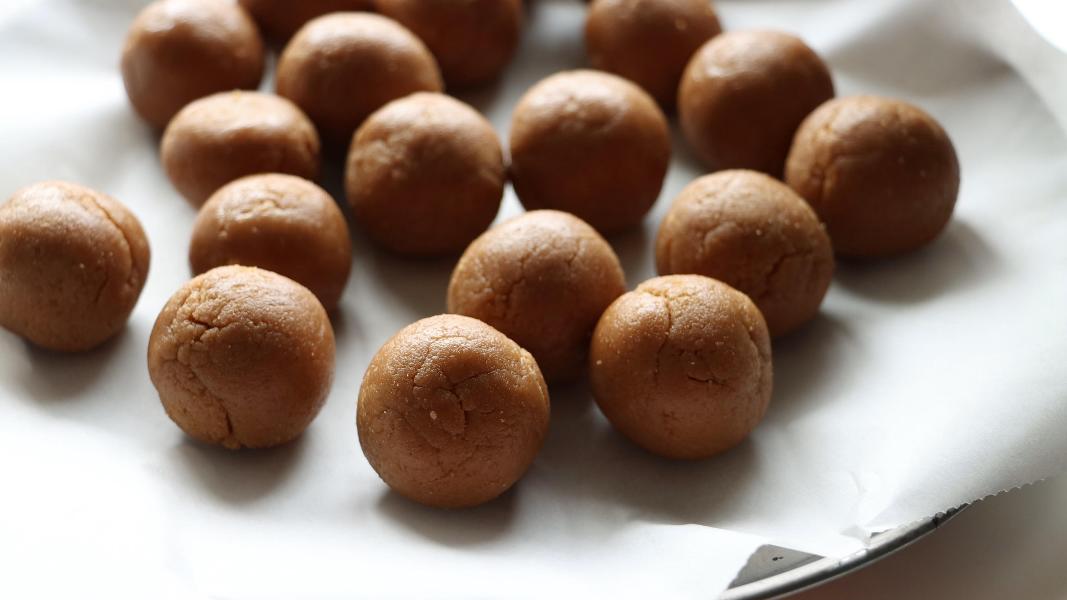
Grease your hands and divide the prepared dough into small round balls.
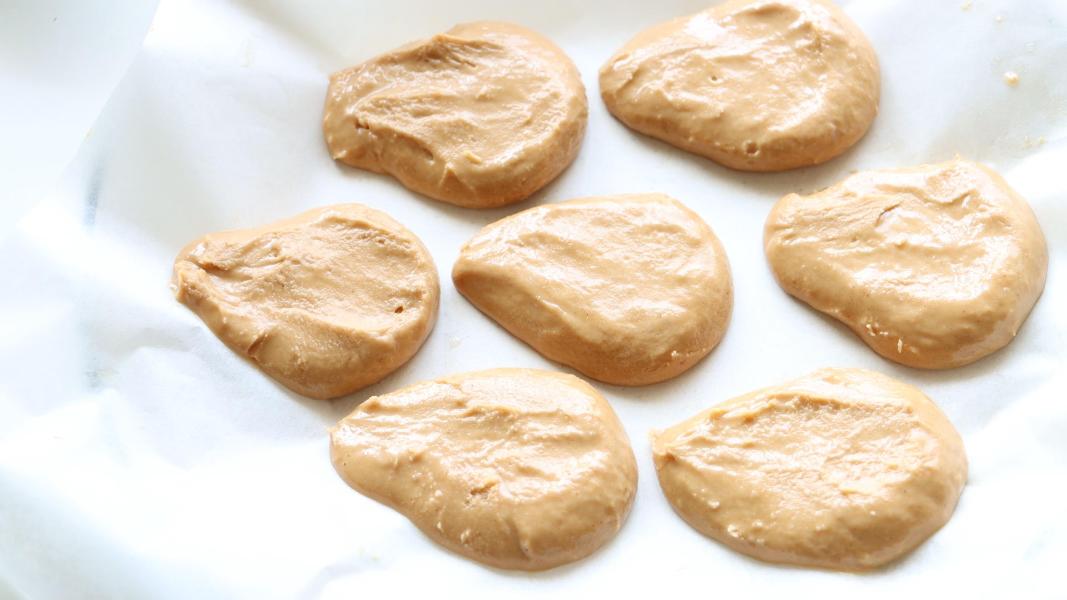
Shape each portion into egg-like forms using your hands. Place the tray in the refrigerator and chill them for about 30 minutes or until they are firm.
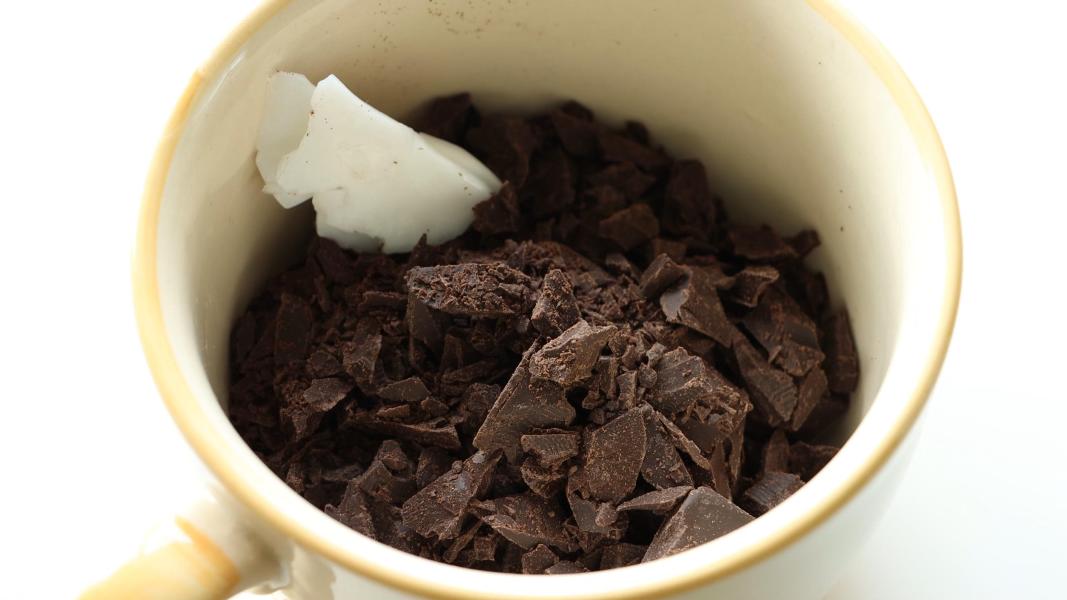
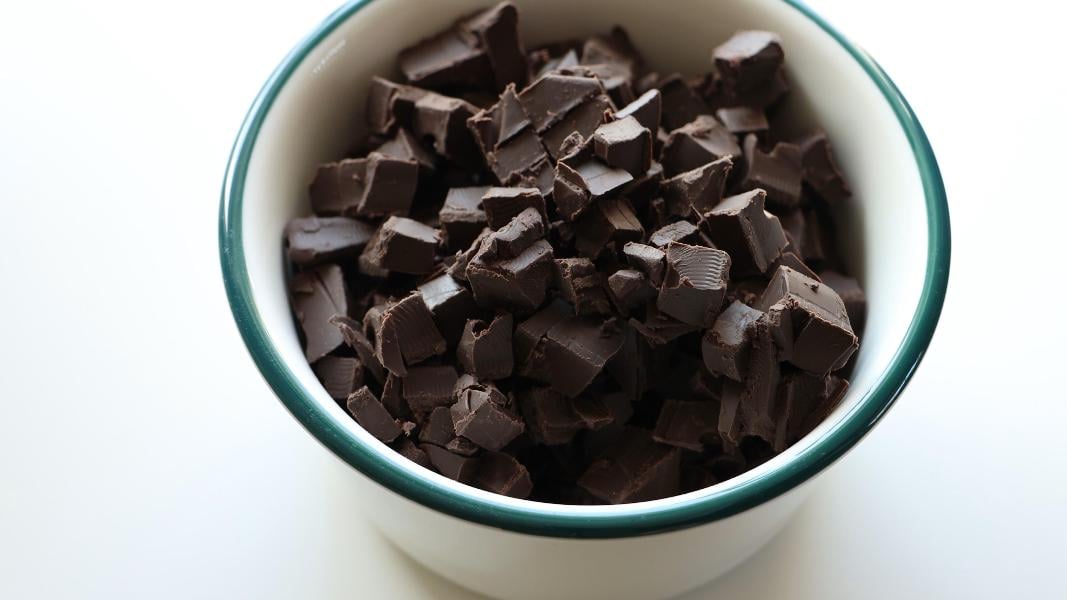
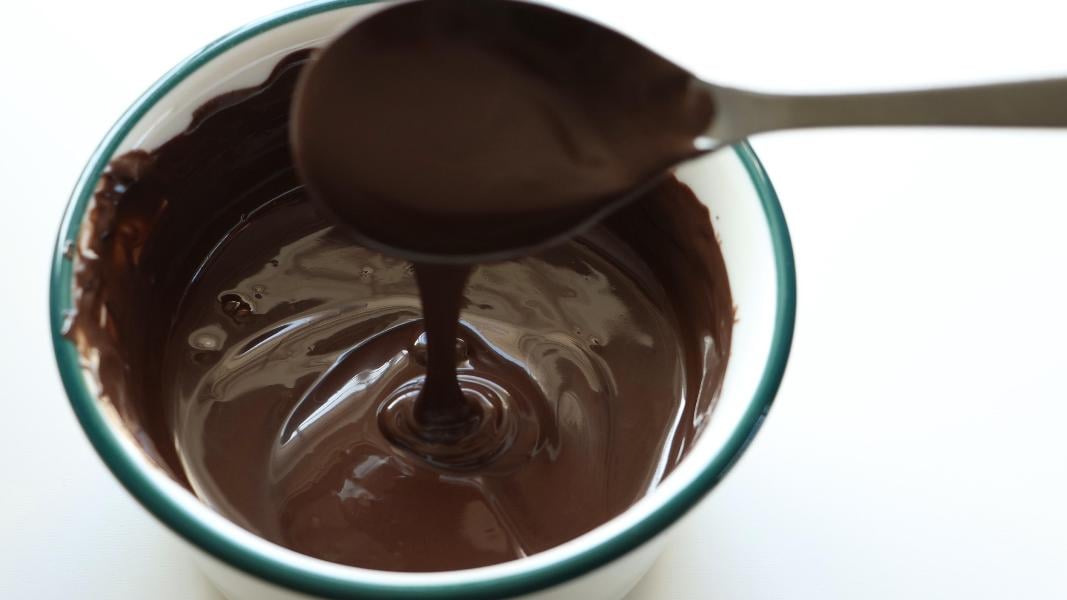
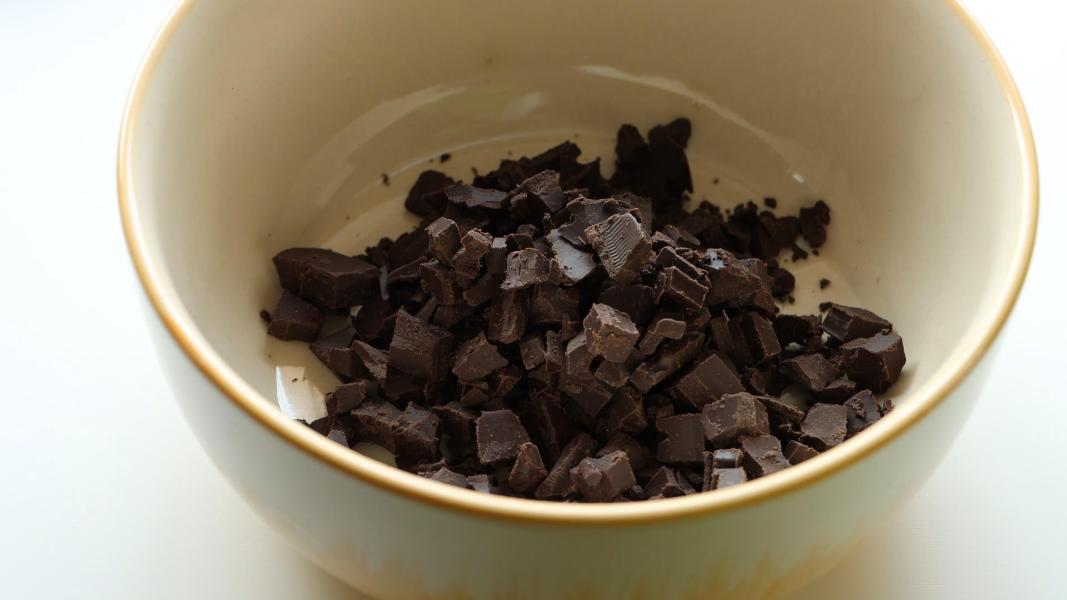
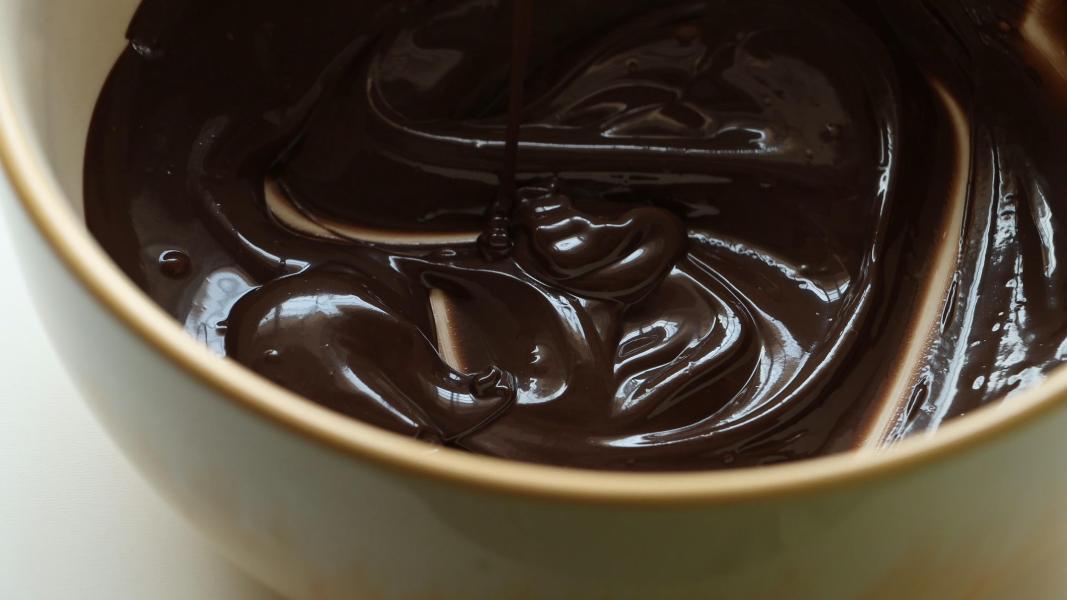
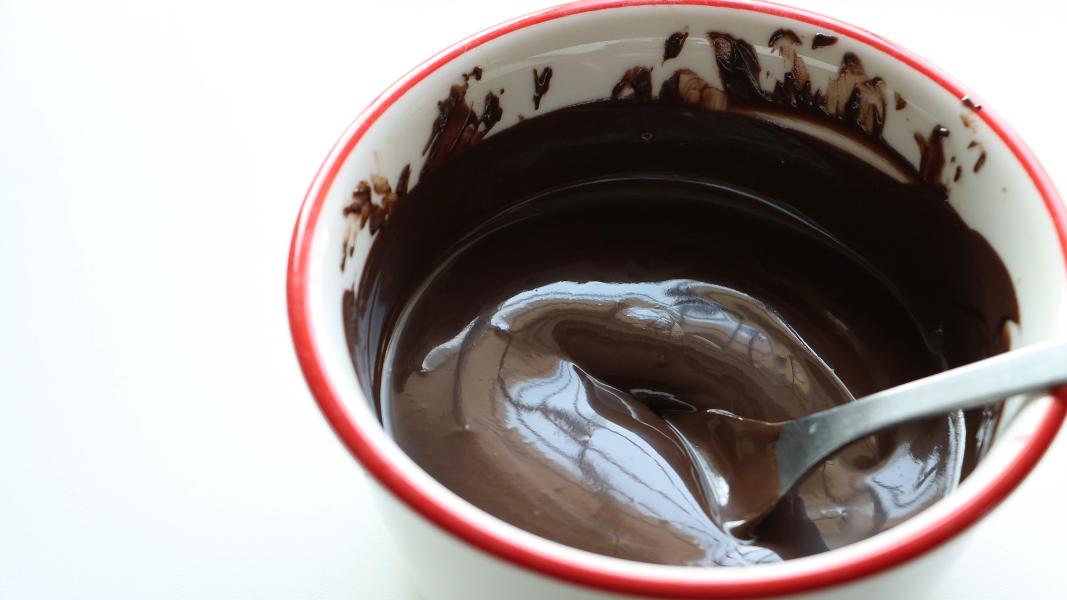
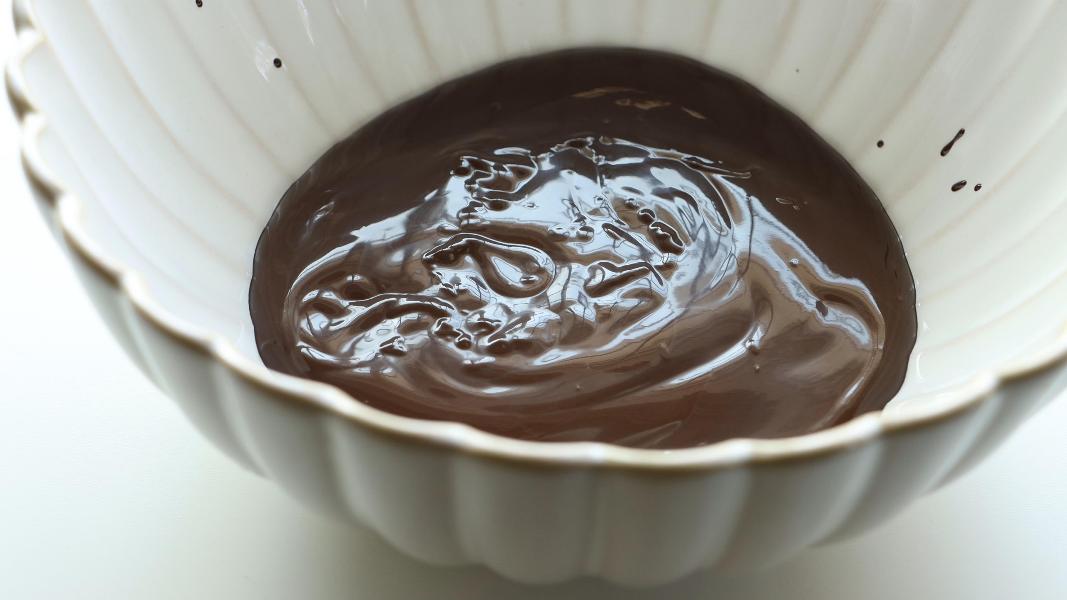
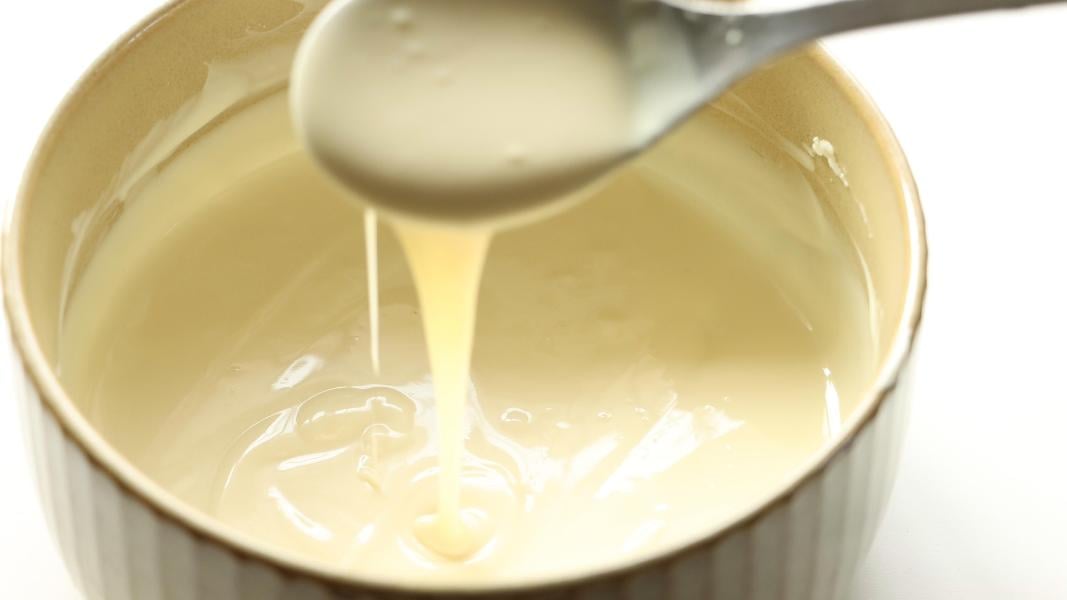
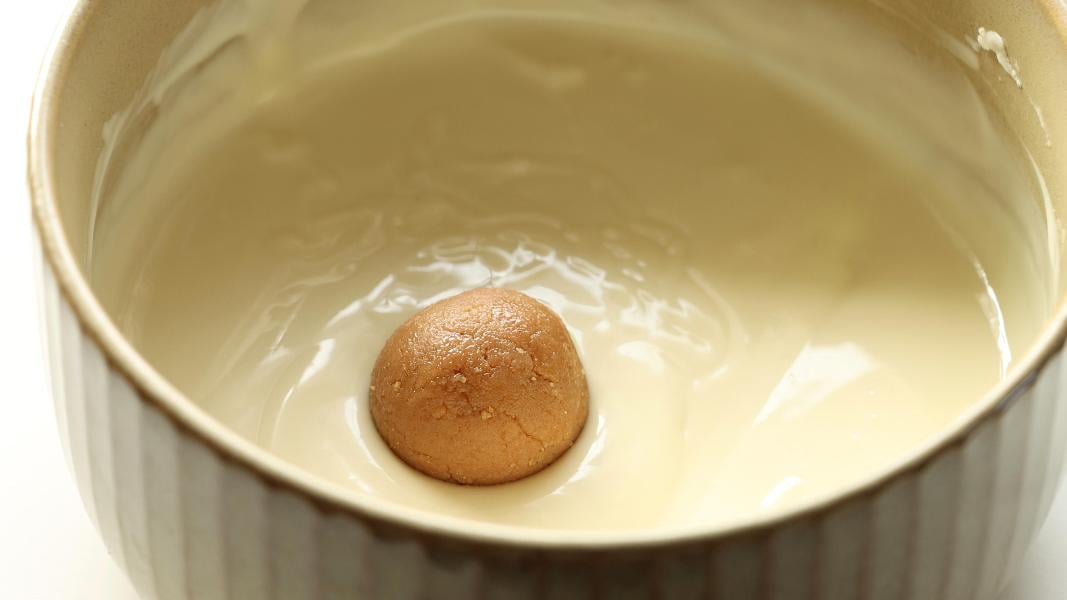
Once the peanut eggs are chilled and firm, start melting the chocolate for dipping. Add the chopped dark chocolate and coconut oil to a microwave-safe bowl. Melt until smooth using a microwave or double boiler.
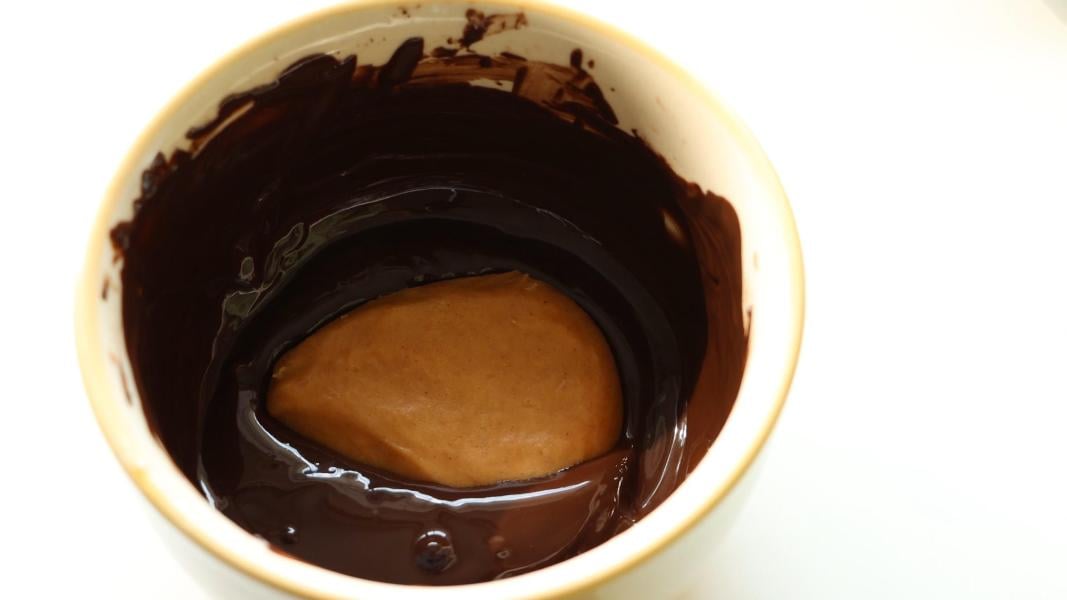
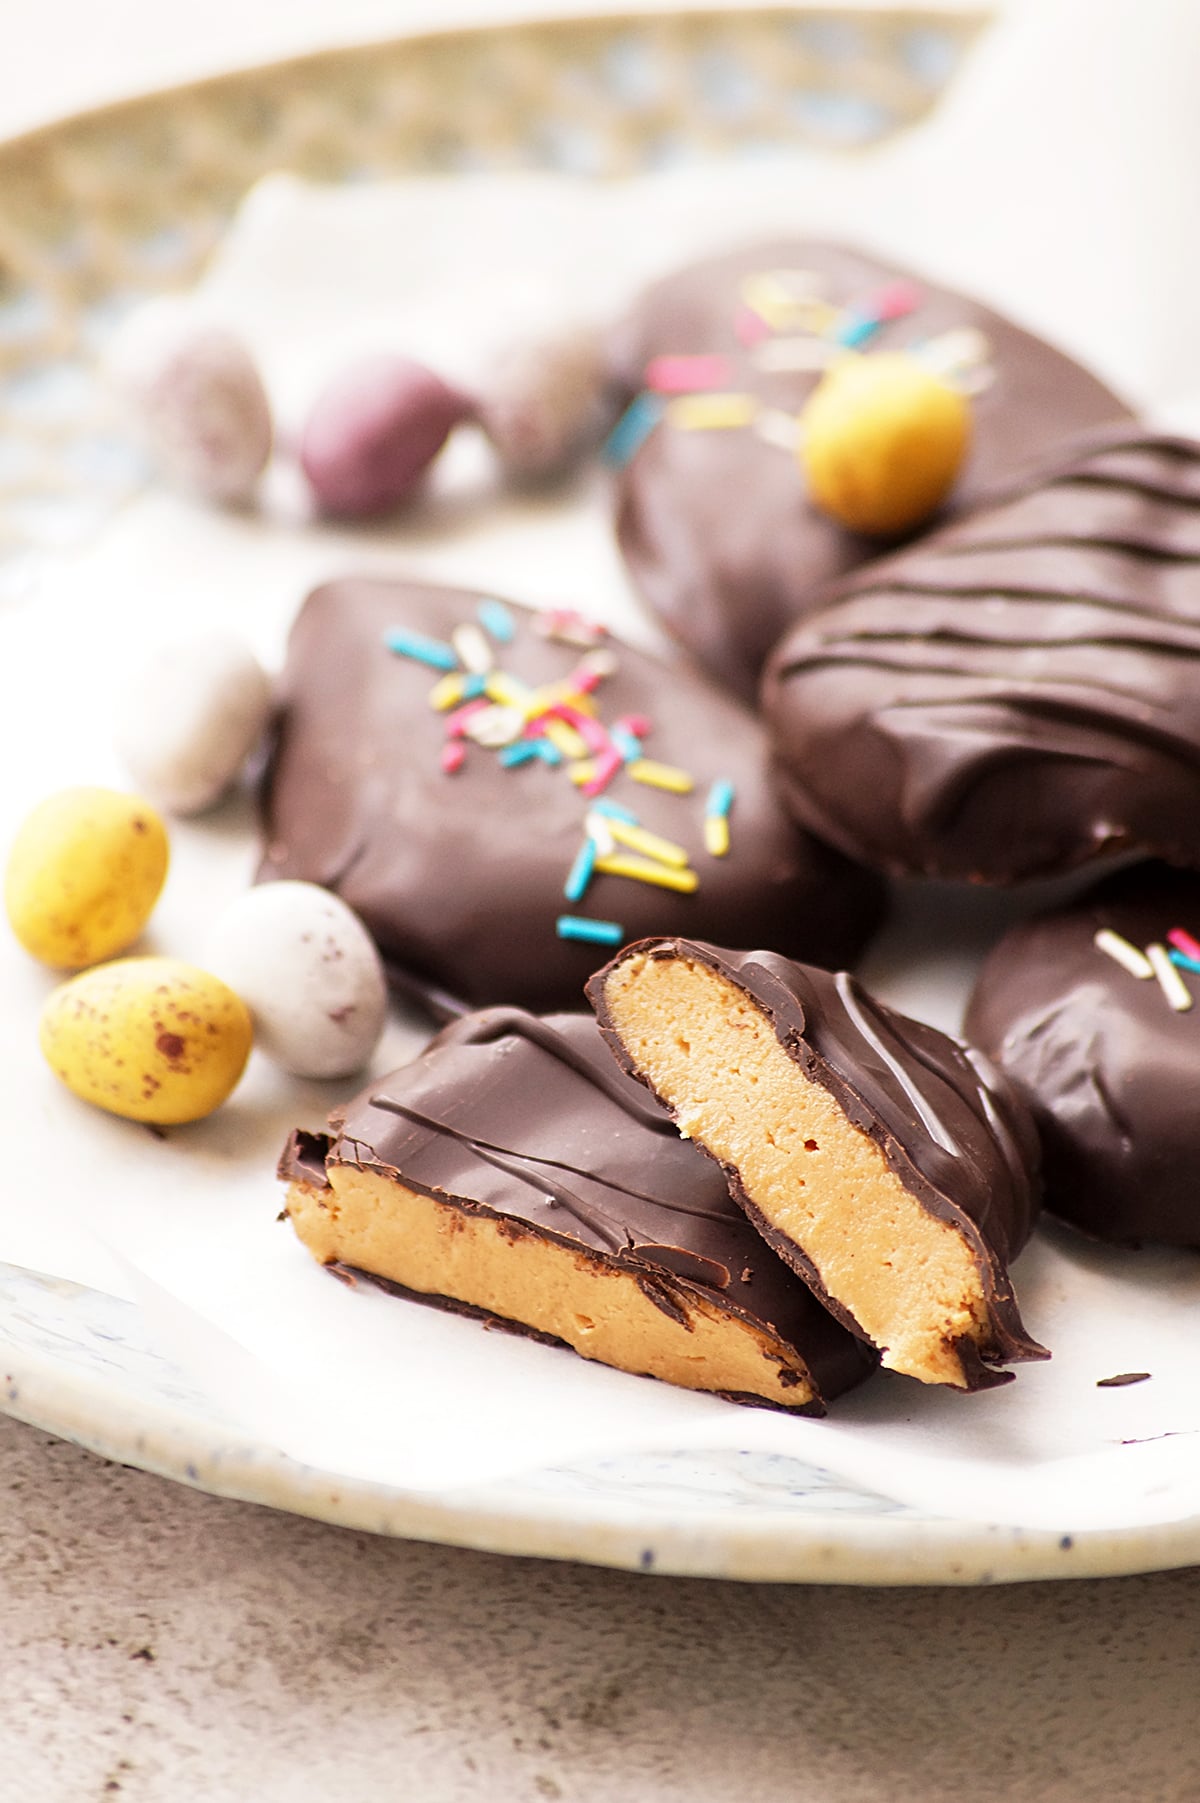
Dip each chilled egg into the melted chocolate using a fork.
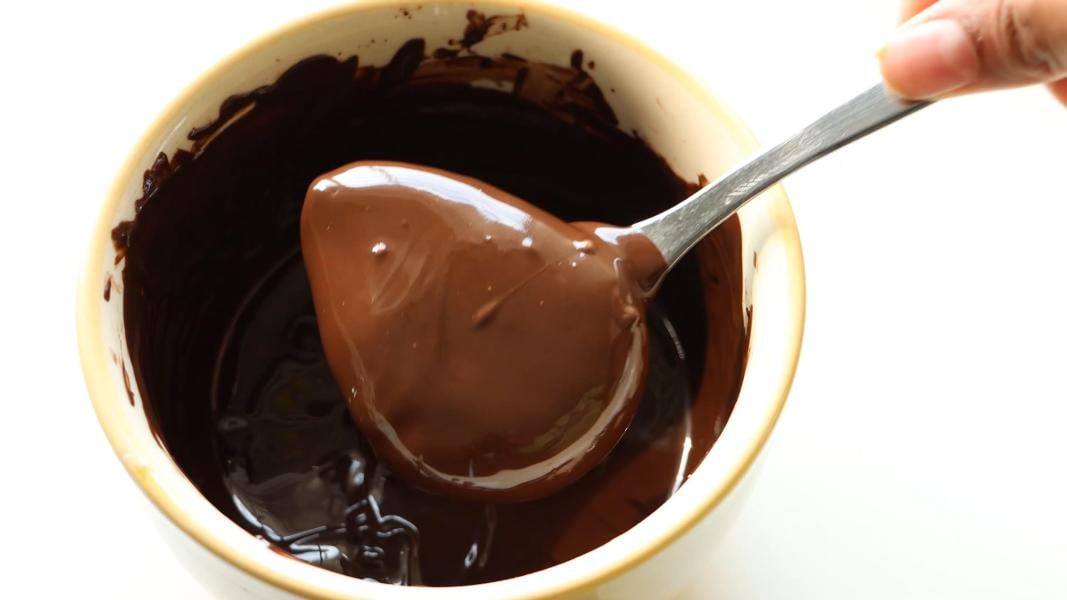
Make sure it is fully coated and tap off any excess chocolate.
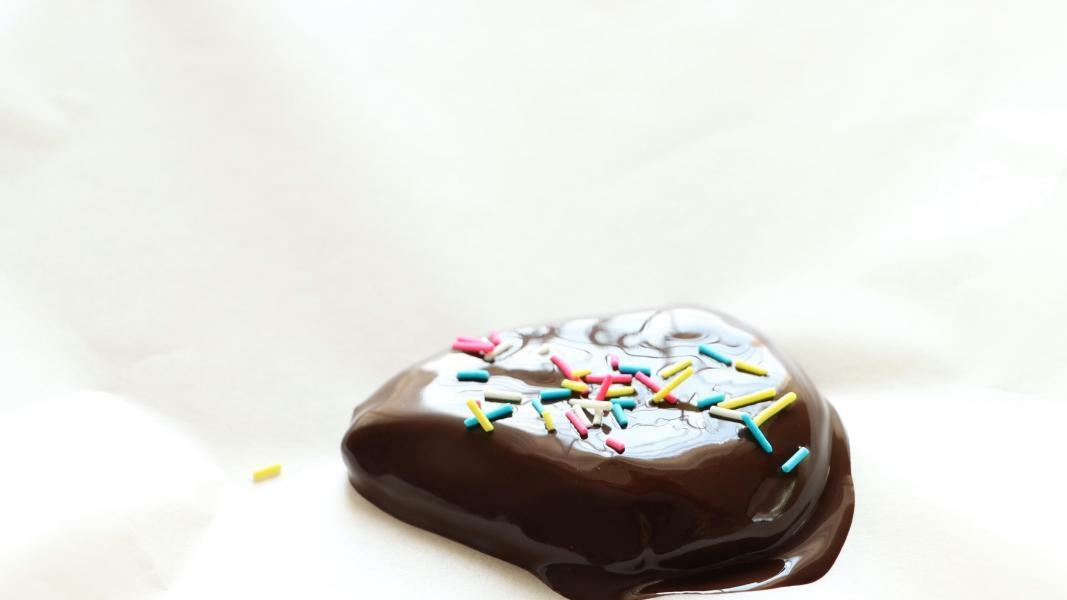
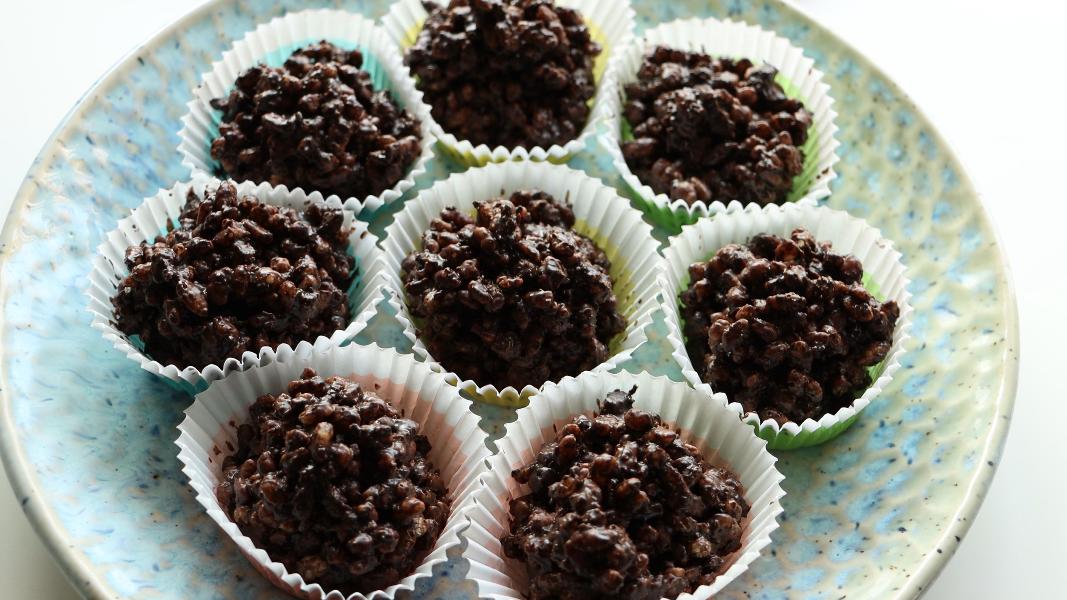
Place it back on the lined tray and add sprinkles on top. Let it set completely before storing.
Tips & Notes:
- Use good and high-quality ingredients for the best results.
- Make sure the peanut butter is not too runny, as it can make the mixture sticky and hard to shape.
- If the dough feels sticky, add a little extra powdered sugar to adjust. If it feels dry, add a little bit of peanut butter to adjust the consistency.
- Use softened butter, not melted.
- Do not skip chilling the shaped peanut eggs. This step is very important. If the eggs are not chilled and firm, they can lose shape when dipped in warm chocolate.
- Make sure you are melting the chocolate gently. Heat in intervals and stir in between.
- Do not forget to use parchment paper, it will prevent them from sticking to the tray.
- If you want to decorate them with extra dizzle on top, let them set after dipping, then drizzle the melted chocolate on top.
Serving suggestions
Serve them as a sweet snack or dessert. It is a perfect addition to your Easter brunch. They also make a great edible gift or party favor during the holiday season.
These work well as part of an Easter dessert table along with other Easter desserts like Cornflakes Easter Nests, Koulourakia, Cream Cheese Easter Braid, and Biscoff Truffles.
These pair nicely with coffee, tea, or even a glass of milk.
Storage suggestions
Store them in an airtight container at room temperature for up to a week. Place a piece of parchment paper between them. You can also store them in the refrigerator for 2-3 weeks. If you want to store them for a longer period of time, keep them in the freezer for up to 3 months.
More Easy Holiday Treat Recipes


If you tried this Peanut Butter Eggs Recipe or any other recipe on my blog please leave a 🌟 star rating and let me know how it went in the 📝 comments. Thanks for visiting my blog today!

Homemade Peanut Butter Easter Eggs
Ingredients
- ½ Cup Unsalted Creamy Peanut Butter
- 2 Tablespoon Unsalted Butter, softened
- ¼ Teaspoon Salt
- ½ Teaspoon Vanilla Extract
- ¾ Cup Powdered Sugar
- 1 Cup Dark Chocolate
- 1 Tablespoon Coconut Oil
Instructions
- Line a tray with parchment paper and keep it aside.
- In a mixing bowl, add the peanut butter, softened butter, vanilla and salt.
- Mix everything until well combined using a spoon or spatula.
- Add the powdered sugar and mix again.
- Mix until it forms a soft, slightly firm dough that holds its shape.
- Grease your hands and divide the prepared dough into small round balls.
- Shape each portion into egg-like forms using your hands. Place the tray in the refrigerator and chill it for about 30 minutes or until they are firm.
- Once the peanut eggs are chilled and firm, start melting the chocolate for dipping. Add the chopped dark chocolate and coconut oil to a microwave-safe bowl. Melt until smooth using a microwave or double boiler.
- Dip each chilled egg into the melted chocolate using a fork. Make sure it is fully coated and tap off any excess chocolate.
- Place it back on the lined tray and add sprinkles on top. Let it set completely before storing.
- Serve & enjoy!