
• Skip to main content
  • Skip to primary sidebar

Blend with Spices logo

menu icon
go to homepage
  • Home
  • About Me
  • Recipe Index
  • Festival Recipes
  • Eggless Baking
    • Facebook
    • Instagram
    • Pinterest
    • Twitter
    • YouTube
  • search icon
    Homepage link
    • Home
    • About Me
    • Recipe Index
    • Festival Recipes
    • Eggless Baking
    • Facebook
    • Instagram
    • Pinterest
    • Twitter
    • YouTube
  • ×
    Home » Recipes

    Kova Bun

    Kova Bun

    May 24, 2024

    Kova Bun - Soft bread rolls filled with sweet khoya(dried milk solids) mixture. Quick and delicious Indian treat for an evening snack.

    What is kova bun?

    Kova Bun or Palkova Bun is typically a type of Indian sweet milk bun stuffed with sweet khoya (milk solids) filling. These bread rolls are popular in Andhra Pradesh, Telangana and Tamil Nadu and can be found in bakeries, sweet shops and street stalls.

    Traditionally, the filling is made by slowly simmering full-fat milk until it thickens and reduces to a solid consistency. To reduce the cooking time, I have used store-bought unsweetened mawa. The sweet kova filling can be flavored with cardamom or saffron.

    These are super easy to make at home and can be enjoyed as a dessert or a sweet snack.

    Ingredients & Substitutions:

    Bun - Use a fresh and good quality milk bun or any of your favorite sweet bread rolls. You could also use regular milk bread.

    Khoya - It is also known as mawa. Use homemade or store-bought unsweetened khoya. If you are planning to use sweetened khoya, skip milk and sugar.

    Milk - Add more or less to adjust the consistency of filling.

    Sugar - You could also use brown sugar, jaggery or coconut sugar instead of white sugar.

    Serving suggestions:

    They can be served along with a cup of tea or coffee. If you want to serve them warm, microwave them before serving.

    These can be enjoyed as an afternoon or evening snack.

    Storage suggestions:

    Store the assembled kova buns in an airtight container at room temperature for 2 days.

    If you want to store them for longer, place them in an airtight container and refrigerate them for up to 5 days. Whenever, you want to have a bite, reheat the buns in microwave to restore their softness.

    Tips & Notes:

    Add more sugar or powdered sugar to the mawa mixture if you want more sweetness.

    You could also use store-bought palkova or sweetened khoya for the filling.

    Make sure the prepared kova filling is thick enough to stay inside the buns. If you feel the consistency of the filling is too thin, cook it again for few more minutes. The filling thickens more as it cools.

    Use a good quality milk bun for best taste and texture. I have used 2 bread rolls since they are large. If you are using smaller ones, you may need more. 

    You can experiment with different flavors by adding cardamom, saffron, rose, chocolate, nuts or tutti frutti to the kova filling.

    Step by step instructions:

    Take khoya and milk to a heavy bottomed pan. Keep stirring and cook until it is soft and smooth.

    Add sugar and continue cooking for few more minutes or until the mixture thickens a bit.

    Remember, it will thicken more as it cools. Once it is done, remove it from the flame and transfer it to a bowl or plate to cool down completely.

    Slice a milk bun or sweet bread roll.

    Take a generous amount of cooled sweet stuffing.

    Spread it over the sliced bread. Spread more or less as per your taste preference.

    Cover it with other half of the bun. Cut into pieces if you are using large bread roll.

    You might like these recipes:

    • Masala Pav
    • Bombay Veg Sandwich
    • Fruit Falooda
    • Mango mastani
    • Chocolate modak
    • Kova Kajjikayalu
    • Gulab Jamun

    Palkova Bun recipe video below:

    Print Recipe

    Kova Bun or Palkova Bun

    Kova Buns - Soft bread rolls filled with sweet khoya(dried milk solids) mixture. Quick and delicious Indian treat for an evening snack.
    Prep Time5 minutes mins
    Cook Time10 minutes mins
    Total Time15 minutes mins
    Course: Dessert, Snack
    Cuisine: Indian
    Keyword: easy indian desserts, Indian Street Food, Kova Bun Recipe, Palkova Bun Recipe
    Servings: 4
    Calories: 183kcal
    Author: Hari Chandana Ponnaluri

    Ingredients

    • ½ Cup Unsweetened Khoya
    • 2 Tablespoons Milk
    • 2 Tablespoons Sugar
    • 2 Sweet Bread Rolls / Milk Bun

    Instructions

    • Take khoya and milk to a heavy bottomed pan. Keep stirring and cook until it is soft and smooth.
    • Add sugar and continue cooking for few more minutes or until the mixture thickens a bit.
    • Remember, it will thicken more as it cools. Once it is done, remove it from the flame and transfer it to a bowl or plate to cool down completely.
    • Slice a milk bun or sweet bread roll.
    • Take a generous amount of cooled sweet stuffing and spread it over the sliced bun.
    • Spread it over the sliced bread. Spread more or less as per your taste preference.
    • Cover it with other half of the bun. Cut into pieces if you are using large bread roll.
    • Serve and enjoy!

    Video

    Notes

    I have used 2 bread rolls since they are large. If you are using smaller ones, you may need more. 

    Nutrition

    Calories: 183kcal | Carbohydrates: 21g | Protein: 7g | Fat: 8g | Saturated Fat: 5g | Polyunsaturated Fat: 0.2g | Monounsaturated Fat: 2g | Trans Fat: 0.04g | Cholesterol: 12mg | Sodium: 126mg | Potassium: 11mg | Sugar: 8g | Vitamin A: 142IU | Vitamin C: 0.3mg | Calcium: 211mg | Iron: 0.01mg

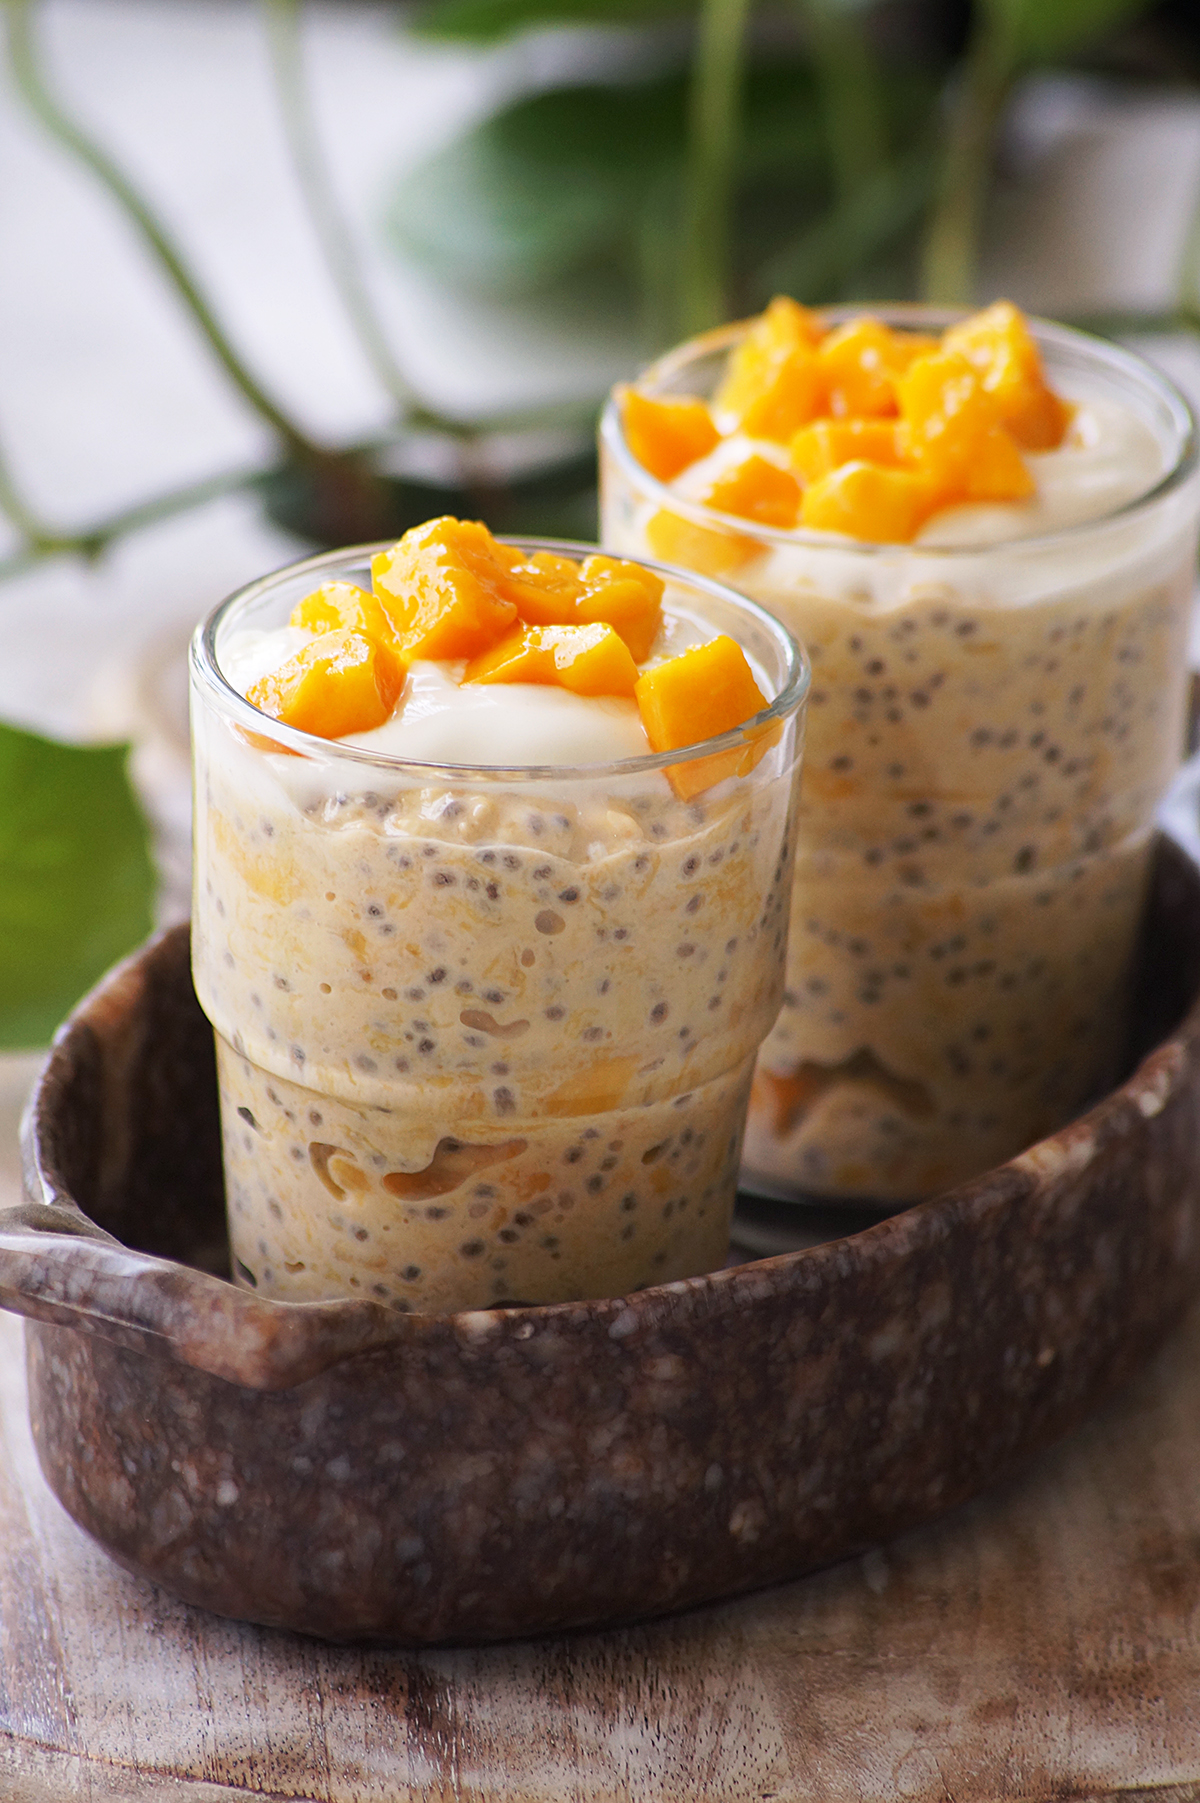
    Mango Overnight Oats

    May 13, 2024

    Mango overnight oats - Creamy, delicious and healthy tropical breakfast packed with protein, fiber, vitamins and burst of mango sweetness.

    What are mango overnight oats

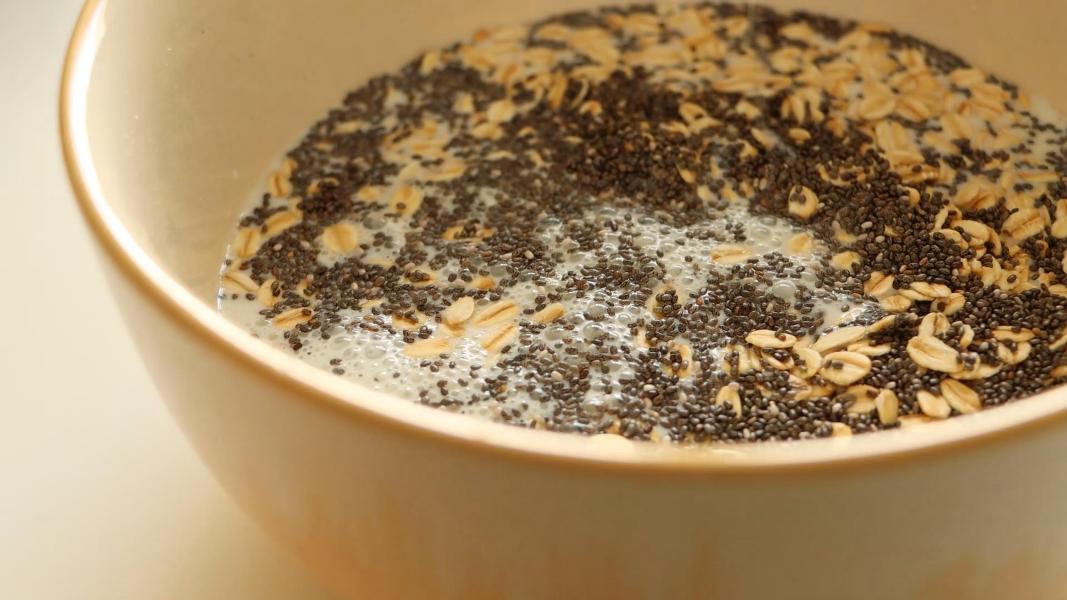
    Overnight oats are one of the easy breakfast recipes made with healthy ingredients. It is one of the quick and no-cook breakfast recipes that can be flavored with various fruits and spices. Mango overnight oats are made by combining old-fashioned oats with milk, yogurt, chia seeds, vanilla and diced mango. It is then left to soak overnight in the refrigerator, letting the oats to soften and absorb the flavors.

    Next morning, the oatmeal is ready to be served. It can be topped with additional diced mangoes, nuts, nut butters, seeds and spices for extra nutrition and flavor.

    Ingredients & Substitutions:

    Mango - Prefer using ripe, sweet fresh mango for the best taste and flavor. You won't need any additional sweetener as the natural sweetness of the ripe mangoes is enough. If don't have fresh mangoes in hand, chop frozen mangoes into small pieces and add them to the oatmeal. You don't need to thaw them. Mango puree can also be used instead of mango chunks.

    Oats - Use a high-quality rolled oats for the best texture. You can also swap them with quick oats or instant oats but the final oatmeal will have a softer texture. I haven't tried this recipe with steel cut oats yet.

    Milk - You can use any of your favorite dairy milk, almond milk, coconut milk or oat milk.

    Yogurt - This adds creaminess to the oatmeal. Use regular, vegan or greek yogurt. If you want to make overnight oats without yogurt, replace it with any of your favorite milk.

    Chia Seeds - It adds protein and makes it filling. Use black or white chia seeds. You can skip it if you want.

    Vanilla - Vanilla extract enhances the flavor of the oatmeal. You could also experiment with any of your favorite extracts or spices.

    Serving suggestions:

    Add a dollop of regular yogurt or greek yogurt on top of the oatmeal and top it with some chopped mangoes and serve it as breakfast or dessert.

    You can sprinkle some chopped nuts or drizzle almond butter or peanut butter on top to make more healthy.

    Add some granola on top before serving to add crunch and flavor.

    Storage suggestions:

    It can be stored in an airtight container in the refrigerator for up to 4 days. It can also be stored in the freezer for longer period of time.

    Tips & Notes:

    Choose ripe and sweet mangoes for the best flavor. You may need to add additional sweetener if the mangoes are not sweet enough. You can use maple syrup, honey, coconut sugar, agave nectar or brown sugar in this recipe.

    Let the oats sit in the fridge for at least 4 hours or overnight to allow them to soften well. Otherwise the texture will not be creamy.

    If you want your oatmeal to be thinner, mix it with a splash of milk before serving.

    Variations:

    Swirl in creamy nut butters like almond butter or peanut butter for added nuttiness.

    You can also mix mangoes with any other fruits such as berries, bananas or pineapple for a different flavor.

    Mix the oats with coconut milk and pineapple along with mangoes for tropical flavors.

    Add a little bit or lemon or orange zest to add a citrus flavor.

    You could also add a dash of ground cardamom, cinnamon or nutmeg for a different flavor profile.

    Sprinkle nuts, chocolate chips or unsweetened coconut flakes on top to make it healthy and delicious.

    Step by step instructions:

    Combine rolled oats, chia seeds in a bowl. Add milk and mix.

    Add yogurt, vanilla and chopped mangoes.

    Mix everything until combined.

    Let it sit in the refrigerator for at least 4 hours or overnight.

    Remove it from the refrigerator and give it a mix.

    Add more milk if you want it to be thinner.

    Transfer the overnight oat mixture to serving bowls or glasses and top it with yogurt and chopped fruits before serving.

    You might love these recipes:

    • Raspberry Chia Pudding
    • Peanut Butter Banana Yogurt Popsicles
    • Instant Oats Idli
    • Mango Chia Pudding
    • Dragon Fruit Chia Pudding
    • Chestnut Chocolate Spread
    • Apple Yogurt Salad
    • Pumpkin Spice Chia Pudding

    Overnight oats with mango recipe video below:

    Print Recipe

    Mango Overnight Oats

    Mango overnight oats - Creamy, delicious and healthy tropical breakfast packed with protein, fiber, vitamins and burst of mango sweetness.
    Prep Time5 minutes mins
    Cook Time0 minutes mins
    Resting Time4 hours hrs
    Total Time4 hours hrs 5 minutes mins
    Course: Breakfast, Dessert, Snack
    Cuisine: American, International
    Keyword: healthy breakfast recipes, healthy recipes, mango overnight oats recipe, Mango Recipes, overnight oats recipes
    Servings: 2
    Calories: 390kcal
    Author: Hari Chandana Ponnaluri

    Ingredients

    • 1 Cup Rolled Oats
    • 2 Tablespoons Chia Seeds
    • 1 Cup Milk
    • ½ Cup Yogurt
    • 1 Teaspoon Vanilla Extract
    • 1.5 Cups Chopped Ripe Mango

    Instructions

    • Combine rolled oats, chia seeds in a bowl.
    • Add yogurt, vanilla and chopped mangoes.
    • Mix everything until combined.
    • Let it sit in the refrigerator for at least 4 hours or overnight.
    • Remove it from the refrigerator and give it a mix.
    • Add more milk if you want it to be thinner.
    • Transfer the overnight oats mixture to serving bowls or glasses and top it with yogurt and chopped fruits before serving.

    Video

    Nutrition

    Calories: 390kcal | Carbohydrates: 61g | Protein: 15g | Fat: 10g | Saturated Fat: 3g | Polyunsaturated Fat: 4g | Monounsaturated Fat: 2g | Trans Fat: 0.1g | Cholesterol: 13mg | Sodium: 104mg | Potassium: 715mg | Fiber: 10g | Sugar: 28g | Vitamin A: 1497IU | Vitamin C: 46mg | Calcium: 364mg | Iron: 3mg

    Raspberry White Chocolate Muffins

    May 1, 2024

    Raspberry White Chocolate Muffins - Soft, moist and delicious muffins packed with fresh raspberries and white chocolate. So good with a cup of coffee or tea!

    What are raspberry white chocolate muffins?

    Raspberry white chocolate muffins are a flavorful baked treat made with a eggless muffin batter packed with fresh raspberries and white chocolate. The combination of raspberries and white chocolate makes a perfect balance of tart and sweet flavors. These are moist, tender and fluffy and can be made easily in no time.

    Why you'll love this recipe:

    It is a versatile recipe. You can enjoy them for breakfast, brunch, as a snack with a cup of coffee.

    These are moist, tender and super easy to make!

    Ingredients & Substitutions:

    Raspberries - I have used fresh raspberries in this recipe. If fresh berries aren't available, you can swap them with frozen raspberries. You can also substitute them with blueberries or any of your favorite berry.

    White Chocolate - Use a good quality of white chocolate chips or chopped chocolate bar for best taste and flavor.

    Flour - I have use plain flour or all-purpose flour. You can use a combination of all-purpose flour and wheat flour for heathier option, the texture will be different though.

    Sugar - Brown sugar or coconut sugar can be used instead of caster sugar or granulated sugar.

    Melted Butter - Do not reduce the quantity of butter. Use vegetable oil or coconut oil for a dairy-free option.

    Baking Powder - It is a leavening agent. Don't skip it.

    Vanilla - You could also replace it with almond extract.

    Milk - Binds the ingredients together and adds moisture. Swap it with any plant-based milk if needed.

    Salt - Skip it if you are using salted butter.

    Serving suggestions:

    Serve warm raspberry muffins with a cup of coffee or tea

    They can be served as a breakfast, snack or dessert.

    They make a wonderful addition to your breakfast or brunch spreads.

    Storage suggestions:

    These can be stored at room temperature in an airtight container for up to 2-3 days. You can also store them in the refrigerator for up to a week.

    If you want to store them for longer, freeze them for 3 months.

    Variations:

    Instead of using raspberries, you can use mixed berries such as blueberries, strawberries and blackberries.

    Swap white chocolate with dark chocolate chips or chunks for a different flavor variation.

    You could also sprinkle a streusel topping made with flour, butter, sugar and cinnamon over the muffins before baking to add a crunch.

    Add chopped nuts like almonds, walnuts or pecans to the muffin batter for added crunch and nutty flavor.

    Drizzle some melted chocolate over the baked and cooled muffins for extra sweetness.

    Tips & Notes:

    Use fresh and high quality ingredients for the best results.

    If you want to substitute flour with self-rising flour, do not use baking powder and salt.

    Do not overmix the batter to prevent dense muffins.

    Do not overbake the muffins, it can lead to dryness. They're ready when a toothpick inserted into the center comes out clean.

    Step by step instructions:

    Combine flour, baking powder and salt in a small mixing bowl and keep it aside.

    In a large mixing bowl add sugar, milk, melted butter and vanilla.

    Mix all the wet ingredients with sugar using a whisk.

    Add prepared all purpose flour mixture to the wet ingredients.

    Mix everything to make a muffin batter.

    Add fresh raspberries and chopped white chocolate chunks or chips to the muffin batter.

    Gently fold everything without breaking the berries.

    Spoon the muffin mixture into lined muffin pan and bake them in the preheated oven at 180 degrees C for about 20-25 minutes. I baked them for 22 minutes.

    Serve warm muffins with a cup of coffee or tea.

    You might love these recipes:

    • Cranberry Orange Snowballs
    • Cherry Wink Cookies
    • Peppermint White Chocolate Cookies
    • Orange Blueberry Muffins
    • Sweet Corn Cake
    • Cherry Turnovers
    • Cherry Almond Cake
    • Raspberry Chia Jam
    • Raspberry Chia Pudding

    White chocolate raspberry muffins recipe video below:

    Print Recipe

    Raspberry White Chocolate Muffins

    Raspberry White Chocolate Muffins - Soft, moist and delicious muffins packed with fresh raspberries and white chocolate. So good with a cup of coffee or tea!
    Prep Time10 minutes mins
    Cook Time22 minutes mins
    Total Time32 minutes mins
    Course: Breakfast, Brunch, Dessert, Snack
    Cuisine: American
    Keyword: Easy Raspberry Recipes, Eggless Baking, Muffins, raspberry white chocolate muffins
    Servings: 6
    Calories: 223kcal
    Author: Hari Chandana Ponnaluri

    Ingredients

    • 1 Cup Flour
    • 1.5 Teaspoons Baking Powder
    • ¼ Teaspoon Salt
    • ¼ Cup Sugar
    • ⅓ Cup Milk
    • ¼ Cup Melted Butter
    • ½ Teaspoon Vanilla Extract
    • ½ Heaped Cup Raspberries
    • ¼ Cups White Chocolate Chips or Chunks

    Instructions

    • Combine flour, baking powder and salt in a small mixing bowl and keep it aside.
    • In a large mixing bowl add sugar, milk, melted butter and vanilla.
    • Mix all the wet ingredients with sugar using a whisk.
    • Add prepared all purpose flour mixture to the wet ingredients.
    • Mix everything to make a muffin batter.
    • Add fresh raspberries and chopped white chocolate chunks or chips to the muffin batter.
    • Gently fold everything without breaking the berries.
    • Spoon the muffin mixture into lined muffin pan and bake them in the preheated oven at 180 degrees C for about 20-25 minutes. I baked them for 22 minutes.
    • Serve warm muffins with a cup of coffee or tea.

    Video

    Nutrition

    Calories: 223kcal | Carbohydrates: 30g | Protein: 3g | Fat: 10g | Saturated Fat: 6g | Polyunsaturated Fat: 0.5g | Monounsaturated Fat: 3g | Trans Fat: 0.01g | Cholesterol: 22mg | Sodium: 111mg | Potassium: 164mg | Fiber: 1g | Sugar: 14g | Vitamin A: 16IU | Vitamin C: 0.1mg | Calcium: 77mg | Iron: 1mg

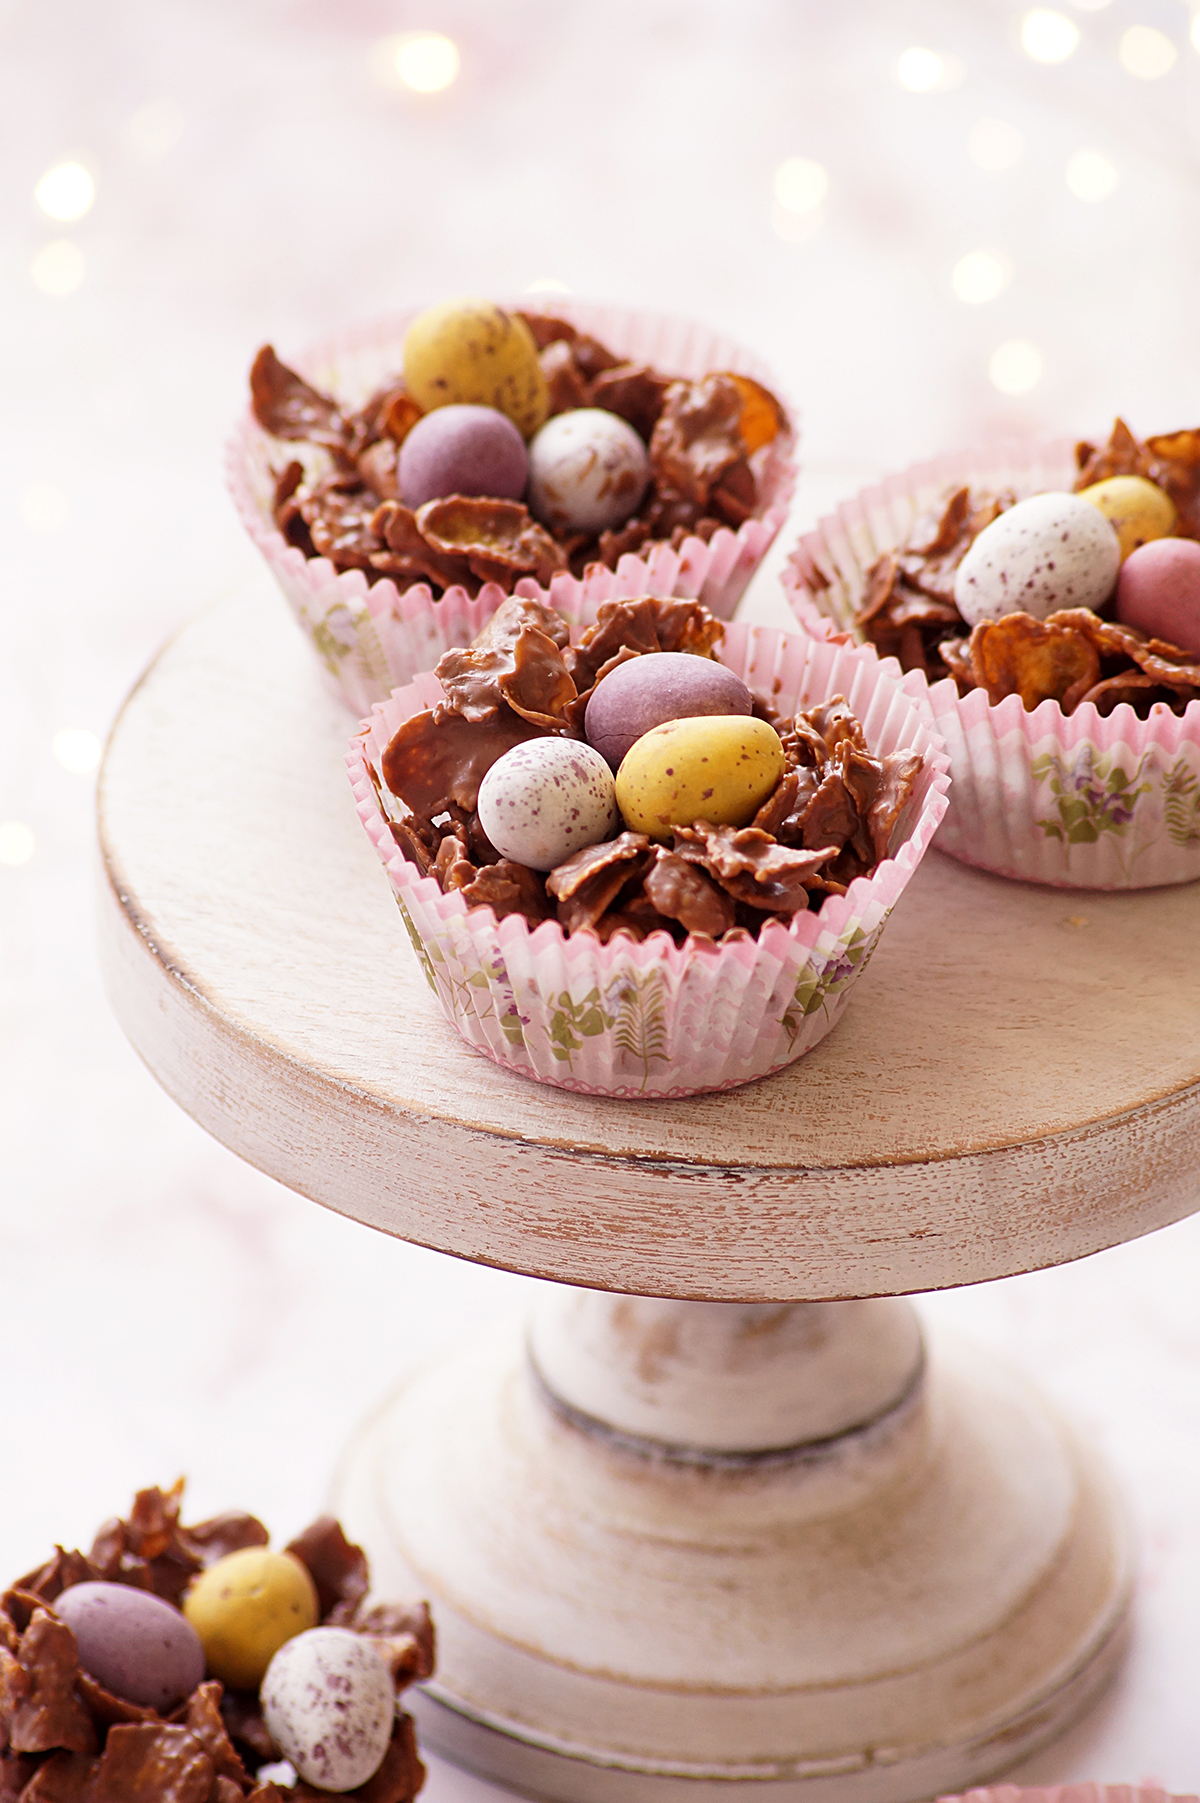
    Cornflakes Chocolate Nests

    March 29, 2024

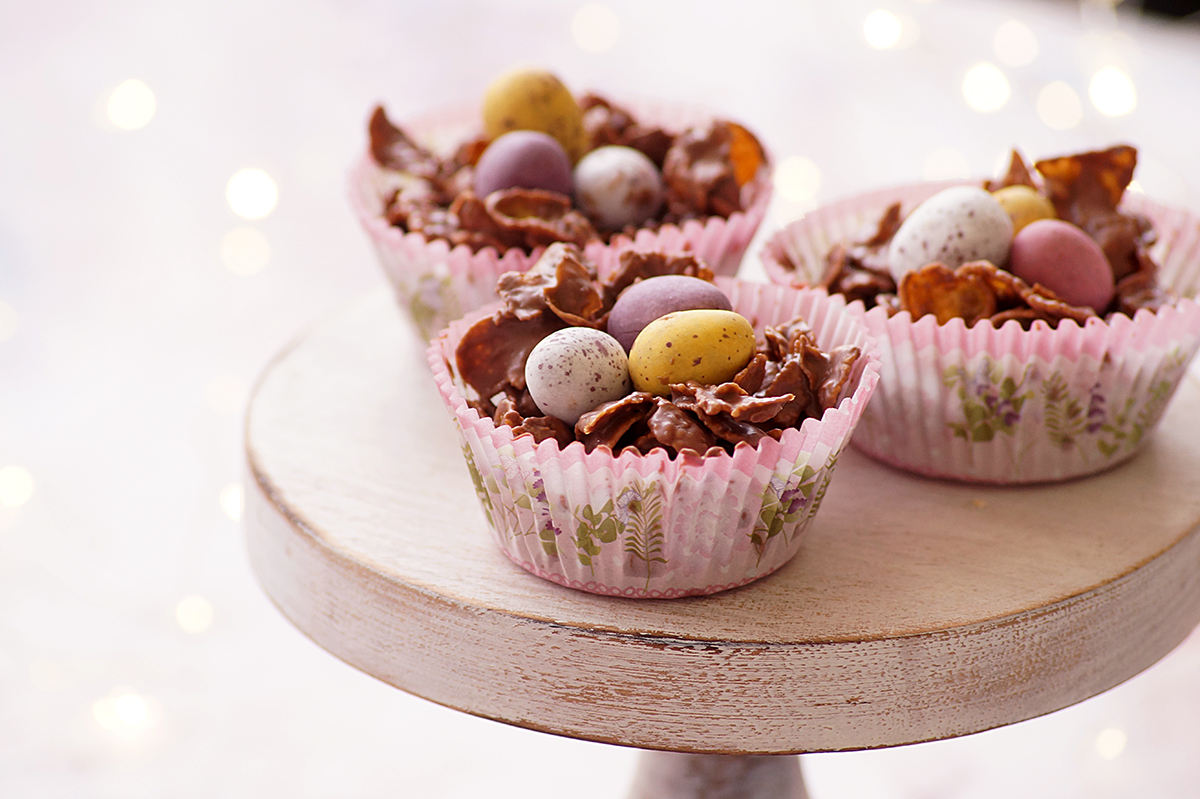
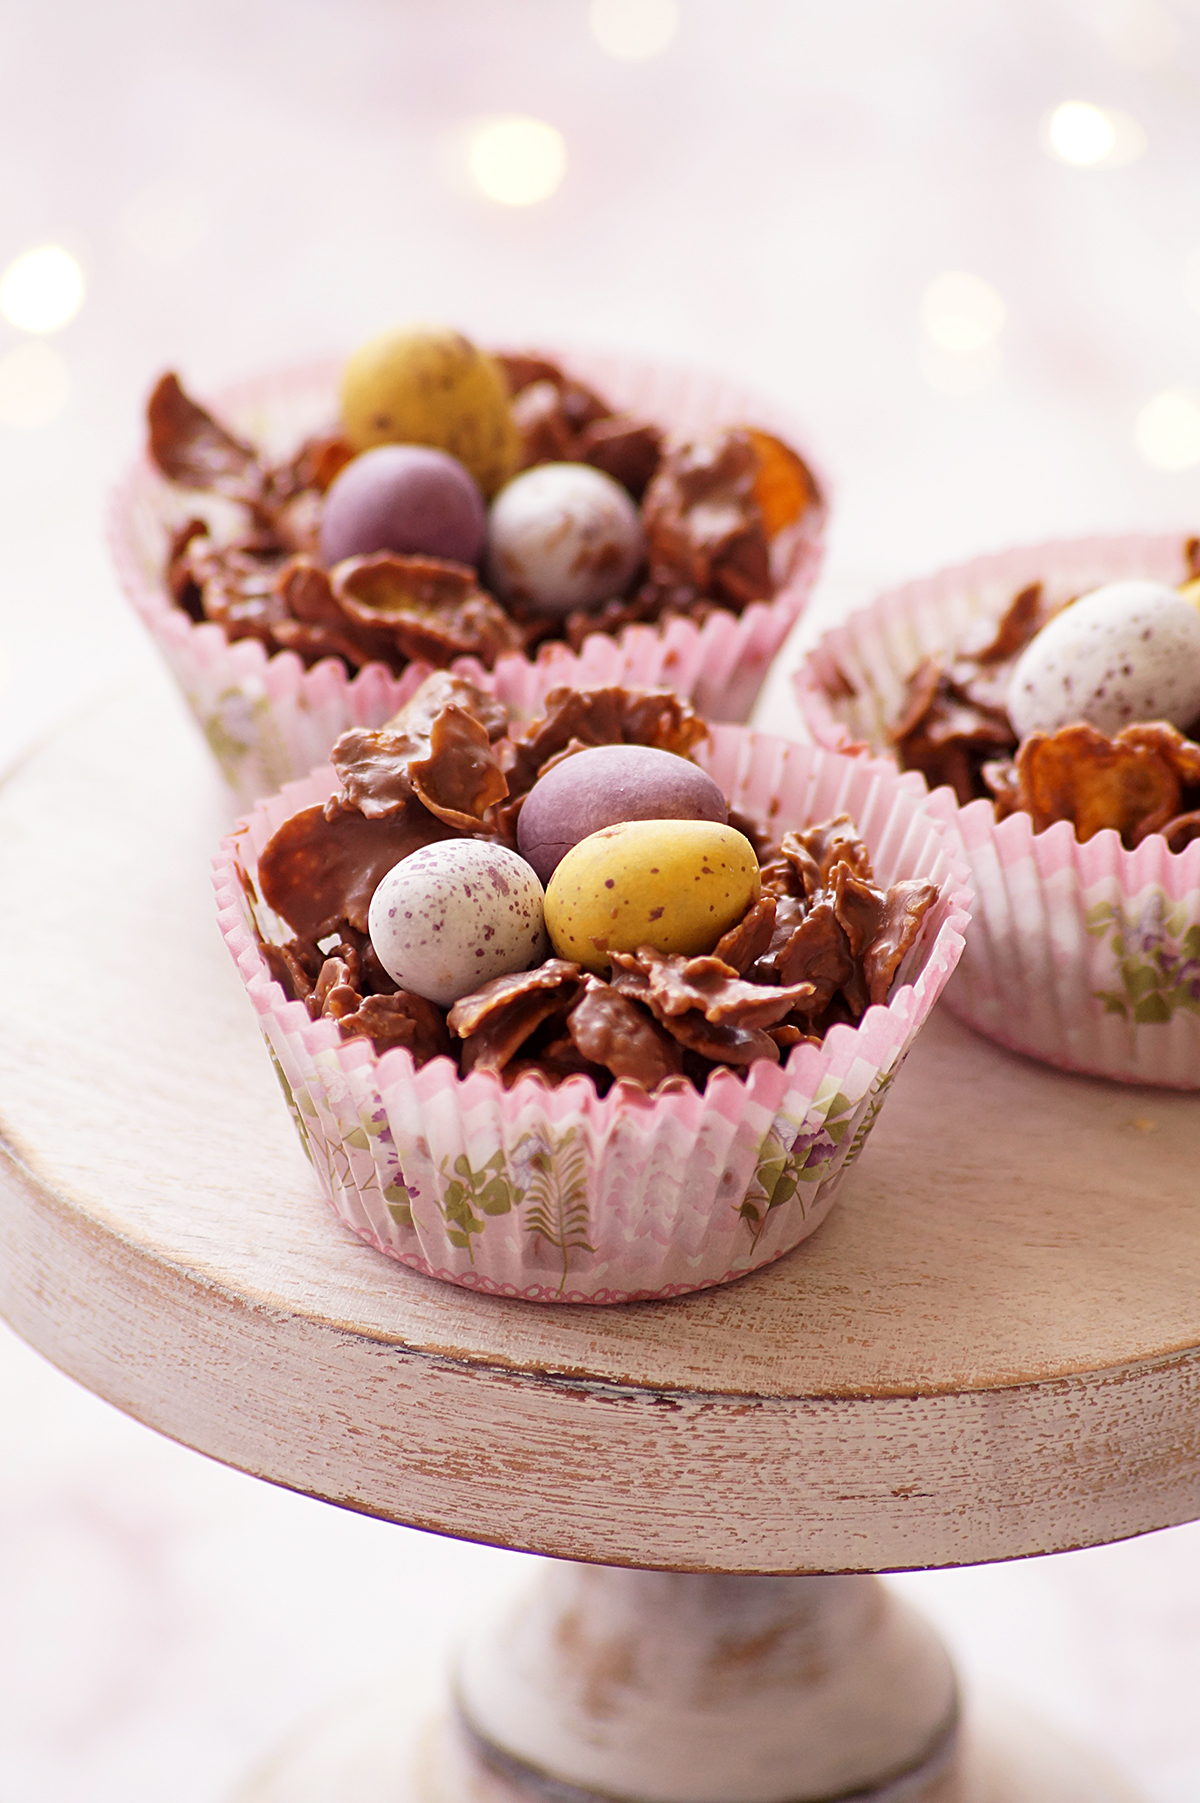
    Cornflakes Chocolate Nests - Easy, delicious, crunchy and perfect Easter treat made with simple ingredients!

    What are chocolate cornflakes nests?

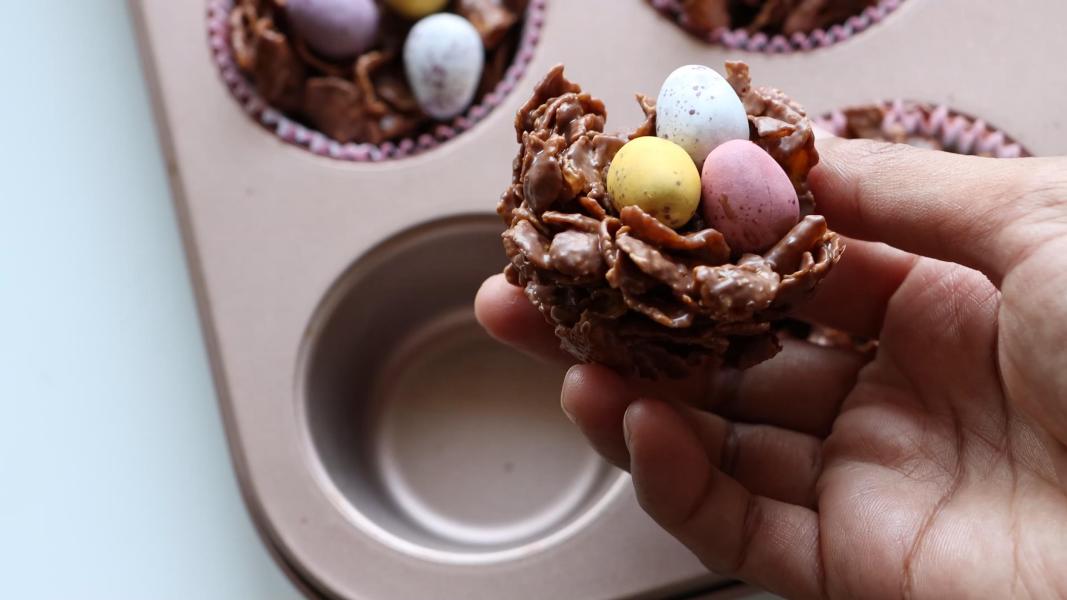
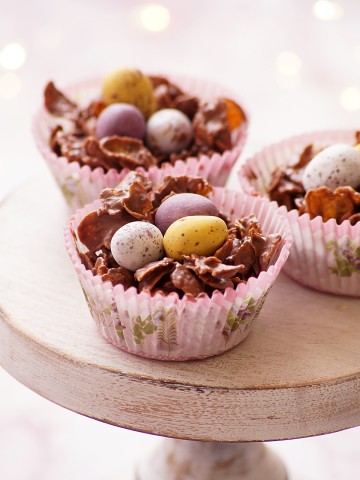
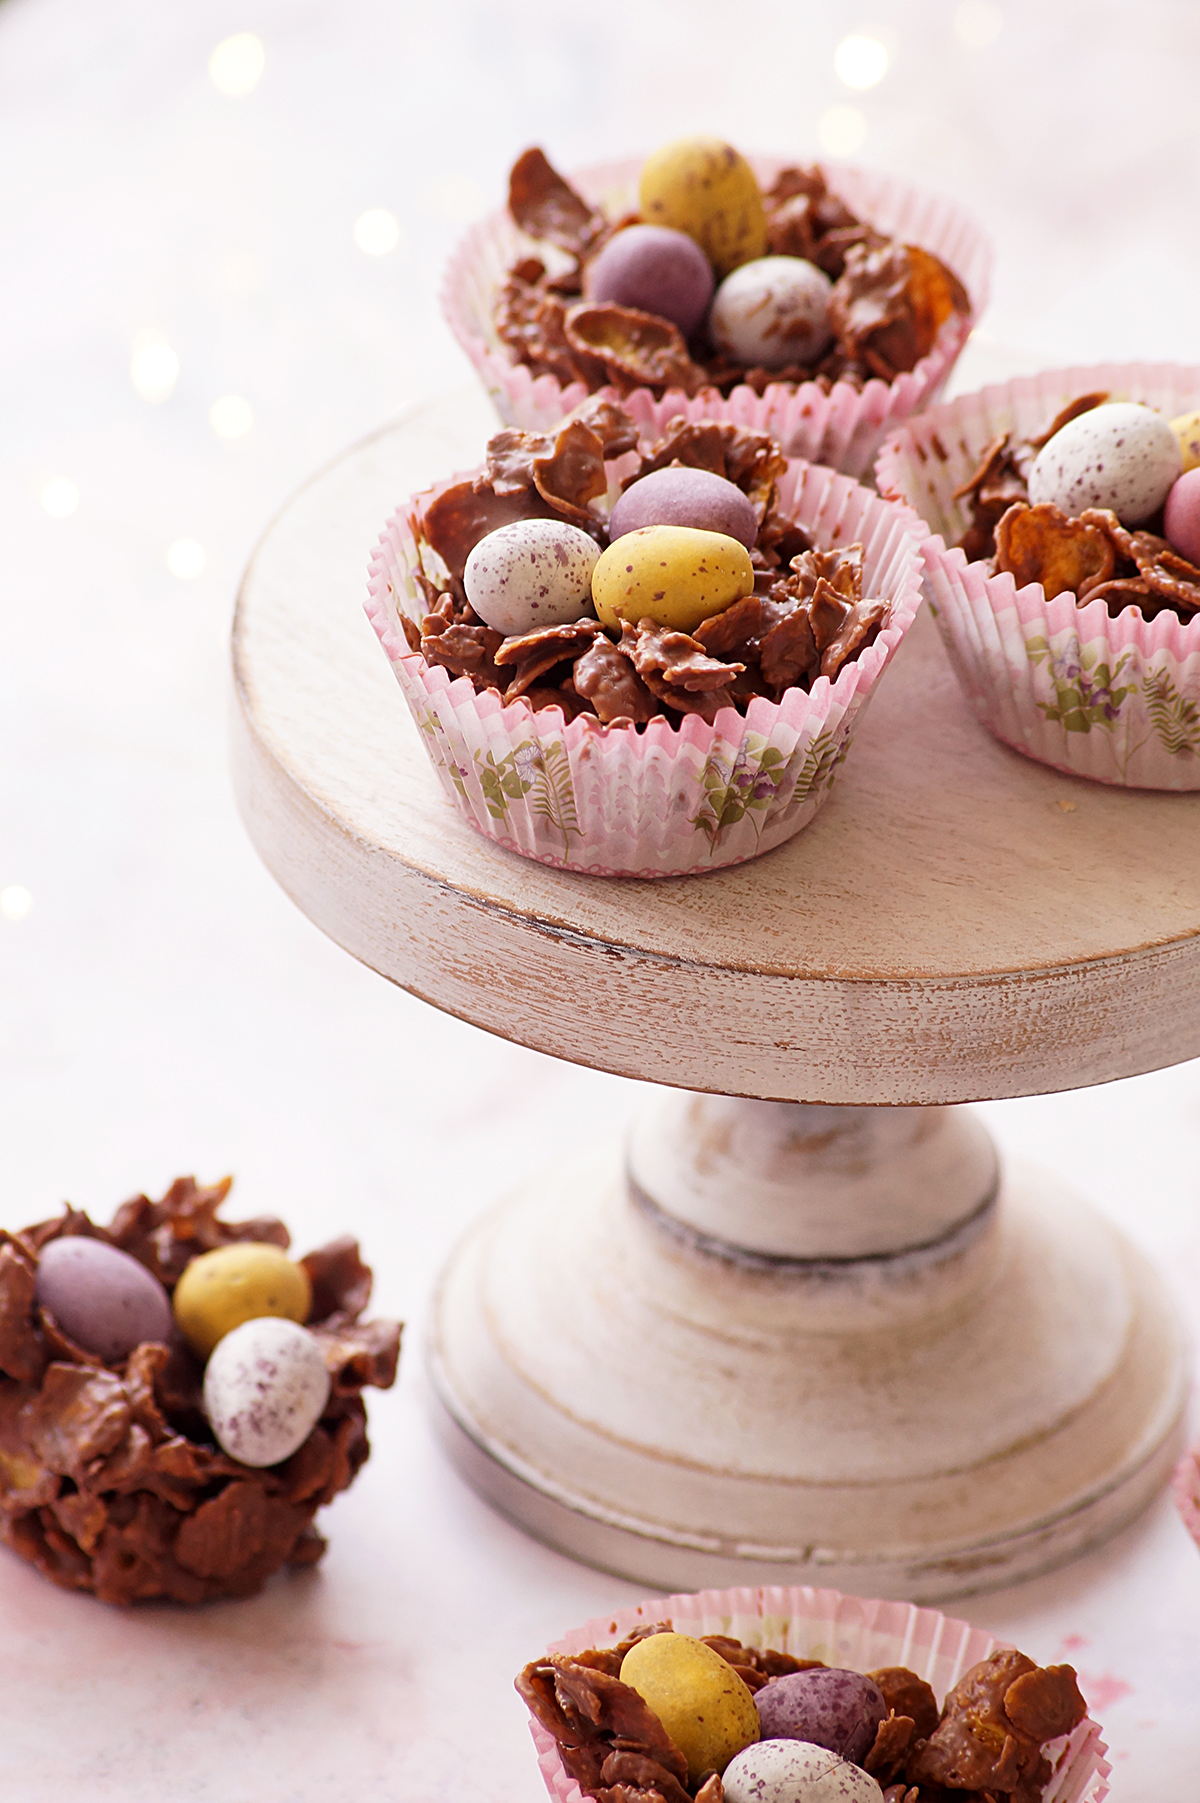
    Chocolate cornflake nests or cornflake cakes are one of the easy and popular Easter treats made by mixing cornflakes with melted chocolate, and then shaping the mixture into nest shapes. The nests are topped with cadbury mini eggs. They are one of the easy easter desserts to make under 30 minutes. Some recipes calls for golden syrup but this recipe doesn't require it.

    Why you'll love this recipe:

    Can be easily made with 3 ingredients in no time.

    Crunchy, delicious and festive!

    Makes a great edible gift!

    Ingredients & Substitutions:

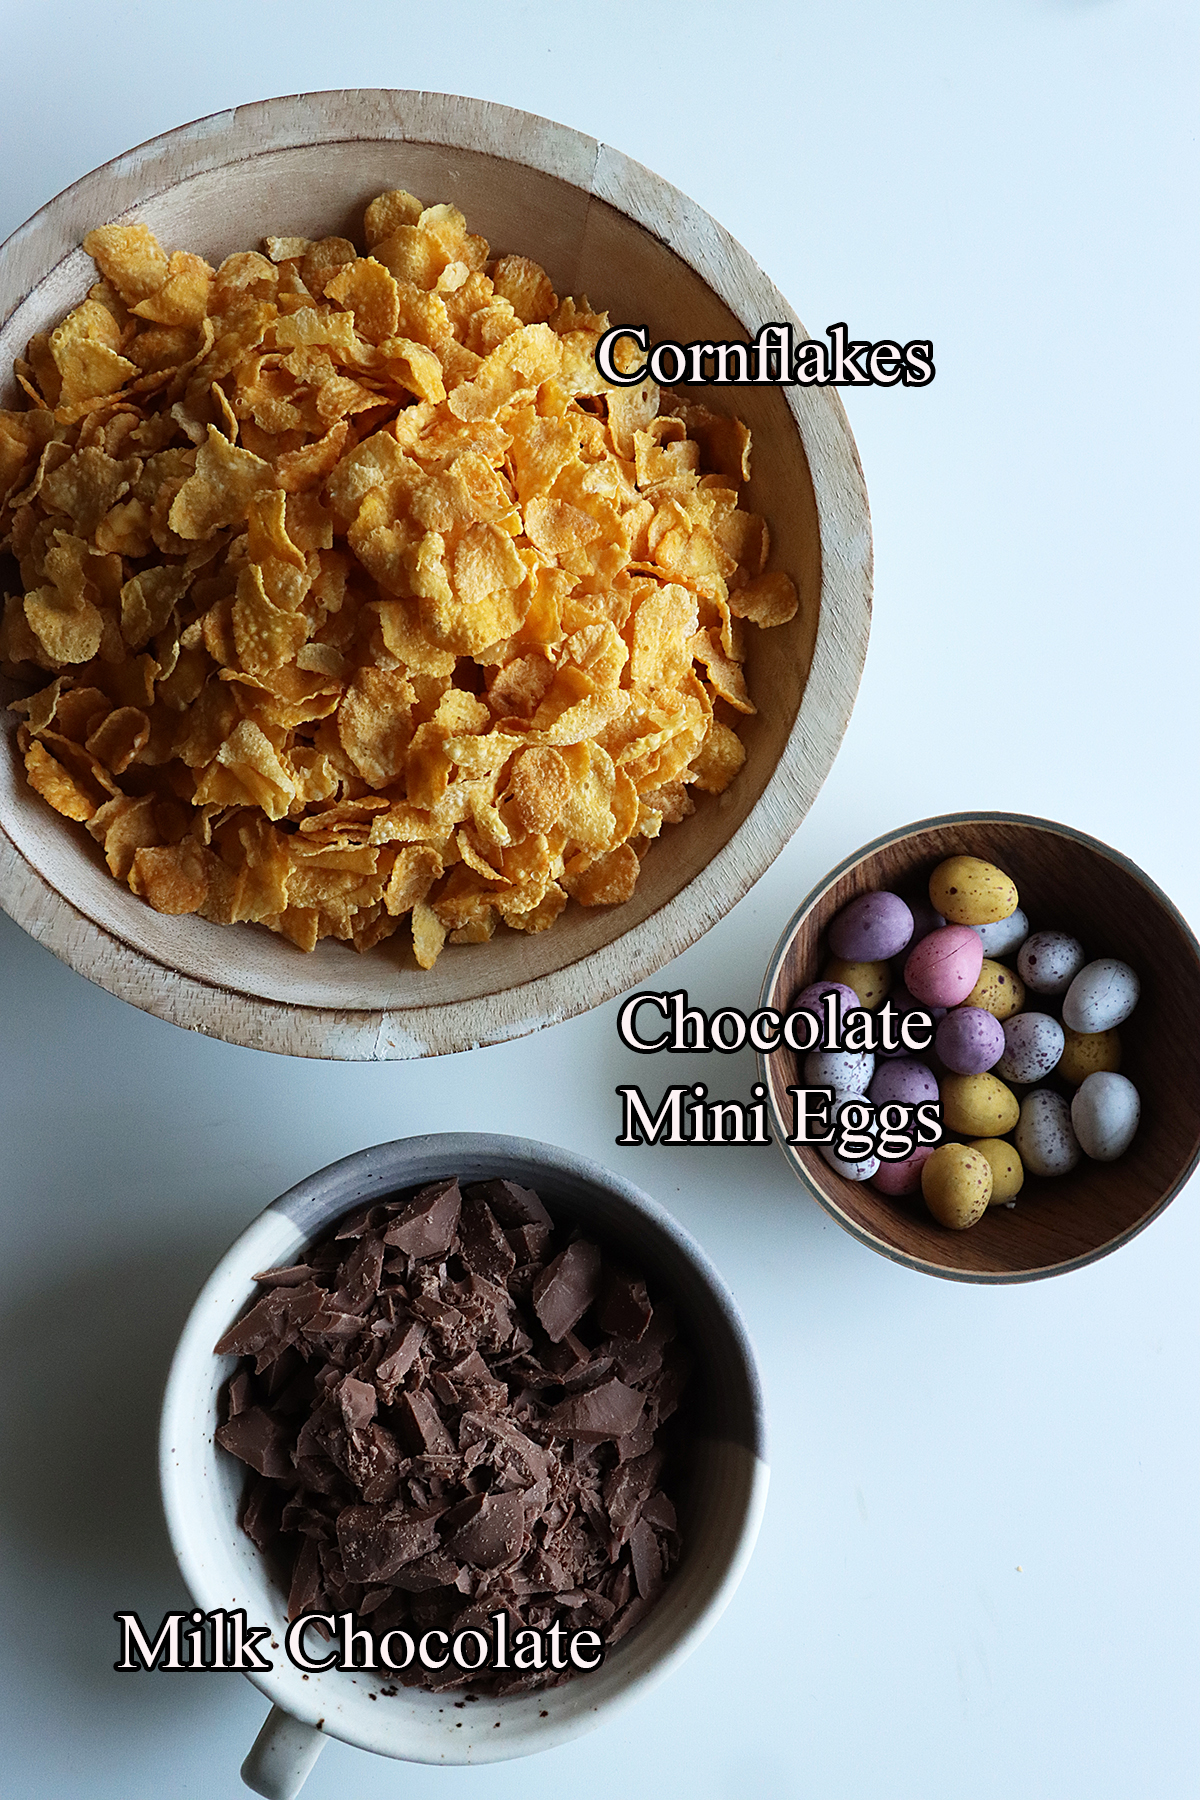
    Cornflakes - You can swap the classic cornflakes with any other similar cereals like rice krispies.

    Milk Chocolate - You can use any type of chocolate or chocolate chips depending on your preference.

    Mini Eggs - I have used cadbury mini eggs, you can use any pastel-colored mini chocolate eggs or M&Ms.

    Serving suggestions:

    Serve them as a dessert or sweet snack. It is a perfect addition to your Easter brunch. These make a great edible gift during the holiday season.

    Storage suggestions:

    Store them in an airtight container in the refrigerator for up to a week.

    Tips & Notes:

    Use a double boiler or microwave for melting chocolate.

    Melt the chocolate carefully to avoid burning it.

    Melt the chocolate carefully to avoid burning it. Stir it frequently until it is smooth.

    Use a high quality ingredients for the best results.

    Once the chocolate is melted, quickly mix the corn flakes and shape the nests before the chocolate begins to set.

    Make sure to coat the cornflakes evenly with the melted chocolate. If you feel the melted chocolate mix is not enough, melt some more and mix it with cornflakes. So that each nest holds its shape well.

    Make sure you are using a muffin tin or silicone molds to get a neat nest shape. Also use paper cases or liners for better presentation.

    Let the chocolate egg nests set in the refrigerator for 30 minutes to set them properly. This will help the nests hold their shape.

    Variations:

    Substitute milk chocolate with white chocolate or dark chocolate for a different flavor profile.

    You can also decorate the nest with pastel sprinkles along with easter eggs.

    Add a couple of tablespoons of peanut butter to the melted chocolate and mix it with cornflakes for a nutty flavor.

    You could also add chopped nuts or dried fruits to the cornflakes mixture to add a fruity or nutty flavor.

    Use dairy-free chocolate and gluten-cornflakes to make vegan and gluten-free friendly chocolate easter nests.

    Step by step instructions:

    Line a muffin pan or silicon molds with muffin liners and keep it aside until use.

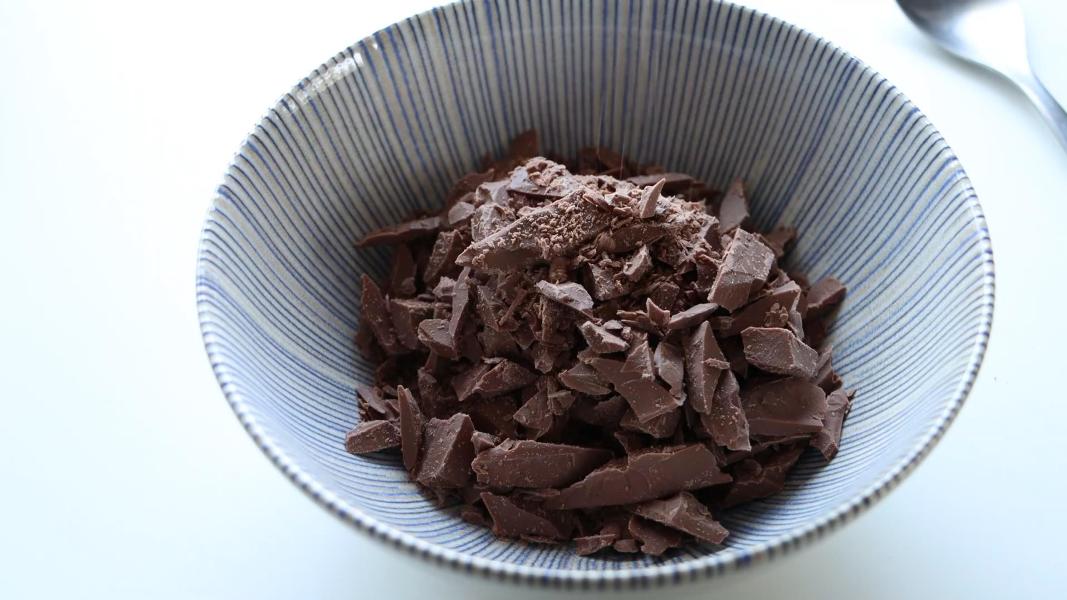
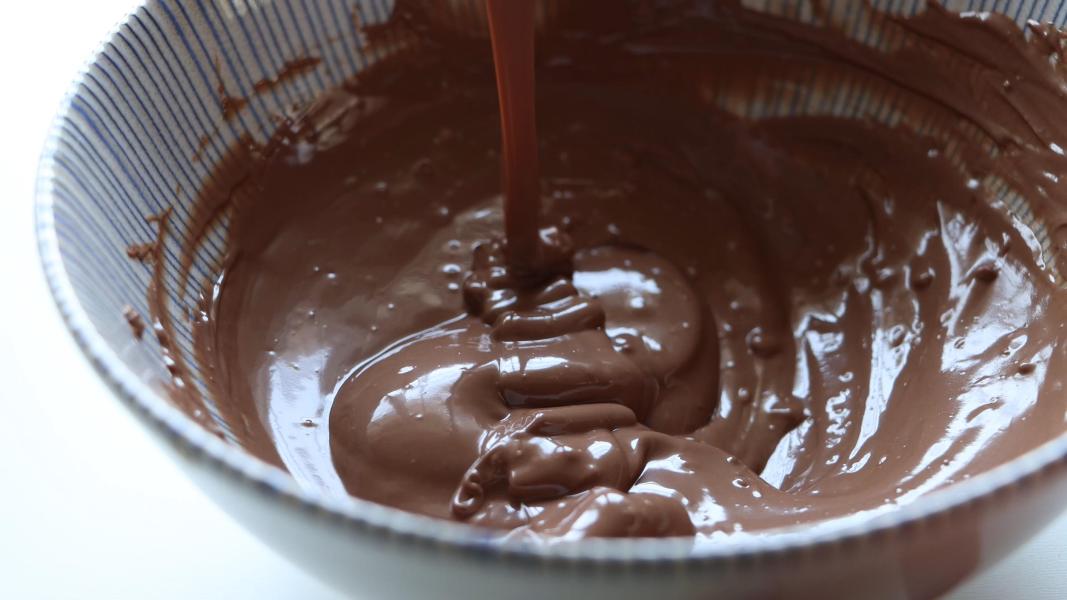
    Melt chopped chocolate using a double boiler or microwave until smooth.

    Transfer the melted chocolate to a large bowl.

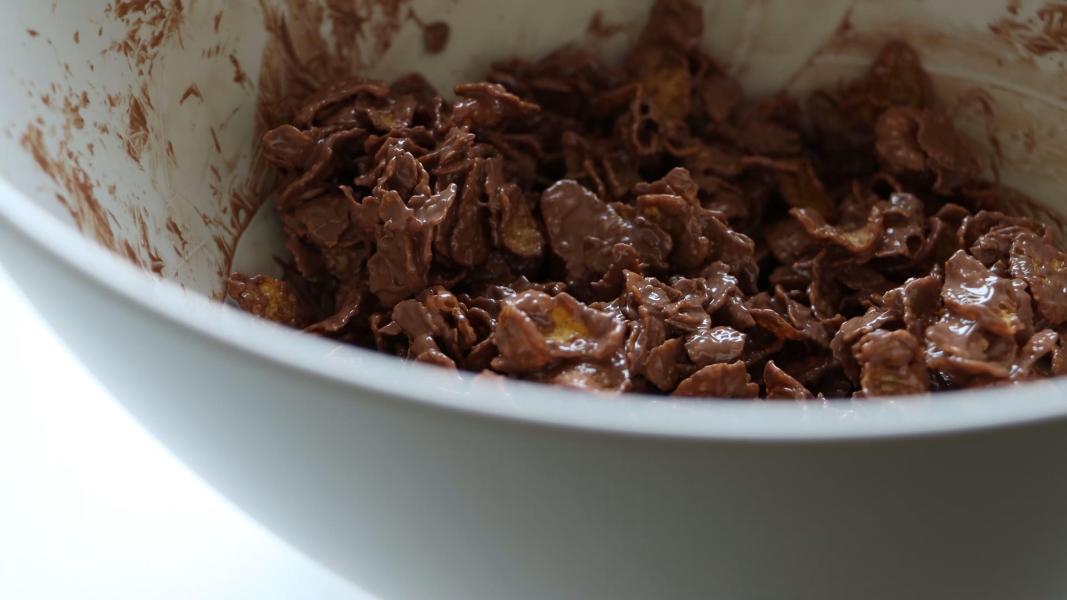
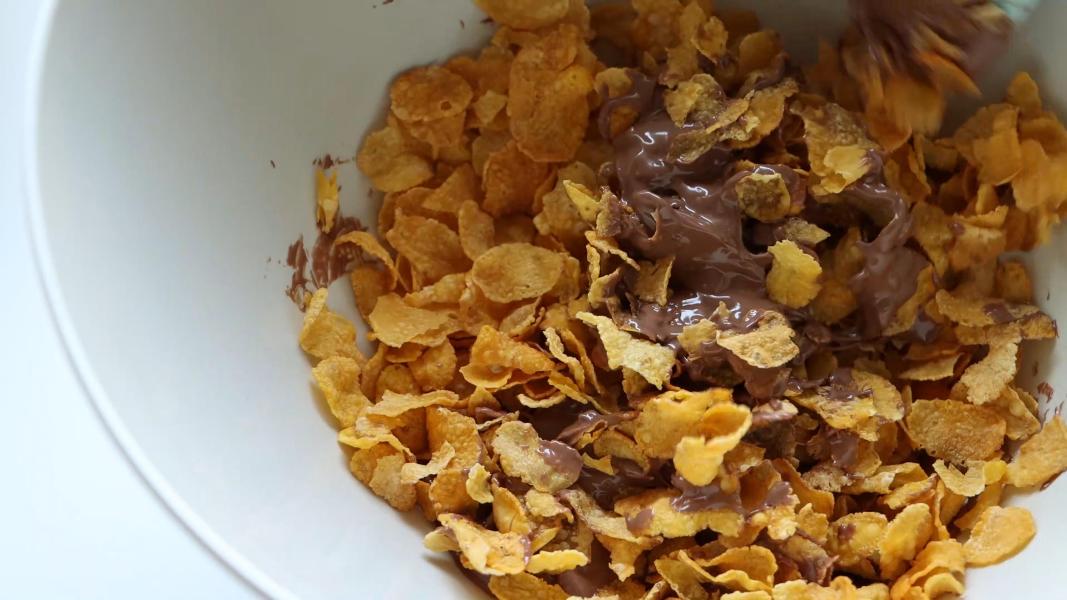
    Add in cornflakes and mix well with a wooden spoon or spatula.

    Make sure the chocolate is coated evenly.

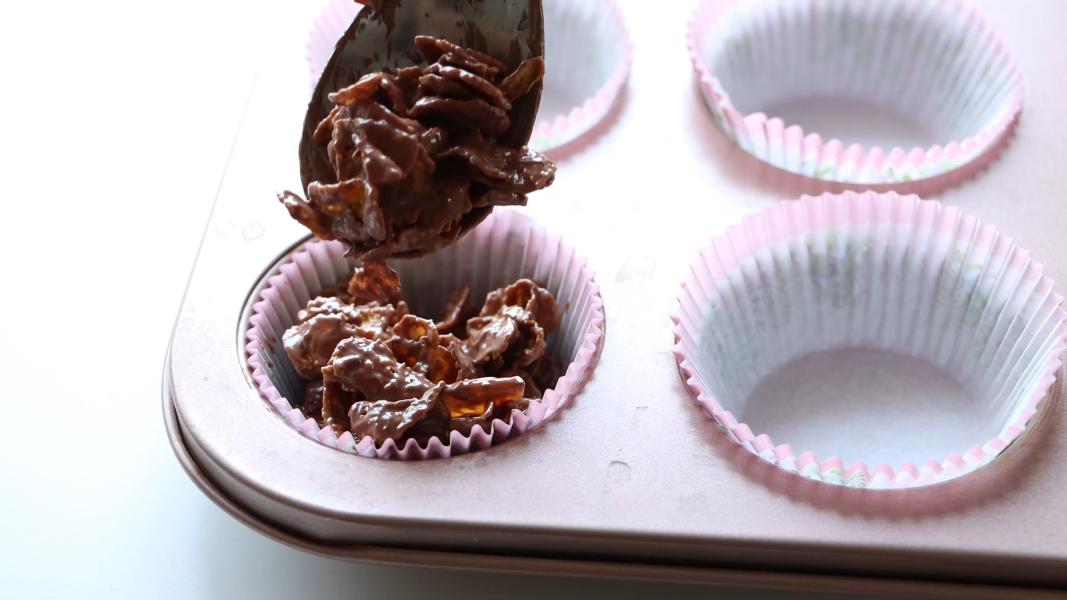
    Take a tablespoon of mixture at a time and fill the muffin cases. You can also use a cookie scoop.

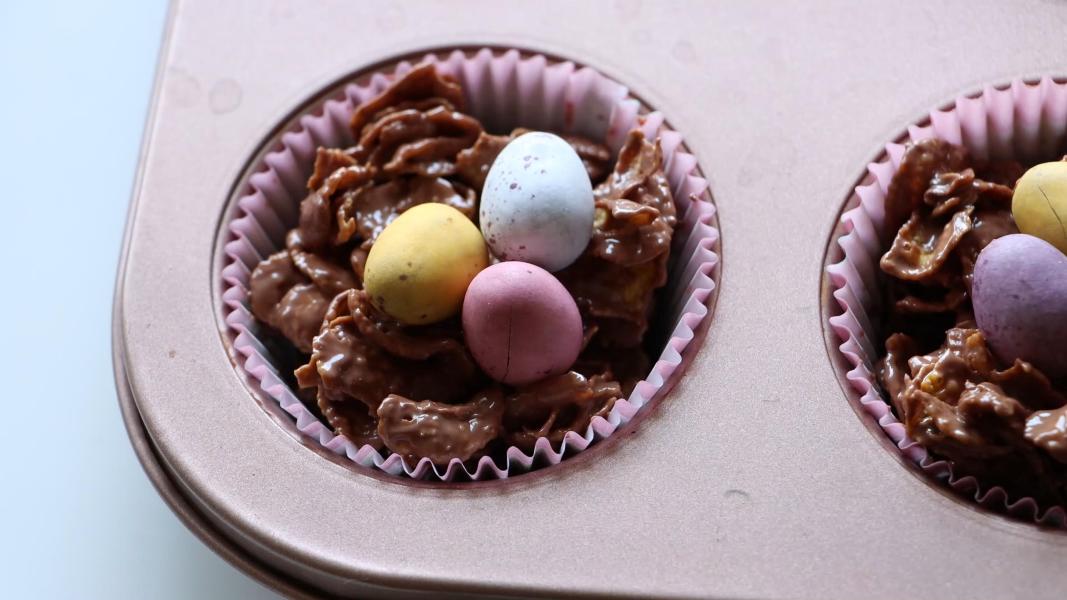
    Make a small indent and put mini eggs in the centre of each nest. Place it in the refrigerator for at least 30 minutes, or until they are set.

    Serve and enjoy!

    Few more dessert recipes:

    • Thandai Sheera
    • Mango Ladoo
    • Avalanche Cookies
    • Coconut Ice
    • Red Hot Cinnamon Apples
    • Buckeyes
    • Oreo Bark
    • Dutch Coffee Pudding

    Cornflake easter nests recipe video below:

    Print Recipe

    Cornflakes Chocolate Nests

    Cornflakes Chocolate Nests - Easy, delicious, crunchy and perfect Easter treat made with simple ingredients!
    Prep Time15 minutes mins
    Cook Time0 minutes mins
    Chilling Time30 minutes mins
    Total Time45 minutes mins
    Course: Dessert, Snack
    Cuisine: British
    Keyword: cornflakes chocolate nests, easter recipes
    Servings: 8
    Calories: 60kcal
    Author: Hari Chandana Ponnaluri

    Ingredients

    • 1 Cup Milk Chocolate
    • 2 Cups Cornflakes Cereal
    • 24 Pieces Chocolate Mini Eggs

    Instructions

    • Line a muffin pan or silicon molds with muffin liners and keep it aside until use.
    • Melt chocolate using a double boiler or microwave until smooth.
    • Transfer the melted chocolate to a large bowl.
    • Add in cornflakes and mix well with a wooden spoon or spatula.
    • Make sure the chocolate is coated evenly.
    • Take a tablespoon of mixture at a time and fill the muffin cases. You can also use a cookie scoop.
    • Make a small indent and put mini eggs in the centre of each nest. Place it in the refrigerator for at least 30 minutes, or until they are set.
    • Serve and enjoy!

    Video

    Nutrition

    Calories: 60kcal | Carbohydrates: 11g | Protein: 2g | Fat: 1g | Saturated Fat: 1g | Polyunsaturated Fat: 0.03g | Monounsaturated Fat: 0.1g | Cholesterol: 2mg | Sodium: 74mg | Potassium: 66mg | Fiber: 0.3g | Sugar: 5g | Vitamin A: 194IU | Vitamin C: 2mg | Calcium: 47mg | Iron: 2mg

    Thandai Sheera

    March 25, 2024

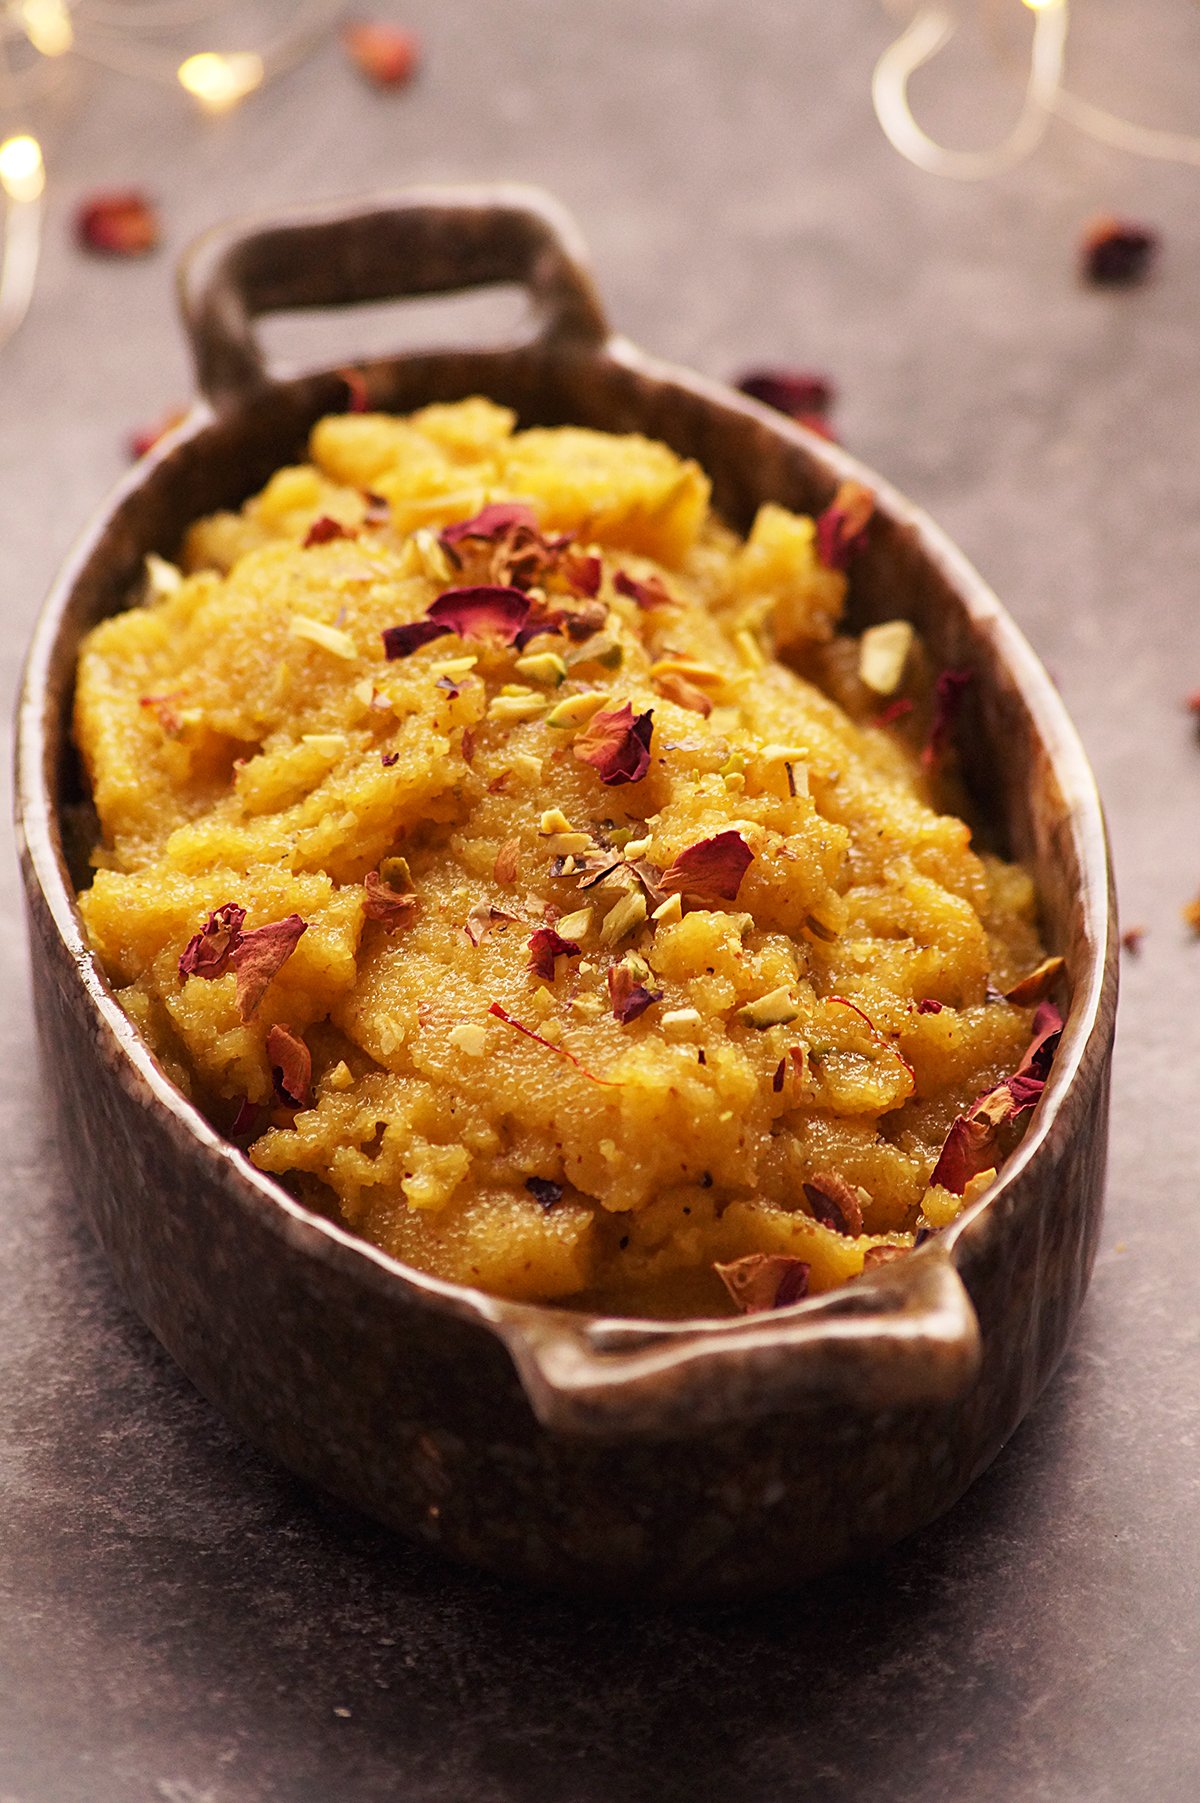
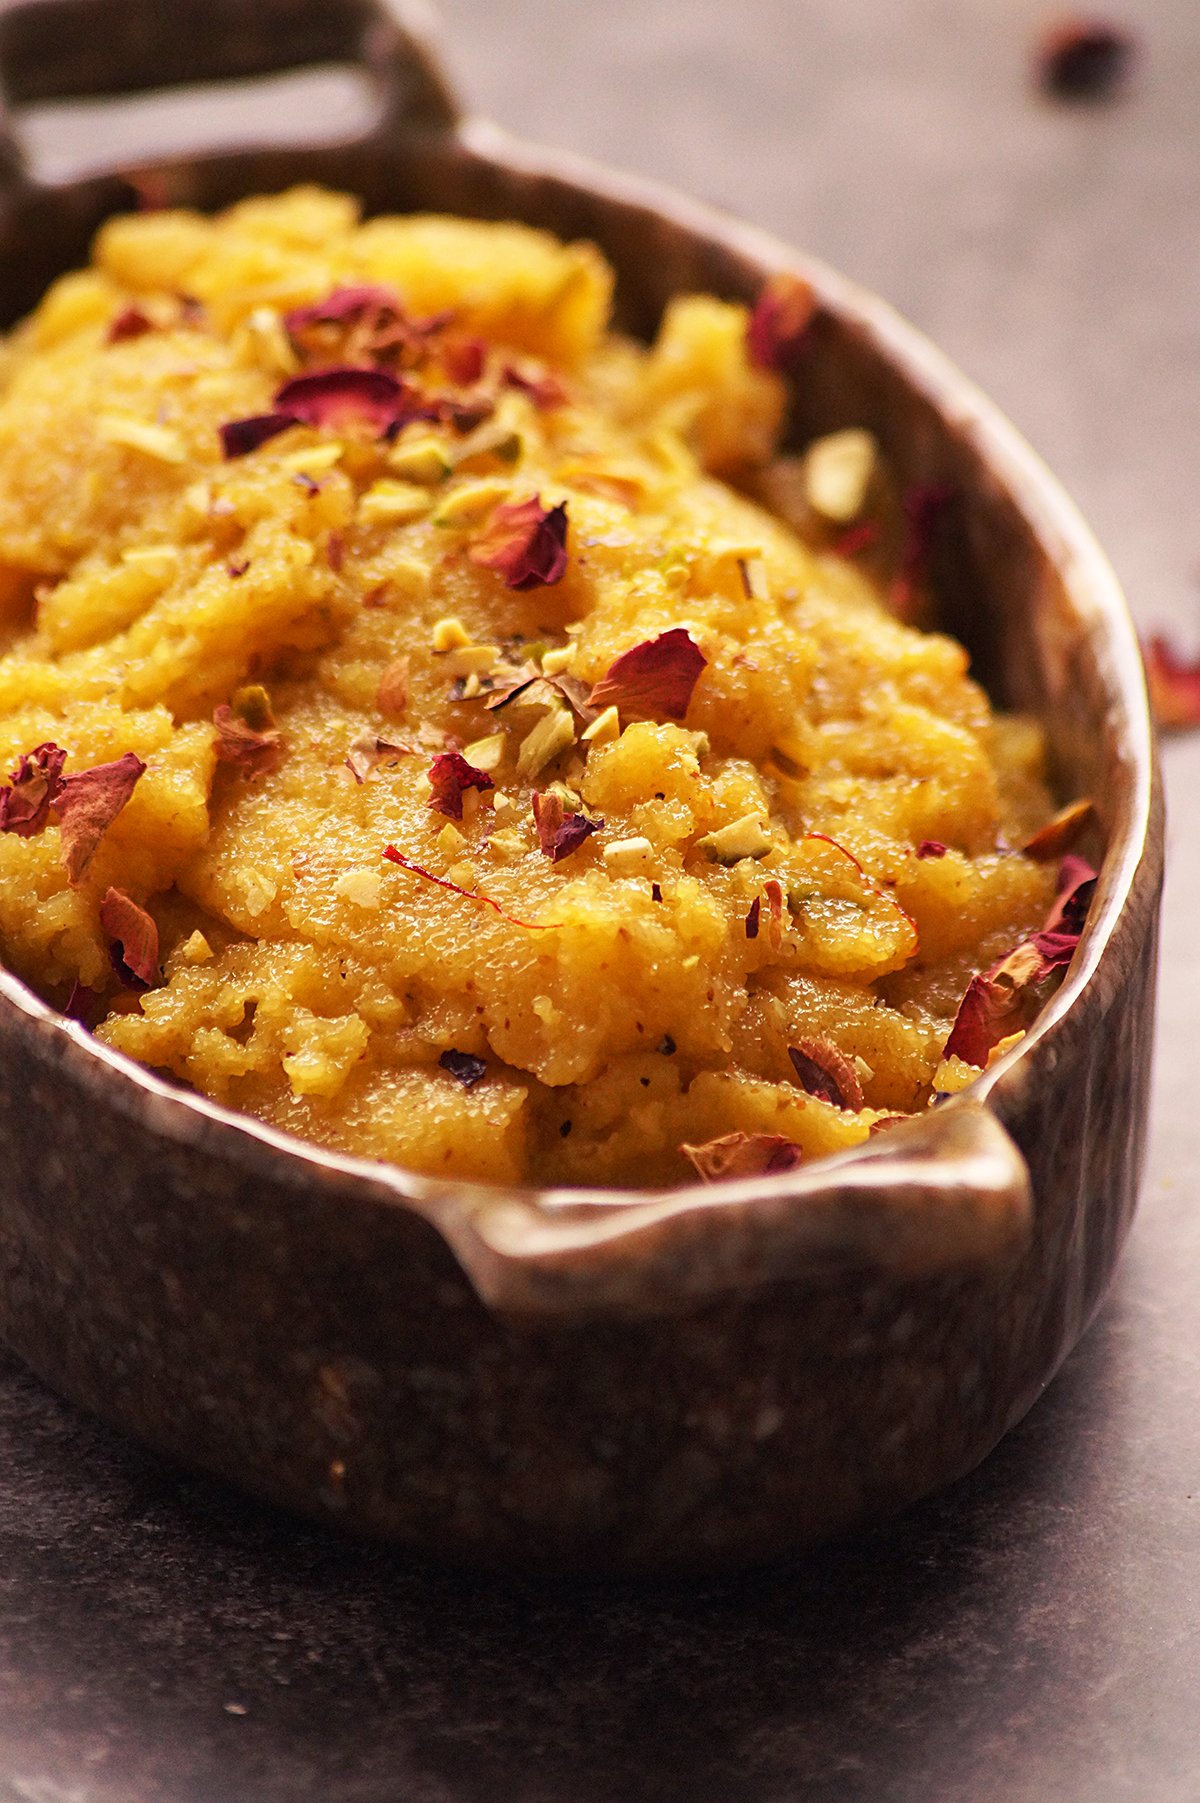
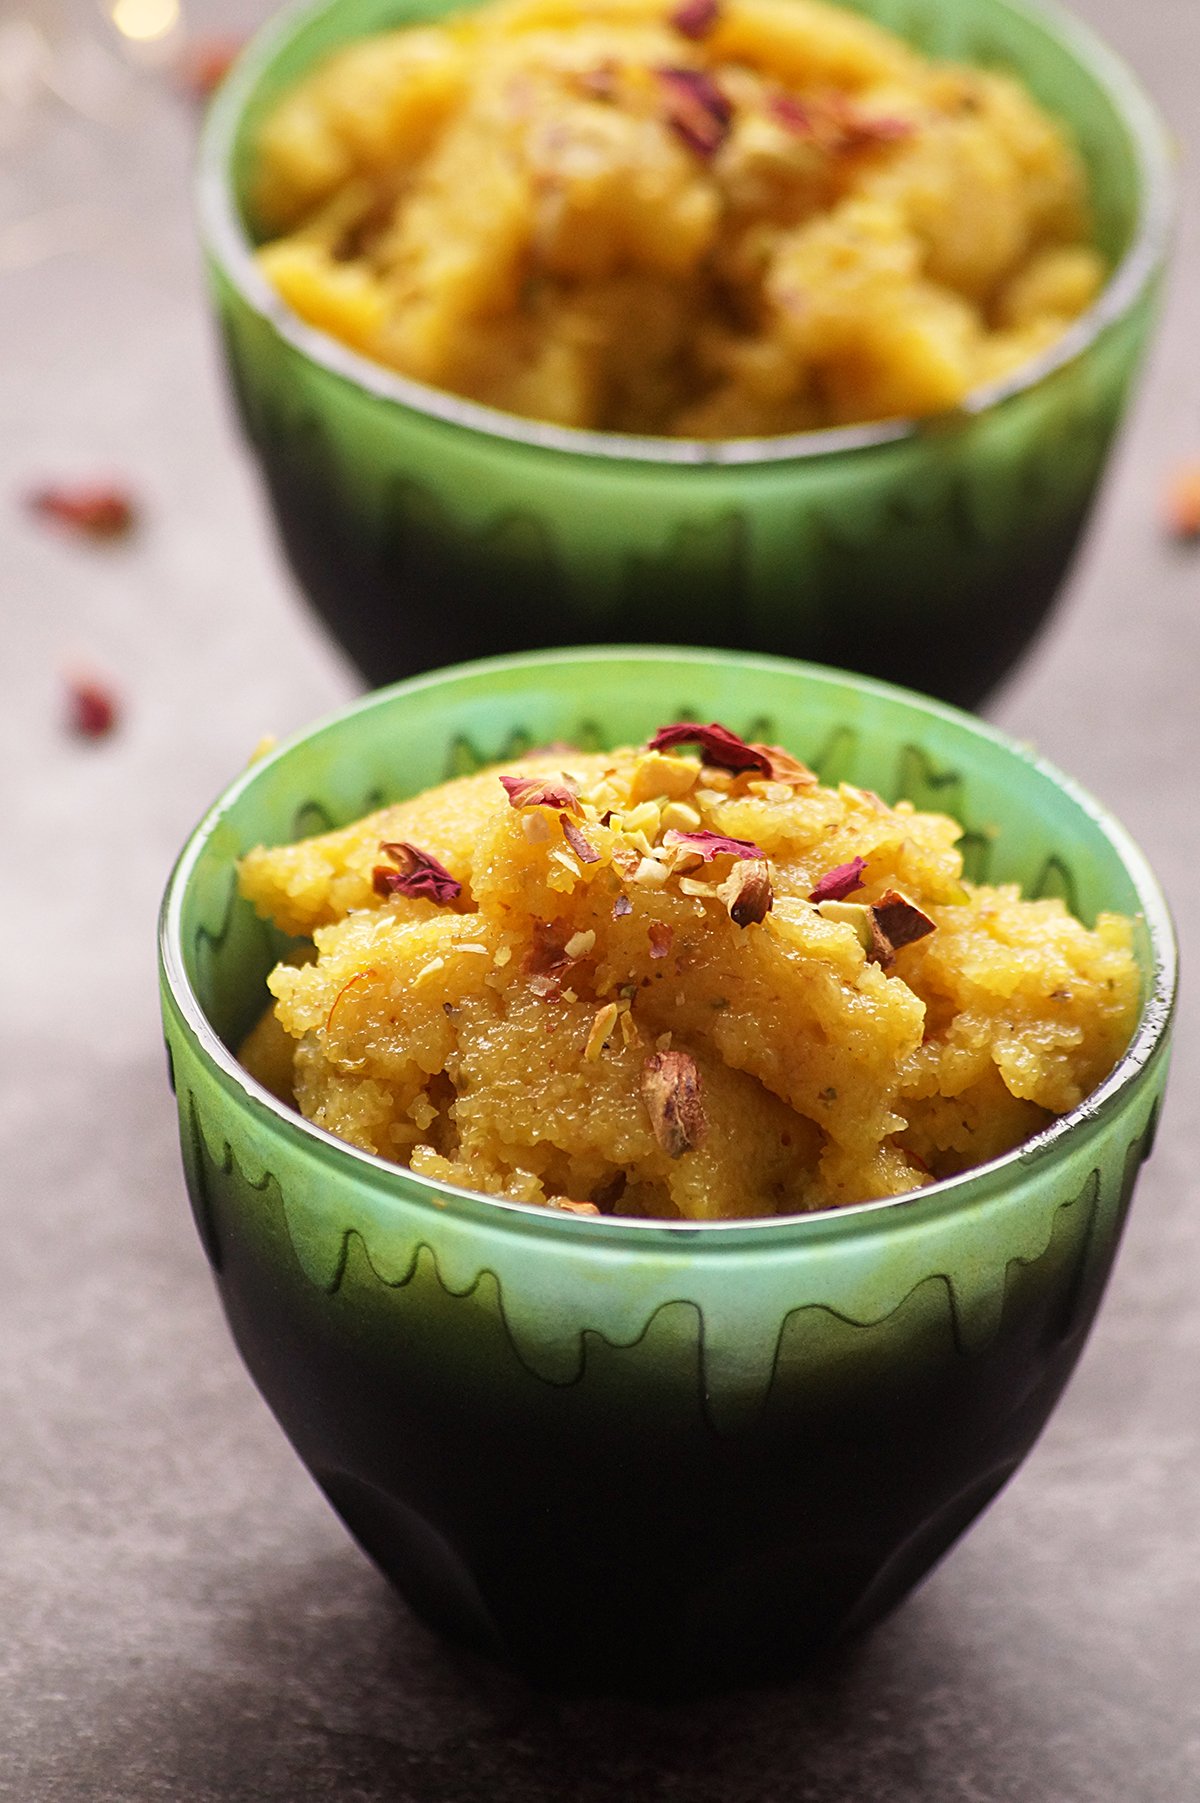
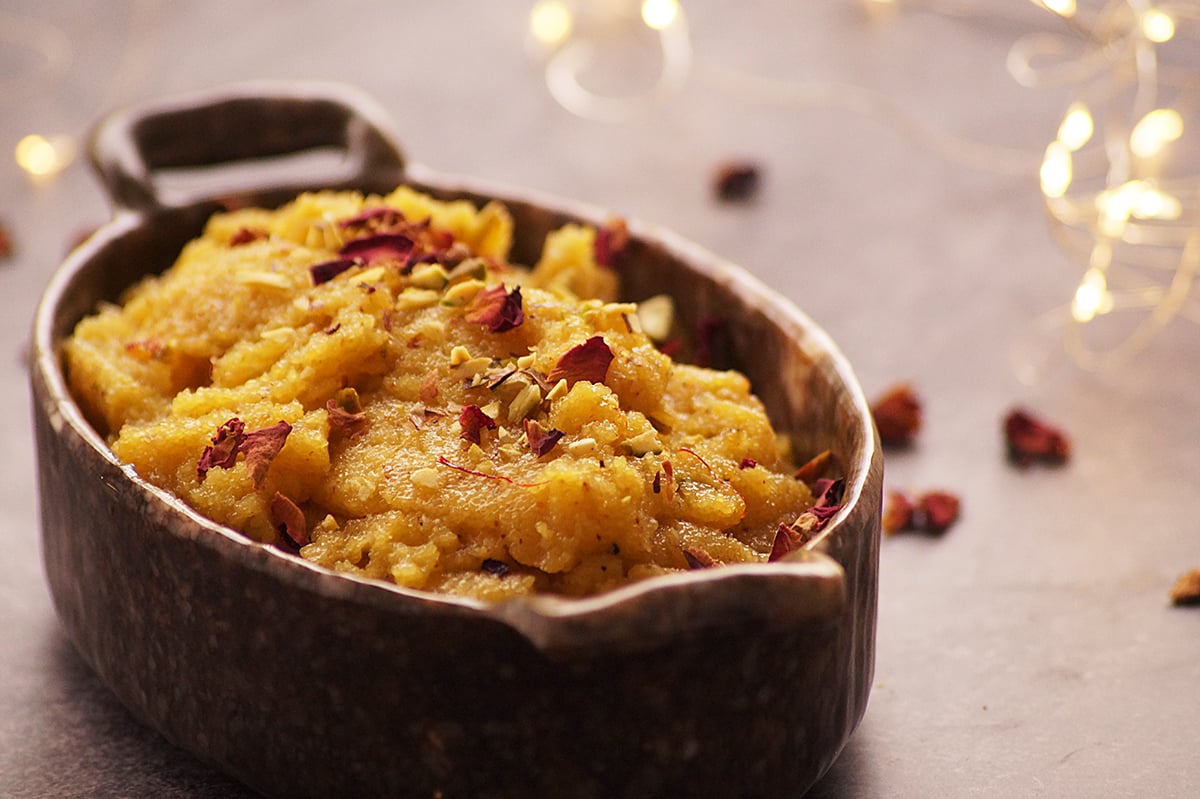
    Thandai Sheera - A classic and simple Indian sooji ka halwa or semolina pudding with aromatic thandai spice mix. It is a perfect festive treat that combines the richness of sheera with refreshing flavors of thandai.

    What is thandai?

    Thandai is an authentic and popular North Indian milk-based cold drink. It is a rich and healthy traditional drink and is often made during festivals such as Holi and Maha Shivratri. I have already posted a traditional thandai recipe on the blog, it requires soaking and grinding the nuts and spices and it is a bit of time taking. When we don't have much time, we can easily make thandai drink or any fusion thandai flavored dishes using the homemade or store-bought thandai powder.

    What is thandai sheera?

    Thandai sheera is a unique Indian dessert or halwa made with semolina, thandai masala, ghee, cardamom and nuts.. Thandai flavored desserts are usually served during the Holi festival but they can also be served on any occasion. I gave a unique twist to the classic Indian sooji ka halwa or rava kesari by adding thandai powder which is a traditional spice blend made with nuts and spices. It can be made under 15 minutes.

    Why you'll love this recipe:

    It can be made under 15 minutes with a handful of ingredients.

    Perfect for festivals such as Holi, Ganesh Chaturthi and Shivaratri.

    It is rich, delicious and has unique flavor combination.

    Ingredients & Substitutions:

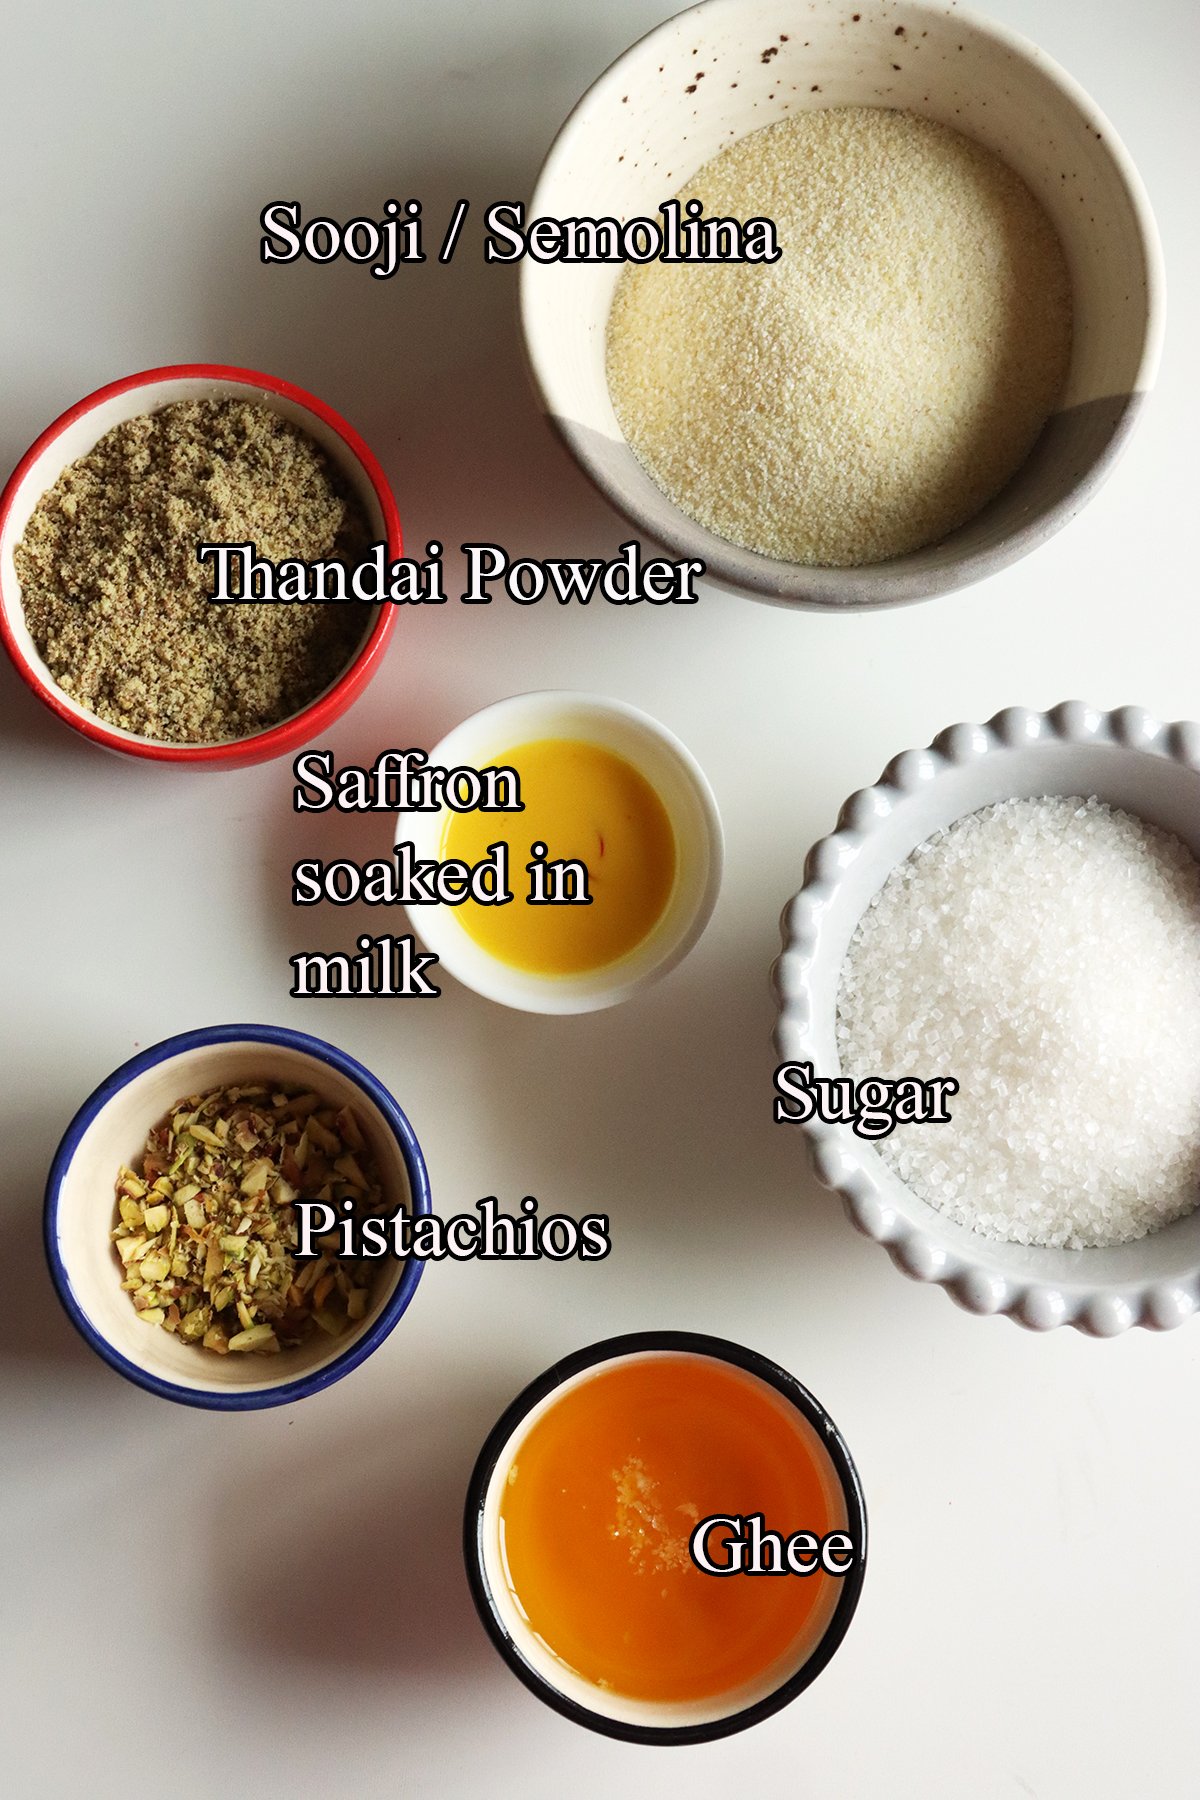
    Semolina - It is also known as sooji or rava. Use fine semolina for better texture.

    Thandai Masala - It is a classic Indian spice blend made with nuts, seeds, spices and rose petals. It adds a unique and rich taste and flavor to the halwa. You can use homemade or store-bought thandai mix.

    Sugar - You can use white or brown sugar in this recipe. The color of the dish will depend on the sugar you use.

    Saffron - Adds a nice yellow color and flavor to the halwa. You can skip if you want.

    Pistachios - You can use any of your favorite nuts. I used pistachios here.

    Ghee - Ghee is clarified butter. You can get it from any Indian store.

    Serving suggestions:

    It tastes good when served warm, chilled or at room temperature. Serve it as a dessert and can be a great addition to your festive dessert platter. You can also shape the sheera using moulds for better presentation. Sprinkle nuts or add edible silver foil on top to add a festive touch.

    Storage suggestions:

    It can be stored in an airtight container in the refrigerator for up to 3 days. Reheat it in the microwave before serving if needed.

    Tips & Notes:

    Keep stirring while roasting rava to prevent it from burning. Roasting it in ghee until light golden brown and aromatic will enhance the flavor of the sheera.

    Make sure you are using good quality ingredients, especially for the thandai powder. It enhances the flavor and taste.

    The water ratio is very important to get the perfect consistency.

    Add more thandai masala if you want a stronger flavor.

    Adjust the sugar quantity according to your taste preference.

    I haven't added green cardamom powder since the spice the has it.

    You can also add ghee roasted cashews, almonds and raisins.

    Step by step instructions:

    Soak a pinch of saffron in one tablespoon of warm milk or little water and keep it aside until use.

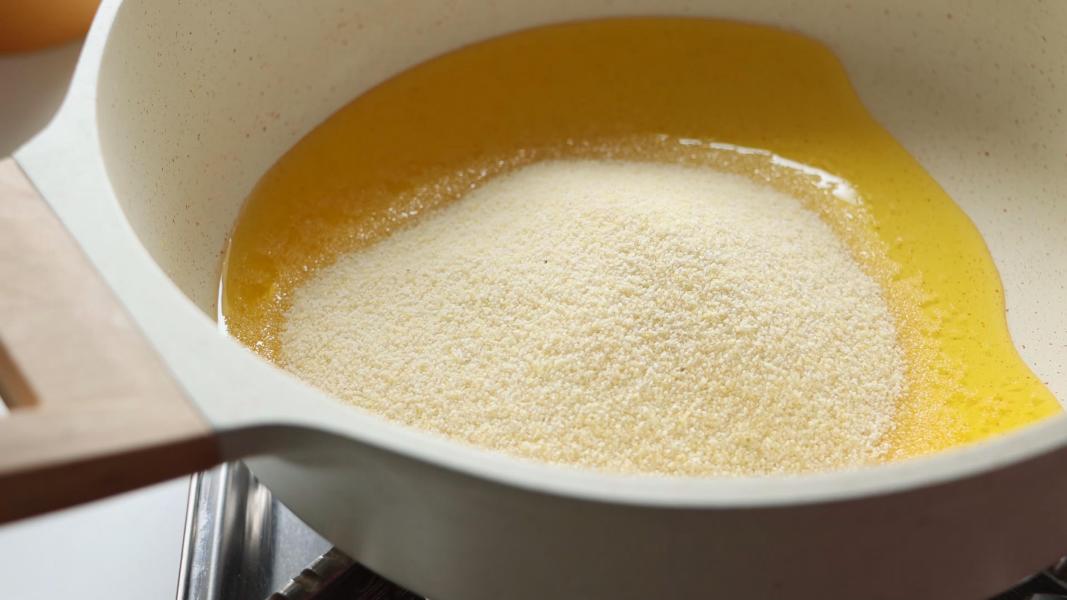
    Heat ghee in a heavy bottomed pan and add rava or semolina.

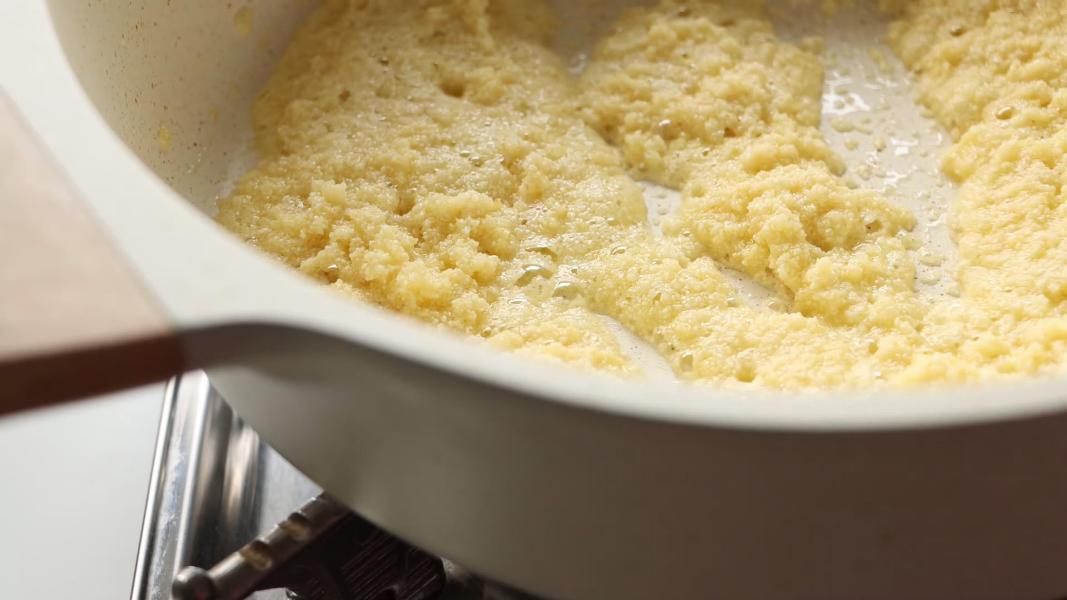
    Keep stirring and roast rava on low flame until light golden brown color.

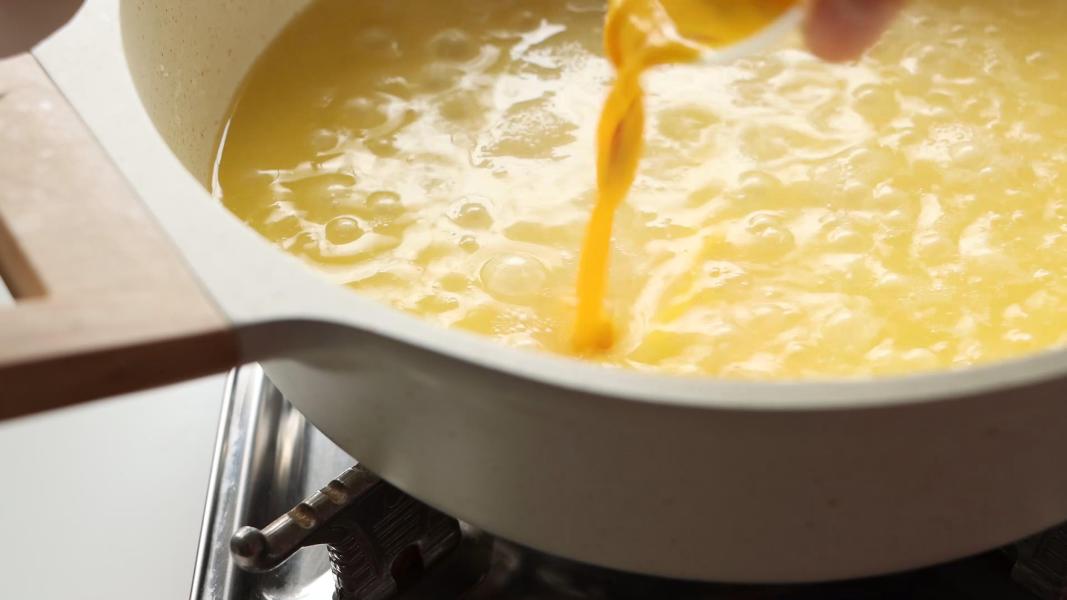
    When the rava is roasted, pour hot water and saffron milk.

    Mix everything until well combined.

    Cover the pan with a lid and continue cooking for 3-4 minutes over a low heat.

    Once it is soft and cooked, give it a mix.

    Add sugar and thandai powder and mix well. Keep stirring and cook for a couple of minutes.

    Add another tablespoon of ghee on top if needed. Mix well.

    Add chopped pistachios or any of your favorite nuts on top. Serve and enjoy!

    You might love these recipes:

    • Custard Gulab Jamun
    • Gulab Jamun Turnovers
    • Makhane Ki Kheer
    • Sabudana Kheer
    • Dodha Burfi
    • Chocolate Mawa Burfi
    • Mango Coconut Ladoo
    • Coconut Ice

    How to make thandai sheera recipe video below:

    Print Recipe

    Thandai Sheera

    Thandai Sheera - A classic and simple Indian sooji ka halwa or semolina pudding with aromatic thandai spice mix. It is a perfect festive treat that combines the richness of sheera with refreshing flavors of thandai.
    Prep Time0 minutes mins
    Cook Time15 minutes mins
    Total Time15 minutes mins
    Course: Dessert, Snack
    Cuisine: Indian, North Indian
    Keyword: easy indian desserts, fusion indian desserts, holi recipes, thandai recipes, thandai sheera recipe
    Servings: 4
    Author: Hari Chandana Ponnaluri

    Ingredients

    • ¼ Cup Ghee (Clarified Butter)
    • ½ Cup Sooji / Semolina
    • 1.5 Cups Water
    • A Pinch of Saffron
    • 1 Tablespoon Milk
    • ½ Cup Sugar
    • 2-3 Tablespoons Thandai Powder
    • 2 Tablespoons Chopped Pistachios

    Instructions

    • Soak a pinch of saffron in one tablespoon of warm milk and set aside.
    • Heat ghee in a heavy bottomed pan and add rava or semolina.
    • Keep stirring and roast rava on low flame until light golden brown color.
    • When the rava is roasted, pour hot water and saffron milk.
    • Mix everything until well combined.
    • Cover the pan with a lid and continue cooking for 3-4 minutes over a low heat.
    • Once it is soft and cooked, give it a mix.
    • Add sugar and thandai powder and mix well. Keep stirring and cook for a couple of minutes.
    • Add another tablespoon of ghee on top if needed. Mix well.
    • Add chopped pistachios or any of your favorite nuts on top. Serve and enjoy!

    Video

    Mango Coconut Ladoo

    March 24, 2024

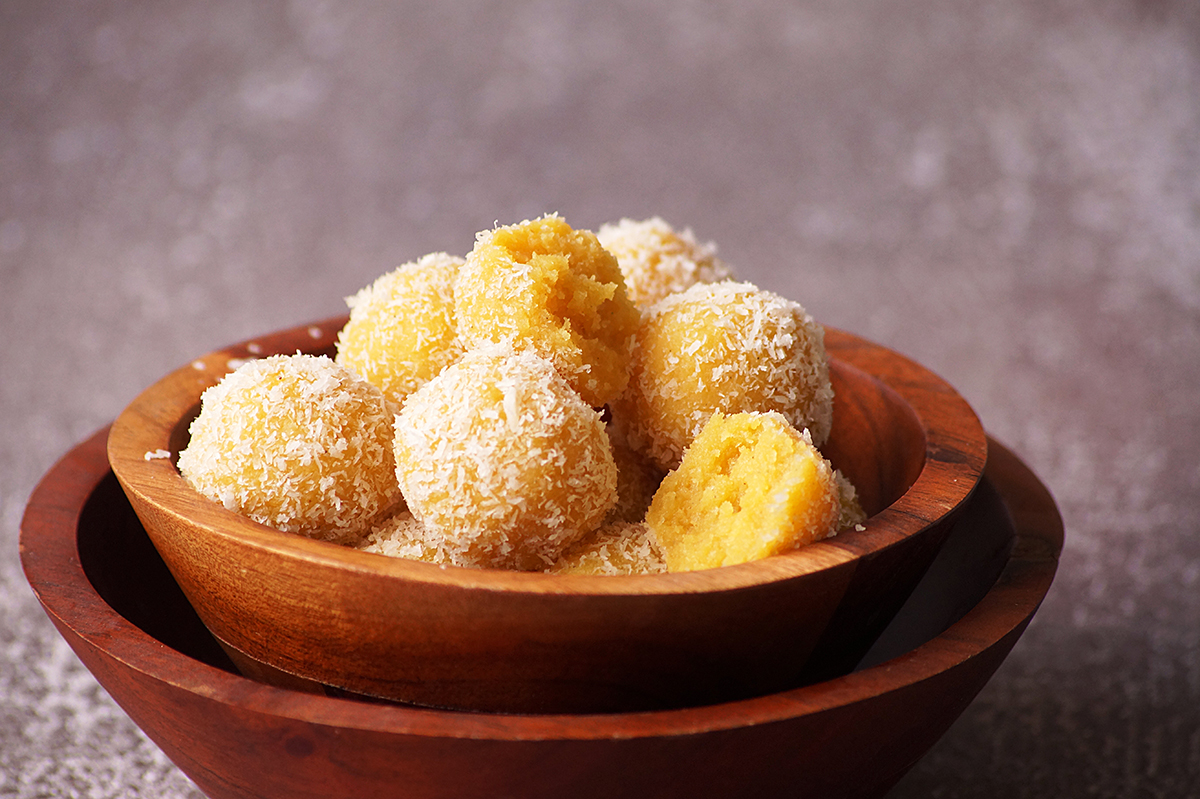
    Instant Mango Coconut Ladoo - Simple, quick, flavorful and delicious mango coconut ladoo made with desiccated coconut, ripe mango pulp and sweetened condensed milk. These laddus are one of the easy Indian desserts and perfect for any occasion.

    What is mango coconut ladoo?

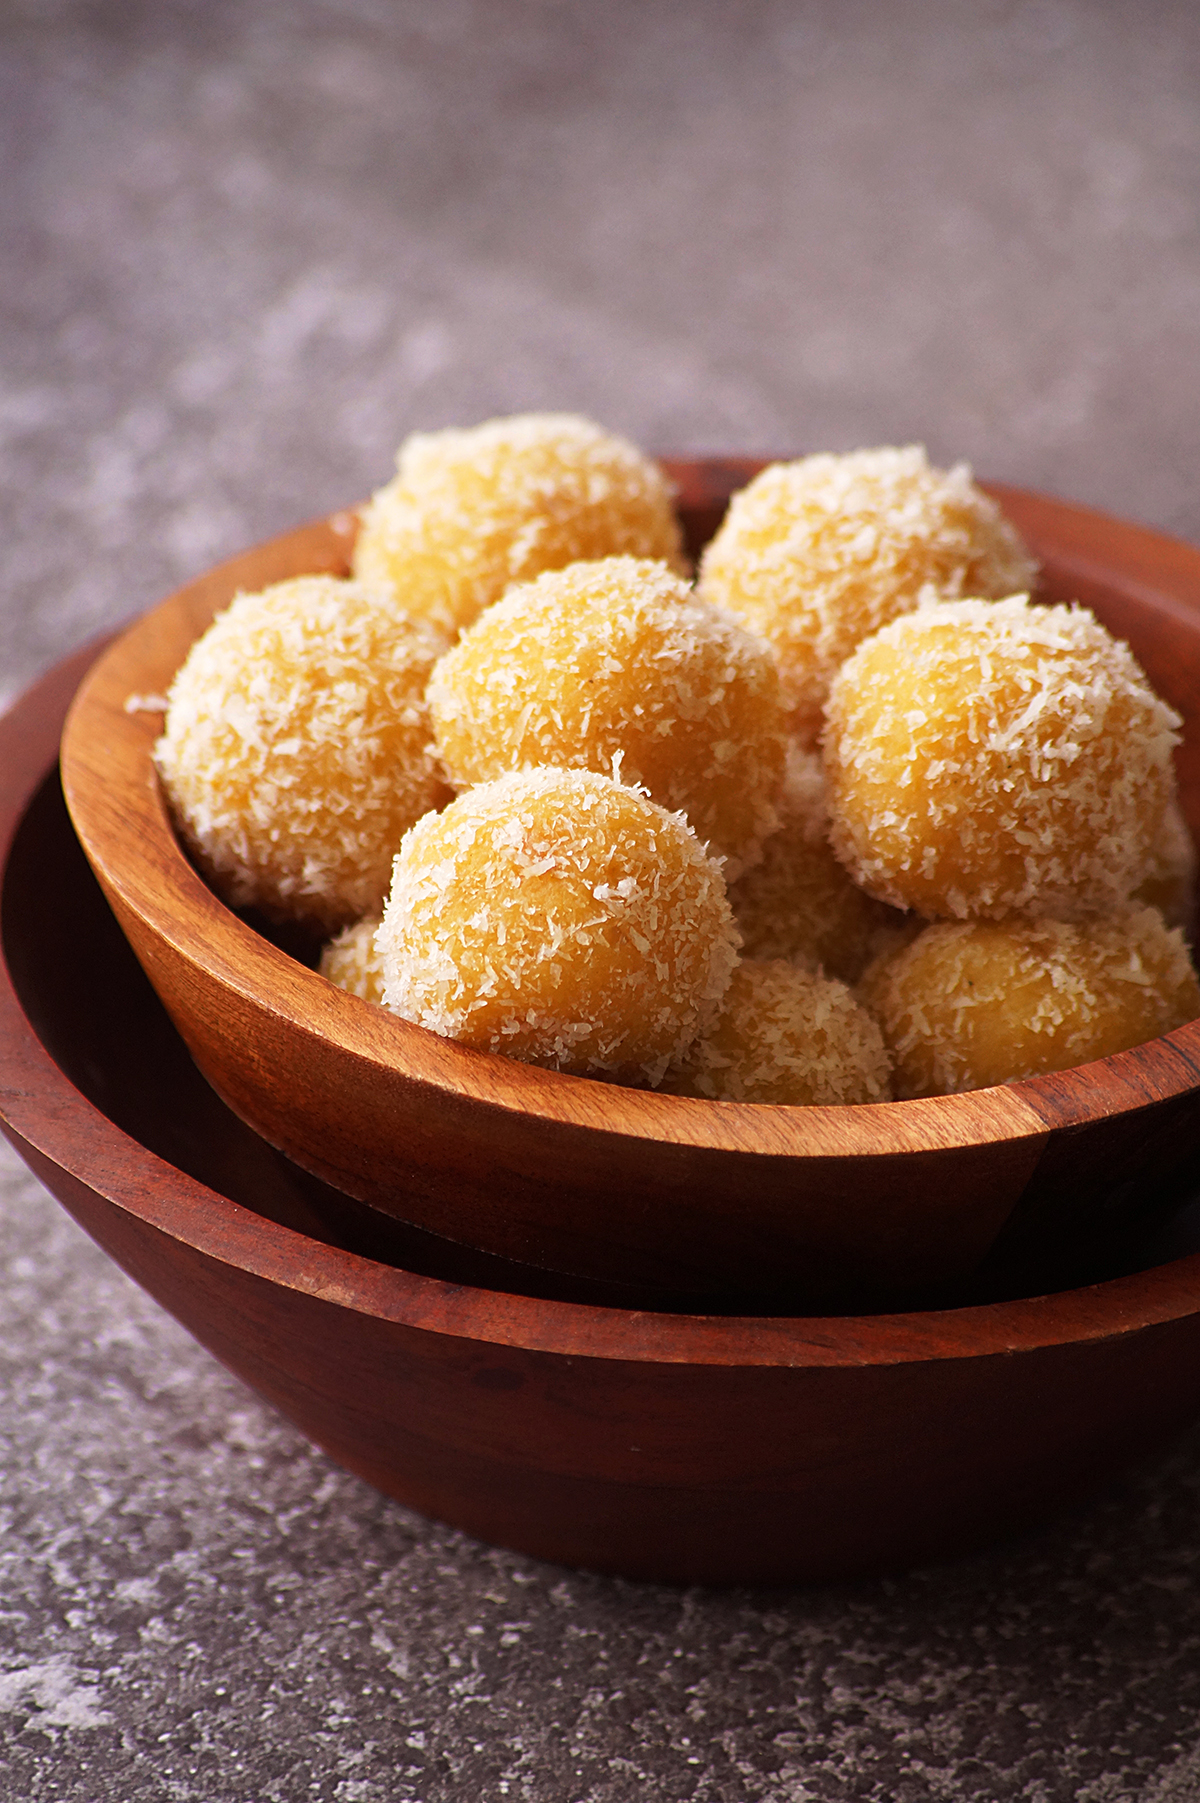
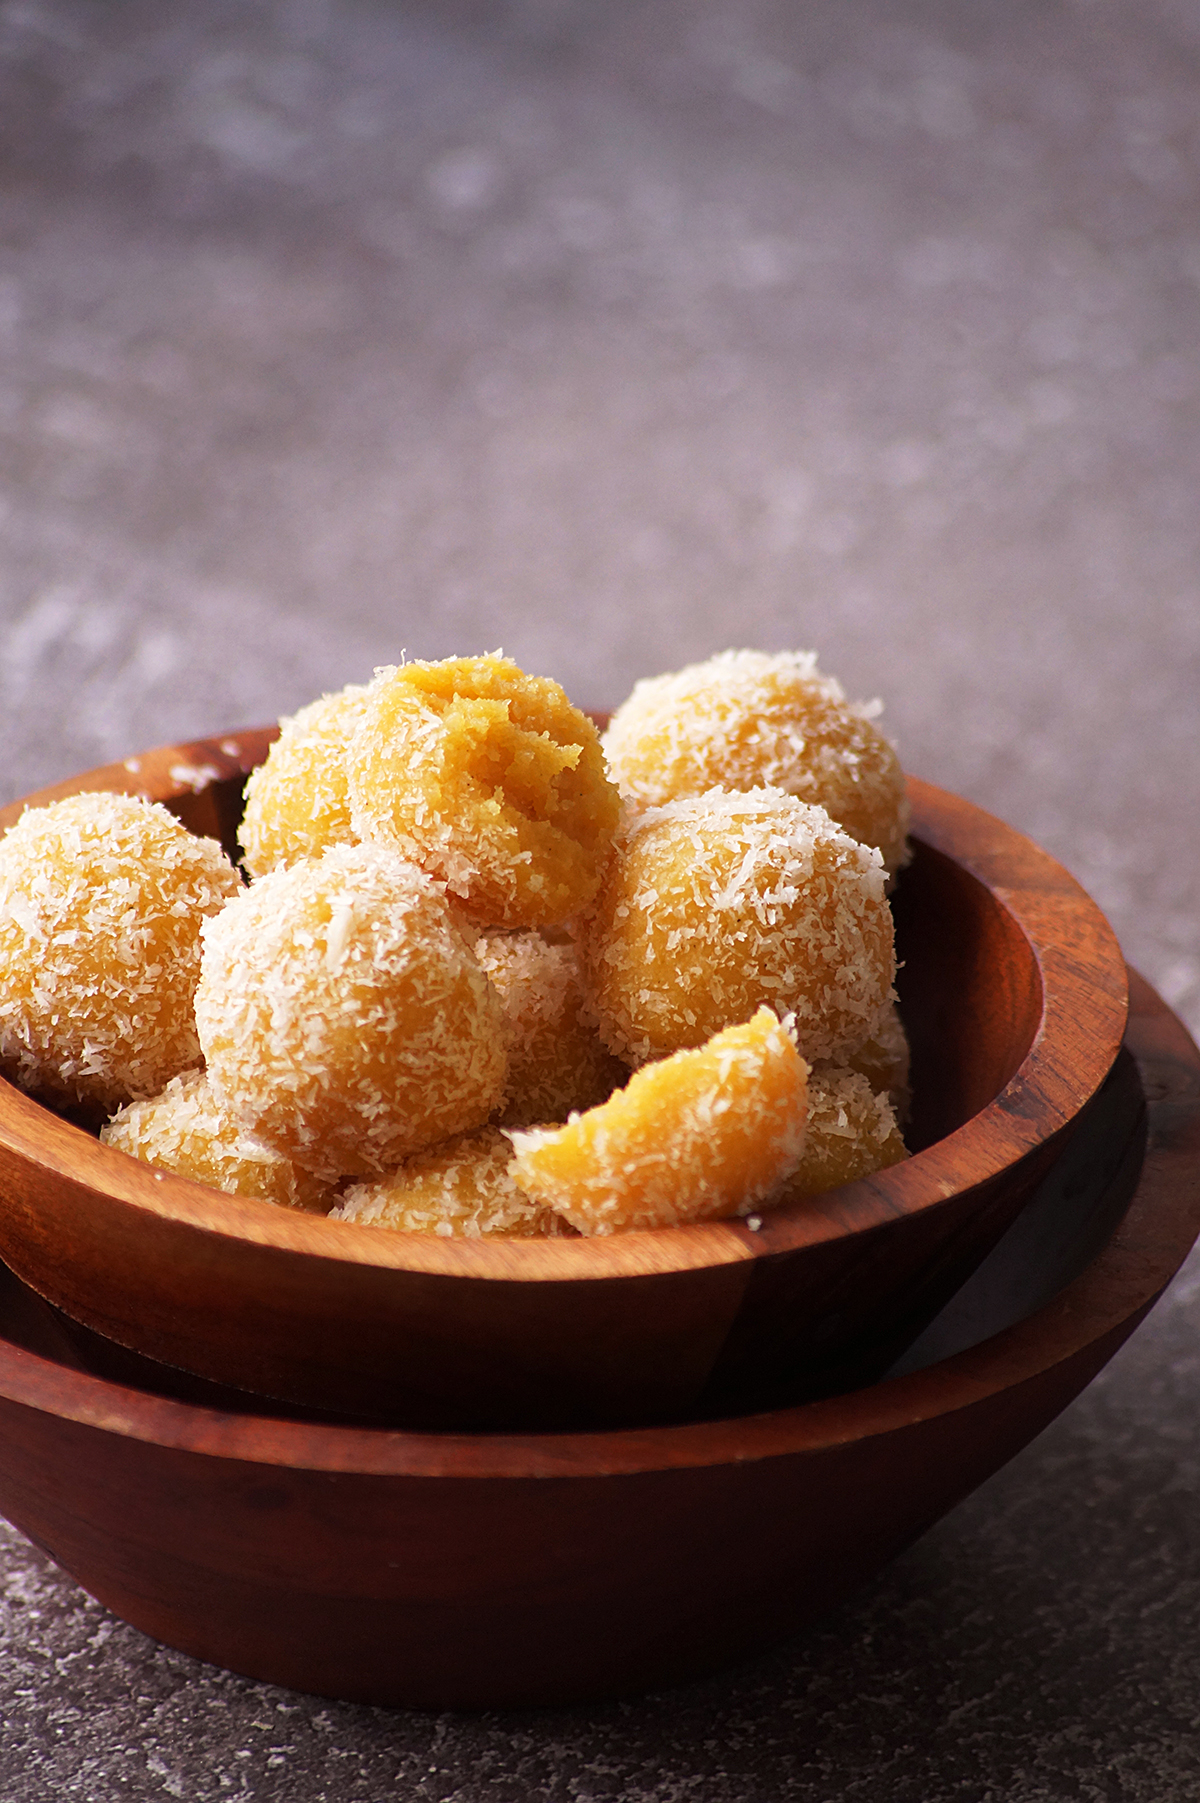
    Mango coconut ladoo is a simple dessert or Indian sweet made by cooking the fresh mango, desiccated coconut, sweetened condensed milk, saffron and cardamom together until it thickens. It is then shaped into small balls or laddus and rolled in coconut. It is one of the easy and delicious mango recipes to try during the mango season.

    Why you'll love this recipe:

    Simple dessert that can be made in 20 minutes with easily available ingredients

    A perfect sweet recipe for any occasion!

    Rich, delicious and perfect for gifting as well!

    Ingredients & Substitutions:

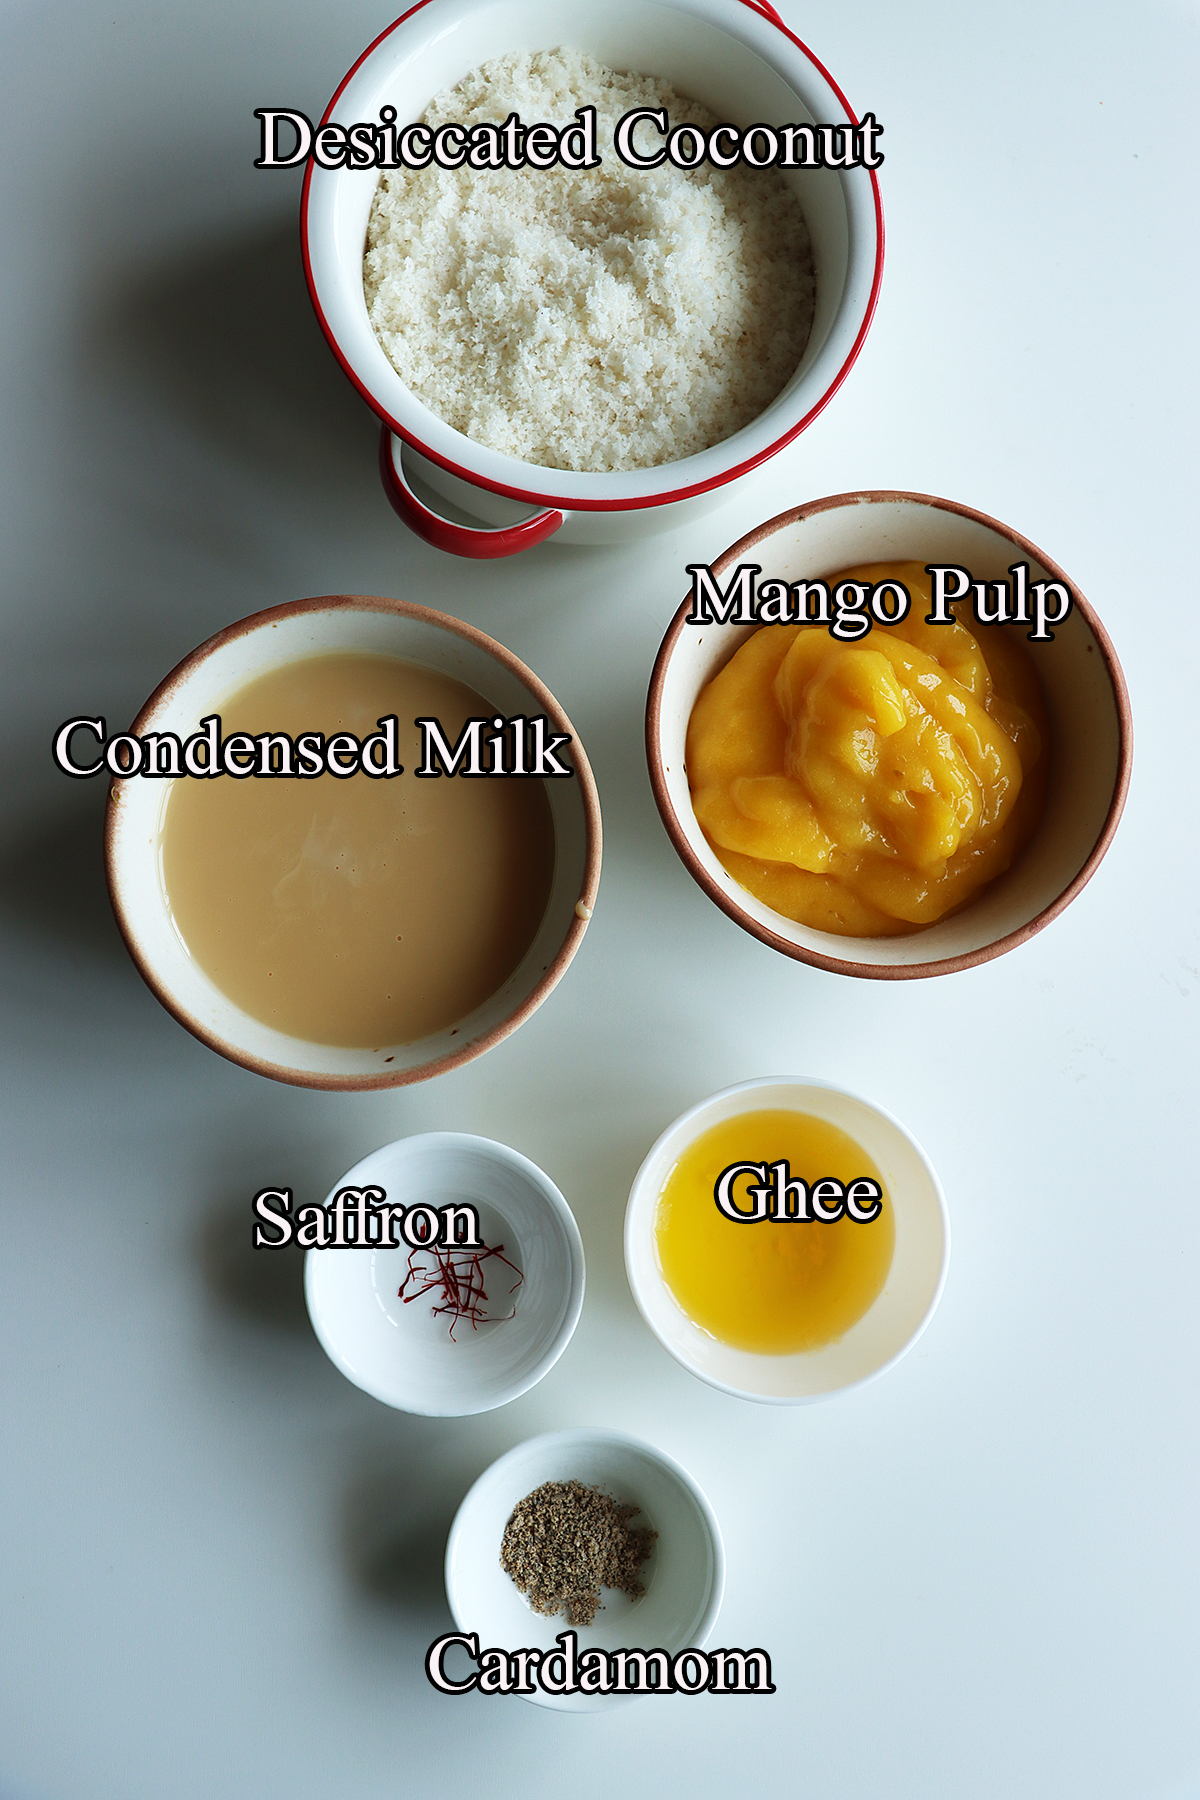
    Desiccated Coconut - Finely shredded and unsweetened desiccated coconut is the base of the laddus. It adds a flavor and texture. You can replace it with fresh shredded coconut. But make sure you saute it for couple of minutes to get rid of moisture.

    Mango Pulp - I have used fresh mango puree in this recipe. Choose the sweet and ripe mangoes. You can also substitute it with equal amount of canned mango pulp. However, reduce the condensed milk a bit as canned pulp contains added sugar.

    You can use any variety of mango like kesar mango puree or alphonso mango pulp.

    Condensed Milk - Sweetened condensed milk is the main sweetener in this recipe, it will a rich taste and binds the mixture well.

    Ghee - Ghee is clarified butter. It gives a great flavor and taste to the ladoos. You could also replace it with coconut oil or unsalted butter. If you don't have any of these in hand, skip it and dry roast the coconut.

    Saffron - Totally optional. It gives a lovely aroma and color to the mango ladoo.

    Cardamom Powder - Do not skip adding cardamom. It adds a wonderful flavor to the dish. Use freshly crushed or ground cardamom seeds for a better flavor. You can also use store-bought cardamom powder.

    Serving suggestions:

    Serve them as a sweet snack or dessert. These laddus are a great addition to to your festive celebrations such as Diwali, Holi, Eid or Ganesh Chaturthi.

    Storage suggestions:

    These need refrigeration. Store them in an airtight container in the refrigerator for up to a week.

    Tips & Notes:

    Use a good quality desiccated coconut for the best taste and flavor.

    You can also add some raw or toasted nuts to add a crunch and taste.

    You can decorate the laddus with chopped nuts, rose petals or edible silver foil to add a festive touch.

    Do not overcook the mixture, otherwise they will be chewy.

    When shaping the ladoos, grease your palms with ghee or oil to prevent sticking.

    Step by step instructions:

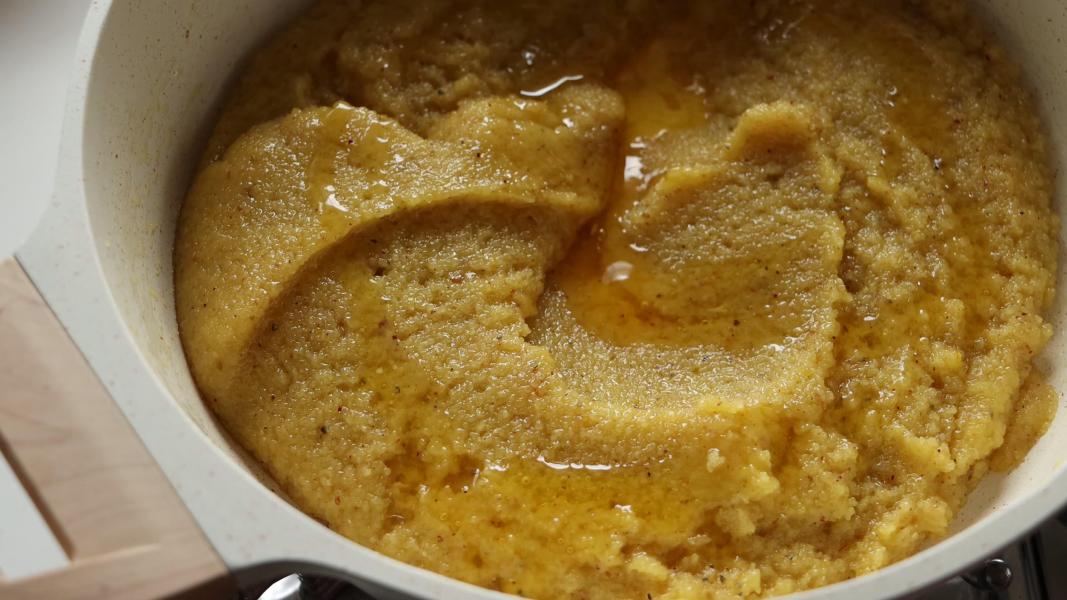
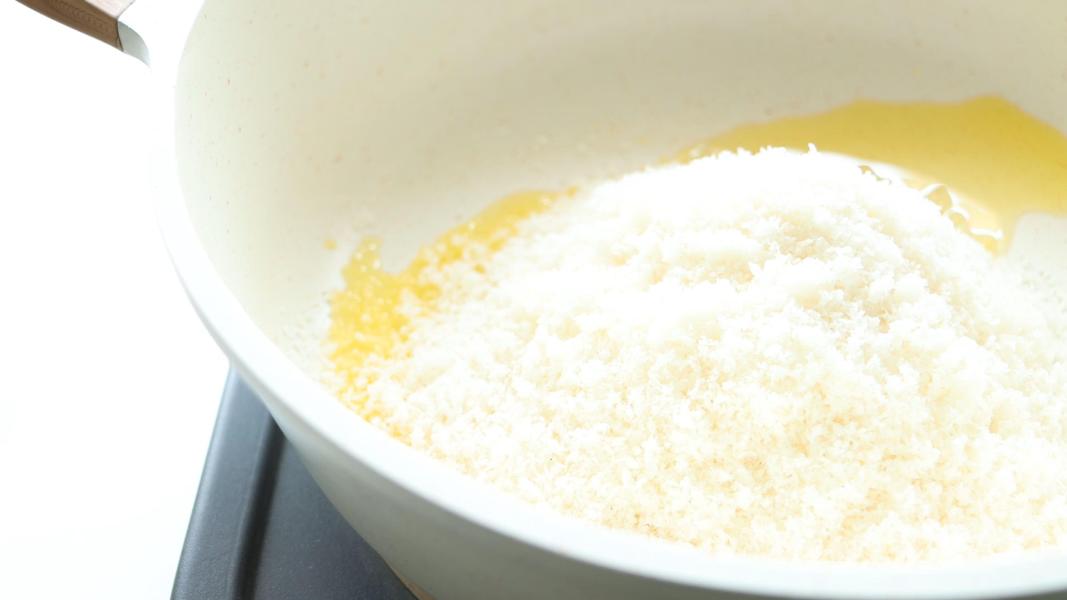
    Heat a tablespoon of ghee in a pan and add desiccated coconut.

    Roast it on a low flame for about 2-3 minutes. Keep stirring continuously to avoid burning.

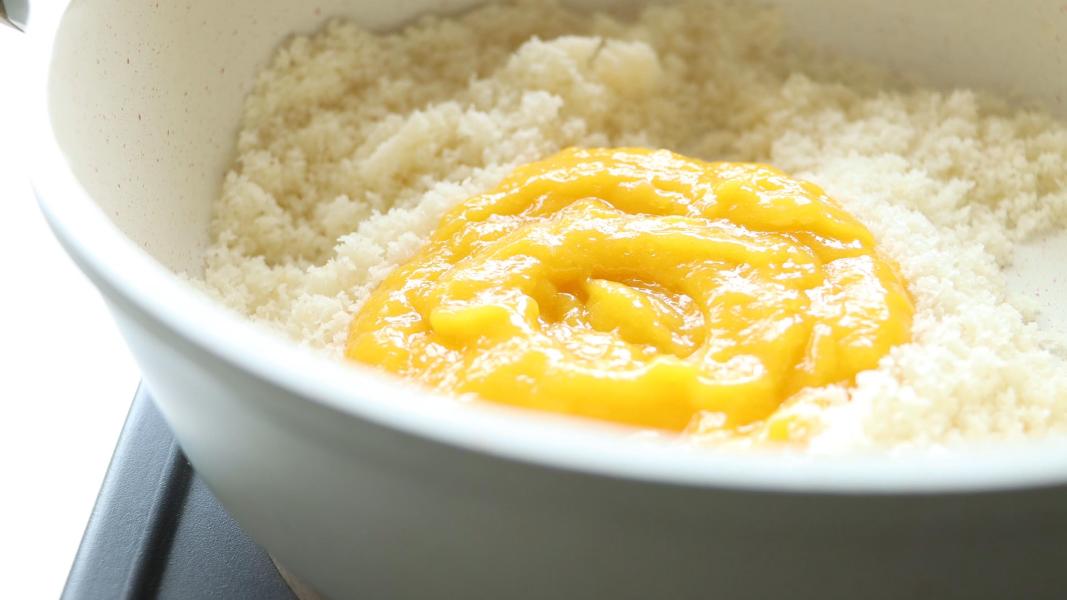
    Once it is roasted, add condensed milk, saffron, mango pulp and condensed milk .

    Keep mixing continuously and cook over a medium heat for 8-10 minutes or until the mixture is thick.

    When it turns into a thick dough, turn off the flame.

    Transfer the cooked mixture to a plate and let it cool down.

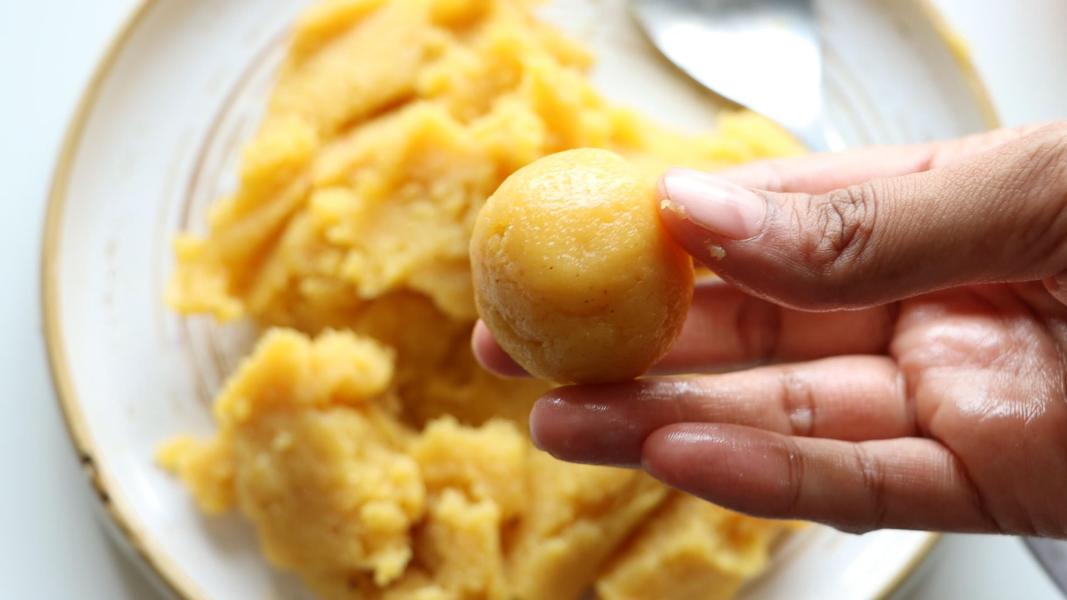
    Take a small portion of the mixture and shape it into a round ball.

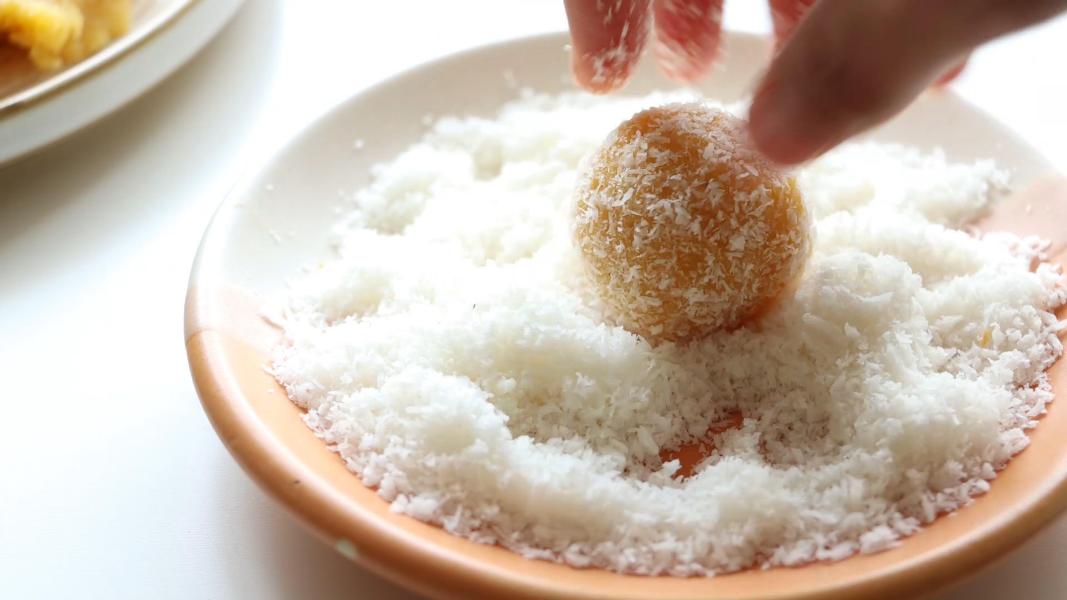
    Roll the shaped laddus in ¼ cup of desiccated coconut.

    Seve and enjoy!

    You might love these recipes:

    • Mango Lassi
    • Rava Ladoo with Condensed Milk
    • Paan Ladoo
    • Thandai White Chocolate Bark
    • Thandai
    • Apple Mawa Kheer
    • Instant Pot Seviyan Kheer

    How to make coconut mango ladoo recipe video below:

    Print Recipe

    Mango Coconut Ladoo

    Instant Mango Coconut Ladoo - Simple, quick, flavorful and delicious mango coconut ladoo made with desiccated coconut, ripe mango pulp and sweetened condensed milk. These mango laddus are one of the easy Indian desserts and perfect for any occasion.
    Prep Time10 minutes mins
    Cook Time10 minutes mins
    Total Time20 minutes mins
    Course: Dessert, Sweet
    Cuisine: Indian
    Keyword: easy diwali sweets, easy indian desserts, indian dessert recipes, Indian Mango Recipes, mango coconut ladoo, mango ladoo, mithai for diwali
    Servings: 12
    Calories: 108kcal
    Author: Hari Chandana Ponnaluri

    Ingredients

    • 1 Tablespoon Ghee
    • 1 Cup Desiccated Coconut (¼ cup extra for rolling)
    • ½ Cup Mango Pulp
    • ½ Cup Condensed Milk
    • A Pinch of Saffron
    • ¼ Teaspoon Cardamom Powder

    Instructions

    • Heat ghee in a pan and add desiccated coconut.
    • Roast coconut on a low flame for about 2-3 minutes. Keep stirring continuously to avoid burning.
    • Once it is roasted, add condensed milk, saffron, mango pulp and condensed milk.
    • Keep mixing continuously and cook over a medium heat for 8-10 minutes or until the mango coconut mixture is thick.
    • When it turns into a thick dough, turn off the flame.
    • Transfer the cooked mixture to a plate and let it cool down.
    • Take a small portion of the mixture and shape it into a round ball.
    • Roll the shaped laddus in ¼ cup of desiccated coconut.
    • Seve and enjoy!

    Video

    Nutrition

    Calories: 108kcal | Carbohydrates: 11g | Protein: 2g | Fat: 7g | Saturated Fat: 6g | Polyunsaturated Fat: 0.1g | Monounsaturated Fat: 1g | Cholesterol: 8mg | Sodium: 21mg | Potassium: 86mg | Fiber: 1g | Sugar: 10g | Vitamin A: 270IU | Vitamin C: 2mg | Calcium: 39mg | Iron: 2mg

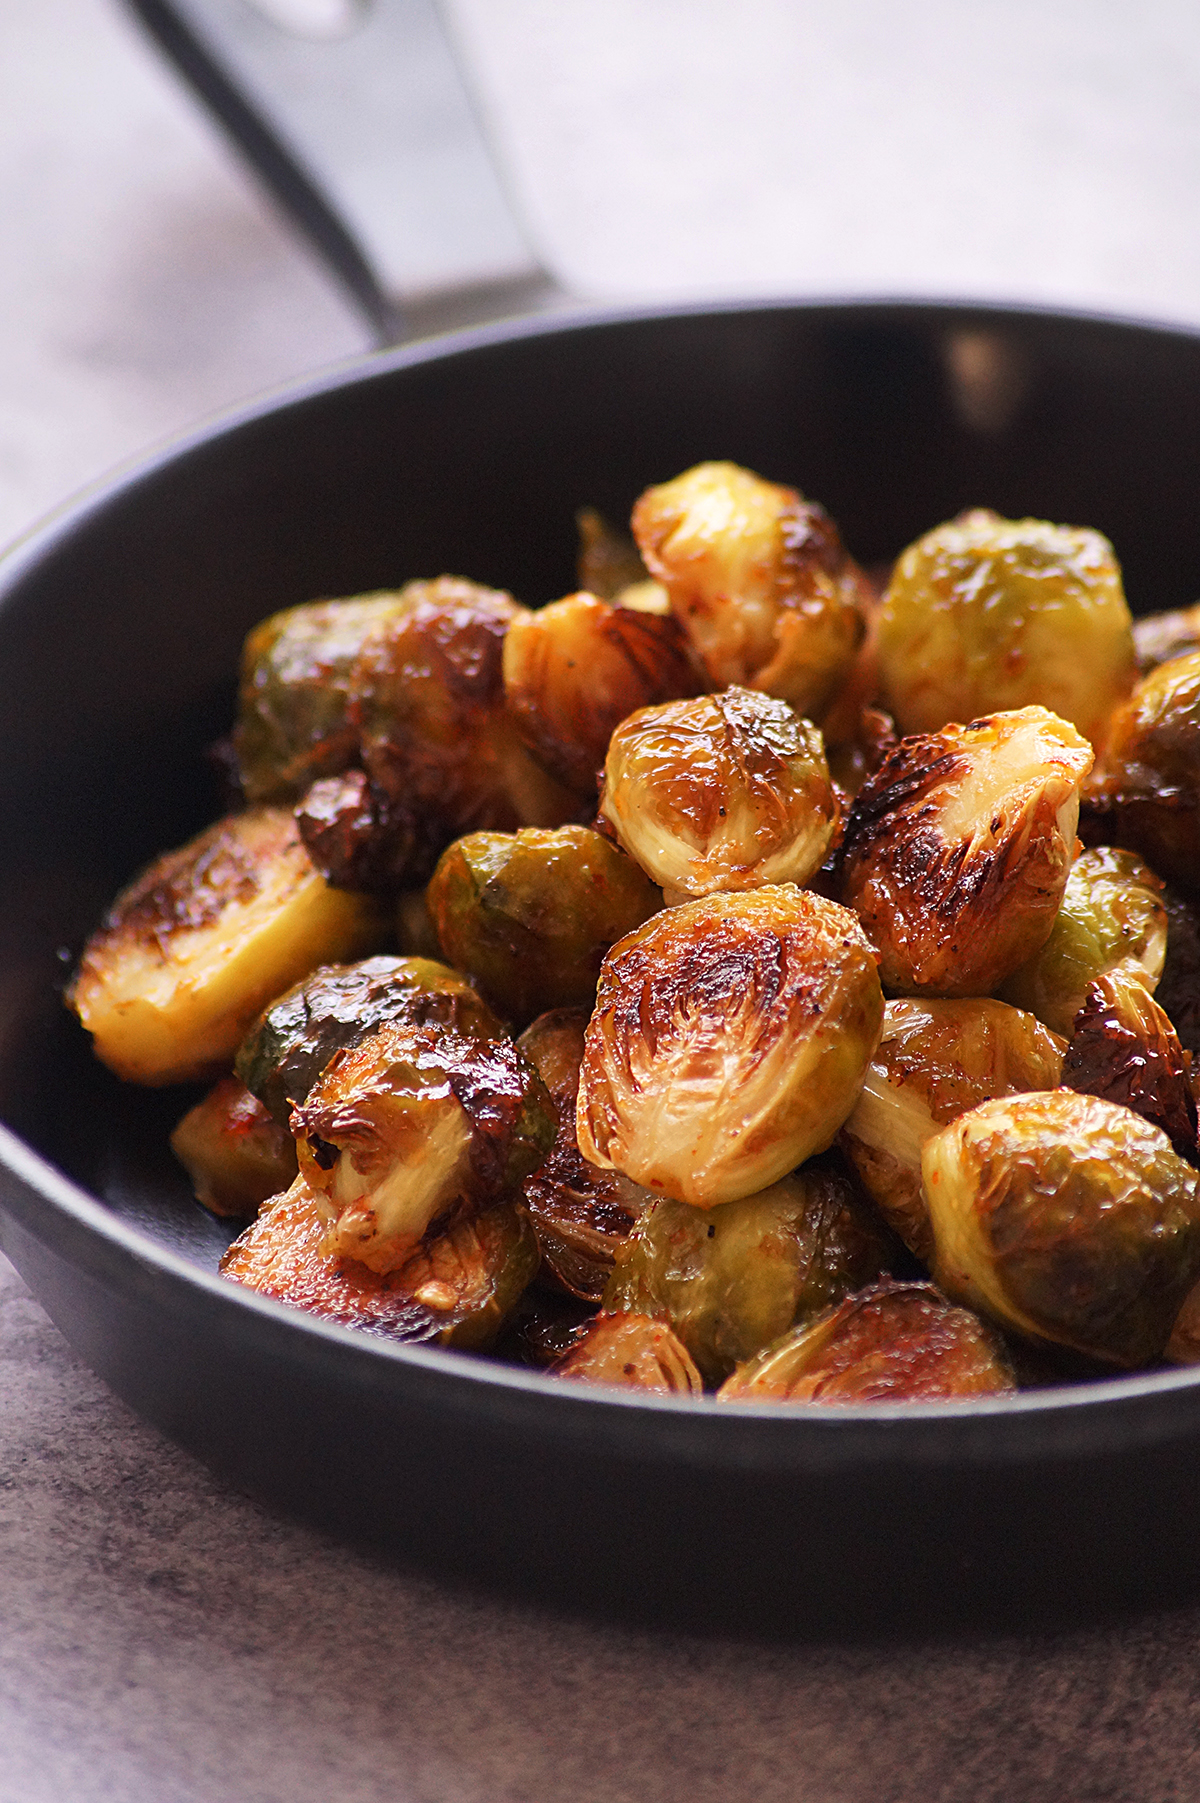
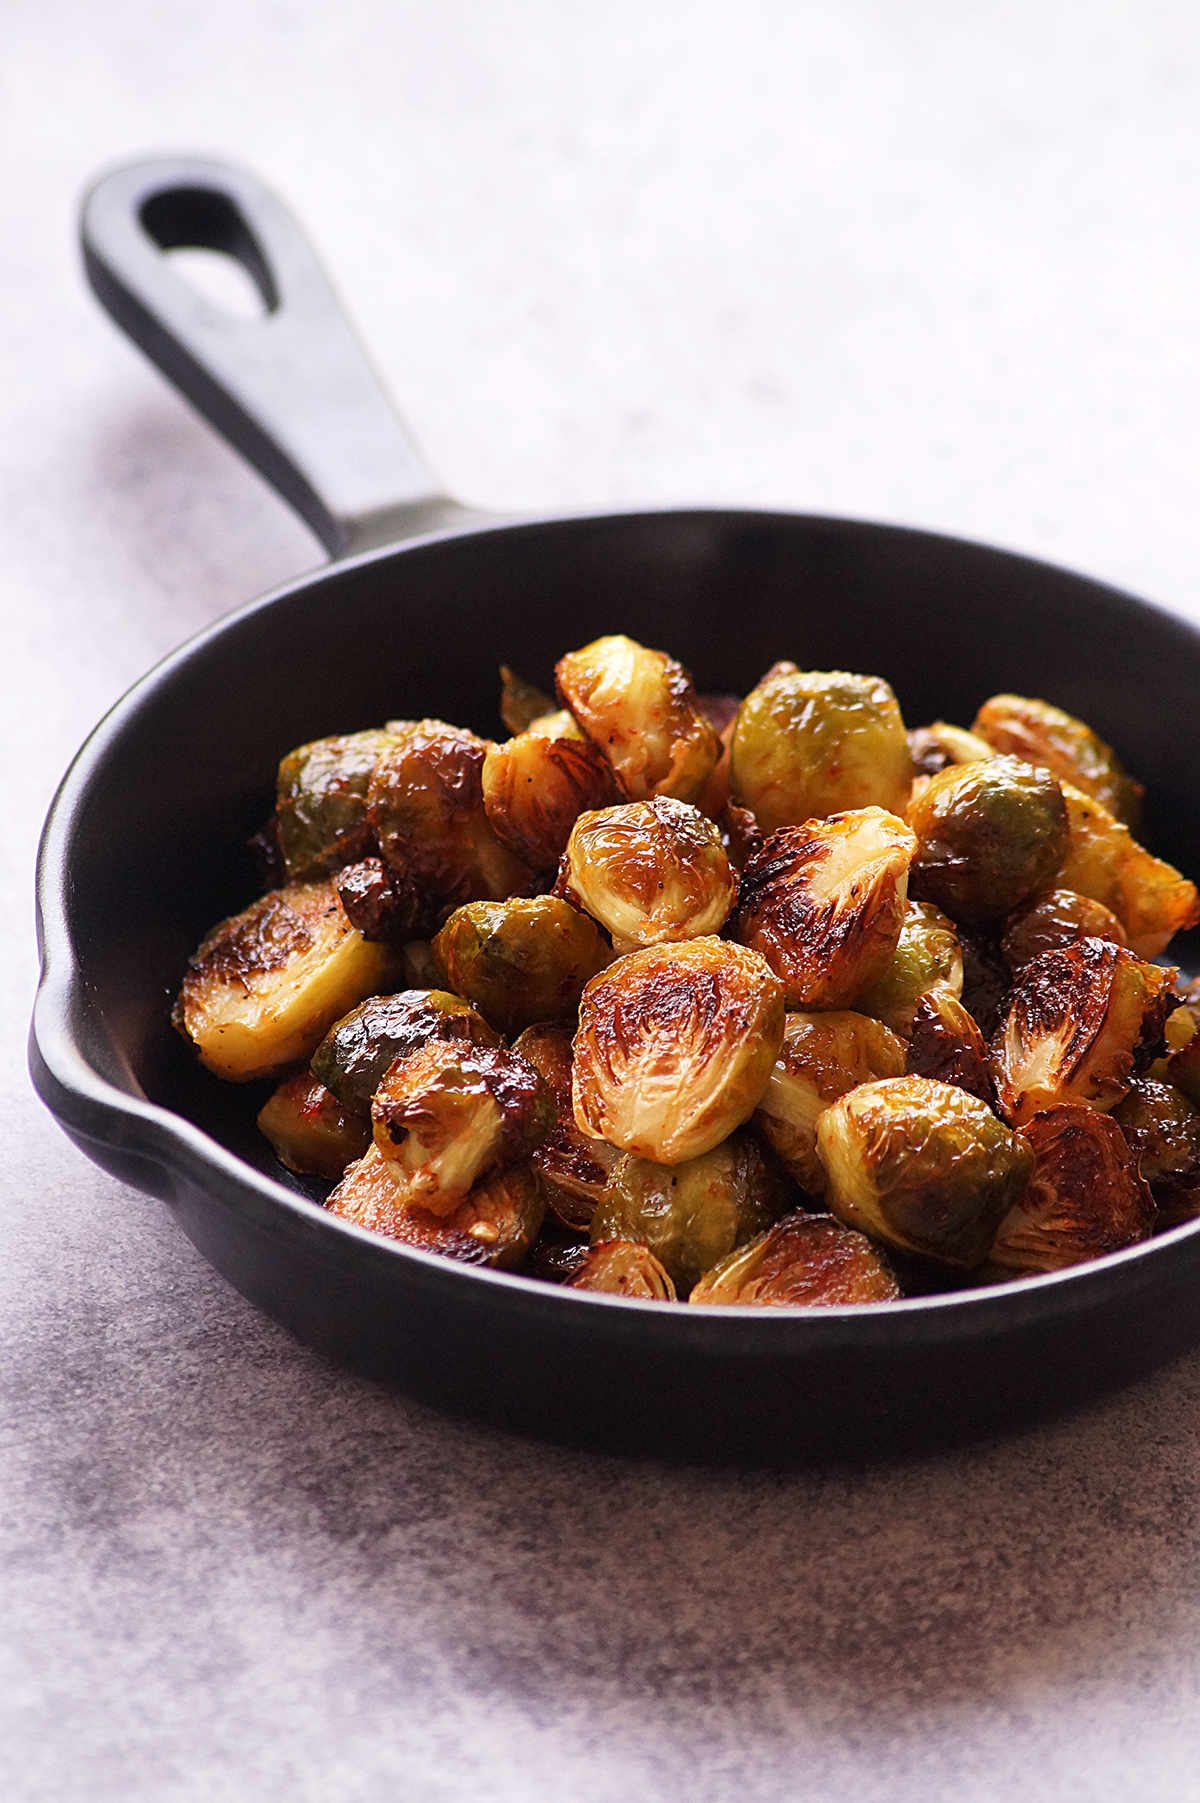
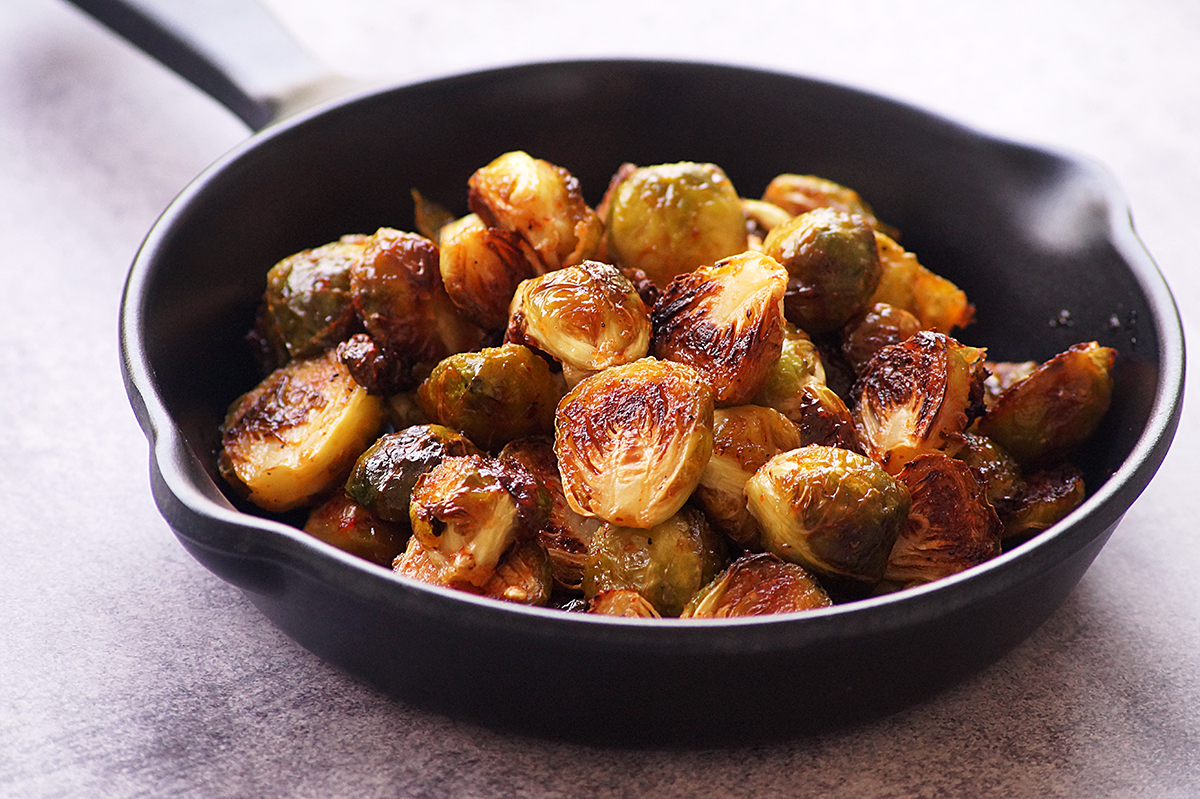
    Honey Sriracha Brussels Sprouts

    March 20, 2024

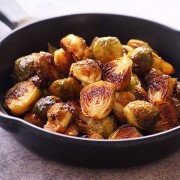
    Honey Sriracha Brussels Sprouts - A healthy, simple, flavorful and perfect vegetable side dish for any meal. It is a great addition to your Thanksgiving, Christmas or Easter dinner tables!

    Honey sriracha brussels sprouts:

    Honey sriracha brussels sprouts are a simple and flavorful vegetarian side dish made by roasting the brussels sprouts until they are crispy outside and tender inside, then tossing them in a sweet and spicy honey sriracha sauce. It has a perfect balance of sweetness and spiciness, making it delicious and irresistible. It is one of the easy and quick recipes to make for holiday dinners or gatherings.

    Why you'll love this recipe:

    Quick, simple, nutritious and flavorful!

    It is versatile and can be served as a side or appetizer.

    It can be paired with any main course and perfect for any celebration.

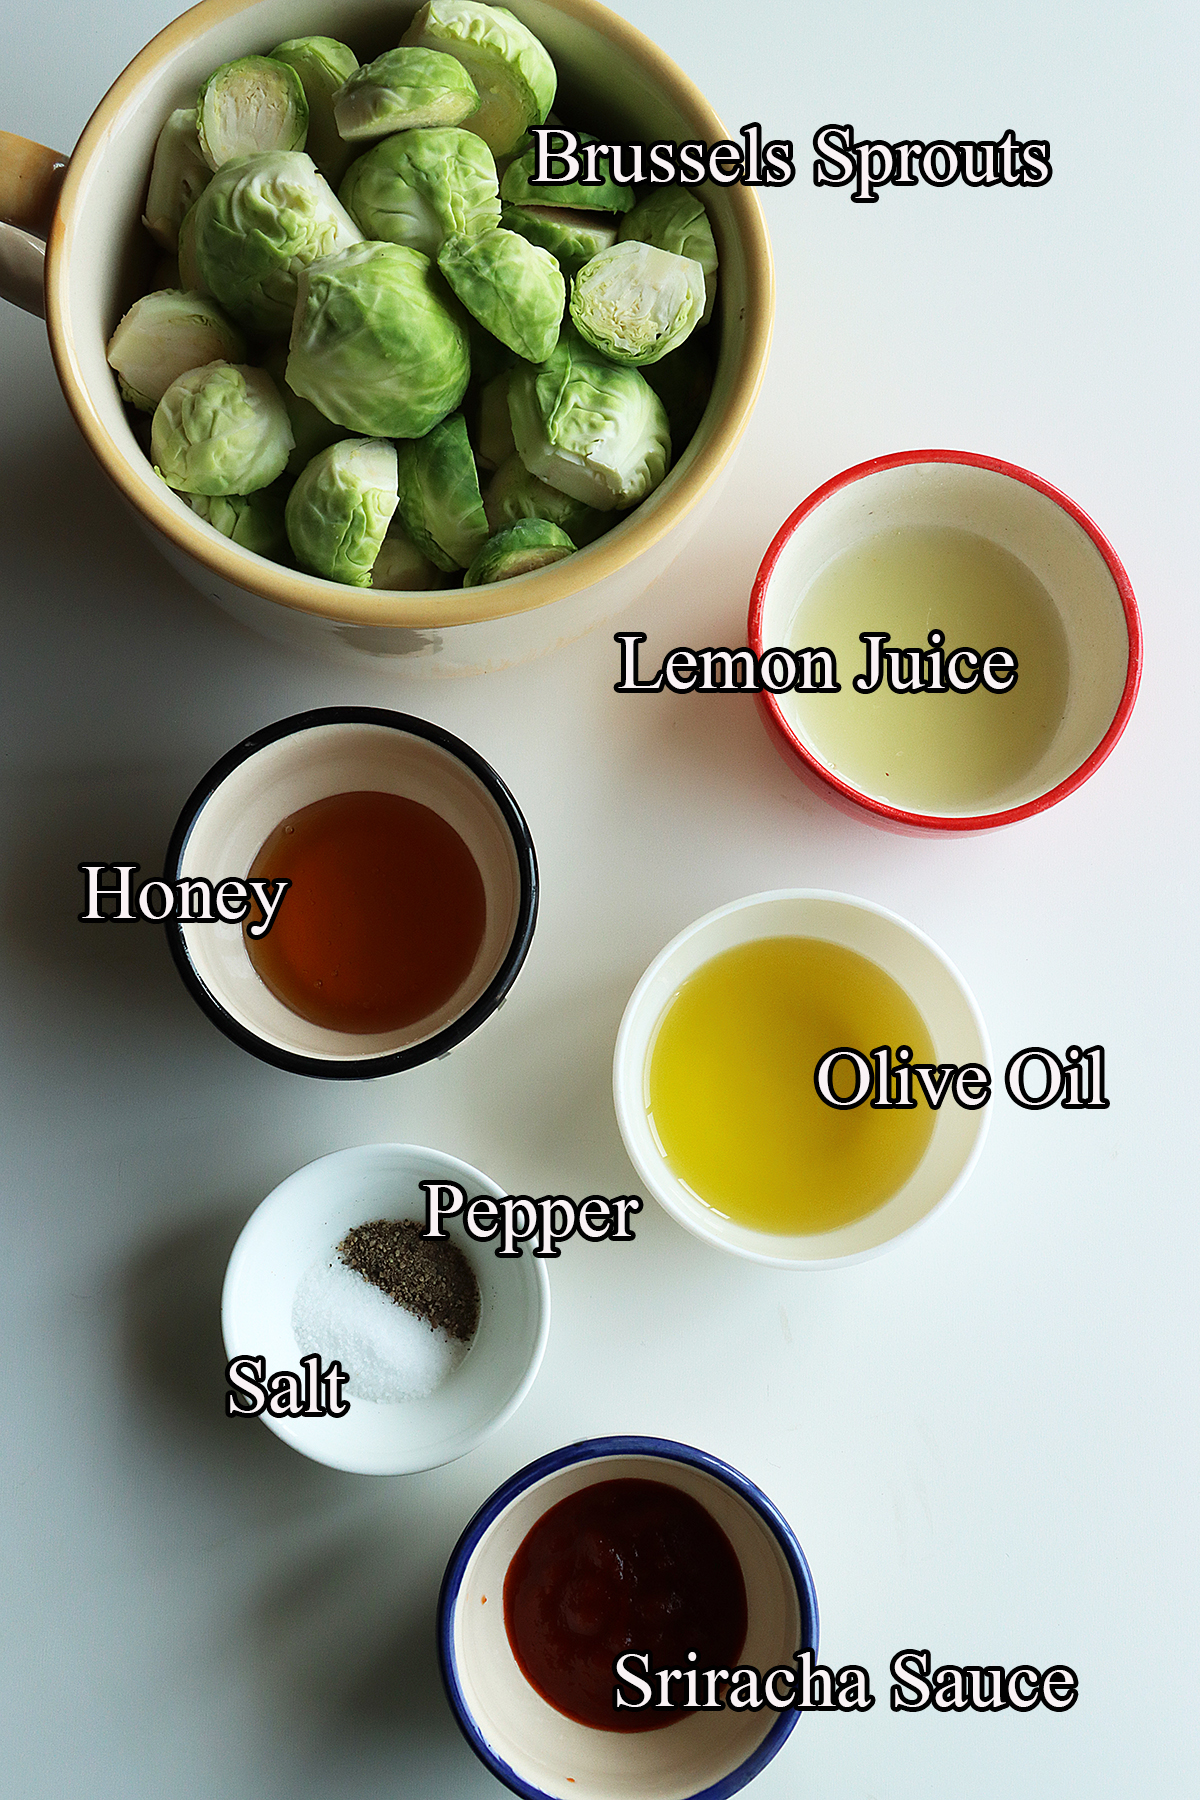
    Ingredients & Substitutions:

    Brussels Sprouts - Prefer using fresh and bright green brussels sprouts. Remove any loose, discolored or damaged leaves.

    Sriracha Sauce - It is a hot Asian sauce made with chili peppers, garlic, vinegar, sugar and salt. It adds a wonderful flavor and spiciness to the dish. You can use store-bought or homemade sauce. If you can't find it, replace it with any of your favorite hot chili sauce. Add more if you want more spiciness.

    Honey - Adds sweetness to balance the spice from the Sriracha. Add more or less according to your taste. Swap it with maple syrup or honey if you want to make vegan version of it.

    Olive Oil - I have used extra-virgin olive oil. You could use any of your favorite oil.

    Lemon Juice - Or you can also use lime juice or rice vinegar.

    Salt & Pepper

    Serving suggestions:

    Serve them as a side dish along with any protein. It can also be served as a appetizer with any of your favorite dipping sauce.

    You can add them to any salad to make it more nutritious.

    Storage suggestions:

    They taste best when freshly roasted. However, you can transfer the any leftovers to an airtight container and store it in the refrigerator for up to 3-4 days. Whenever you want to serve, reheat them in the oven at 180 degrees C for few minutes or until warm. You can also reheat the roasted brussels sprouts in the microwave.

    Tips & Notes:

    Choose the fresh and firm brussels sprouts for the best taste and texture.

    Adjust the sriracha sauce and honey according to your taste preferences.

    You can also add a little bit of chili flakes to the sauce for extra heat and flavor.

    You can also add a ½ teaspoon of garlic powder along with salt and pepper.

    Step by step instructions:

    Preheat the oven to 200 degrees C. Line a baking tray or sheet pan with parchment paper or silver foil and keep it aside until use.

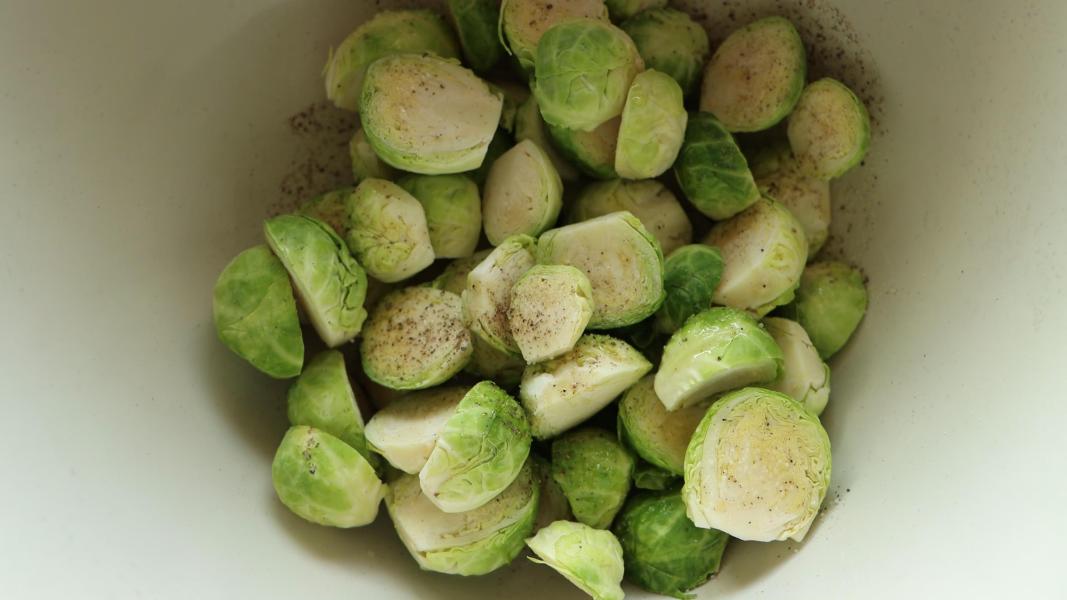
    Trim and cut brussels sprouts into half. Discard if there are any loose, discolored or damaged outer leaves.

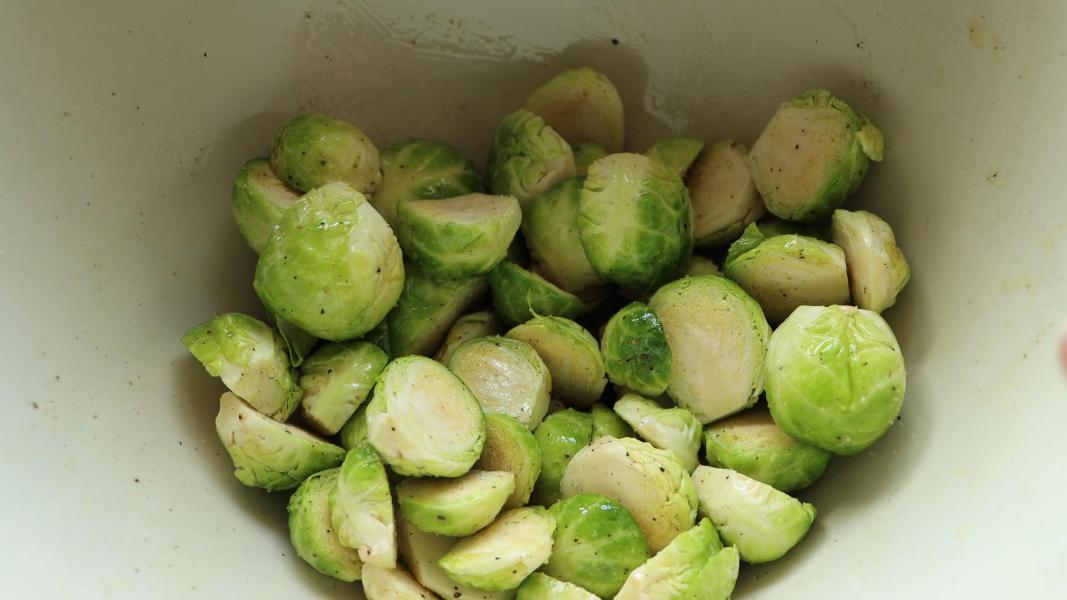
    Add the trimmed and halved brussels sprouts to a large bowl. Add olive oil, enough salt and ground pepper.

    Toss everything to coat evenly.

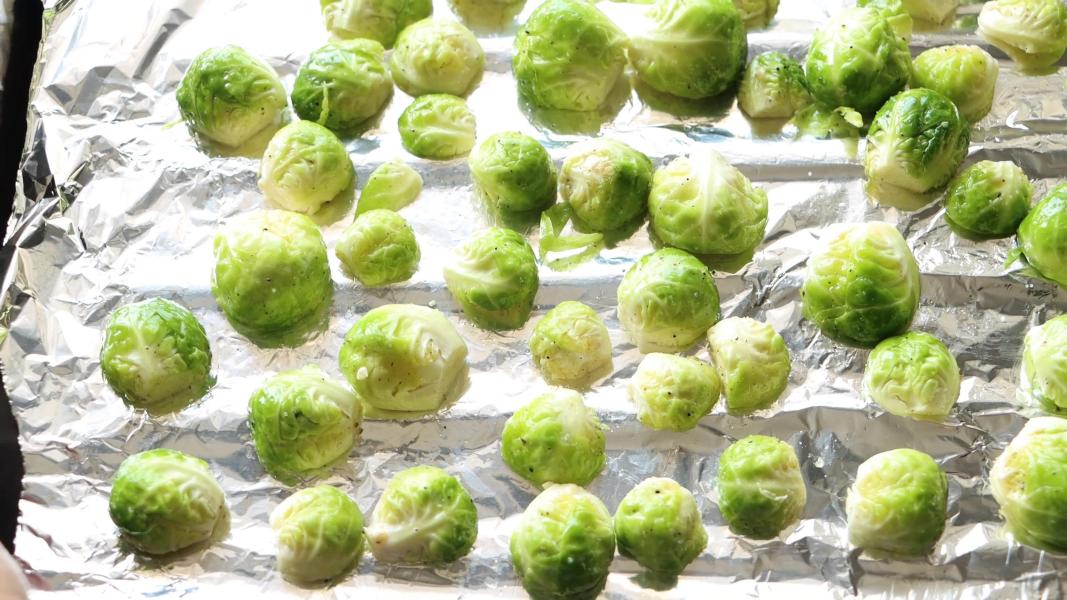
    Spread them on a lined baking tray in a single layer. Flip them all with flat side facing down.

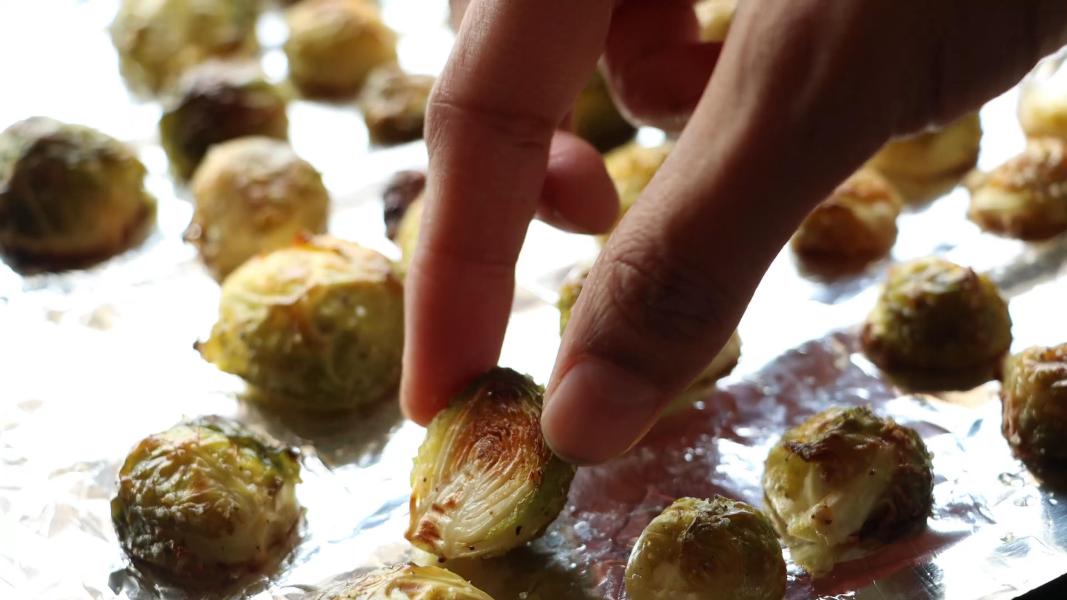
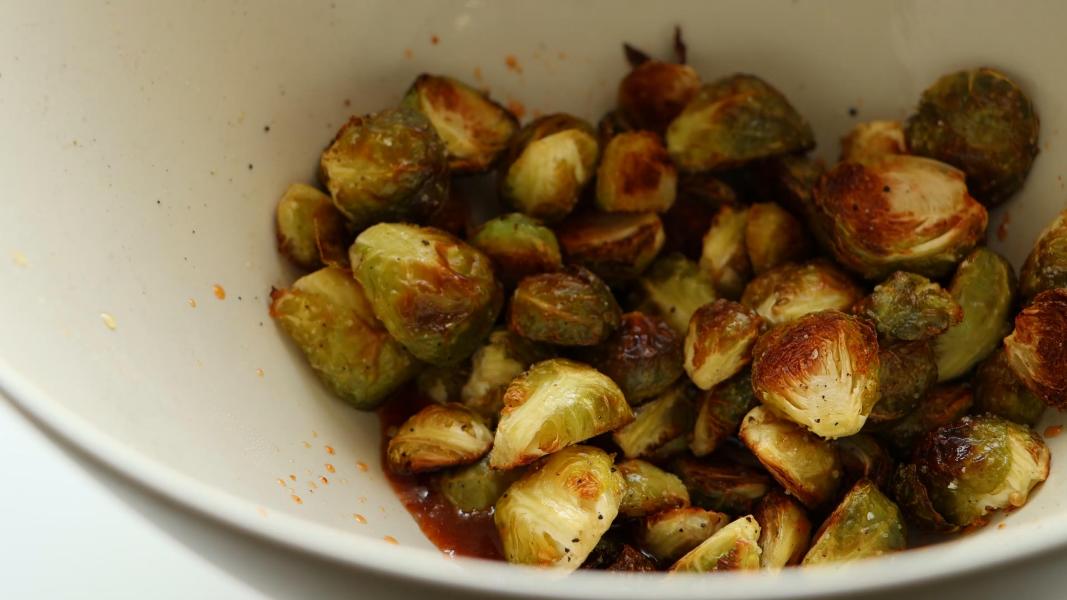
    Bake them in the preheated oven at 200 degrees C for 20-25 minutes, until they are golden brown, crisp and tender.

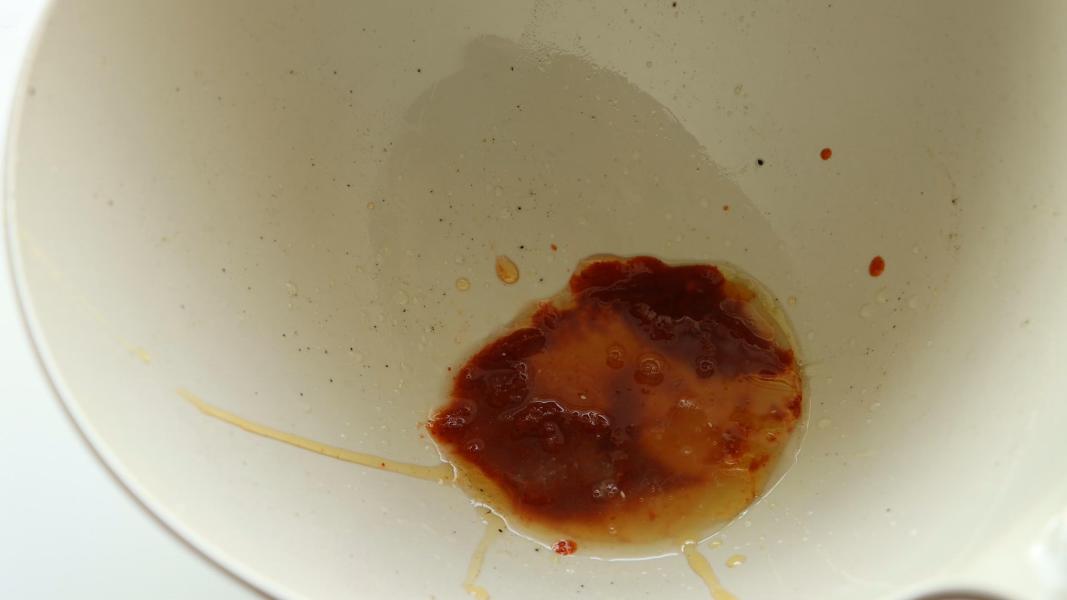
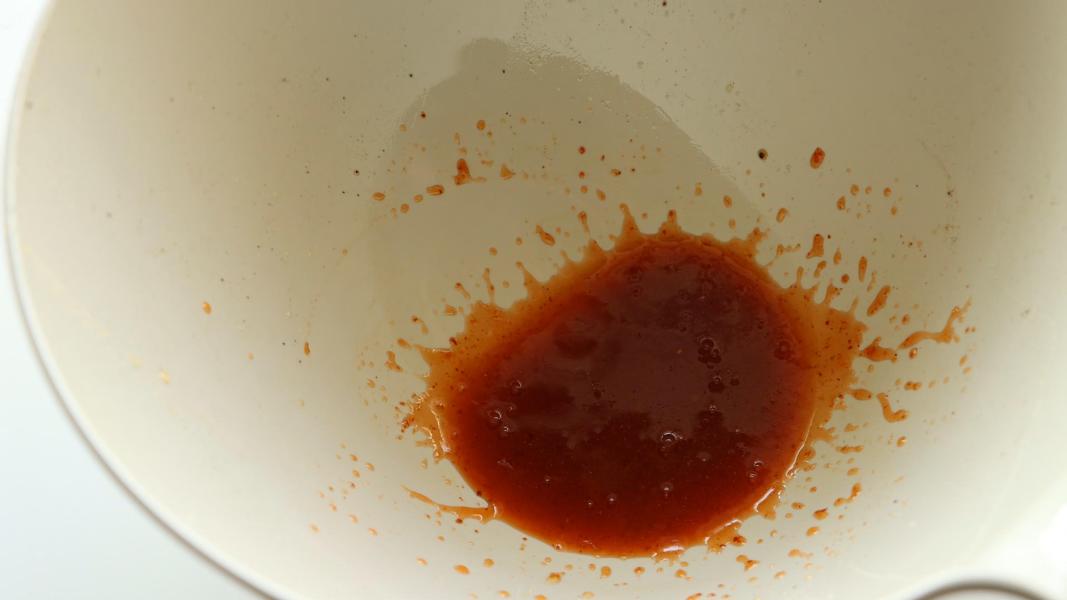
    To make the hot sauce, combine lemon juice, sriracha sauce and honey in bowl.

    Mix everything using a fork or spatula until combined.

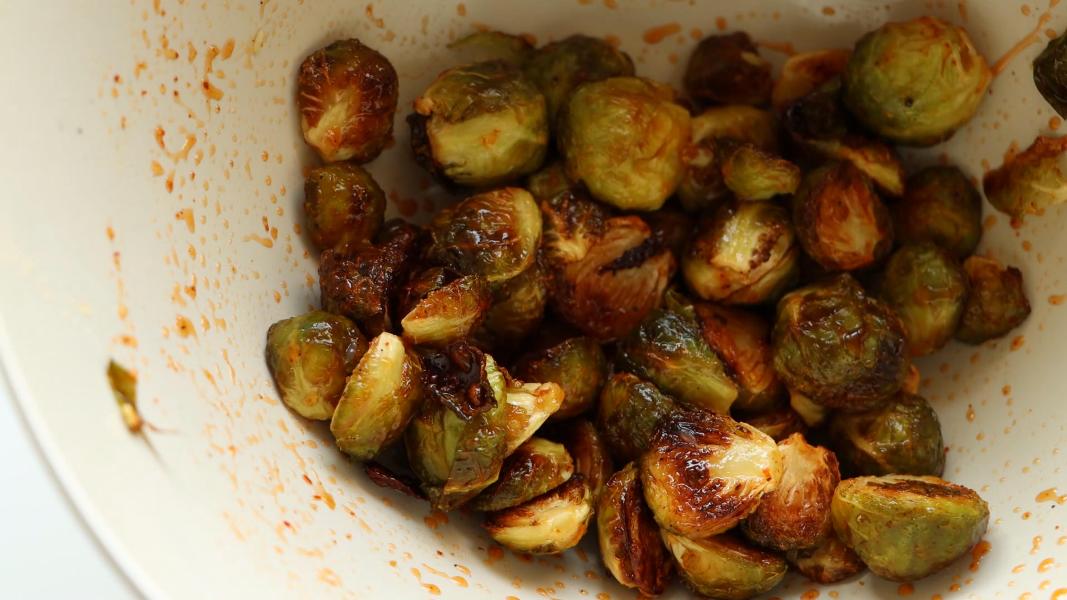
    Add the roasted brussels to the honey sriracha mixture. You can also add red chili flakes at this stage if needed.

    Mix everything to coat evenly and serve hot.

    You might love these recipes:

    • Brussels Sprouts Grilled Cheese Sandwich
    • Easter Popcorn
    • Greek Easter Cookies
    • Festive Goat Cheese Balls
    • Mango Quinoa Salad
    • Persimmon Kale Salad
    • Hasselback Butternut Squash
    • Pasta E Piselli

    Honey sriracha brussel sprouts recipe video below:

    Print Recipe

    Honey Sriracha Brussels Sprouts

    Honey Sriracha Brussels Sprouts - A healthy, simple, flavorful and perfect vegetable side dish for any meal. It is a great addition to your Thanksgiving, Christmas or Easter dinner tables!
    Prep Time10 minutes mins
    Cook Time25 minutes mins
    Total Time35 minutes mins
    Course: Appetizer, Side Dish
    Cuisine: American, International
    Keyword: Brussels Sprouts Recipes, honey sriracha brussels sprouts
    Servings: 2
    Calories: 193kcal
    Author: Hari Chandana Ponnaluri

    Ingredients

    • 1 Pound Brussels Sprouts (approx. 500 grams)
    • 1 Tablespoon Extra Virgin Olive Oil
    • ½ Teaspoon Salt or to taste
    • ¼ Teaspoon Ground Black Pepper
    • 1 Tablespoon Sriracha Sauce
    • 1 Tablespoon Honey

    Instructions

    • Preheat the oven to 200 degrees C. Line a baking tray or sheet pan with parchment paper or silver foil and keep it aside until use.
    • Trim and cut brussels sprouts into half. Discard if there are any loose, discolored or damaged outer leaves.
    • Add the trimmed and halved brussels sprouts to a large bowl. Add olive oil, enough salt and ground pepper.
    • Toss everything to coat evenly.
    • Spread them on a lined baking tray in a single layer. Flip them all with flat side facing down.
    • Bake them in the preheated oven at 200 degrees C for 20-25 minutes, until they are golden brown, crisp and tender.
    • To make the hot sauce, combine lemon juice, sriracha sauce and honey in bowl.
    • Mix everything using a fork or spatula until combined.
    • Add the roasted brussels to the honey sriracha mixture. You can also add red chili flakes at this stage if needed.
    • Mix everything to coat evenly and serve hot.

    Video

    Nutrition

    Calories: 193kcal | Carbohydrates: 29g | Protein: 8g | Fat: 8g | Saturated Fat: 1g | Polyunsaturated Fat: 1g | Monounsaturated Fat: 5g | Sodium: 810mg | Potassium: 901mg | Fiber: 9g | Sugar: 14g | Vitamin A: 1722IU | Vitamin C: 198mg | Calcium: 98mg | Iron: 3mg

    Gulab Jamun Tea Sandwiches

    March 13, 2024

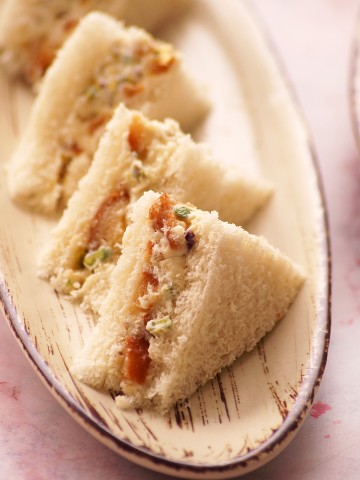
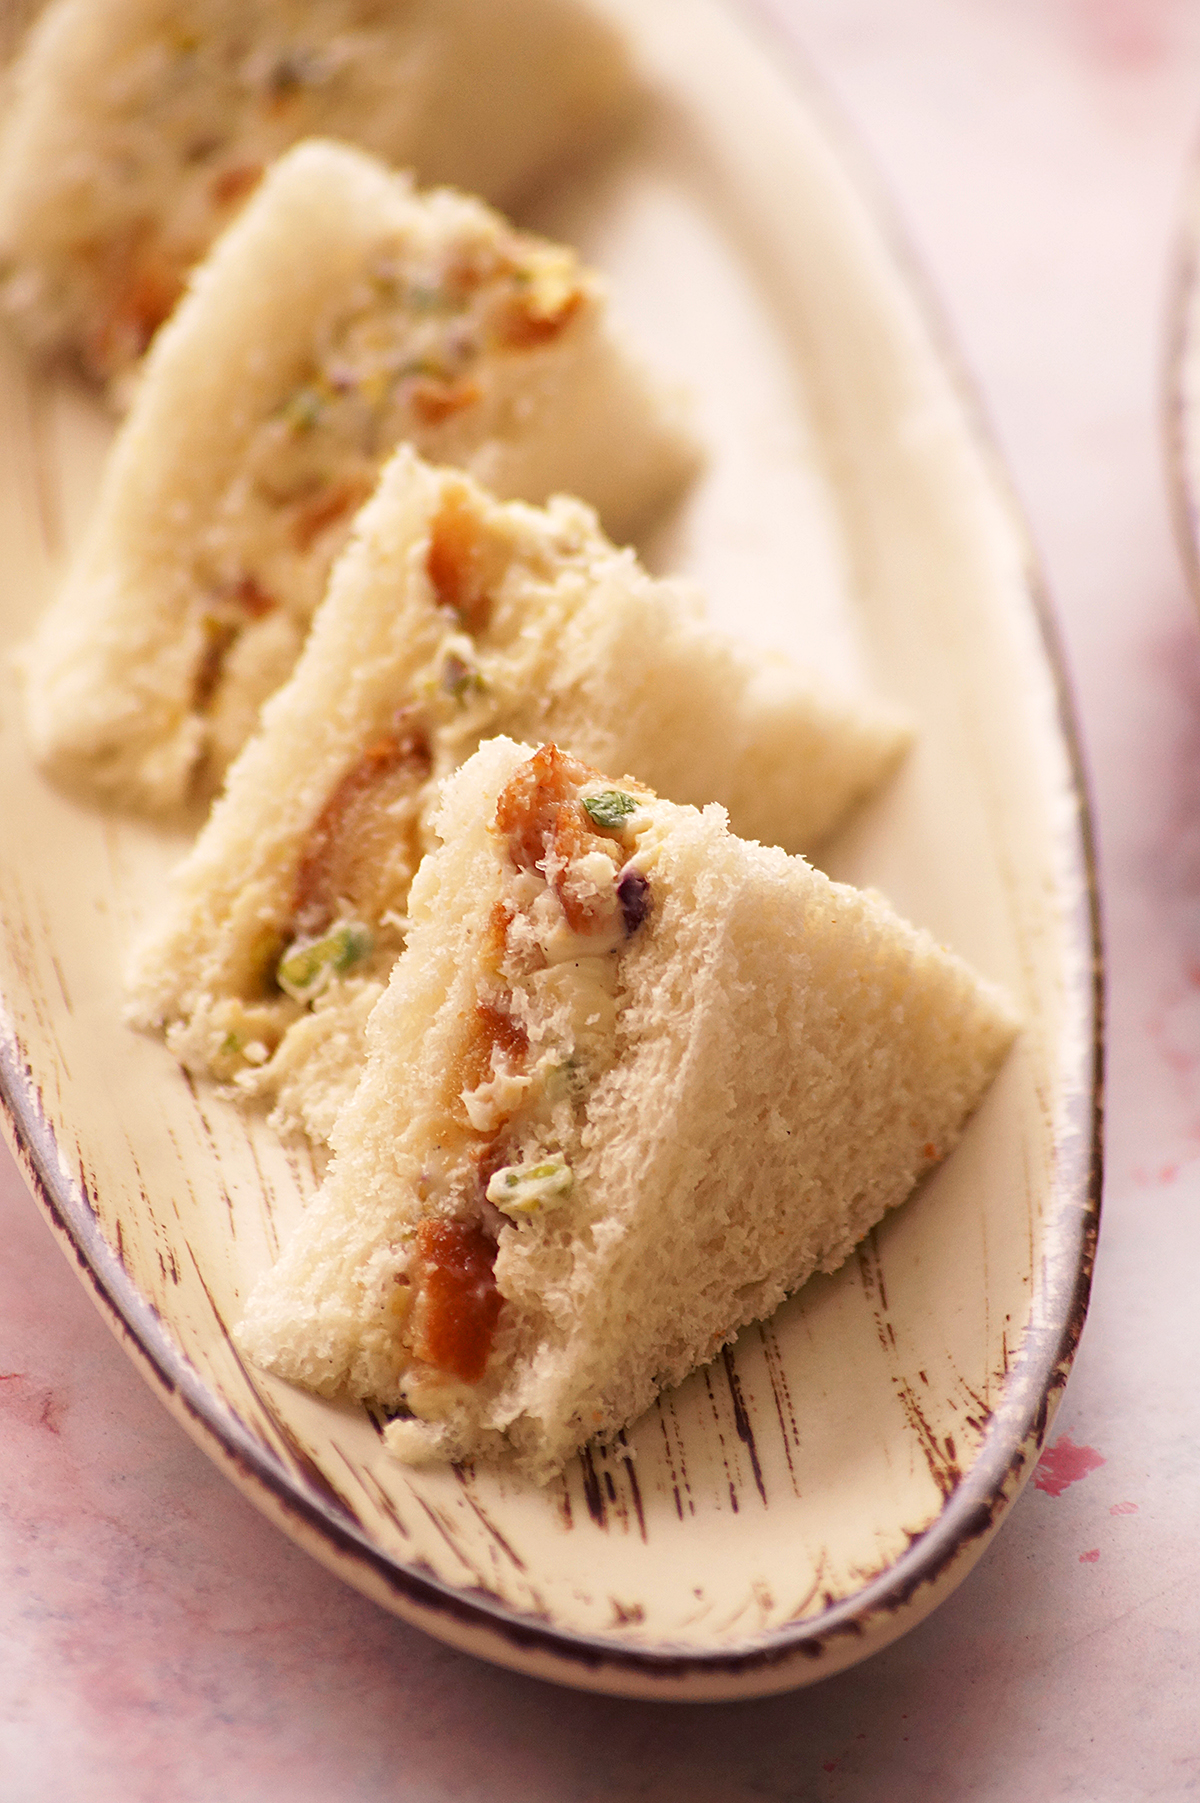
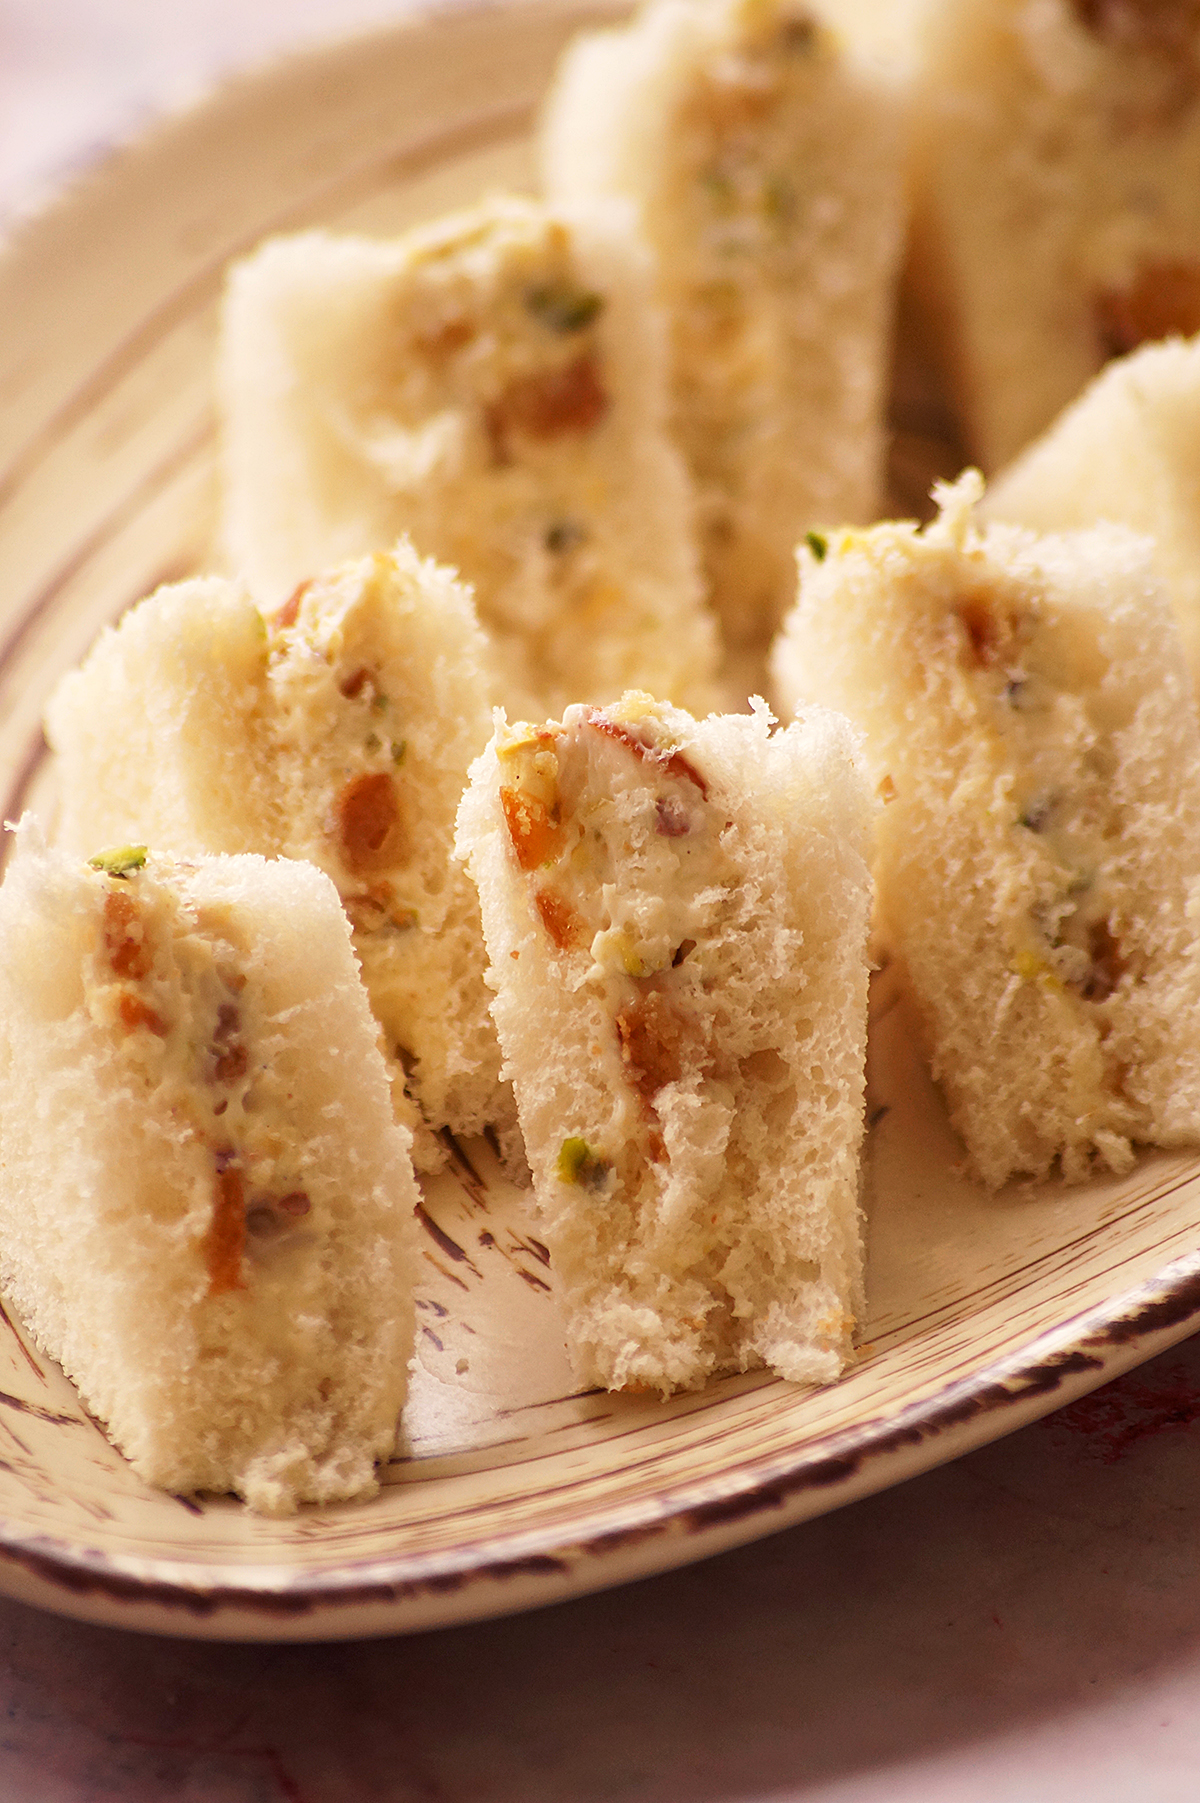
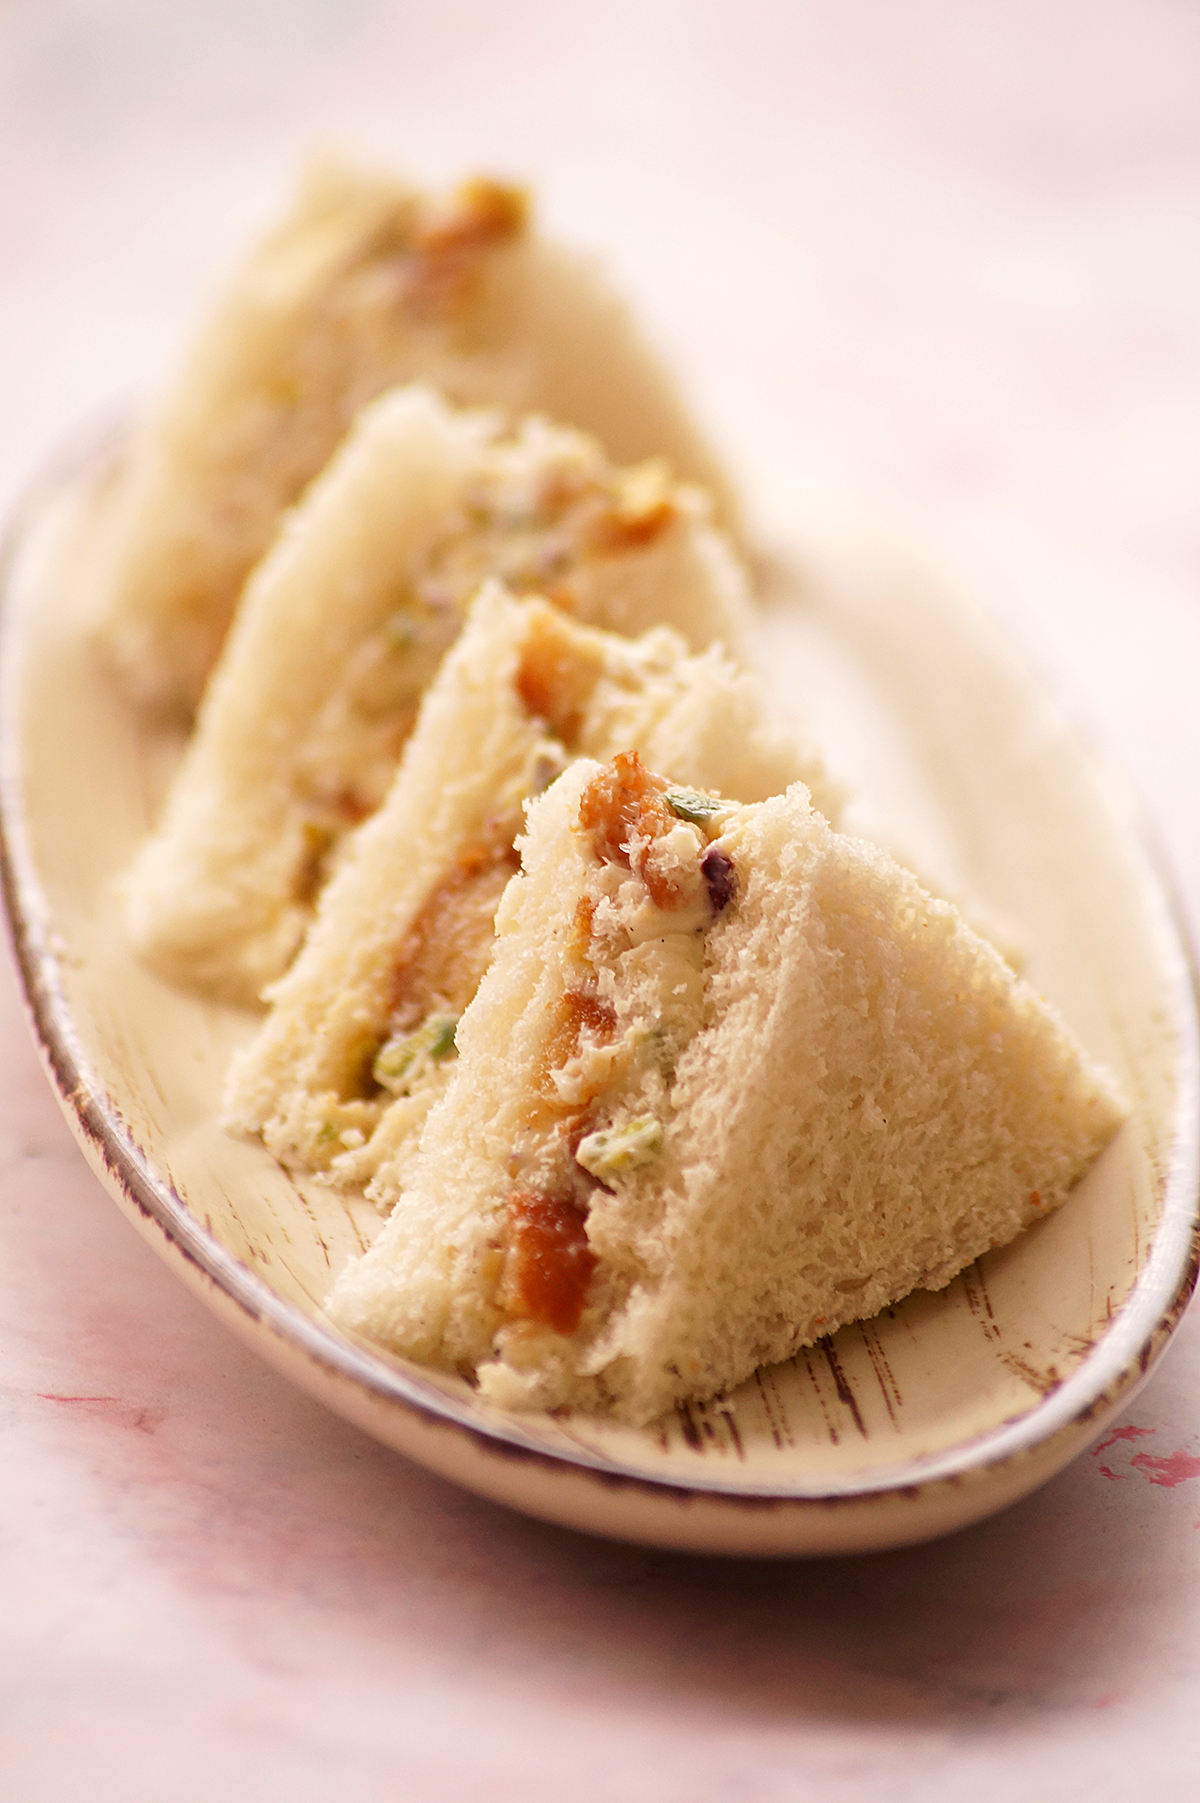
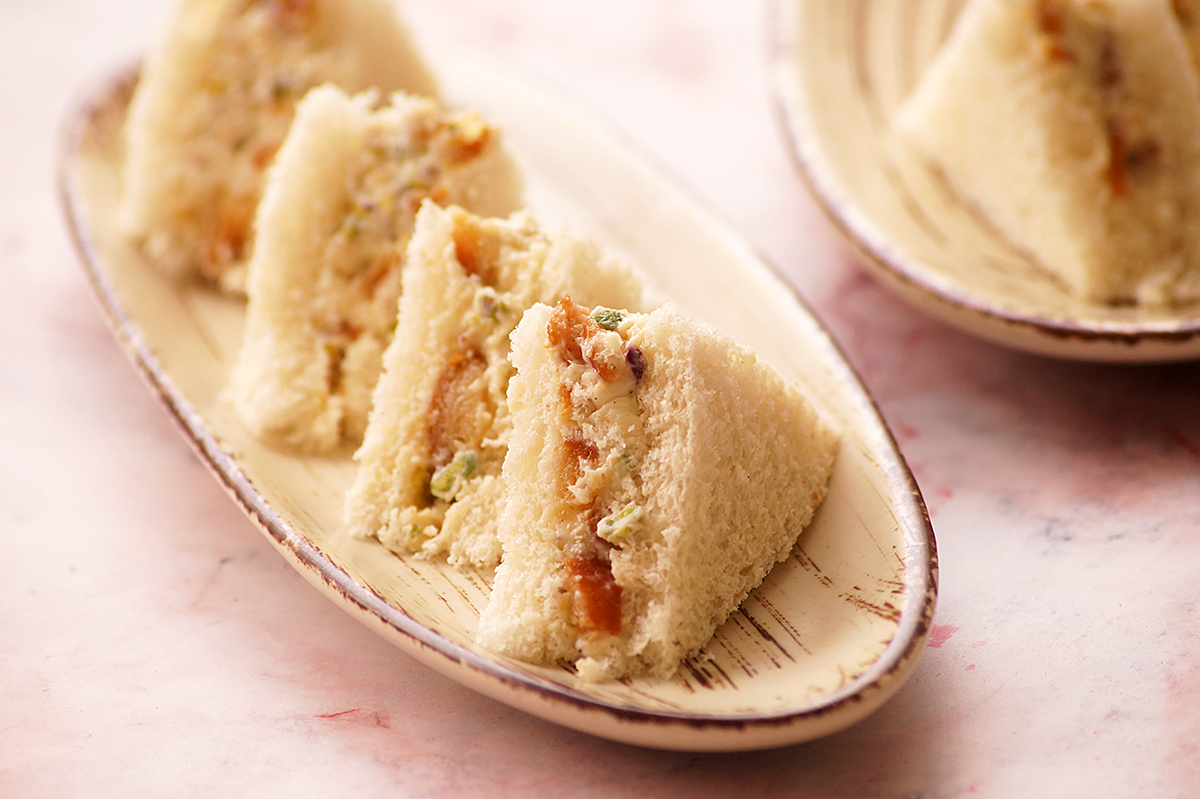
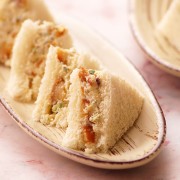
    Gulab Jamun Tea Sandwiches - Unique and fusion small-sized tea sandwiches made with soft bread, cream cheese, gulab jamuns and cardamom. Perfect for Holi, Diwali or any tea-time indulgence.

    What are gulab jamun sandwiches?

    Tea sandwiches are small sandwiches traditionally served as part of afternoon tea. They are traditionally made with white or wheat bread, crusts removed and stuffed with sweet or savory fillings.

    I gave a fusion twist to the classic tea sandwiches by adding gulab jamuns to the cream cheese sandwich filling. Gulab jamun is a classic Indian sweet made from fried khoya (milk solids) dough balls soaked in cardamom infused sugar syrup.

    These gulab jamun tea sandwich is so good and unique that is perfect as a light snack or dessert.

    Why you'll love this recipe:

    It is rich, delicious and unique!

    Can be done in no time with handful of ingredients!

    Perfect for any festival, tea parties or gatherings!

    Ingredients & Substitutions:

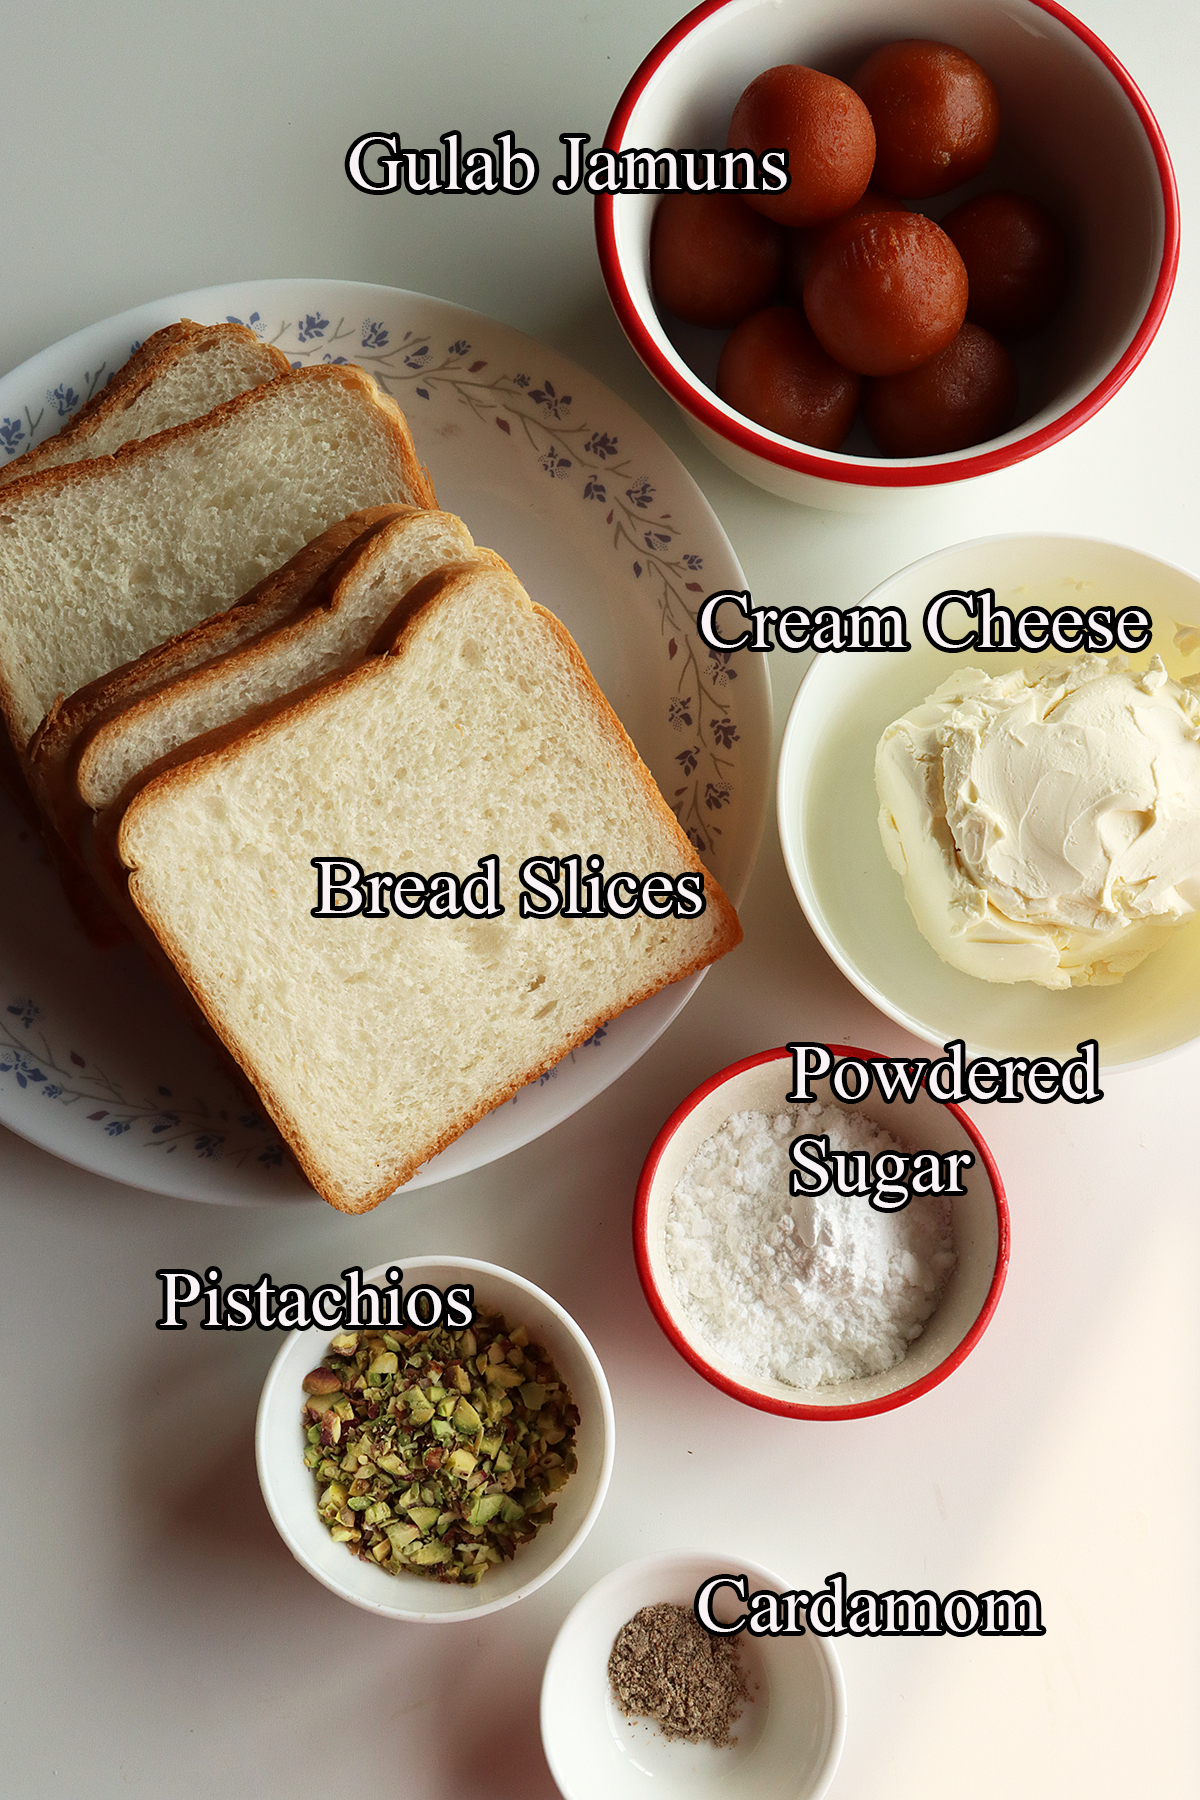
    Gulab Jamuns - It is a popular Indian sweet. You can use homemade or store-bought gulab jamuns. It can also be replaced with any Indian sweets like jalebi or rasgulla.

    Bread Slices - Use soft white bread or milk bread.

    Cream Cheese - Make sure the cream cheese is at room temperature. It can be replaced with mascarpone cheese.

    Pistachios - Use finely chopped pistachios for extra flavor and crunch. You can also use any of your favorite nuts.

    Powdered Sugar - Also known as confectioners sugar. Add more or less as per your taste.

    Cardamom Powder - Do not skip cardamom. It gives a wonderful flavor.

    Serving suggestions:

    Serve them with a cup of tea or coffee. It is perfect as a snack or dessert.

    Storage suggestions:

    If you are not serving them immediately, wrap them in a plastic wrap and store in the refrigerator for a day or two.

    Step by step instructions:

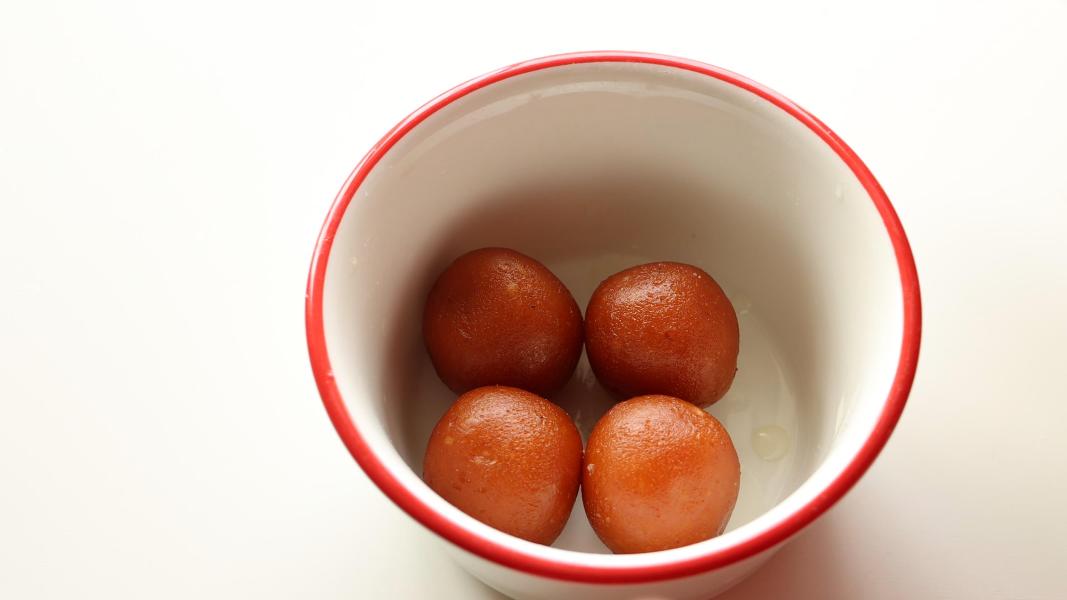
    Gently squeeze the gulab jamun to remove a little bit of syrup.

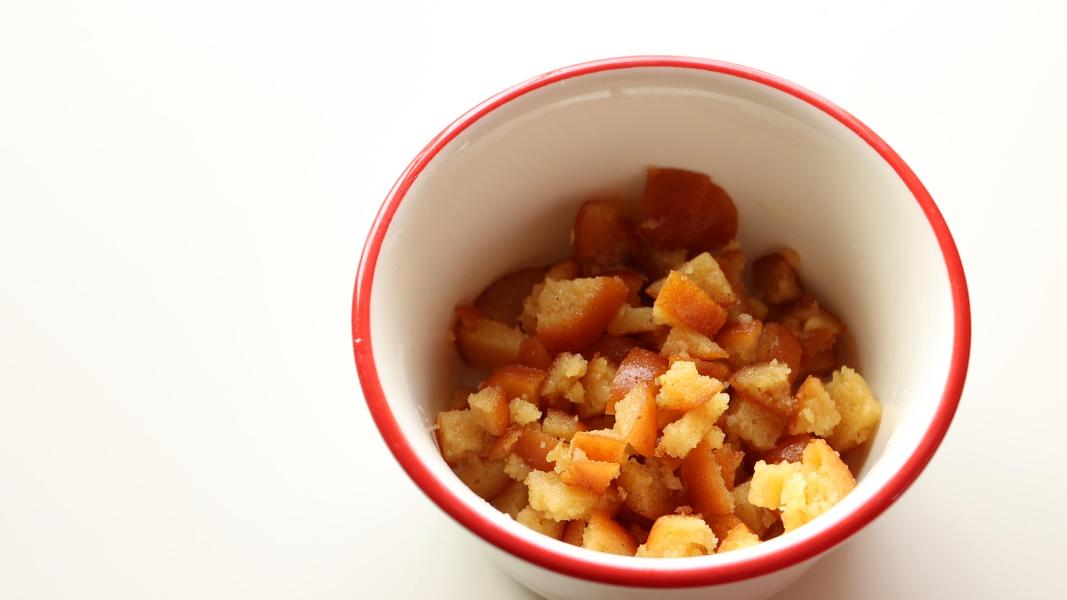
    Chop them into small pieces and keep it aside until use. You can also crumble them using your fingers instead of chopping.

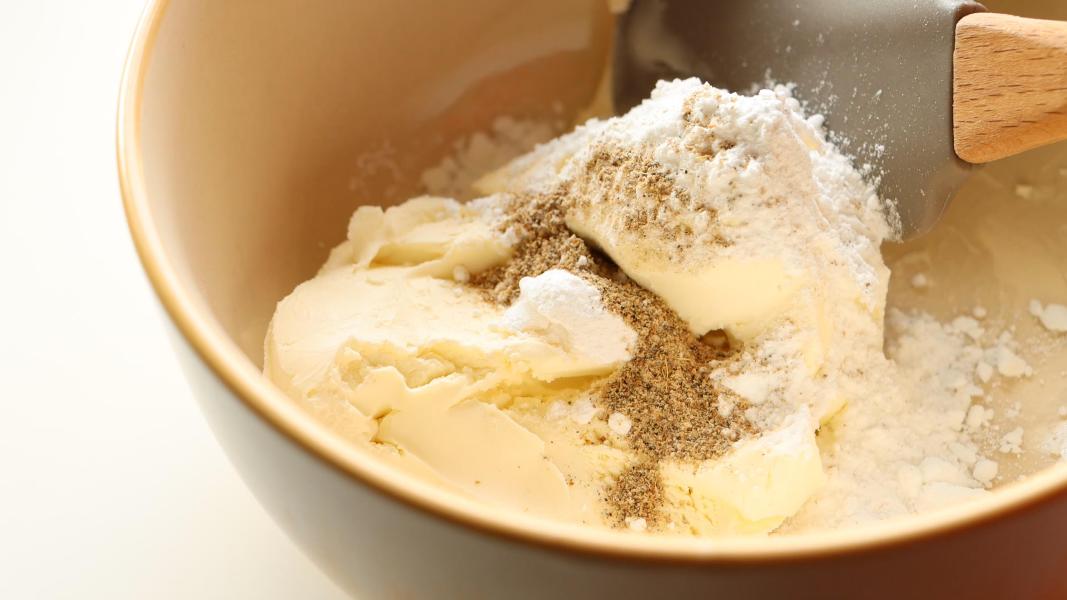
    Combine cream cheese, powdered sugar and cardamom powder in a mixing bow.

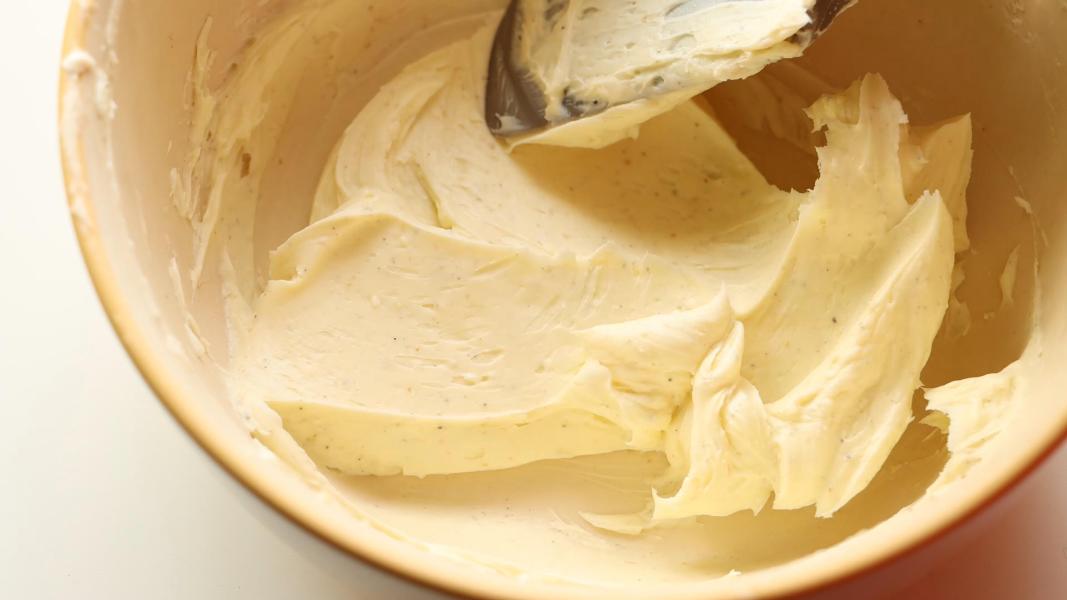
    Mix everything until smooth and well combined.

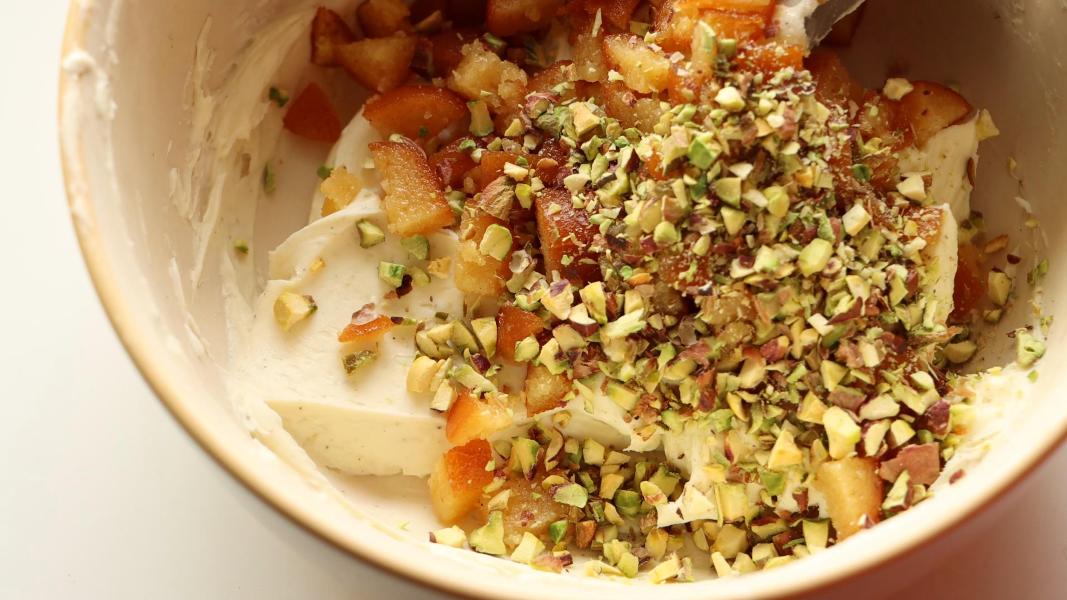
    Add chopped gulab jamuns and chopped pistachios to the cream cheese mixture.

    Gently mix everything.

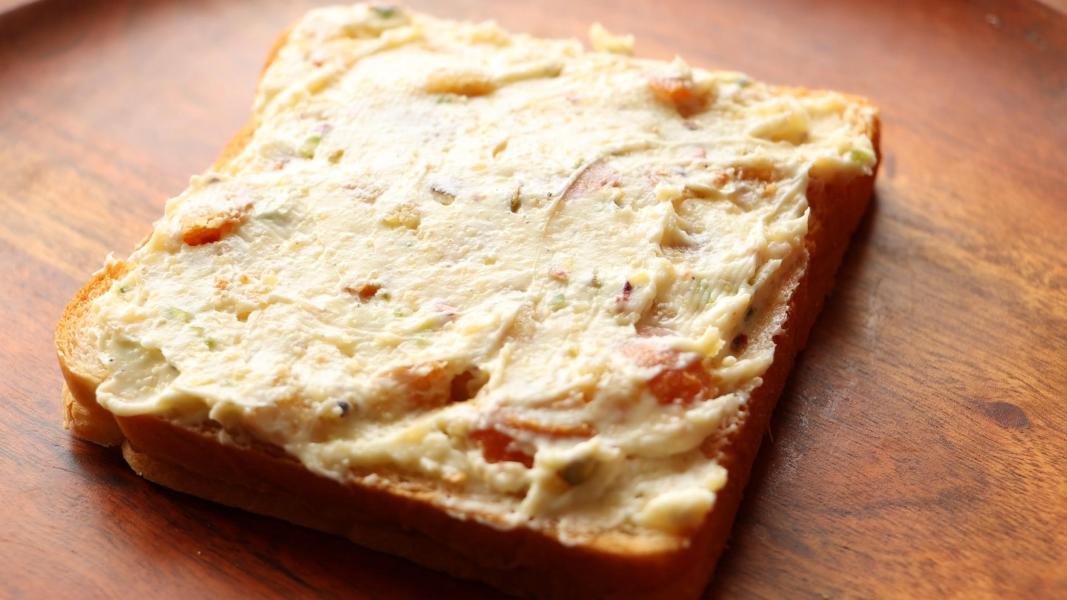
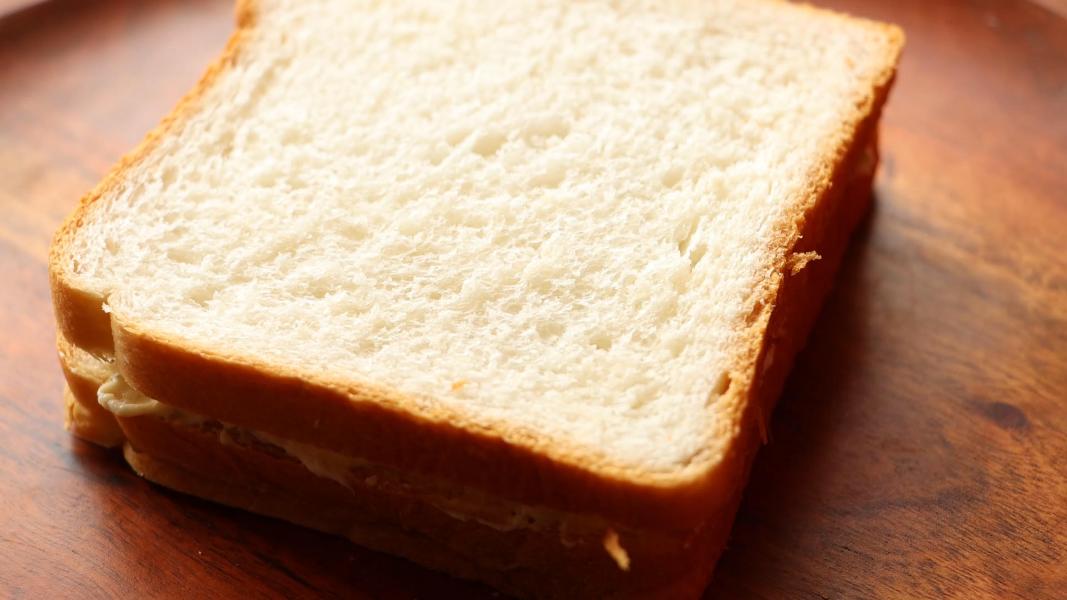
    Spread a generous amount of prepared filling on a bread slice.

    Cover it with another slice of bread.

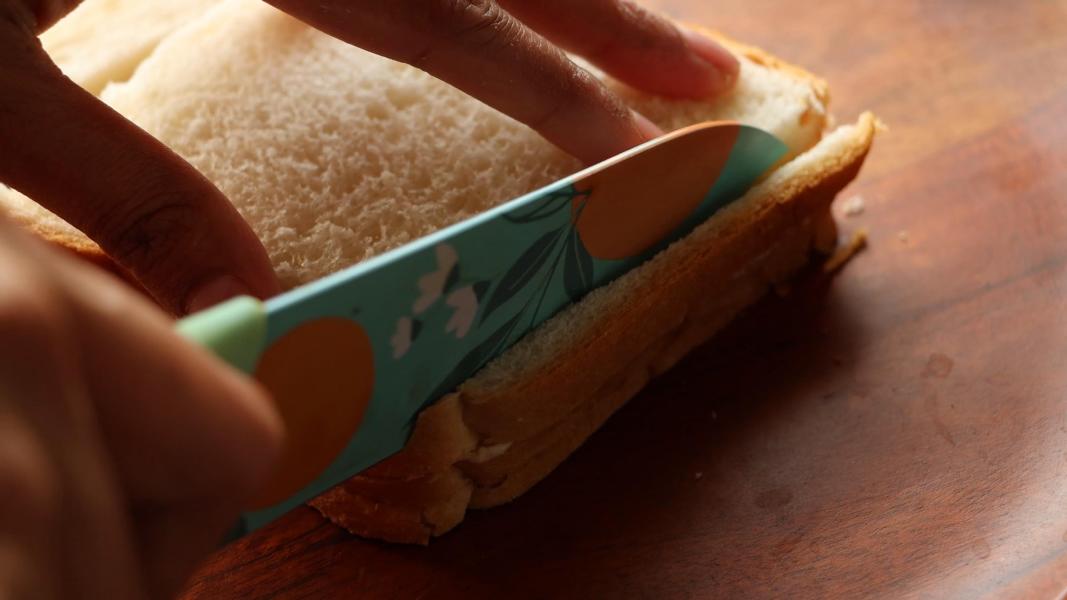
    Carefully cut the brown edges.

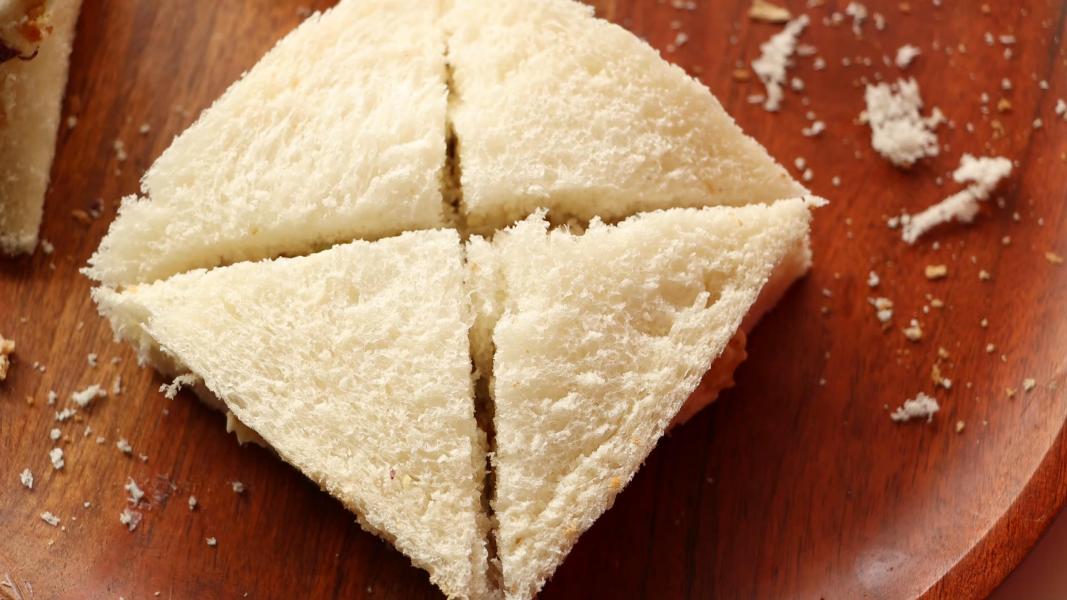
    Cut the sandwich into small triangles or squares.

    Serve and enjoy!

    You might love these recipes:

    • Custard Rasgulla
    • Custard Gulab Jamuns
    • Thandai White Chocolate Bark
    • Motichoor Truffles
    • Jalebi Bark
    • Chocolate Modak
    • Oreo Modak
    • Homemade Thandai Powder

    Gulab jamun tea sandwich recipe video below:

    Print Recipe

    Gulab Jamun Tea Sandwiches

    Gulab Jamun Tea Sandwiches - Unique and fusion small-sized tea sandwiches made with soft bread, cream cheese, gulab jamuns and cardamom. Perfect for Holi, Diwali or any tea-time indulgence.
    Prep Time10 minutes mins
    Total Time10 minutes mins
    Course: Dessert, Snack
    Cuisine: Fusion, Indian, International
    Keyword: fusion indian desserts, gulab jamun cream cheese tea sandwiches, gulab jamun recipes
    Servings: 12 Sandwiches
    Author: Hari Chandana Ponnaluri

    Ingredients

    • 4 Gulab Jamuns
    • ¾ Cup Cream Cheese (150 grams)
    • 2 Tablespoons Powdered Sugar
    • ¼ Teaspoon Cardamom Powder
    • 2 Tablespoons Chopped Pistachios
    • 6 White Bread Slices

    Instructions

    • Gently squeeze the gulab jamun to remove a little bit of syrup.
    • Chop them into small pieces and keep it aside until use. You can also crumble them using your fingers instead of chopping.
    • Combine cream cheese, powdered sugar and cardamom powder in a mixing bowl.
    • Mix everything until smooth and well combined.
    • Add chopped gulab jamuns and chopped pistachios to the cream cheese mixture.
    • Gently mix everything.
    • Spread a generous amount of prepared filling on a bread slice.
    • Cover it with another slice of bread.
    • Carefully cut the brown edges.
    • Cut the sandwich into small triangles or squares.
    • Serve and enjoy!
    Video

    Instant Pot Sweet Pongal

    February 5, 2024

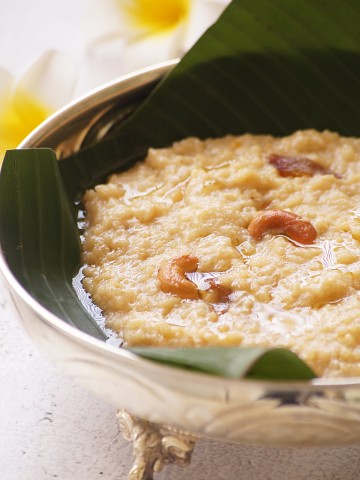
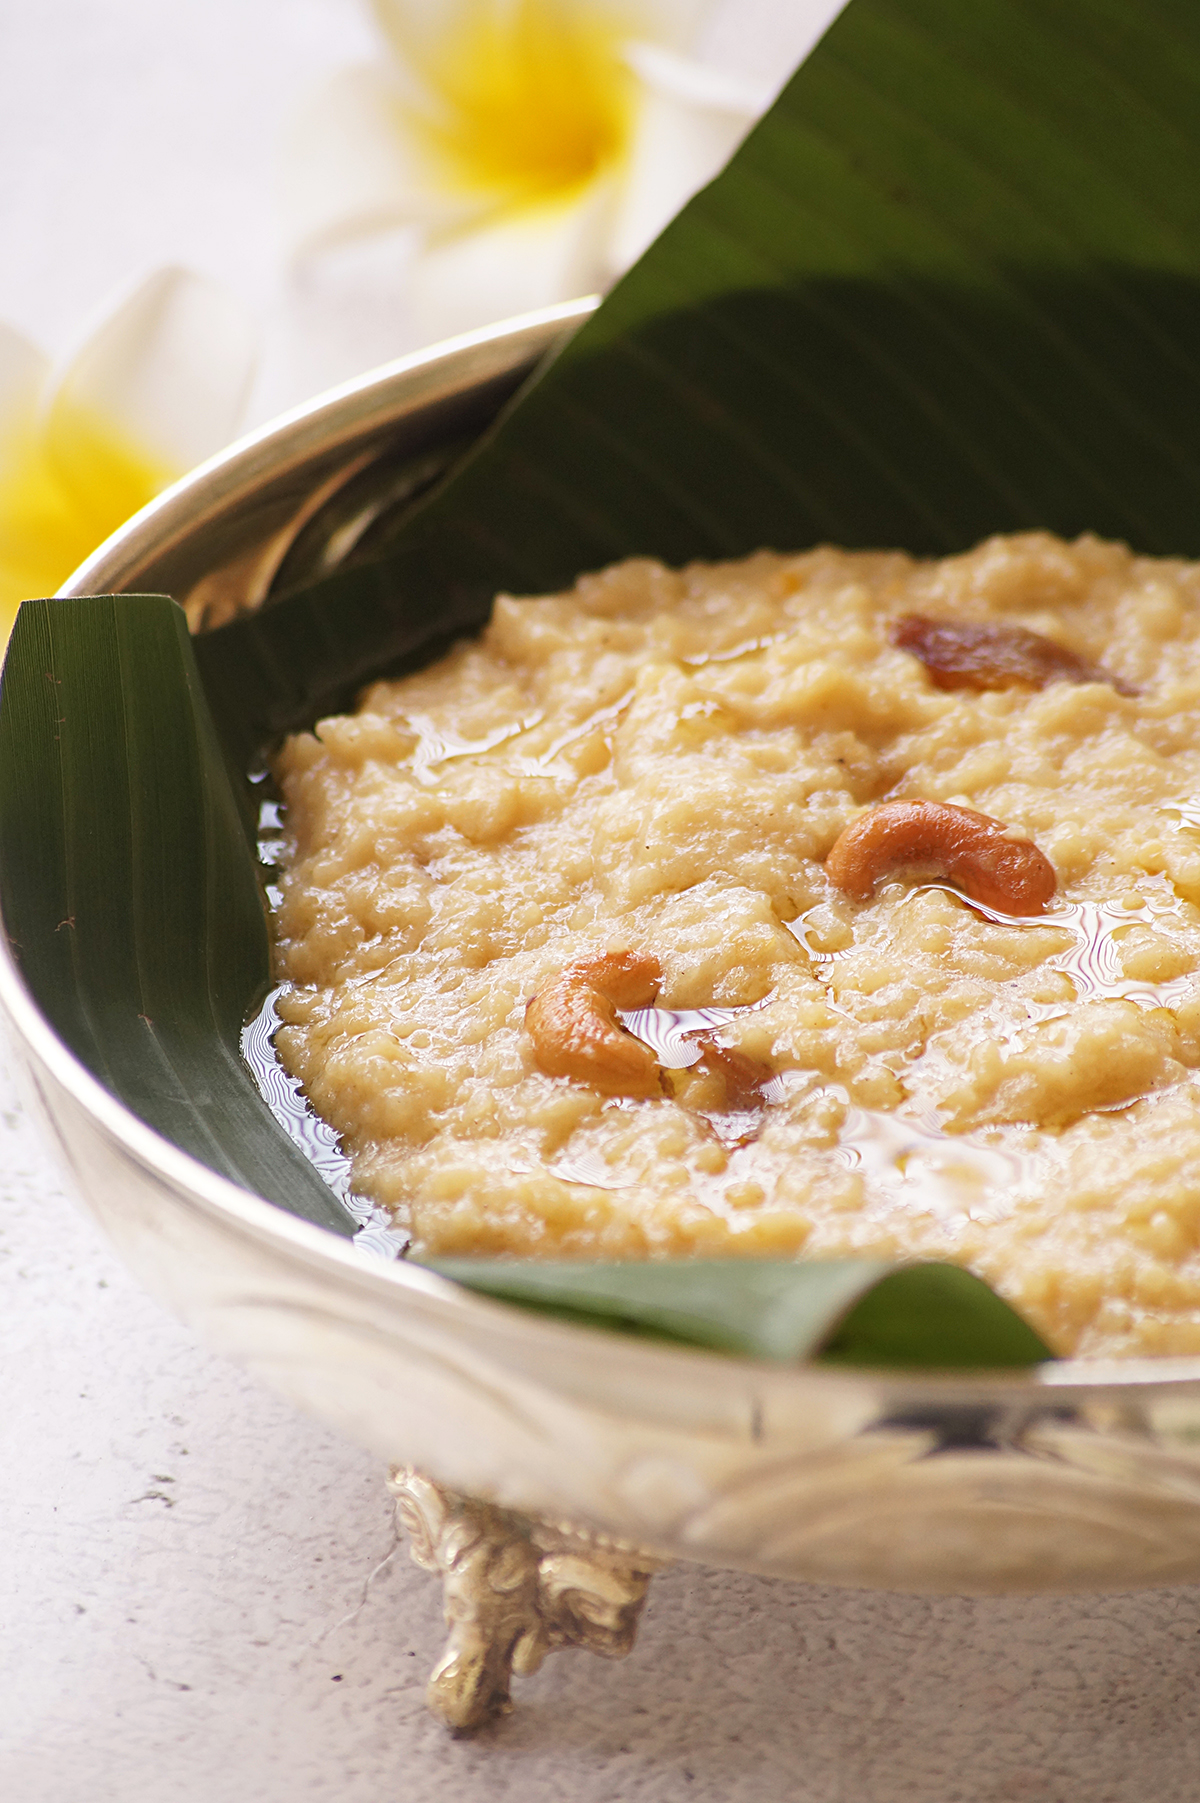
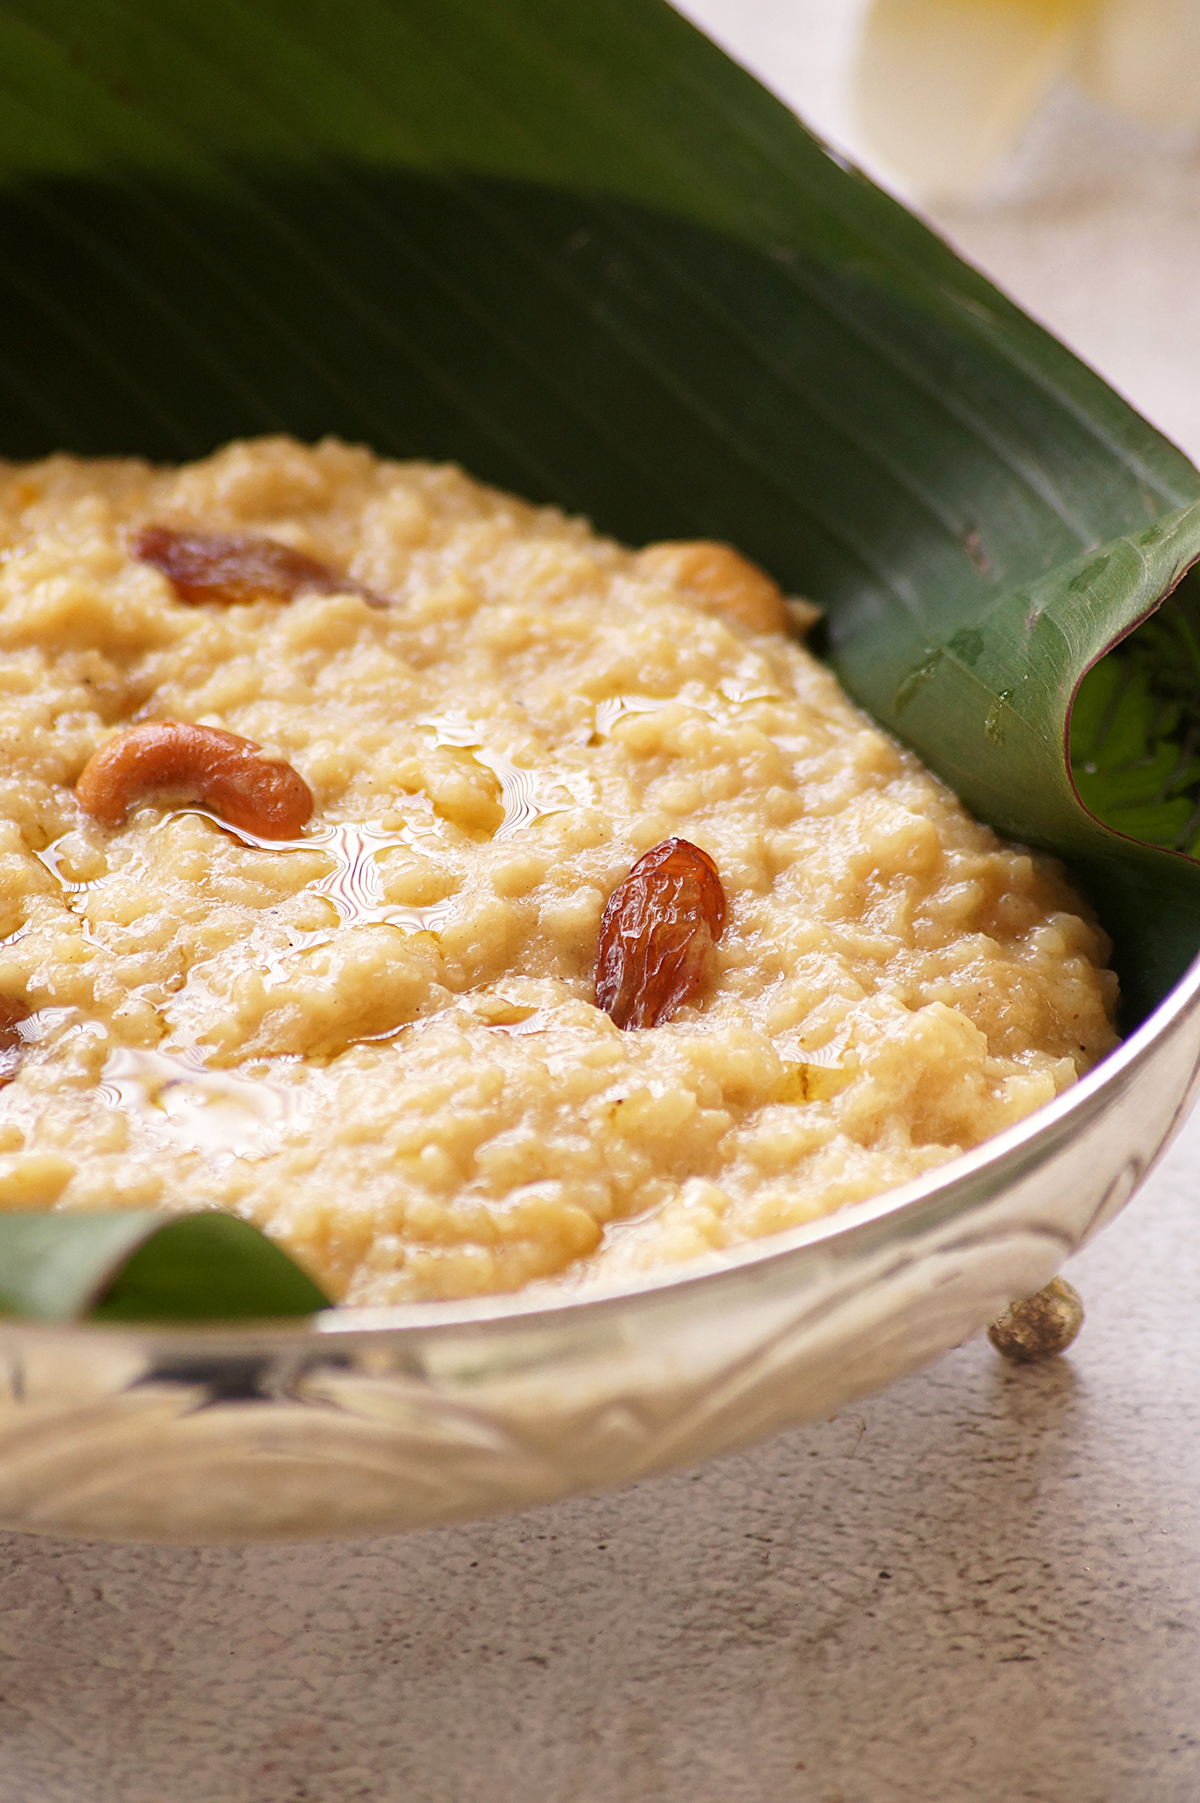
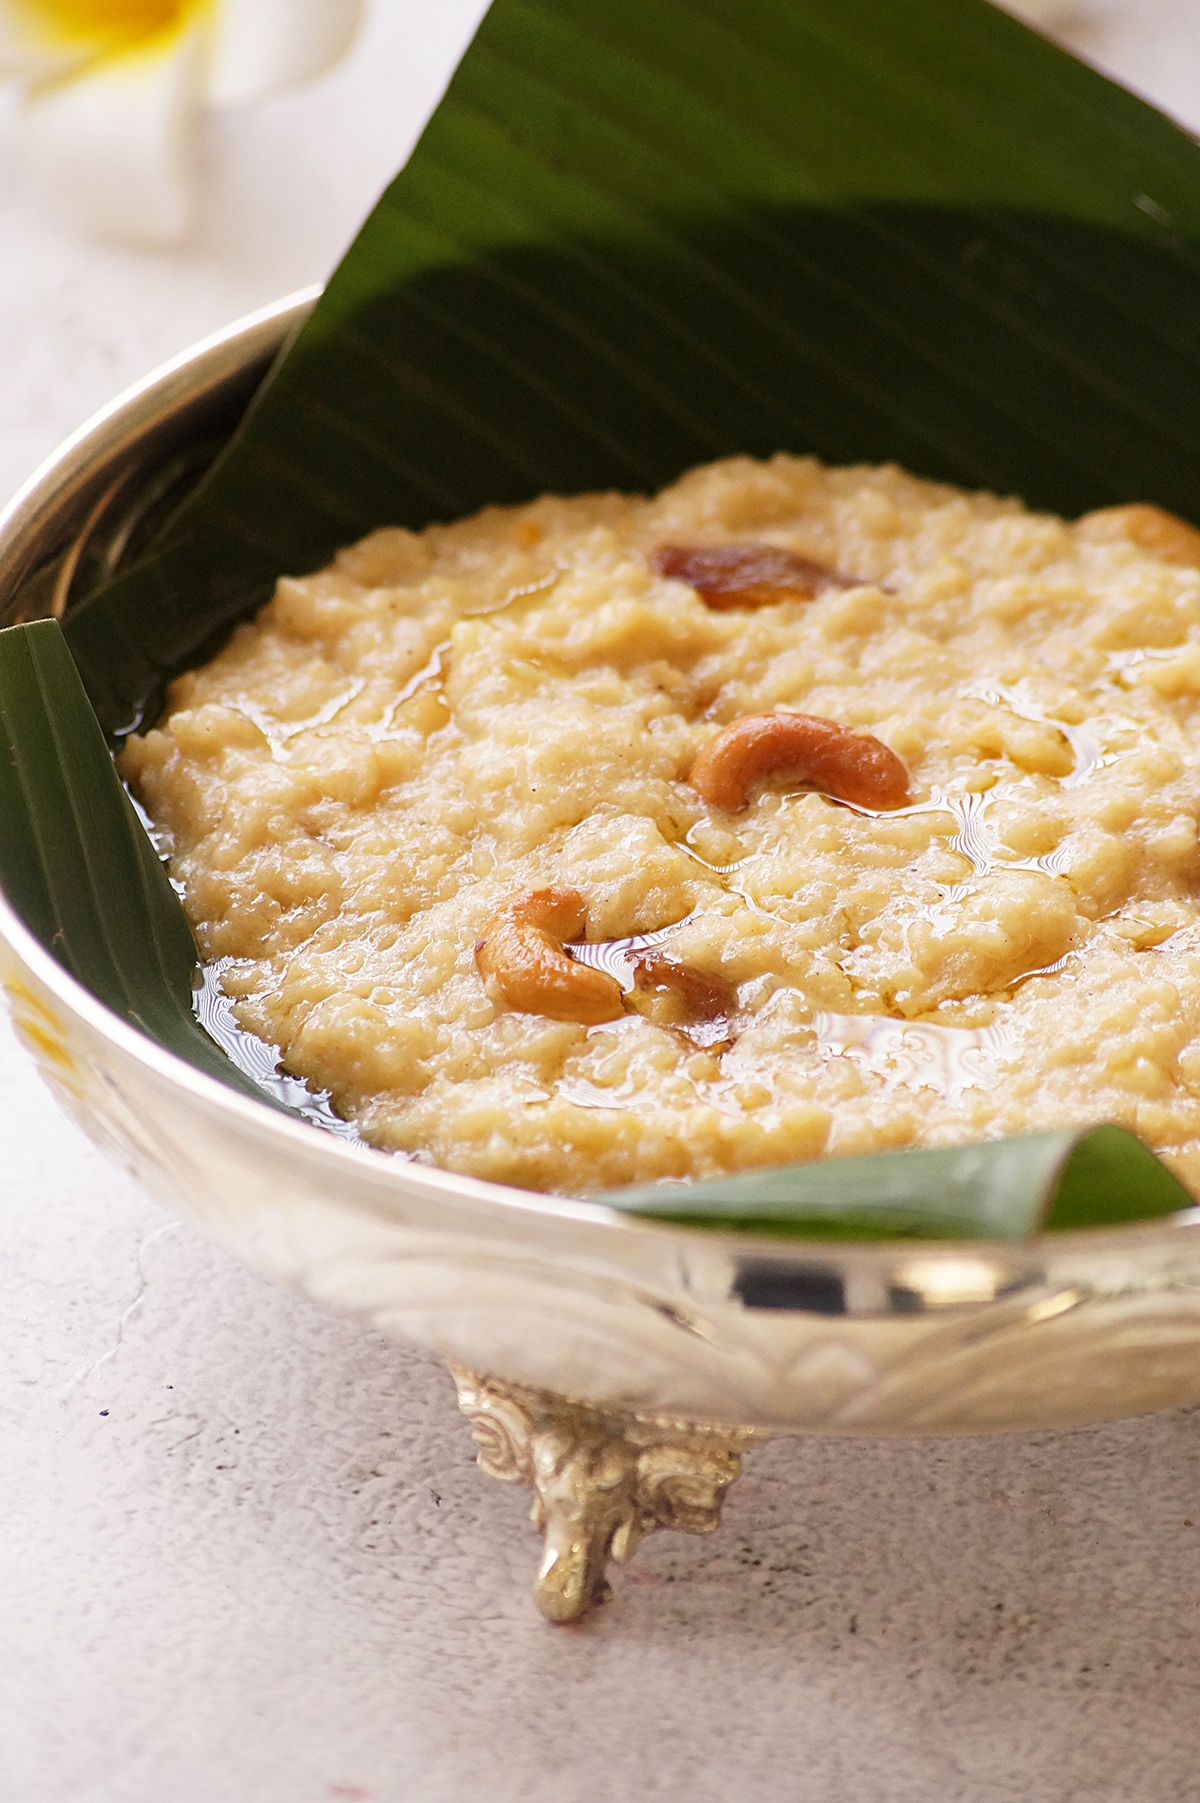
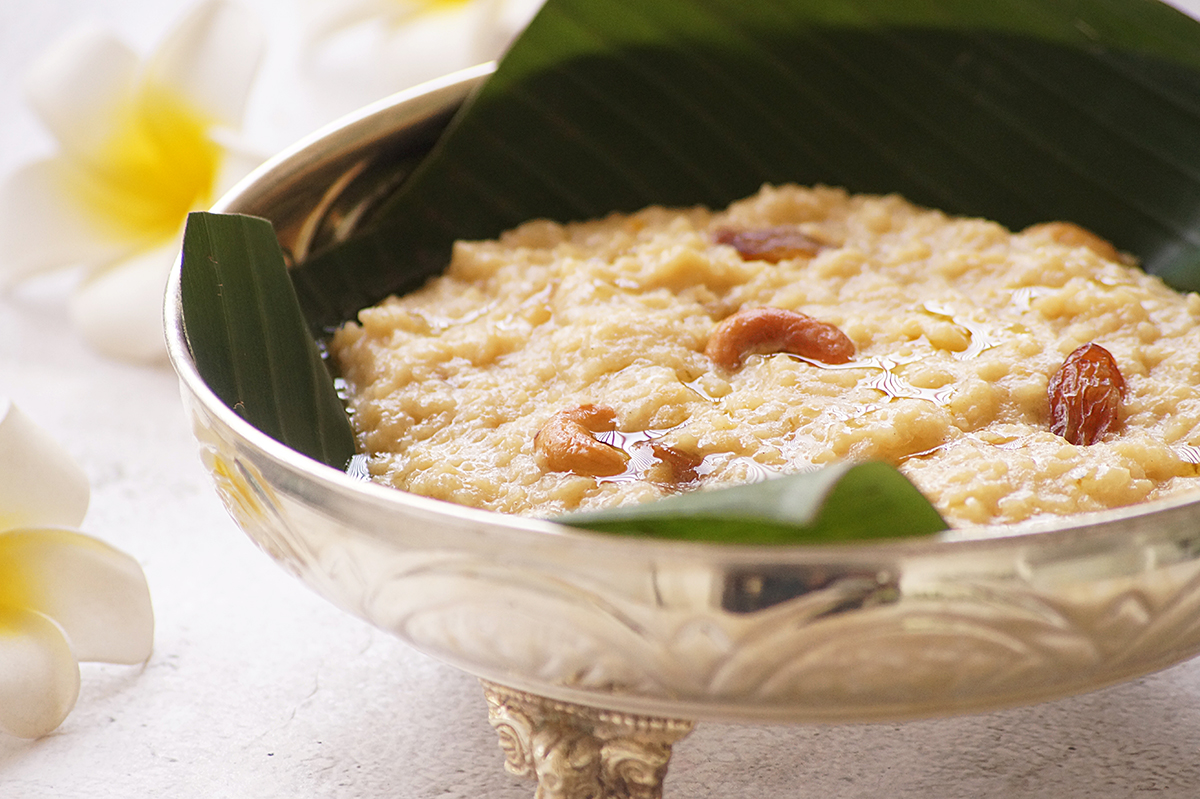
    Instant Pot Sweet Pongal - A traditional, wholesome, sumptuous, easy-to-make South Indian dessert that resembles rice pudding, made under 30 minutes using Instant pot with everyday ingredients

    What is instant pot sweet pongal?

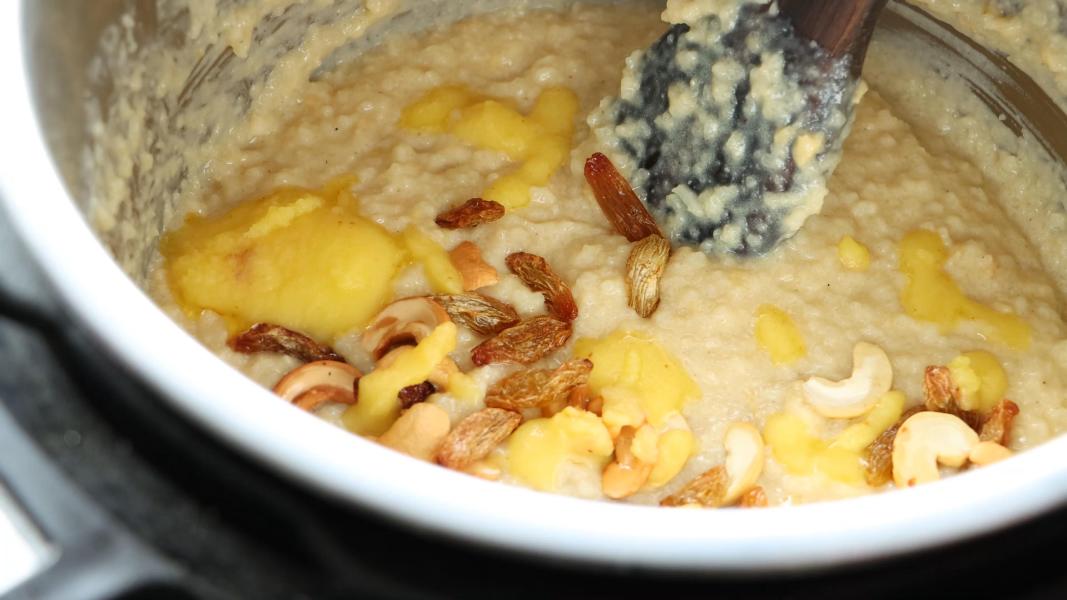
    Sweet Pongal or Sakkarai Pongal is essentially an Indian version of pudding made of milk, rice, lentils, jaggery, ghee and some Indian spices such as cardamom and usually served as dessert. Named after the Pongal festival that marks the celebration of the season´s first harvested paddy, it is a popular choice for family gatherings, house warming functions and festive occasions. Remarkably, during Indian house warming functions, the "boiling over" of pongal is considered highly auspicious and is usually met with thunderous applause and cheers from the attendees, marking the beginning of a prosperous journey at the new home.

    Using an Instant pot instead of the traditional cooking bowl or pressure cooker greatly simplifies the process.

    Why you'll love this recipe:

    • Tasty and fulfilling : As sweet as you want it to be, rich texture, filling and sumptuous! 
    • Healthy : Lentils help you meet your daily protein intake while ghee, when added to any hot dish in moderation, can improve good fat percentage and digestion.
    • Hardly takes 10 minutes to make, using an Instant pot
    • Beginners can easily make it as well, without fumbling!
    • Perfect for small or large gatherings and festive occasions.

    Ingredients & substitutions:

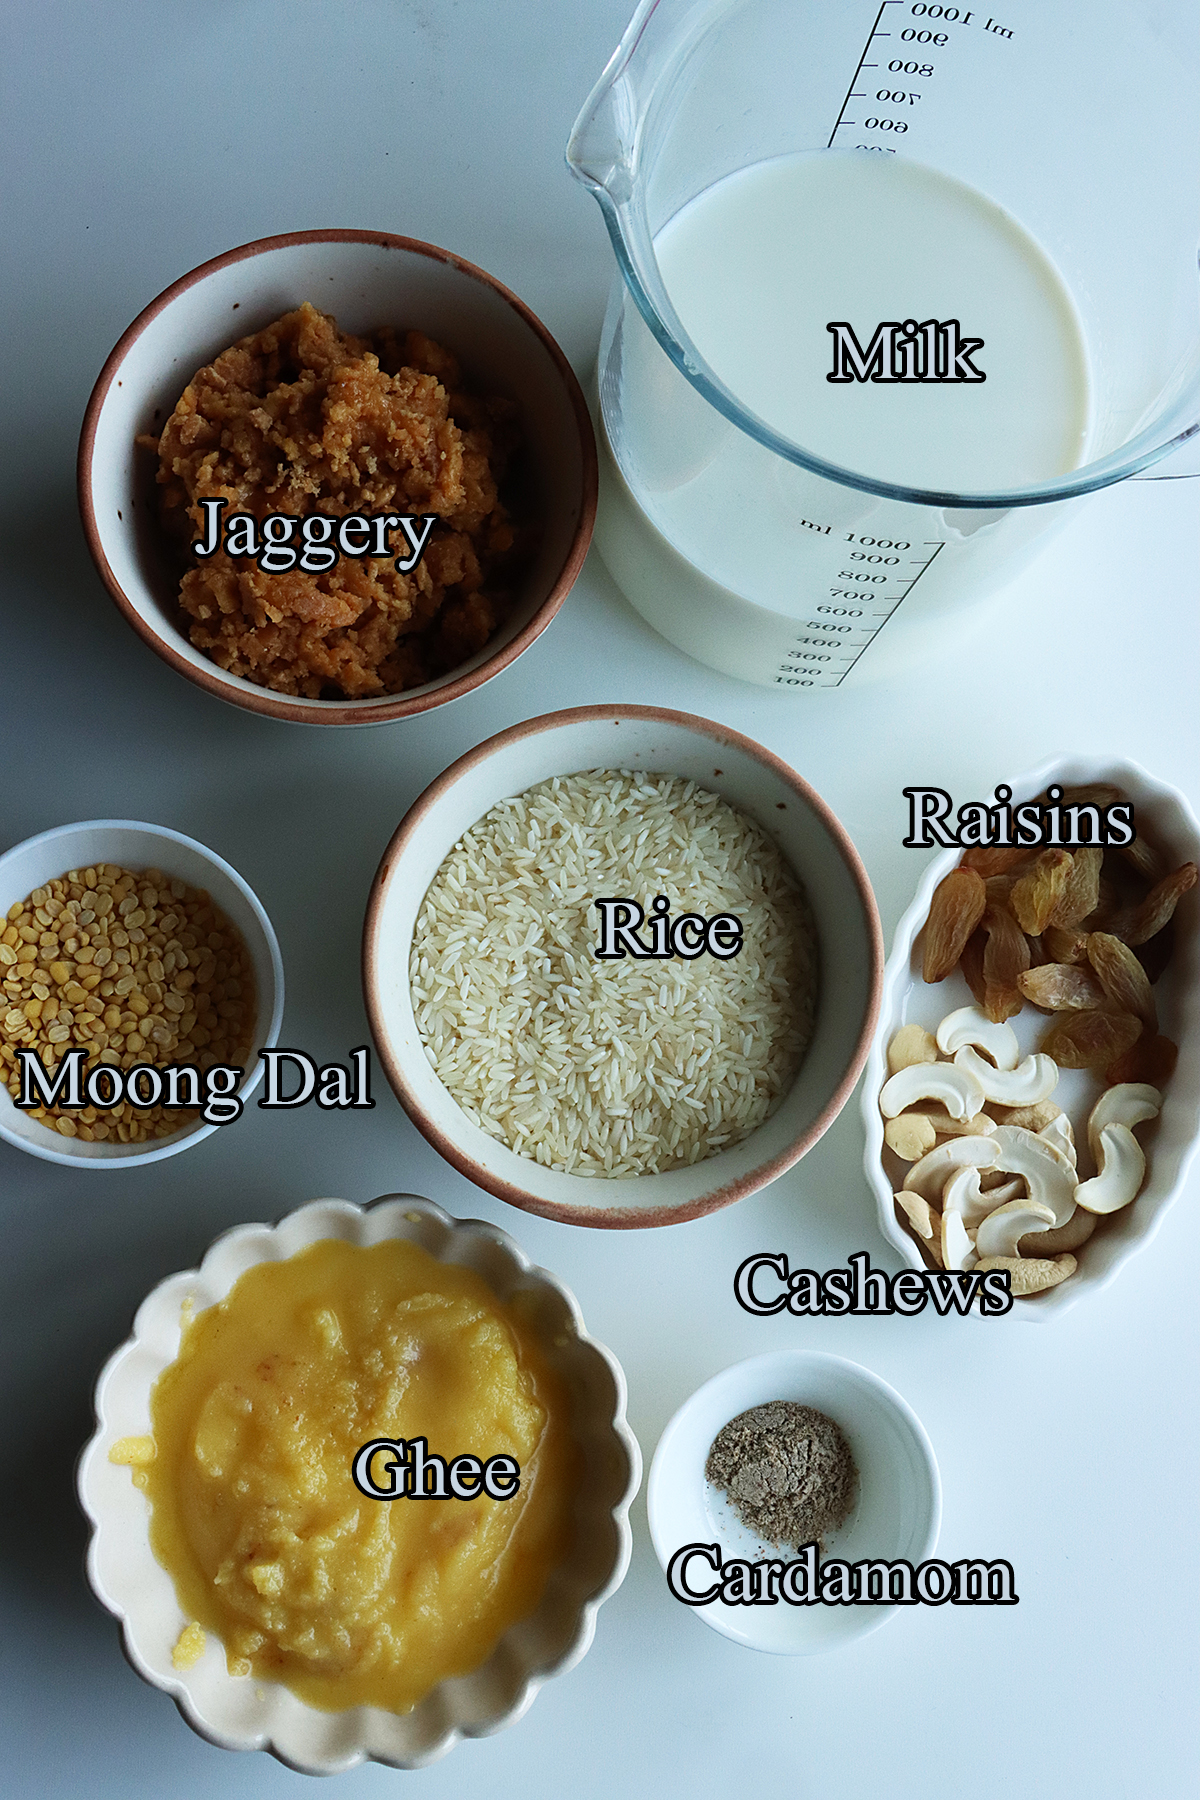
    Rice - I have used "Sona Masoori Rice" . You can use any raw rice but do not substitute with basmati rice.

    Moong Dal - Moong dal is split green gram, can be easily available at any Indian store.

    Jaggery - Traditional recipe requires jaggery which you can get it from any Asian store. Brown sugar or white sugar can be used as a substitute.

    Milk - Replace it with coconut milk or any plant-based milk for vegan version.

    Ghee - Ghee is clarified butter and adds a wonderful flavor and richness to the dish. Do not reduce the amount of ghee for the best taste. Replace it with vegan butter or coconut oil if you are vegan.

    Nuts & Raisins - You can use any of your favorite nuts. Adds a wonderful crunch.

    Cardamom Powder - Do not skip. Use freshly ground cardamom if possible.

    Storage suggestions:

    Store any leftovers in the refrigerator for up to 2 days. Before serving, take it out of the refrigerator, add a little hot milk or hot water to the pongal to thin it and gently reheat in the microwave or stove top until warm.

    Serving suggestions:

    Drizzle a little bit of ghee on top of the pongal and serve warm as a dessert, snack or breakfast.

    Tips & Notes:

    Follow the exact liquid measurements to make the best sweet pongal.

    Add jaggery to the rice mixture when it is still hot, so it will dissolve easily.

    If you are not using organic jaggery, dissolves jaggery in some water in the microwave or stovetop and filter it using a sieve. Add the jaggery water after rice is cooked.

    To prevent the Instant Pot from showing a burn warning, make sure that you scrape any bits stuck to the bottom.

    Adjust the sweetness according to your taste. Add more jaggery if needed.

    You can also roast and add fresh or dried coconut pieces for the extra flavor and crunch.

    Step by step instructions:

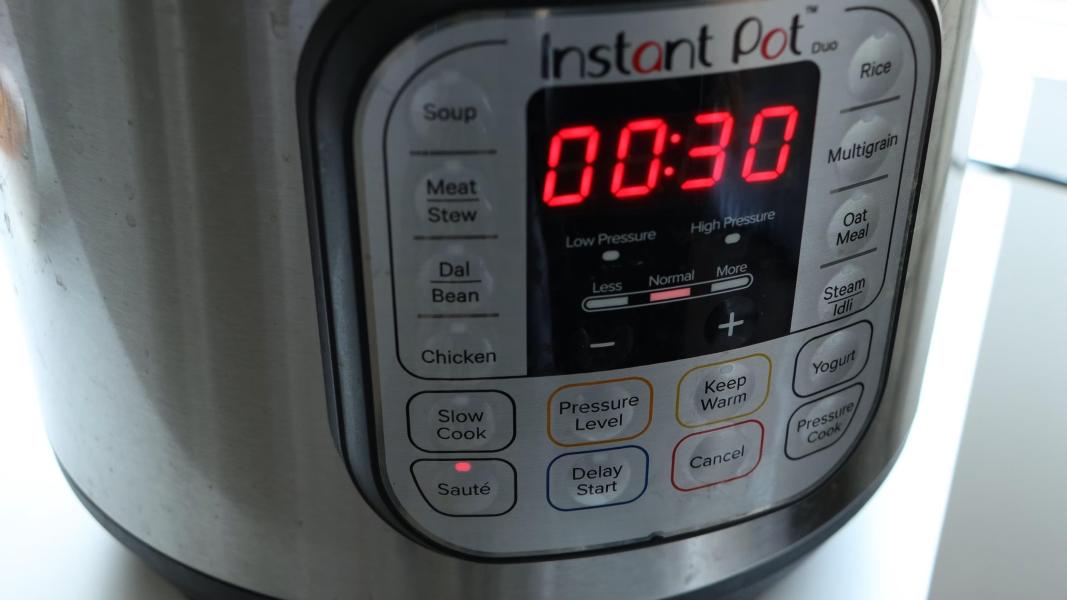
    Press the SAUTE button.

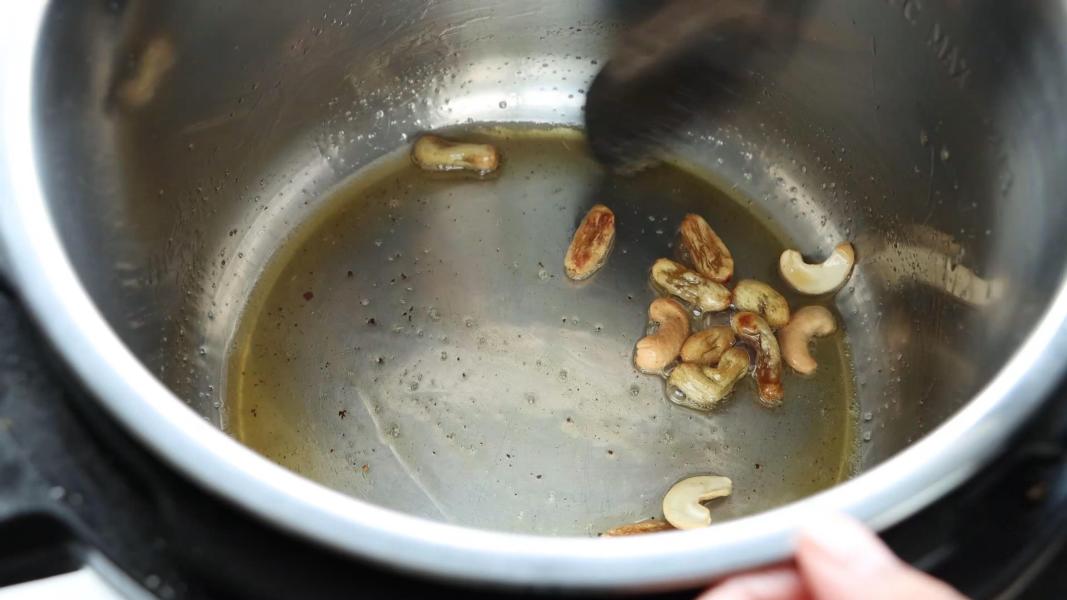
    Add cashews and fry until they are light brown color. Add raisins and continue roasting until golden brown color.

    Take them out of the pot and set aside.

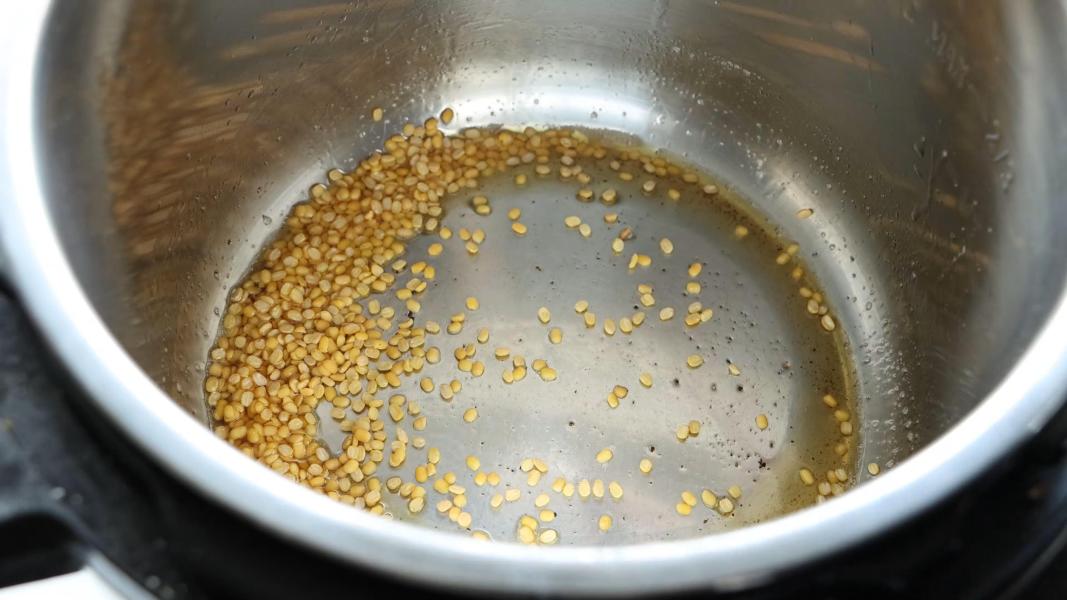
    Add moong dal and roast until light brown color.

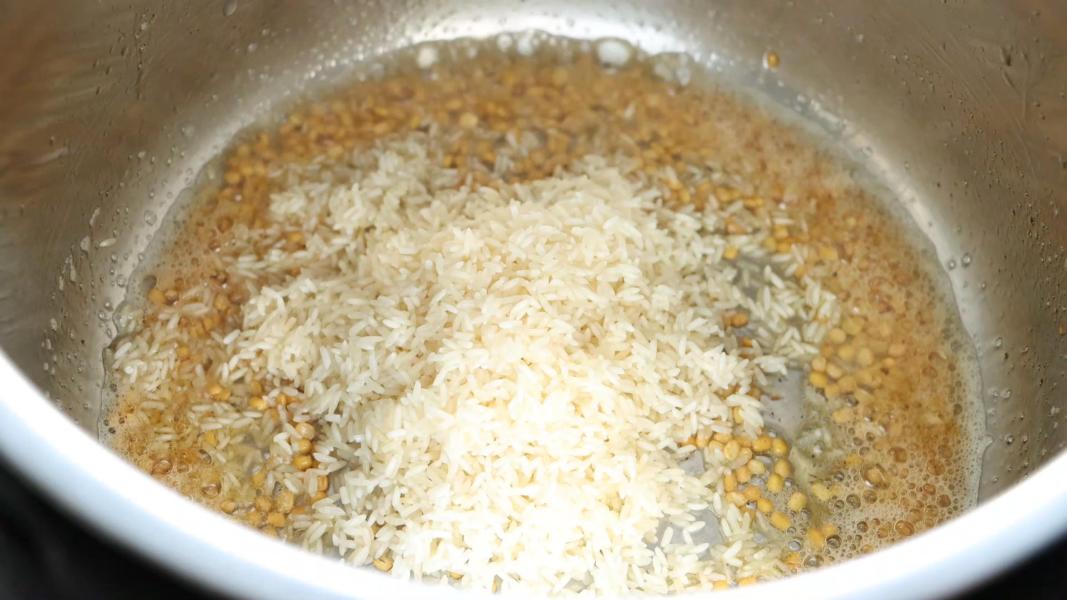
    Add rinsed rice and give it a mix.

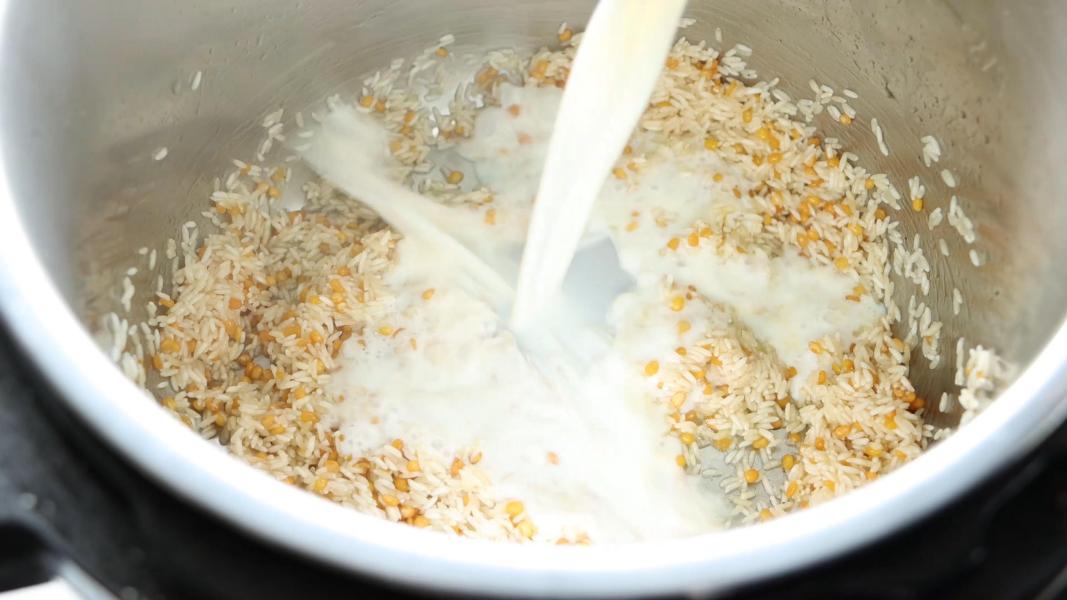
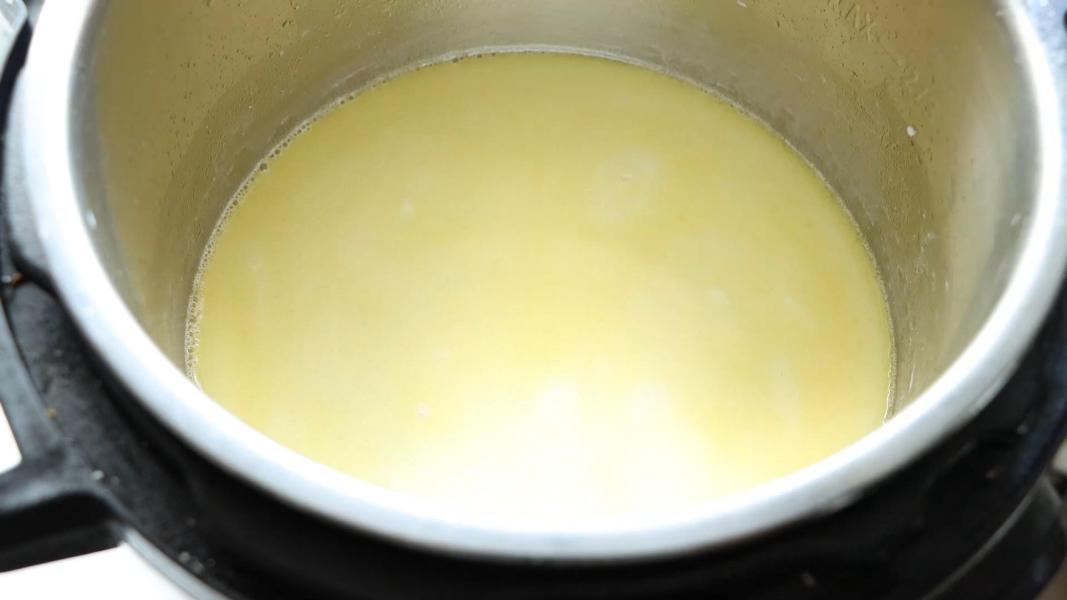
    Add milk and water.

    Mix and scrape the bottom well.

    Close the lid and move the valve to sealing position.

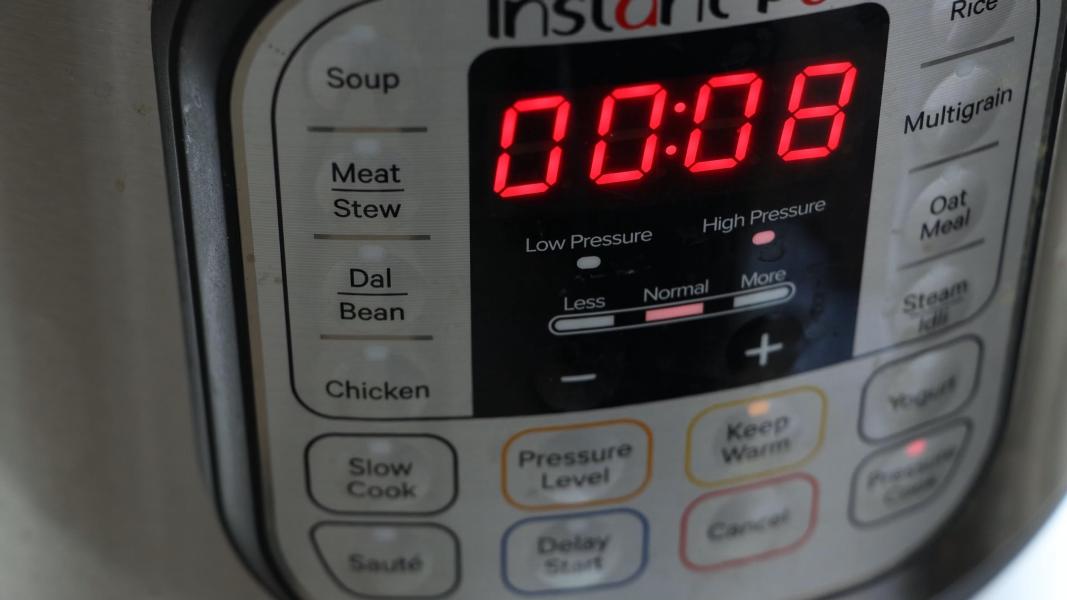
    Cancel saute mode and press PRESSURE COOK / MANUAL button and adjust the time to 8 minutes.

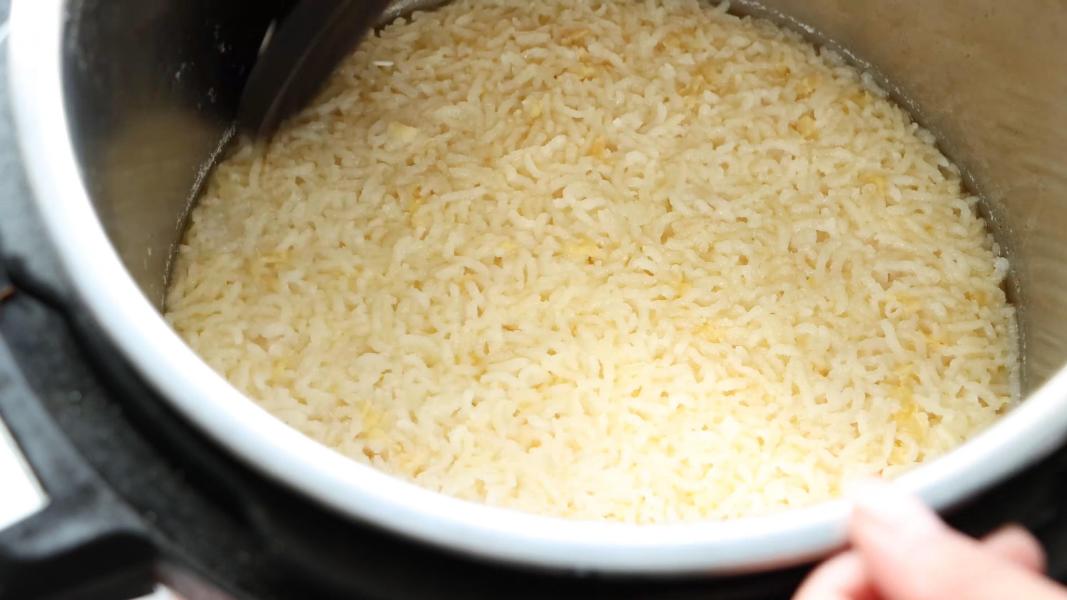
    Let the pressure release naturally. Wait until the metal pin drops completely before opening the lid.

    Open the lid and give it a mix.

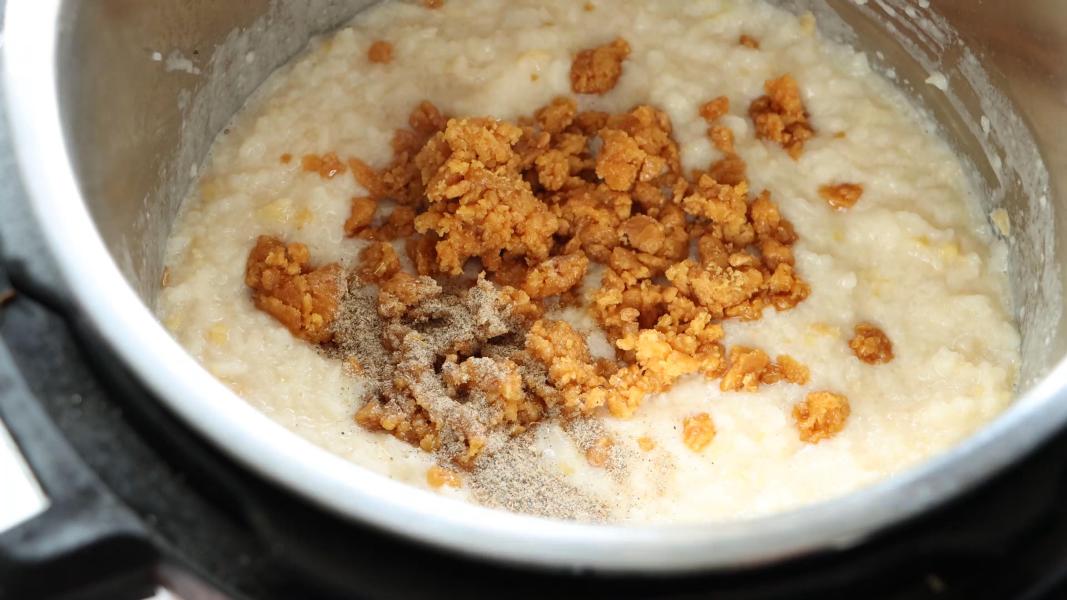
    Add powdered or grated jaggery and cardamom powder to the cooked rice mixture while it is still hot.

    Mix until the jaggery dissolves.

    Add fried nuts and remaining ghee and mix well.

    Serve warm and enjoy!
    You might like these recipes:

    • Instant Pot Semiya Payasam
    • Instant Pot Semiya Payasam
    • Coconut Ice
    • Custard Gulab Jamun
    • Paan Ladoo
    • Thandai Chia Pudding
    • Bhagar
    • Sugarcane Juice Pongal
    • Bellam Paramannam

    Instant pot sweet pongal recipe video below:

    Print Recipe

    Instant Pot Sweet Pongal

    A traditional, wholesome, sumptuous, easy-to-make South Indian dessert that resembles rice pudding, made under 30 minutes using Instant pot with everyday ingredients
    Prep Time5 minutes mins
    Cook Time10 minutes mins
    Total Time15 minutes mins
    Servings: 6
    Calories: 364kcal
    Author: Hari Chandana Ponnaluri

    Ingredients

    • ½ Cup Rice
    • 2 Tablespoons Moong Dal
    • 6 Tablespoons Ghee
    • 2 Cups Milk
    • 2 Cups Water
    • ¾ Cup Powdered Jaggery
    • 10-15 Cashews
    • 10-15 Raisins

    Instructions

    • Press the SAUTE button and add 2 tablespoons of ghee to the inner pot of your instant pot.
    • Add cashews and fry until they are light brown color. Add raisins and continue roasting until golden brown color.
    • Take them out of the ghee and set aside.
    • Add moong dal and roast until light brown color.
    • Add rinsed rice and give it a mix.
    • Add milk and water and scrape the bottom well.
    • Close the lid and move the valve to sealing position.
    • Cancel saute mode and press PRESSURE COOK / MANUAL button and adjust the time to 8 minutes.
    • Let the pressure release naturally. Wait until the metal pin drops completely before opening the lid.
    • Open the lid and give it a mix.
    • Add powdered or grated jaggery and cardamom powder to the cooked rice mixture.
    • Mix until the jaggery dissolves.
    • Add fried nuts and remaining ghee and mix well.
    • Serve warm!

    Video

    Nutrition

    Calories: 364kcal | Carbohydrates: 46g | Protein: 5g | Fat: 18g | Saturated Fat: 11g | Polyunsaturated Fat: 1g | Monounsaturated Fat: 5g | Trans Fat: 0.1g | Cholesterol: 45mg | Sodium: 43mg | Potassium: 205mg | Fiber: 1g | Sugar: 30g | Vitamin A: 85IU | Vitamin C: 0.4mg | Calcium: 116mg | Iron: 1mg

    Sweet Potato Chocolate Spread

    January 28, 2024

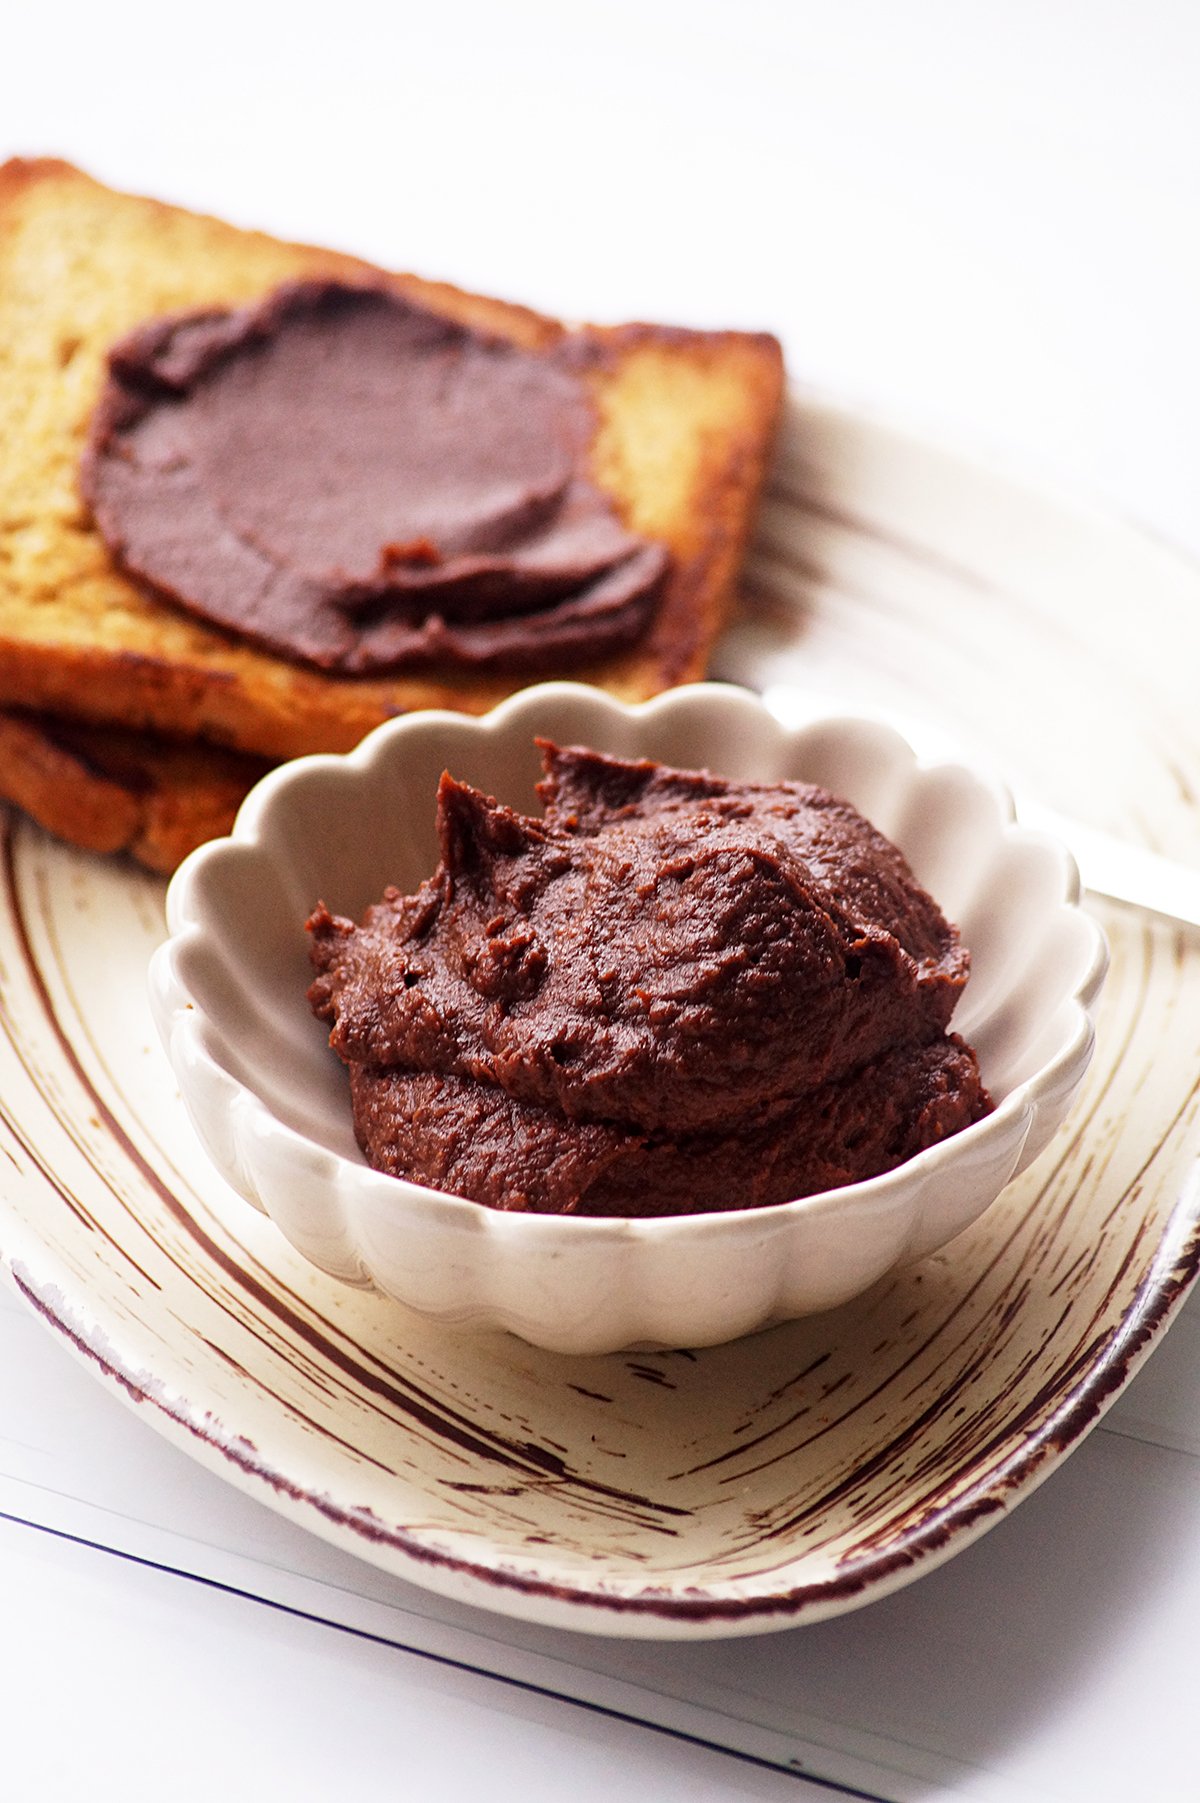
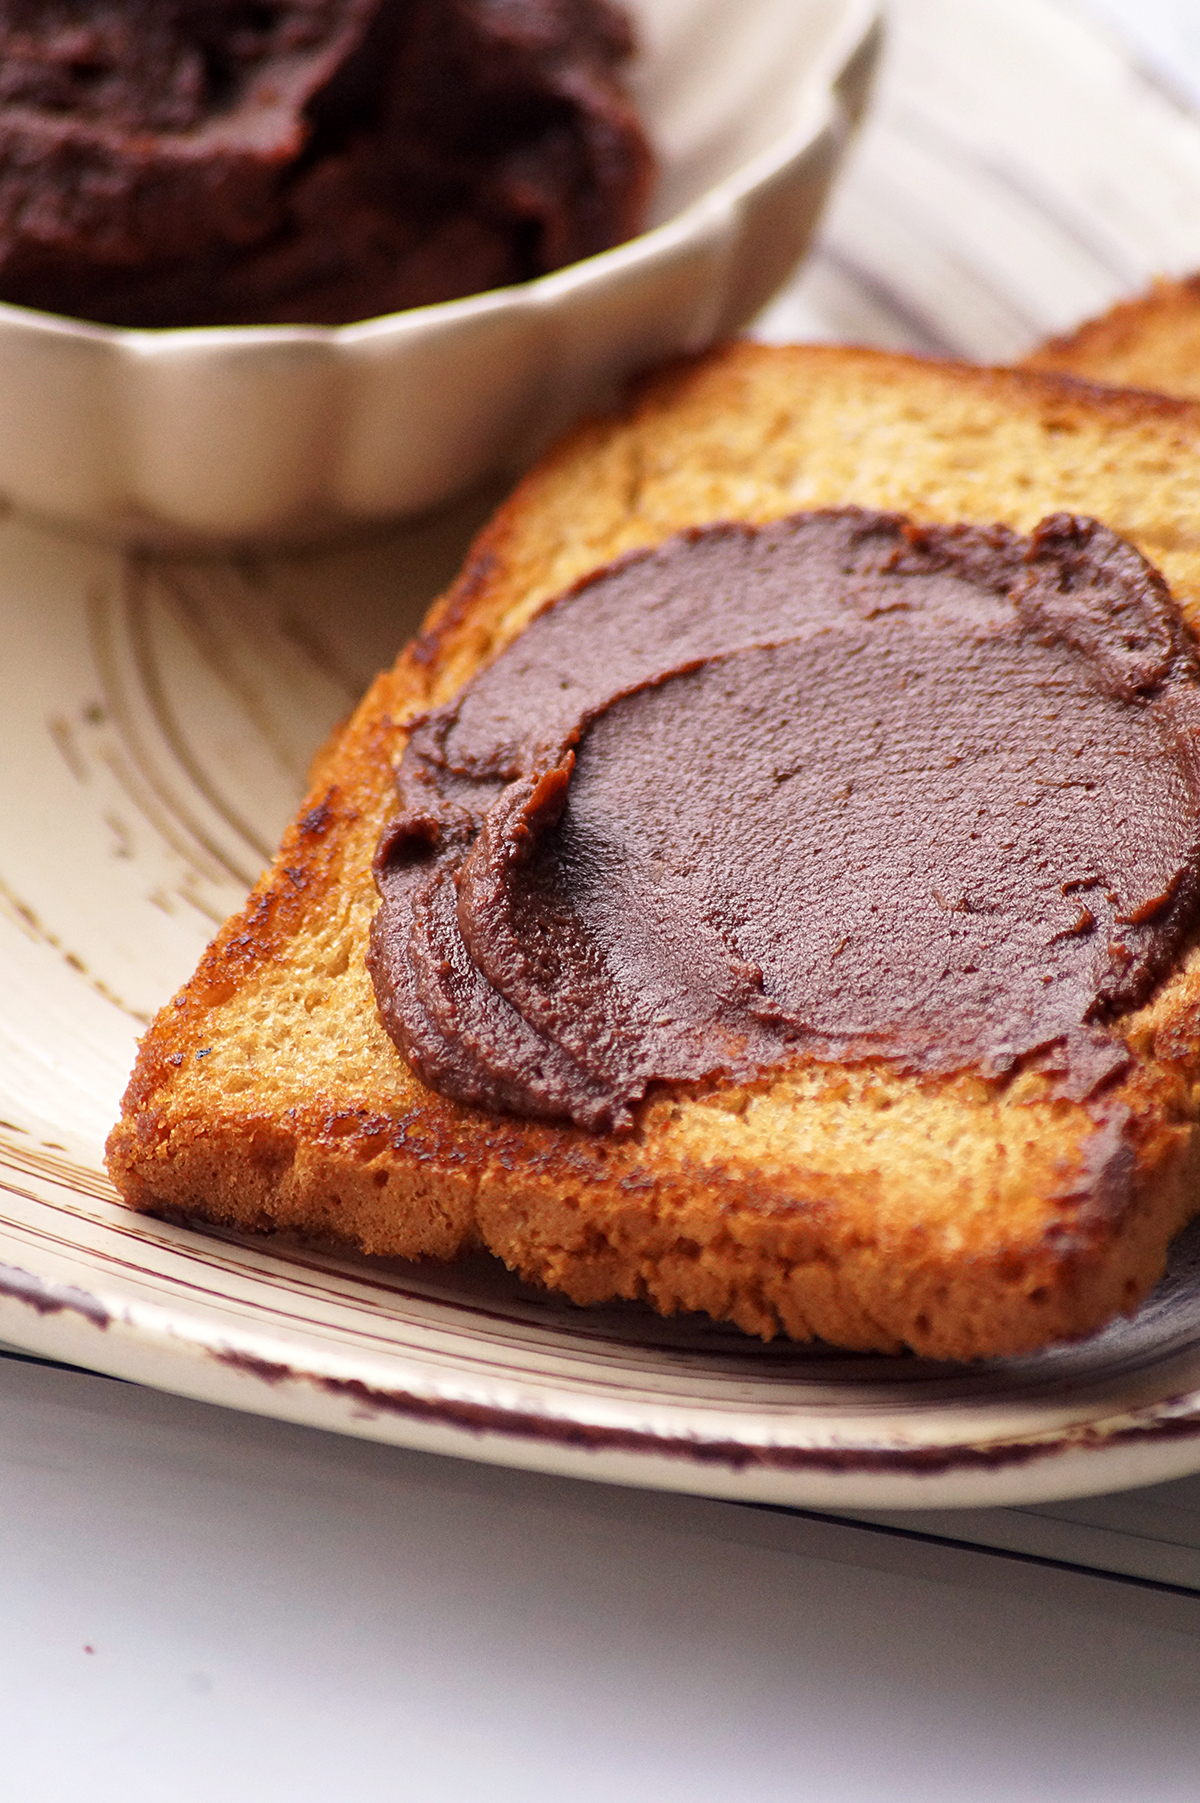
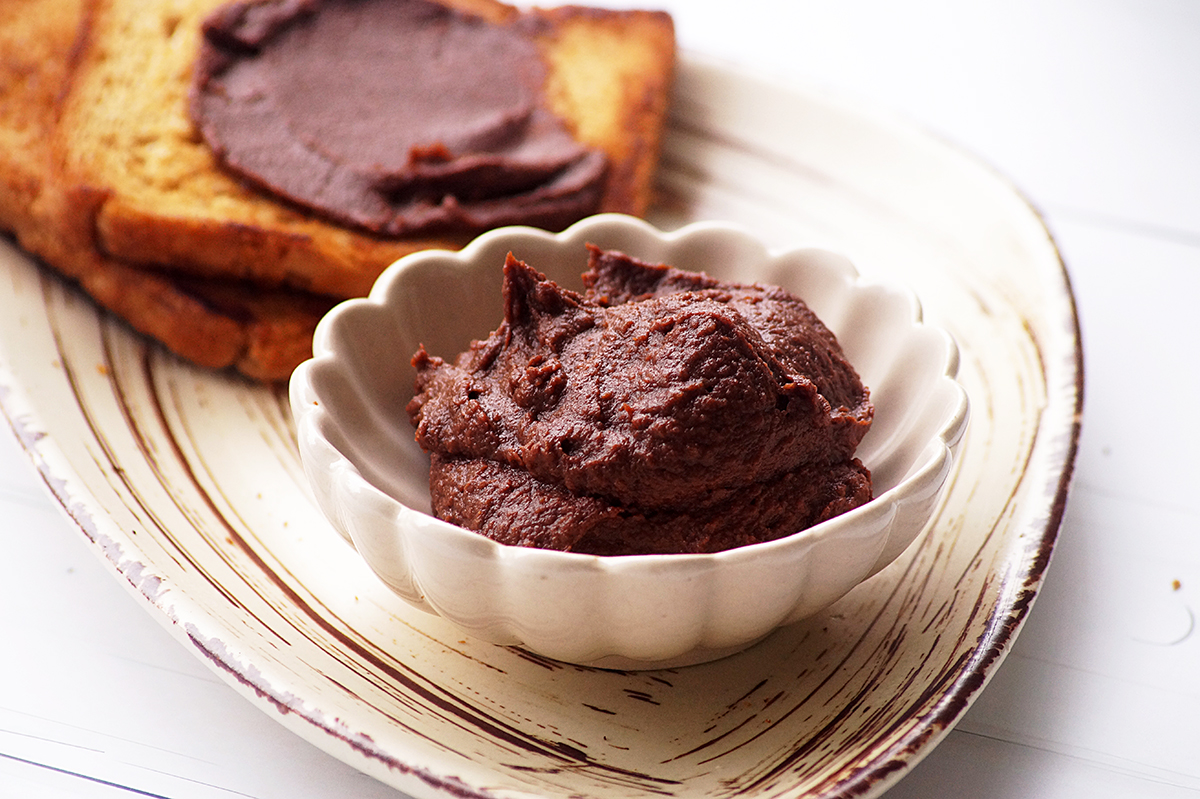
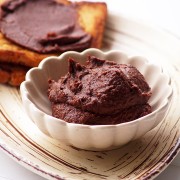
    Sweet Potato Chocolate Spread - A creamy and chocolatey homemade spread made with cocoa powder and cooked sweet potatoes. Perfect for spreading on a toast!

    What is sweet potato chocolate spread:

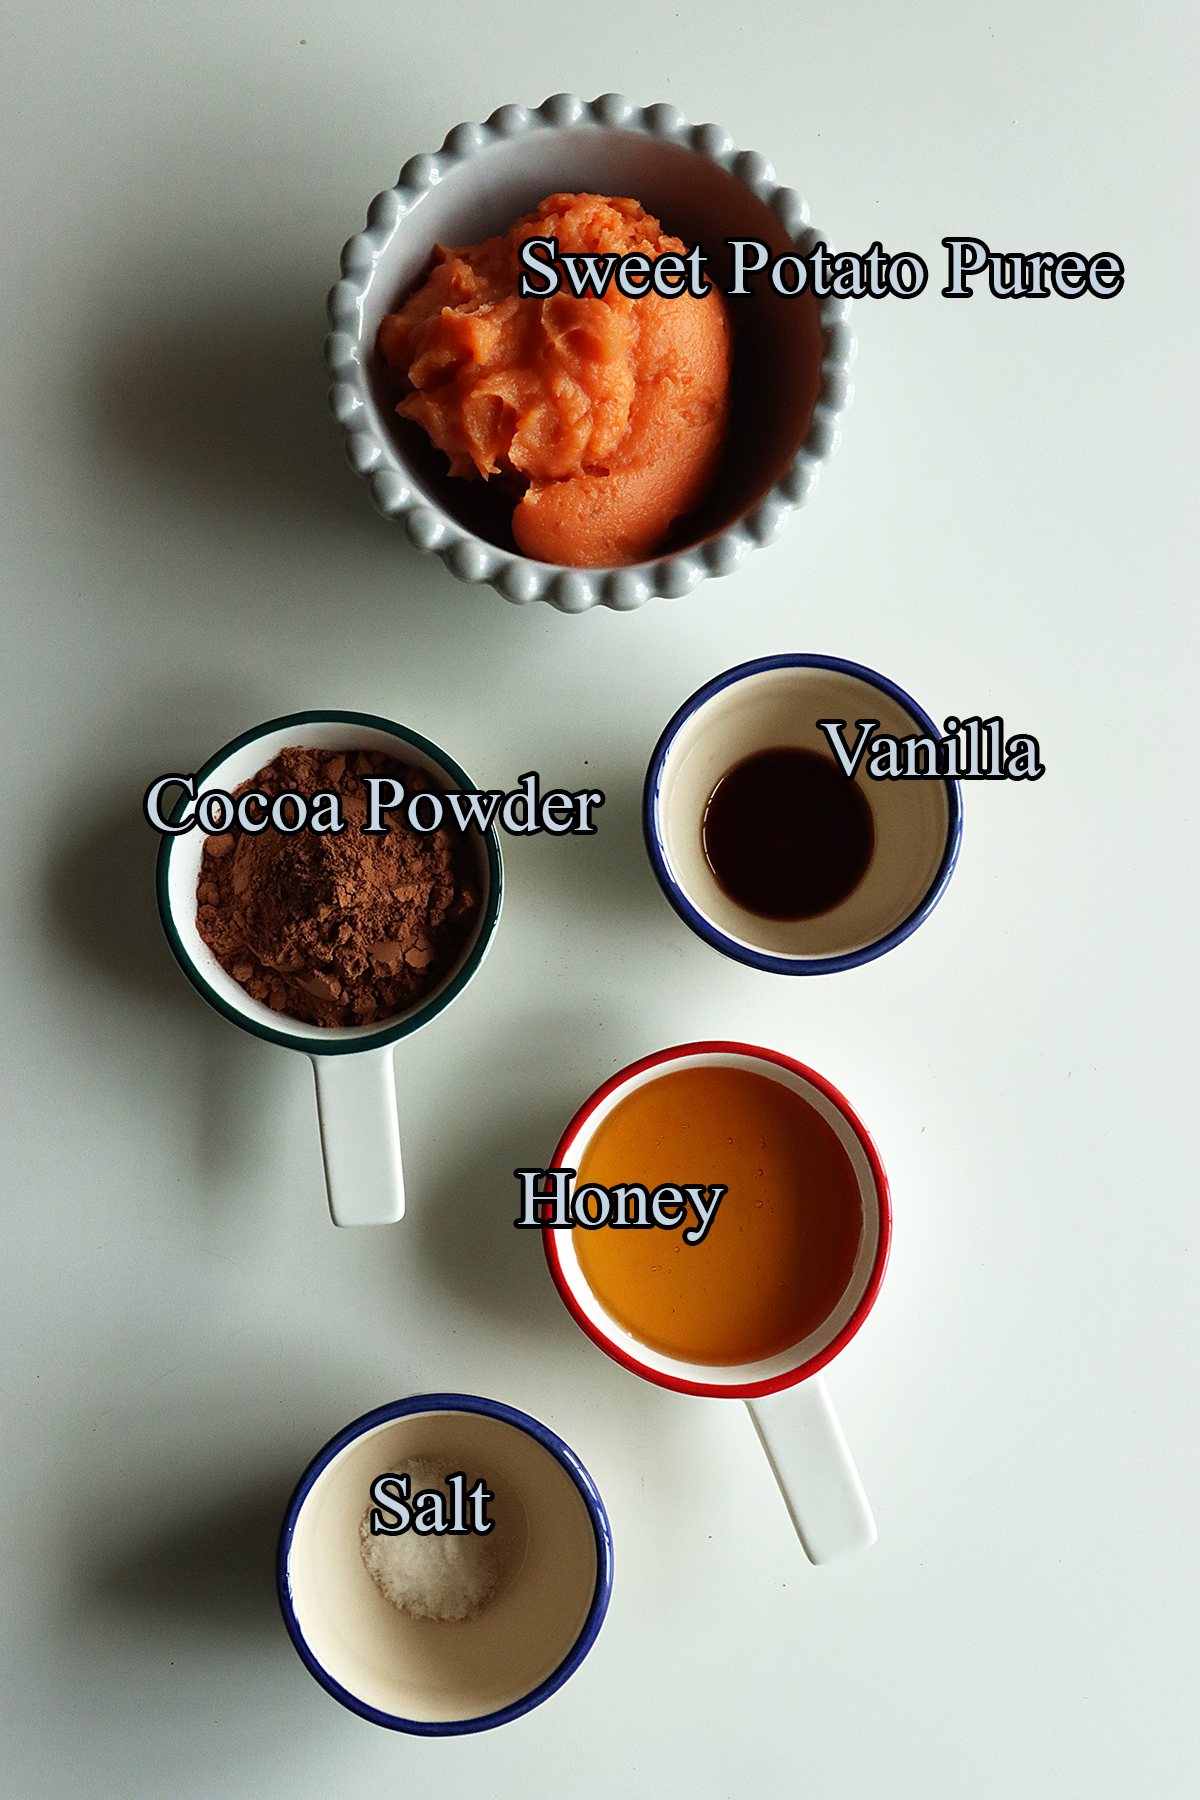
    It is a simple, easy and homemade spread or dip made with roasted or cooked sweet potato puree, cocoa powder, honey and vanilla. It is a healthier alternative to store-bought chocolate spreads.

    You just need a couple of ingredients to make this super easy chocolate spread. If you have roasted sweet potatoes ready in hand, it can be made in no 5 minutes. You can spread it on toast, english muffins and bagels, use as a dip for fruits and crackers.

    Ingredients & Substitutions:

    Sweet Potato Puree - I have used sweet potato puree. You can also use canned puree in this recipe. Do not use sweet potato pie filling.

    Cocoa Powder - Use a high-quality unsweetened cocoa or cacao powder for the best flavor.

    Honey - You can use any of your favorite sweetened. Adjust as per your taste.

    Vanilla - It enhances the flavor of the spread. Do not skip it.

    Salt

    Serving suggestions:

    Slather it on toast, bagels or muffins for a wonderful breakfast or snack.

    It can also be served with fruits like berries, apples and bananas.

    Swirl it into yogurt or oatmeal for a chocolate flavor.

    Storage suggestions:

    It requires refrigeration. Store it in an airtight container and refrigerate it for up to 2 days.

    Tips & Notes:

    If you are using freshly roasted sweet potatoes, make sure they are fully cooked for the best taste and texture.

    If you prefer a thinner a consistency, add a little amount of milk or any other liquid and mix until you get the desired consistency.

    Use a high-quality cocoa powder for a rich and better flavor.

    You can also add a little bit of cinnamon for a different flavor variation.

    Replace honey with maple syrup or agave to make it vegan.

    Step by step instructions:

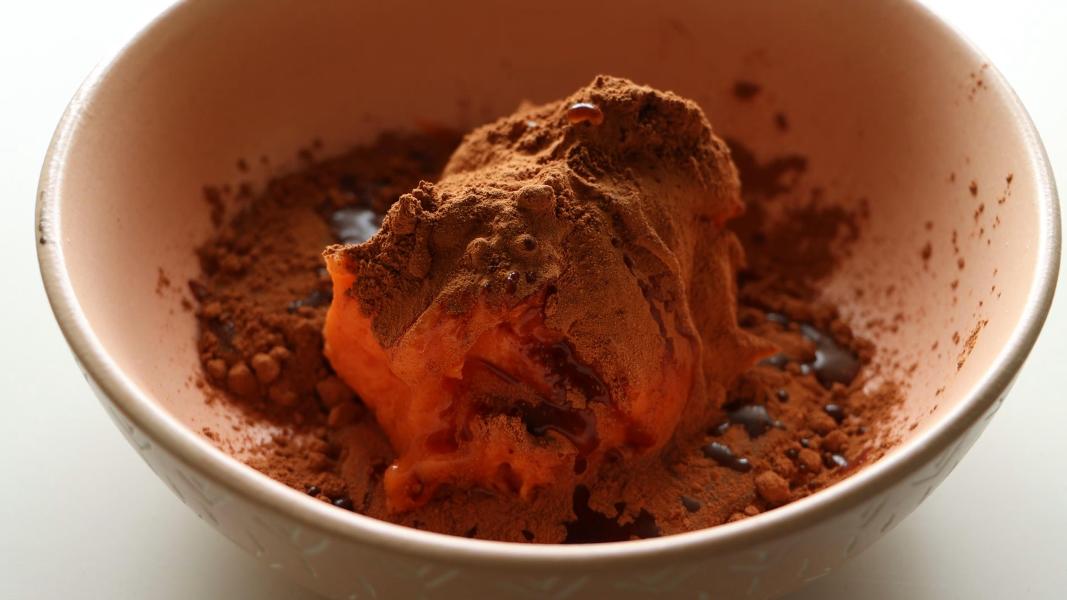
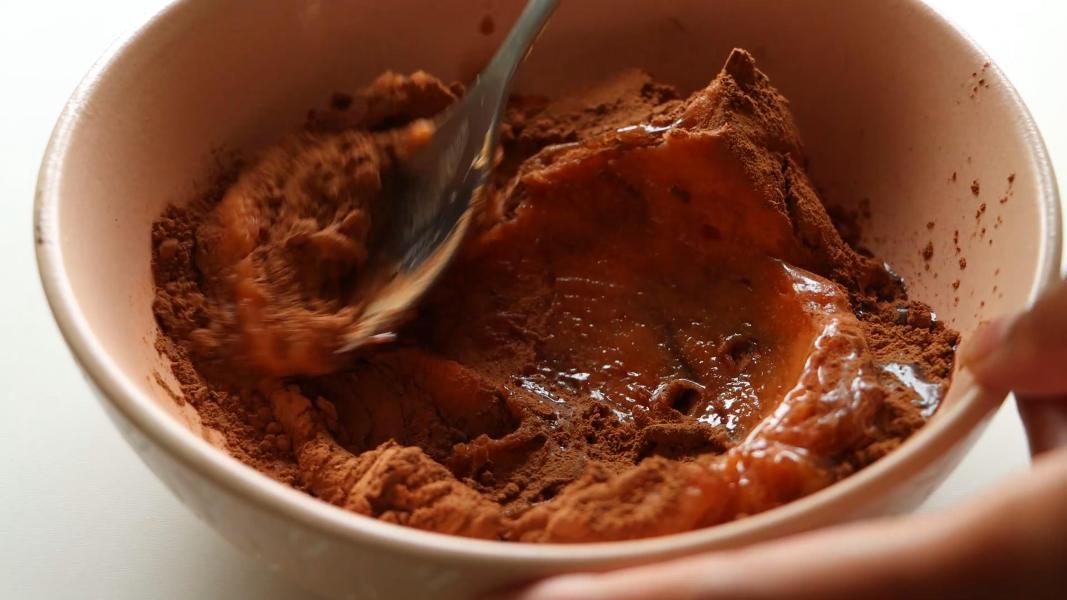
    Combine all the ingredients in a bowl.

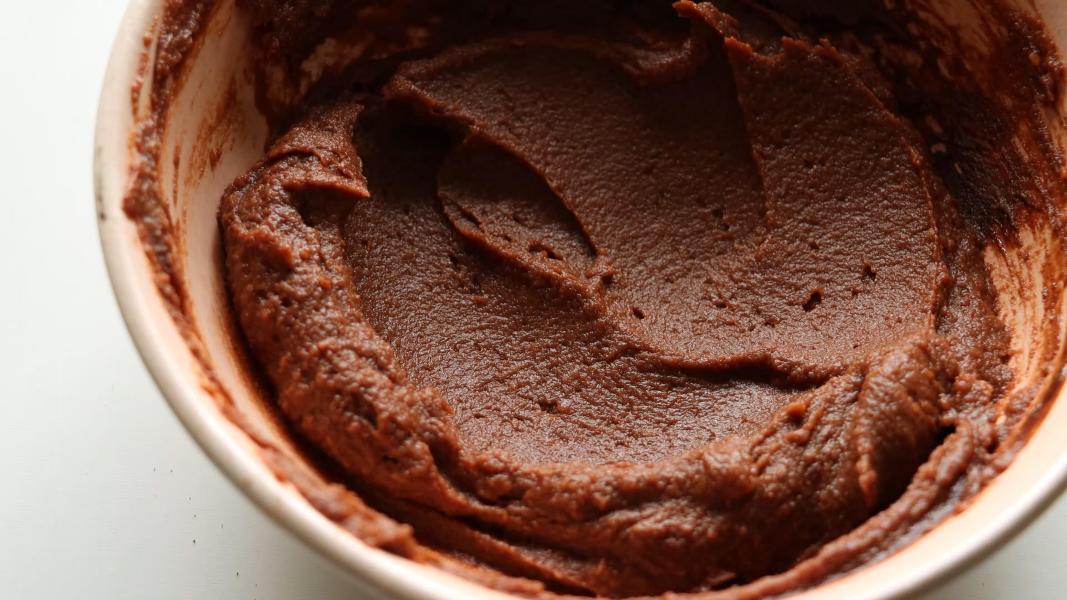
    Mix everything using a spoon or spatula until nice and creamy.

    Add a little bit of milk at this stage if you want a thinner consistency. Adjust the sweetness and serve!

    You might love these recipes:

    • Cherry Cream Cheese Spread
    • Chestnut Hummus
    • Avocado Yogurt Dip
    • Chocolate Cream Cheese Easter Braid
    • Sweet Potato Chia Pudding
    • Sweet Potato Pizza Bites

    Sweet potato chocolate spread recipe video below:

    Print Recipe

    Sweet Potato Chocolate Spread

    Sweet Potato Chocolate Spread - A creamy and chocolatey homemade spread made with cocoa powder and cooked sweet potatoes. Perfect for spreading on toast!
    Prep Time5 minutes mins
    Cook Time0 minutes mins
    Total Time5 minutes mins
    Course: Condiments
    Cuisine: International
    Keyword: chocolate recipes, Indian Sweet Potato Recipes, sweet potato chocolate spread
    Servings: 5
    Calories: 69kcal
    Author: Hari Chandana Ponnaluri

    Ingredients

    • ¾ Cup Sweet Potato Puree (roasted or cooked)
    • 2 Tablespoons Cocoa Powder
    • 2 Tablespoons Honey
    • ½ Teaspoon Vanilla Extract
    • A Pinch of Salt

    Instructions

    • Combine all the ingredients in a mixing bowl.
    • Mix everything until well combined.
    • Slather it on a toast and enjoy!
    Video

    Nutrition

    Calories: 69kcal | Carbohydrates: 17g | Protein: 1g | Fat: 0.3g | Saturated Fat: 0.2g | Polyunsaturated Fat: 0.03g | Monounsaturated Fat: 0.1g | Sodium: 16mg | Potassium: 235mg | Fiber: 2g | Sugar: 10g | Vitamin A: 8072IU | Vitamin C: 8mg | Calcium: 19mg | Iron: 1mg

    Pretzel Wreaths

    December 24, 2023

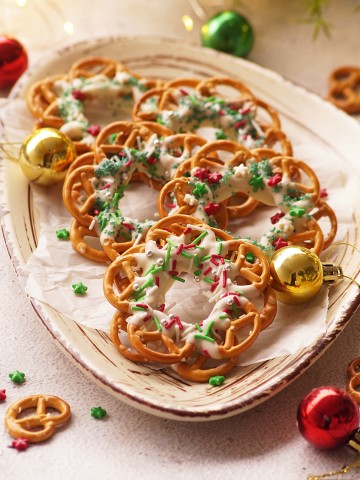
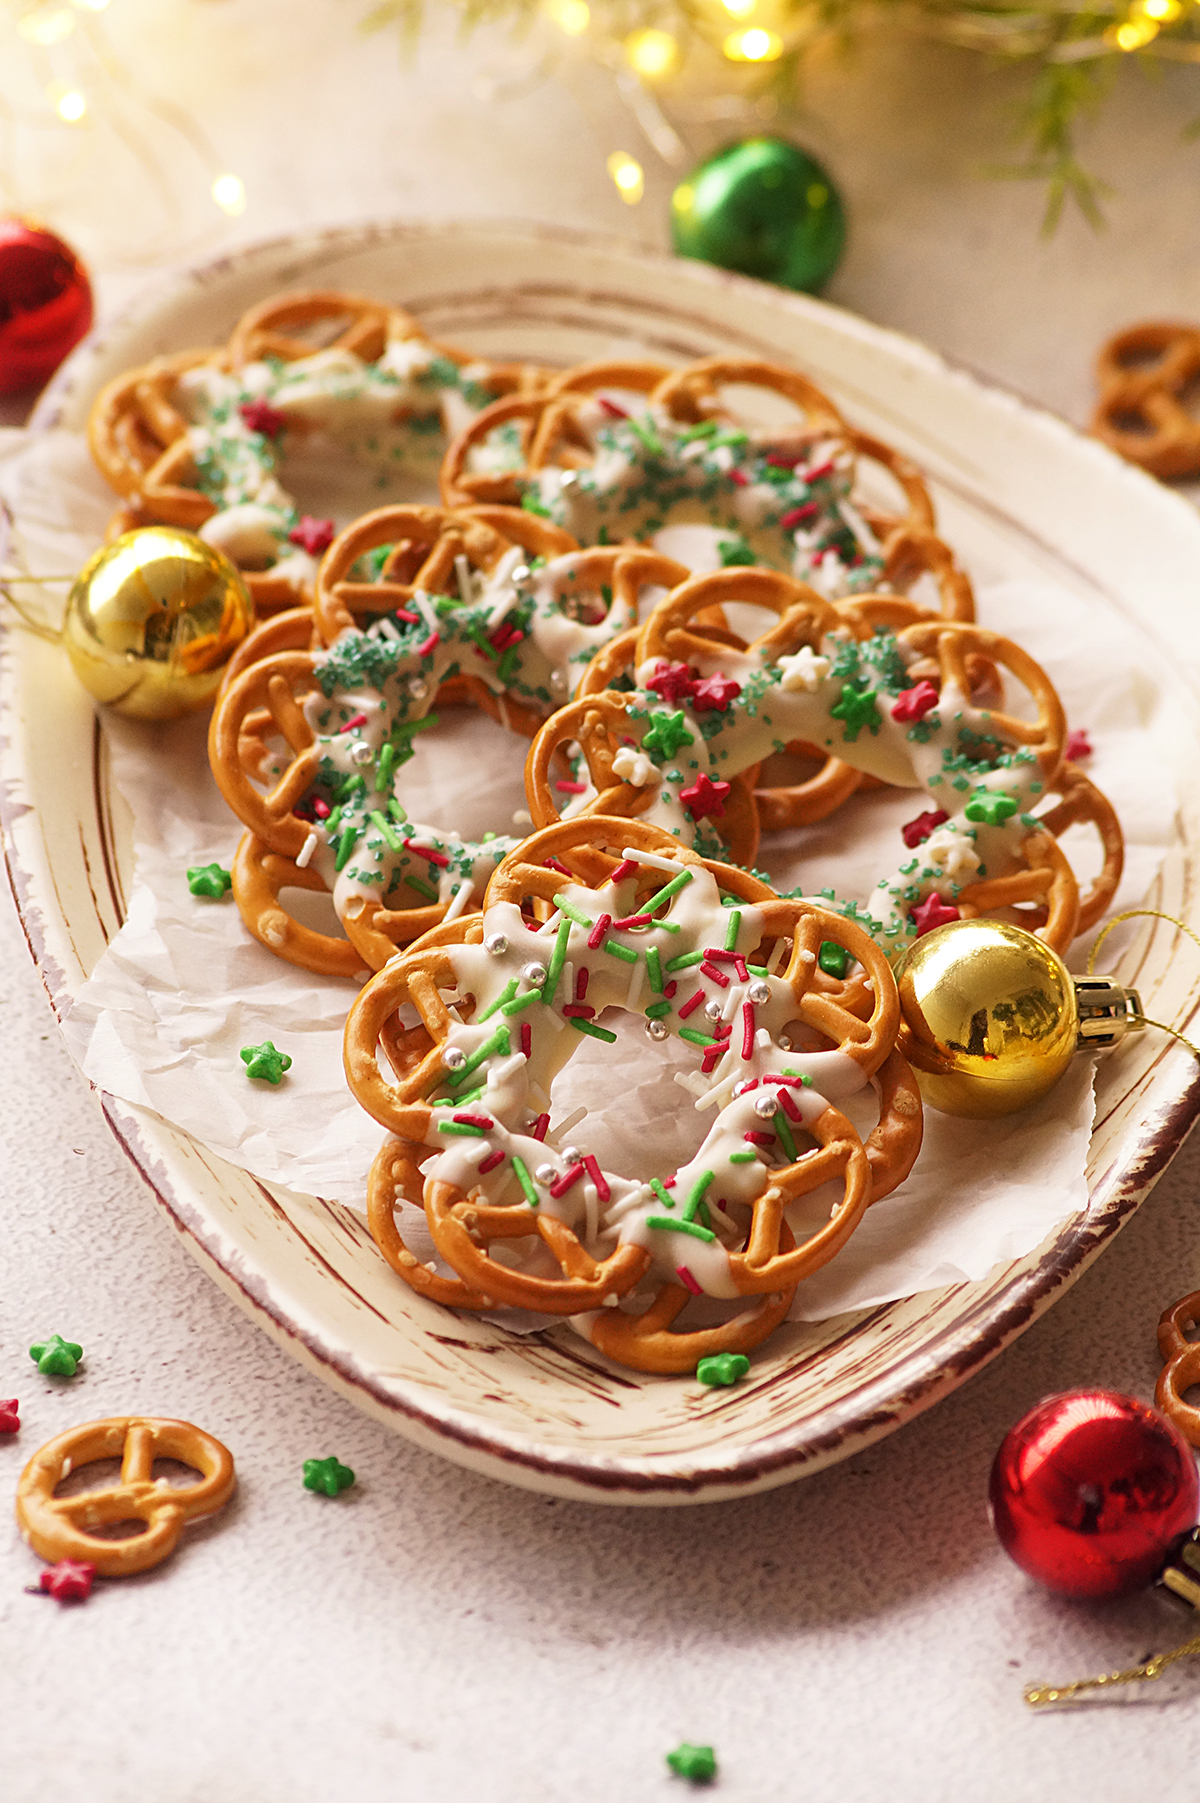
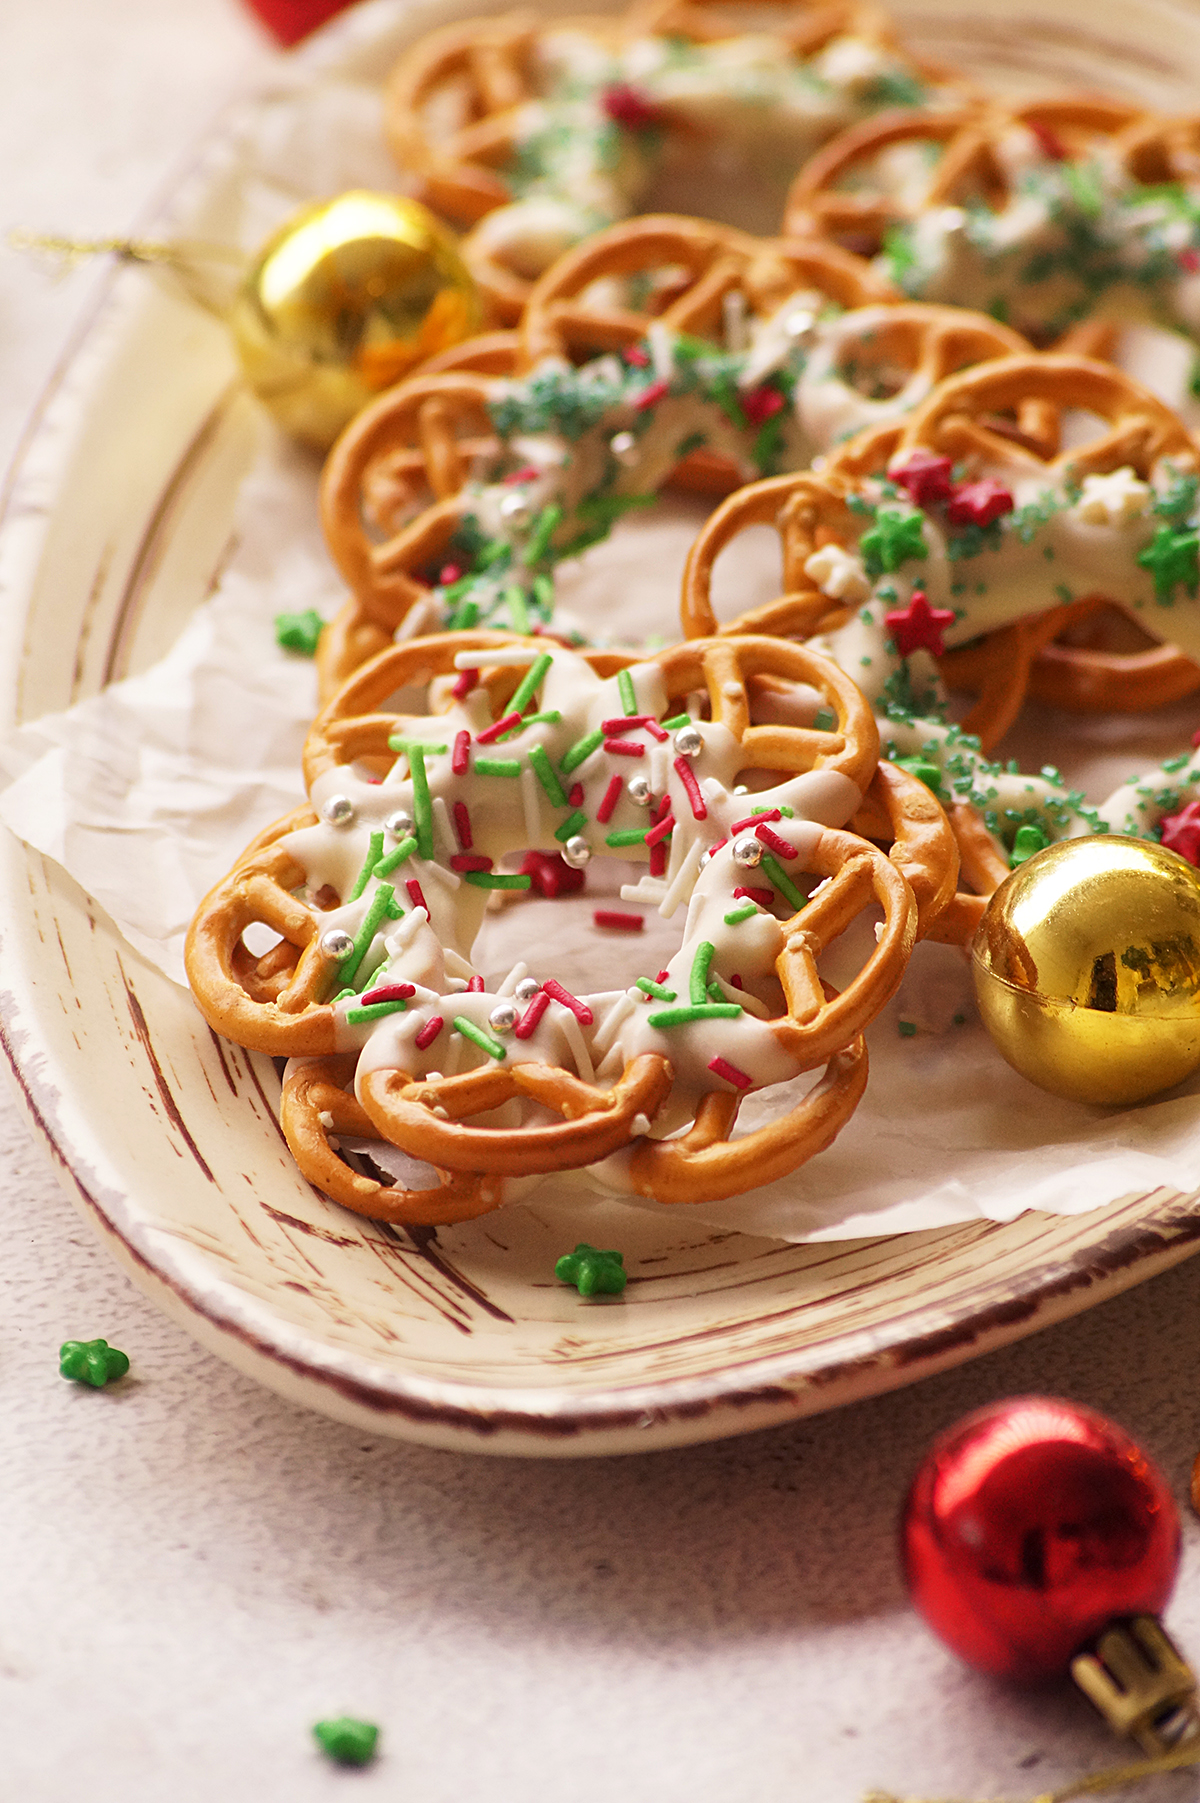
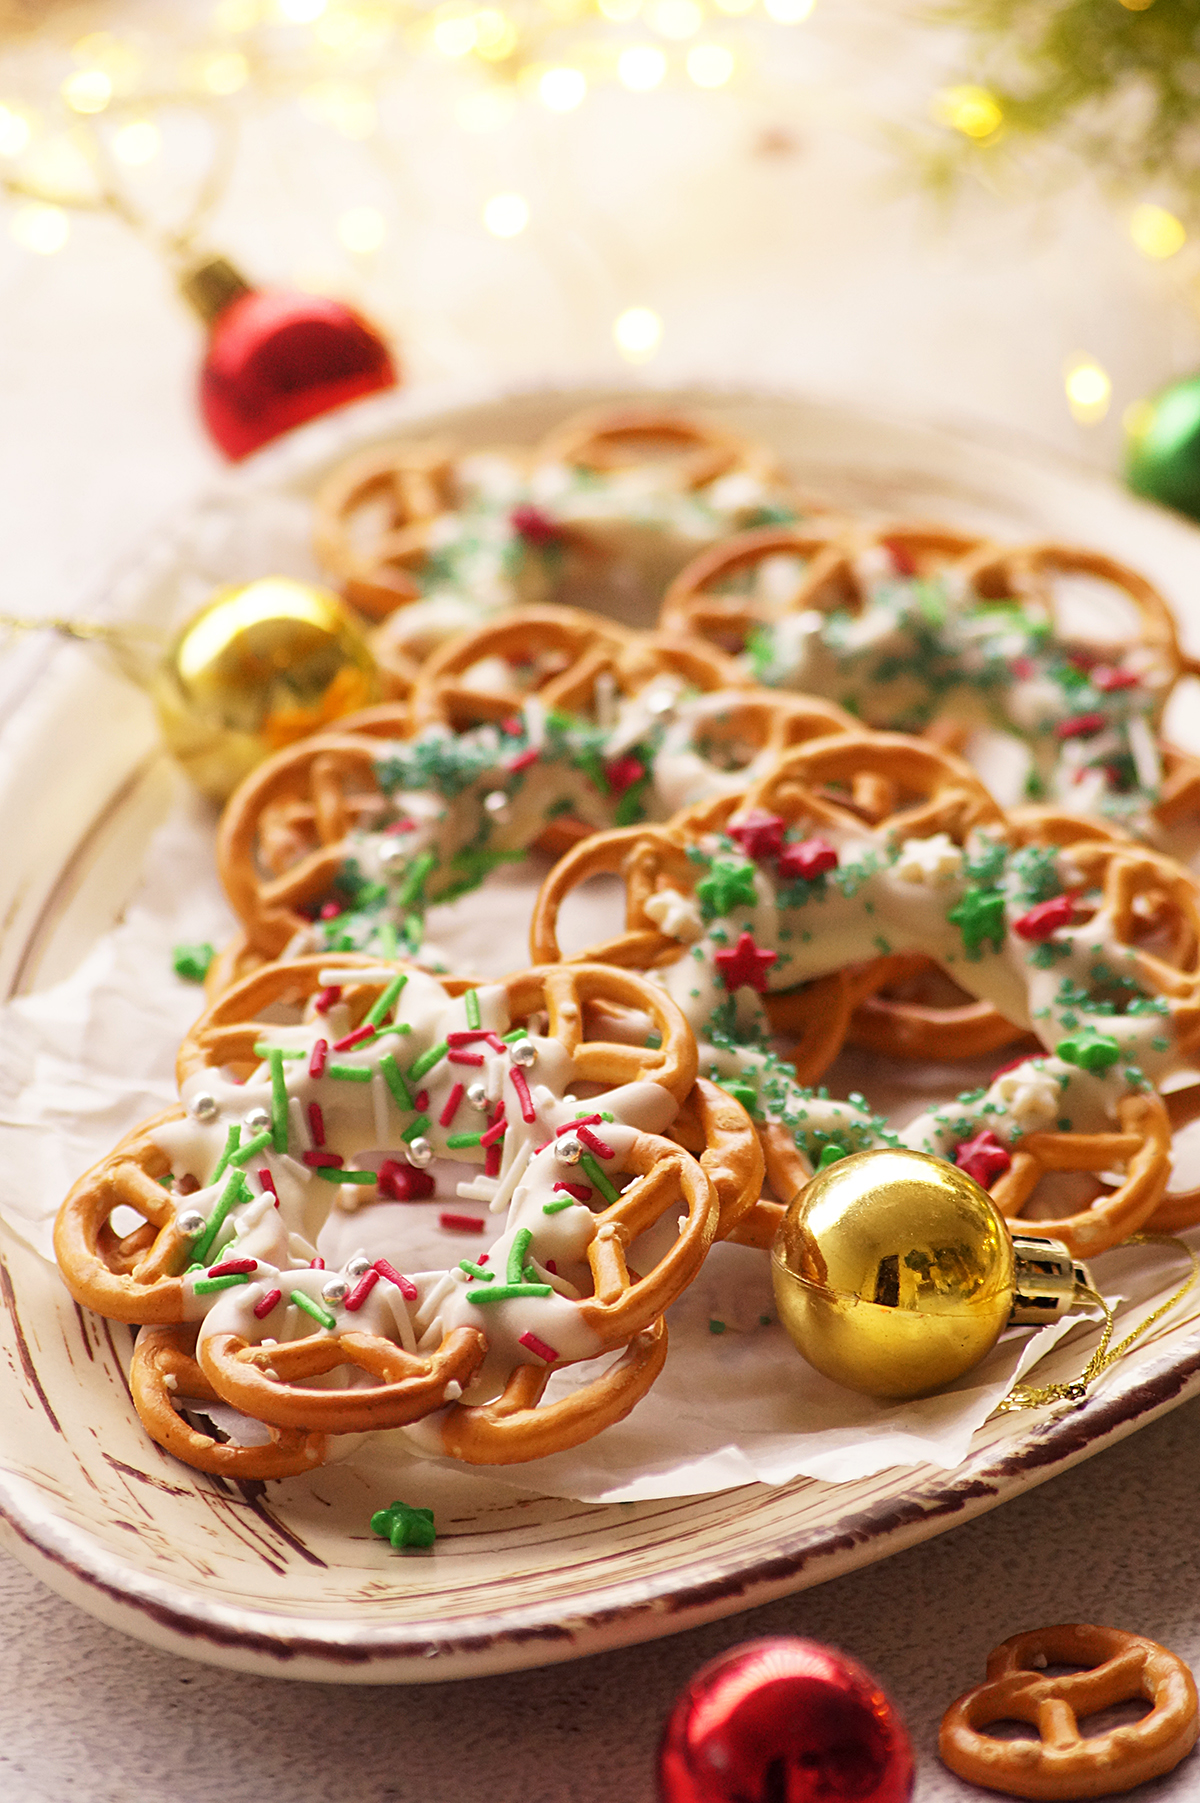
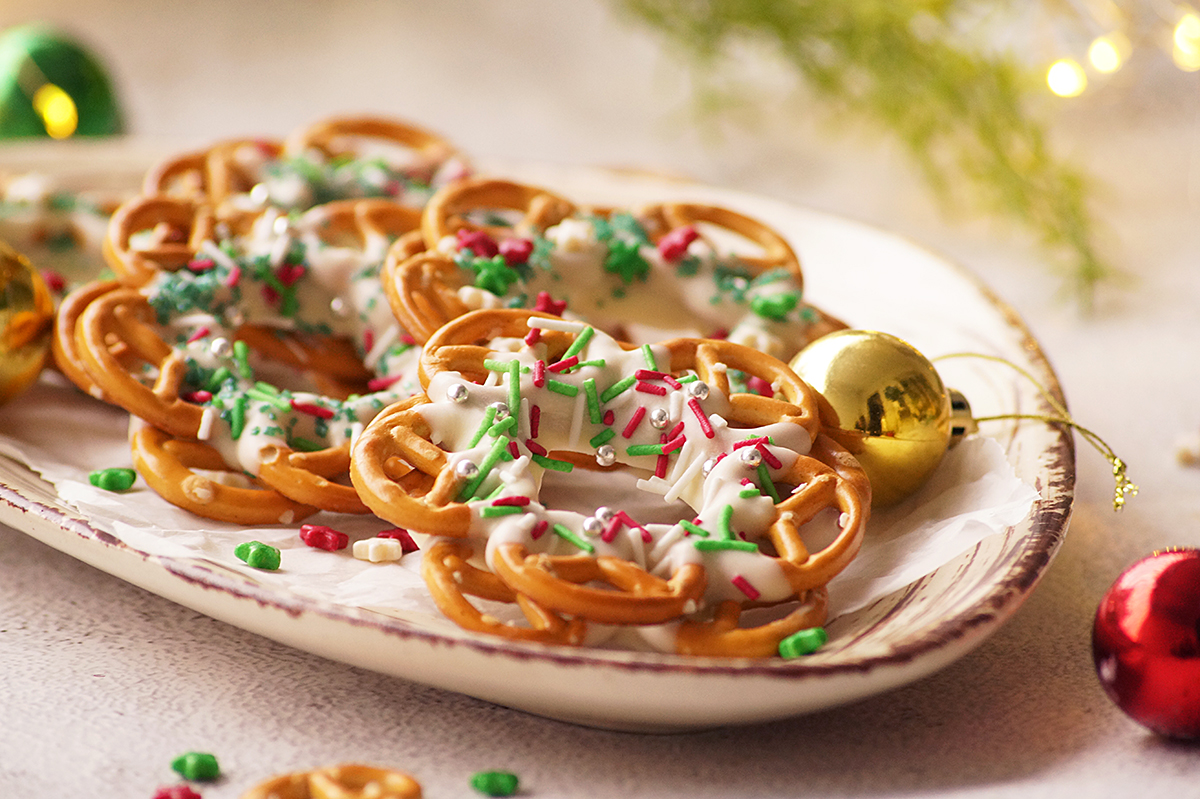
    Pretzel Wreaths - These no-bake Christmas wreaths are a wonderful combination of salty and sweet mini pretzels coated in white chocolate and adorned with sprinkles. They are a perfect last-minute treat for the holiday season!

    What are pretzel wreaths?

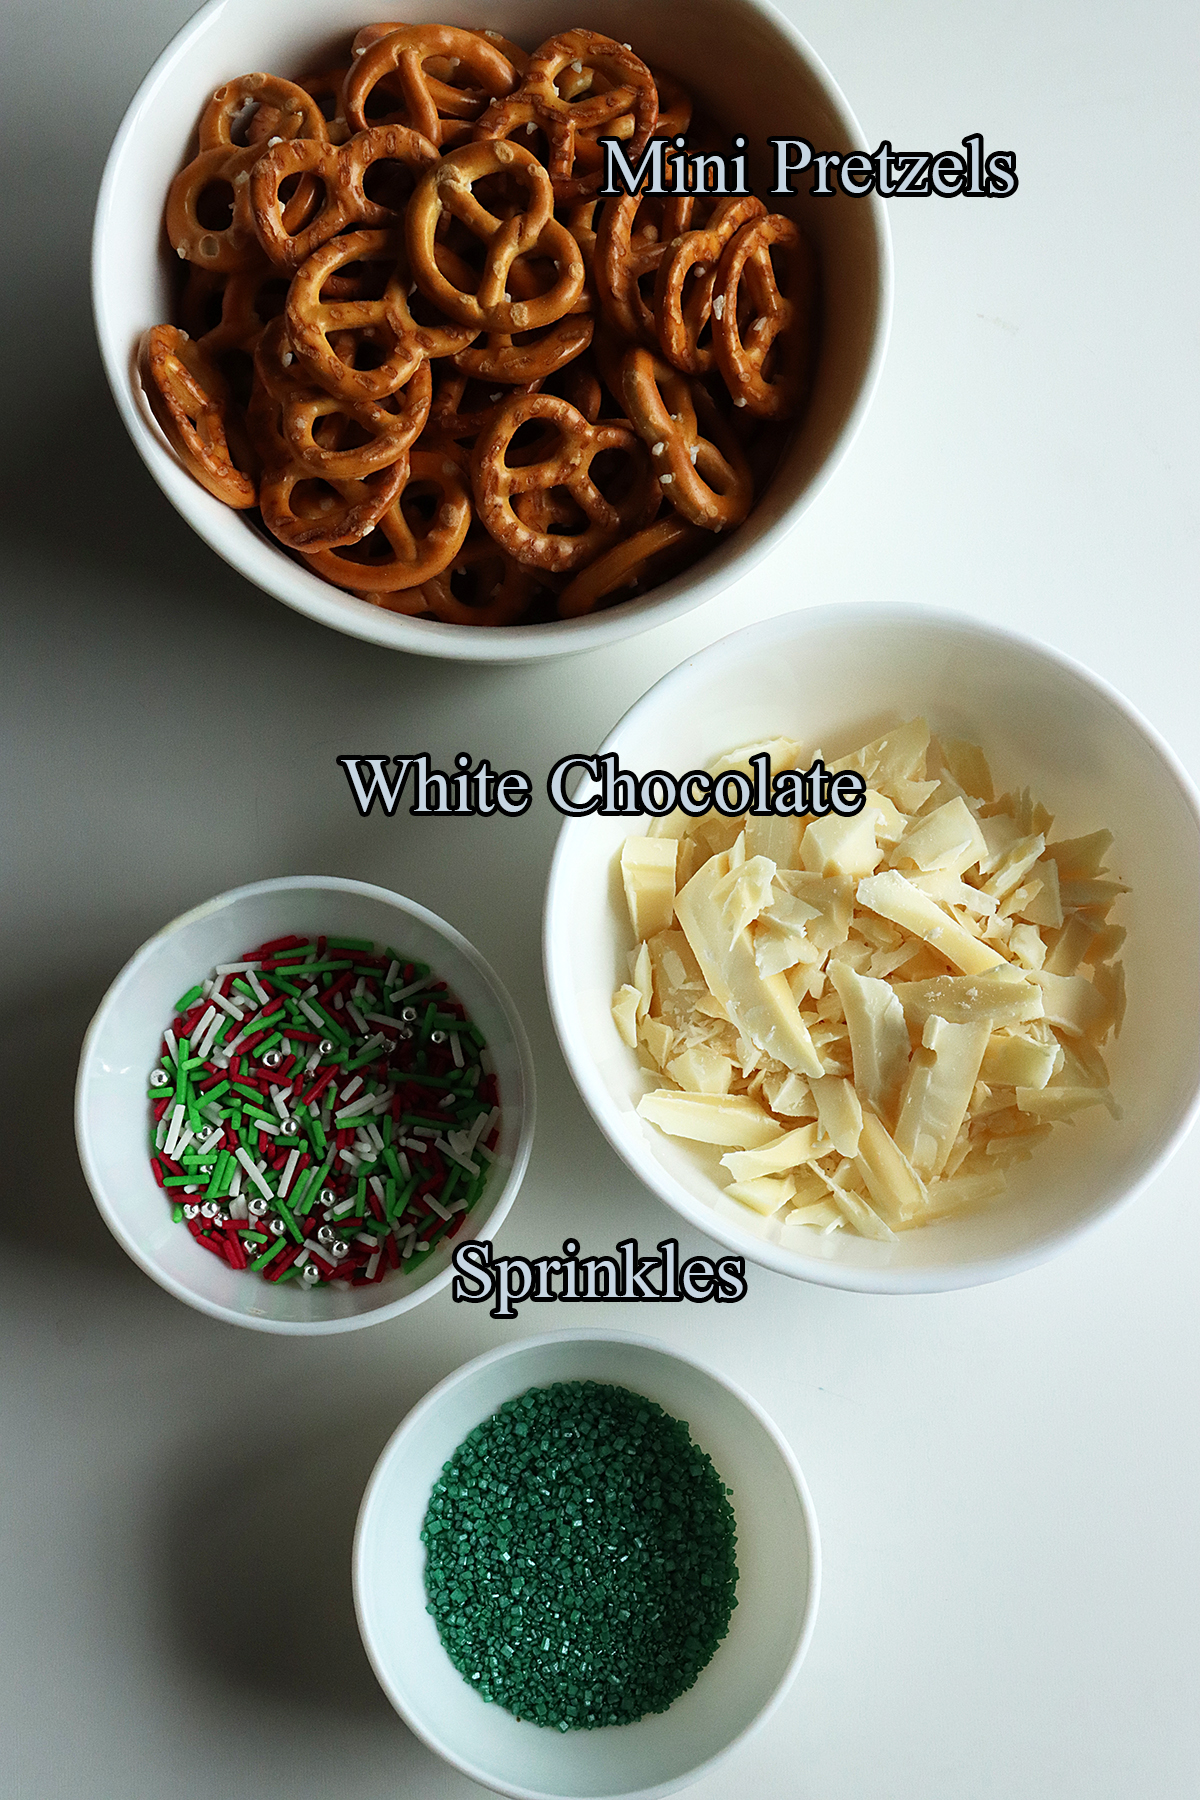
    Pretzel wreaths are a no-bake, fun and creative holiday treat made with mini pretzels, white chocolate and sprinkles. You only need 3 ingredients and 20 minutes to make them. They are made by dipping small pretzels into melted chocolate and then arranged in a circular shape to make wreath, then decorated with festive sprinkles. These sweet, salty, delicious and festive wreaths are super easy to make and perfect to make during the Christmas season.

    Why you'll love this recipe:

    Making pretzel wreaths can be a fun activity for kids.

    These make a wonderful gift during the holiday season.

    Super easy and quick to make!

    Ingredients & Substitutions:

    Mini Pretzels - Use mini pretzels to make cute little wreaths. You can also use flavored pretzels. It can also be replaced with dark or milk chocolate.

    White Chocolate - I have used white chocolate bar in this recipe. You could also use white chocolate chips, almond bark or melting wafers.

    Sprinkles - It will add a festive touch. I have used both sparkling sugar and Christmas sprinkles.

    Serving suggestions:

    Serve them as a sweet snack with a cup of coffee, tea or hot chocolate.

    It can be a great addition to your holiday dessert spread and cookie platter.

    Pack them in boxes and use them as a homemade edible gift.

    Storage suggestions:

    Store them in an airtight container at room temperature up to a week. You can also freeze them for up to 2 months.

    Tips & Notes:

    Decorate the wreaths with sprinkles while the chocolate is still wet otherwise they won't stick.

    You can also add a drop of green food color to the melted chocolate or green colored melting wafers.

    You can also swap white chocolate with any of your favorite chocolate.

    Add a bit of almond, peppermint or vanilla extract for a flavor variation.

    You can experiment with different types of toppings such as mini m&ms, chopped nuts, crushed candy canes, chocolate chips, or red hot cinnamon candies.

    Step by step instructions:

    Line a tray with parchment paper and keep it aside.

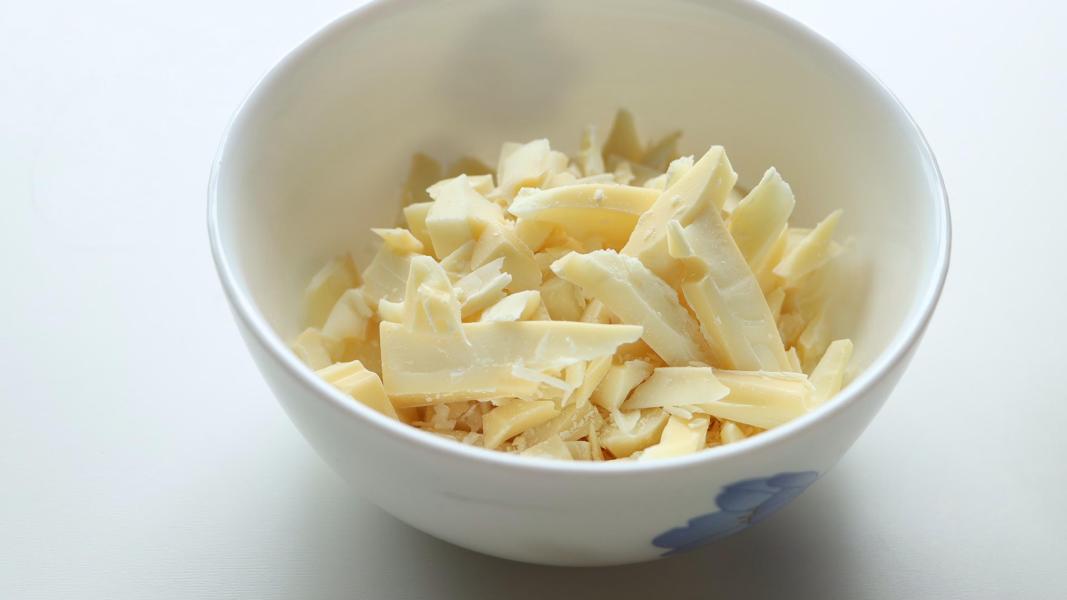
    Roughly chop white chocolate and add it to a microwave safe bowl.

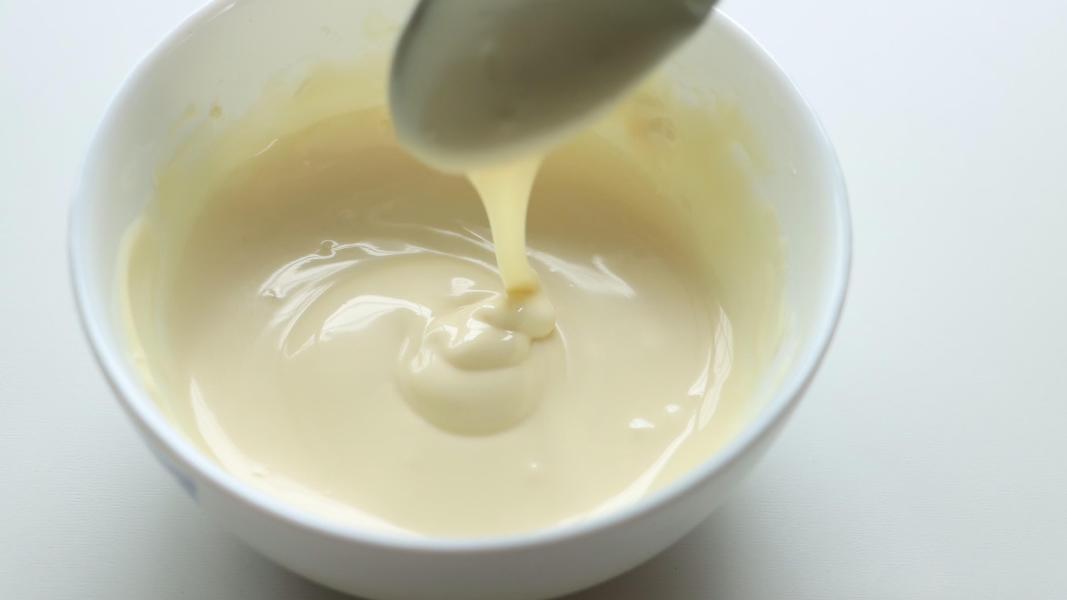
    Melt in microwave until it is smooth. You can also use a double boiled method for melting.

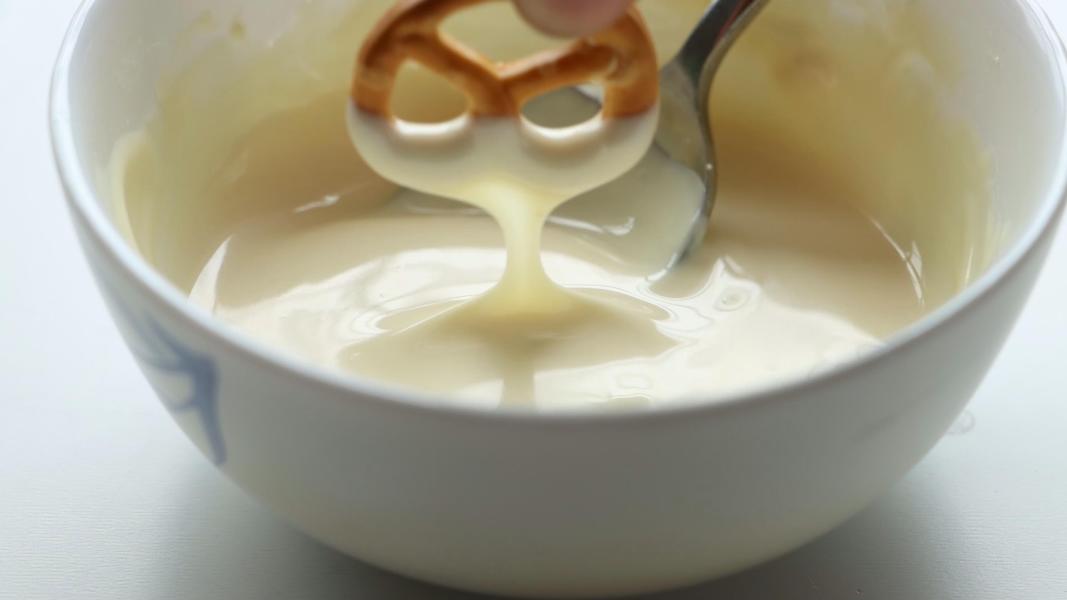
    Take a mini pretzel and dip it in melted chocolate.

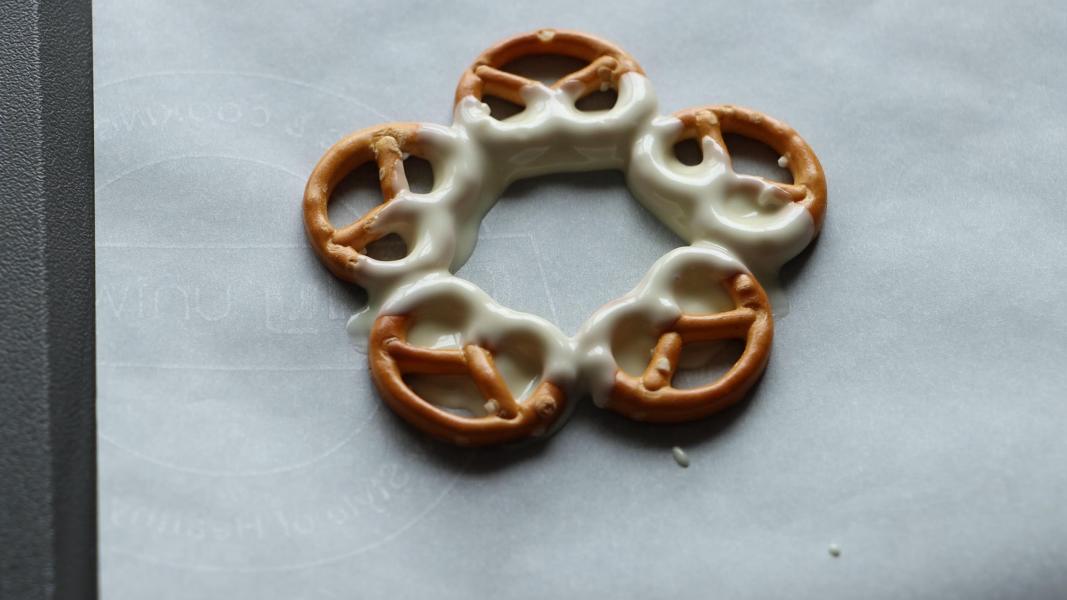
    Place 5 pretzels on the lined tray in a circle to make a wreath.

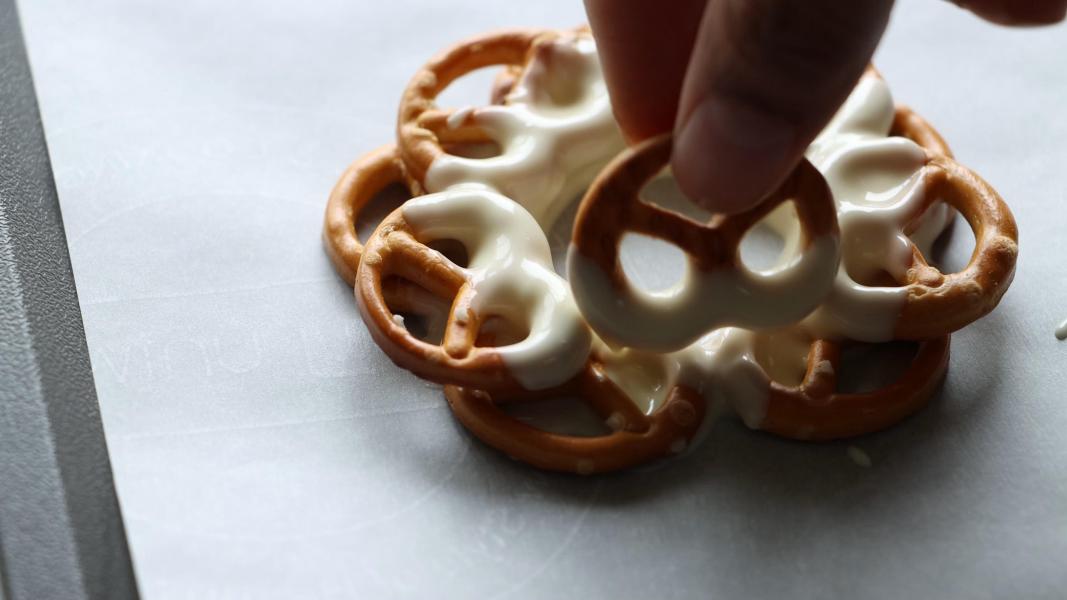
    Make another layer with 5 more pretzels.

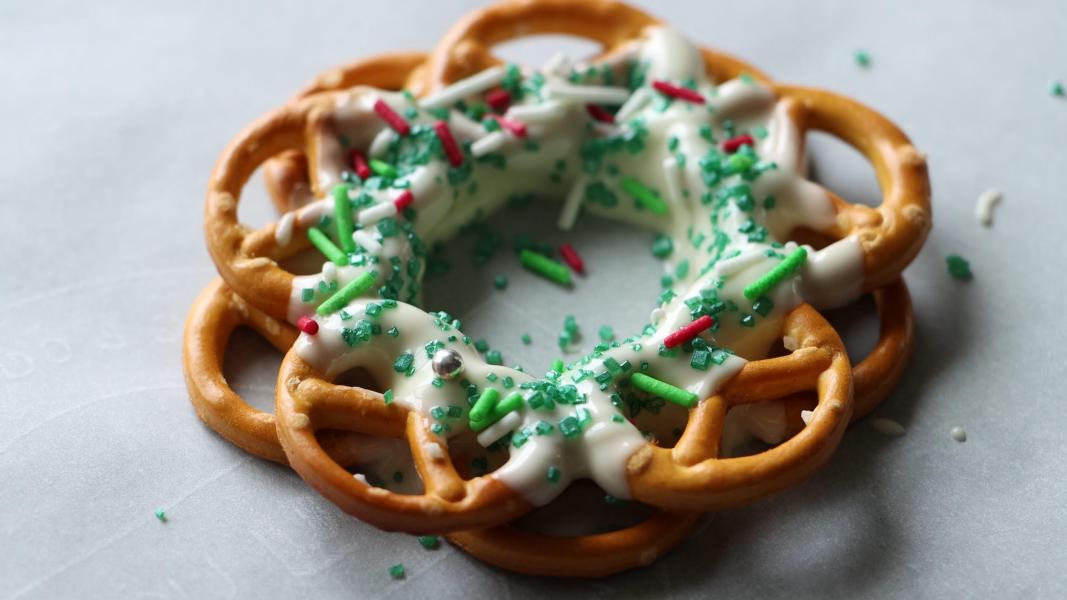
    Sprinkle with sparkling sugar and sprinkles immediately.

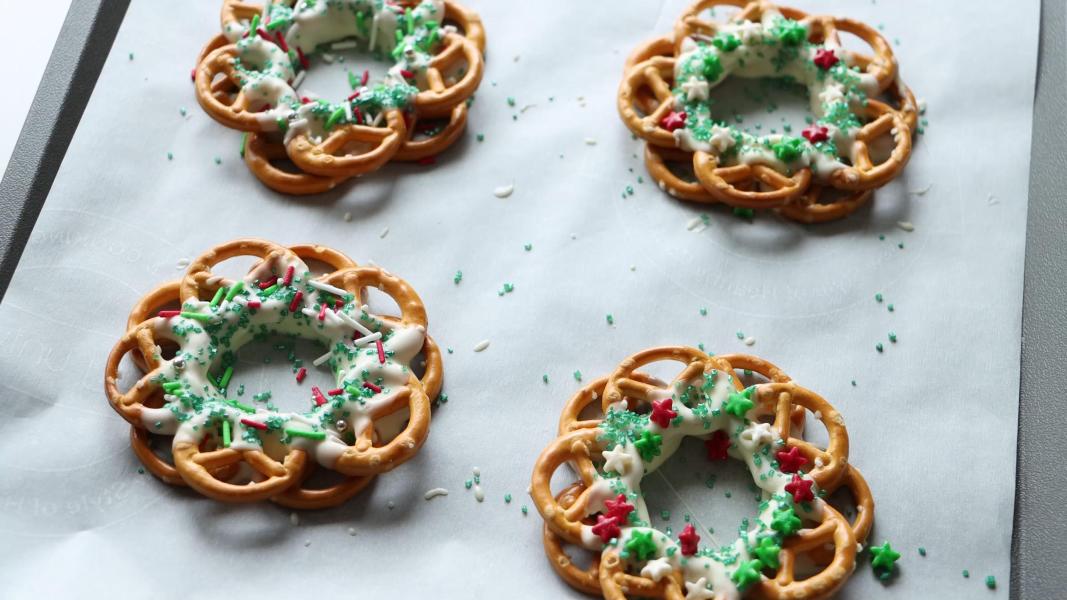
    Repeat the process and let them set in the refrigerator for 10 minutes or until firm.

    You might love these Christmas recipes:

    • Snowball Cookie Recipes
    • Chocolate Peppermint Kiss Cookies
    • No Bake Avalanche Cookies
    • Biscotti Regina
    • Oreo Bark
    • Chocolate Covered Oreos
    • Swedish Christmas Chocolate
    • Candy Cane Blossoms

    How to make Christmas pretzel wreaths recipe video below:

    Print Recipe

    Pretzel Wreaths

    Pretzel Wreaths - These no-bake Christmas wreaths are a wonderful combination of salty and sweet mini pretzels coated in white chocolate and adorned with sprinkles. They are a perfect last-minute treat for the holiday season!
    Prep Time10 minutes mins
    Chilling Time10 minutes mins
    Total Time20 minutes mins
    Course: Dessert, Snack
    Cuisine: International
    Keyword: christmas recipes, Pretzel Wreaths
    Servings: 5 Wreaths
    Calories: 107kcal
    Author: Hari Chandana Ponnaluri

    Ingredients

    • 50 Mini Pretzels
    • ½ Cup White Chocolate
    • Sprinkles as needed

    Instructions

    • Line a tray with parchment paper and keep it aside.
    • Roughly chop white chocolate and add it to a microwave safe bowl.
    • Melt in microwave until it is smooth. You can also use a double boiled method for melting.
    • Take a mini pretzel and dip it in melted chocolate.
    • Place 5 pretzels on the lined tray in a circle to make a wreath.
    • Make another layer with 5 more pretzels.
    • Sprinkle with sparkling sugar and sprinkles immediately.
    • Repeat the process and let them set in the refrigerator for 10 minutes or until firm.
    • Serve & enjoy!
    Video

    Nutrition

    Calories: 107kcal | Carbohydrates: 16g | Protein: 2g | Fat: 4g | Saturated Fat: 3g | Polyunsaturated Fat: 0.2g | Monounsaturated Fat: 1g | Cholesterol: 3mg | Sodium: 32mg | Potassium: 81mg | Fiber: 1g | Sugar: 8g | Vitamin A: 4IU | Vitamin C: 0.2mg | Calcium: 29mg | Iron: 0.3mg

    Chocolate Peppermint Kiss Cookies

    December 22, 2023

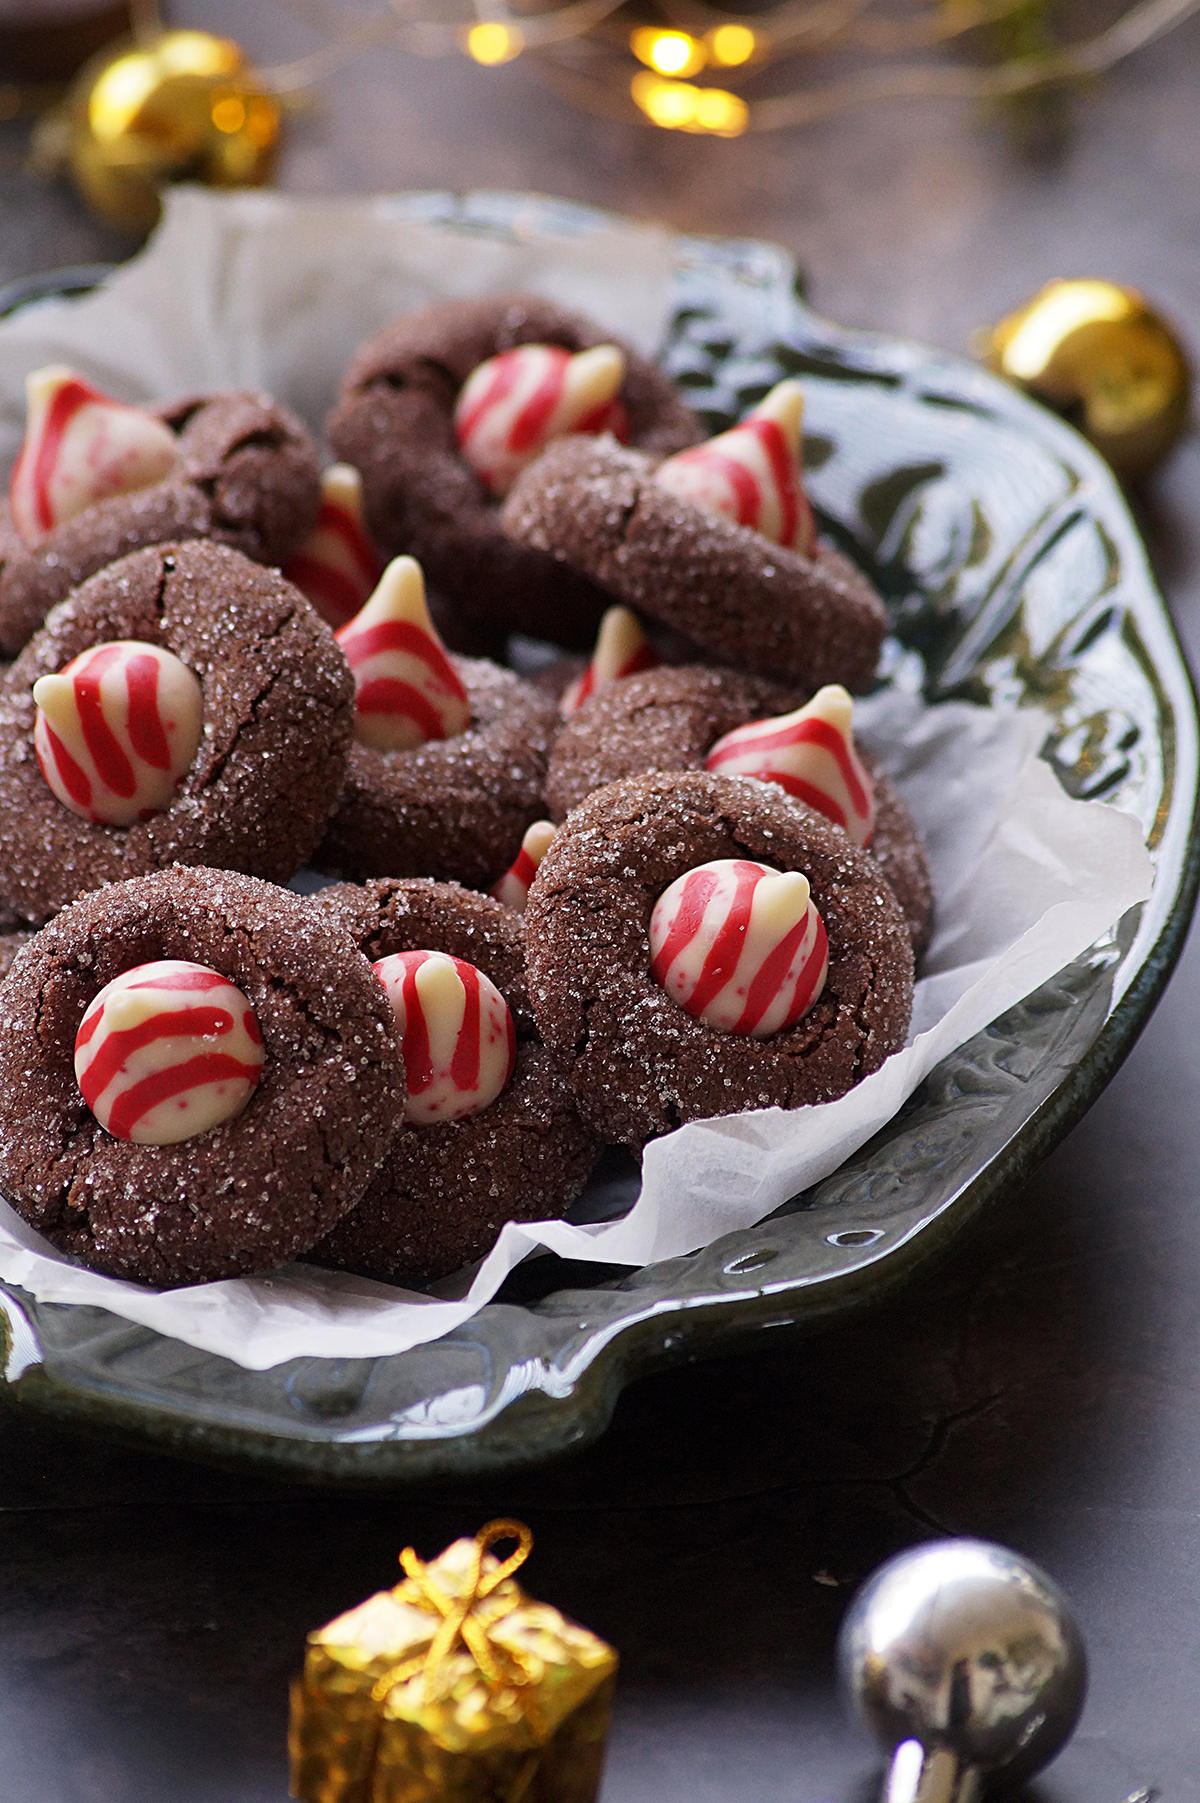
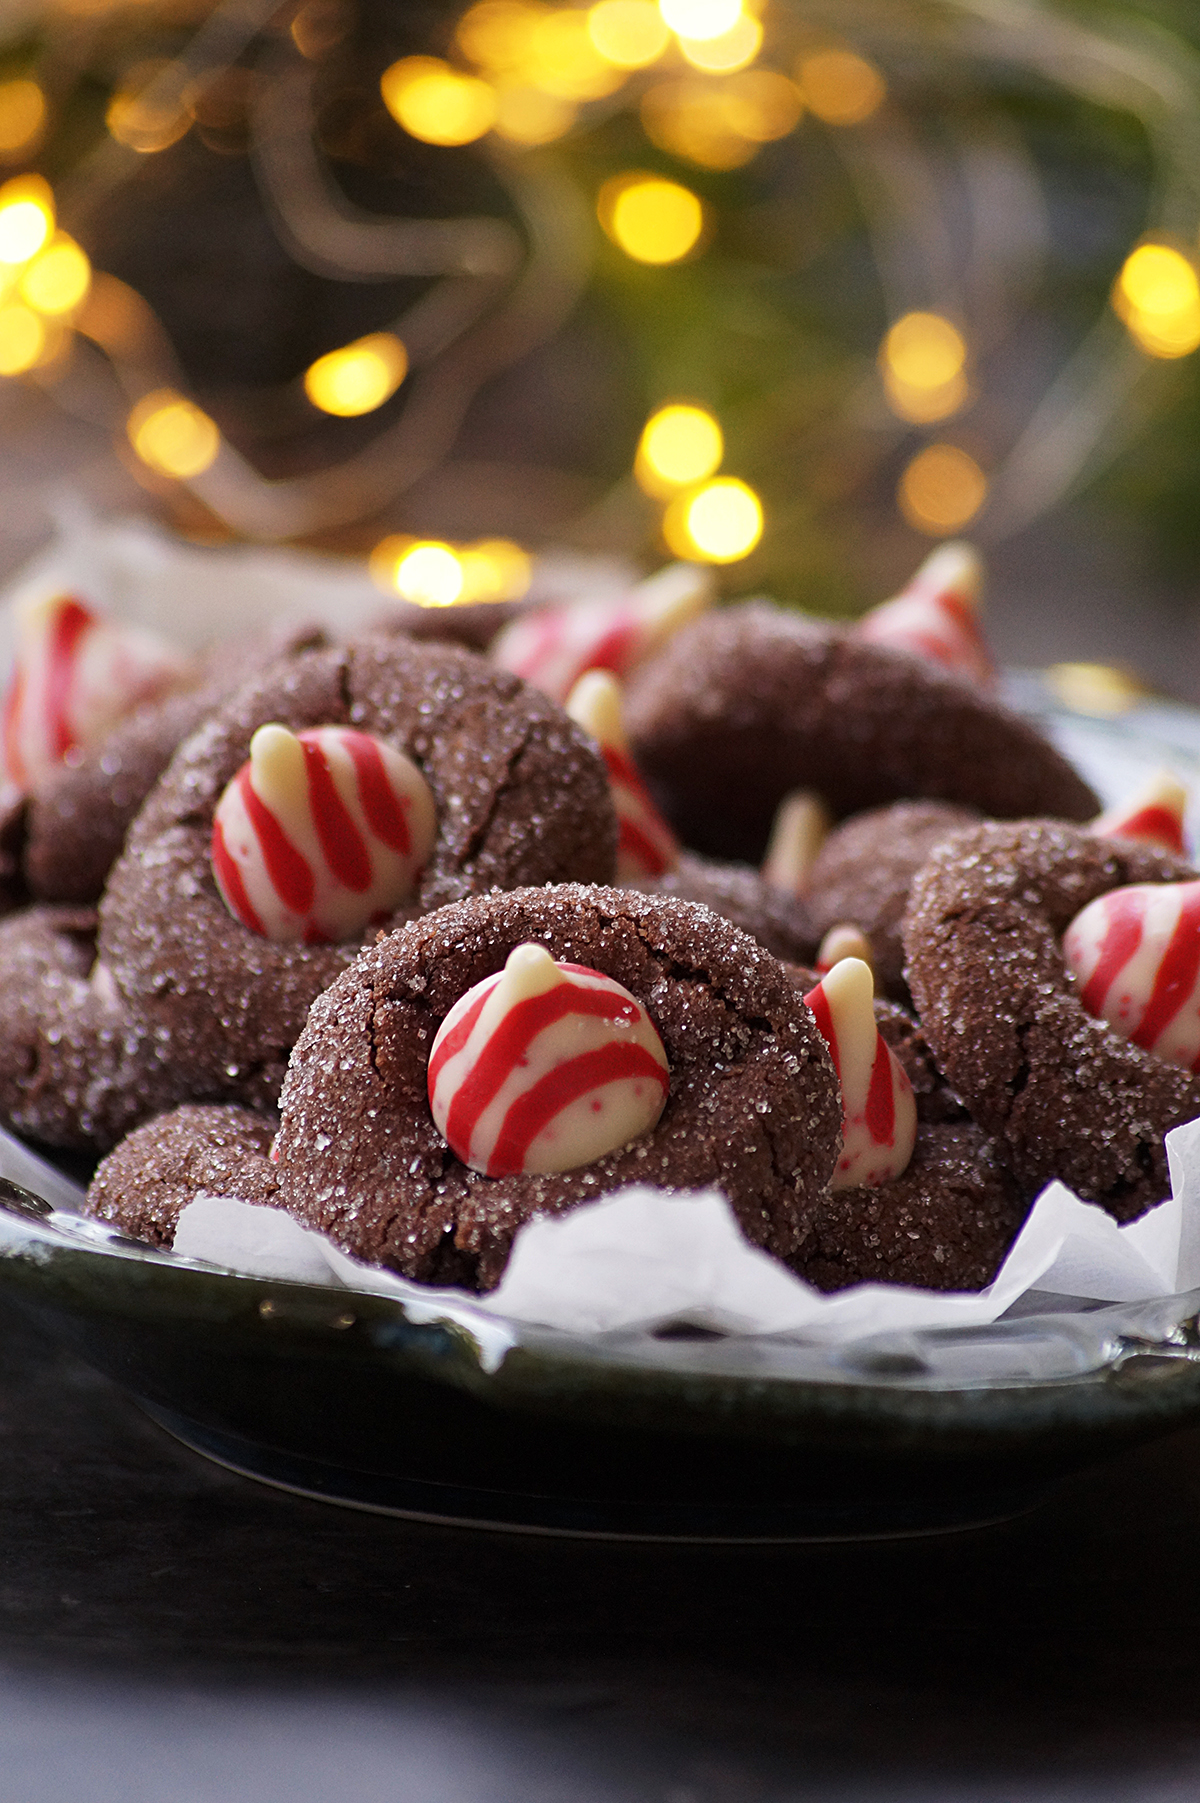
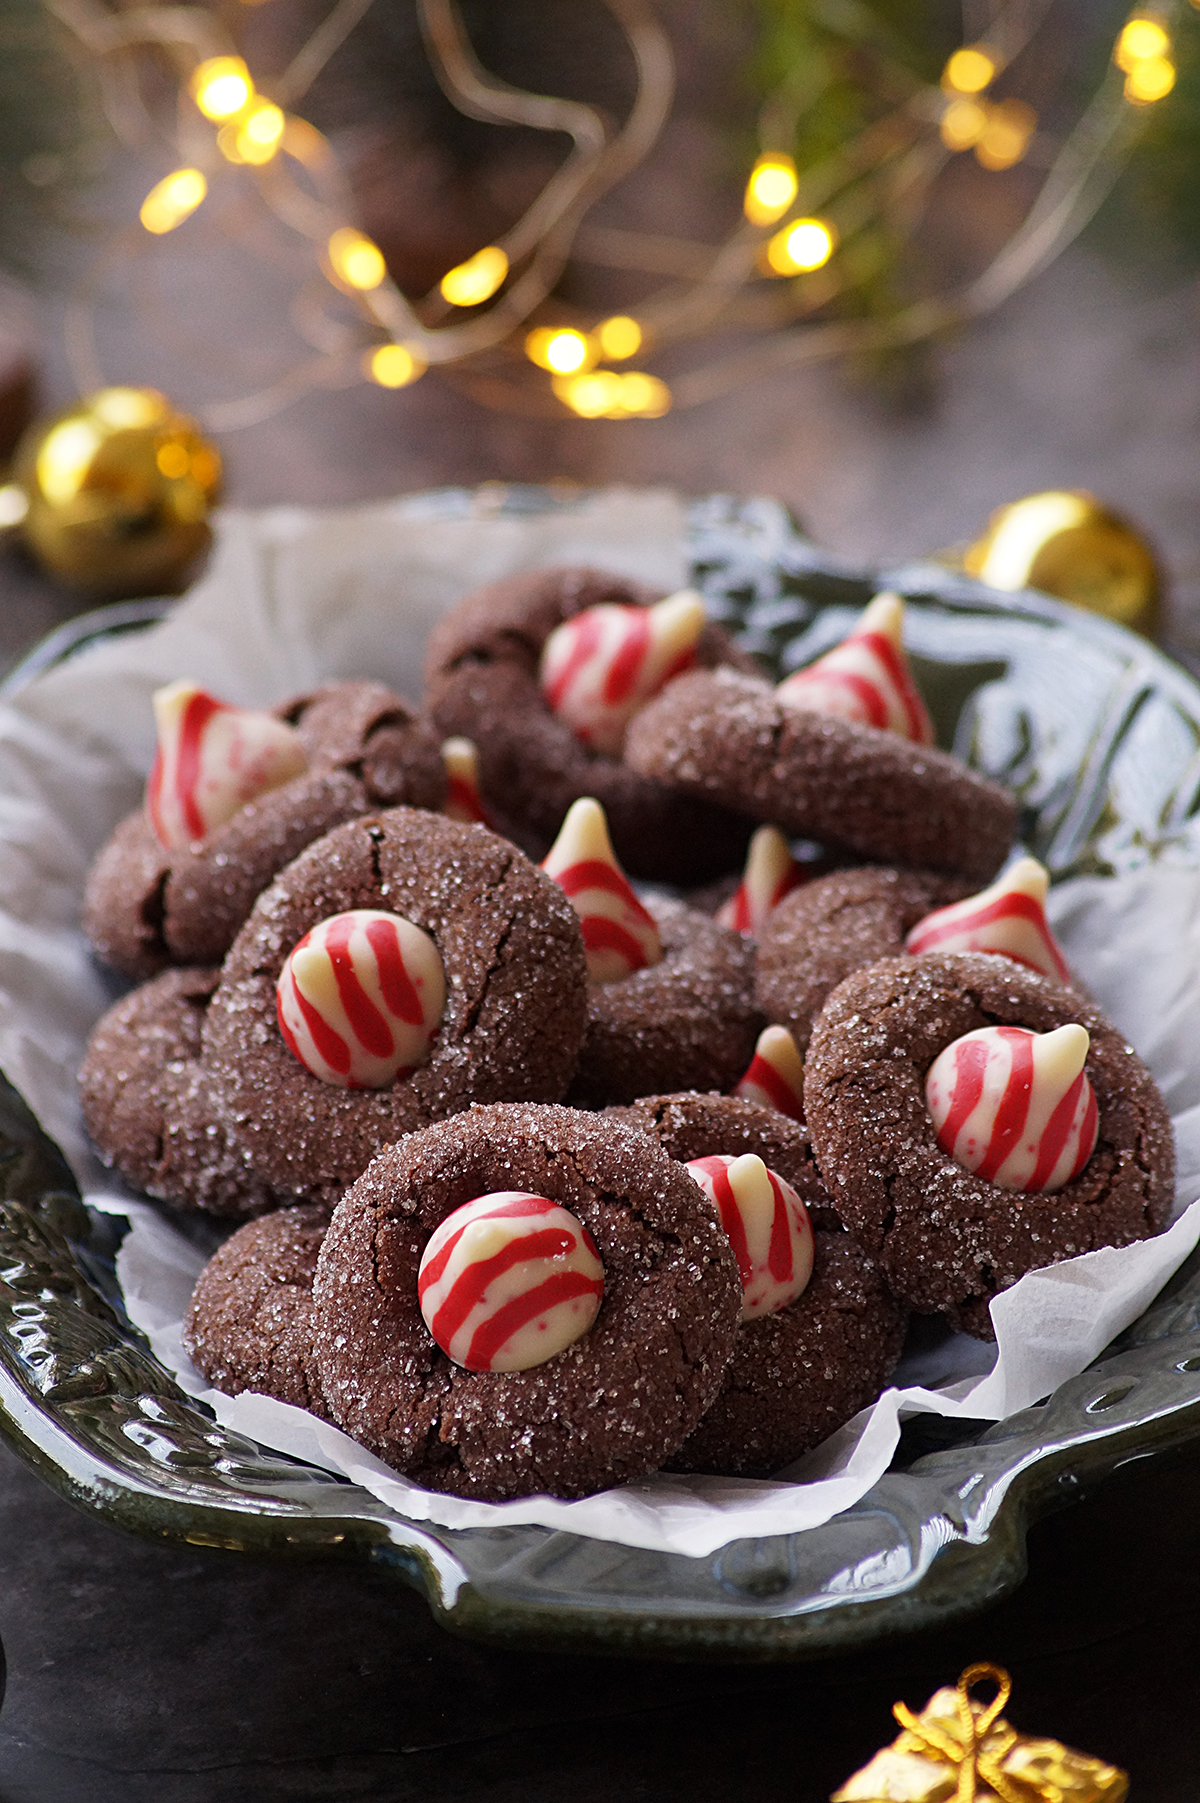
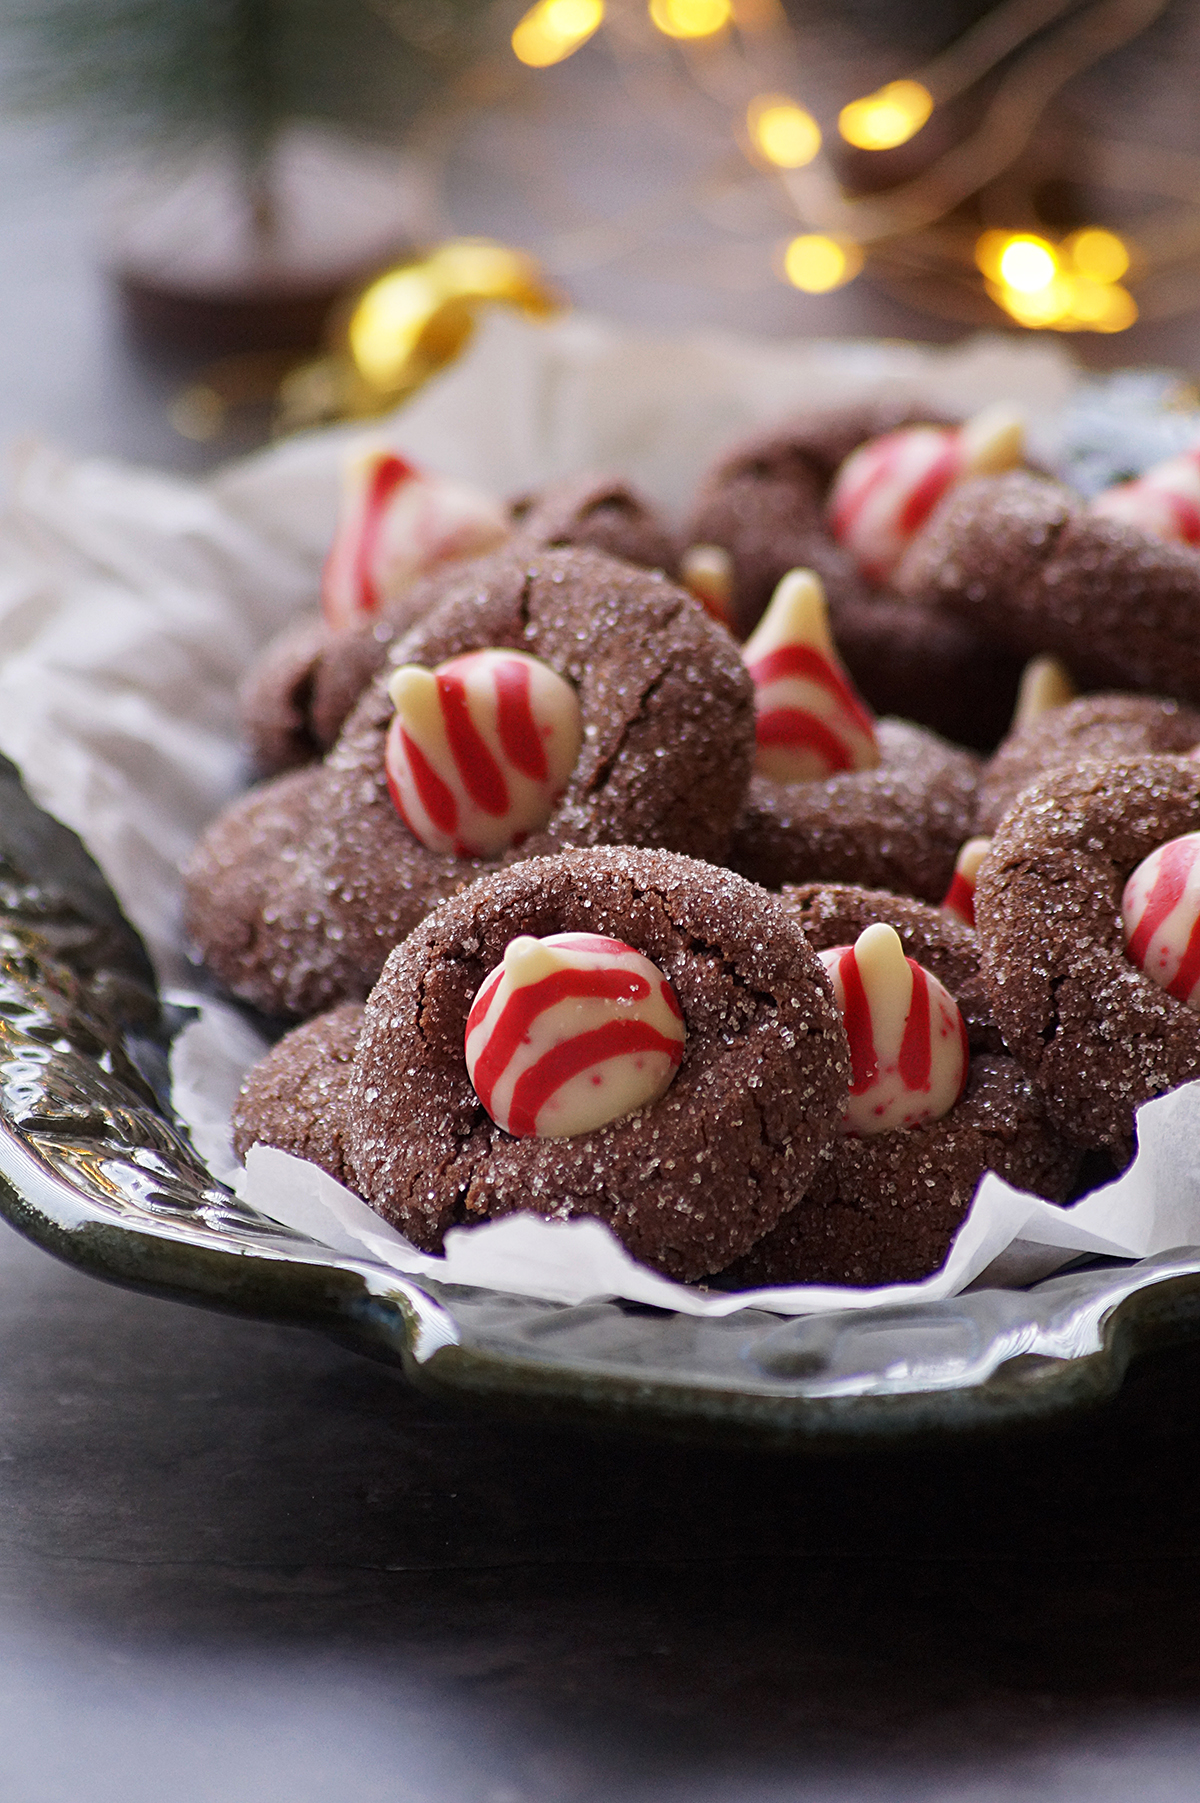
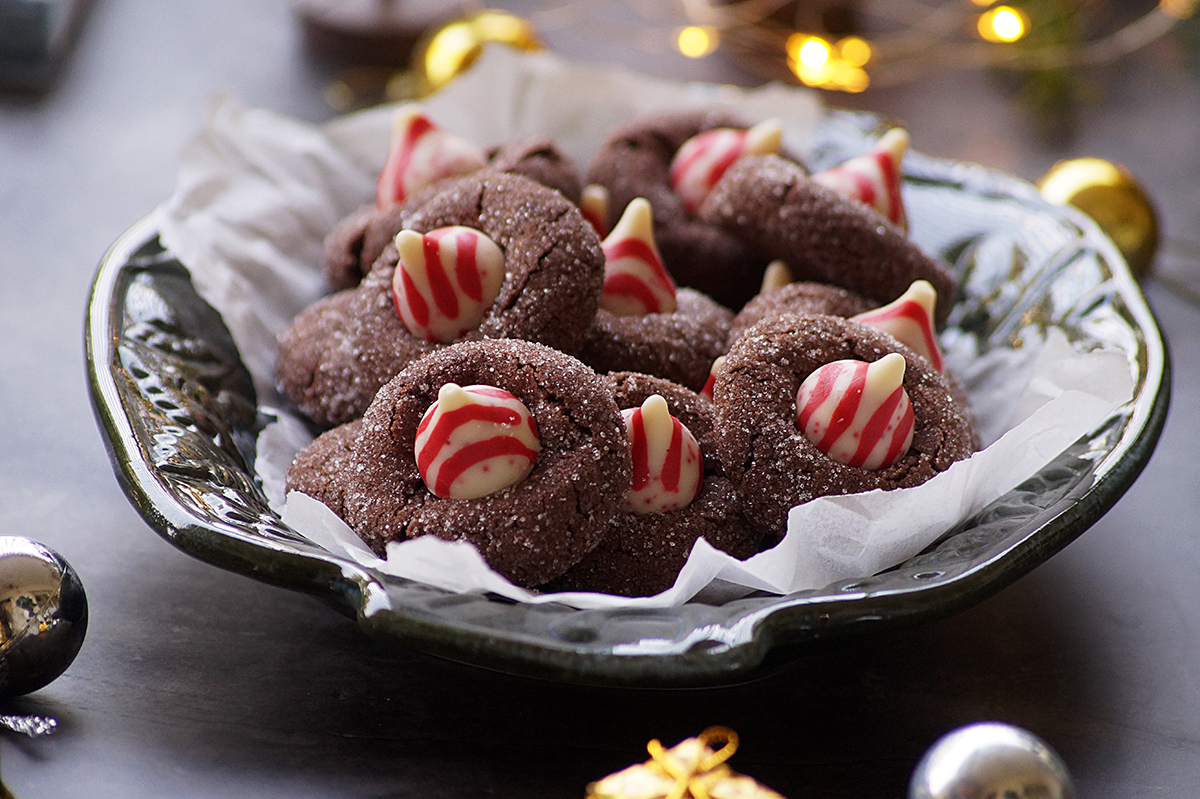
    Chocolate Peppermint Kiss Cookies - These soft, chewy, chocolatey, and heavenly delicious no-chill festive cookies are perfect for the holiday season!
    What are chocolate peppermint kiss cookies?

    These are also known as Chocolate Candy Cane Blossoms. These cookies are soft, chewy and festive treats made with a chocolatey cookie dough that is rolled in sugar before baking. Once baked, they are topped with a peppermint kiss candy. As the cookie cools, the Kiss softens slightly, creating a deliciously sweet and minty center. These are popular during the holiday season and are often enjoyed as a sweet treat or given as homemade gifts.

    They're often enjoyed as a festive addition to cookie exchanges or as a treat for holiday gatherings.

    Why you'll love this recipe:

    Perfect for the holiday season with their refreshing peppermint flavor.

    It's a no-chill cookie recipe and can be made under 30 minutes.

    Wonderful as homemade gifts.

    Perfect addition to cookie exchanges.

    Very easy and quick to prepare!
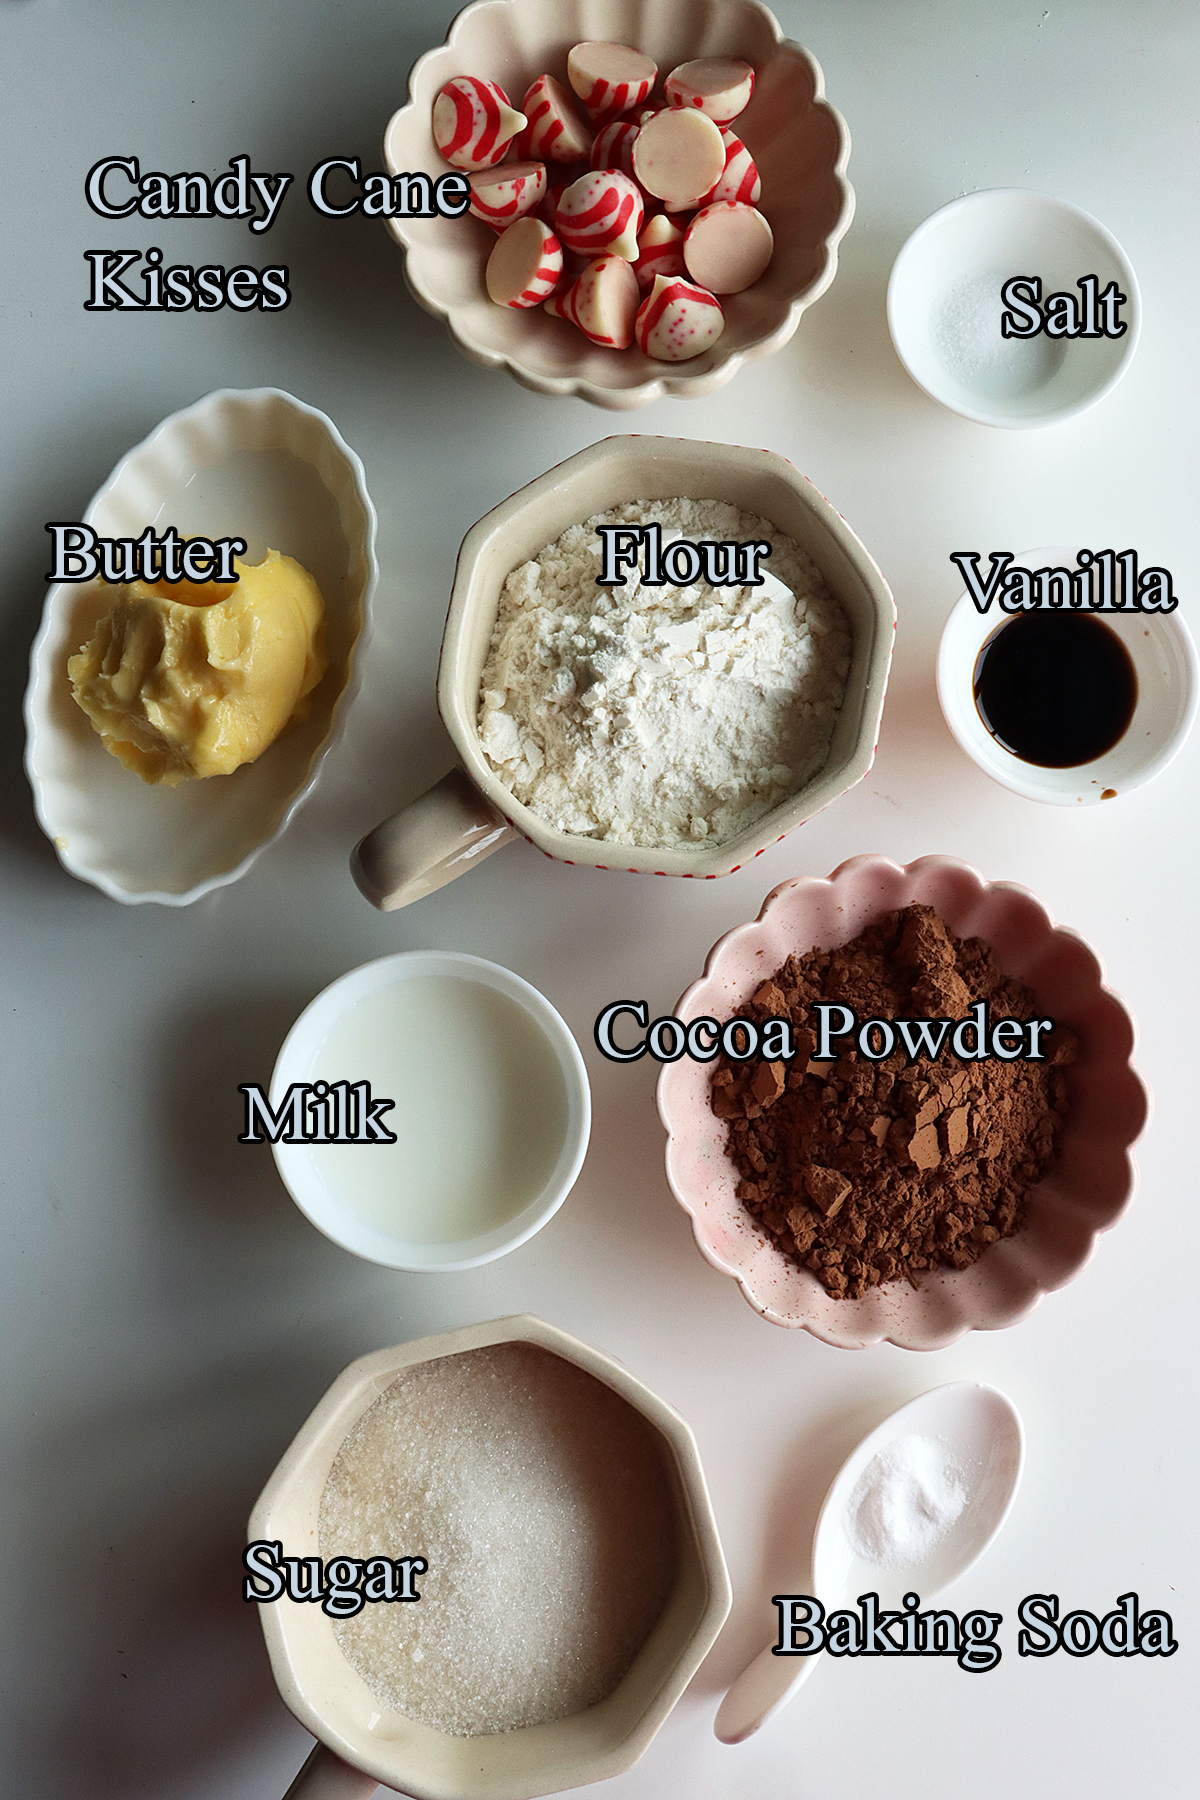
    Ingredients & Substitutions:

    All Purpose Flour - Also known as plain flour. I haven't tried them with any gluten-free flours yet.

    Cocoa Powder - Use a good quality unsweetened cocoa powder or Cacao powder for the best results.

    Candy Cane Kisses - Hershey's peppermint flavored kisses are the key ingredient. You could also use any type of hershey's kisses.

    Butter - I have used unsalted butter. Skip salt if you are going to use salted butter. Make sure the butter is softened at room temperature.

    Sugar - I have used fine white sugar for the dough and rolling. You could also substitute half of the white sugar with brown sugar for chewier cookies.

    Vanilla - Enhances the flavor. You could use peppermint extract as well for stronger mint flavor.

    Baking Soda - Do not skip adding baking soda, it will help cookies rise and gives them a slightly lighter texture.

    Milk - You can use any kind of milk here.

    Salt - Skip it if you are using salted butter.

    Serving suggestions:

    Storage suggestions:

    These can be stored in an airtight container at room temperature for up to a week.

    Can I freeze the dough?

    Absolutely, you can freeze the dough easily. Wrap the dough in plastic wrap, then place it in a freezer bag or airtight container. Thaw in the refrigerator before using. You can also freeze the individual rolled dough balls.

    Can the baked cookies be frozen?

    Yes, once the cookies are baked and topped with peppermint kisses, arrange the cooled cookies in an airtight container and separate the layers with parchment papers. They can be frozen for up to 2 months. Thaw the cookies at room temperature whenever you want to have a cookie.

    Tips & Notes:

    Make sure your butter is softened. Room temperature butter blends better with the sugar.

    Swap half of the sugar with light brown sugar for chewier cookies.

    Make sure you are using high quality ingredients for the best taste and flavor.

    Add a little bit of peppermint extract to the dough along with vanilla if you want a stronger mint flavor.

    Try to roll the cookie dough into even size balls. This ensures even baking.

    Roll the shaped dough balls in colorful sprinkles instead of regular sugar to add a festive touch.

    Do not overbake cookies. They should be just set and slightly golden around the edges.

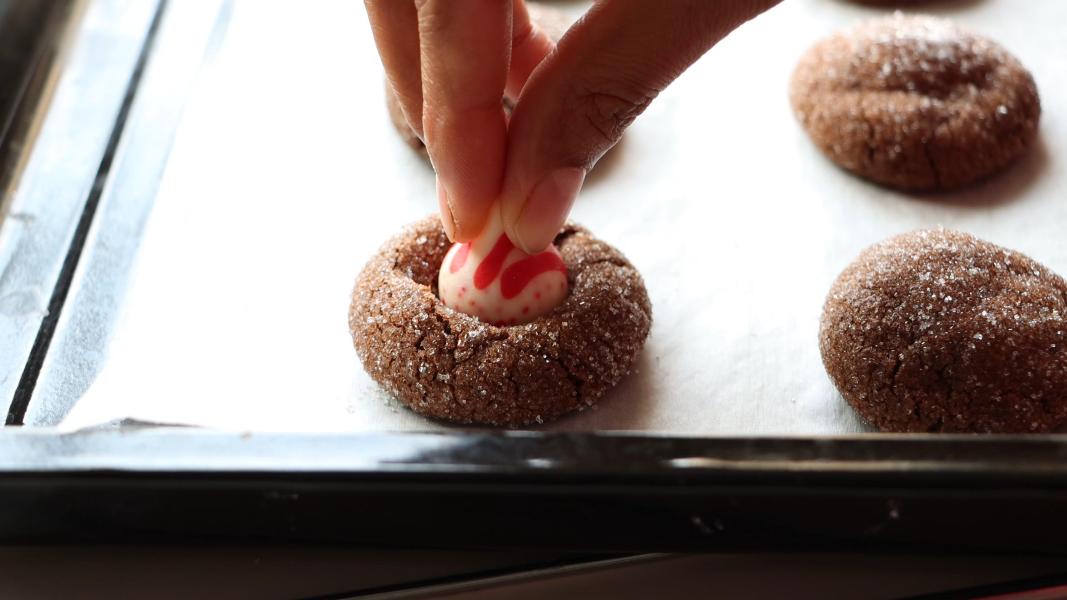
    DO NOT let the baked cookies cool completely. Allow them to cool for 2-3 minutes and while they are still warm, decorate them with candy cane kisses.

    DO NOT move the cookies immediately after placing the kisses on the top. Otherwise, they will collapse.

    Step by step instructions:

    Preheat oven to 180 degrees C. Line a baking tray with parchment paper and set aside.

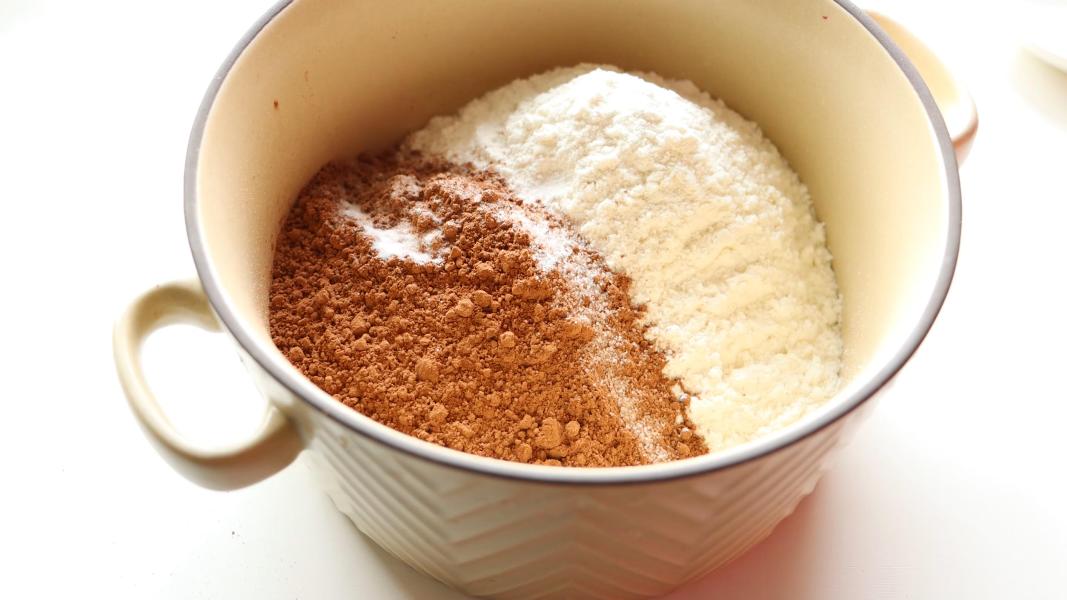
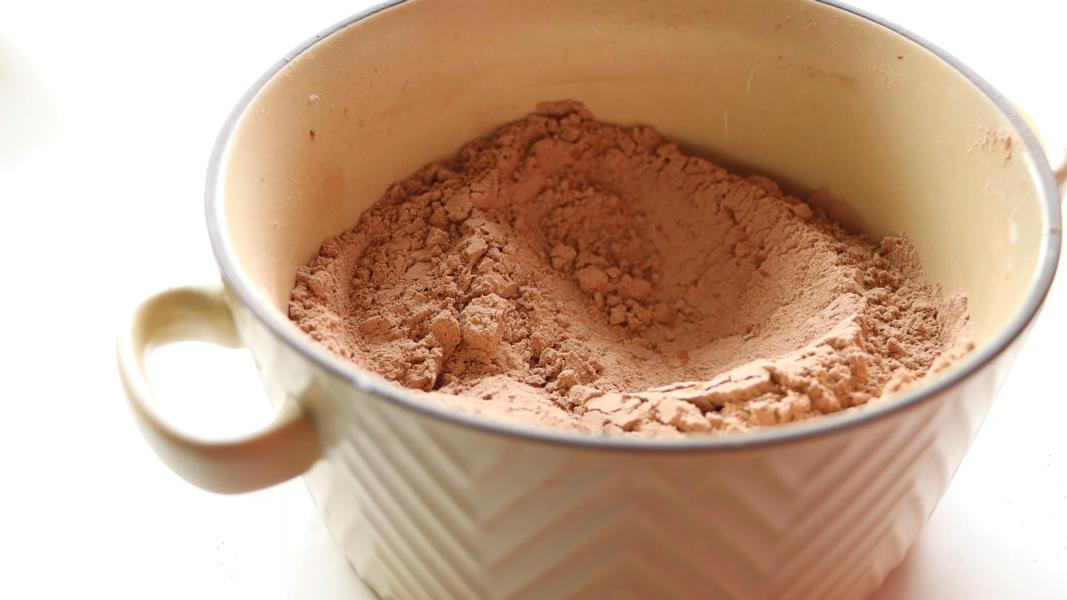
    Take flour, cocoa powder, salt and baking powder in a small mixing bowl.

    Mix everything together and keep it aside until use.

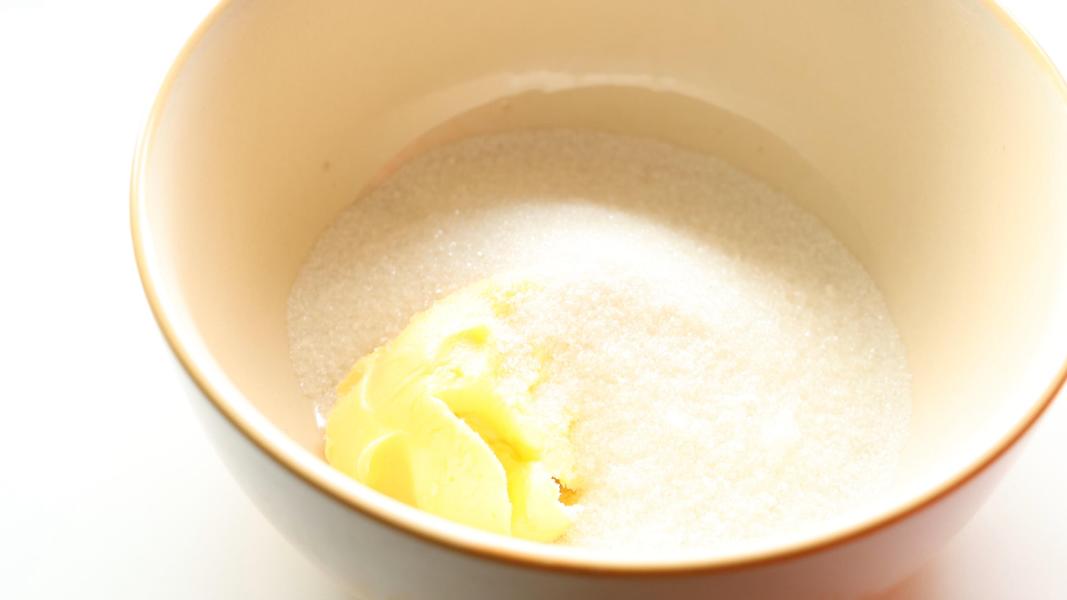
    Combine softened butter and sugar in a mixing bowl. Mix well using a spatula or hand mixer.

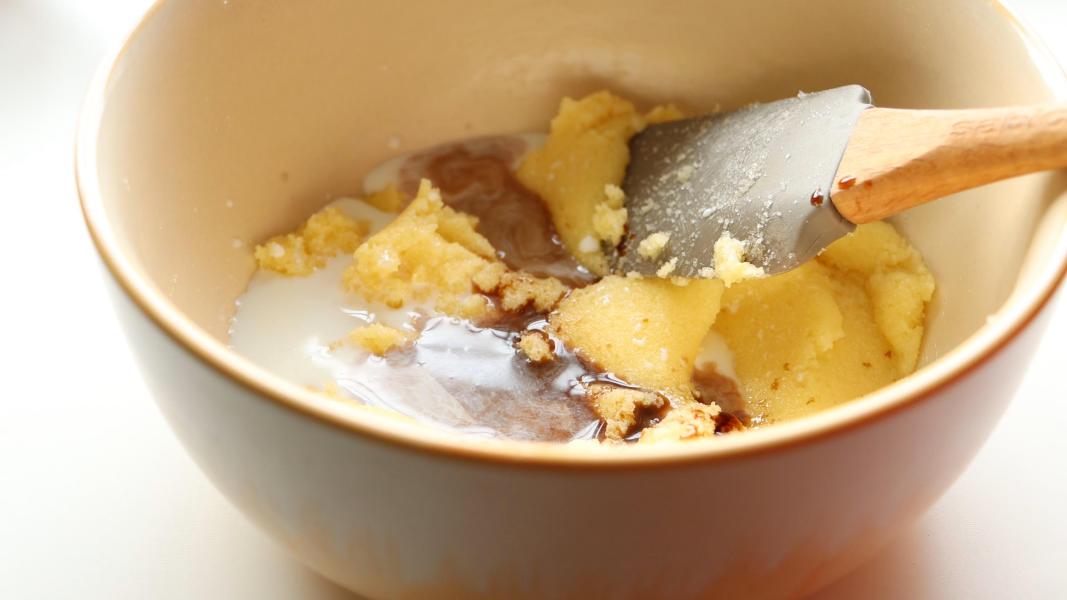
    Add vanilla and milk to the creamed butter.

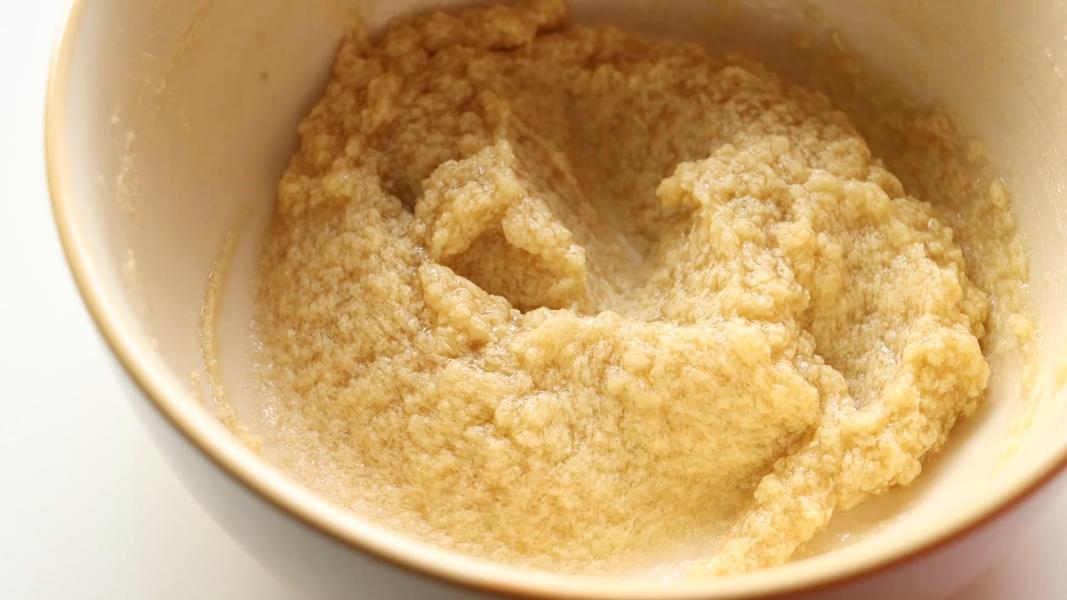
    Give it a good mix until well combined.

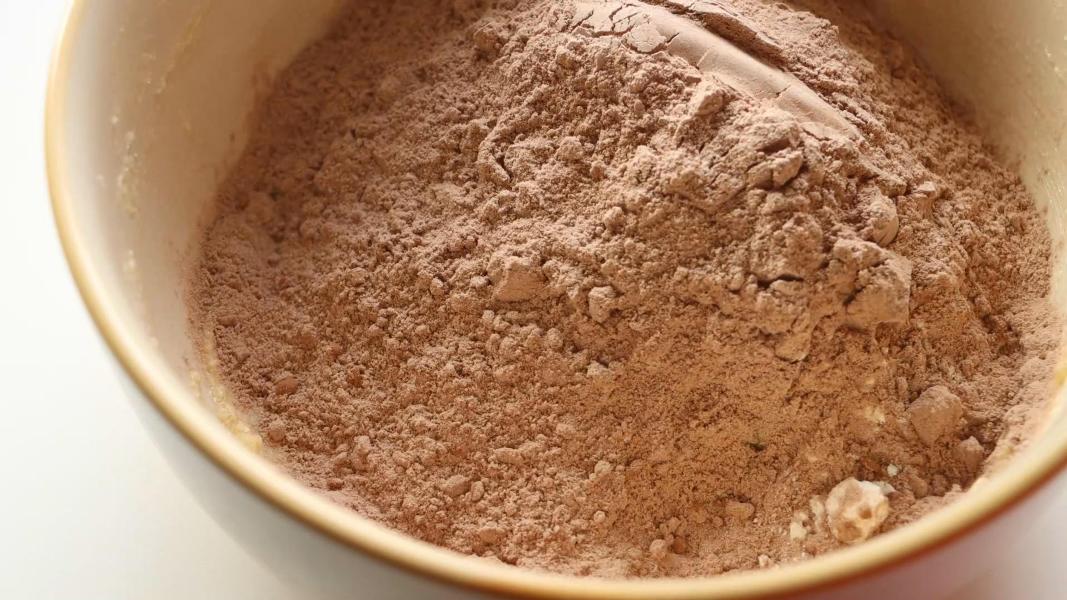
    Add the flour-cocoa mixture to the butter mixture and gently fold everything.

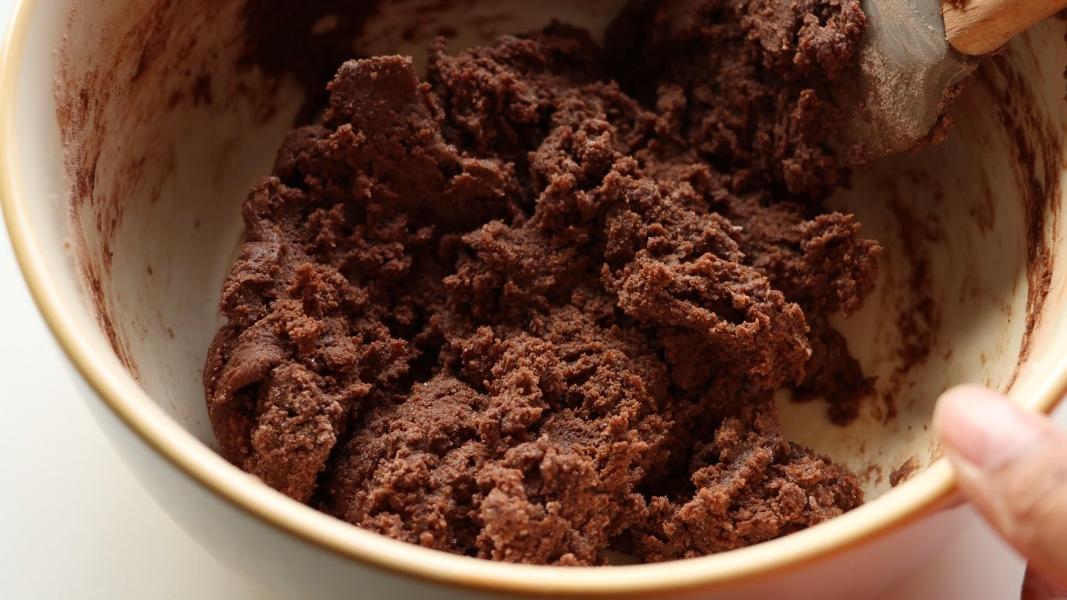
    Mix everything to make a dough.

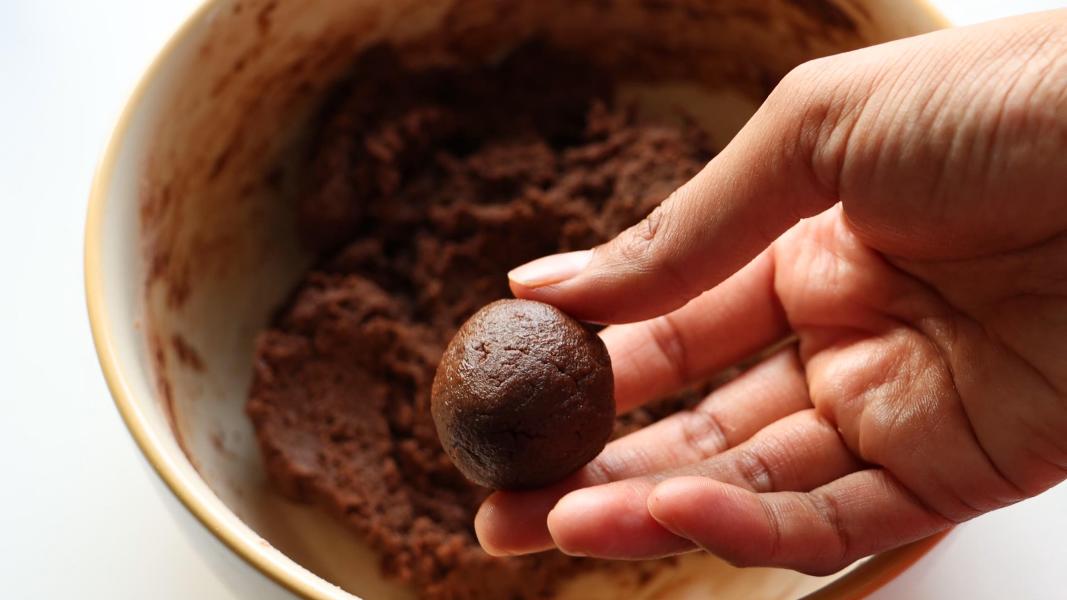
    Take a tablespoon of dough and roll into a ball.

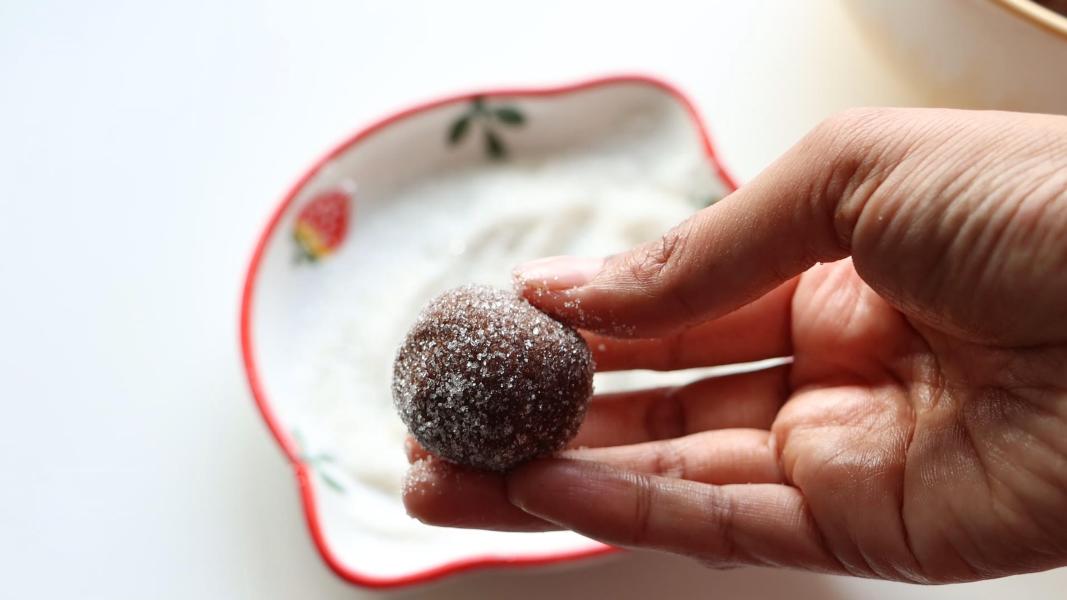
    Roll the dough ball in sugar.

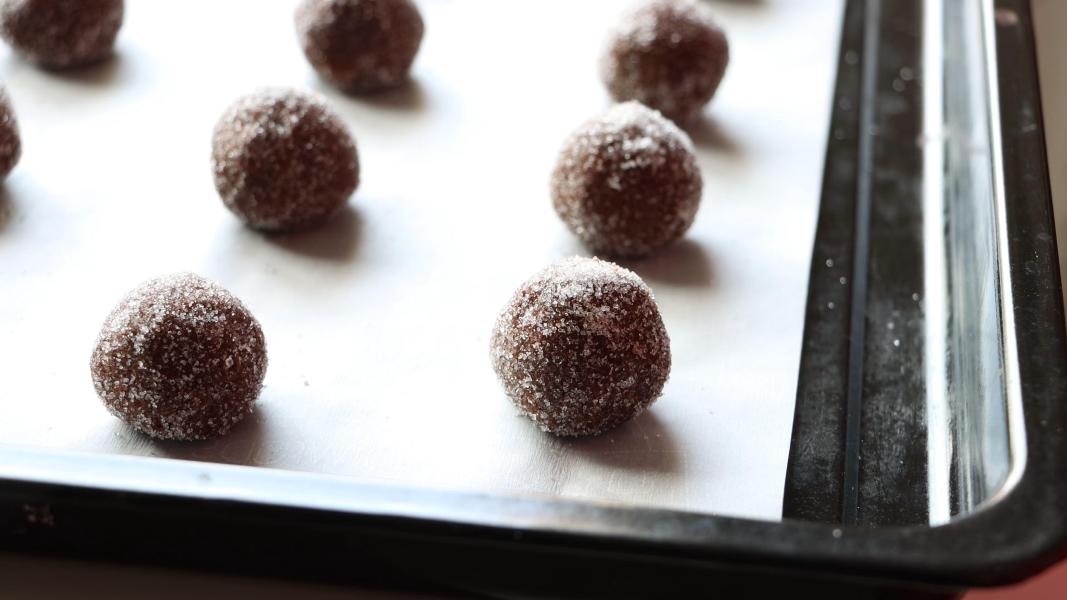
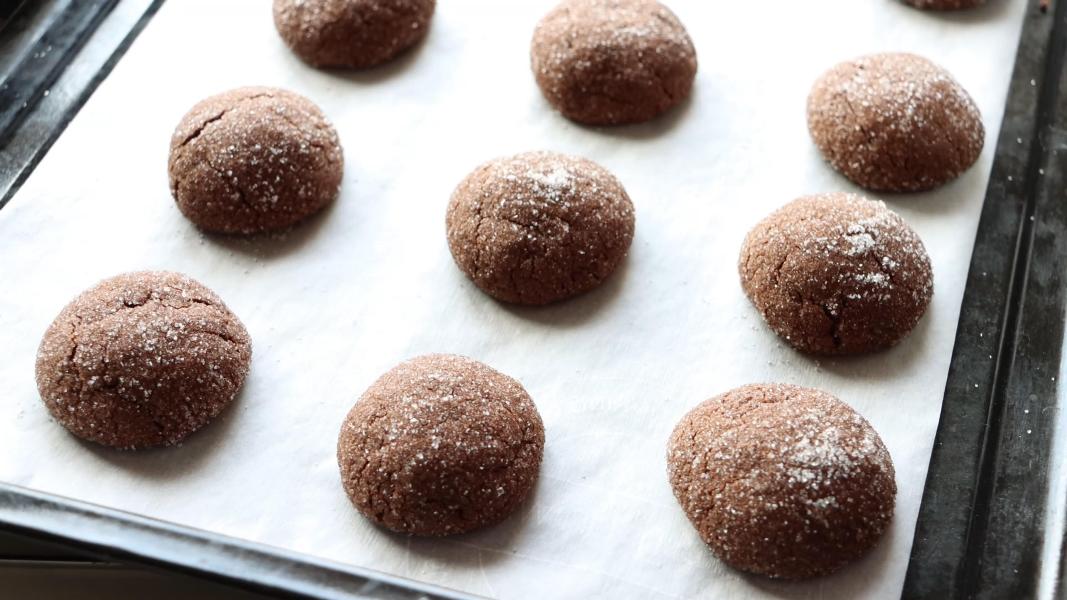
    Arrange them on a lined baking tray spacing 2 inches apart. Bake them in the preheated oven for 10 minutes at 180 degrees C.

    Once the cookies are baked, remove them from the oven and let them cool down for 2-3 minutes.

    While cookies are still warm, press a unwrapped Hershey's Kiss into the center of each cookie.

    Let them cool completely and serve.

    You might love Holiday recipes:

    • Lemon Snowball Cookies
    • Greek Easter Cookies
    • Chocolate Cream Cheese Easter Braid
    • Easter Popcorn
    • Coconut Ice
    • Avalanche Cookies
    • Old Fashioned Cherry Winks
    • Peppermint Fudge
    • Peppermint Meltaways

    How to make chocolate peppermint blossoms recipe video below:

    Print Recipe

    Chocolate Peppermint Kiss Cookies

    Chocolate Peppermint Kiss Cookies - These soft, chewy, chocolatey, and heavenly delicious no-chill festive cookies are perfect for the holiday season!
    Prep Time20 minutes mins
    Cook Time10 minutes mins
    Total Time30 minutes mins
    Course: Baking, Cookies, Dessert, Snack
    Cuisine: American, International
    Keyword: Chocolate peppermint kiss cookies, Christmas Cookies
    Servings: 15 Cookies
    Calories: 103kcal
    Author: Hari Chandana Ponnaluri

    Ingredients

    • ¾ Cup All Purpose Flour / Plain Flour
    • ¼ Cup Unsweetened Cocoa Powder
    • ¼ Teaspoon Baking Soda
    • ⅛ Teaspoon Salt
    • ¼ Cup Unsalted Butter, Softened
    • ½ Cup Sugar
    • 3 Tablespoons Milk
    • ½ Teaspoon Vanilla Extract
    • 15 Candy Cane Kisses

    Instructions

    • Preheat oven to 180 degrees C. Line a baking tray with parchment paper and set aside.
    • Take flour, cocoa powder, salt and baking powder in a small mixing bowl.
    • Mix everything together and keep it aside until use.
    • Combine softened butter and sugar in a mixing bowl. Mix well using a spatula or hand mixer.
    • Add vanilla and milk to the creamed butter.
    • Give it a good mix until well combined.
    • Add the flour-cocoa mixture to the butter mixture and gently fold everything.
    • Mix everything to make a dough.
    • Take a tablespoon of dough and roll into a ball.
    • Roll the dough ball in sugar.
    • Arrange them on a lined baking tray spacing 2 inches apart. Bake them in the preheated oven for 10 minutes at 180 degrees C.
    • Once the cookies are baked, remove them from the oven and let them cool down for 2-3 minutes.
    • While cookies are still warm, press a unwrapped Hershey's Kiss into the center of each cookie.
    • Let them cool completely and serve.

    Video

    Nutrition

    Calories: 103kcal | Carbohydrates: 15g | Protein: 1g | Fat: 5g | Saturated Fat: 3g | Polyunsaturated Fat: 0.1g | Monounsaturated Fat: 1g | Trans Fat: 0.1g | Cholesterol: 10mg | Sodium: 44mg | Potassium: 34mg | Fiber: 1g | Sugar: 9g | Vitamin A: 98IU | Vitamin C: 0.01mg | Calcium: 16mg | Iron: 1mg
    • « Go to Previous Page
    • Page 1
    • Interim pages omitted …
    • Page 4
    • Page 5
    • Page 6
    • Page 7
    • Page 8
    • Interim pages omitted …
    • Page 93
    • Go to Next Page »

    Primary Sidebar

    Welcome!

    I’m Hari Chandana Ponnaluri, the creator, recipe developer, and photographer of Blend with Spices, a food blog where I share flavorful, approachable, and authentic vegetarian recipes from India and beyond..

    More about me

    Popular Recipes

    • Cranberry Orange Snowball Cookies
    • Chocolate Crinkle Cookies (Eggless)
    • kolaczki Cookies (Polish Christmas Jam Cookies)
    • Sugar Plums
    • Peppermint Kiss Cookies
    • Potato Chip Cookies

    Indian Festival Recipes

    • Moru Curry (Kerala Moru Kachiyathu)
    • Palada Payasam (Palada Pradhaman)
    • Nellikai Sadam (South Indian Amla Rice)
    • Instant Pot Avial (Kerala Mixed Vegetable Curry)
    • Mawa Modak
    • Upma Kozhukattai
    See more Festival Recipes →

    Footer

    About

    • Privacy Policy

    Don’t Miss A Recipe!

    Subscribe to our mailing list

    Contact

    • Contact

    Copyright © 2020 Blend with Spices