
• Skip to main content
  • Skip to primary sidebar

Blend with Spices logo

menu icon
go to homepage
  • Home
  • About Me
  • Recipe Index
  • Festival Recipes
  • Eggless Baking
    • Facebook
    • Instagram
    • Pinterest
    • Twitter
    • YouTube
  • search icon
    Homepage link
    • Home
    • About Me
    • Recipe Index
    • Festival Recipes
    • Eggless Baking
    • Facebook
    • Instagram
    • Pinterest
    • Twitter
    • YouTube
  • ×
    Home » Recipes

    Mango Cucumber Salsa (Pico de Gallo)

    Mango Cucumber Salsa (Pico de Gallo)

    July 10, 2021

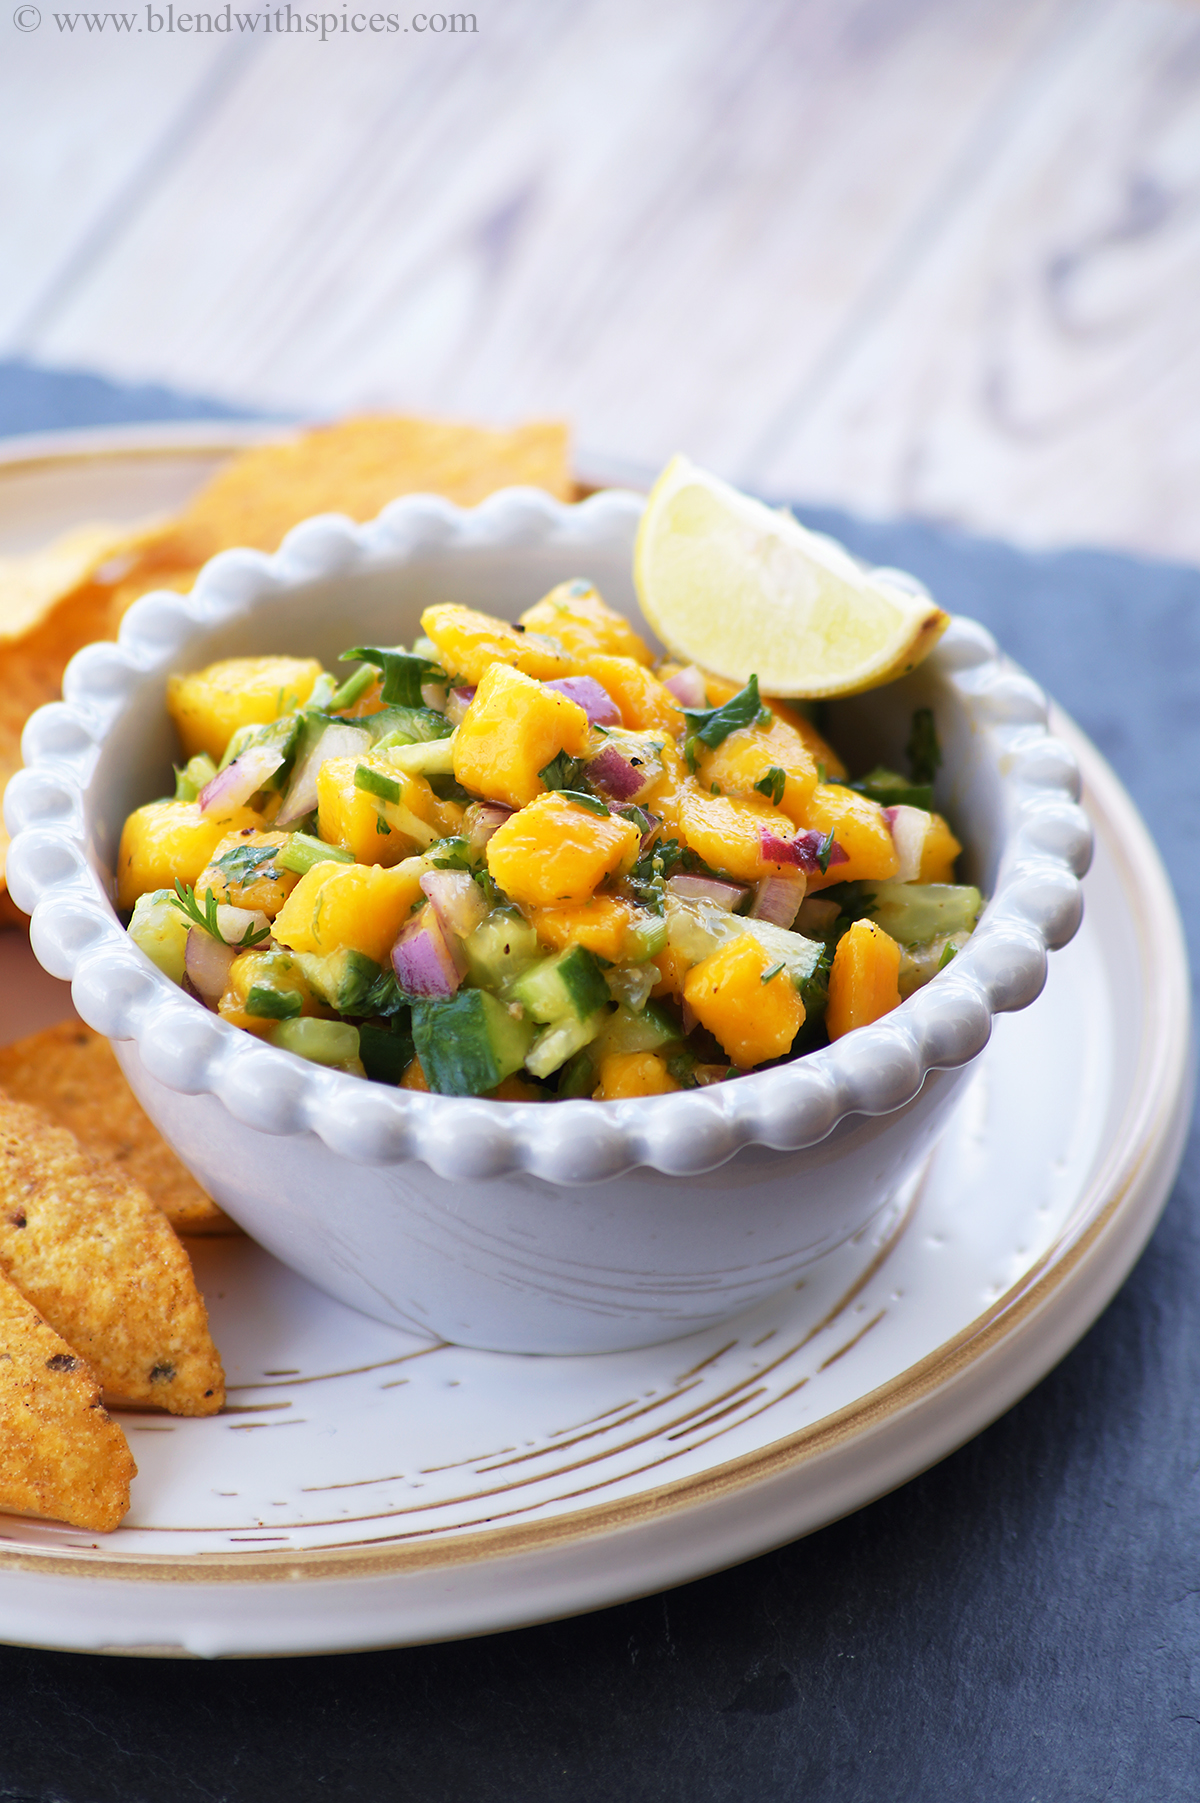
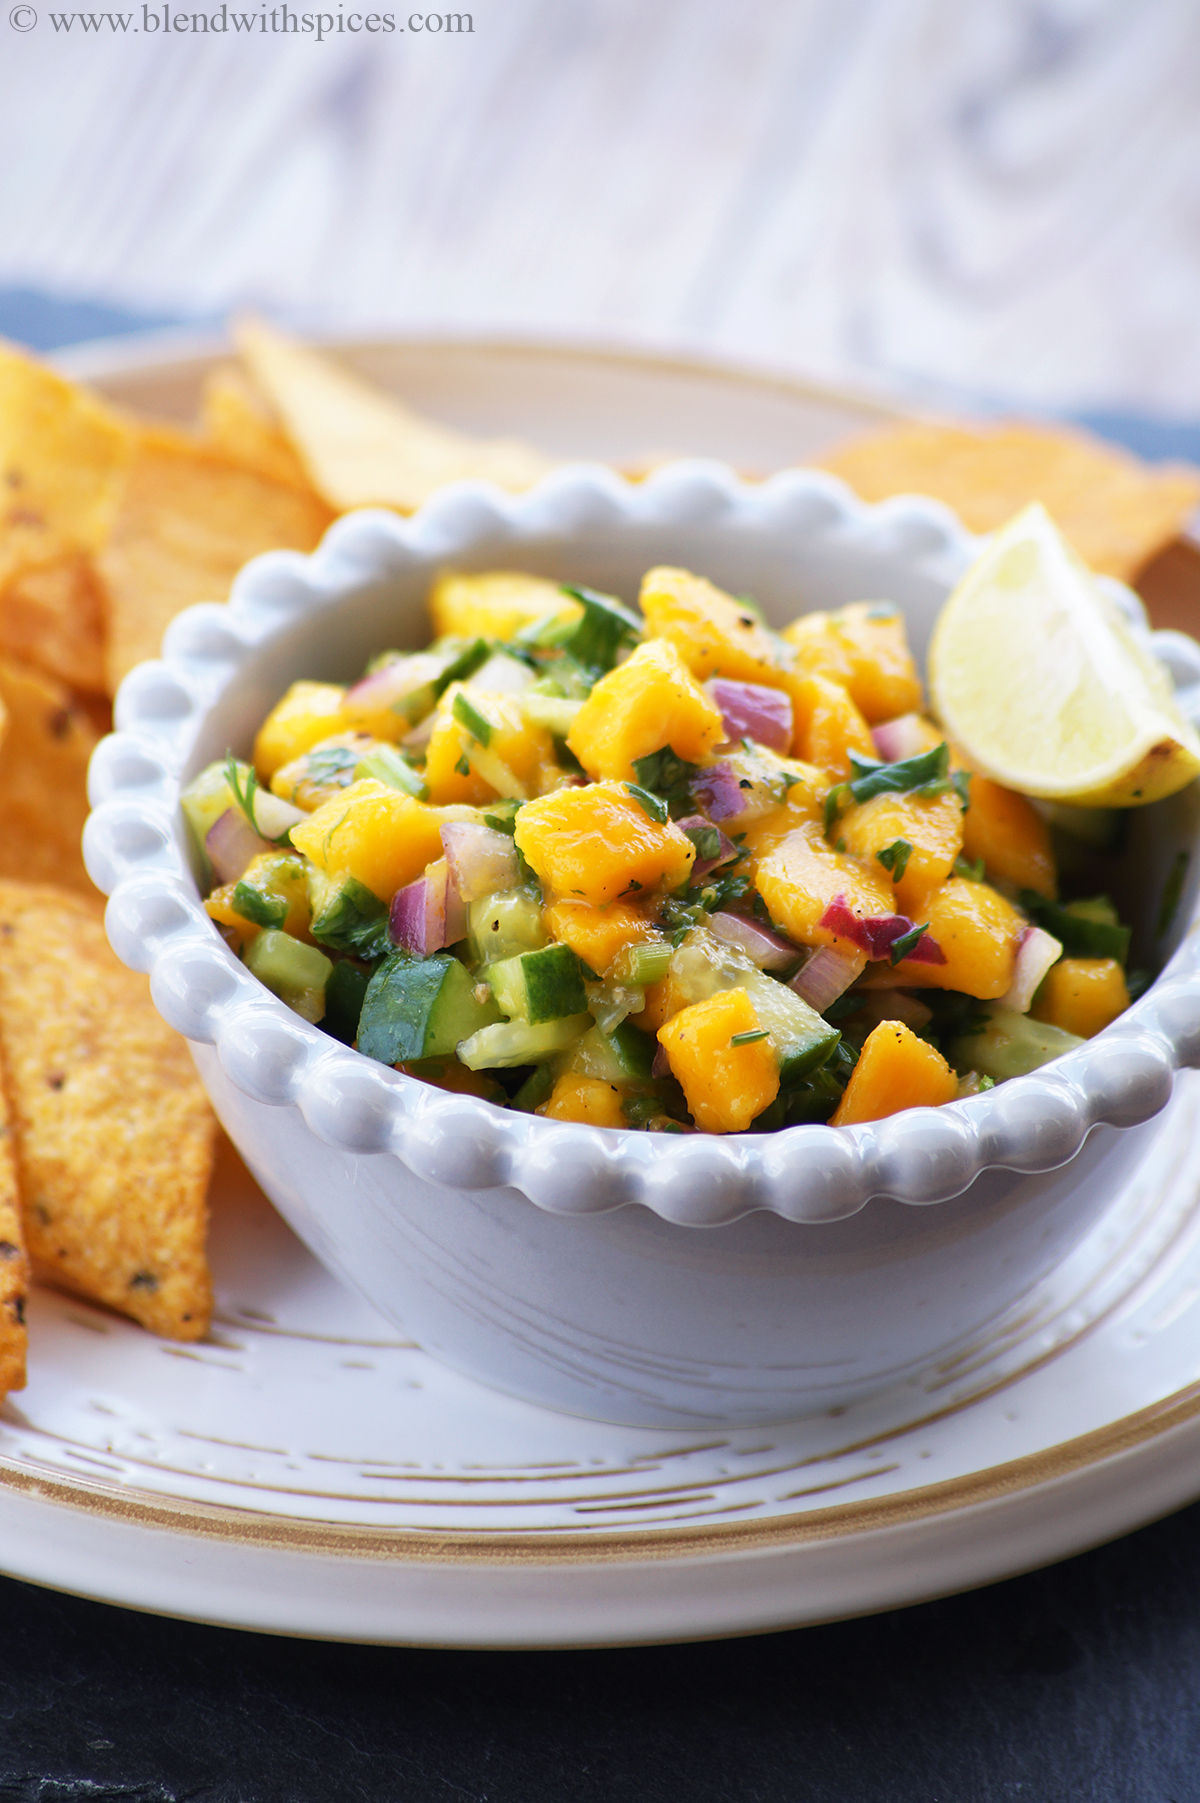
    Mango Cucumber Salsa - Easy, healthy, chunky, and delicious Mexican appetizer with mangoes, cucumber, onion and cilantro. Serve with nachos, tacos, chips and more!
    What is mango cucumber salsa?

    Salsa, commonly referred to as table sauce, is a chunky mix of vegetables, fruits and spices. It is quite common in Mexican restaurants, mostly as a complementary appetizer in the form of Pico de Gallo - irresistible and hardly lasts until the main course is served! While there are tons of variants of Pico de Gallo, this one in particular does not involve tomato. It banks on mango for its chunky sweetness, cucumber for its crunchy mellowiness with the rest of the ingredients providing the balancing act of spice, flavor and texture. With a pack of crunchy chips next to you, you are sure to lose track of your salsa intake!

    Why you'll mango cucumber pico de gallo?

    Ridiculously easy, quick to make - takes hardly 15 min to make

    Insane range of droolworthy flavors in one bite - sweet, spicy, tangy, chunky, crunchy

    Your best bingewatch companion!

    Can be made ahead of time in large quantities to spice up the staging area of your parties. Remember Monika's salsa on Rachel's birthday from F.R.I.E.N.D.S ?

    Ingredients
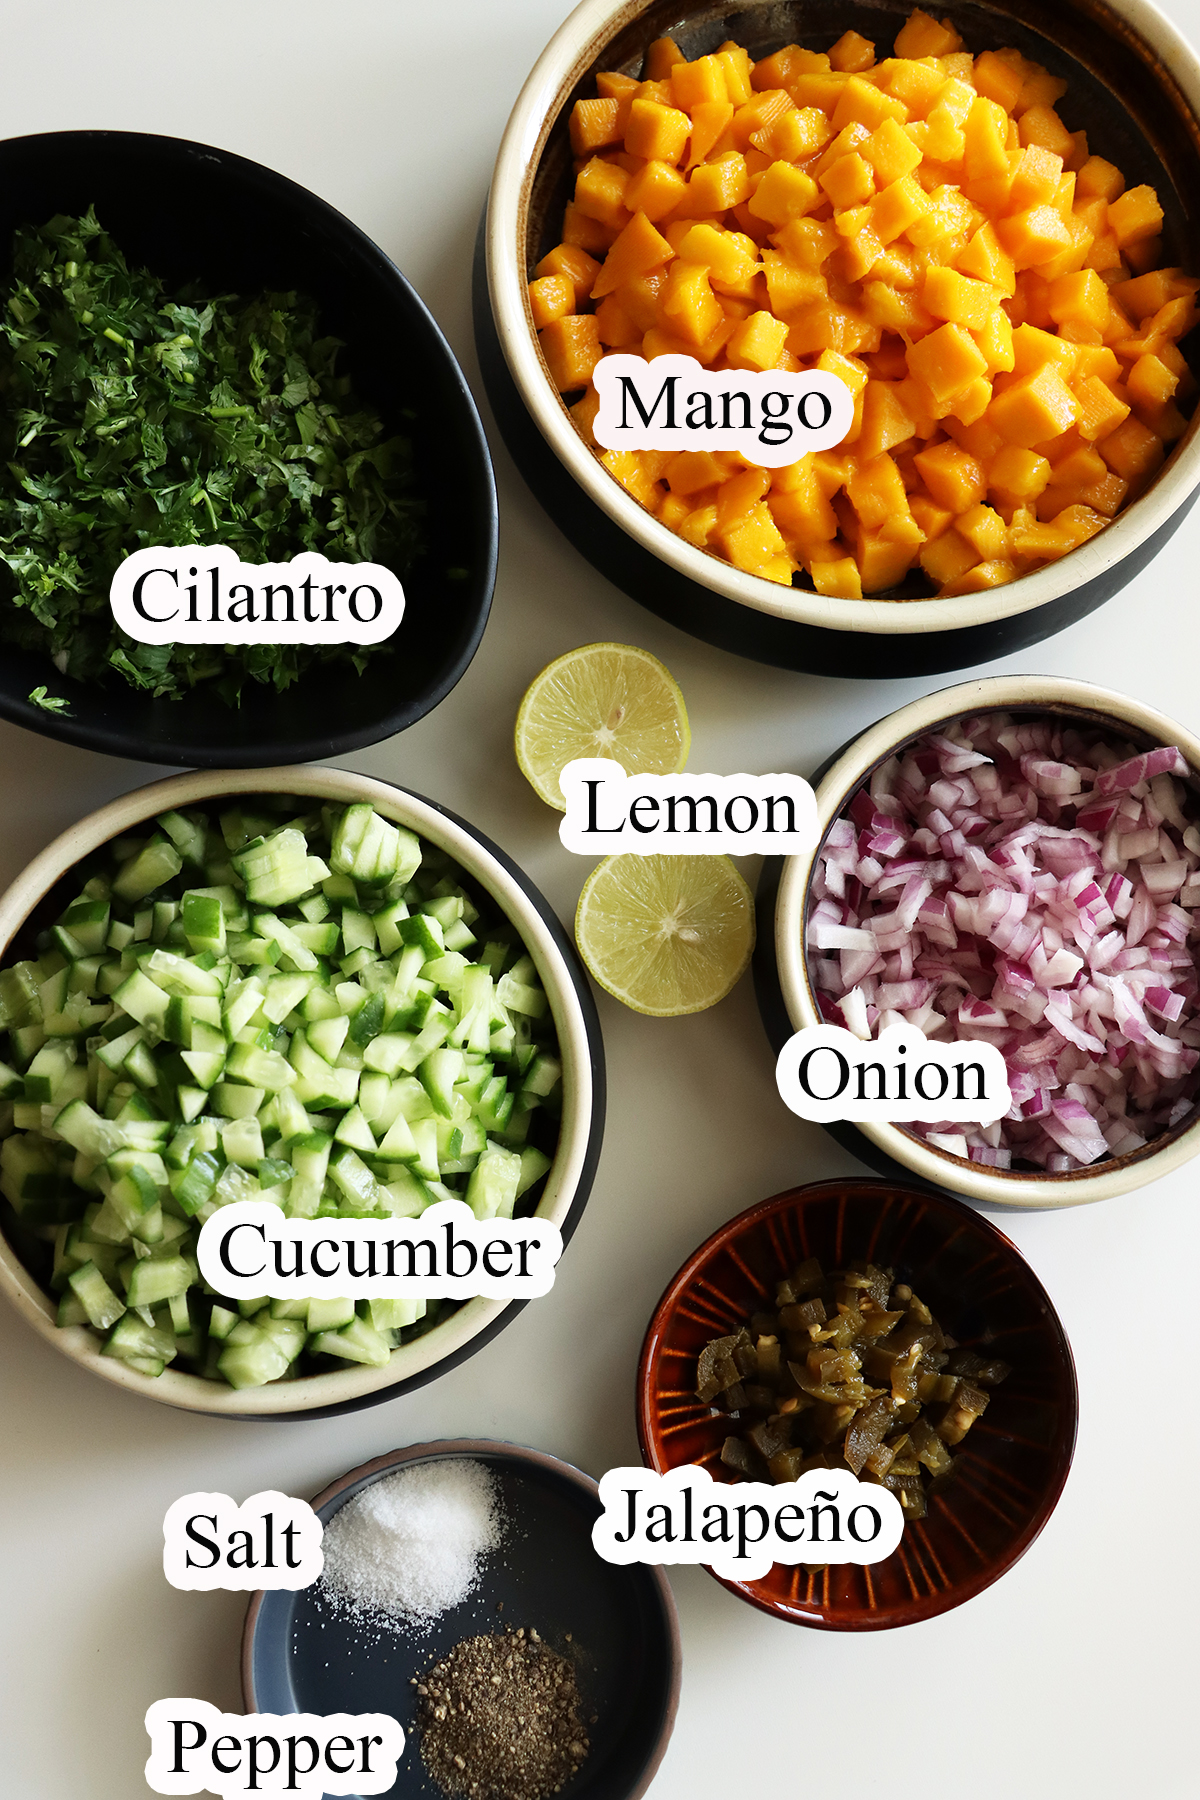
    Mango: Choose a ripe, sweet and non-fibrous mango. I have used fresh mangoes in this recipe.

    Cucumber: I have used English cucumber in this recipe. You can also use the regular ones but make sure you de-seed them. Peel the cucumbers if you want to.

    Onion: Red onion works best, adding a strong flavor and giving the salsa a distinct look!

    Jalapeños: I swap fresh jalapeños with pickled ones whenever I can't find them. Feel free to use whatever you have. You can also de-seed them to cut down the heat.

    Cilantro: Fresh cilantro or coriander leaves will add a great flavor and freshness to the salsa. We love loads of cilantro in our salsa.

    Lemon Juice: Lemon or lime juice would work well.

    Salt & Pepper
    Can I use frozen mango?

    Yes! Thaw or defrost the frozen mango and drain all the juices. Chop the mango chunks into small cubes and add them to your salsa.

    Can I used canned mango?

    Absolutely! you will need to drain the canned mango liquid and rinse the mango pieces with water to get rid of any added extra sweetness.

    How long can I store it?

    It tastes best on the same day it is made. However, you can store it in the refrigerator for up to 2 days.
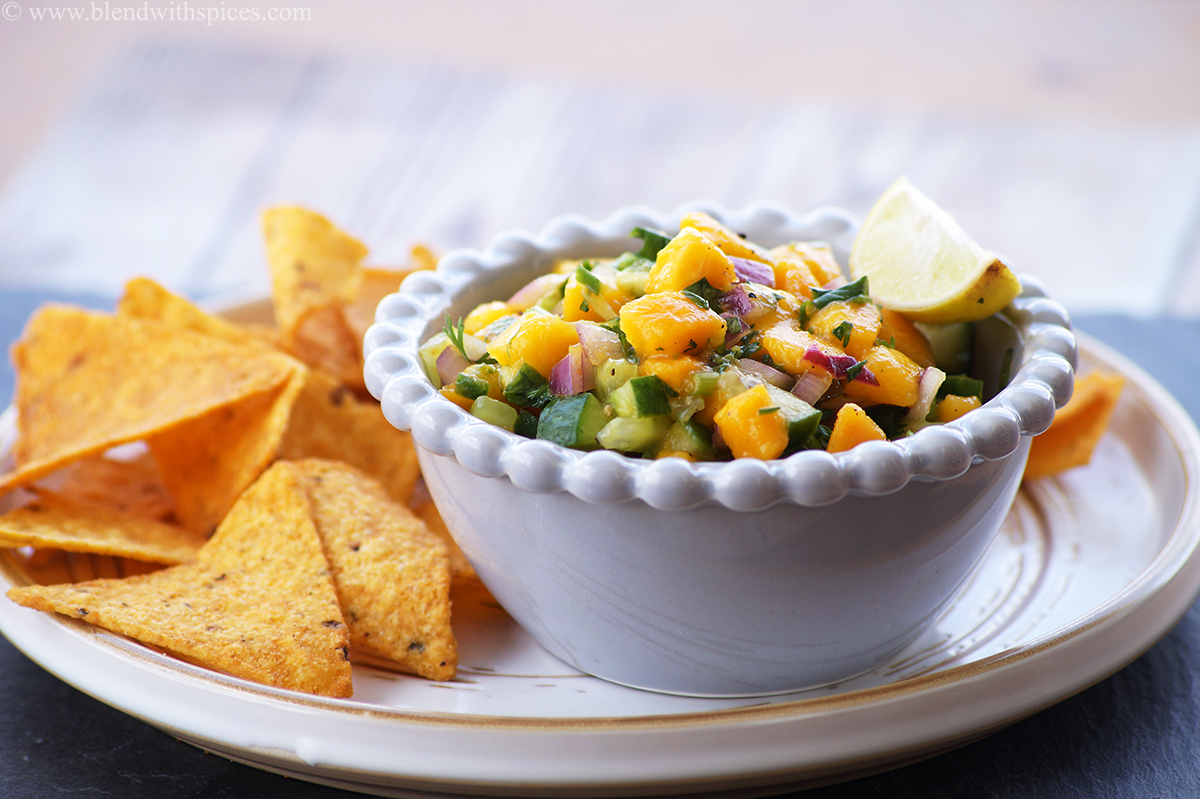
    Serving suggestions:

    Being vegetarian, we absolutely love serving this salsa with nachos, chips or tacos. No amount of salsa is big enough for a chip - just dump a load of salsa onto each piece and enjoy the chunky, tangy, sweet, spicy flavor all in one bite!

    It is a versatile dish, it can be served as an appetizer, side dish or even a snack.

    Step by step instructions:
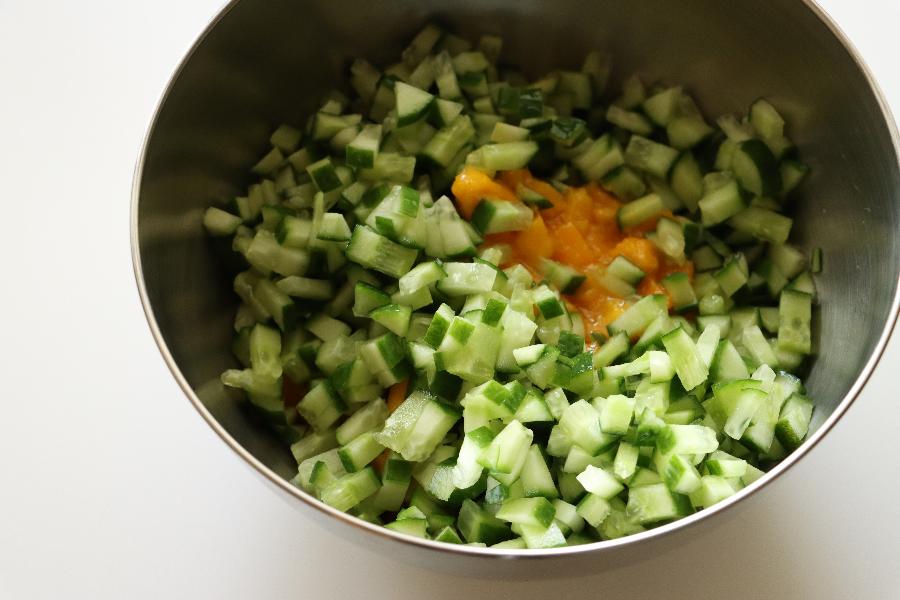
    Chop the mangoes into small cubes and add them to a large bowl.

    Wash and chop cucumber into very small pieces and add them to the bowl.
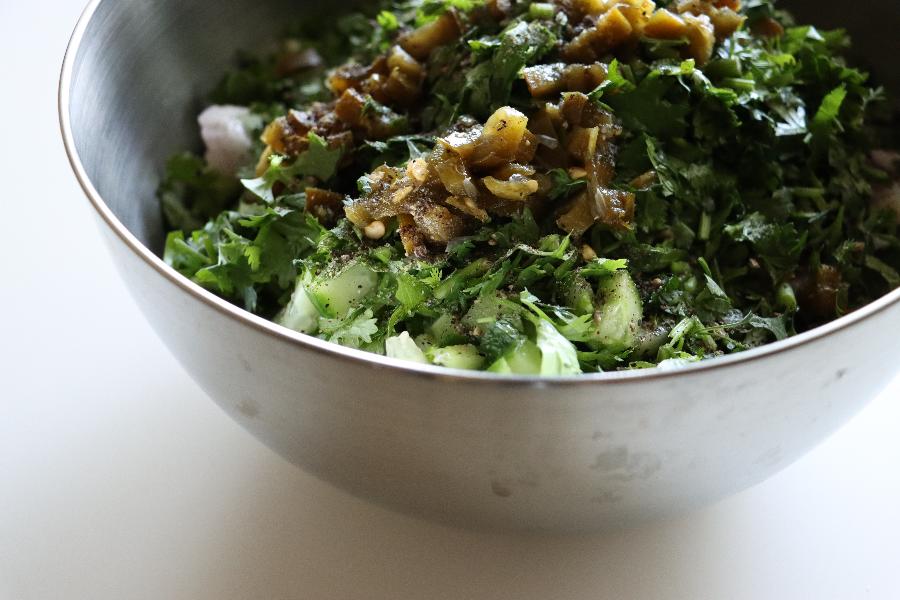
    Then add finely chopped onion, jalapenos, cilantro, salt, pepper and lemon juice.
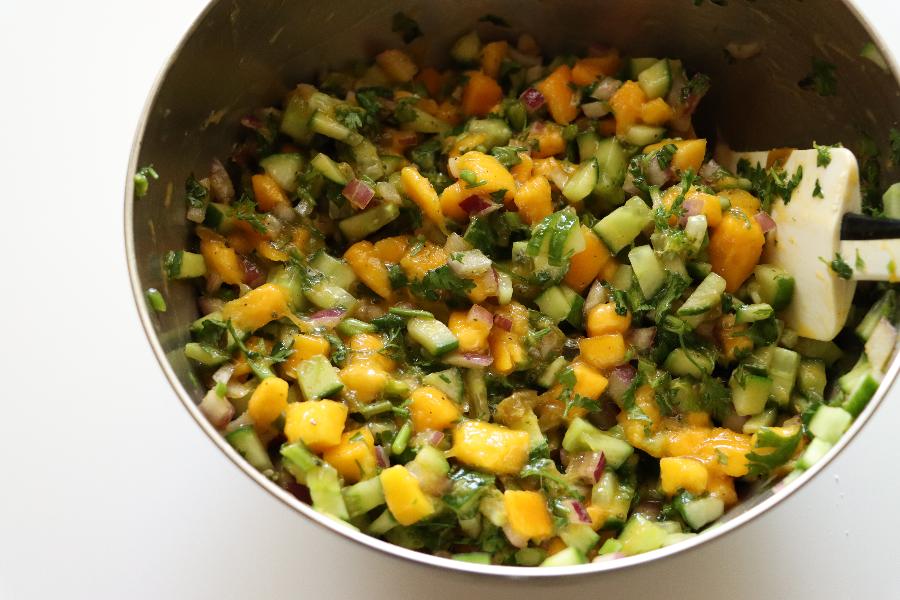
    Gently mix everything and add more salt or pepper if needed.

    Refrigerator for sometime and serve with corn chips.

    Mango cucumber salsa recipe video below:

    If you love this recipe then don't forget to give it a five-star rating! You can also follow me on Facebook, Instagram and Youtube for my latest recipes and videos!

    Print Recipe
    5 from 1 vote

    Mango Cucumber Salsa

    Mango cucumber salsa is a healthy, easy and refreshing Mexican appetizer or side dish made with cubed mangoes. cucumber, onion and cilantro.
    Prep Time15 minutes mins
    Cook Time0 minutes mins
    Total Time15 minutes mins
    Course: Appetizer, Side Dish, Snack
    Cuisine: International, Mexican
    Keyword: mango cucumber salsa recipe, Mango Recipes, Salsa Recipes
    Servings: 10
    Calories: 30kcal
    Author: Hari Chandana Ponnaluri

    Ingredients

    • 2 Cups Cubed Mangoes (1 large mango)
    • 2 Cups Cucumber finely chopped
    • ¾ Cup Red Onion finely chopped
    • ½ Cup Chopped Cilantro tightly packed
    • 2 Tablespoons Chopped Jalapeno
    • ½ Teaspoon Salt or to taste
    • ½ Teaspoon Ground Pepper
    • 2-3 Tablespoon Lemon Juice

    Instructions

    • Combine all the ingredients in a large mixing bowl.
    • Gently mix until well combined.
    • Refrigerate for sometime and serve

    Video

    Nutrition

    Calories: 30kcal | Carbohydrates: 7g | Protein: 1g | Fat: 0.2g | Saturated Fat: 0.05g | Polyunsaturated Fat: 0.04g | Monounsaturated Fat: 0.1g | Sodium: 118mg | Potassium: 120mg | Fiber: 1g | Sugar: 6g | Vitamin A: 466IU | Vitamin C: 18mg | Calcium: 11mg | Iron: 0.2mg

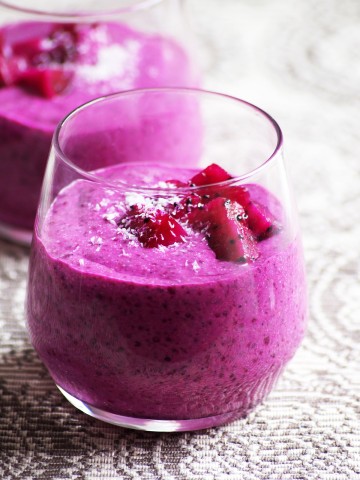
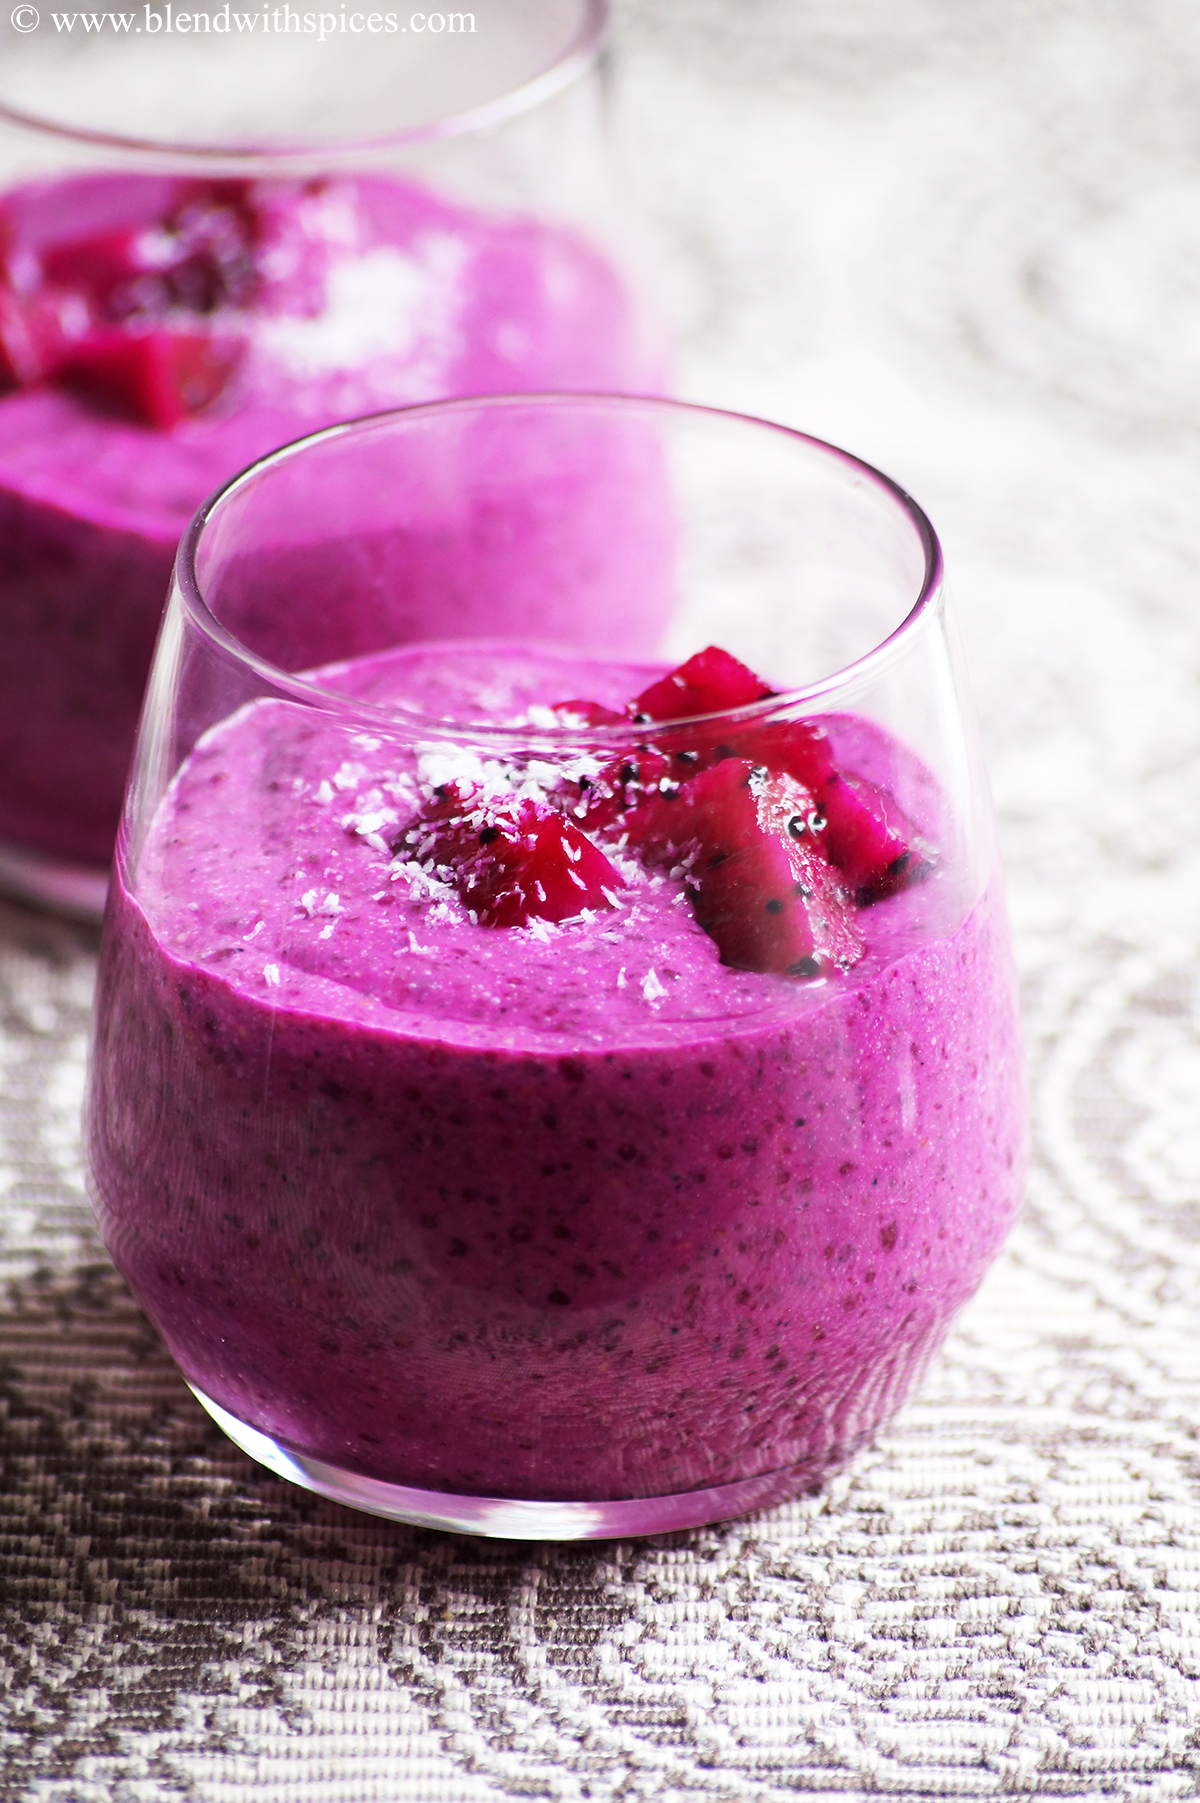
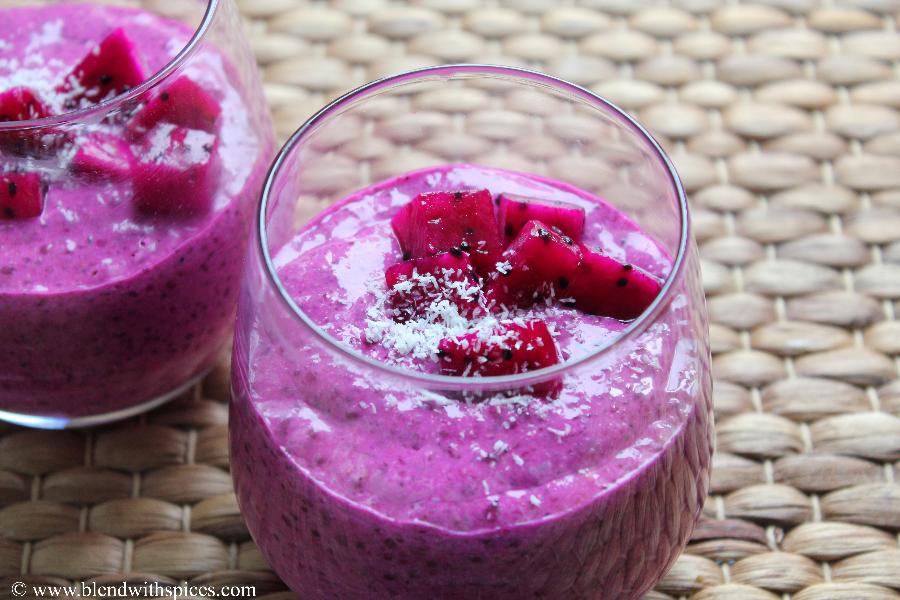
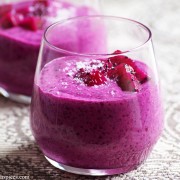
    Dragon Fruit Chia Pudding

    July 2, 2021

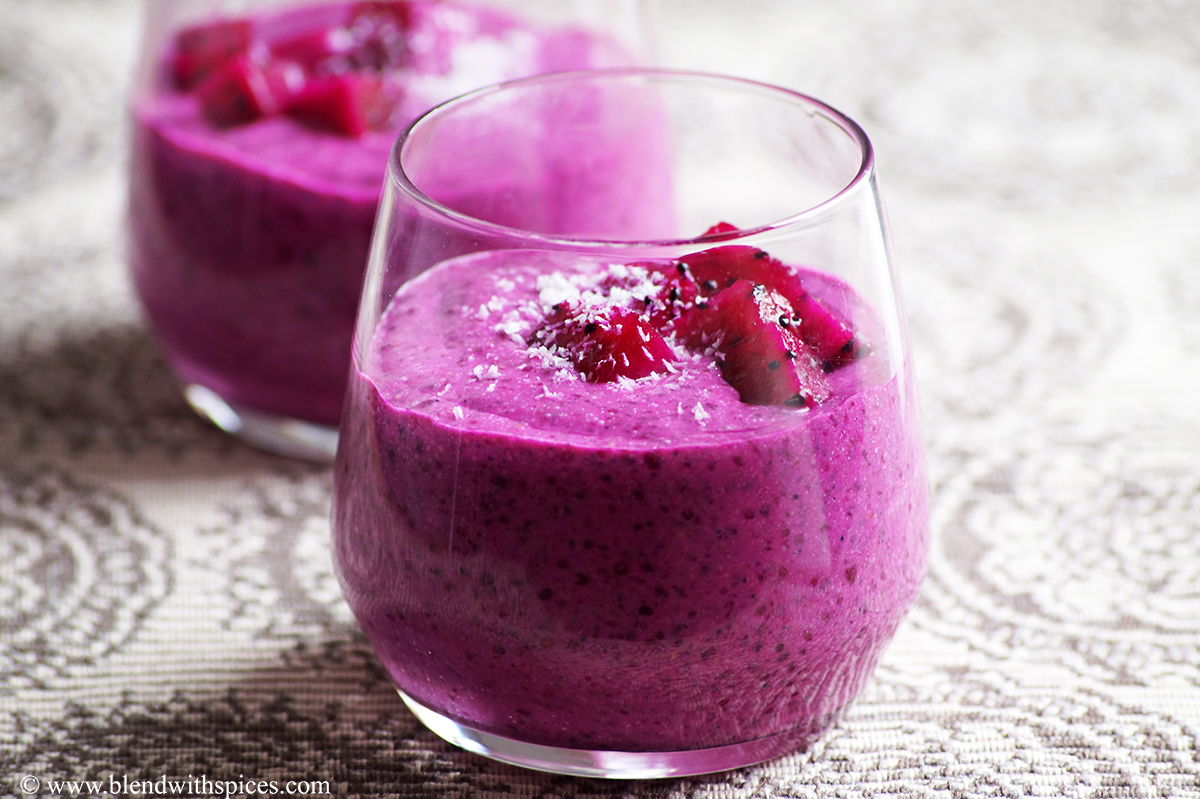
    Dragon Fruit Chia Pudding Recipe with step-by-step photos and video - Gorgeous and delicious chia seed pudding with dragon fruit/pitaya, coconut milk, vanilla and sugar. A perfect grab & go breakfast!

    What is dragon fruit chia pudding?

    Dragon fruit chia pudding is a super delicious, creamy and no-cook kind of breakfast or dessert recipe. The pudding is made with fresh dragon fruit or pitaya fruit and coconut milk. To get the pudding-like consistency, you will need to add chia seeds to the flavored and sweetened liquids and let it sit for 1-3 hours or overnight.

    You will only need 5 ingredients and 5 minutes to make this yummy grab & go breakfast.

    Ingredients:

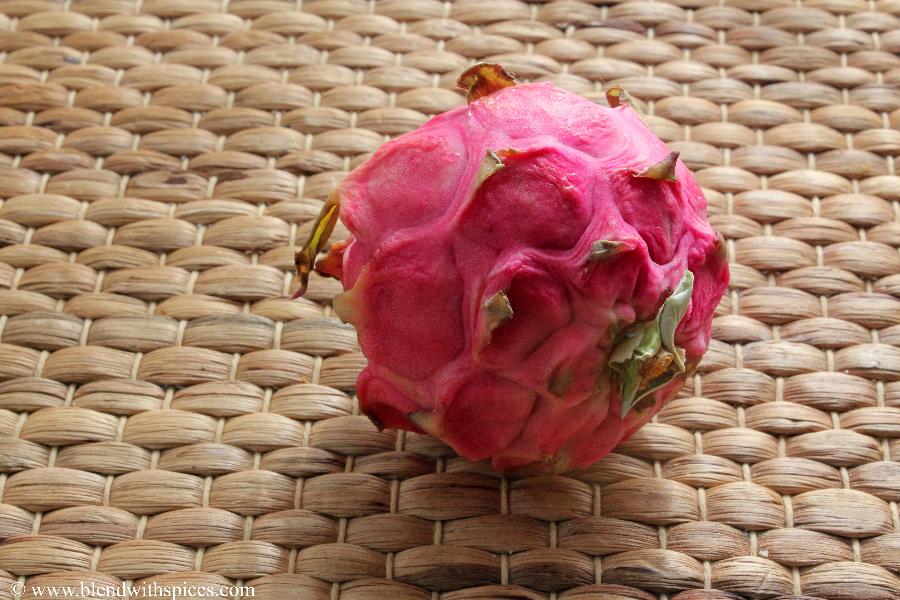
    Dragon Fruit: I have used pink pitaya or dragon fruit to get a beautiful color. You can also use white dragon fruit but the pink one is more sweeter.

    Coconut Milk: You can use full fat or low fat coconut milk here.

    Chia Seeds: Chia seeds will act as a thickening agent and they are full of nutrients.

    Sugar: Replace sugar with any of your favorite sweetener.

    Vanilla: A little bit of vanilla adds a great flavor to the pudding.

    Is it vegan?

    Yes it is a vegan dish.

    Storage suggestions:

    You can easily store this chia pudding for a couple of days and it's a perfect make-ahead breakfast recipe.

    Serving suggestions:

    It is best when you serve it cold as a breakfast. You can top it with fresh fruits and nuts. You can also serve it as a snack or a dessert.

    Tips:

    Always follow the right measurements or ration to get the right consistency every time.

    Instead of grinding chia seeds with dragon fruit and coconut milk, you can stir the whole chia seeds at the end just before refrigerating the chia pudding to set.

    If you want to adjust the consistency, add a little more chia seeds or milk to the pudding and let it sit for some more time.

    Step by step instructions:

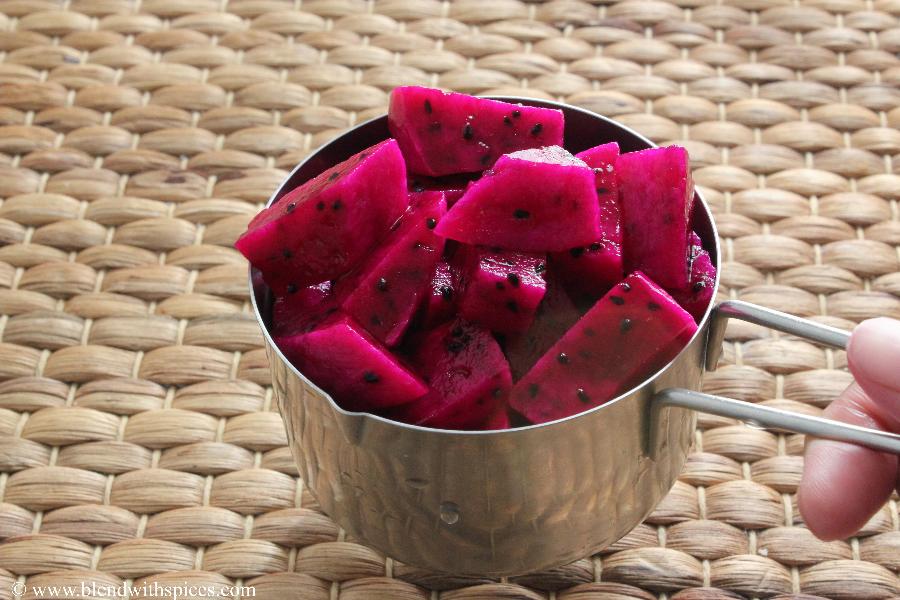
    Wash, peel and chop a dragon fruit into pieces.

    Add them to a blender jar.

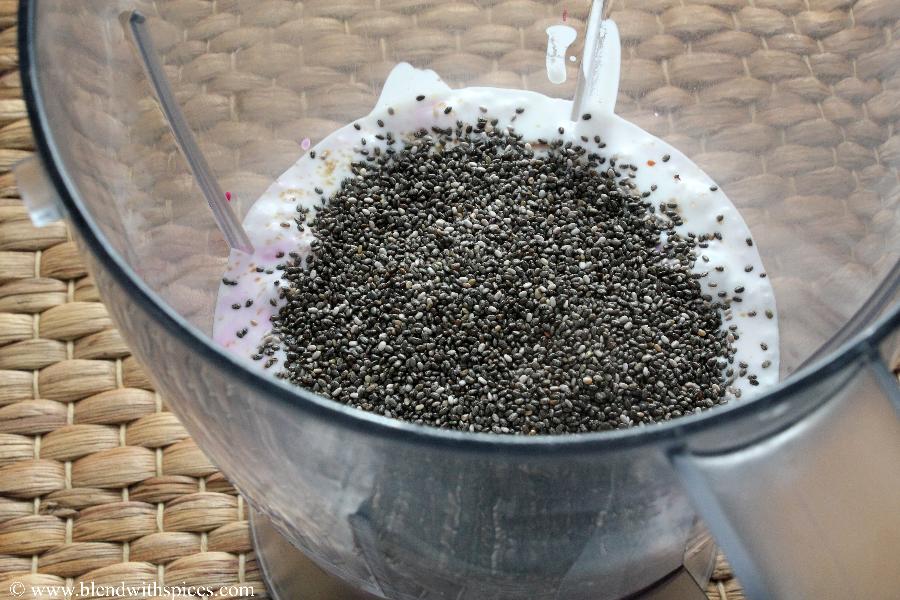
    Add one cup of coconut milk, vanilla, sugar and 4 tablespoons of chia seeds to the jar.

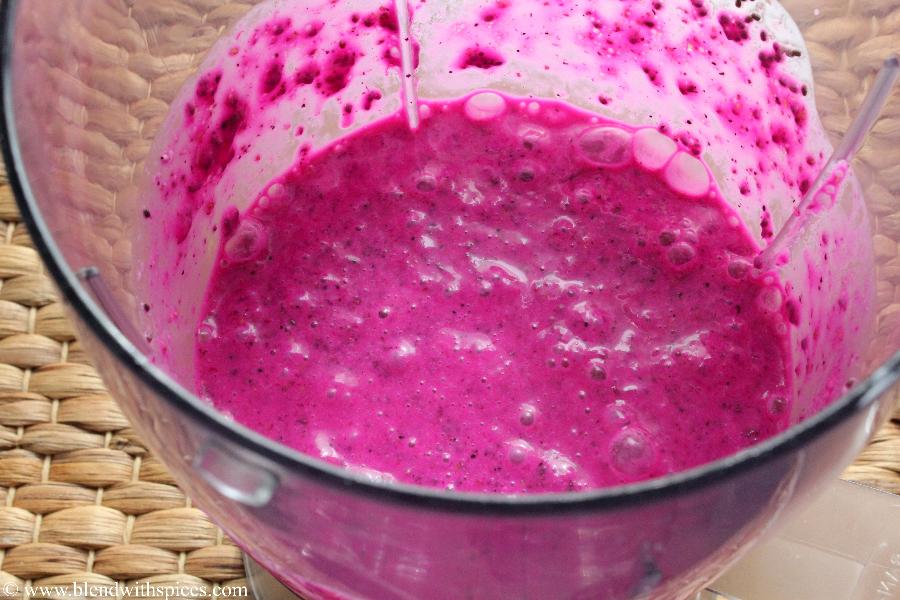
    Blend everything until nice and smooth.

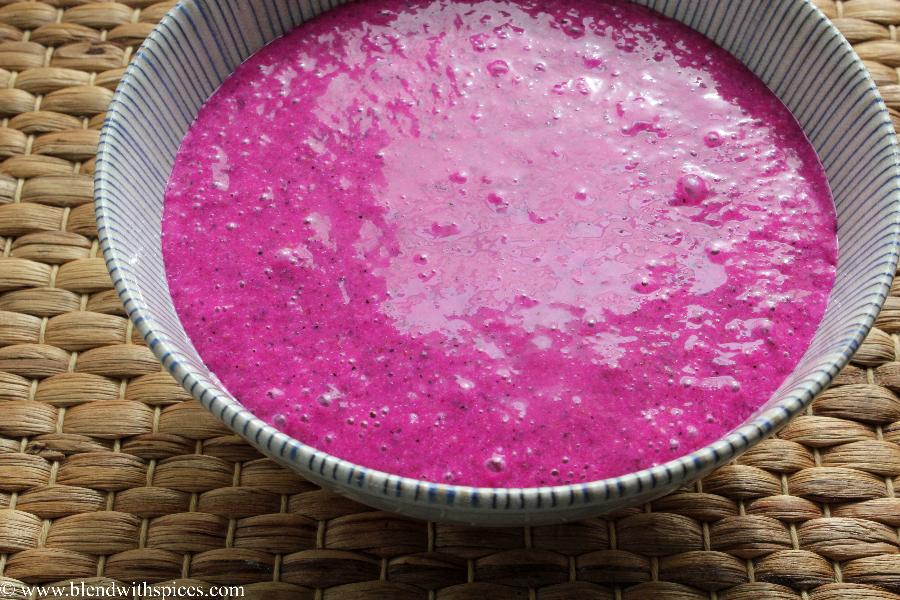
    Transfer it to a bowl or serving glasses and refrigerate for 1-3 hours or until set.

    Top it with cubed dragon fruit and desiccated coconut or any of your favorite nuts and serve!

    Few more breakfast recipes you'll love:

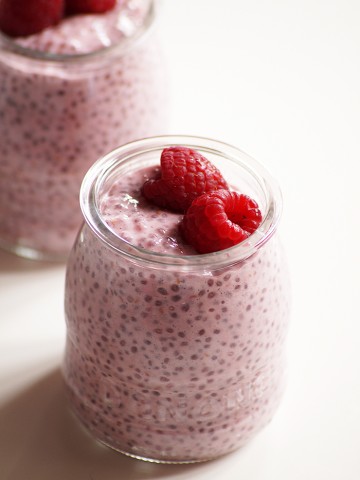
    • 5 Ingredient Raspberry Chia Pudding Recipe - Step by Step Photos + Video
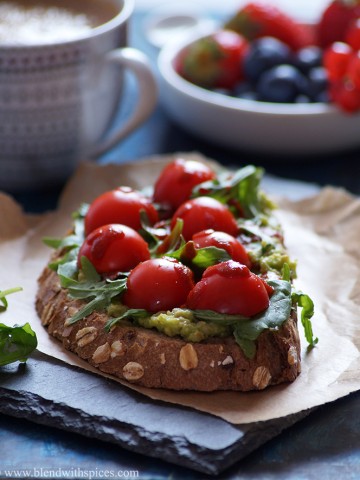
    • Avocado Cherry Tomato Toast with Arugula and Sriracha Sauce {Video}
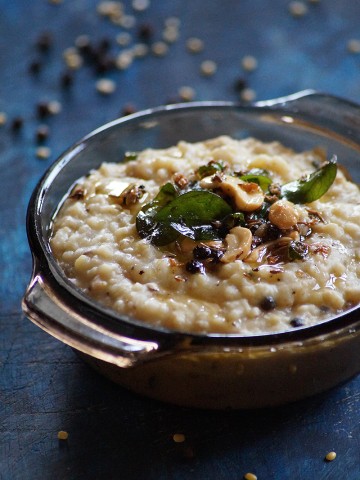
    • Oats Ven Pongal Recipe - Healthy Indian Oats Recipes
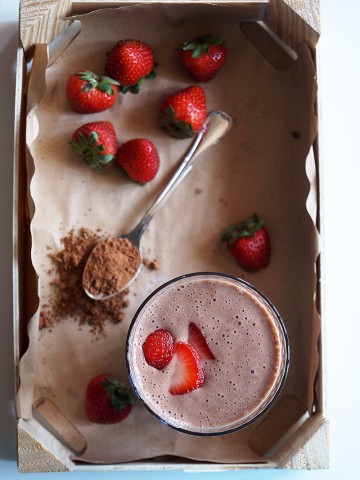
    • Chocolate Strawberry Banana Smoothie Recipe {Video}

    Vegan pitaya chia pudding recipe video below:

    If you love this recipe then don't forget to give it a five-star rating! You can also follow me on Facebook, Instagram and Youtube for my latest recipes and videos!

    Print Recipe

    Dragon Fruit Chia Pudding

    Dragon Fruit Chia Pudding Recipe with step-by-step photos and video - Gorgeous and delicious chia seed pudding with dragon fruit/pitaya, coconut milk, vanilla and sugar. A perfect grab & go breakfast!
    Prep Time5 minutes mins
    Cook Time0 minutes mins
    Total Time5 minutes mins
    Course: Breakfast, Dessert, Snack
    Cuisine: International
    Keyword: chia pudding recipes, dragon fruit chia pudding, healthy breakfast recipes, pitaya recipes
    Servings: 2
    Calories: 417kcal
    Author: Hari Chandana Ponnaluri

    Ingredients

    • 1 Dragon Fruit
    • 1 Cup Coconut Milk
    • ¼ Teaspoon Vanilla Extract (or ½ teaspoon Vanilla Essence)
    • 2 Tablespoons Sugar
    • 4 Tablespoons Chia Seeds

    Instructions

    • Peel and chop dragon fruit.
    • Blend all the ingredients until smooth.
    • Refrigerate it for 1-3 hours or until overnight to set.
    • Garnish and serve chilled.

    Video

    Nutrition

    Calories: 417kcal | Carbohydrates: 30g | Protein: 6g | Fat: 32g | Saturated Fat: 22g | Polyunsaturated Fat: 6g | Monounsaturated Fat: 2g | Trans Fat: 1g | Sodium: 49mg | Potassium: 347mg | Fiber: 9g | Sugar: 16g | Vitamin A: 13IU | Vitamin C: 2mg | Calcium: 172mg | Iron: 6mg

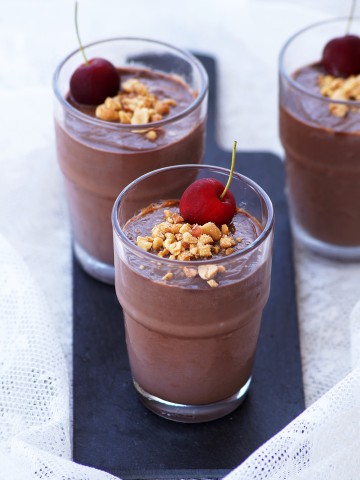
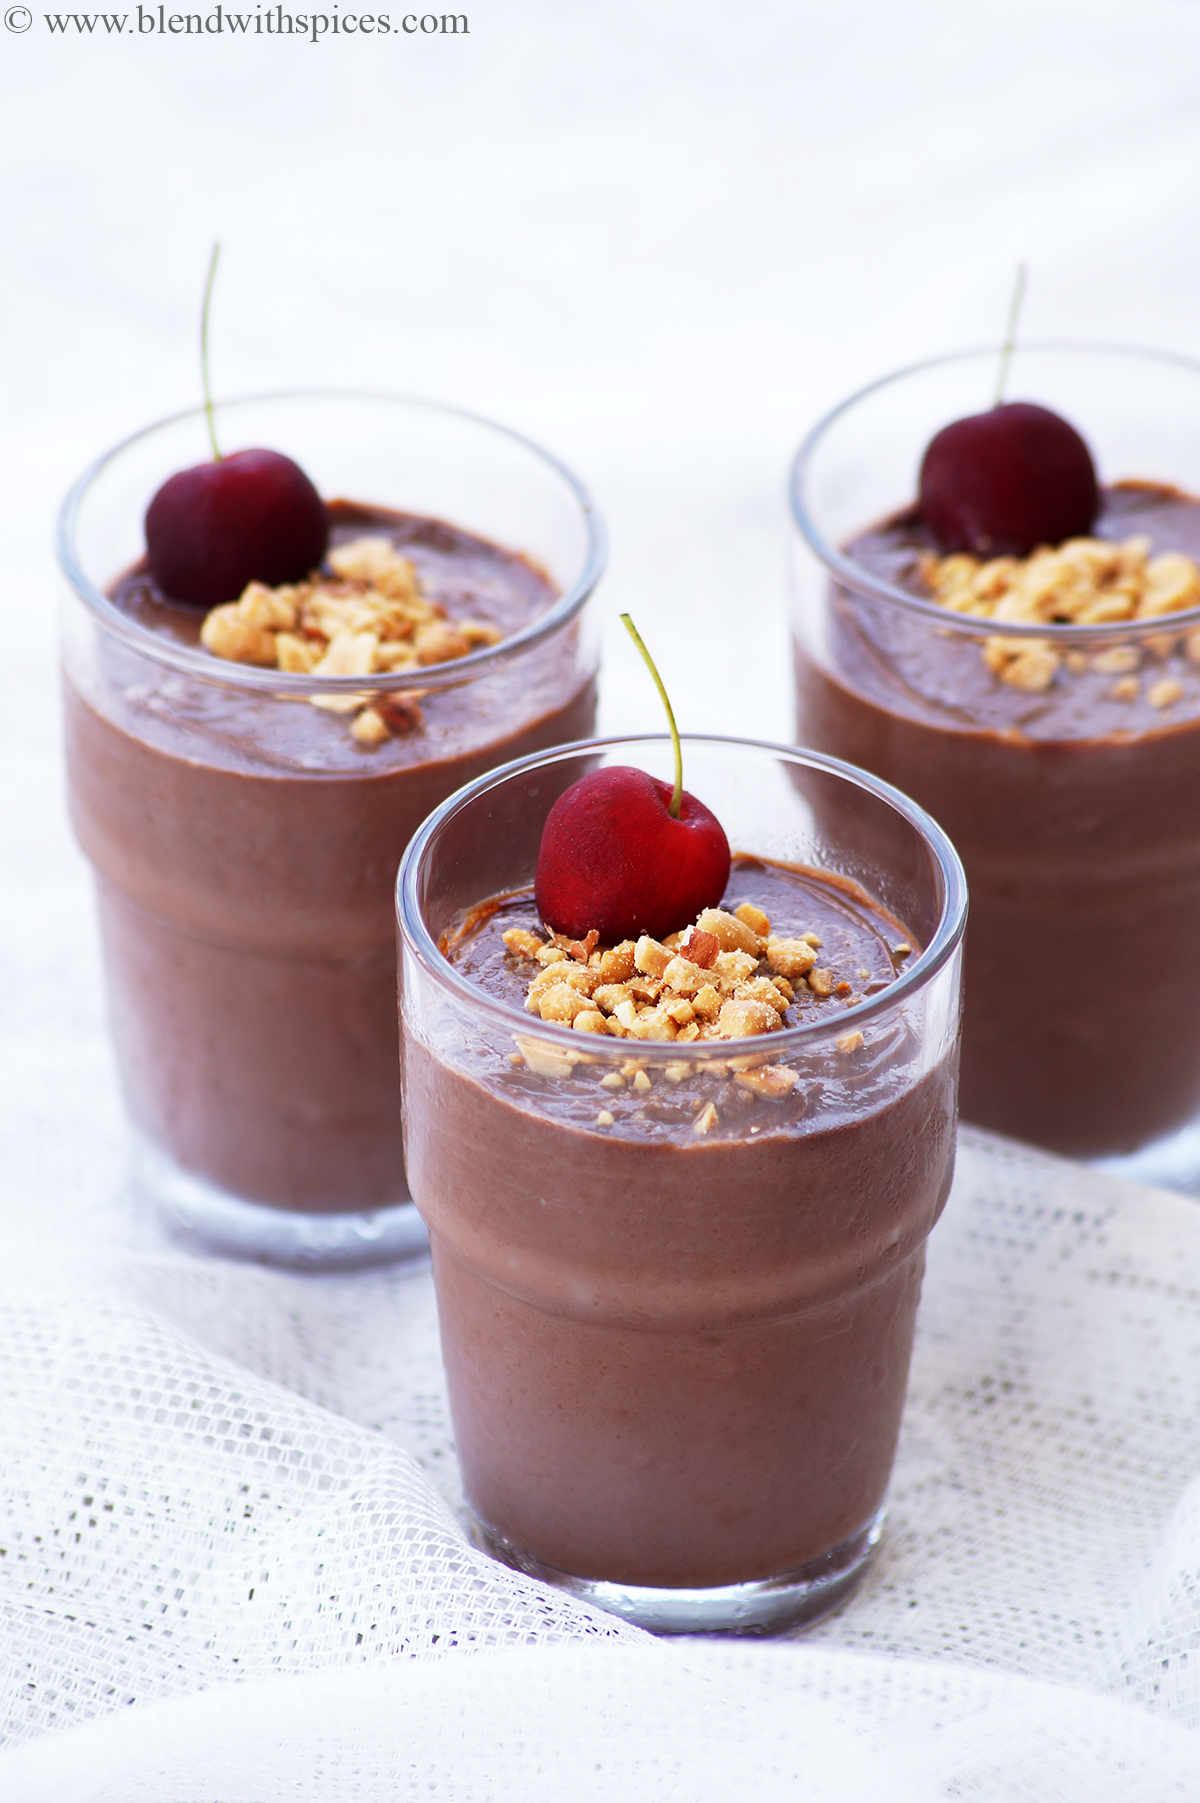
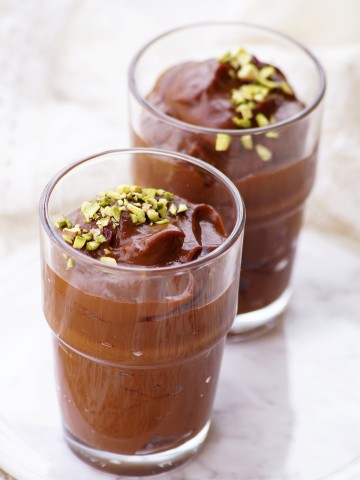
    Chocolate Peanut Butter Pudding (Eggless)

    June 30, 2021

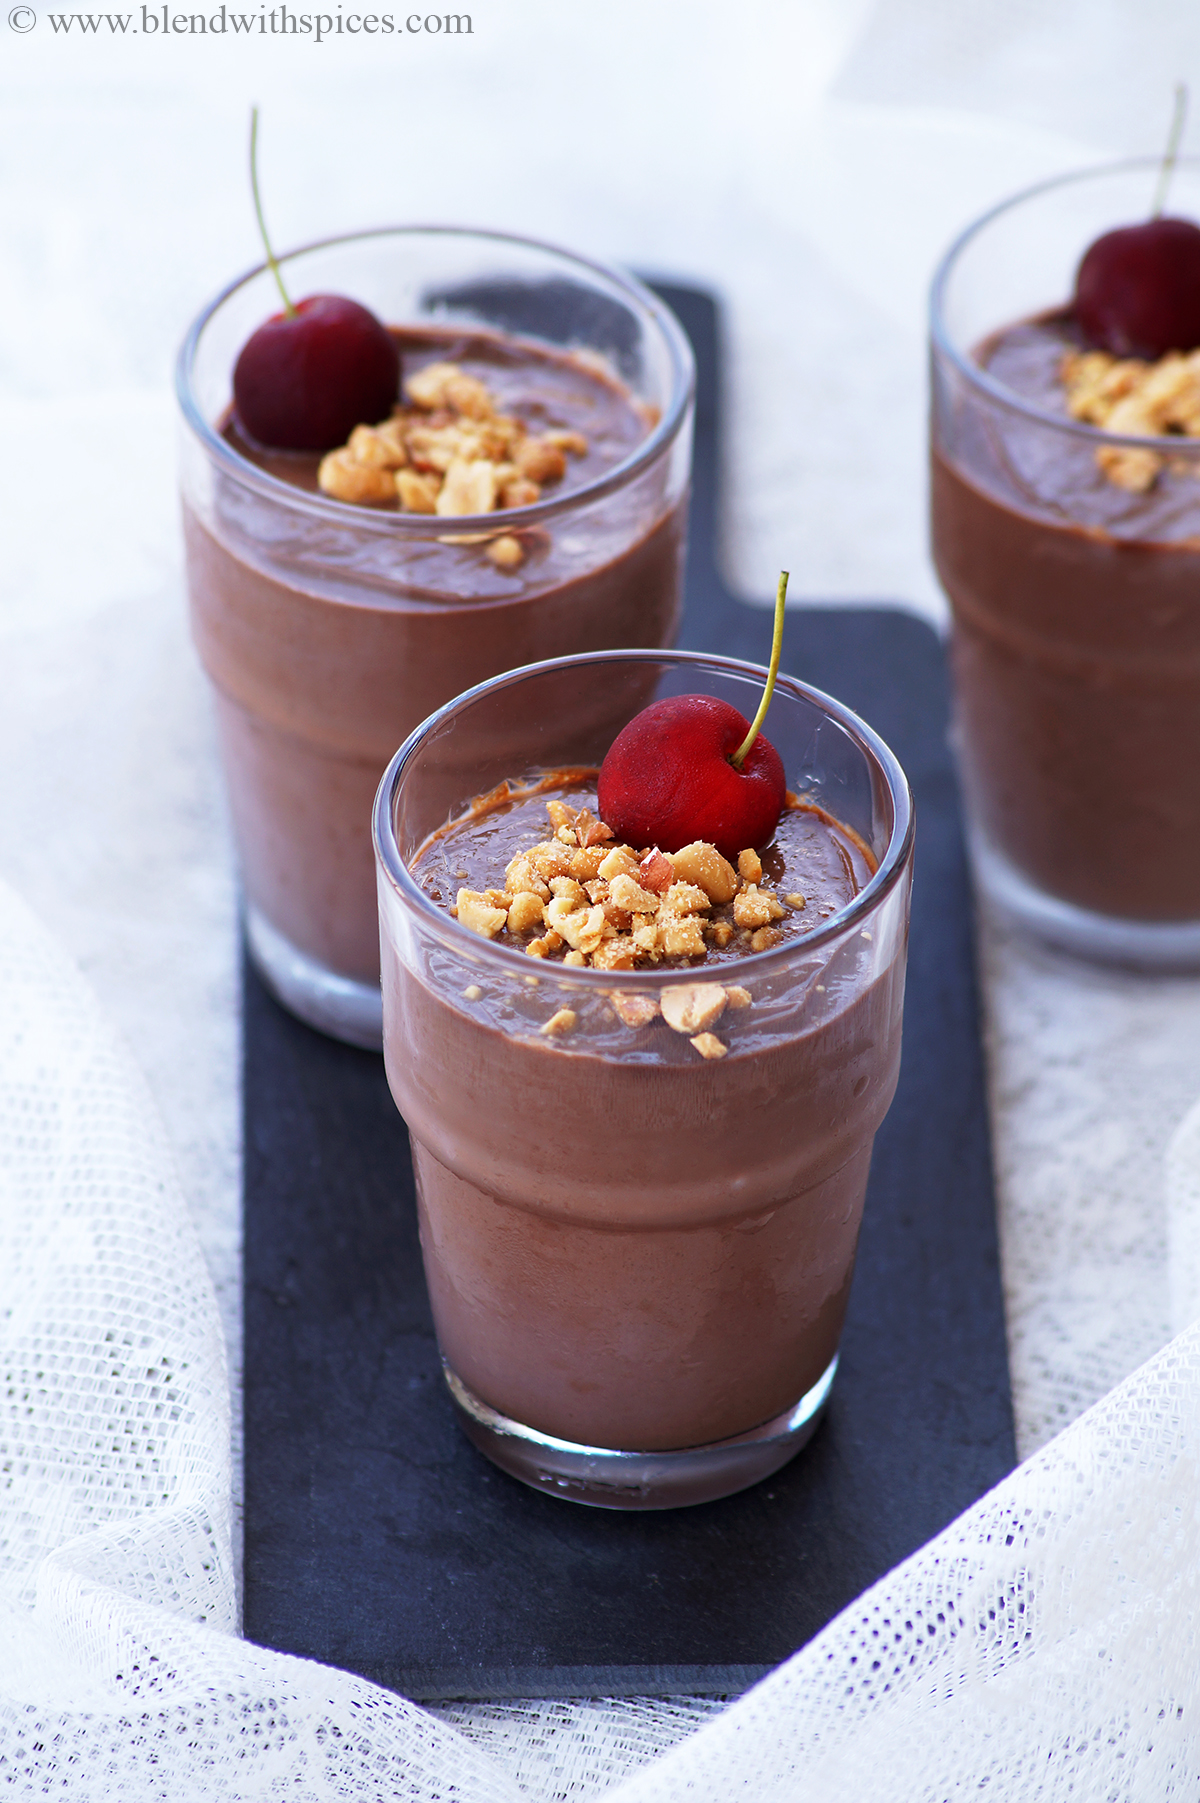
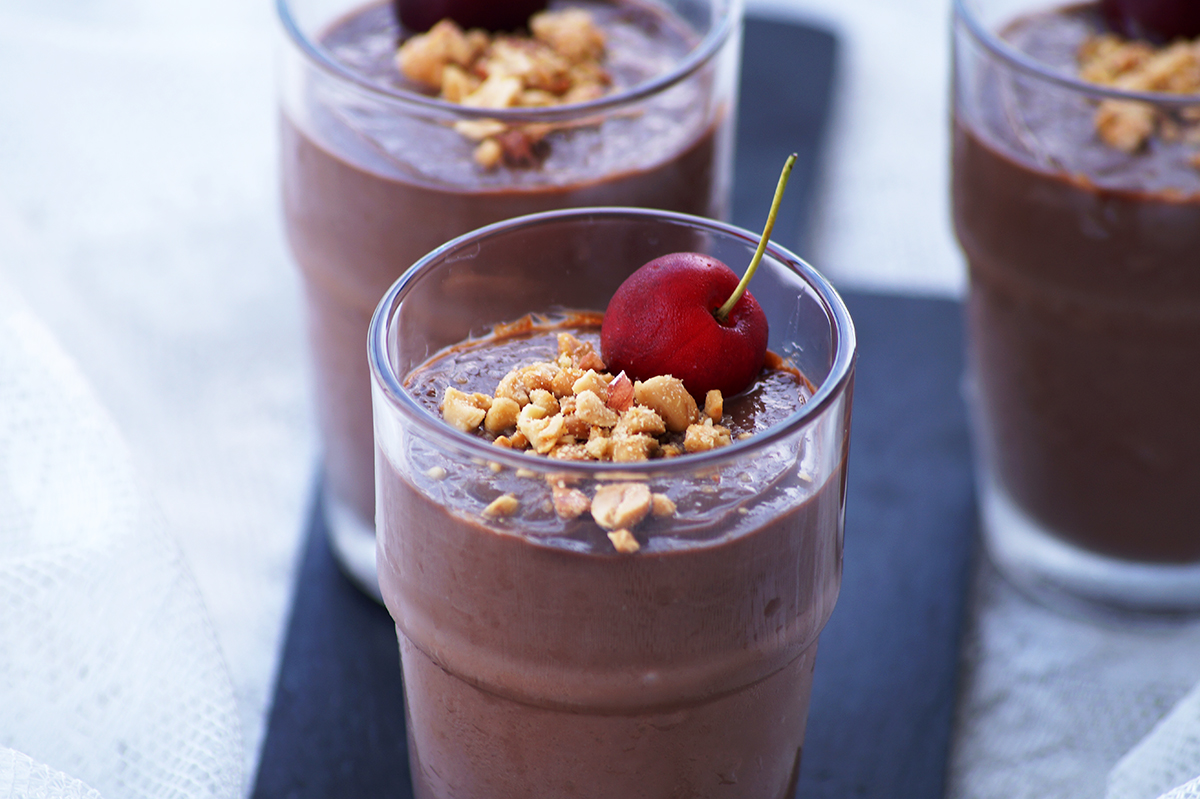
    Chocolate Peanut Butter Pudding Recipe -A creamy, rich and simple eggless pudding made with just 6 ingredients! So easy and delicious, it will become a favorite! Who doesn't love the classic combination of chocolate and peanut butter?

    What is chocolate peanut butter pudding?

    It is a super simple and delicious eggless dessert with a classic combination of chocolate and peanut butter. It is one of the easy and quick chocolate peanut butter desserts and the recipe is pretty much straightforward. It is made with just 6 ingredients.

    Ingredients needed:

    Milk: You can use full or low-fat milk here.

    Cocoa Powder: I have used unsweetened cocoa powder in this recipe. You can substitute it with cacao powder as well.

    Peanut Butter: Use all natural and creamy peanut butter for the best texture and taste.

    Sugar: Caster sugar or granulated sugar can be used. You can also try it with raw or brown sugars.

    Corn Flour / Corn Starch: Since this recipe is egg-free, you will need corn flour as a thickening agent.

    Vanilla: Try to use the best quality vanilla extract. You can swap it with a double amount of vanilla essence if you want.

    Salt: A pinch of salt will bring out all the flavors. Do not skip it.

    Why you'll love chocolate peanut butter pudding

    Super easy and simple to make

    Perfect dessert for parties or any other occasion.

    It requires just 6 ingredients

    It is egg-free

    It is creamy, chocolaty, rich and delicious.

    How long can I store it?

    The chocolate Peanut Pudding can be stored in the refrigerator for up to 2 days.

    Serving suggestions:

    It is best when served chilled as a snack or dessert.

    You can get creative and top it in so many ways. You can use whipping cream, nuts, chocolate sprinkle, chocolate chips, fresh fruits, and whatever you have in hand.

    Step by step instructions:

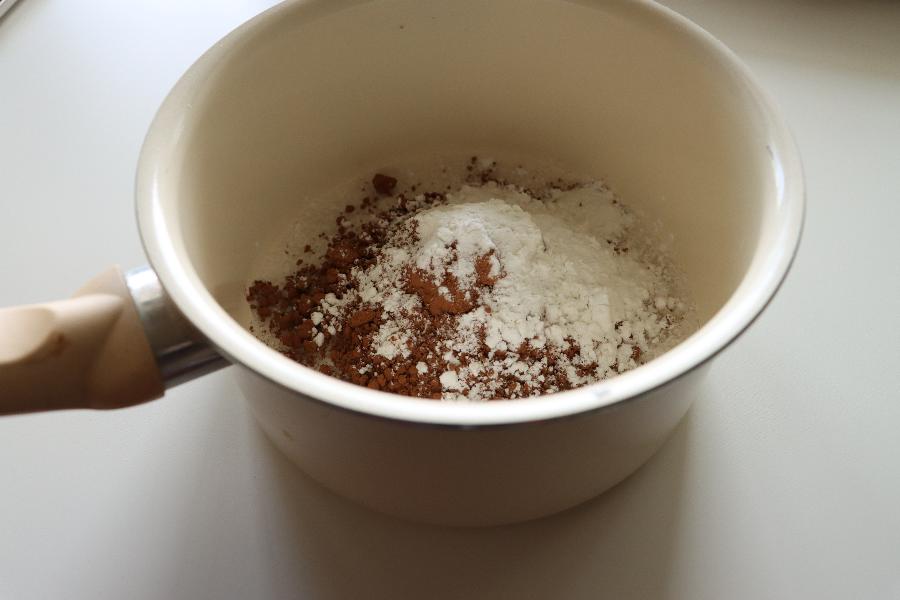
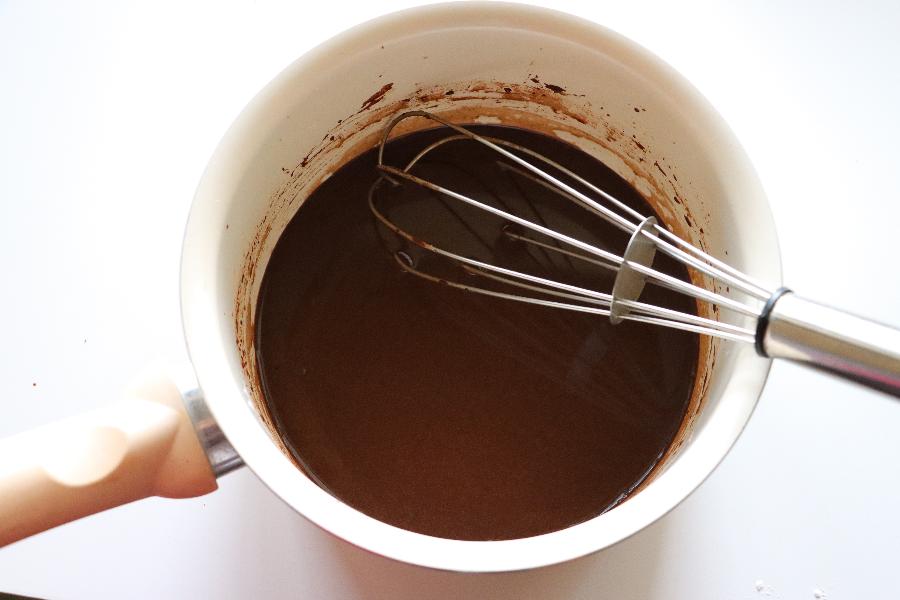
    Combine sugar, cocoa powder, salt and corn flour in a sauce pan.

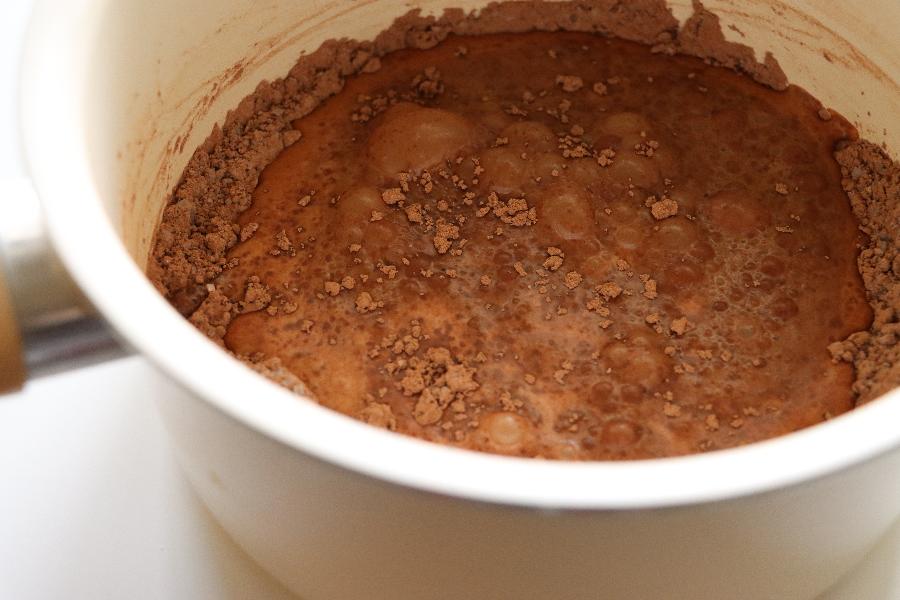
    Pour some milk (approx. ½ cup) and whisk until there are no lumps.

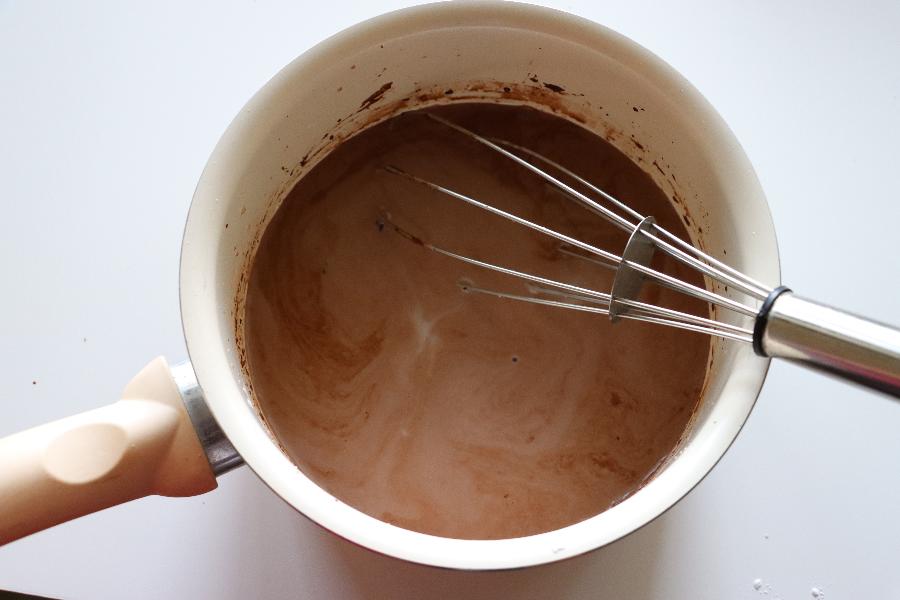
    Pour the remaining milk in.

    Mix until combined.

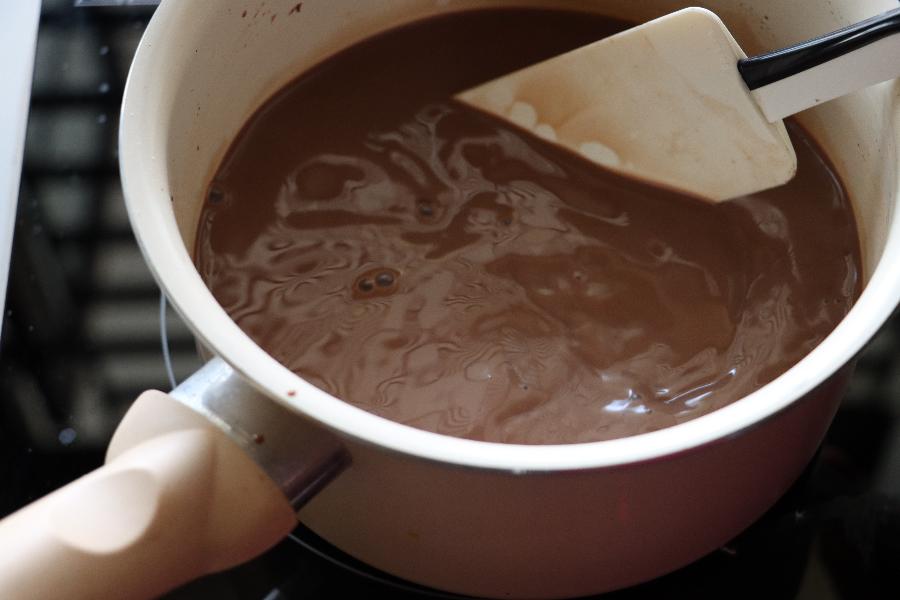
    Heat it over medium flame and keep stirring until it is thick.

    It will take about 7-8 minutes.

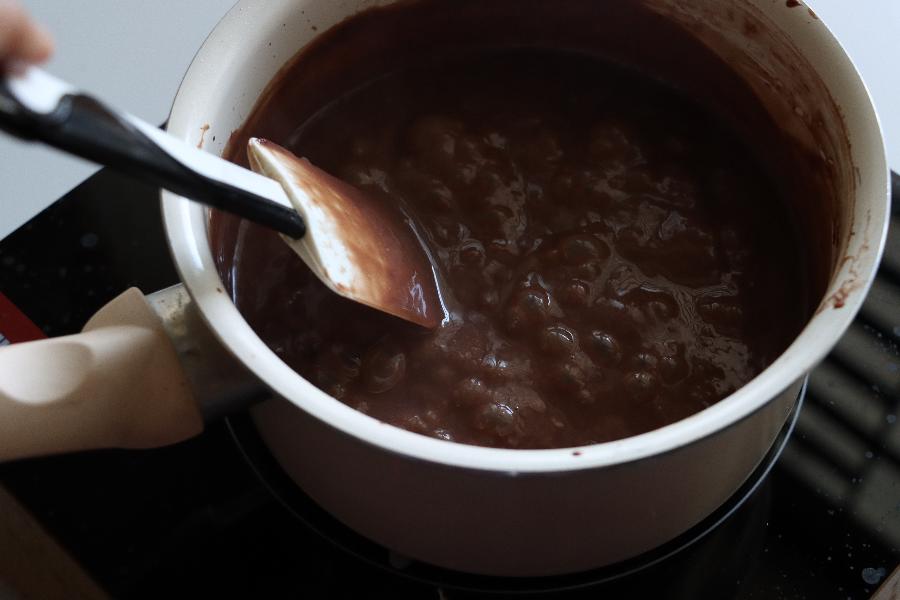
    Once the pudding starts to boil, turn off the flame.

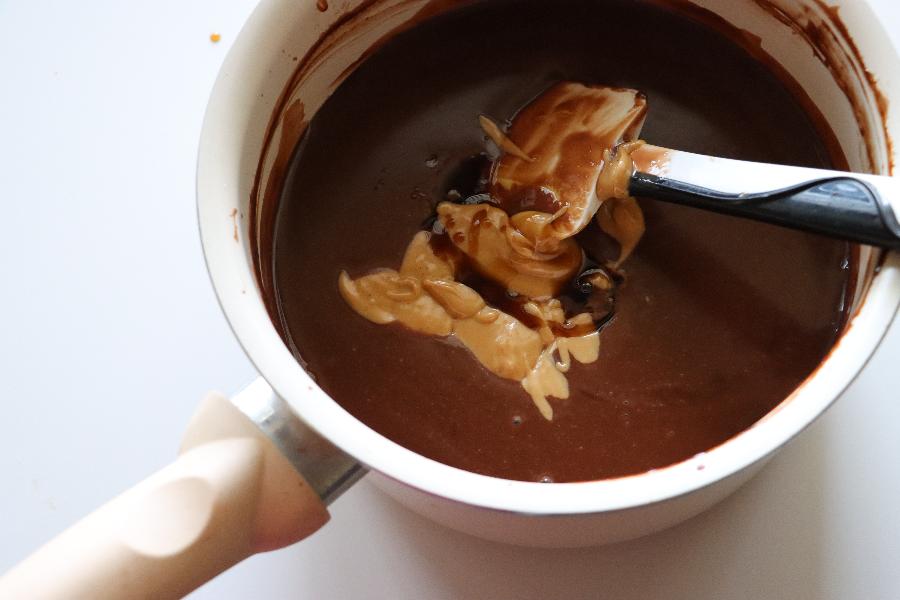
    When it is still hot, add the creamy peanut butter and vanilla extract and stir until smooth and silky.

    Pour it into serving glasses or bowls.

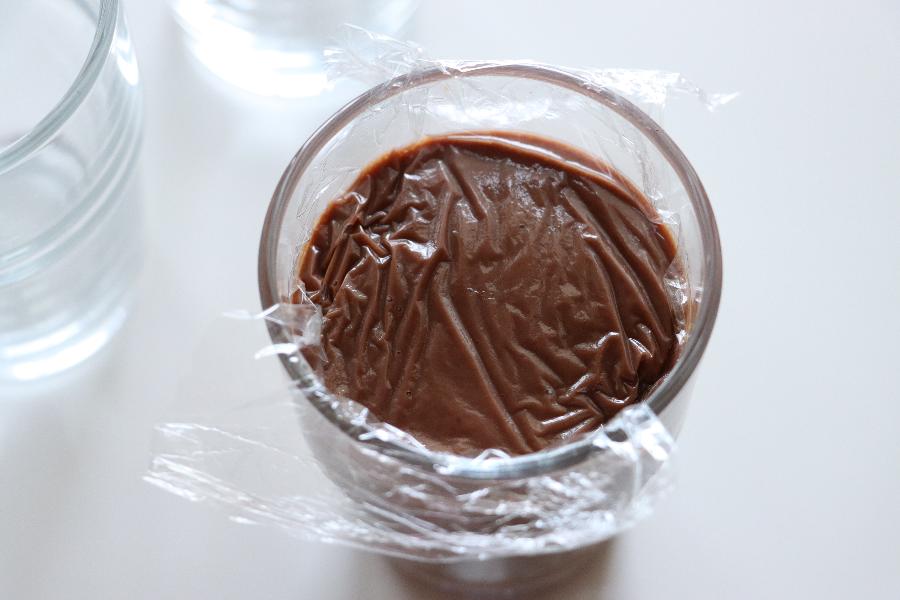
    Place a plastic wrap directly on the surface of the pudding to prevent skin from forming on the top.

    Refrigerate for 2-3 hours or until firm.

    Few more eggless desserts on the blog:

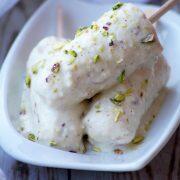
    • Mawa Kulfi
    • 3 Ingredient Custard Popsicles (eggless)
    • Hopjesvla - Dutch Coffee Custard
    • 5 Ingredient Raspberry Chia Pudding Recipe - Step by Step Photos + Video

    How to make chocolate peanut butter pudding recipe video below:

    Print Recipe

    Chocolate Peanut Butter Pudding Recipe

    Rich, creamy and delicious eggless chocolate peanut butter pudding with just 6 ingredients.
    Prep Time5 minutes mins
    Cook Time10 minutes mins
    Total Time15 minutes mins
    Course: Dessert
    Cuisine: American, International
    Keyword: chocolate peanut butter pudding
    Servings: 4
    Calories: 332kcal
    Author: Hari Chandana Ponnaluri

    Ingredients

    • ½ Cup Sugar
    • ¼ Cup Cocoa Powder
    • 2.5 Tablespoons Corn Flour / Corn Starch
    • A pinch of Salt
    • 2 Cups Milk
    • ⅓ Cup Creamy Peanut Butter
    • 1 Teaspoon Vanilla Extract

    Instructions

    • Combine sugar, cocoa powder, salt and corn flour in a heavy bottomed saucepan.
    • Bring it to medium heat. Keep stirring and cook until the mixture thickens.
    • When the pudding starts to boil, remove the pan from the heat.
    • Add peanut butter and vanilla and stir until smooth.
    • Place a plastic wrap directly on the surface of the pudding to prevent skin from forming on the top.
    • Refrigerate for 2-3 hours or until firm.

    Video

    Nutrition

    Calories: 332kcal | Carbohydrates: 43g | Protein: 10g | Fat: 16g | Saturated Fat: 5g | Polyunsaturated Fat: 3g | Monounsaturated Fat: 6g | Cholesterol: 12mg | Sodium: 153mg | Potassium: 385mg | Fiber: 3g | Sugar: 33g | Vitamin A: 198IU | Calcium: 154mg | Iron: 1mg

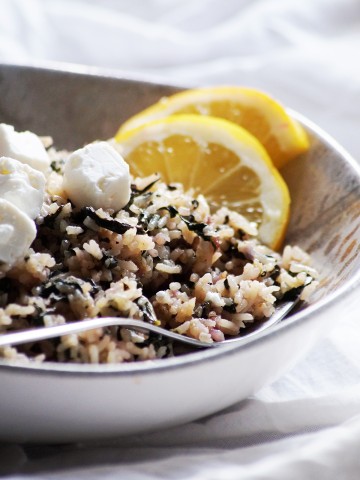
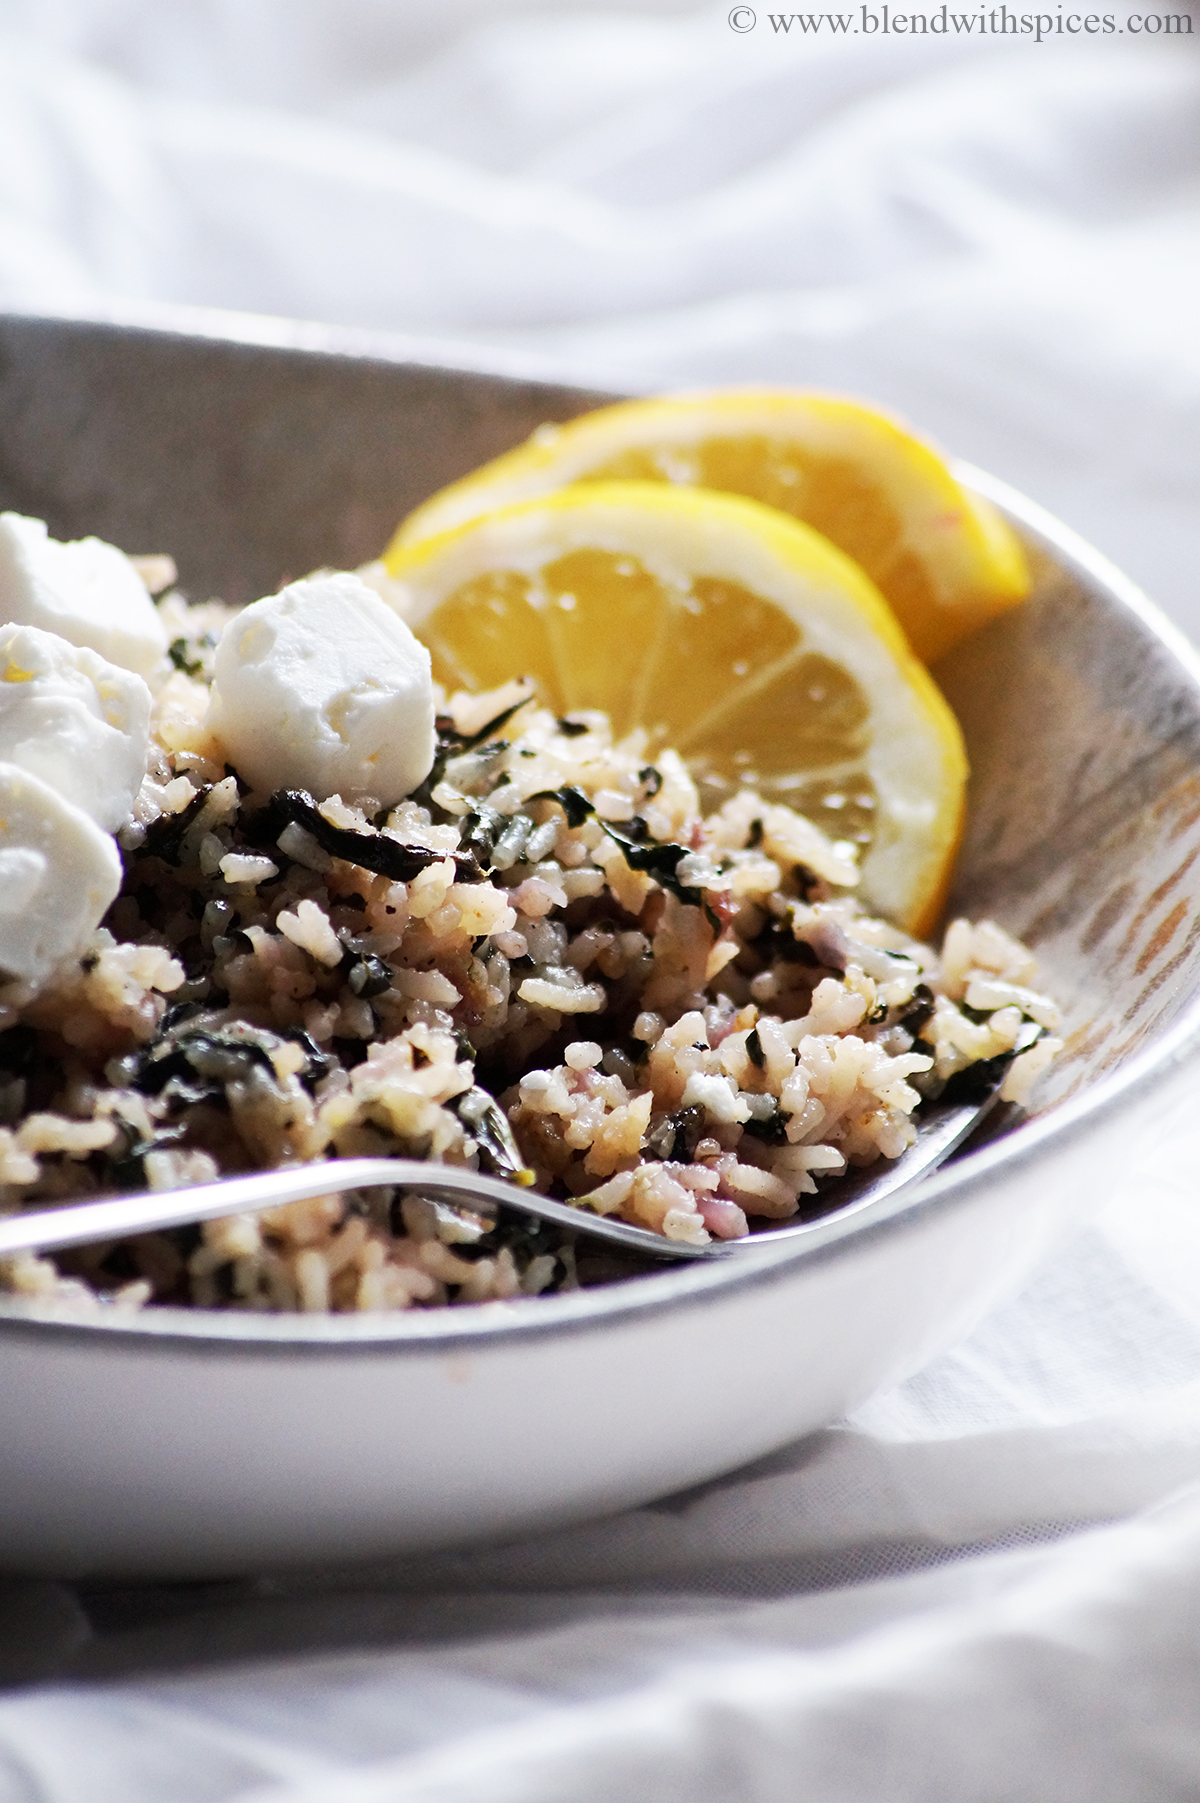
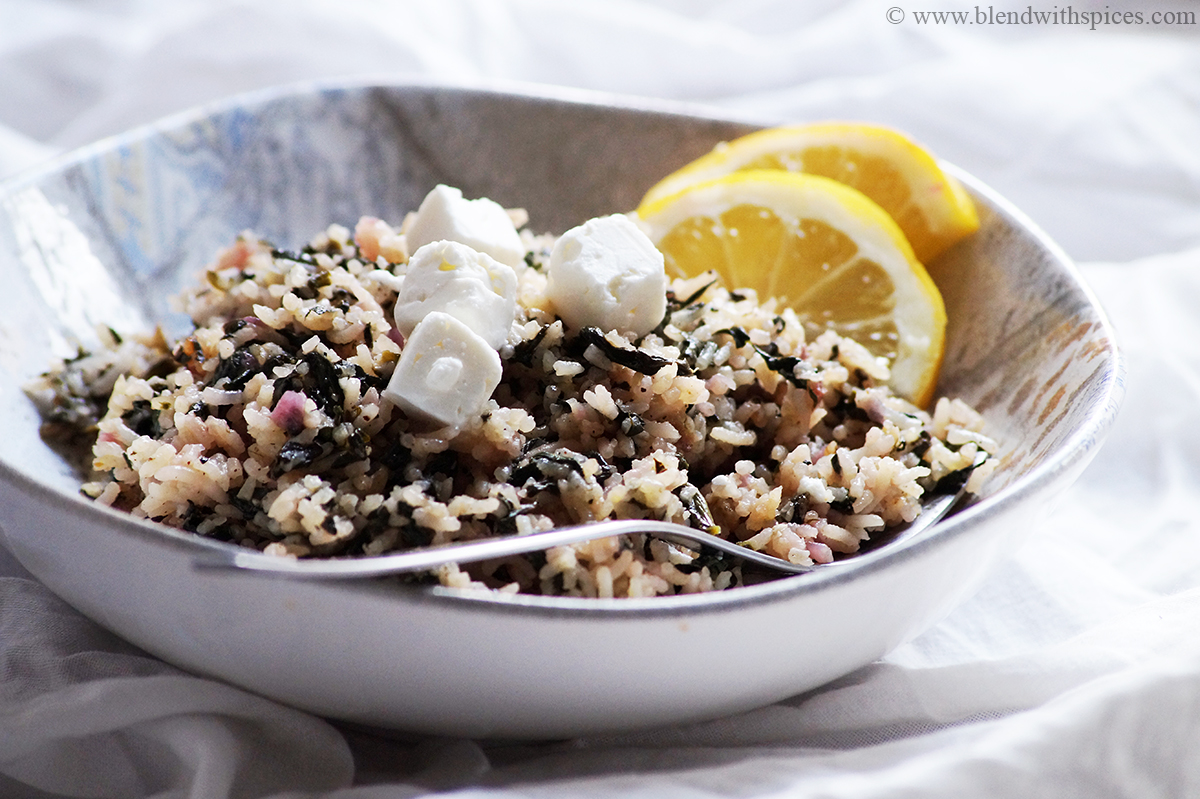
    Greek Spinach Rice (Spanakorizo)

    June 27, 2021

    Spanakorizo Recipe - A traditional Greek Spinach Rice recipe made with rice, spinach, onion, olive oil and lemon and garnished with feta cheese. A quick and healthy lunch or dinner recipe. Just skip feta cheese garnish if you are vegan.

    What is Spanakorizo?

    Spanakorizo is a traditional Greek Spinach Rice recipe. It one of the healthy and simplest greek recipes prepared with just a handful of ingredients. It is a classic combination of rice and spinach, flavored with olive oil, garlic, lemon and feta.

    It is super flavorful and comforting dish and perfect for those who are looking for a quick dinner or lunch recipes.

    Ingredients you will need:

    Rice: Any medium-long grain rice would work best for this recipe. I would suggest using basmati rice, it tastes good and can cook quickly.

    Spinach: You will need 5 cups of fresh spinach with every cup of rice. I recommend using fresh spinach if possible.

    Garlic: Mince or chop garlic cloves as fine as possible for the best flavor.

    Lemon: Use freshly squeezed lemon juice.

    Feta Cheese: You will need it while serving. Top the dish with few cubes of feta cheese and serve. If you are vegan or don't have it handy, skip it.

    Olive Oil

    Salt & Pepper

    How to make it vegan?

    The recipe is naturally vegan, just skip feta cheese garnish if you are vegan.

    What kind of rice to use?

    Do not use short grain rice. Medium or long grain rice will work for this recipe. I personally love it with basmati rice. If you are a novice cook, I recommend using basmati rice as it is so much easier to work.

    Can I use frozen spinach?

    Fresh spinach will give the better taste and flavor. However, if you can't find it, you can replace it with frozen spinach. Swap 5 cups of fresh spinach with ½ cup of frozen spinach.

    Spanakorizo variations:

    There are so many variations of making greek spinach rice. Some people make it soupy by adding little more water. There is an another variation with tomato, add a tablespoon of tomato paste along with rice for the tomato spanakorizo.

    If you want to elaborate the flavors, a little bit of dill or mint leaves can also be added.

    Storage suggestions:

    Store it in the refrigerator for up to 2 days.

    Serving suggestions:

    Serve spanakorizo warm by drizzling some extra-virgin olive oil on top and with feta cheese or greek yogurt.

    It can also be enjoyed as a vegan dish without feta or greek yogurt.

    It can be a great lunch or dinner dish.

    Step by step instructions:

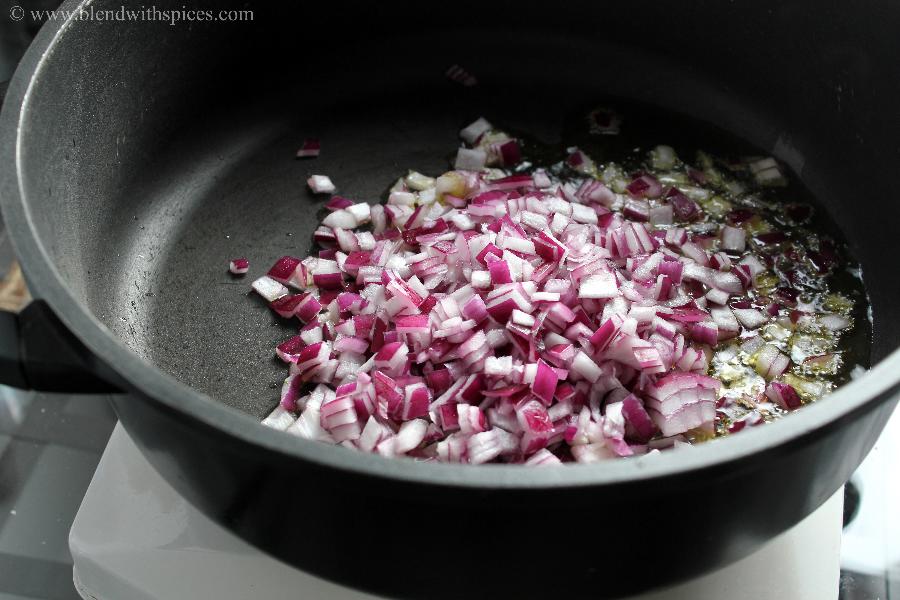
    Heat olive oil in a heavy bottomed pan and add finely chopped onions.

    Sauté until onions are translucent.

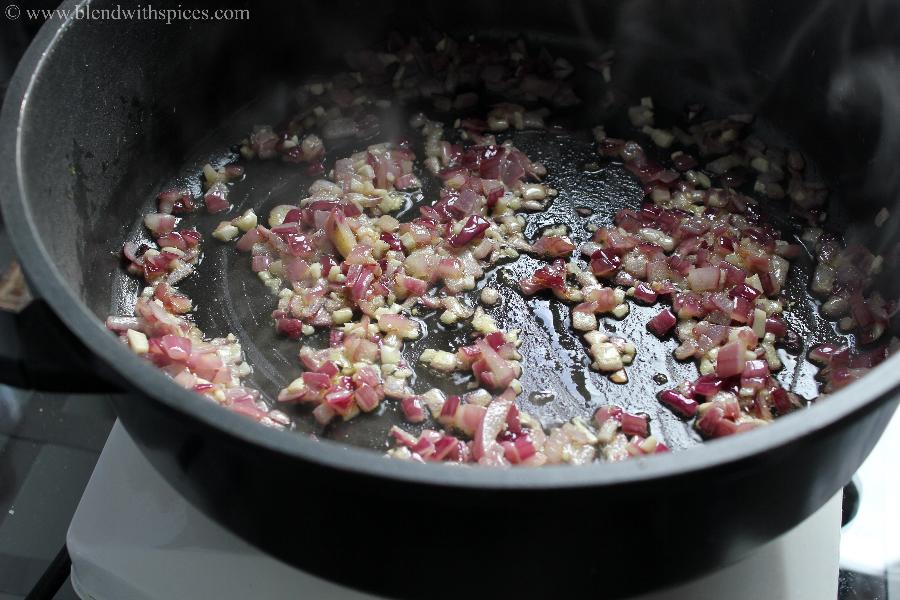
    Add two tablespoons of finely chopped garlic.

    Sauté for a minute.

    Add 5 cups of chopped spinach to the pan.

    Sauté it for about 3-4 minutes.

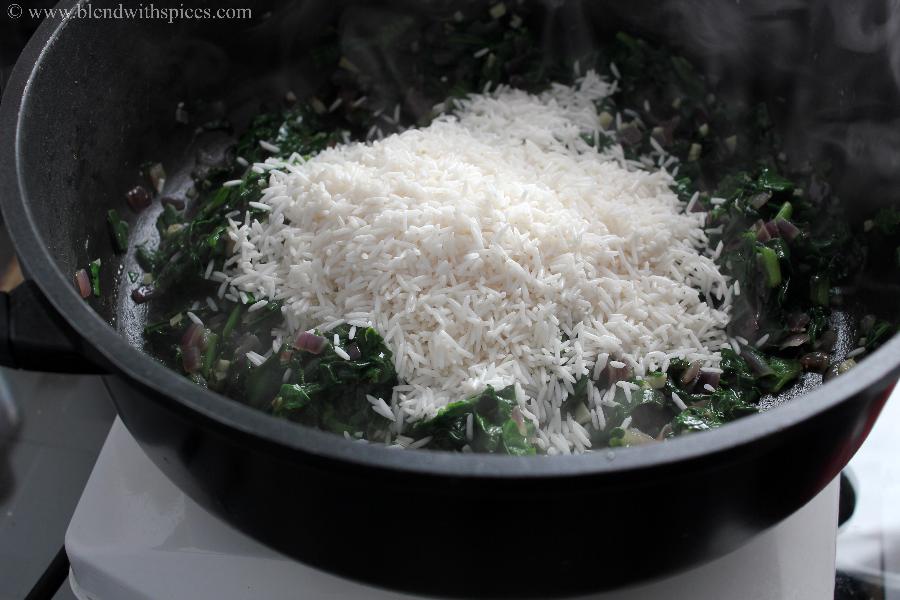
    Rise rice a couple of times and drain completely.

    Add rinsed rice to the pan.

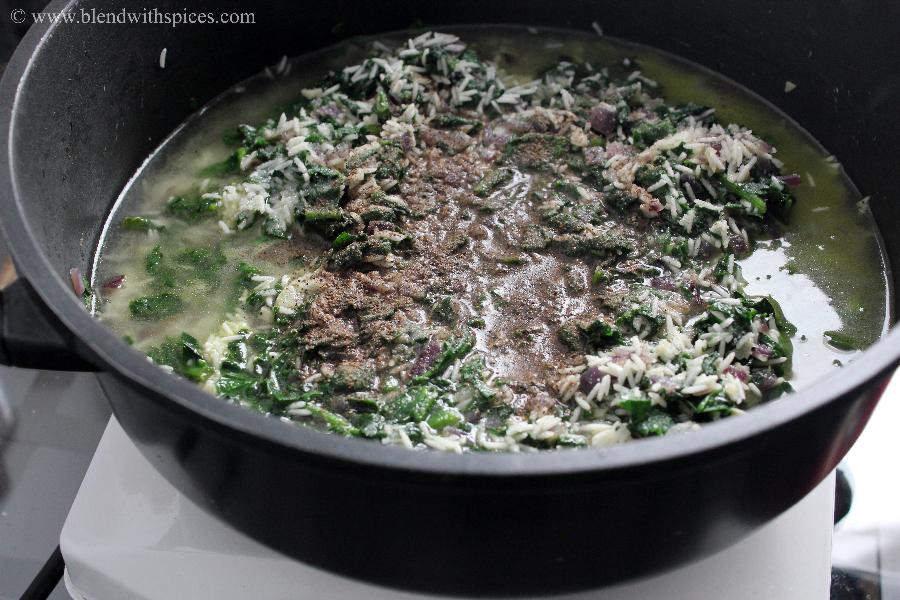
    Add water, salt and ground black pepper and mix everything well.

    Cover it with a lid and let it cook completely over a low flame.

    Stir every now and then while cooking.

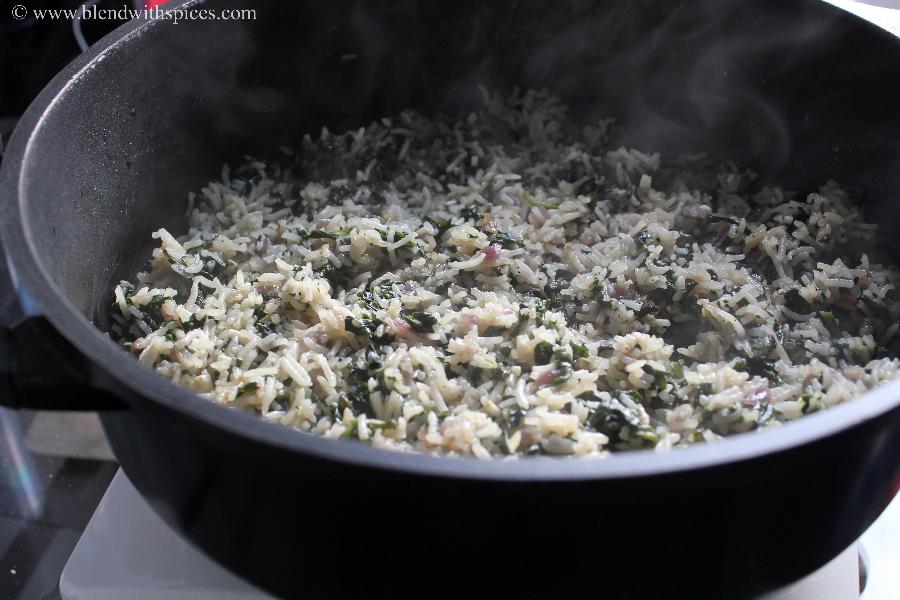
    Once rice is soft and cooked, turn off the flame.

    Add freshly squeezed lemon juice and give it a stir.

    Serve warm with olive oil and feta cheese.

    Print Recipe

    Spanakorizo Recipe - Greek Spinach Rice Recipe

    Spanakorizo Recipe - A traditional Greek Spinach Rice recipe made with rice, spinach, onion, olive oil and lemon and garnished with feta cheese.
    Prep Time10 minutes mins
    Cook Time20 minutes mins
    Total Time30 minutes mins
    Course: Main Course
    Cuisine: Greek, International, Mediterranean, World
    Keyword: greek recipes, greek spinach rice recipe, spanakorizo recipe
    Servings: 4
    Calories: 326kcal
    Author: Hari Chandana Ponnaluri

    Ingredients

    • 4 Tablespoons Olive Oil extra virgin
    • 1 Cup Chopped Onion heaped
    • 2 Tablespoons Chopped Garlic
    • 5 Cups Spinach chopped
    • 1 Cup Basmati Rice
    • 1.5 Cups Water
    • ½ Teaspoon Pepper Powder
    • 2-3 Tablespoons Lemon Juice

    Instructions

    • Heat olive oil in a heavy bottomed pan.
    • Add chopped onions and saute until translucent.
    • Add chopped garlic and sauté for a minute.
    • Add chopped spinach and saute for 3-4 minutes.
    • Now, add rinsed rice to the pan.
    • Add water, salt and ground black pepper and mix everything well.
    • Cover it with a lid and let it cook completely over a low flame.
    • Stir every now and then while cooking.
    • Once rice is soft and cooked, turn off the flame.
    • Add freshly squeezed lemon juice and give it a stir.
    • Serve warm with olive oil and feta cheese.

    Video

    Nutrition

    Calories: 326kcal | Carbohydrates: 44g | Protein: 5g | Fat: 15g | Saturated Fat: 2g | Polyunsaturated Fat: 2g | Monounsaturated Fat: 10g | Sodium: 39mg | Potassium: 350mg | Fiber: 2g | Sugar: 2g | Vitamin A: 3622IU | Vitamin C: 18mg | Calcium: 70mg | Iron: 2mg

    Mawa Kulfi

    June 25, 2021

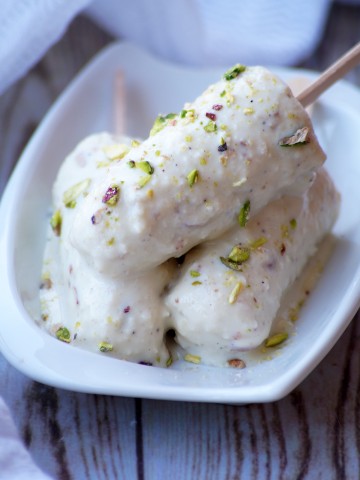
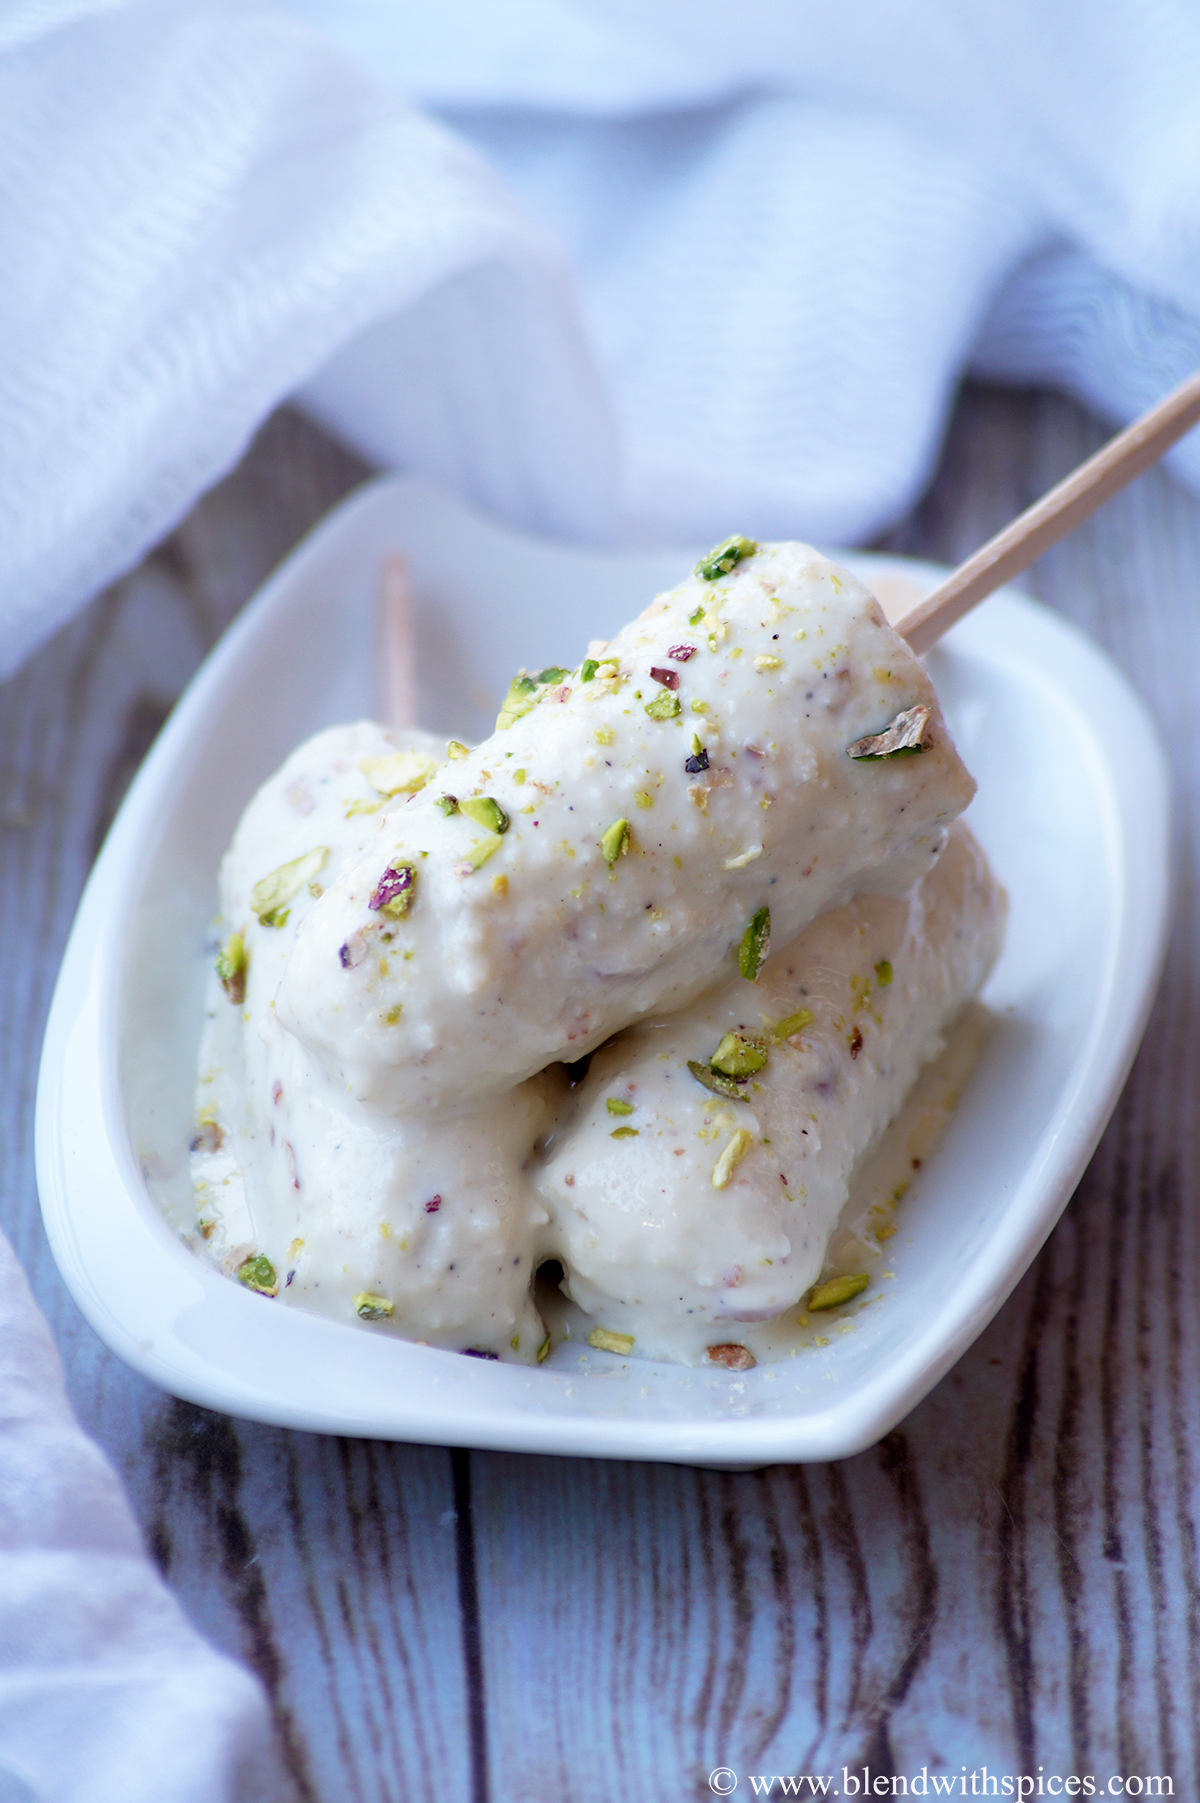
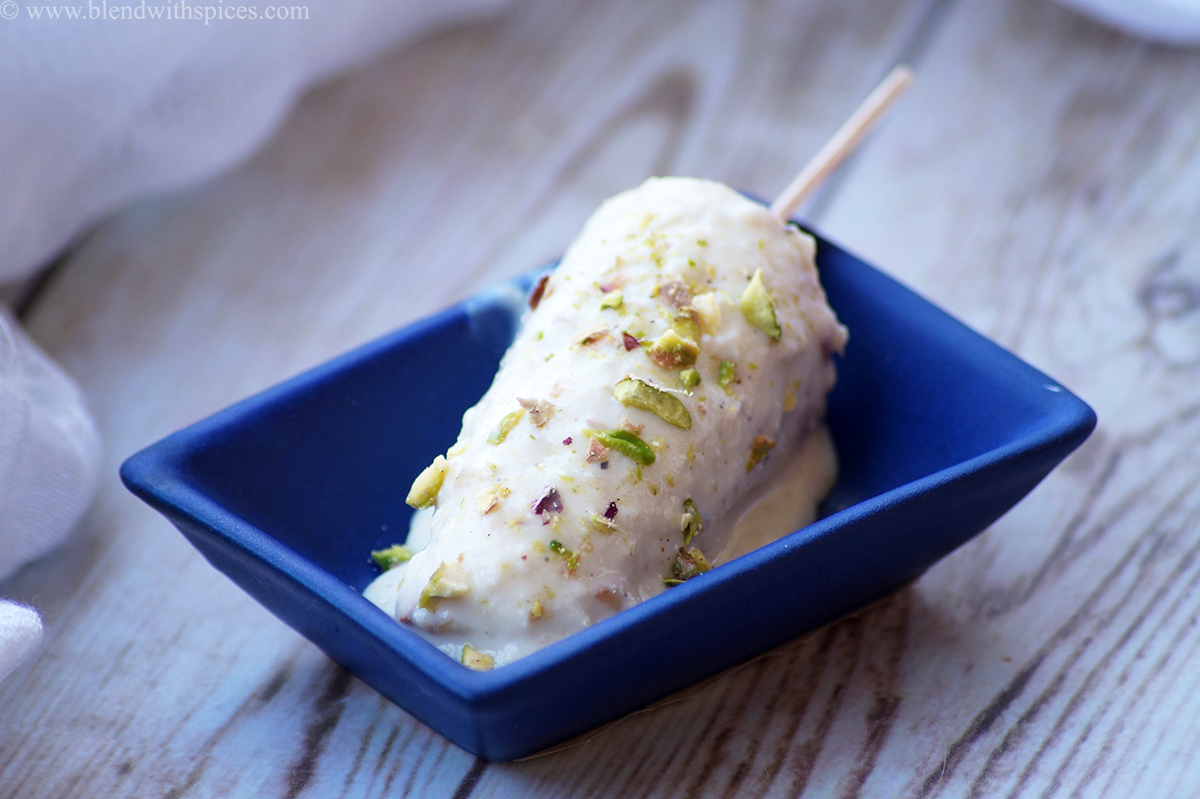
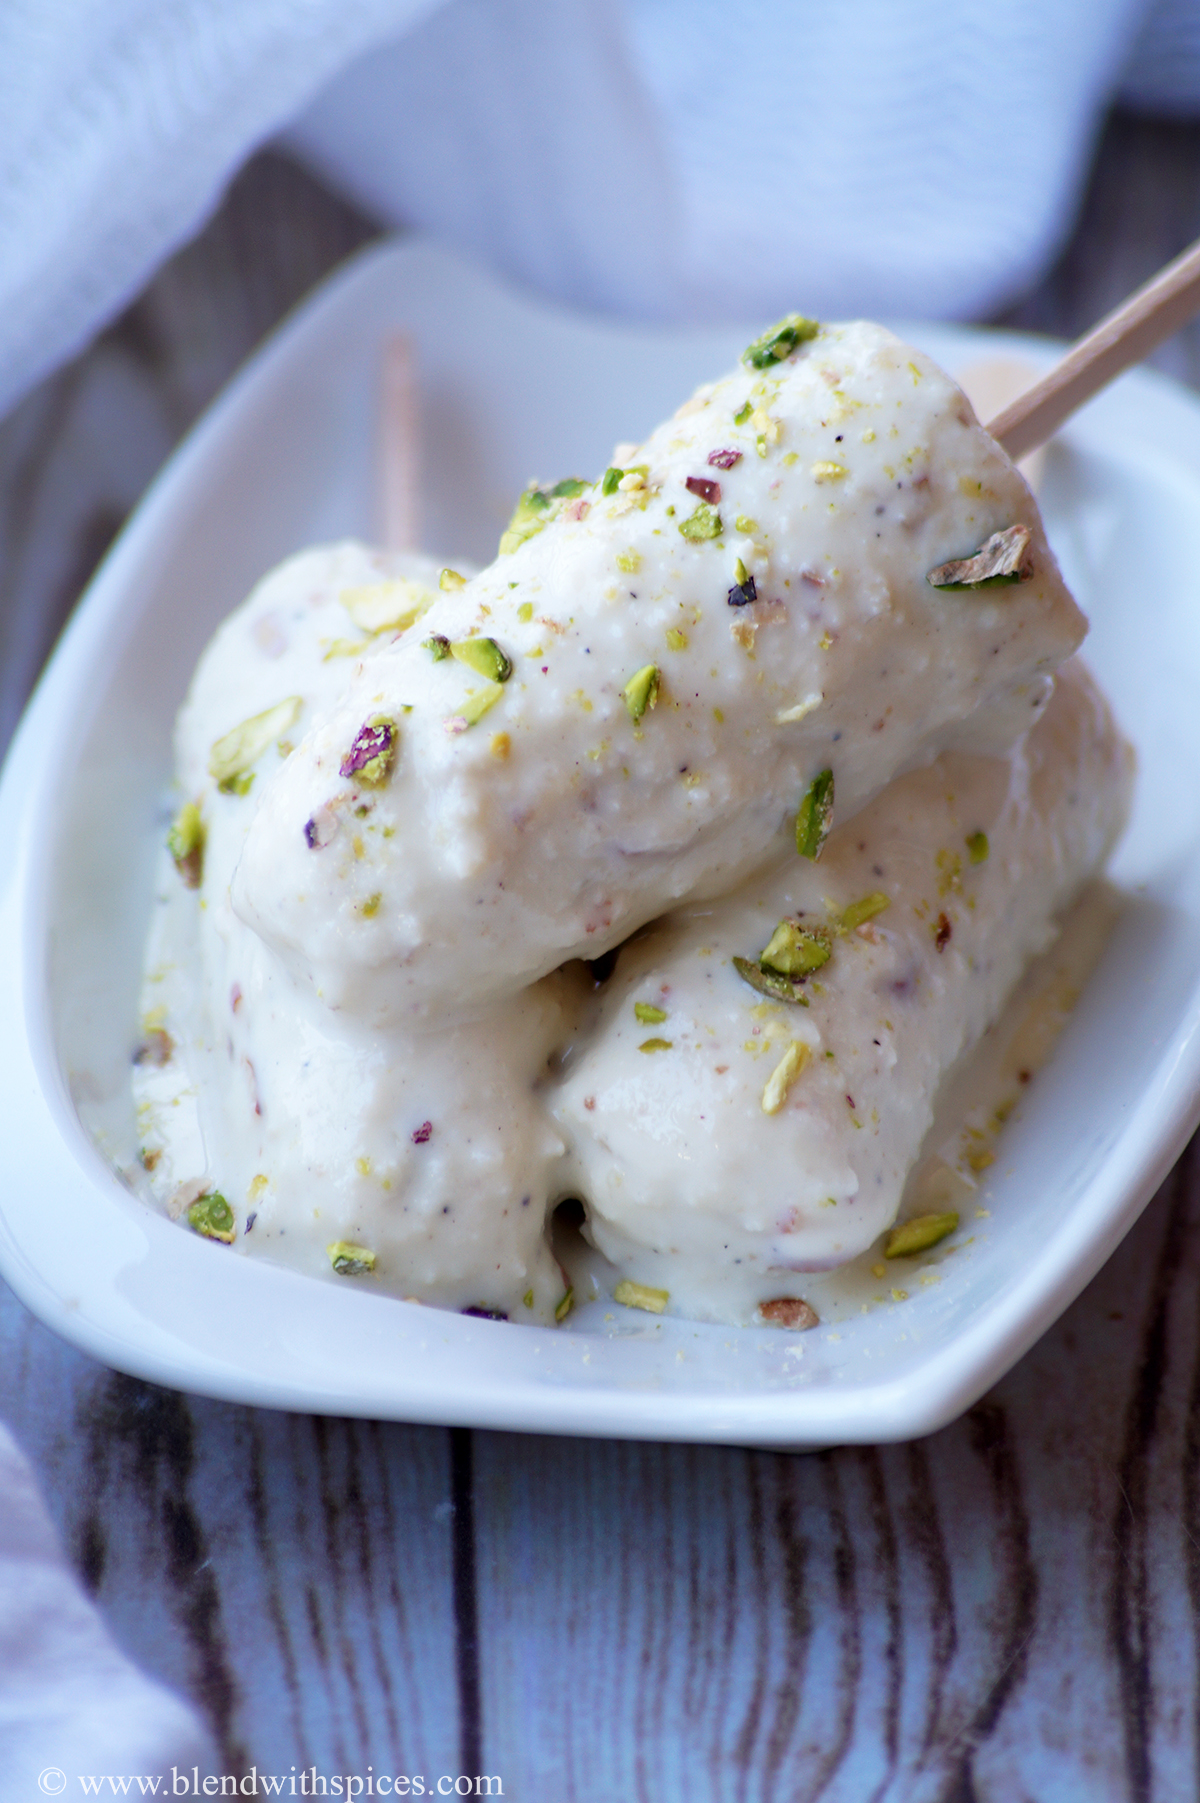
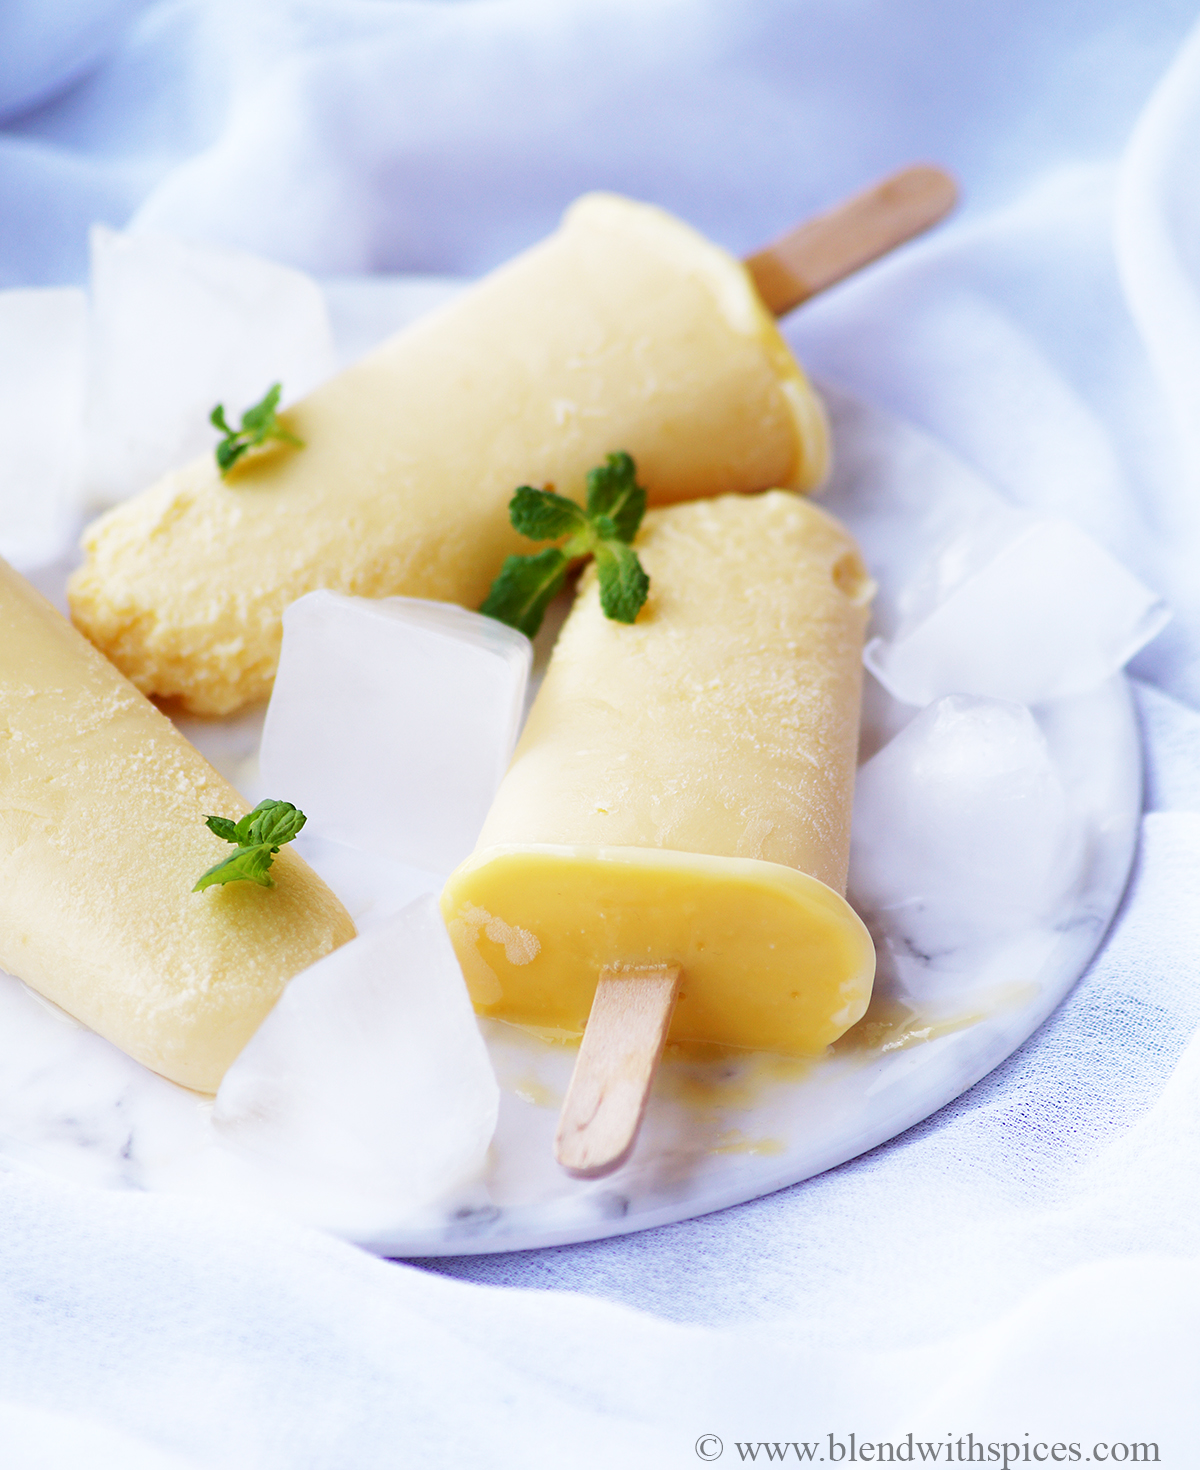
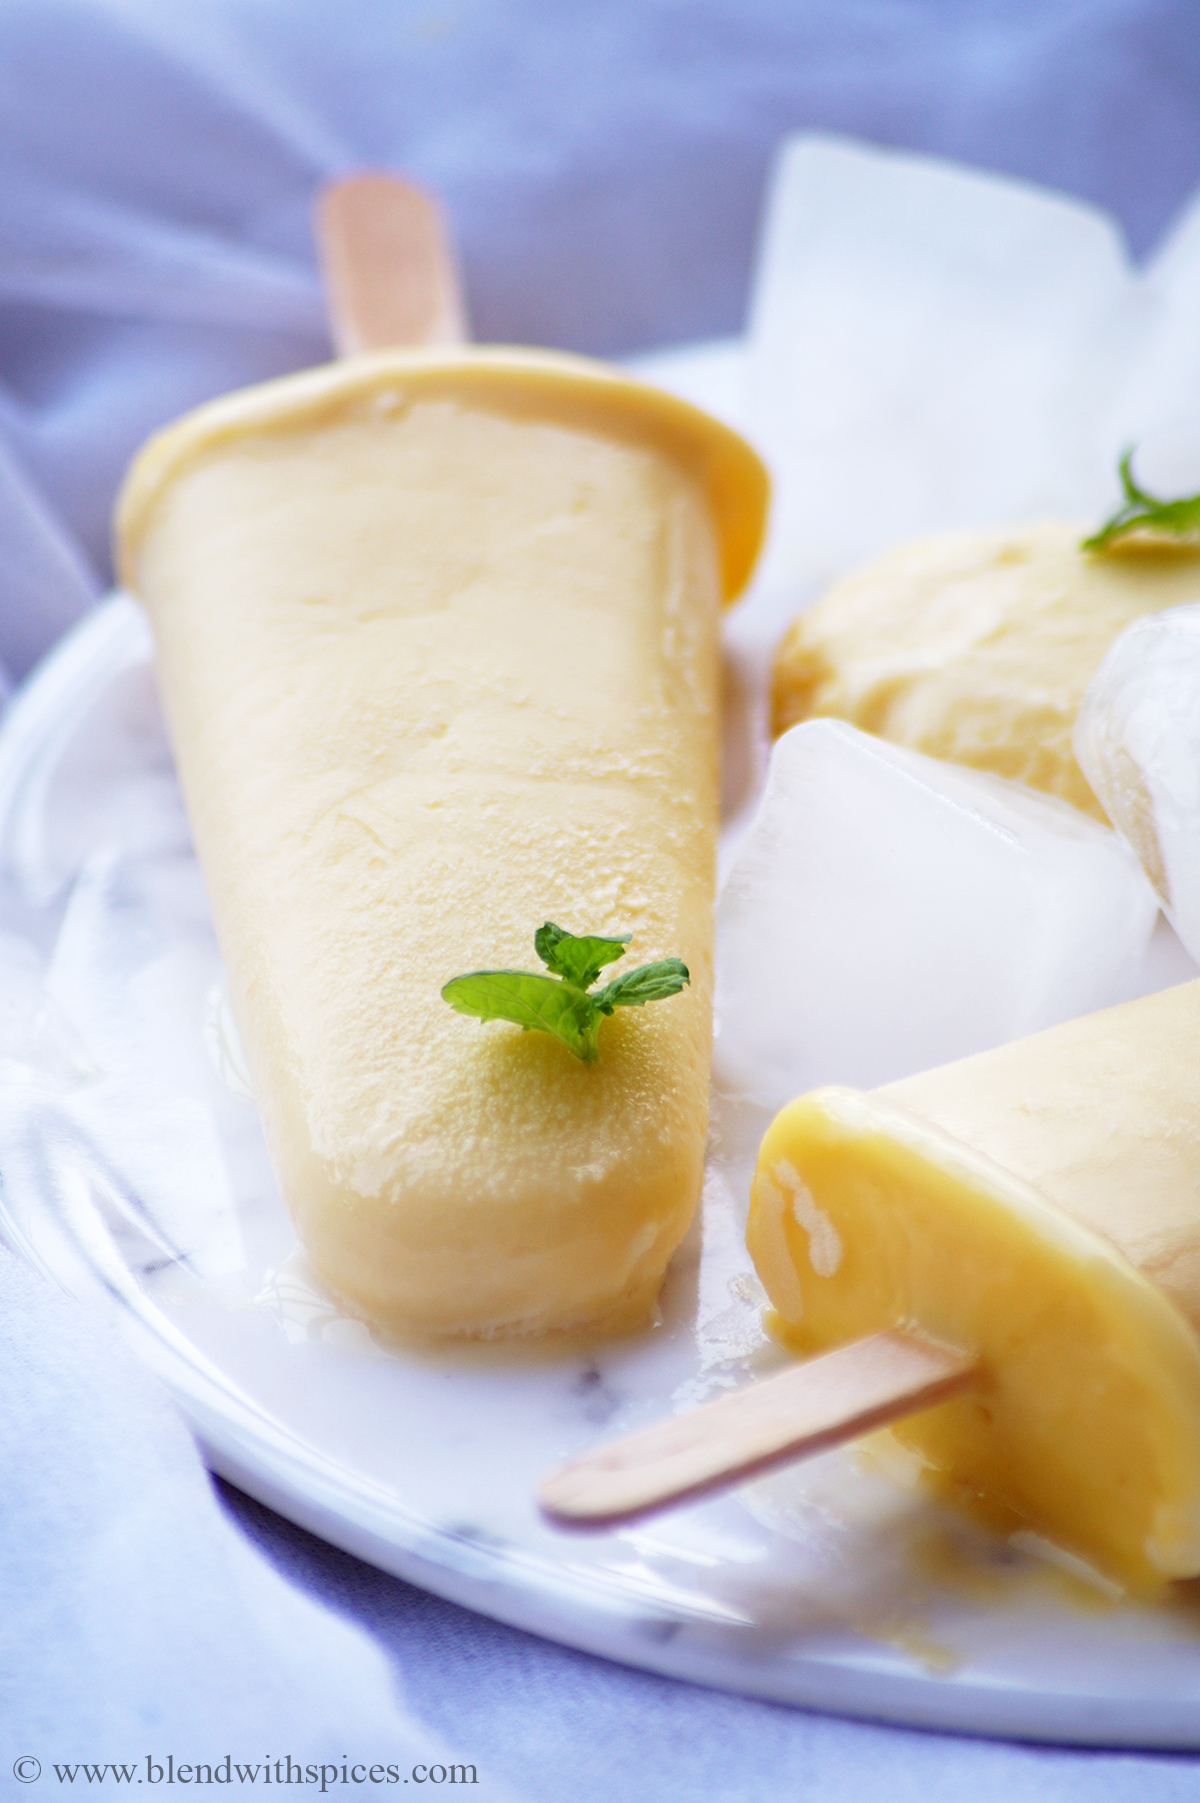
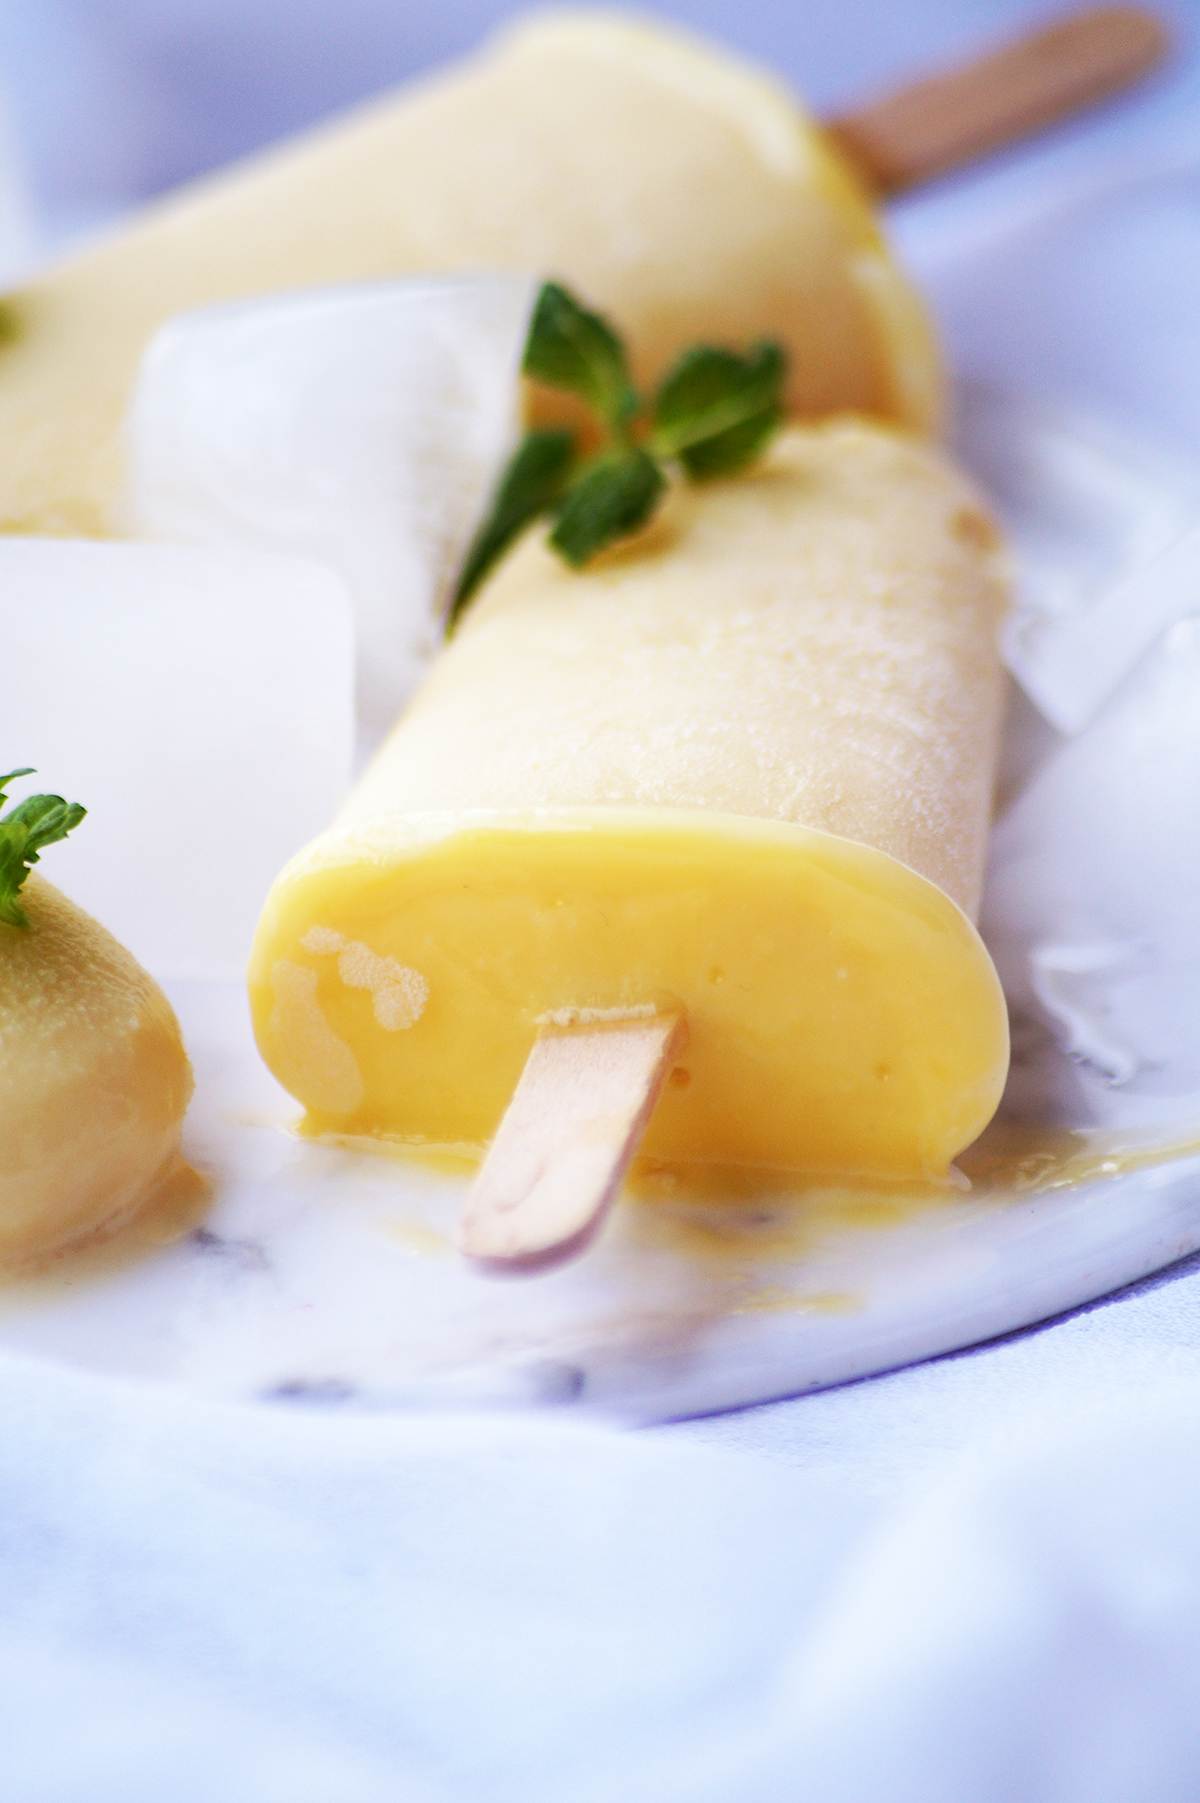
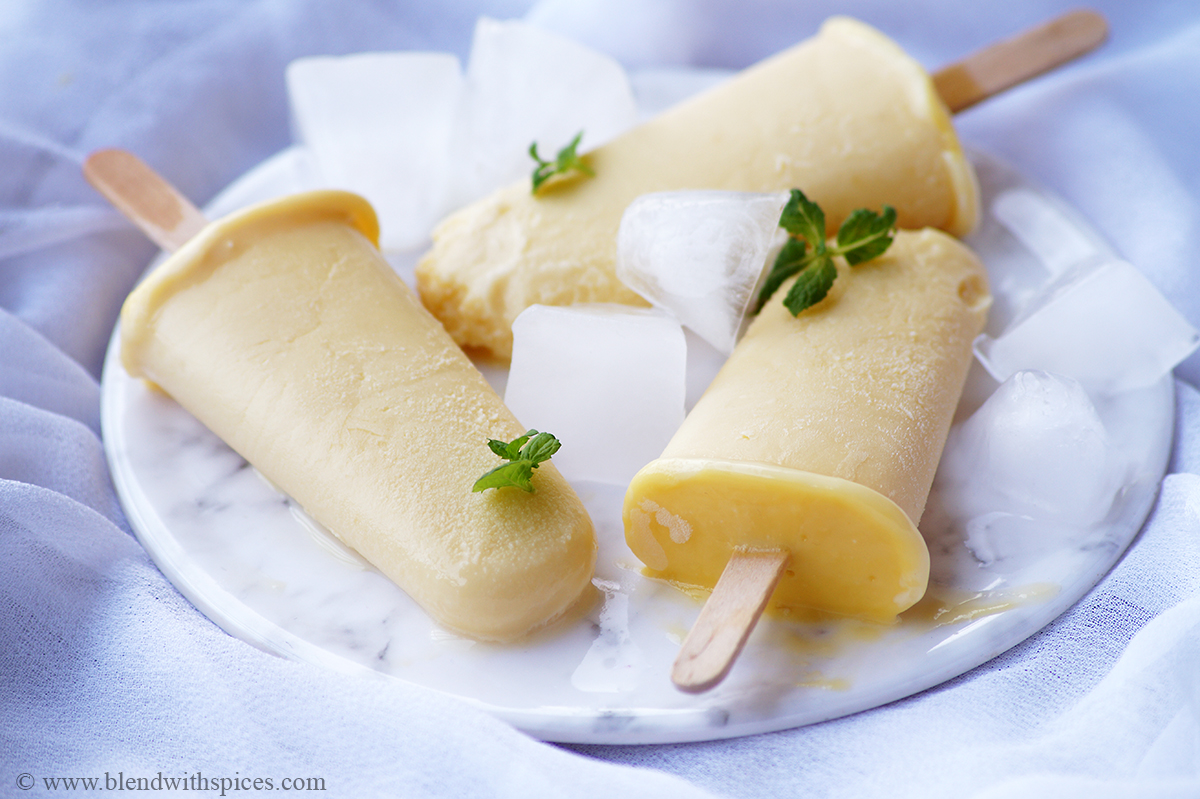
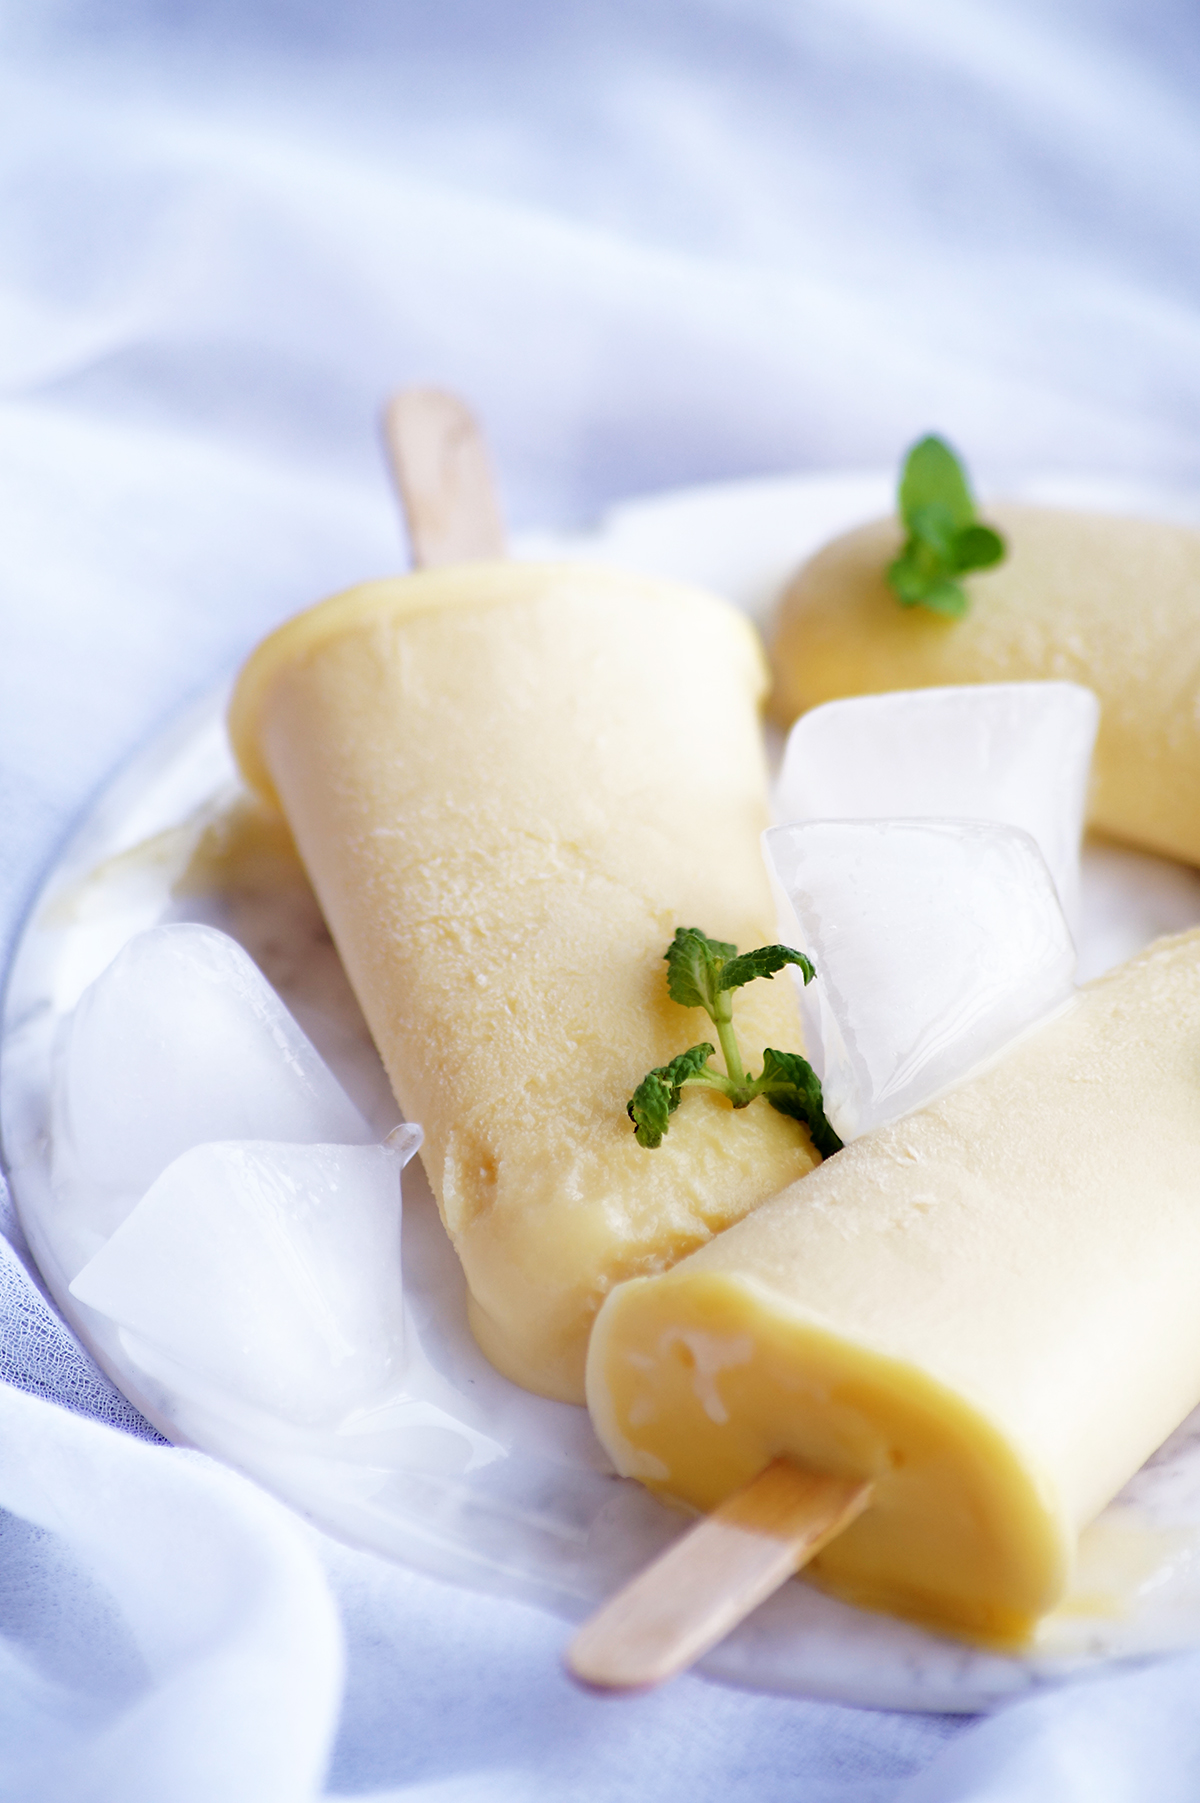
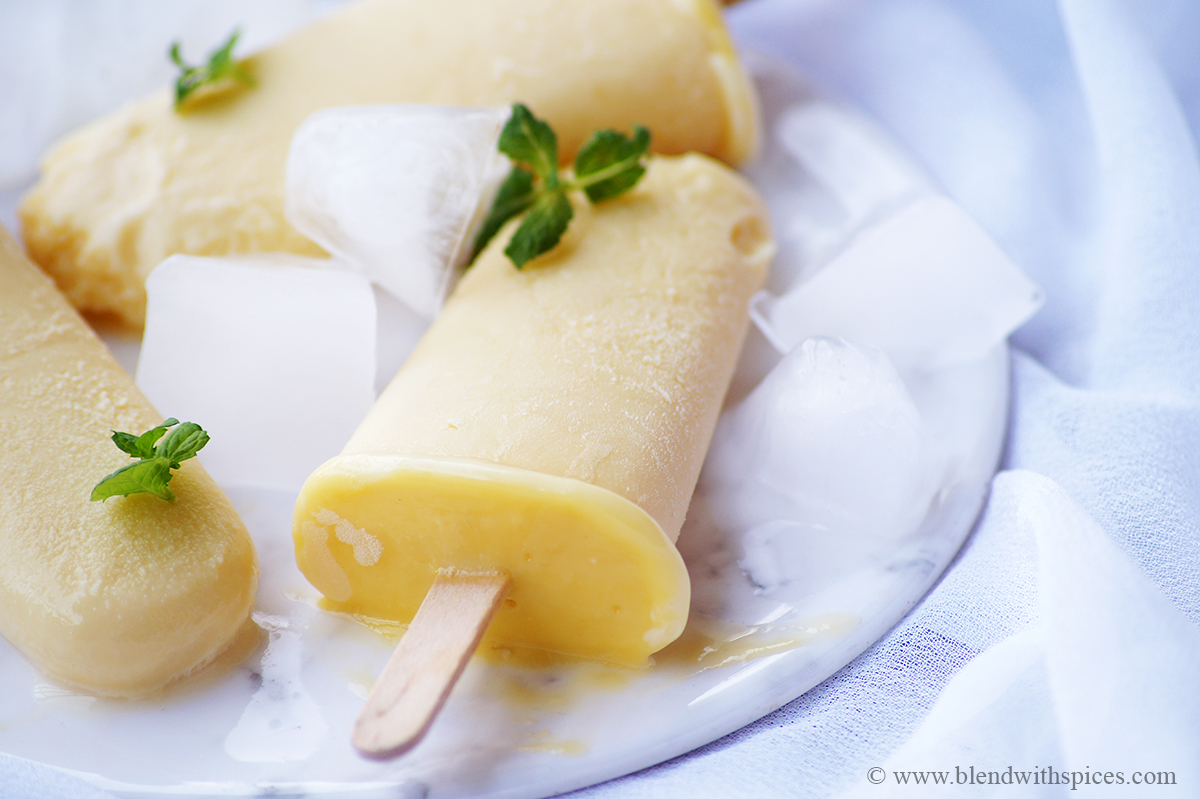
    Mawa Kulfi - A quick, traditional, sumptuous Indian frozen dessert made with milk, khoya/mawa (evaporated milk solids), cardamom, and nuts - that will make you crave for more!

    What is mawa kulfi?

    Kulfi is an Indian version of ice cream, but denser and creamier. Traditionally, it is made by boiling milk over a low flame until it reduces to half, but there are many quick kulfi variations with khoya, milk powder or condensed milk to speed up the cooking process. Kulfi comes in a lot of traditional and fusion flavors such as mango, saffron, rose, pistachios and almonds.

    Such is its popularity, that you will find it in almost every Indian restaurant globally no matter where you go!

    Mawa kulfi is a shorter way of making classic kulfi, without spending hours stirring the milk. It is a super simple and delicious kulfi recipe that requires just a few ingredients and can be done in under 15-20 minutes.

    What is mawa/khoya?

    Mawa is dried evaporated milk solids, also known as khoa or khoya. It is very popular and widely used in Indian cooking to prepare curries and classic desserts such as gulab jamun, halwa and burfi.

    You can source it from any Indian grocery store or make it at home using whole milk. Here is the recipe for how to make homemade khoya.

    Khoya kulfi is

    Super quick to make and no need to boil milk for a longer period.

    Creamy and delicious

    Made with just 4-5 ingredients.

    Easily customizable with your favorite flavors.

    Perfect for summer afternoons.

    What you will need:

    Milk: Try to use full-fat milk for creamier kulfi.

    Khoya/Mawa: Homemade or store-bought khoya can be used. Make sure you crumble it really well without any big chunks.

    Cardamom Powder: It adds an authentic flavor to the dessert. Try to use freshly ground cardamom powder for a better flavor.

    Nuts: I have used finely chopped almonds in this recipe. Chopped pistachios can also be used. Or skip if you don't want to add any.

    Sugar

    Variations:

    Soak a pinch of saffron in warm milk and add it to the milk while boiling to get a lovely yellow color and saffron or kesar flavor.

    Swap almonds with powdered or finely chopped pistachios to make pista mawa kulfi.

    Serving suggestions:

    They can be enjoyed as a dessert or a sweet snack on any day and can be the perfect companion for any Indian main course.

    Step by step instructions:

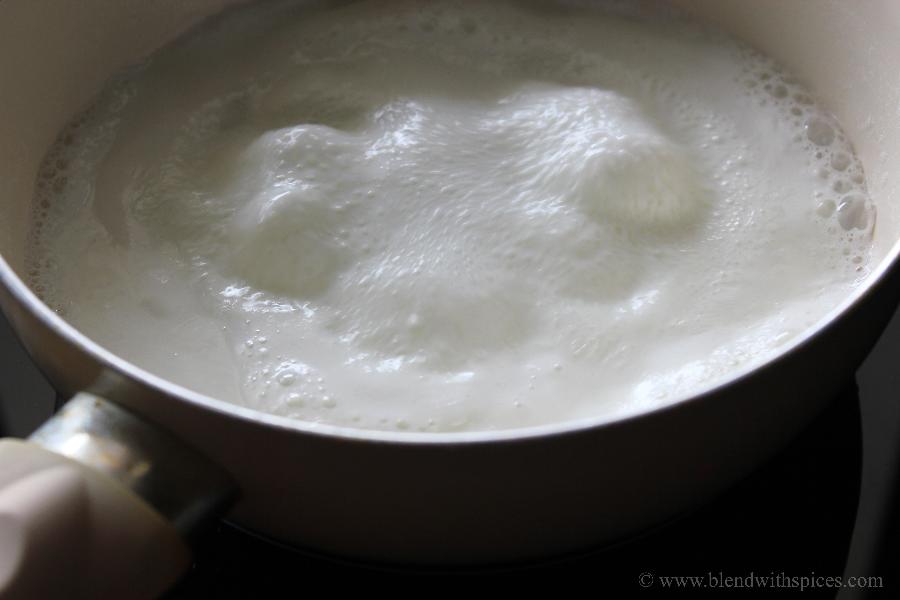
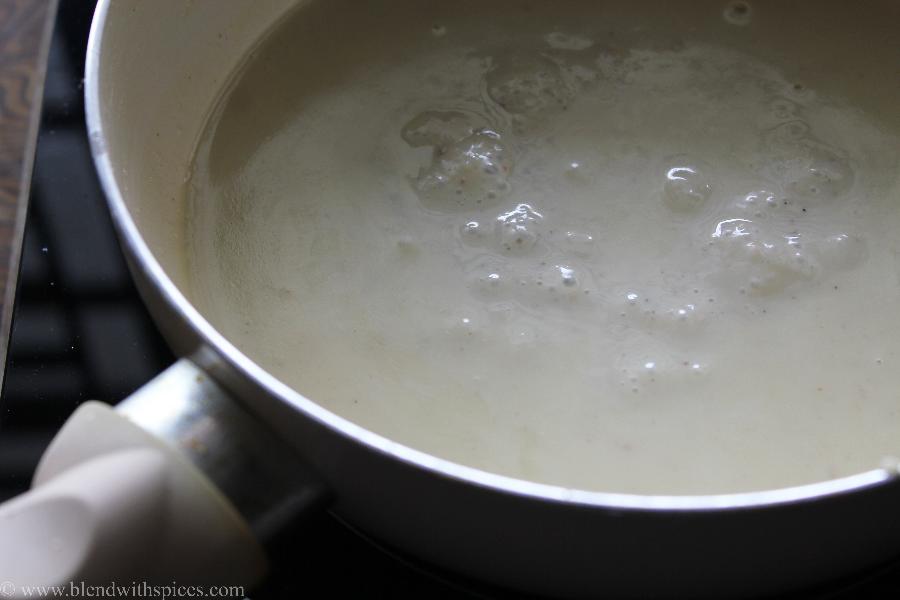
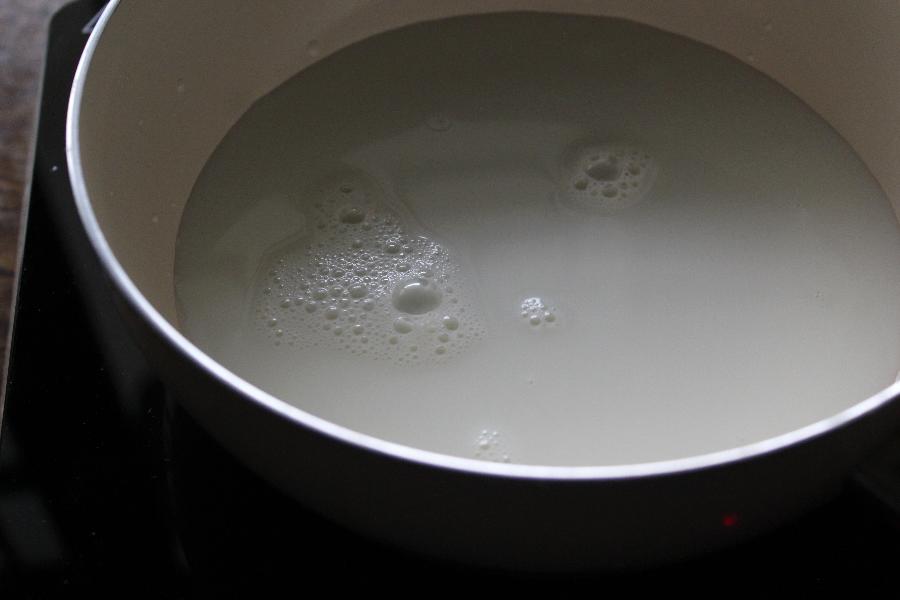
    Heat two cups of milk in a sauce pan or vessel and let it boil for 5 minutes.

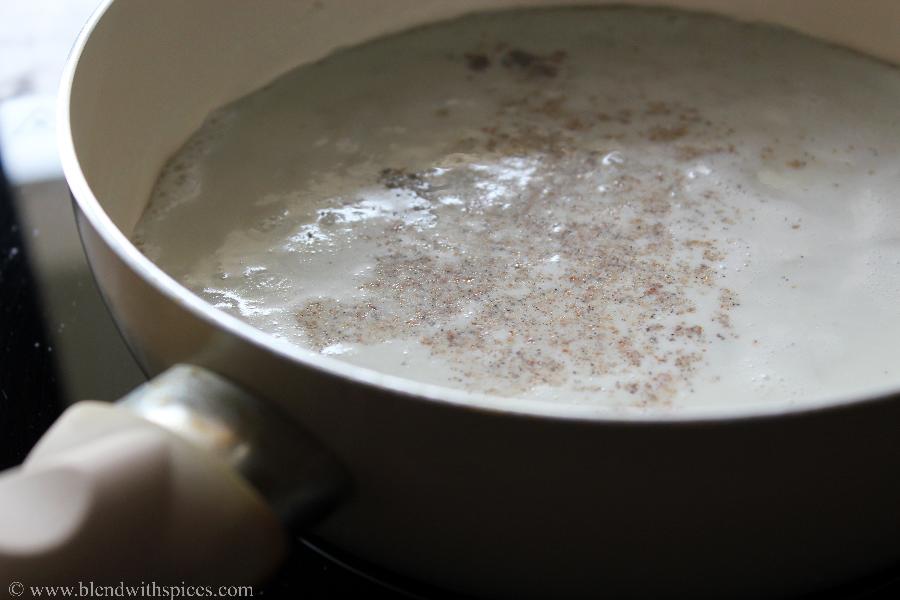
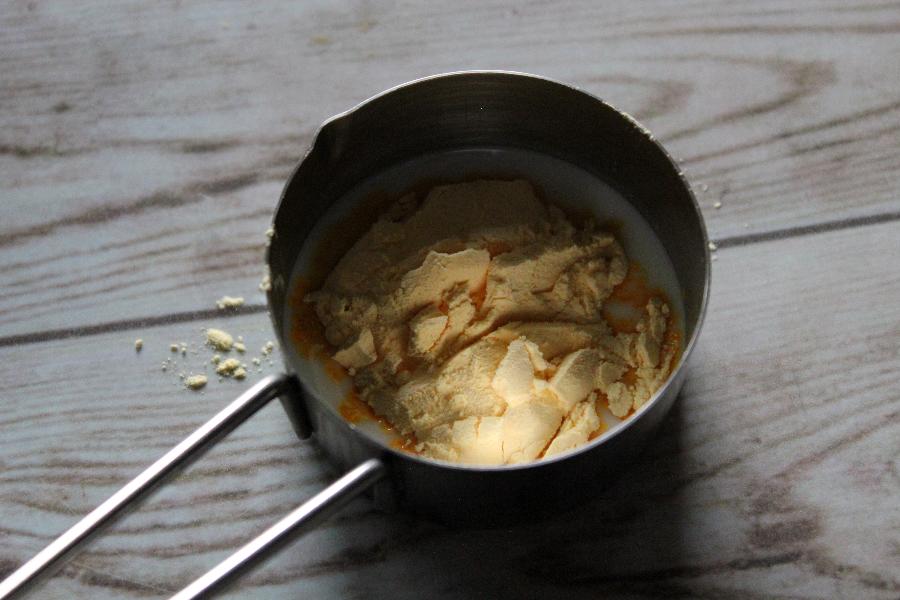
    After 5 minutes, add sugar, crumbled khoya / mawa and cardamom powder to the pan.

    Mix everything well.

    Let it cook over a medium flame for 10-12 minutes or until the milk mixture thickens.

    Do not forget to stir in between to prevent it from burning.

    Once the quantity of milk reduces and it thickens, remove it from the flame and let it cool down completely for about 10 minutes.

    It will thicken more as it cools.

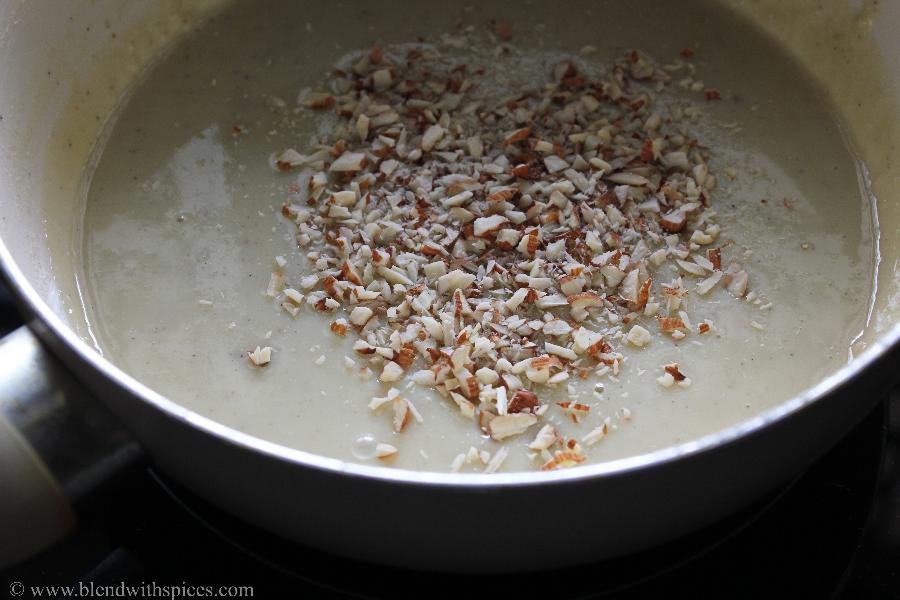
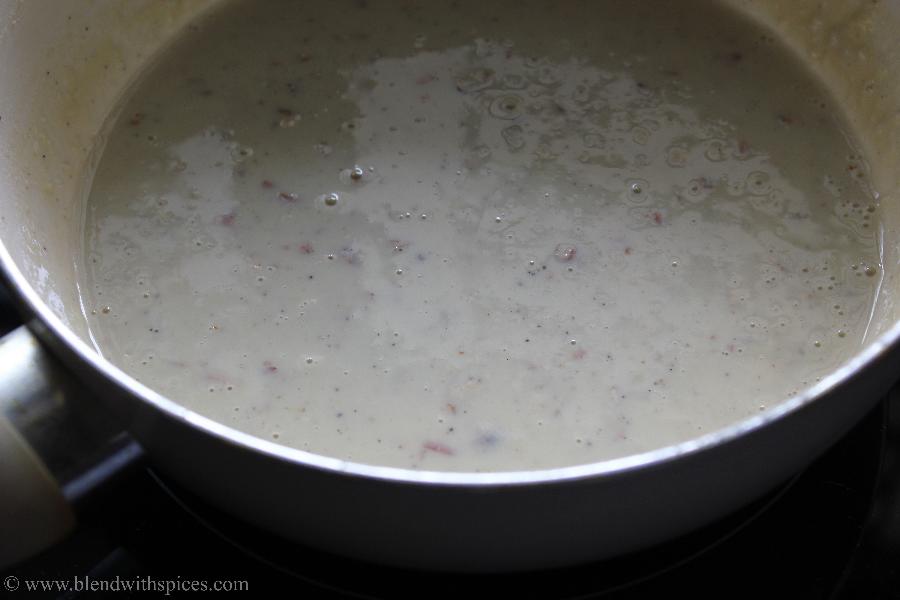
    Add in finely chopped almonds to the cooled milk mixture and mix everything.

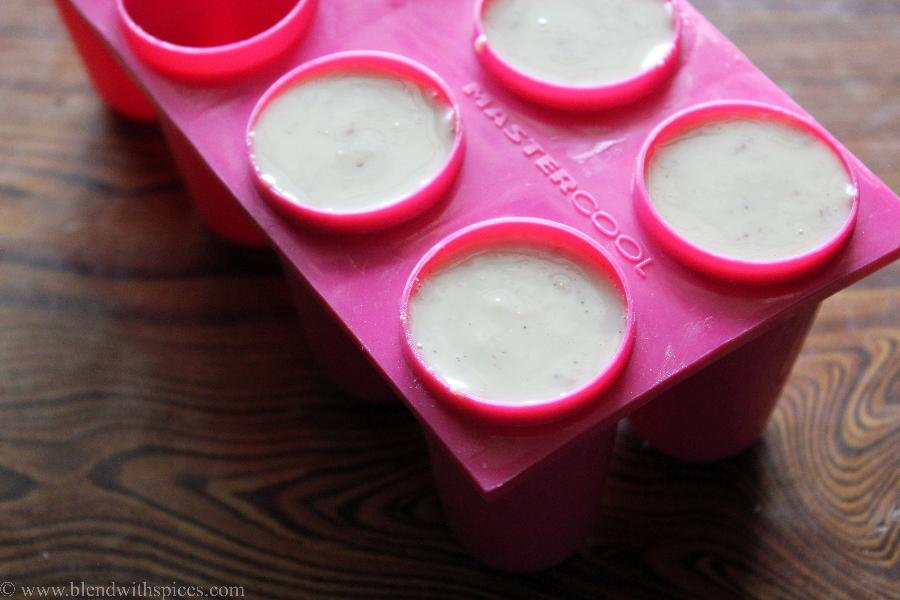
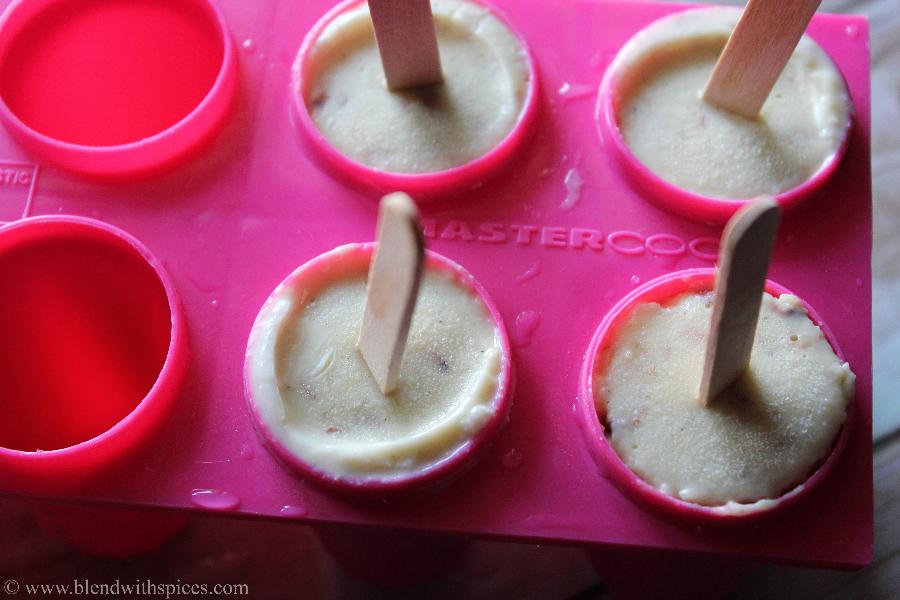
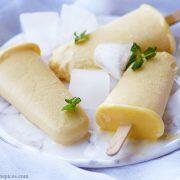
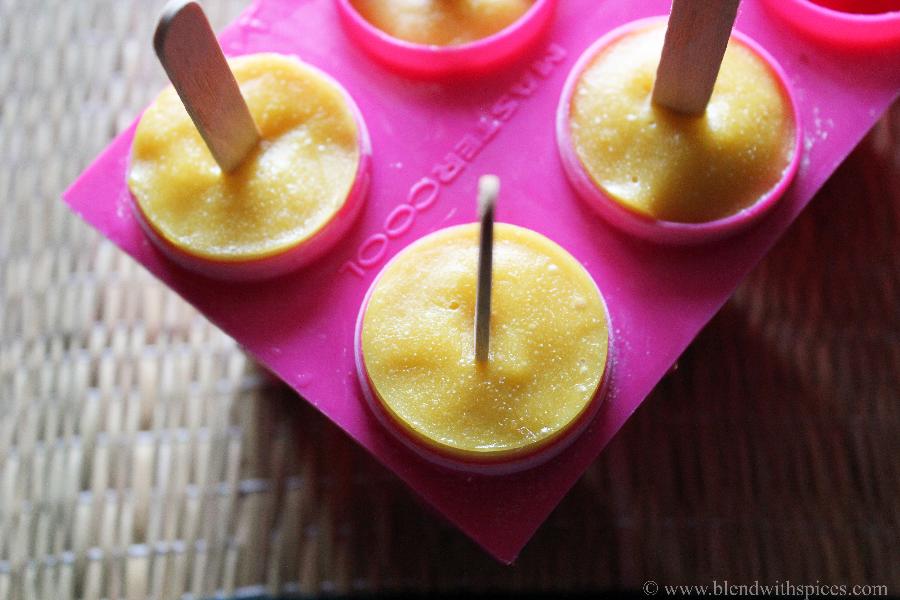
    Pour the cooled uinto molds and insert popsicle sticks.

    Place the molds in the freezer overnight.

    To remove the popsicles from the mold, run the water on the outside of the molds for some time until the ends are loose.

    Serve them immediately or store in the freezer.

    Few more Indian desserts on the blog:

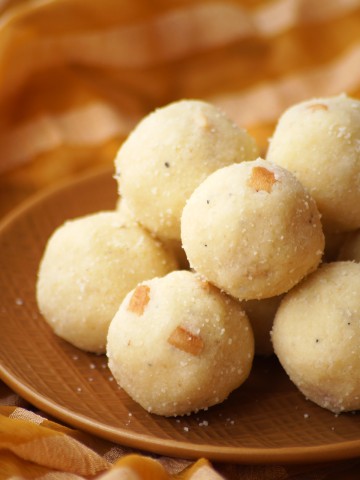
    • Rava Khoya Laddu Recipe - Sooji Mawa Ladoo Recipe {Video}
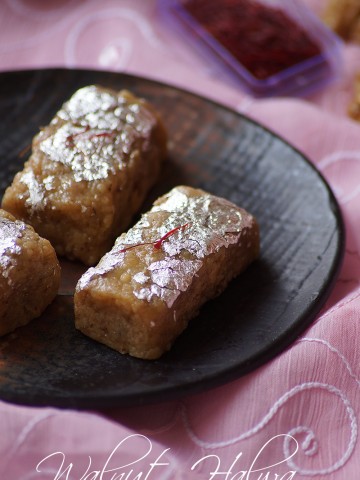
    • Akhrot Ka Halwa - How to Make Walnut Halwa Recipe {Video}
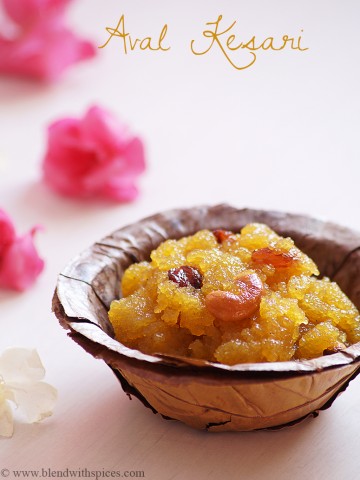
    • Aval Kesari Recipe - Avalakki Kesari Bath Recipe - Poha Sheera Recipe {Video}
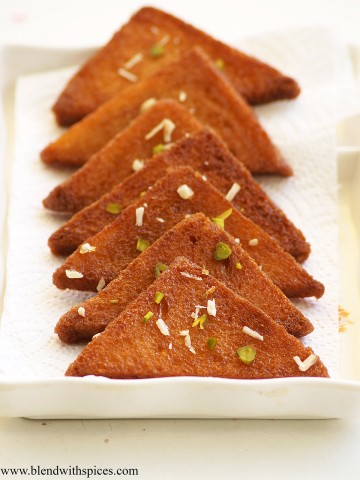
    • Bread Kaja Recipe - Crispy Fried Bread in Sugar Syrup - Indian Sweet with Bread Slices

    Homemade mawa kulfi recipe video below:

    If you love this recipe then don't forget to give it a five-star rating! You can also follow me on Facebook, Instagram and Youtube for my latest recipes and videos!

    Print Recipe
    5 from 2 votes

    Mawa Kulfi Recipe

    Traditional Indian frozen dessert made with milk, mawa/khoya, cardamom and nuts.
    Prep Time0 minutes mins
    Cook Time15 minutes mins
    Total Time15 minutes mins
    Course: Dessert
    Cuisine: Indian, North Indian
    Keyword: easy indian desserts, easy kulfi recipes, khoya kulfi, mawa kulfi recipe
    Servings: 4
    Calories: 280kcal
    Author: Hari Chandana Ponnaluri

    Ingredients

    • 2 Cups Milk
    • ⅓ Cup Sugar
    • ½ Cup Mawa / Khoya
    • ¼ Teaspoon Cardamom Powder
    • 2 Tablespoons Chopped Almonds

    Instructions

    • Boil milk in a heavy bottomed pan for about 5 minutes.
    • Add sugar, crumbled khoya/mawa and cardamom powder to the boiling milk and mix well.
    • Let it cook for 10-12 minutes over a medium flame. Stir occasionally,
    • Once it is thick, remove it from the flame and let it cool completely.
    • Add finely chopped almonds and mix.
    • Pour the mixture into into kulfi molds and insert popsicle sticks. Freeze until set.
    • To remove the popsicles from the mold, run the water on the outside of the molds for some time until the ends are loose.
    • Serve and enjoy!

    Video

    Notes

    Make sure you crumble mawa really well without any big chunks.

    Nutrition

    Calories: 280kcal | Carbohydrates: 30g | Protein: 10g | Fat: 14g | Saturated Fat: 7g | Polyunsaturated Fat: 1g | Monounsaturated Fat: 4g | Trans Fat: 1g | Cholesterol: 18mg | Sodium: 133mg | Potassium: 198mg | Fiber: 1g | Sugar: 23g | Vitamin A: 332IU | Vitamin C: 1mg | Calcium: 354mg | Iron: 1mg

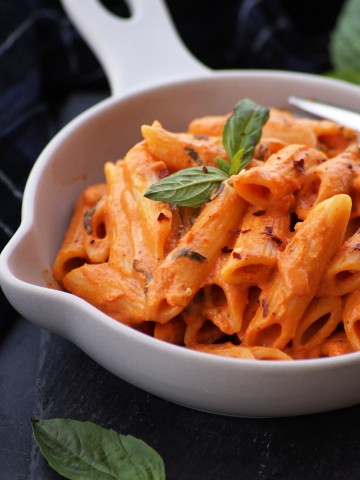
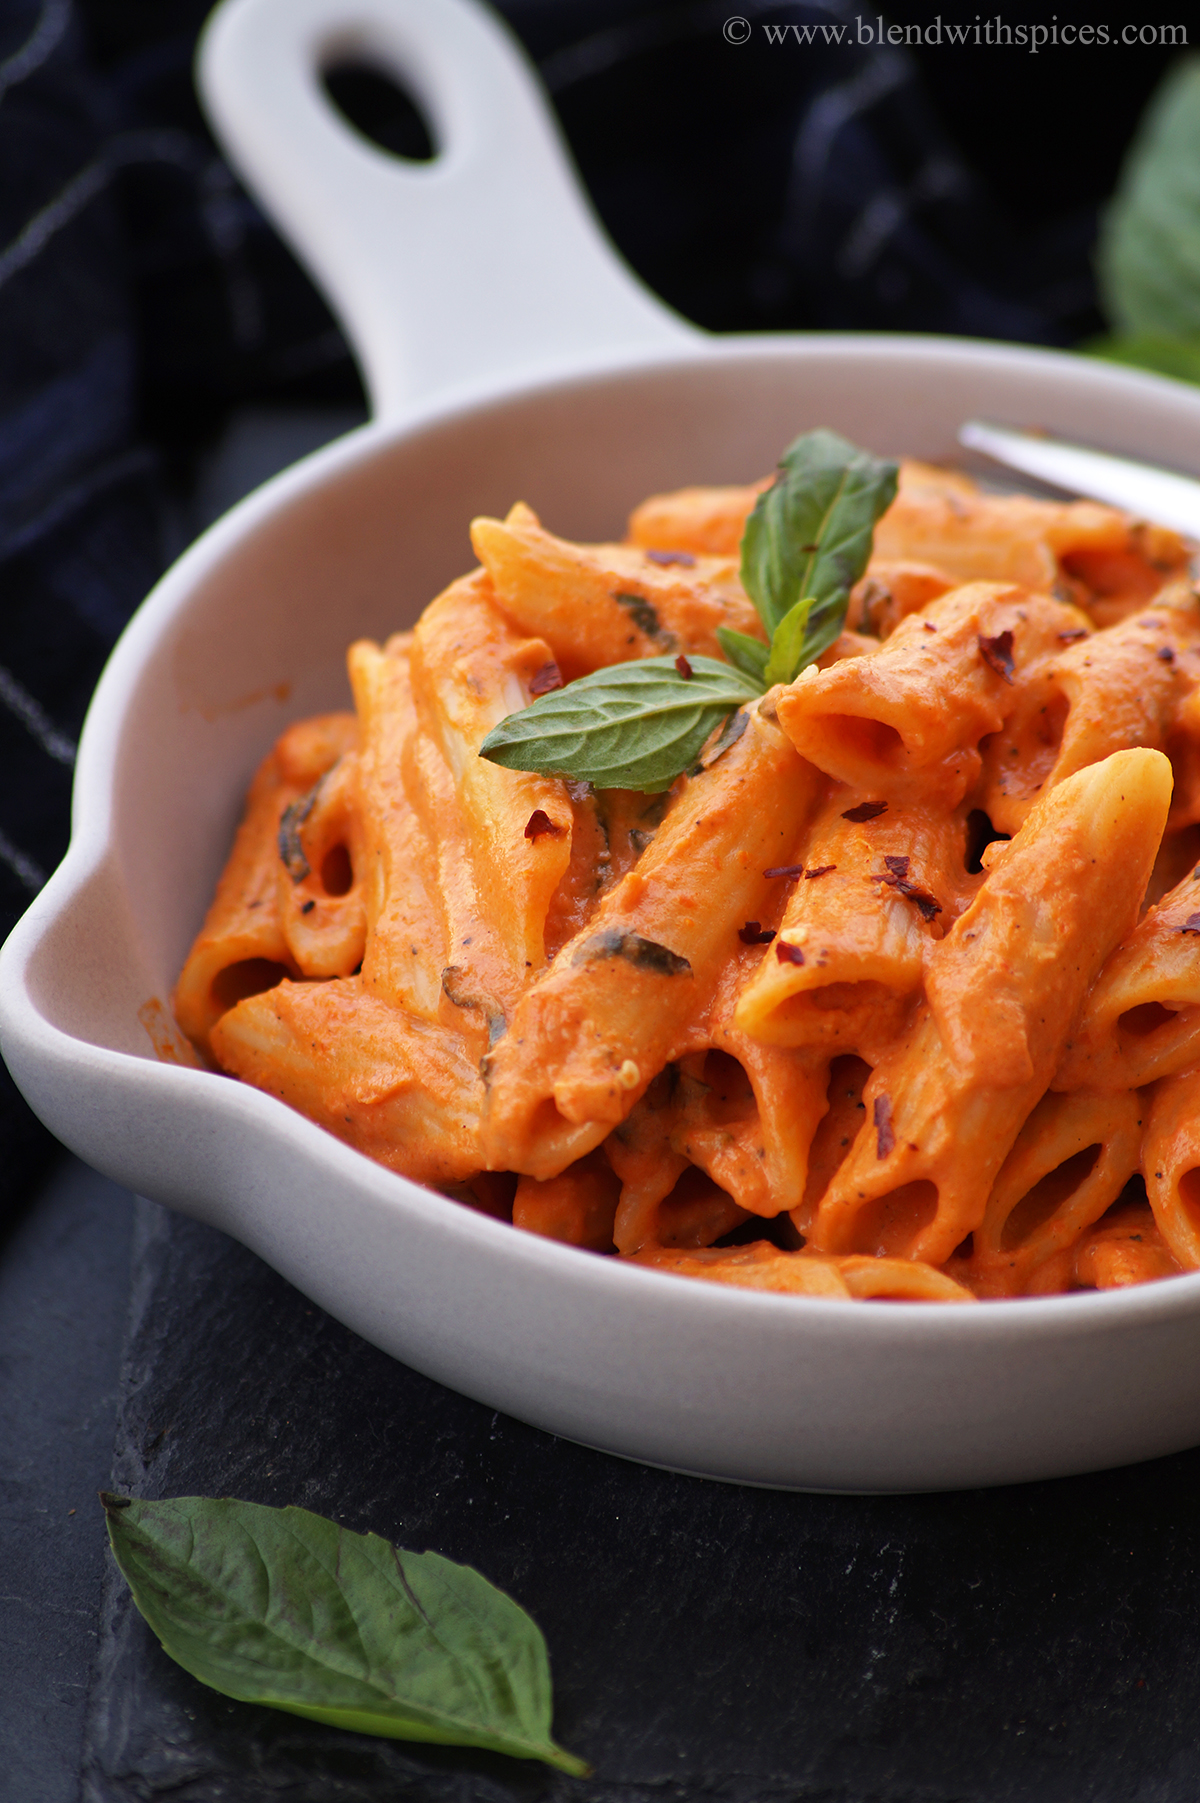
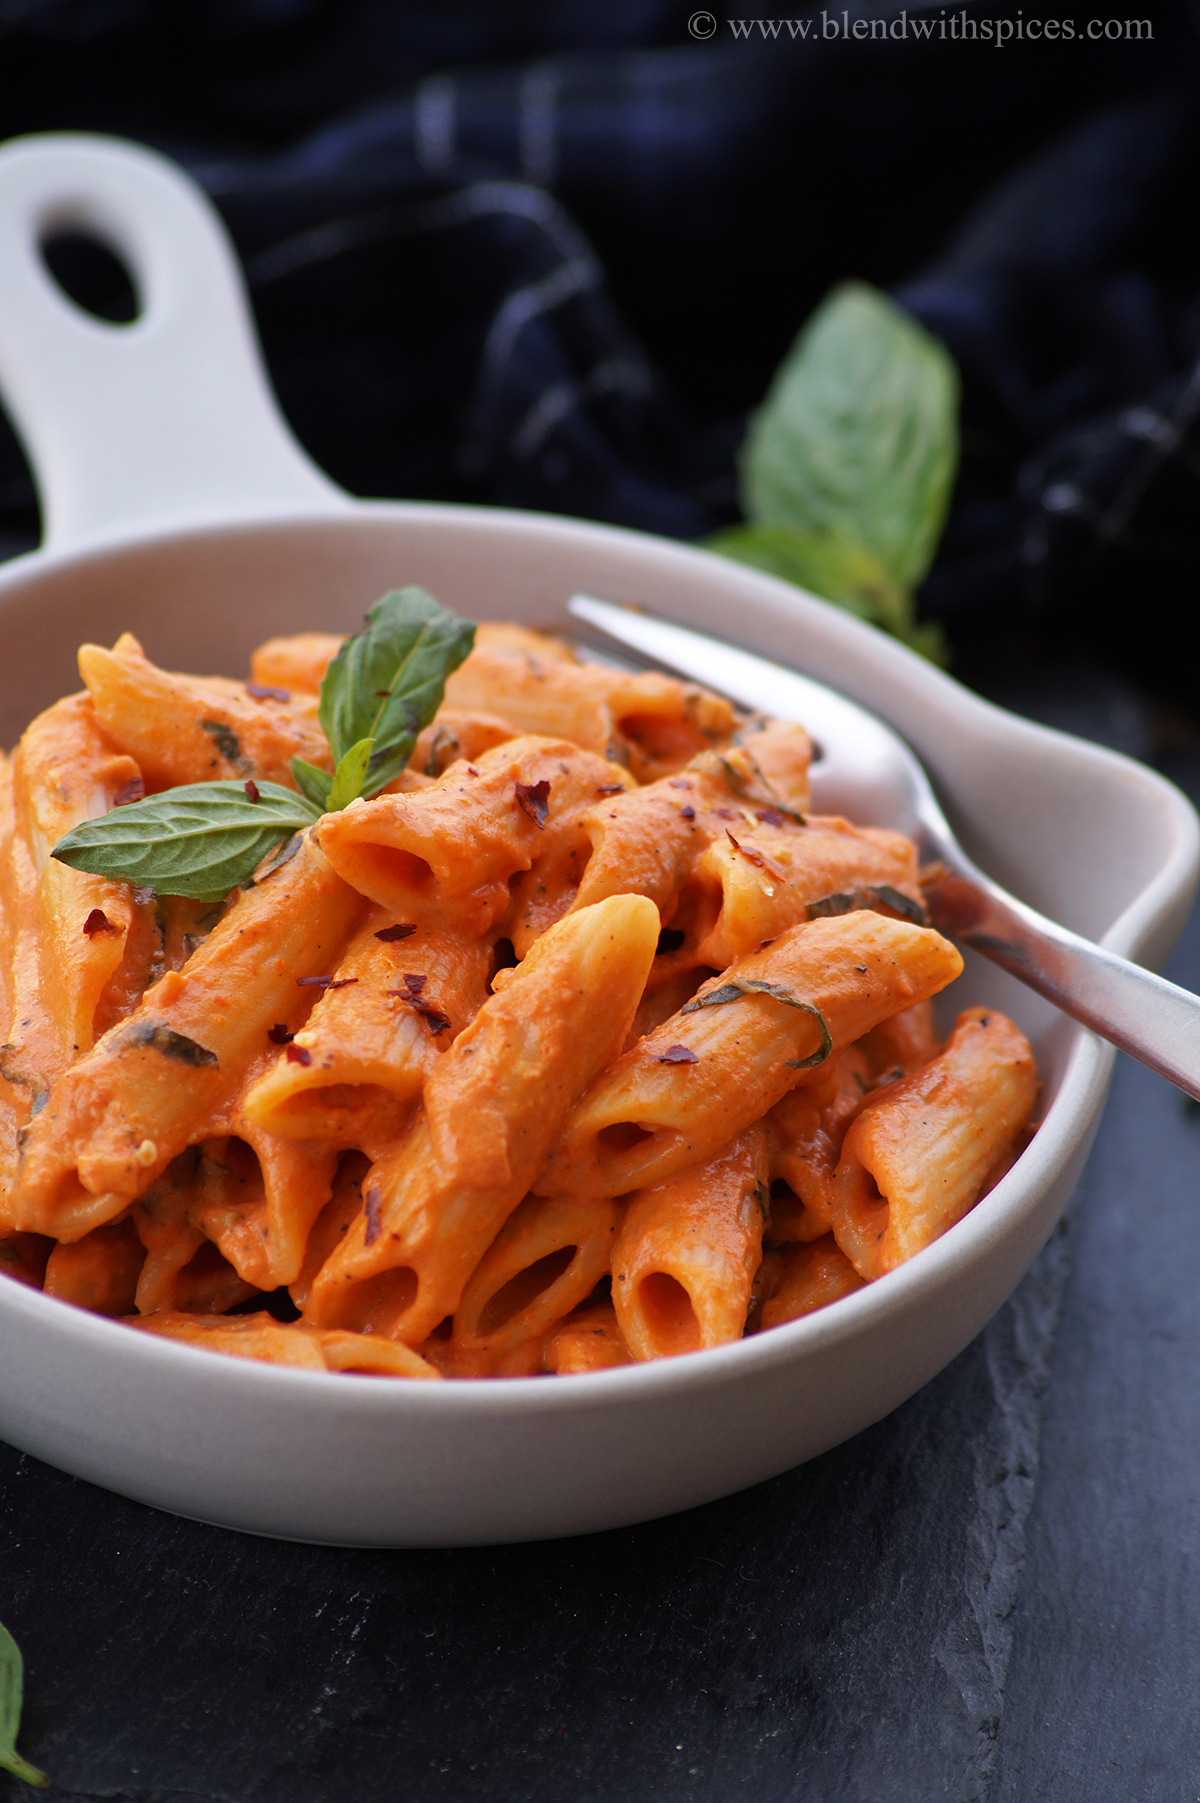
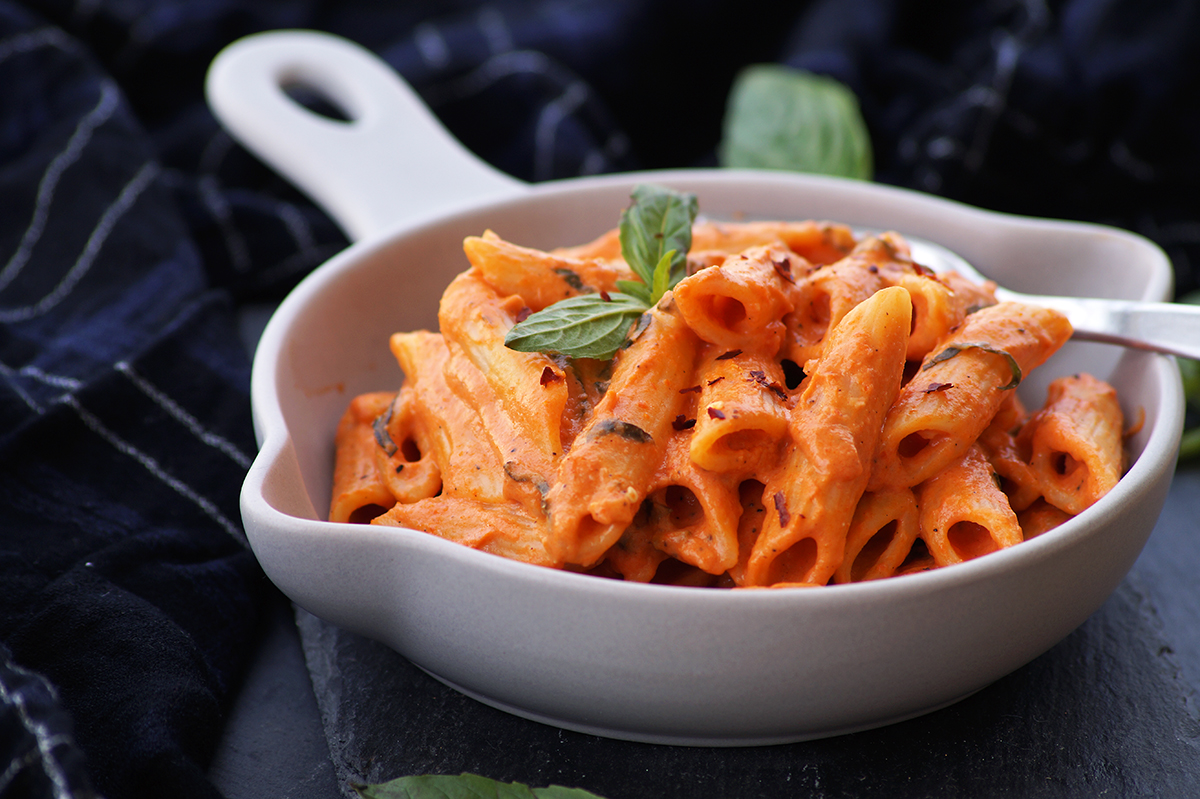
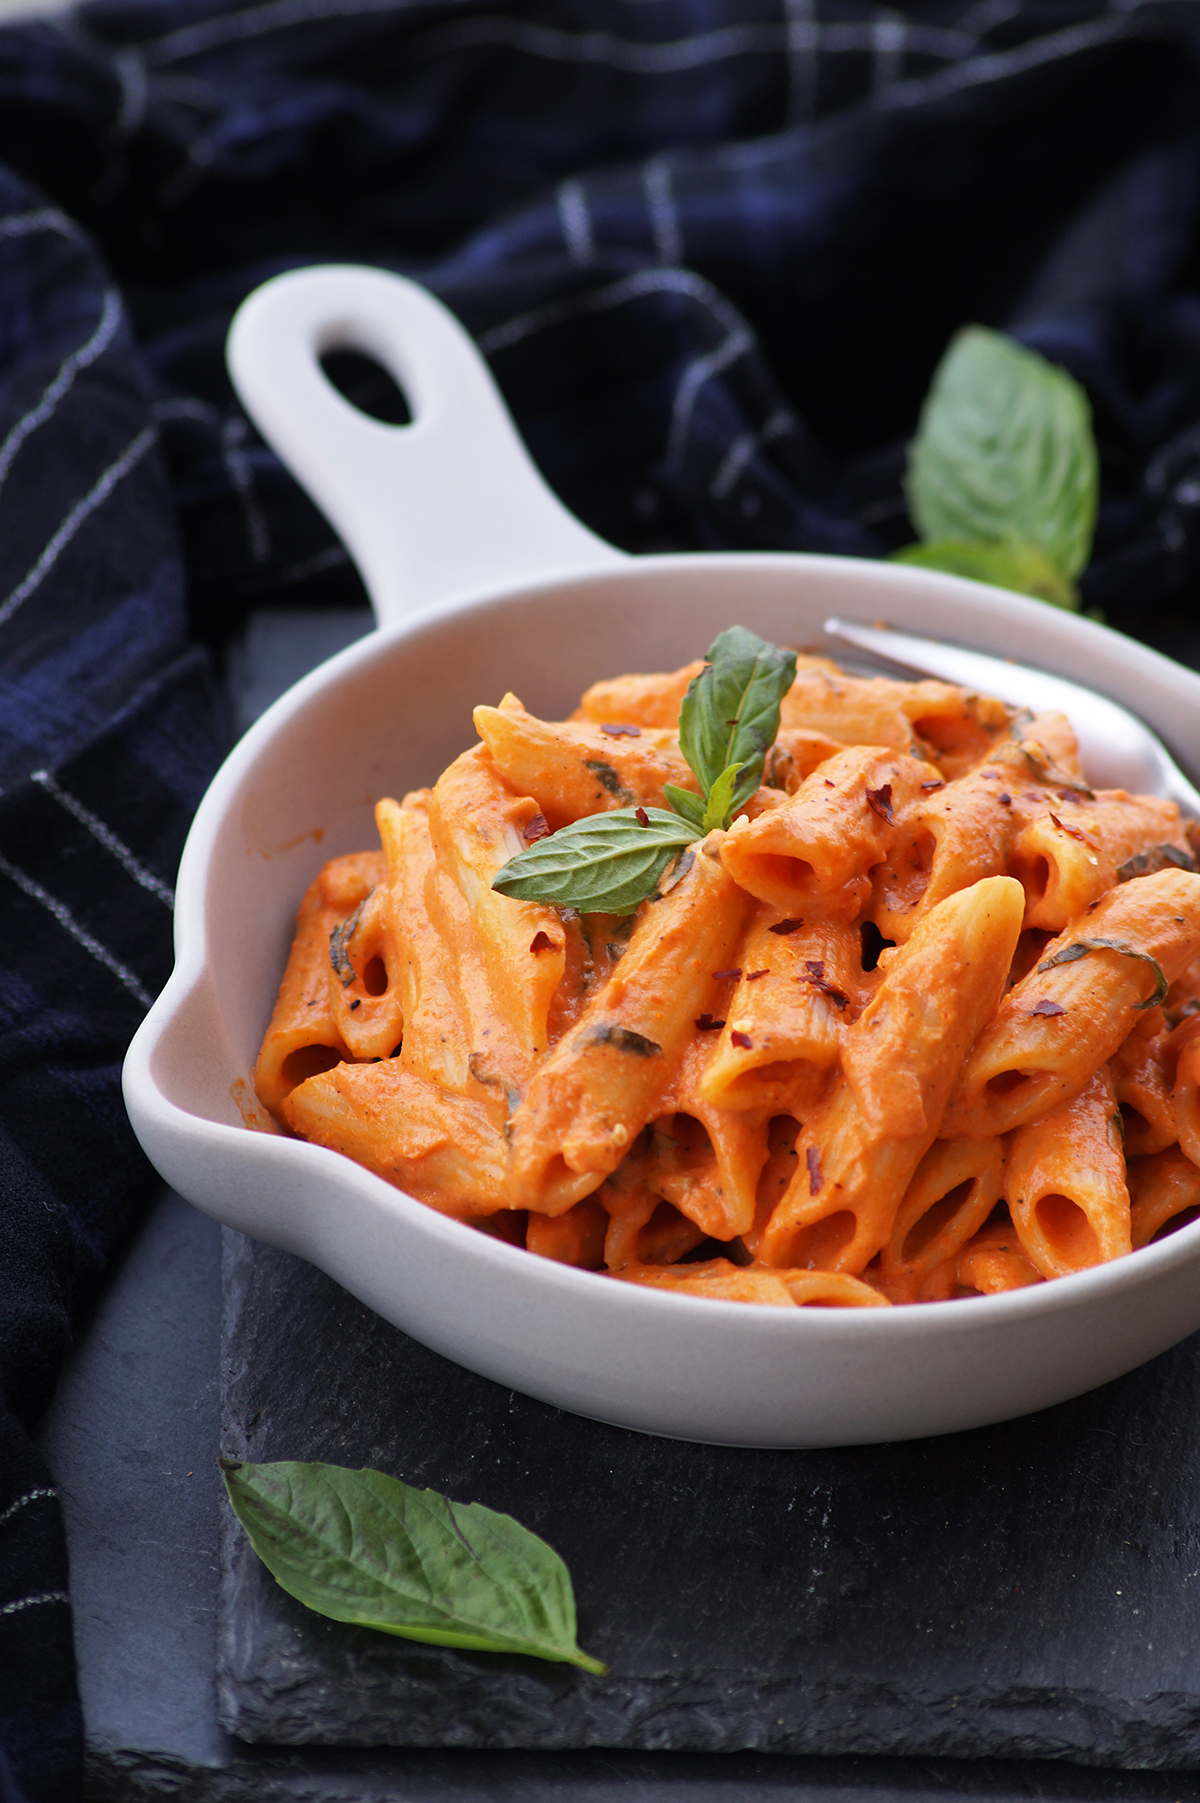
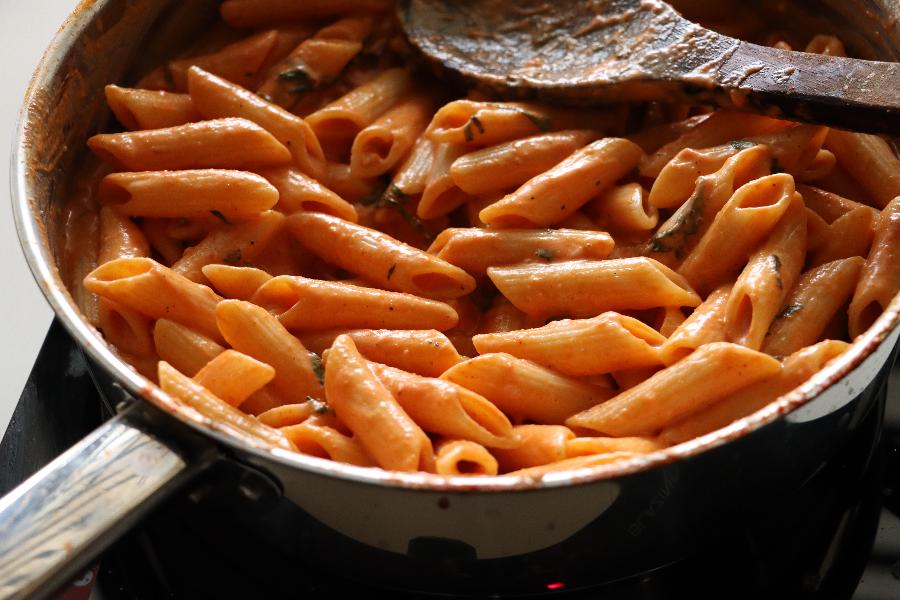
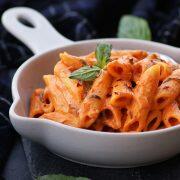
    Vegan Creamy Tomato Coconut Pasta

    June 24, 2021

    Vegan Creamy Tomato Coconut Pasta - One that is ridiculously easy to make and mess around with, if you're into vegan, creamy pastas!

    I am particularly keen on trying out different vegan pasta sauces as they are simple, easy to make on busy-dinner days. Creamy tomato pasta variants are very easy to experiment and fall in love with. Let's take a peek into one such pasta dish that is very easy to make in under 30 min.

    What is tomato coconut pasta?

    Tomato coconut pasta is one of the easiest vegan pasta recipes that is creamy, flavorful and uses only a handful of ingredients.

    Coconut cream brings about the creamy texture, tomato adds zing, garlic and basil form the perfect blend of strength versus smoothness, while penne paste takes care of the rest.

    What you will need:

    Pasta: I have used penne pasta in this recipe. Fusilli, rotini, or any other pasta can also be used.

    Fresh Tomato Puree: I have used homemade tomato puree. Just grind 7-8 medium ripe tomatoes to a smooth puree to get 2 ½ cups of fresh tomato sauce.

    Tomato Paste: It gives an intense flavor and color to the dish. It is totally optional though.

    Coconut Cream: Full fat or low-fat coconut cream can be used to make this creamy vegan pasta recipe. If you don't have coconut cream handy, use the same quantity of coconut milk.

    Fresh Basil: I love using fresh herbs in my Italian recipes whenever possible. If you want to substitute fresh basil with dried basil, replace it with 4 teaspoons of dry basil.

    Garlic: I am a huge garlic buff so I never feel the need to moderate its quantity 🙂

    Olive oil, Salt & Pepper

    Can I replace coconut cream with coconut milk?

    I have tried and tested both versions and yes, you can replace coconut cream with coconut milk. Same quantity works just fine. The fattier the milk, the higher the creaminess though. Creamy, dreamy - remember?

    Serving suggestions

    This will be a great choice as a main course for gatherings, dinners etc. if you want to quickly make something just 30 minutes before the event.

    Can I make it ahead of time?

    Sure. It can be made ahead and refrigerated for up to 2 days. However, if you're preparing a large meal for a gathering, I recommend cooking the pasta and making the sauce ahead of time, and mixing them just before serving.

    Coat the pasta with a little bit of oil to prevent the pieces from sticking to each other.

    Step by step instructions:

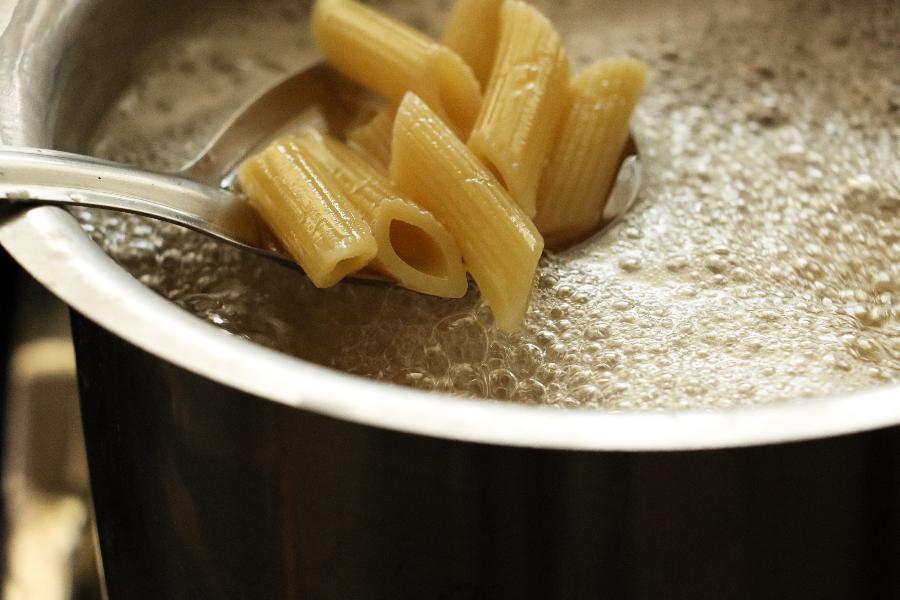
    Bring a big pot of salted water to a rolling boil and cook the pasta according to the package instructions.

    Drain pasta and rinse it with cold water to avoid further cooking. Drain completely and set aside.

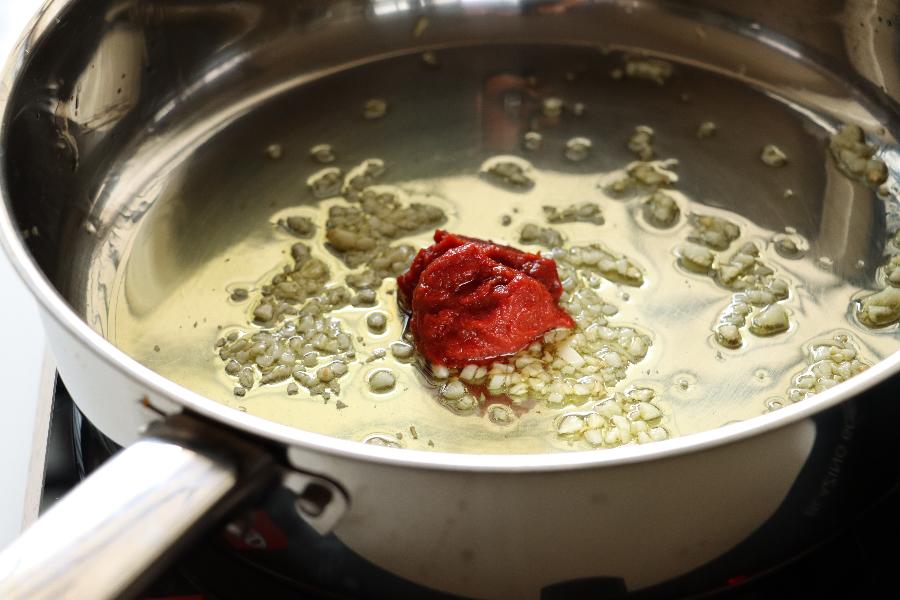
    Heat olive oil in a sauté pan and add finely chopped garlic and stir for a minute.

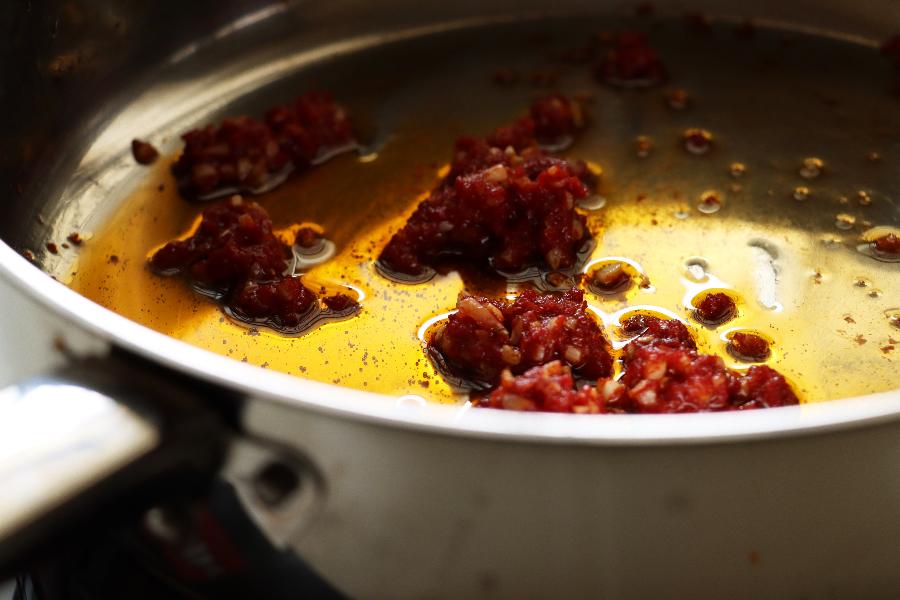
    Add tomato paste (if using) and give it a stir.

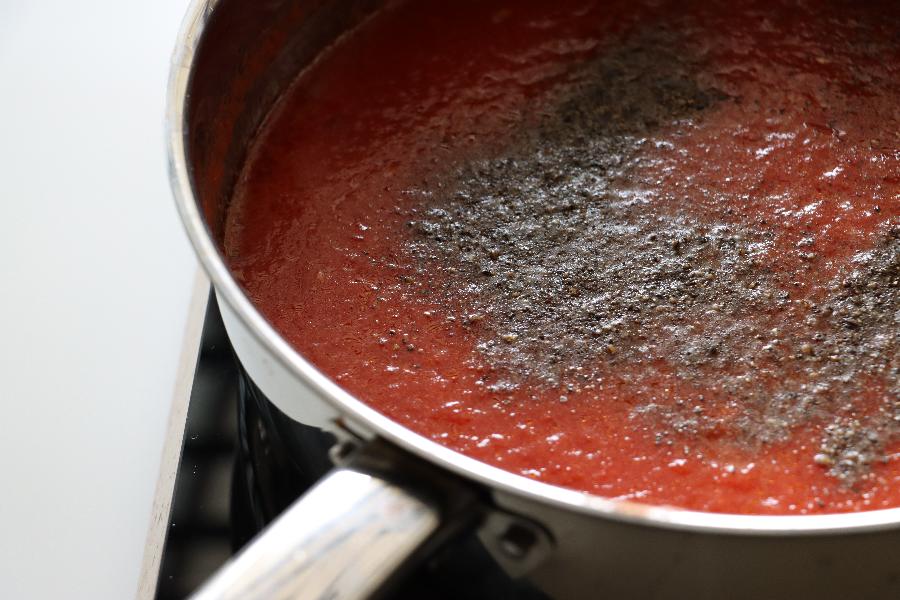
    Pour fresh tomato sauce in the pan and mix well.

    Add required and salt and pepper and combine everything well.

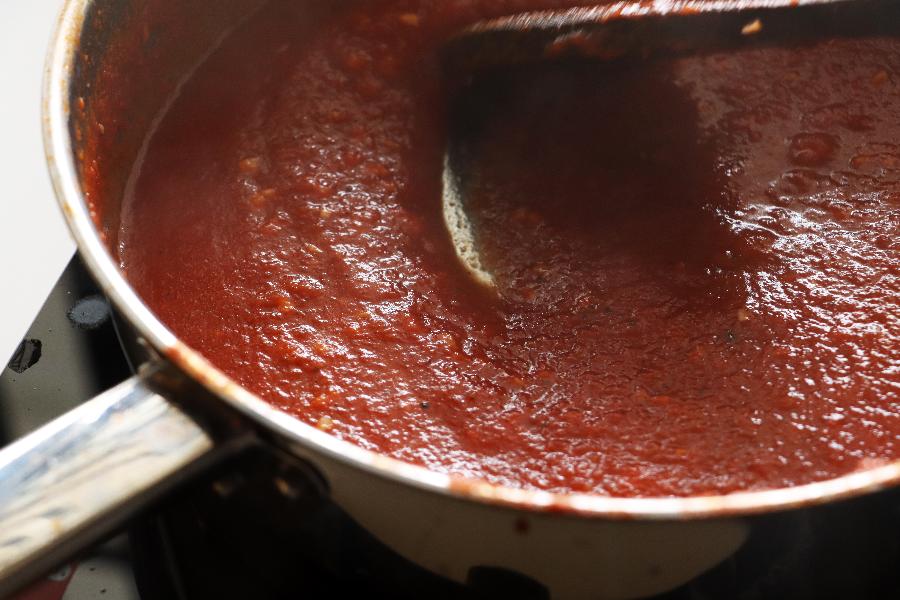
    Let it cook the sauce over a medium - low flame for about 10-12 minutes or until the sauce thickens. Don't forget to stir it occasionally.

    Once it is thick, reduce the flame to low.

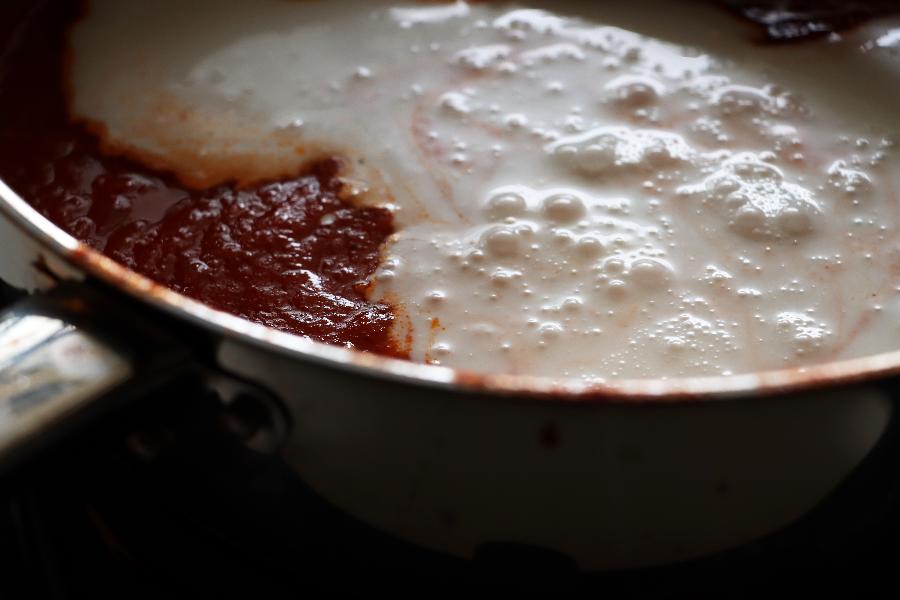
    Add in coconut cream and mix everything until well combined.

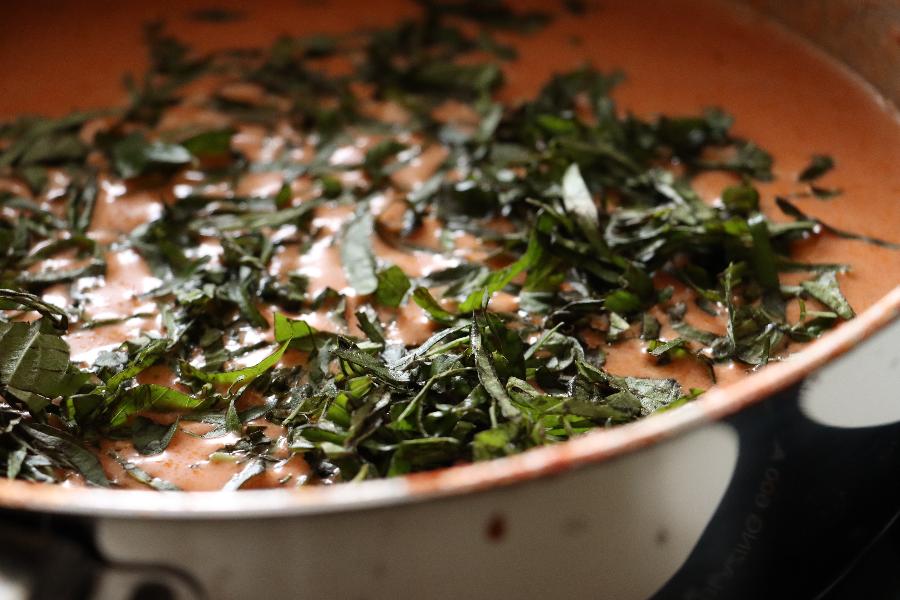
    Add chopped basil leaves and mix.

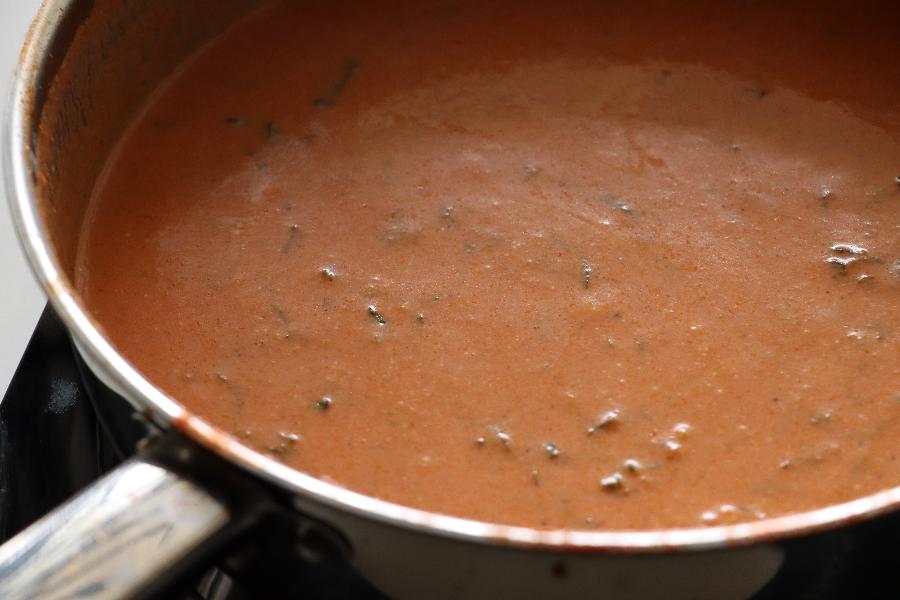
    Let it simmer for another 3-4 minutes.

    Add more salt and pepper if needed.

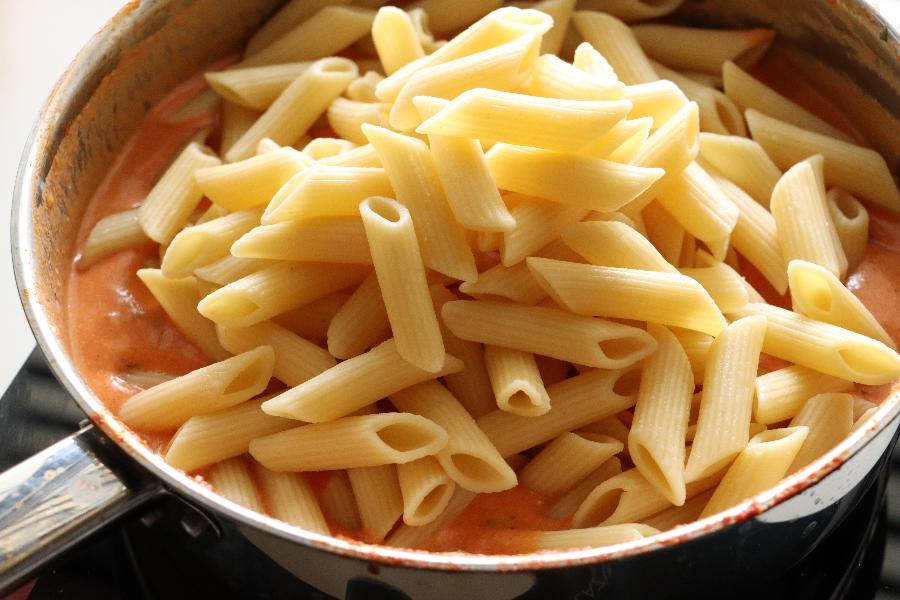
    Add the drained pasta to the sauce and combine it well.

    Serve warm. Sprinkle some red chilli flakes on top if needed.

    Few more related recipes on the blog:

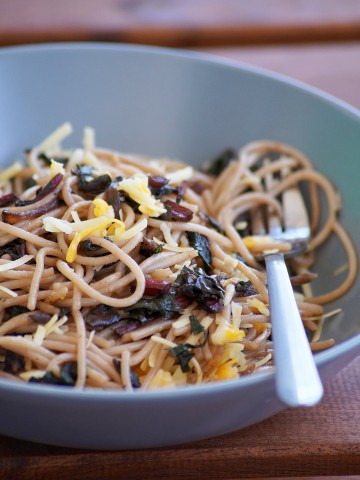
    • Beet Greens Spaghetti Recipe - How to make Pasta with Beet Greens
    • Macaroni and Cheese Recipe - How to make Mac and Cheese Recipe - Cheese Pasta
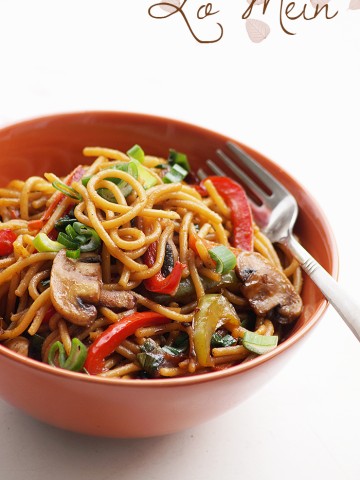
    • how to make lo mein noodles recipe
      Lo Mein Recipe - How to Make Chinese Vegetable Lo Mein Noodles Recipe
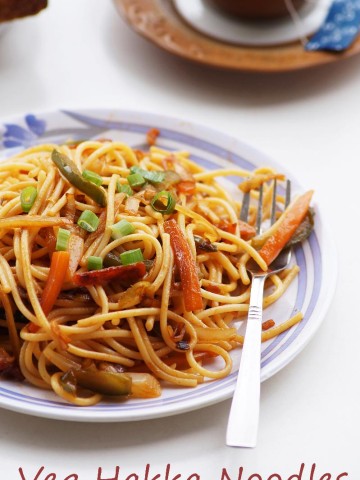
    • Veg Hakka Noodles Recipe, How to make Vegetable Hakka Noodles Recipe

    Creamy tomato coconut pasta recipe video below:

    If you love this recipe then don't forget to give it a five-star rating! You can also follow me on Facebook, Instagram and Youtube for my latest recipes and videos!

    Print Recipe
    5 from 1 vote

    Vegan Creamy Tomato Coconut Pasta

    How to makke Vegan Creamy Tomato Coconut Pasta - One that is ridiculously easy to make and mess around with, if you're into vegan, creamy pastas!
    Prep Time5 minutes mins
    Cook Time20 minutes mins
    Total Time25 minutes mins
    Course: Dinner, Lunch, Main Course
    Cuisine: Italian, Vegan
    Keyword: creamy tomato pasta, vegan pasta recipes, vegan tomato pasta
    Servings: 4
    Calories: 526kcal
    Author: Hari Chandana Ponnaluri

    Ingredients

    • 2.5 Cups Pasta
    • 4 Tablespoons Olive Oil
    • 1 Heaped Tablespoon Chopped Garlic
    • 2 Tablespoons Tomato Paste
    • 2.5 Cups Fresh Tomato Puree (about 8 medium ripe tomatoes)
    • 1 Teaspoon Pepper Powder
    • Salt to taste
    • 250 ml Coconut Cream
    • ¼ Cup Chopped Basil Leaves (tightly packed)
    • Red chilli flakes for garnishing (optional)

    Instructions

    • Cook the pasta with salted water according to the package instructions.
    • Drain pasta and rinse it with cold water to avoid further cooking. Drain completely and set aside.
    • Heat olive oil in a sauté pan and add finely chopped garlic and stir for a minute.
    • Add tomato paste (if using) and give it a stir.
    • Add tomato puree, salt and pepper.
    • Mix and cook the sauce over a medium - low flame for about 10-12 minutes or until the sauce thickens. Don't forget to stir it occasionally.
    • Once it is thick, add in coconut cream and mix everything until well combined.
    • Add chopped basil leaves and let it simmer for another 3-4 minutes.
    • Add the drained pasta to the sauce and combine it well.

    Video

    Notes

    You can add a tablespoon of sugar to the sauce to cut down the acidity of tomatoes.

    Nutrition

    Calories: 526kcal | Carbohydrates: 45g | Protein: 10g | Fat: 37g | Saturated Fat: 21g | Polyunsaturated Fat: 2g | Monounsaturated Fat: 11g | Sodium: 268mg | Potassium: 827mg | Fiber: 6g | Sugar: 9g | Vitamin A: 734IU | Vitamin C: 18mg | Calcium: 73mg | Iron: 4mg

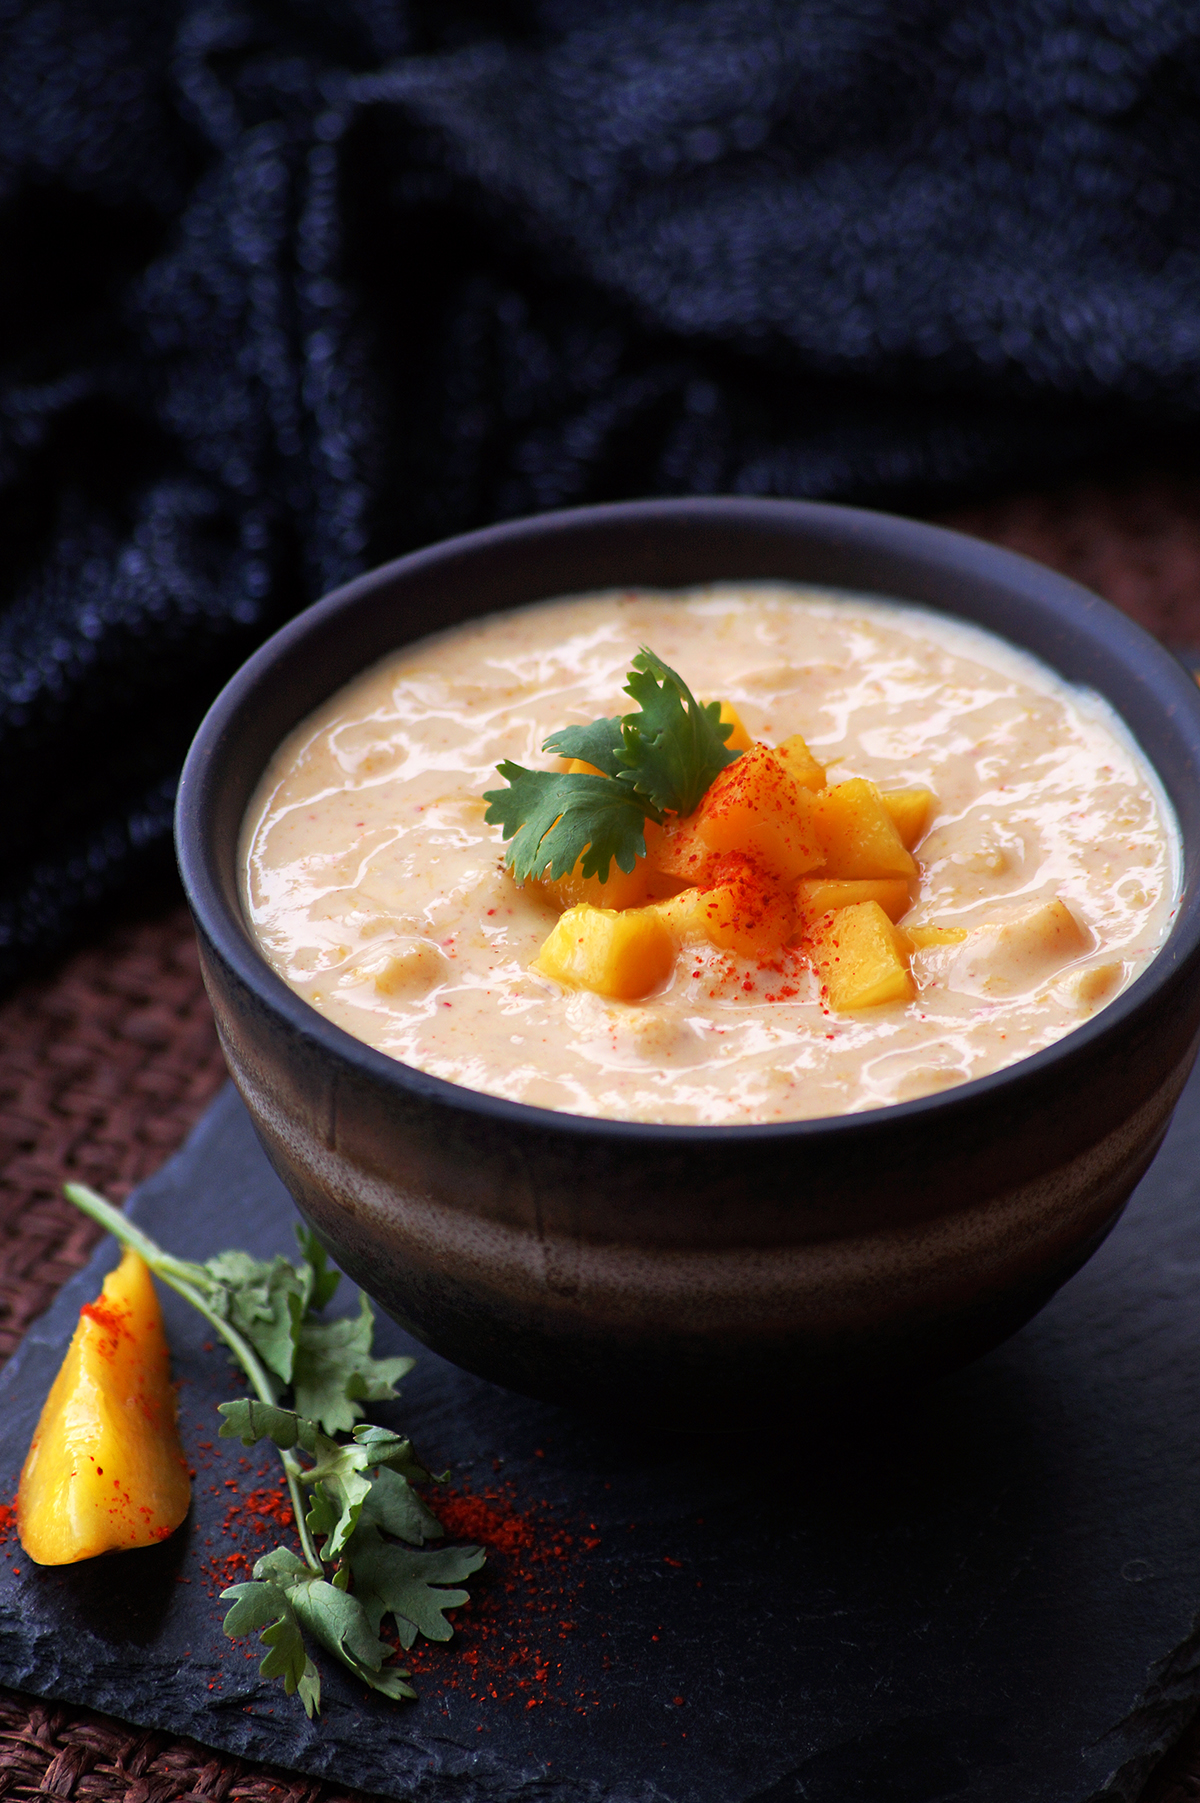
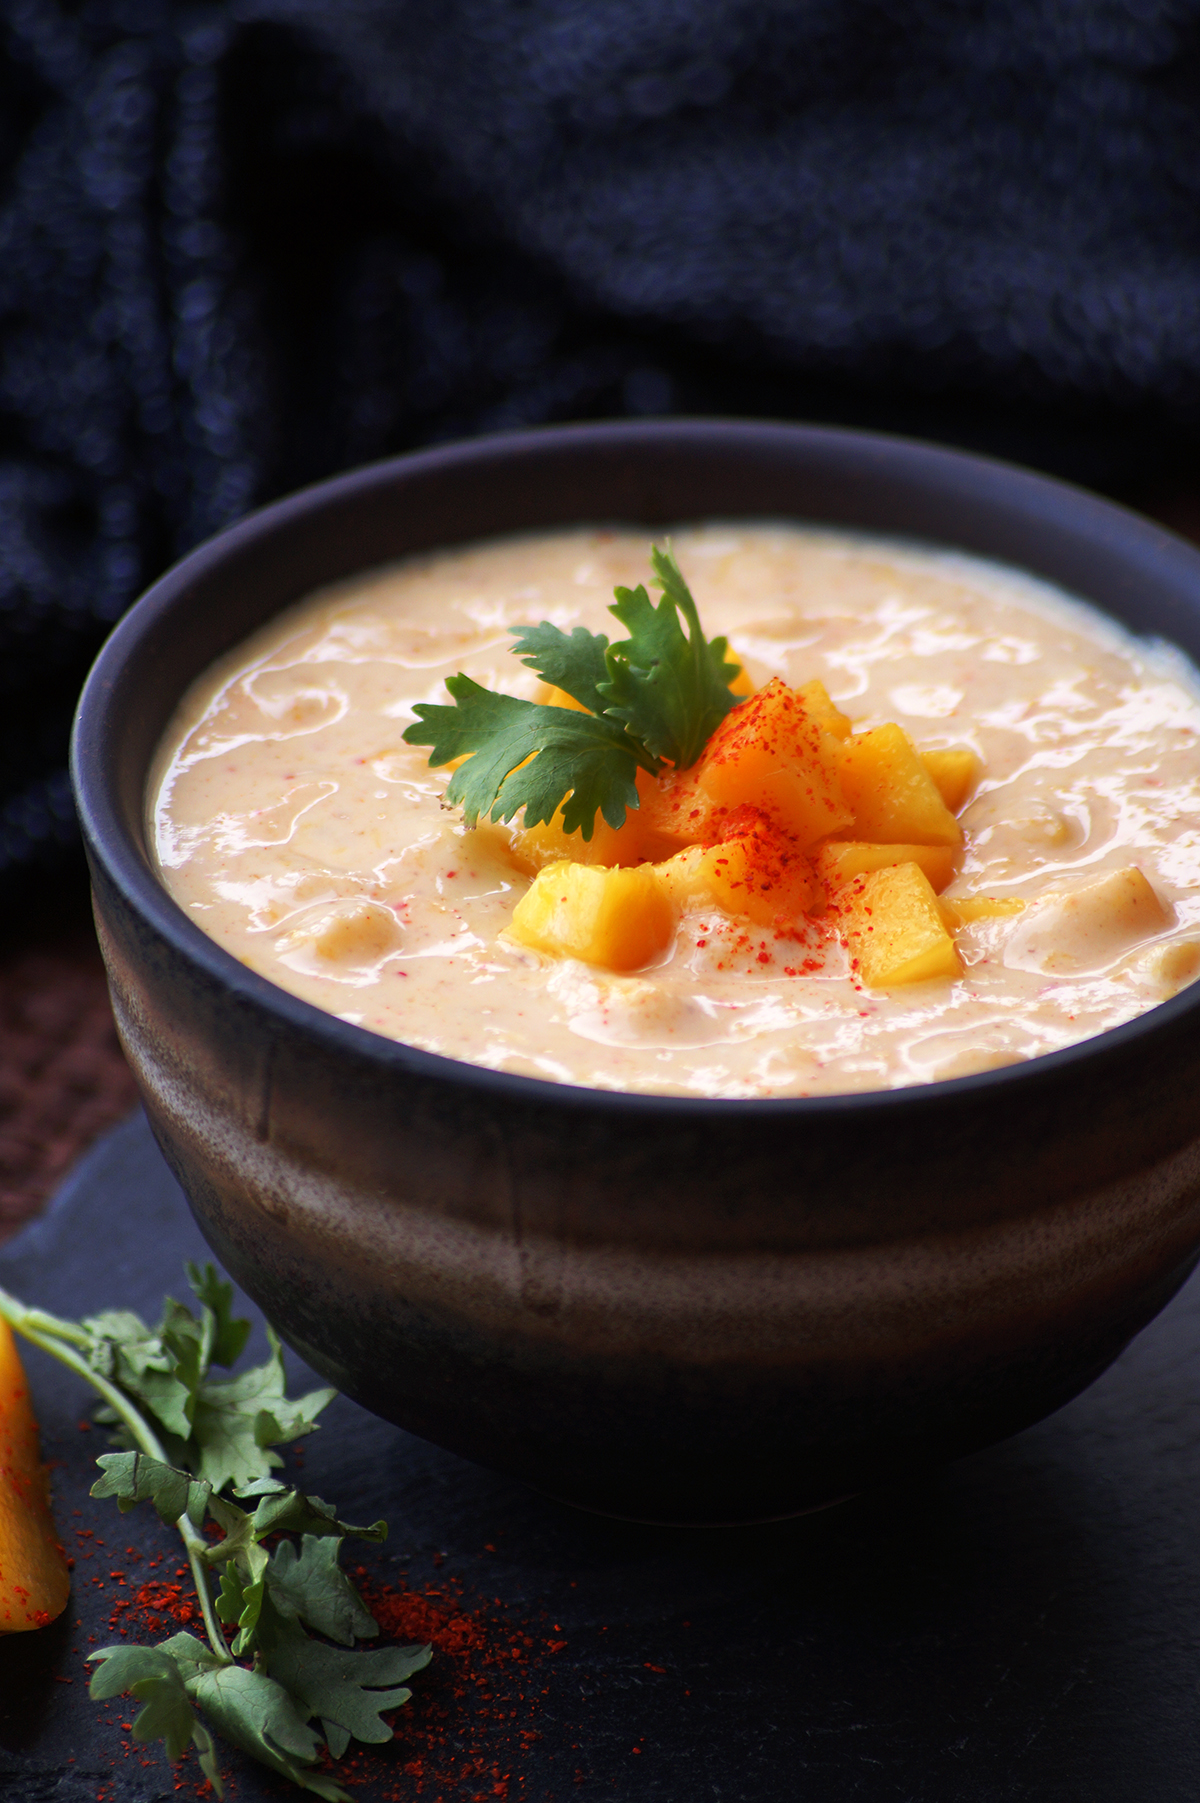
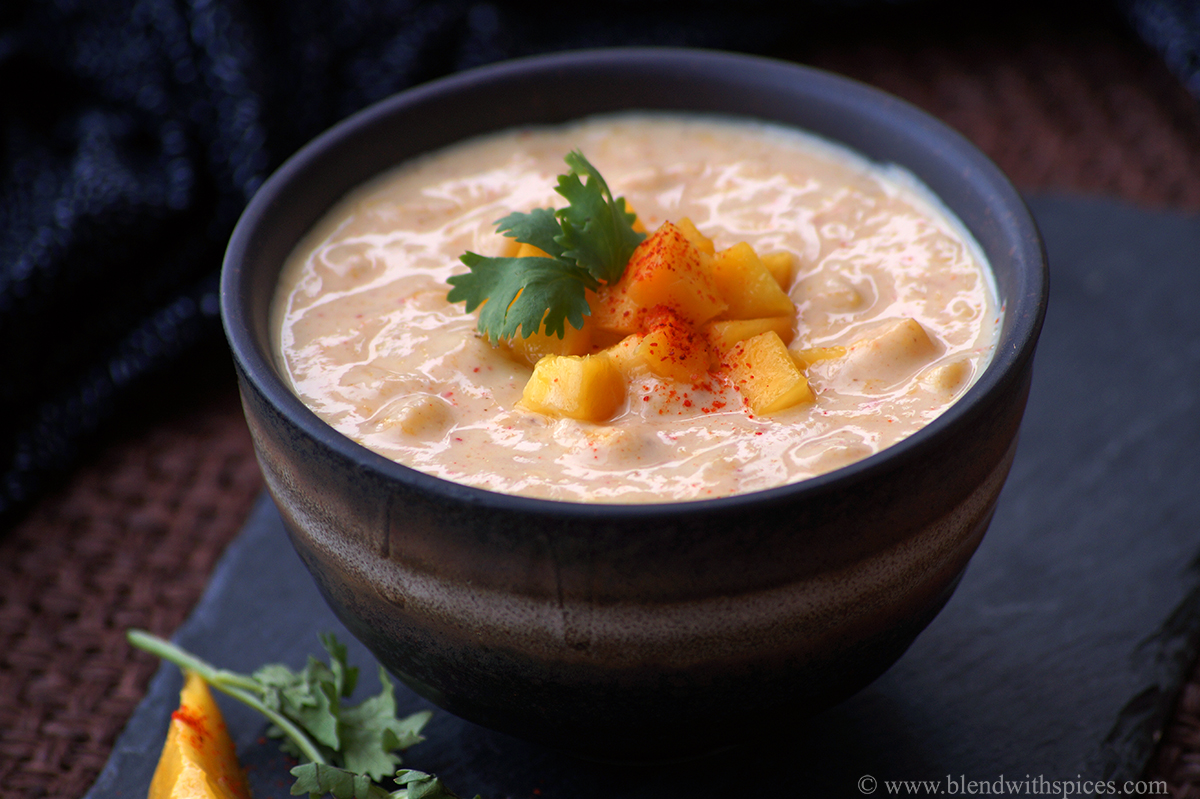
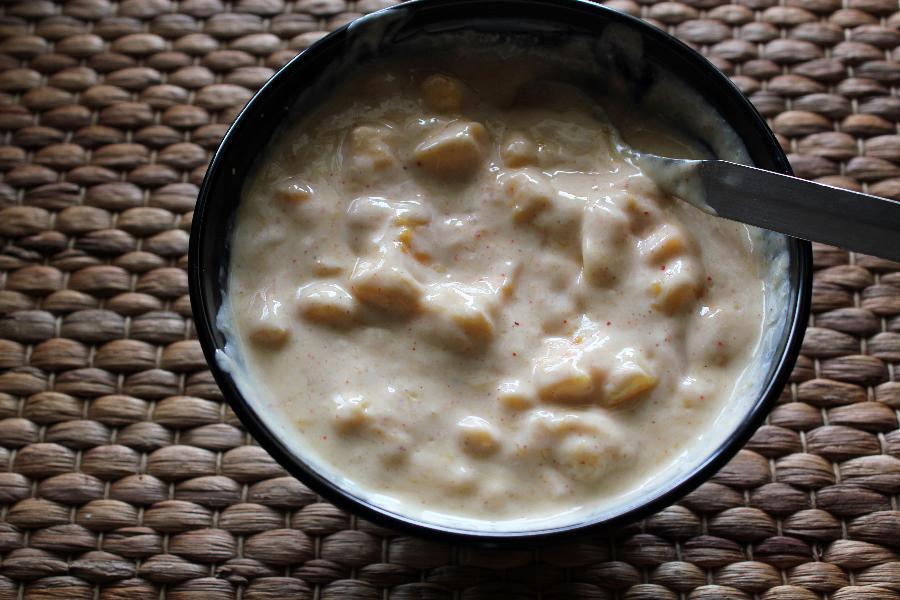
    Mango Raita

    June 19, 2021

    A simple, easy Indian condiment made mainly of mango, yogurt, and simple spices to be the ideal side dish for any Indian main dish or a soothing dessert on a sunny day!

    What is mango raita?

    Mango Raita, also known as Aam ka Raita is a refreshing, yogurt-based Indian condiment. Raita is a regular in Indian meals and goes well with rice dishes, naan, or any main dish. It is not uncommon to lose track of food intake with raita on the side! While Raita is typically made with yogurt as the main ingredient and flavored with spices, we often stir it up with different fruits and vegetables.

    Mango, the undisputed king of sweet-tasting fruits is the perfect partner in crime that makes raita irresistible, with spices moderating between Mango's sweetness and yogurt's calming effect. Mango pulp and chunks take care of the rest, by adding rich texture to creamy whisked yogurt.

    Mango raita is:

    Easy to make with staple ingredients

    Quick to make with little to no cooking skills required

    Versatile - can be served as a side dish, dip, snack, dessert or breakfast dish.

    Amazingly refreshing, especially in summer

    One of the best and easy Indian raita recipes

    Ingredients you will need:

    Yogurt: You will need fresh and thick yogurt in order to get a better taste and consistency. Ensure that yogurt is not sour.

    Mango Puree: It adds great color and flavor to the raita but you can skip it if you don't have it handy. I have used fresh pulp here

    Mango Chunks: Do not skip adding cubed mangoes as they add chunky texture and sweetness to the dish. You will need ripe ones.

    Cumin Powder: As this is a sweet-savory kind of raita, adding cumin powder will definitely enhance the flavor. I have used roasted cumin powder.

    Red Chilli Powder: A little bit of red chilli powder adds a savory touch and makes a huge difference, as the perfect moderator between Mango and yogurt. It can be replaced with cayenne pepper or pepper powder.

    Herbs: I haven't added any herbs in the raita except garnishing with few leaves of cilantro. If you love cilantro or mint in your raita, feel free to add them.

    Sugar: The quantity of sugar completely depends on the sweetness of the fruit you are using. You may need less, more, or nothing. You can swap sugar with coconut sugar, maple syrup, jaggery, or honey.

    What kind of mangoes can be used?

    Any type of ripe, sweet, and non-fibrous ones would work best. Make sure it is ripe and sweet.

    Can I use greek yogurt?

    Absolutely! Greet Yogurt was our go-to when we lived in Europe. You may need add a little bit of water to adjust the consistency though.

    Can I use frozen mango cubes?

    No! You want the cubes to taste great and feel fresh. The key ingredient is fresh mango.

    Can I use frozen or canned mango pulp?

    Yes, you can! If you don't have fresh pulp/puree in hand, you can substitute it with frozen or canned pulp. Skip adding sugar if you are opting for canned pulp. The sweetness of the canned pulp is enough. However, adding mango puree is totally optional, you can skip it if you want.

    How to make it vegan?

    Use any of your favorite plant-based yogurt to make it vegan.

    Storage:

    It requires refrigeration to prevent the yogurt turning sour. It can be stored in the refrigerator for up to 2 days.

    Serving suggestions:

    Mango raita is one of those dishes that can be served as a condiment or dessert.

    Serve it along with any Indian main course such as biryani, pulao, or parathas. Or simply serve it chilled as a dessert or snack on a sunny afternoon.

    Below are few dishes with which mango raita goes really well.

    • Tomato Rice
    • Carrot Paratha
    • Kasuri Methi Paratha
    • Green Chutney Pulao
    • Millet Methi Pulao
    • Lemon Quinoa
    • Quinoa Upma

    Step by step instructions:

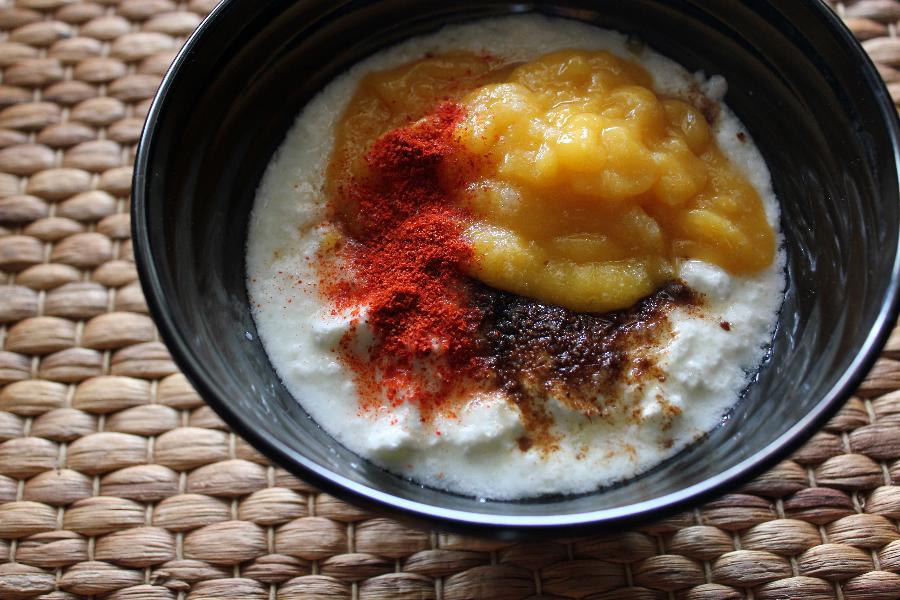
    Combine yogurt, sugar, cumin powder, chilli powder, salt and mango puree(if using) in a mixing bowl.

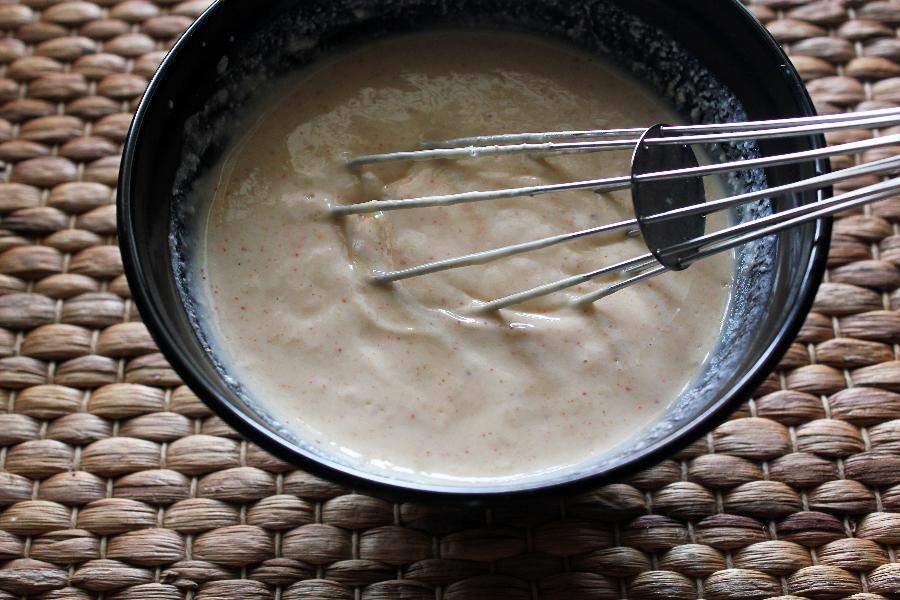
    Whisk well until it is smooth, creamy, and well combined.

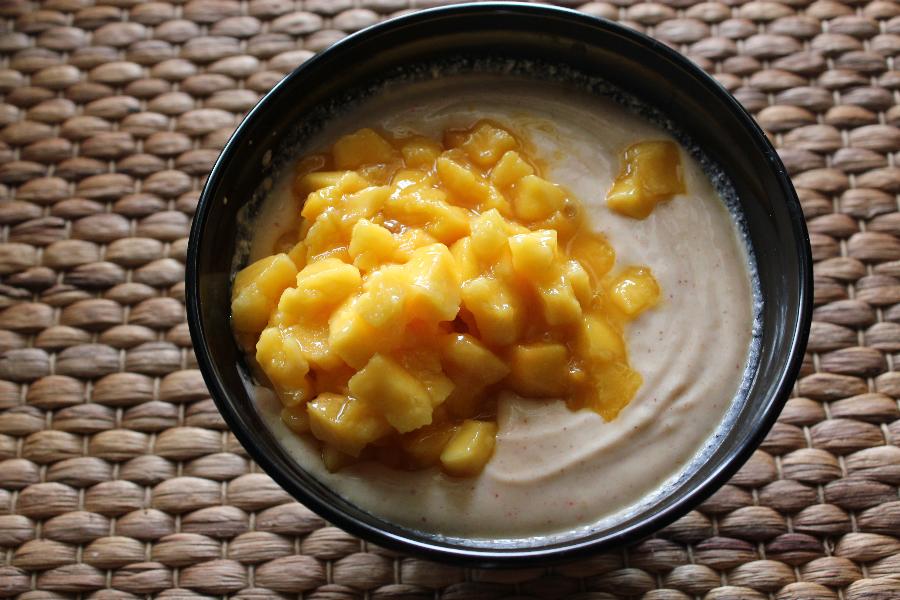
    Add chopped mango pieces to the yogurt mix.

    Gently mix everything together and chill it in the refrigerator if needed.

    Few more summer recipes on the blog:

    • Hopjesvla - Dutch Coffee Custard
    • 3 Ingredient Custard Popsicles (eggless)
    • 2 Ingredient Mango Coconut Popsicles
    • Healthy Banana Chocolate Popsicles Recipe {Video}

    If you love this recipe then don't forget to give it a five-star rating! You can also follow me on Facebook, Instagram, and Youtube for my latest recipes and videos!

    Print Recipe

    Mango Raita Recipe

    A simple, easy Indian condiment made mainly of mango, yogurt, and simple spices to be the ideal side dish for any Indian main dish or a soothing dessert on a sunny day!
    Prep Time10 minutes mins
    Cook Time0 minutes mins
    Total Time10 minutes mins
    Course: Breakfast, Condiments, Dessert
    Cuisine: Indian, North Indian
    Keyword: healthy recipes, Indian Mango Recipes, Mango Recipes, Raita Recipes
    Servings: 2
    Calories: 173kcal
    Author: Hari Chandana Ponnaluri

    Ingredients

    • 1 Cup Yogurt
    • 1 Teaspoon Sugar
    • ½ Teaspoon Roasted Cumin Powder
    • ⅓ Cup Mango Pulp (optional)
    • ½ Teaspoon Salt or to taste
    • ¼ Teaspoon Red Chilli Powder or cayyene pepper
    • 1 Cup Mango Cubes
    • Cilantro for garnishing

    Instructions

    • Combine yogurt, sugar, salt, chilli powder, cumin powder and mango pulp in a bowl and whisk everything until smooth.
    • Add cubed mangoes to it and gently mix.
    • Serve it chilled.

    Video

    Notes

    Ensure that yogurt is not sour.
    Use thick and fresh yogurt.

    Nutrition

    Calories: 173kcal | Carbohydrates: 29g | Protein: 5g | Fat: 5g | Saturated Fat: 3g | Polyunsaturated Fat: 1g | Monounsaturated Fat: 1g | Cholesterol: 16mg | Sodium: 653mg | Potassium: 342mg | Fiber: 2g | Sugar: 27g | Vitamin A: 2038IU | Vitamin C: 36mg | Calcium: 167mg | Iron: 6mg

    3 Ingredient Custard Popsicles (eggless)

    June 17, 2021

    Vanilla Custard Popsicles Recipe - Creamy, dreamy and delicious custard popsicles without eggs. They are incredibly easy to make and perfect for summer!

    My love for popsicle recipes is well documented and I am eternally thankful to my readers who have been showering a lot of love on recipes such as eggless fruit custard recipes. Well, here is another attempt towards making another variety of popsicles, this time with custard. Hope you like it!

    What is a custard popsicle?

    Custard popsicle is nothing but simple vanilla custard poured into a mold and frozen to make a delicious frozen treat on a sunny, humid day! While the classic custard requires eggs, I made an eggless version of the custard here.

    Custard popsicles are

    Super creamy and delicious

    Easily customizable

    Made with just 3 ingredients

    Perfect for sunny afternoons

    Ingredients:

    Vanilla Custard Powder: Just in case you never came across custard powder, it is nothing but cornflour/corn starch with added vanilla and color. If you can't find custard powder, replace it with the same amount of cornflour and ⅛ teaspoon of vanilla extract. Add a little bit of turmeric powder to give it a gorgeous yellow tinge.

    Milk: Use any milk, vegan or otherwise. The popsicles will come out well, either way. The recipe is highly customizable!

    Sugar: I have added 3 tablespoons of sugar for one cup of milk. Taste it while you make and add a little more sugar if you want your popsicles on the sweeter side.

    Variations:

    As I mentioned above, you can get creative with this recipe.

    Before you freeze the popsicles, add chocolate chips or chopped fruits to the mold. Other ideas:

    Funfetti

    Tutti Frutti

    Layer with fruit purees

    Nuts

    Can I make them without molds?

    You can use small cups as molds to make ice pops. Fill cups with your popsicle mix and cover it with a cling wrap or aluminum foil. Carefully make a hole through the foil and insert popsicle sticks. If you don't have wooden sticks, simply use spoons in the place of sticks.

    How do you store them?

    If you made them in bulk and want to store them for longer, wrap each frozen mango popsicle with plastic wrap and transfer them to a ziplock bag or freezer-safe container. They can be stored for 1-2 months in the freezer.

    Serving suggestions

    Serve frozen, straight out of the freezer on a sunny afternoon or a humid evening!

    Step by step instructions:

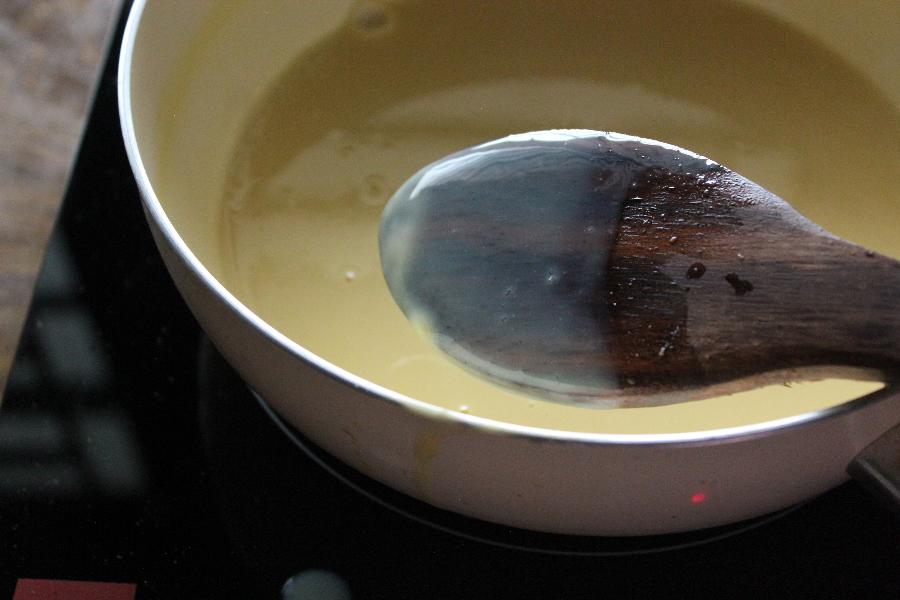
    Combine milk and sugar in a sauce pan or vessel and heat until warm.

    Scoop some warm milk out and custard powder to it.

    Mix well until there are no lumps left.

    Pour it back in the milk pot and continue cooking on a low flame

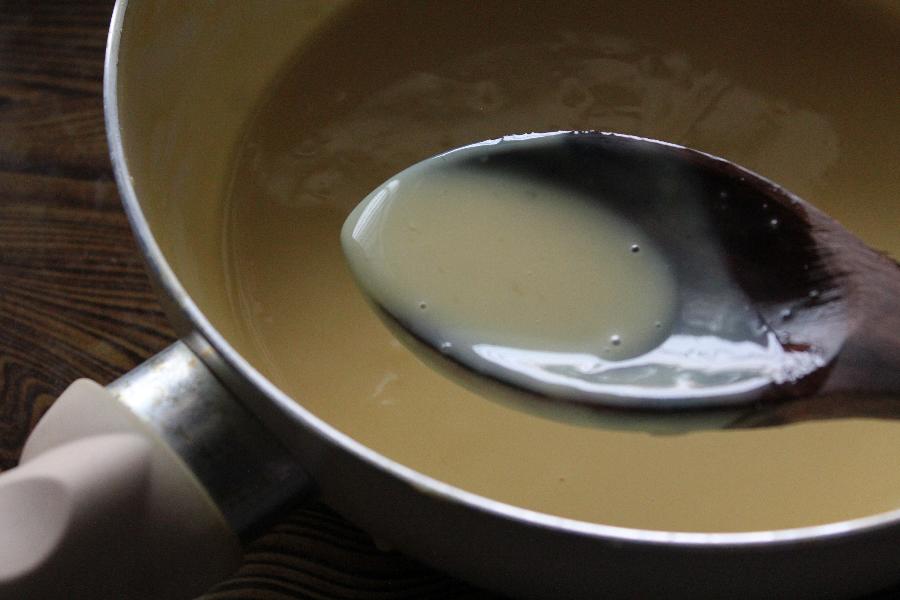
    Stir continuously to prevent lumps forming.  Keep stirring and cook on low flame until the mixture thickens.

    Remove it from the flame when the custard ends up coating the spatula.

    Keep mixing until it cools down to prevent skin formation.

    The custard will thicken more as it cools.

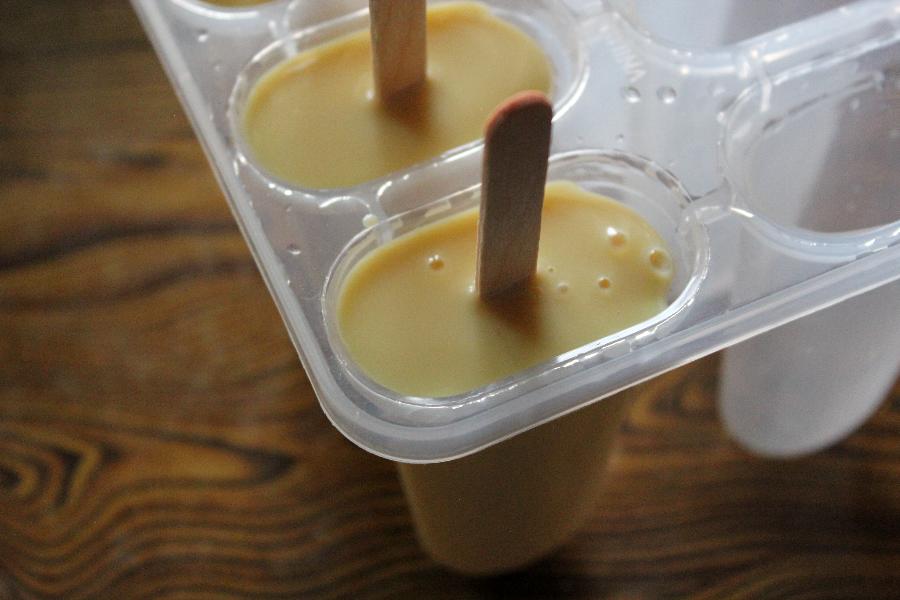
    Pour the cooled custard into molds and insert popsicle sticks.

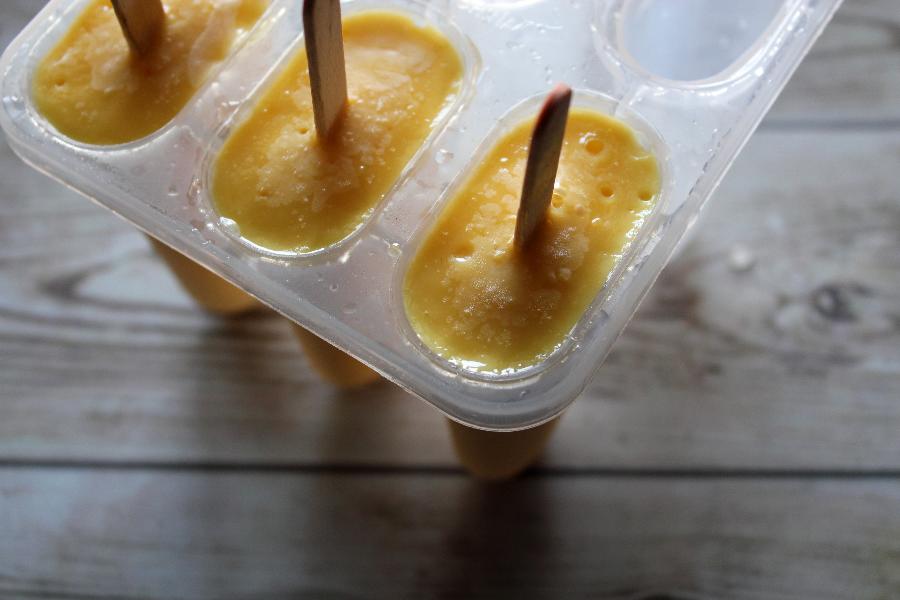
    Freeze overnight or until set.

    To remove the popsicles from the mold, run the water on the outside of the molds for some time until the ends are loose.

    Serve them immediately or store in the freezer.

    Few more summer recipes on the blog:

    • Mango Milk Recipe + Video
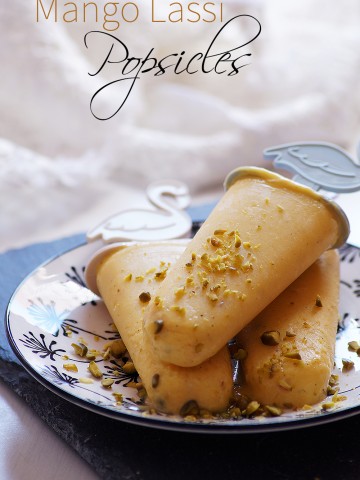
    • Mango Lassi Popsicles Recipe - Mango Yogurt Ice Pops with Indian Twist {Video}
    • Chocolate Fruit Custard Recipe
      Chocolate Fruit Custard Recipe - Indian Fruit Salad with Chocolate Custard
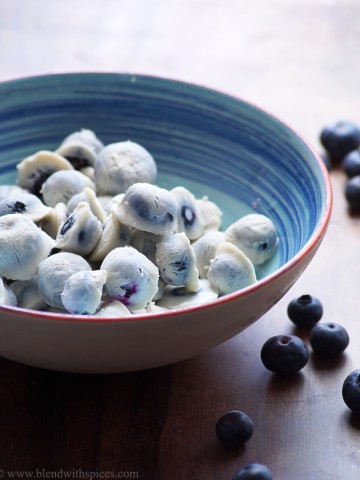
    • 4 Ingredient Frozen Yogurt Covered Blueberries Recipe - Step by Step Photos + Video

    Custard popsicles recipe video below:

    If you love this recipe then don't forget to give it a five-star rating! You can also follow me on Facebook, Instagram and Youtube for my latest recipes and videos!

    Print Recipe

    Eggless Custard Popsicles Recipe

    Creamy, delicious and simple homemade custard popsicles without eggs.
    Prep Time5 minutes mins
    Cook Time10 minutes mins
    Total Time15 minutes mins
    Course: Dessert, Snack
    Cuisine: Indian, International, World
    Keyword: custard powder recipes, eggless desserts, homemade popsicles, popsicle for summer
    Servings: 3
    Calories: 116kcal
    Author: Hari Chandana Ponnaluri

    Ingredients

    • 1 Cup Milk
    • 3 Tablespoons Sugar
    • 1 Tablespoon Custard Powder

    Instructions

    • Combine one cup of milk and 3 tablespoons of sugar in a sauce pan or vessel and heat until warm.
    • Scoop some warm milk out and custard powder to it. Mix until the lumps dissolve.
    • Pour it back in the milk pot and continue cooking on a low flame.
    • Stir continuously to prevent lumps forming.  Keep stirring and cook on low flame until the mixture thickens.
    • Turn off the flame when the custard ends up coating the spatula.
    • Keep mixing until it cools down to avoid skin formation. It will thicken more as it cools.
    • Pour the cooled custard into molds and insert popsicle sticks. Freeze until set.
    • To remove the popsicles from the mold, run the water on the outside of the molds for some time until the ends are loose.
    • Serve and enjoy!

    Video

    Notes

    Adjust sugar as per your taste. 

    Nutrition

    Calories: 116kcal | Carbohydrates: 20g | Protein: 3g | Fat: 3g | Saturated Fat: 2g | Polyunsaturated Fat: 1g | Monounsaturated Fat: 1g | Cholesterol: 21mg | Sodium: 49mg | Potassium: 134mg | Sugar: 16g | Vitamin A: 142IU | Vitamin C: 1mg | Calcium: 103mg | Iron: 1mg

    Eggless Sweet Corn Cake with Vanilla Glaze

    June 16, 2021

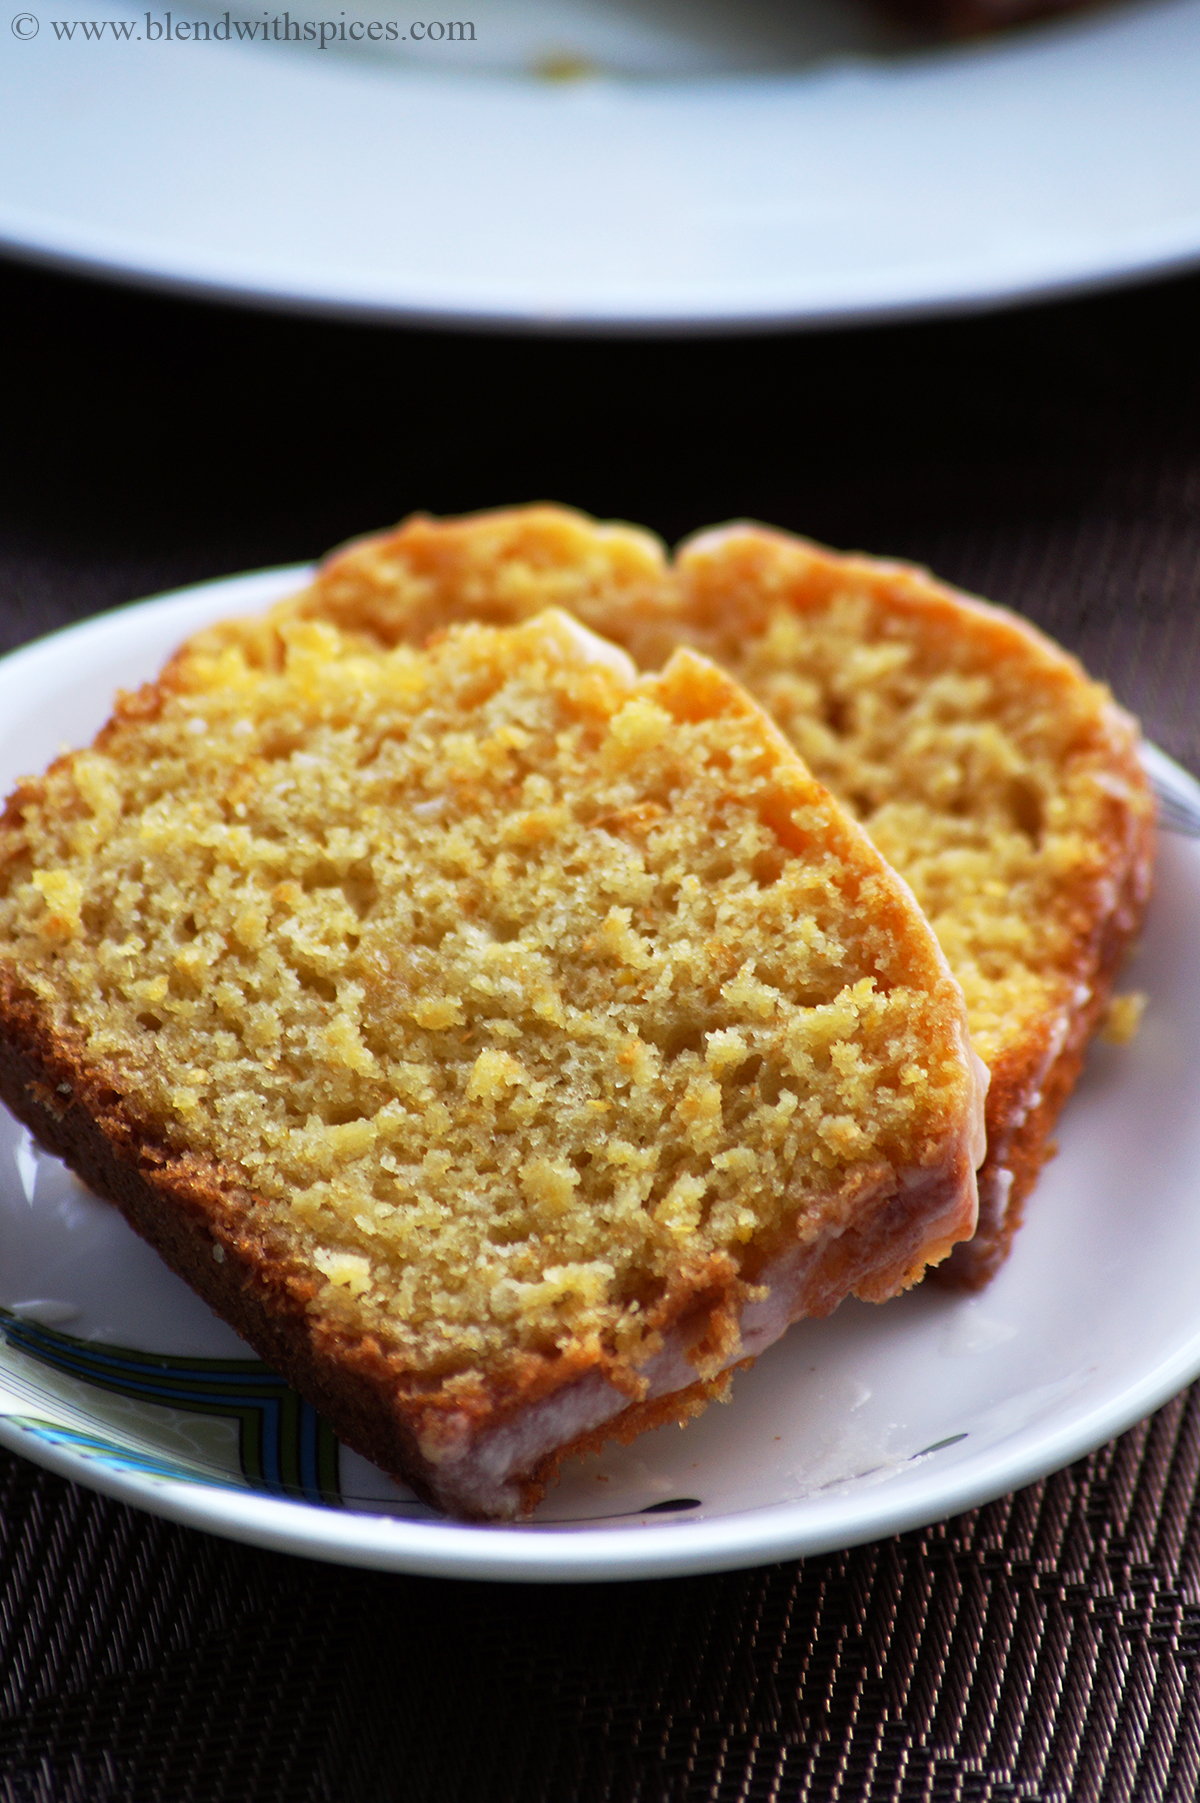
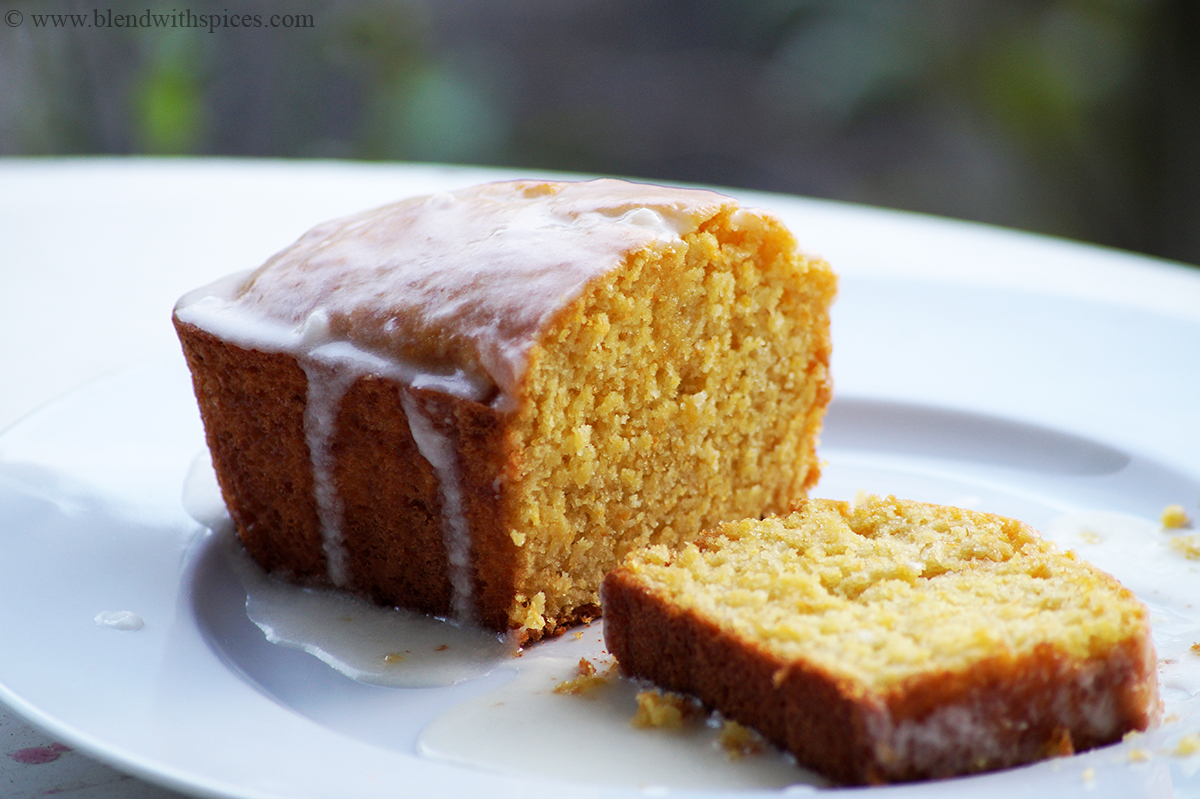
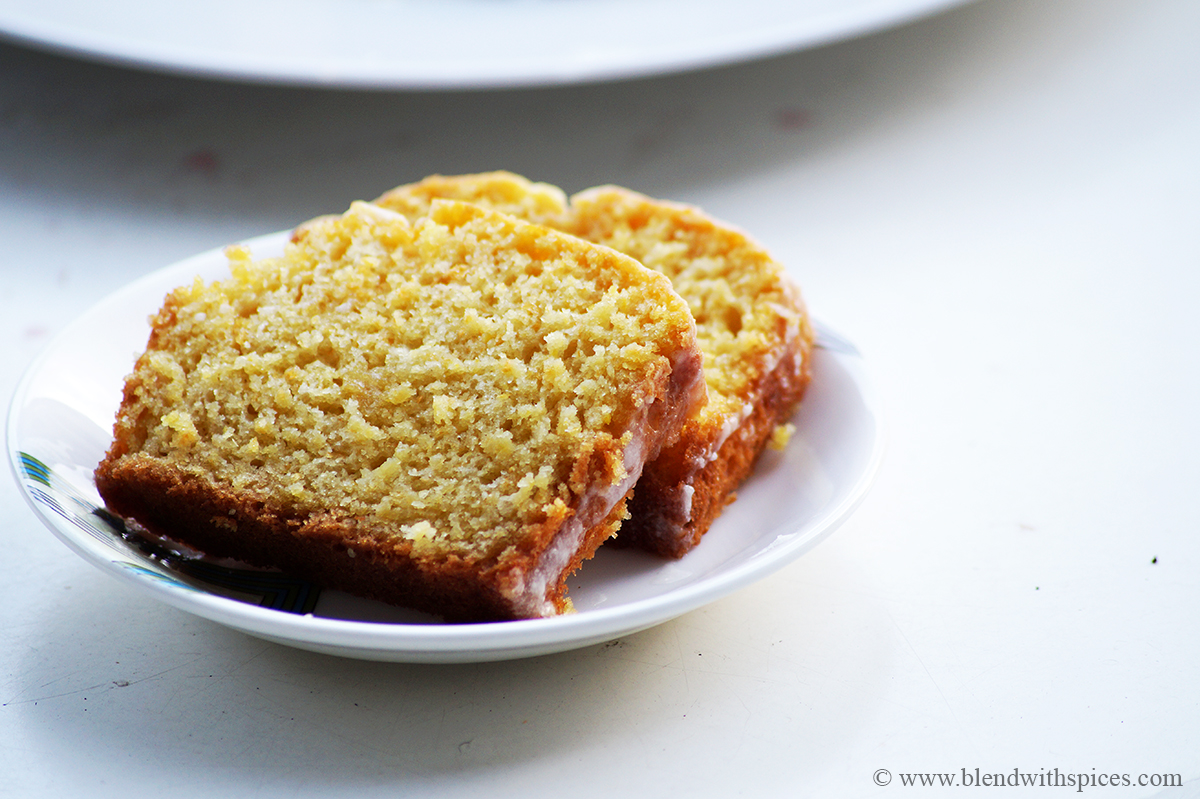
    Sweet corn cake with vanilla glaze recipe - super simple, delicious, moist and eggless cake made with sweet corn kernels. It is a great cake to have with a cup of coffee or tea.

    What is sweet corn cake?

    It is a simple and easy cake made out of fresh corn kernel and flavored with vanilla. This recipe doesn't require any fancy ingredients can be made easily with staple ingredients.

    I usually make a lot of savory dishes using sweet corn, but this corn cake definitely has a special place in my heart and I look forward to making it again.

    I gave a perfect finishing touch to the cake with a quick vanilla glaze. It is a totally optional step but I would recommend not to skip it.

    This corn cake recipe is

    super easy to make and need just few ingredients

    not overly sweet

    perfect to serve with coffee or tea

    without eggs and butter. Can turn it into a vegan recipe easily by swapping two ingredients,

    How to make it vegan?

    I have not used eggs in this recipe. Simply replace:

    • Milk with an equal amount of unsweetened soy milk, almond milk or coconut milk.
    • Melted butter with coconut oil.

    Can I use frozen or canned corn?

    Absolutely! frozen corn or canned corn would work well for this recipe. If you are using frozen corn, thaw them before you start the process.

    How long can I store it?

    It stays well for 2 days at room temperature and up to 4-5 days if refrigerated. Store the cooled cake

    Can I freeze it?

    Yes! If you have any leftover cake slices, wrap them individually and freeze them for 2 months. Thaw it at room temperature whenever you need a slice or want to serve.

    Serving suggestions:

    This sweet corn cake is so good on afternoons with a cup of coffee. It can be served as a snack too.

    Step by step instructions:

    Start the process by preheating the oven to 180 degrees C.

    Grease a round cake tin or loaf pan and keep it aside.

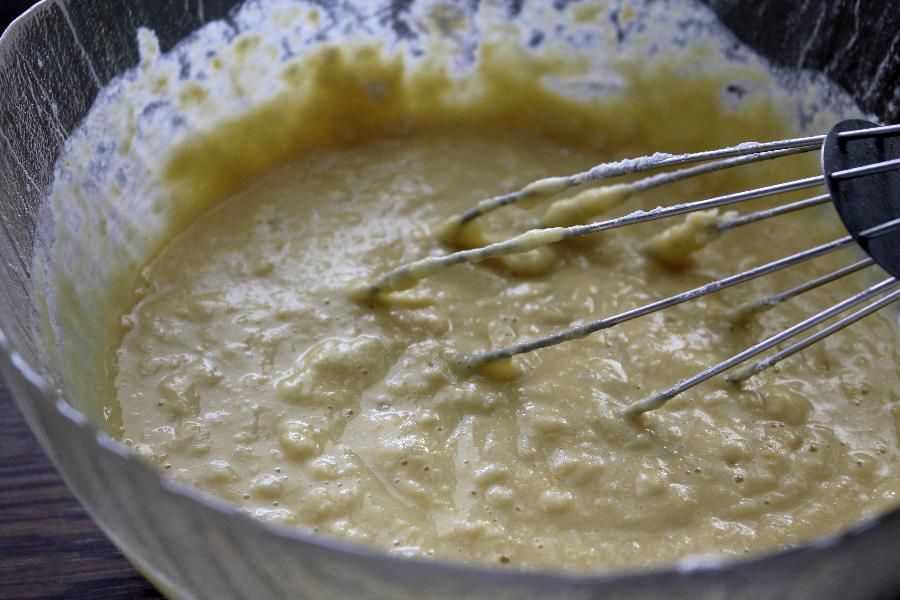
    Grind fresh corn kernels into a smooth paste. You don't need to add any water.

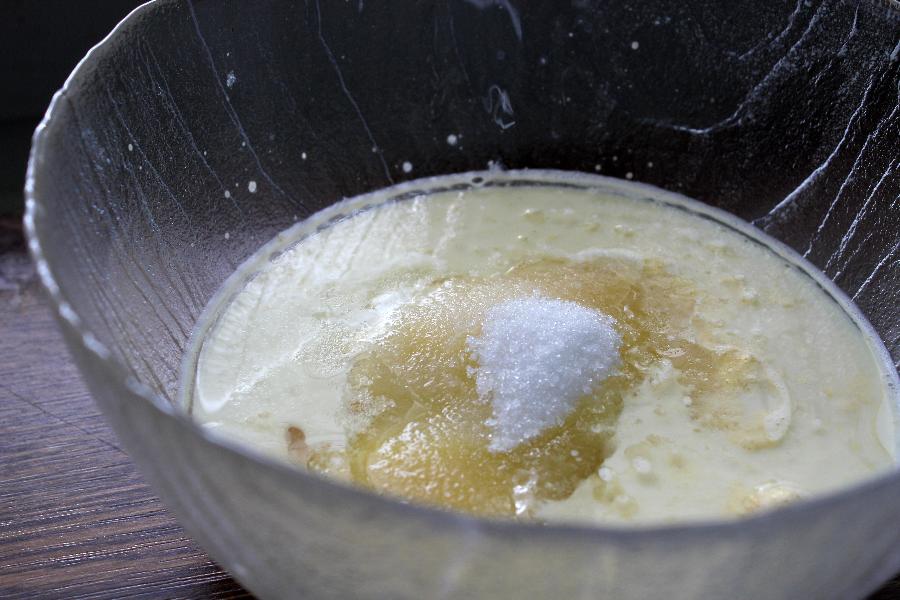
    Add milk, oil, vanilla, lemon juice and sugar to the corn paste and mix until well combined.

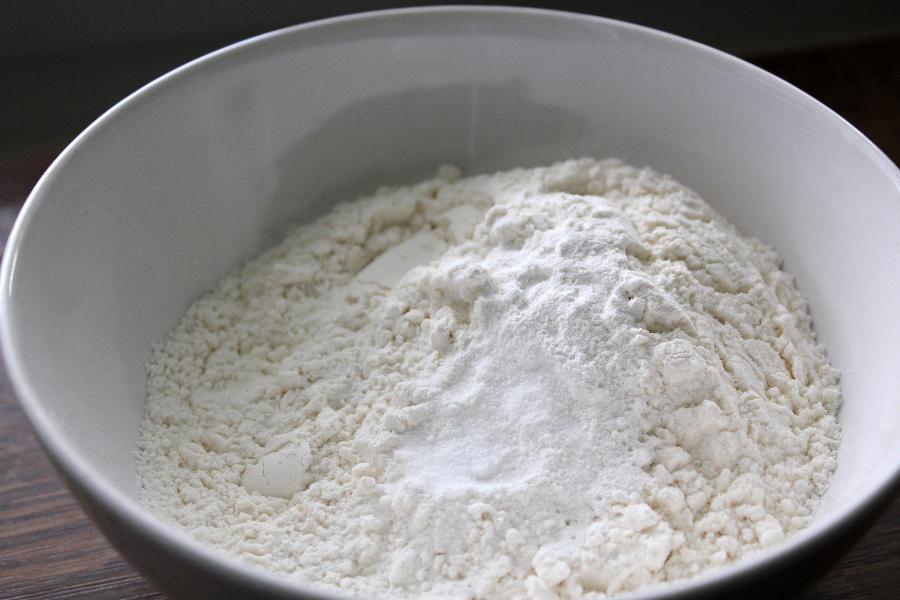
    Combine flour, baking powder, baking soda and salt in a mixing bowl and mix well.

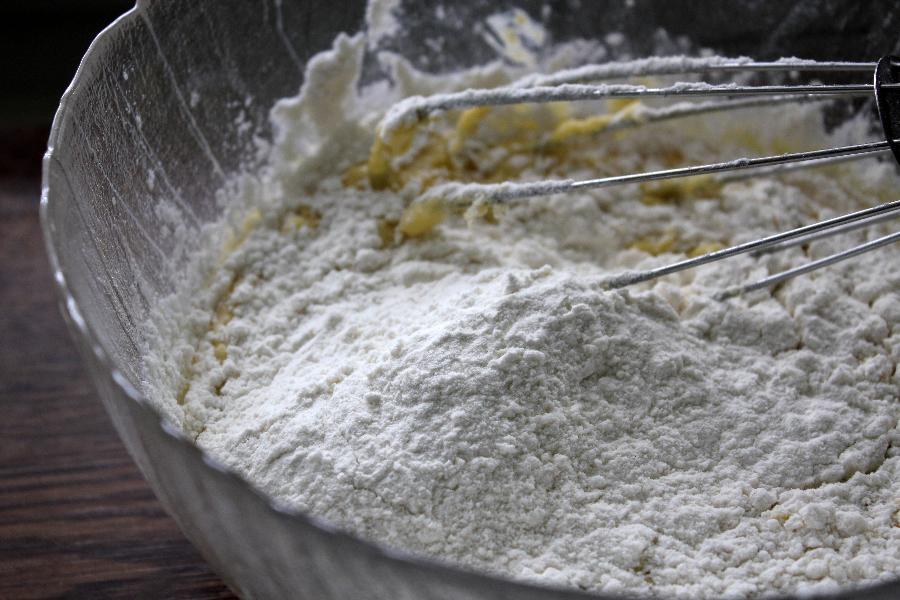
    Add the flour mixture to the wet ingredients and gently fold the batter.

    Do not overmix or overbeat the batter.

    Immediately pour the batter into a prepared cake pan.

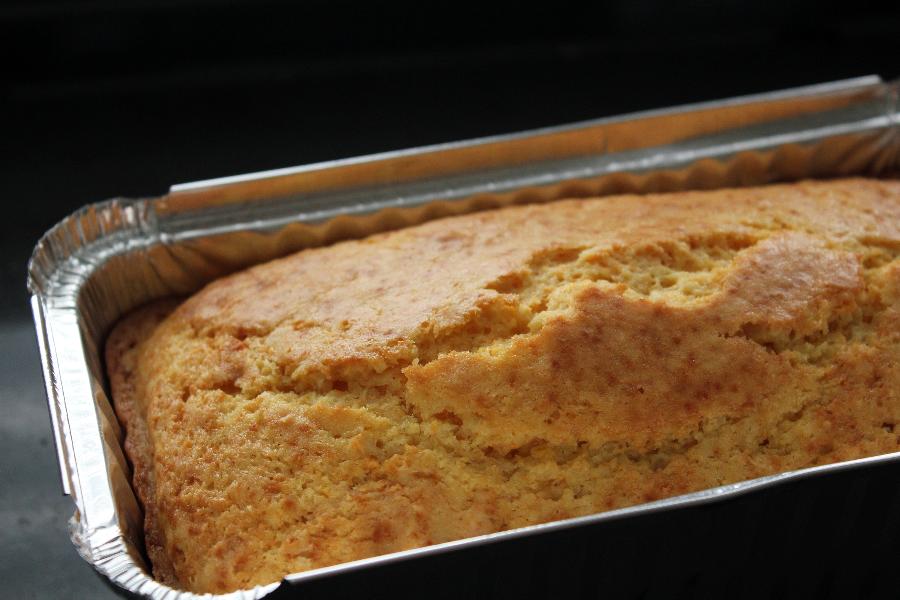
    Immediately place the pan in the preheated oven and bake at 180 degrees C for about 45 minutes or a toothpick inserted into the center comes out clean.

    Let it cool completely before adding the glaze.

    To prepare the glaze, combine milk, powdered sugar, melted butter and vanilla in a small bowl and mix well without any lumps.

    Pour it over the cooled cake. Cut it into slices and serve!

    Few more related recipes on the blog:

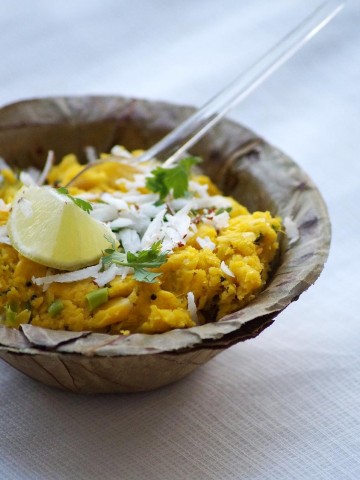
    • Bhutte Ka Kees - Indore Style Grated Corn Snack
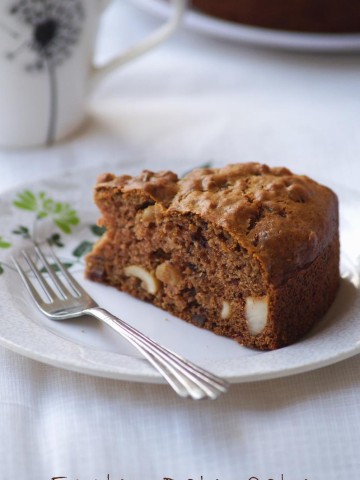
    • Eggless Dates Cake
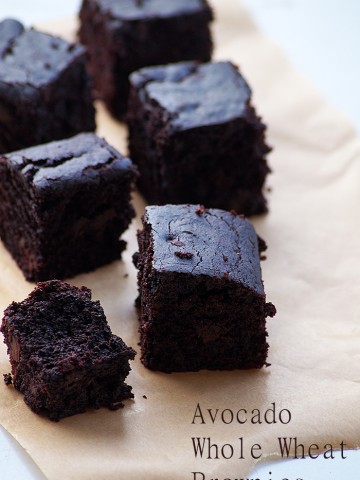
    • Vegan Avocado Brownies Recipe - How to Make Eggless Chocolate Brownies
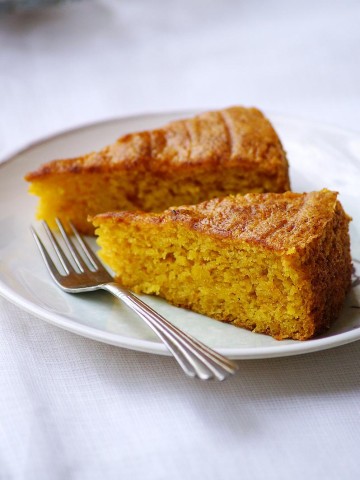
    • Vegan Mango Cake Recipe (Eggless)

    Eggless corn cake recipe below:

    If you love this recipe then don't forget to give it a five-star rating! You can also follow me on Facebook, Instagram and Youtube for my latest recipes and videos!

    Print Recipe

    Sweet Corn Cake Recipe

    Simple, moist and delicious eggless cake made with sweet corn,
    Prep Time10 minutes mins
    Cook Time45 minutes mins
    Total Time55 minutes mins
    Course: Breakfast, Dessert
    Cuisine: International
    Keyword: baking with sweet corn, Eggless Baking, eggless cakes
    Servings: 10
    Calories: 177kcal
    Author: Hari Chandana Ponnaluri

    Ingredients

    • ¾ Cup Sweet Corn
    • 1 Cup Flour
    • ½ Teaspoon Vanilla Extract (or 1 teaspoon vanilla essence)
    • 1 Teaspoon Baking Powder
    • ¼ Teaspoon Baking Soda
    • ¼ Cup Oil
    • ½ Cup Milk
    • ½ Cup Sugar
    • 1 Teaspoon Lemon Juice
    • ¼ Teaspoon Salt

    For Vanilla Glaze

    • ½ cup Powdered Sugar
    • 1 Teaspoon Melted Butter
    • 1 ½ Tablespoons Milk
    • ⅛ Teaspoon Vanilla Extract (or ¼ teaspoon vanilla essence)

    Instructions

    • Preheat the oven to 180 degrees C.
    • Grease a round cake tin or loaf pan and keep it aside.
    • Grind sweet corn to a smooth paste and transfer it into a bowl.
    • Add milk, oil, vanilla, lemon juice and sugar to the corn paste and mix until well combined.
    • Combine flour, baking powder, baking soda and salt in a mixing bowl and mix well.
    • Add the flour mixture to the wet ingredients and gently fold the batter.
    • Do not overmix or overbeat the batter.
    • Immediately pour the batter into a prepared cake pan.
    • Immediately place the pan in the preheated oven and bake at 180 degrees C for about 45 minutes or a toothpick inserted into the center comes out clean.
    • Let it cool completely before adding the glaze.
    • To prepare the glaze, combine milk, powdered sugar, melted butter and vanilla in a small bowl and mix well without any lumps.
    • Pour it over the cooled cake.
    • Cut it into slices and serve with a cup of coffee or tea.

    Nutrition

    Calories: 177kcal | Carbohydrates: 29g | Protein: 2g | Fat: 6g | Saturated Fat: 1g | Polyunsaturated Fat: 1g | Monounsaturated Fat: 5g | Cholesterol: 1mg | Sodium: 35mg | Potassium: 99mg | Fiber: 1g | Sugar: 17g | Vitamin A: 54IU | Vitamin C: 1mg | Calcium: 36mg | Iron: 1mg

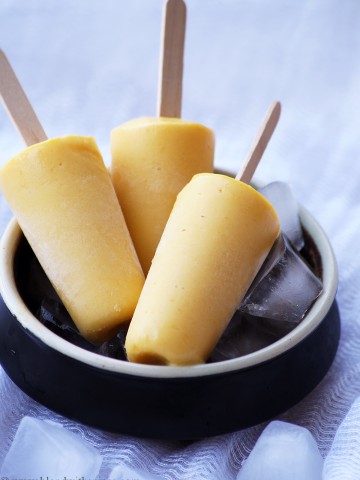
    2 Ingredient Mango Coconut Popsicles

    June 9, 2021

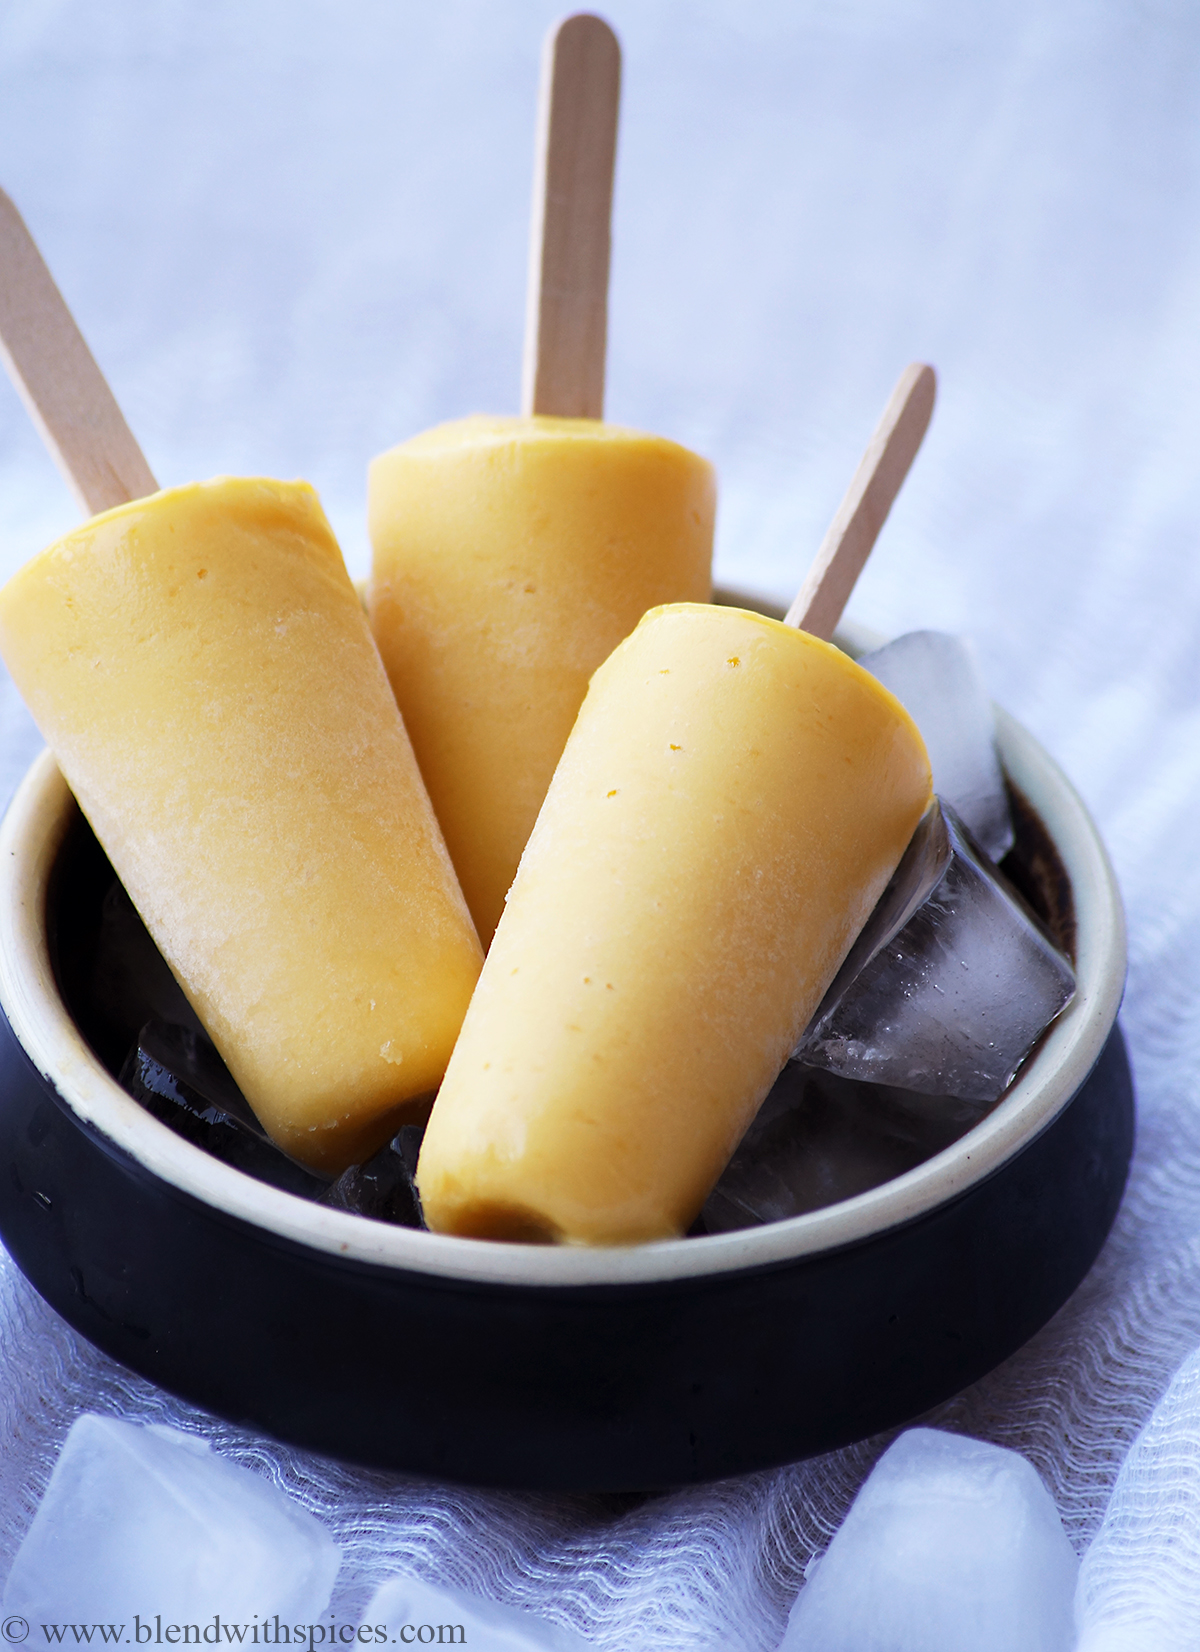
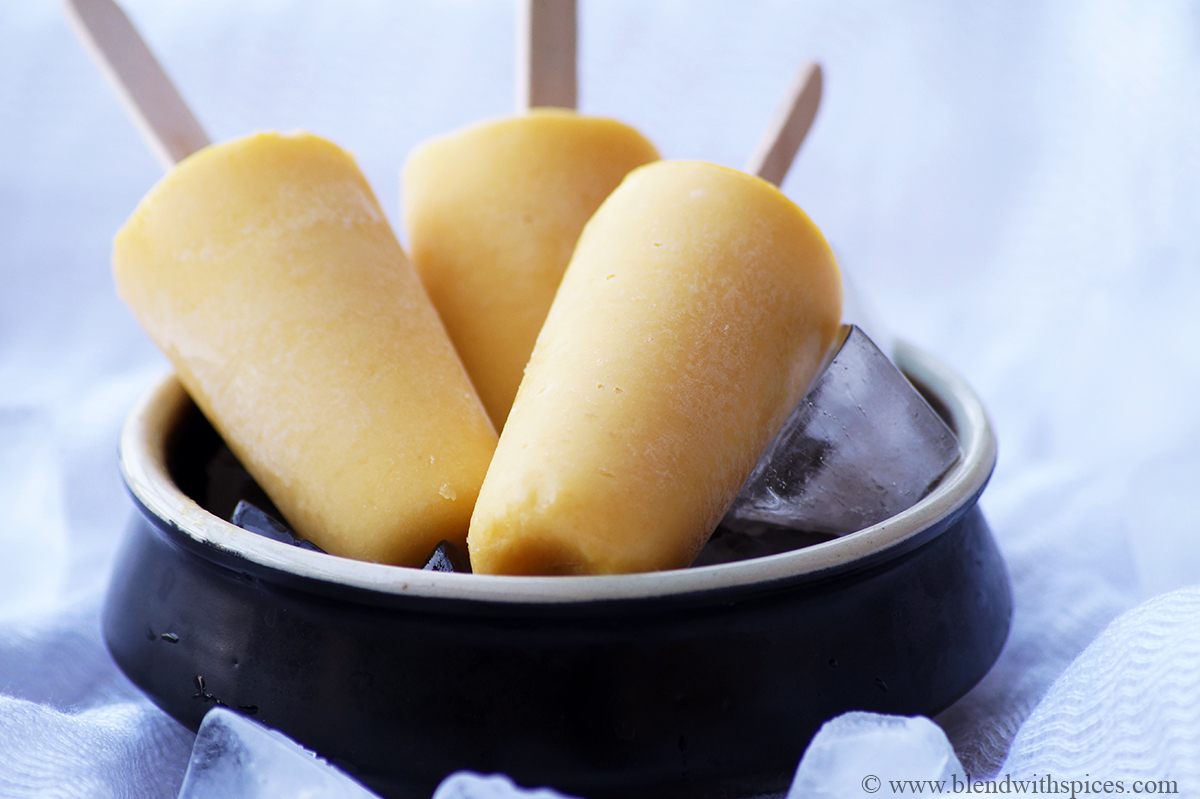
    Mango Coconut Popsicles - These healthy and easy vegan popsicles are so delicious and perfect for sunny afternoons. You just need 2 ingredients and 5 minutes to make these yummy mango pops!

    What is a mango coconut popsicle?

    Mango coconut popsicles are one of the refreshing summer popsicles that can be made in 5 minutes. These are healthy, easy, delicious and perfect for those who are looking for a healthy sweet snack.

    These mango coconut popsicles are:

    • super easy to make and can be prepared in just 5 minutes
    • vegan, gluten free, refined sugar free and dairy free
    • perfect for dessert or healthy snack
    • refreshing and healthy

    What you will need

    Mango: You can use fresh or frozen mango chunks in this recipe. If you are using frozen mangoes, make sure you thaw them first.

    Coconut Milk: Light or full-flat coconut milk can be used. Use full-fat coconut milk if you want to make creamy and silky ice pops.

    Sweetener: This is completely optional. I haven't added any sweetener as my mangoes are sweet enough. If your mangoes aren't sweet, add your favorite sweeteners such as sugar and maple syrup.

    How do you store them?

    If you made them in bulk and want to store them for longer, wrap each frozen mango popsicle with plastic wrap and transfer them to a ziplock bag or freezer-safe container. They can be stored for 1-2 months in the freezer.

    How do you make popsicles without molds?

    You can use small cups as molds to make ice pops. Fill cups with your popsicle mix and cover it with a cling wrap or aluminum foil. Carefully make a hole through the foil and insert popsicle sticks. If you don't have wooden sticks, simply use spoons in the place of sticks.

    Serving suggestions:

    Mango coconut milk popsicles are perfect to enjoy as a snack on a sunny afternoon. They can also be served as a healthy dessert as well.

    Step by step instructions:

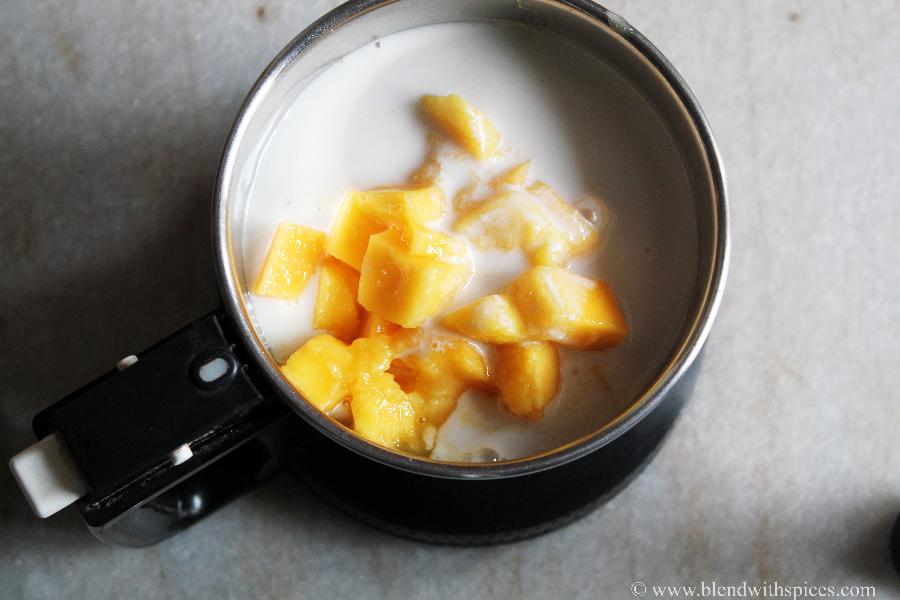
    Combine measured mango chunks and coconut milk in a blender jar or mixie jar.

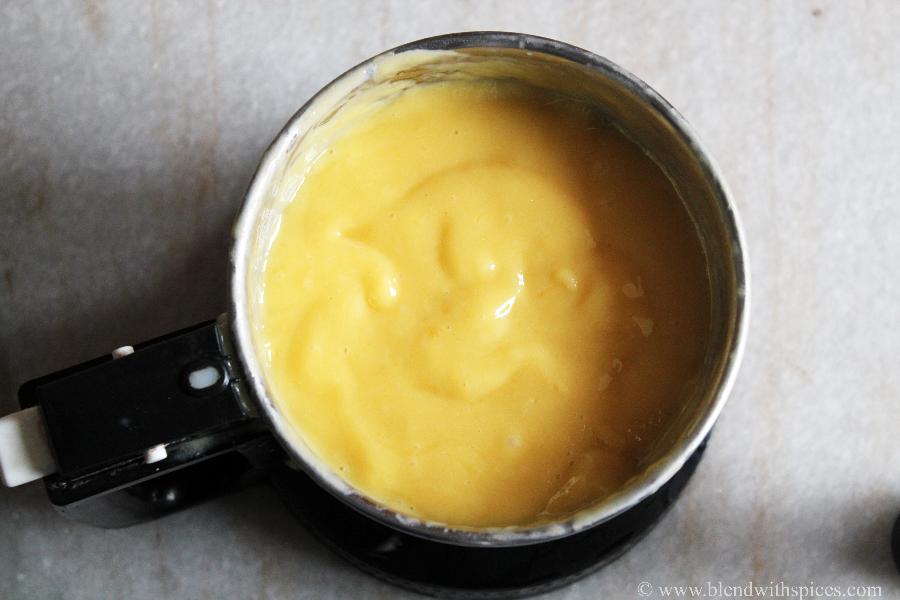
    Blend everything until smooth and creamy.

    Taste and add any of your favorite sweetener if you feel the mango puree is not sweet enough.

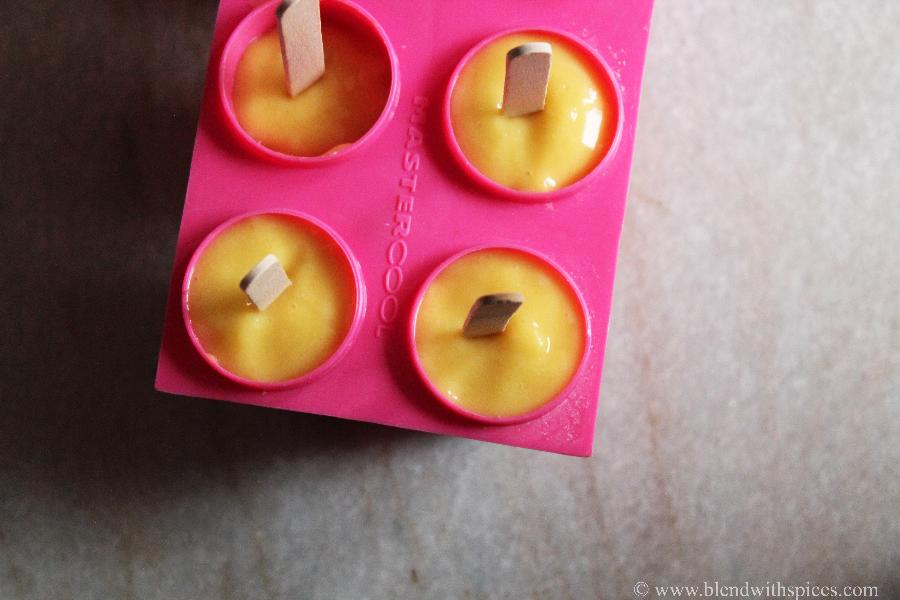
    Transfer it to molds and freeze overnight or until set.

    To remove the popsicles from the mold, run the water on the outside of the molds for some time until the ends are loose.

    Few more summer recipes on the blog:

    • Lemon Honey Popsicles
    • Peanut Butter Banana Yogurt Ice Pops
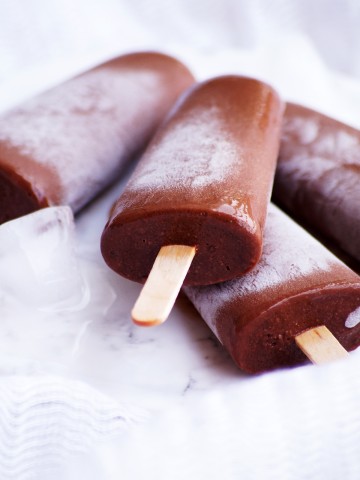
    • Healthy Banana Chocolate Popsicle
    • Iced Lemon Tea
    • Pistachio Lassi
    • Cherry Lassi

    Mango coconut milk popsicles recipe video below:

    If you love this recipe then don't forget to give it a five-star rating! You can also follow me on Facebook, Instagram and Youtube for my latest recipes and videos!

    Print Recipe
    4 from 1 vote

    Mango Coconut Popsicles Recipe

    Simple, healthy and vegan mango popsicles made with just 2 ingredients.
    Prep Time5 minutes mins
    Total Time5 minutes mins
    Course: Dessert, Snack
    Cuisine: American, International
    Keyword: healthy popsicles, healthy recipes, homemade popsicles, Mango Recipes
    Servings: 6 Popsicles
    Calories: 41kcal
    Author: Hari Chandana Ponnaluri

    Ingredients

    • 1 Cup Chopped Mango
    • ⅓ Cup Coconut Milk
    • Sugar or any sweetener (optional - if mangoes are not sweet enough)

    Instructions

    • Combine chopped mangoes and coconut milk in a blender jar and grind everything until smooth.
    • Pour in into popsicle molds and let it freeze until set.
    • To remove the popsicles from the molds, run the water on the outside of the molds for some time until the ends are loose.
    • Serve immediately.

    Video

    Notes

    Add a little bit of maple syrup or any other sweetener if you will the sweetness is not enough.

    Nutrition

    Calories: 41kcal | Carbohydrates: 4g | Protein: 1g | Fat: 3g | Saturated Fat: 2g | Polyunsaturated Fat: 1g | Monounsaturated Fat: 1g | Sodium: 2mg | Potassium: 74mg | Fiber: 1g | Sugar: 4g | Vitamin A: 298IU | Vitamin C: 10mg | Calcium: 5mg | Iron: 1mg

    Cherry Lassi

    June 2, 2021

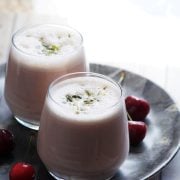
    Cherry Lassi - Easy, refreshing and delicious Indian drink made with yogurt, cherries and cardamom. A great drink for a sunny afternoon!

    What is cherry lassi?

    Lassi is a traditional Indian beverage made mainly with yogurt. There are many traditional and modern variations of making sweet lassi and salt or savory lassi. Cherry lassi is a sweet beverage made with cherries, yogurt, rose water and cardamom.

    This is the best recipe if you want to make some easy Indian recipes using cherries.

    Can I use frozen cherries?

    Yes, frozen cherries can be used to make this lassi. If they are frozen, just skip adding ice cubes and adjust water to get the desired consistency.

    How to make it vegan?

    Yogurt can be replaced with any plant-based yogurts.

    How long does it last?

    It tastes best when it is served immediately. However, you can store in the refrigerator up to 24 hours.

    Serving suggestions:

    I love it when it is served on hot summer afternoons. It can also be served as a dessert, snack or breakfast.

    Tips:

    Use sweet cherries to make the best cherry lassi.

    Adjust the consistency by adding more or less water. If you want to make it thick, reduce water or skip ice cubes.

    Rose water gives a lovely flavor to the beverage but it is completely optional.

    Do not skip adding cardamom powder, it gives an authentic flavor.

    The quantity of sugar depends on the sweetness of cherries.

    Use fresh yogurt.

    Step by step instructions:

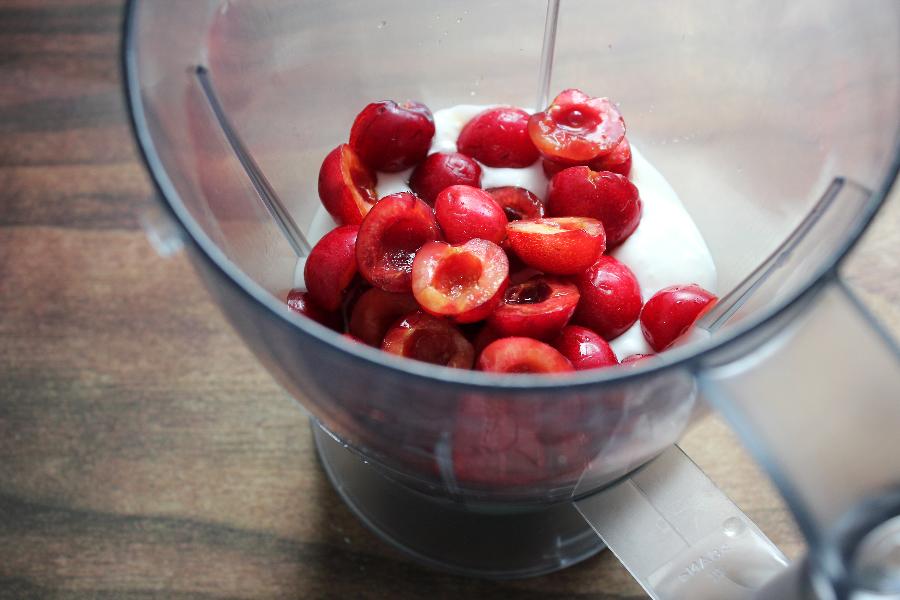
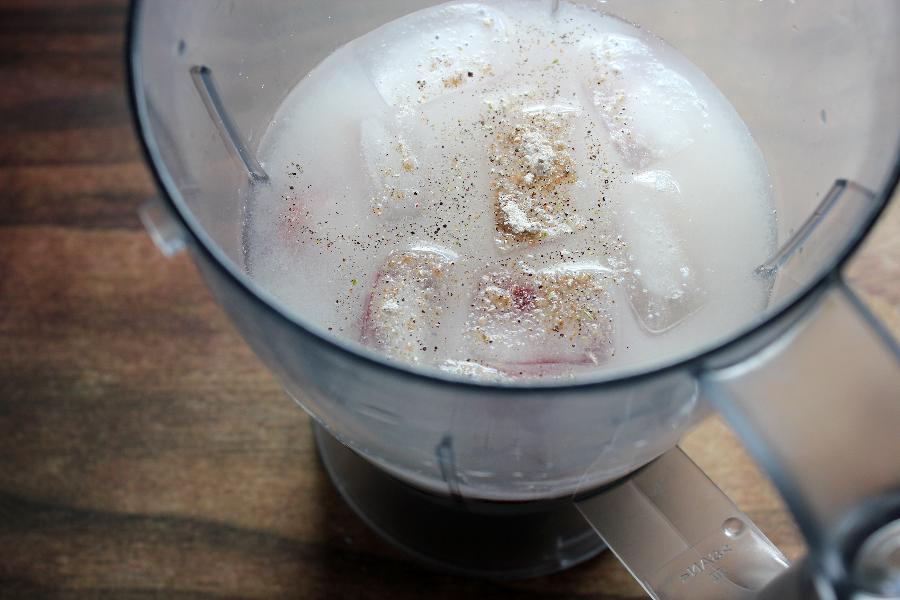
    Combine yogurt, pitted cherries, water, ice cubes, sugar rose water and cardamom powder in a blender jar.

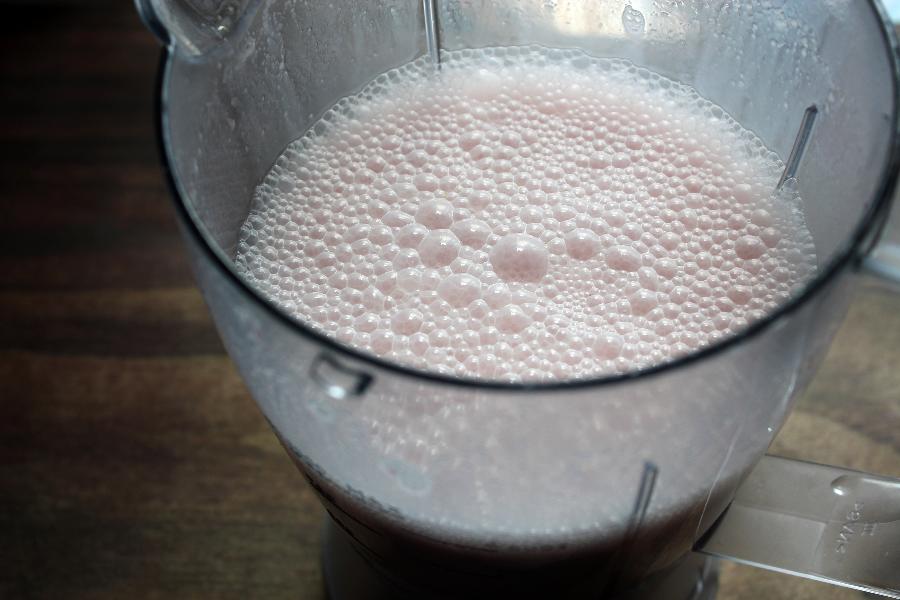
    Blend until smooth.

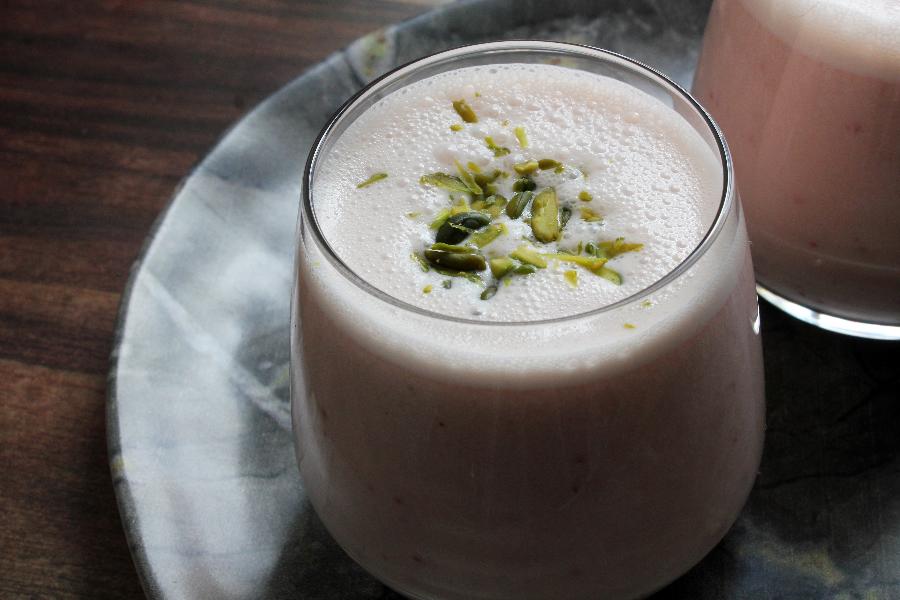
    Adjust the sweetness and pour it into glasses.

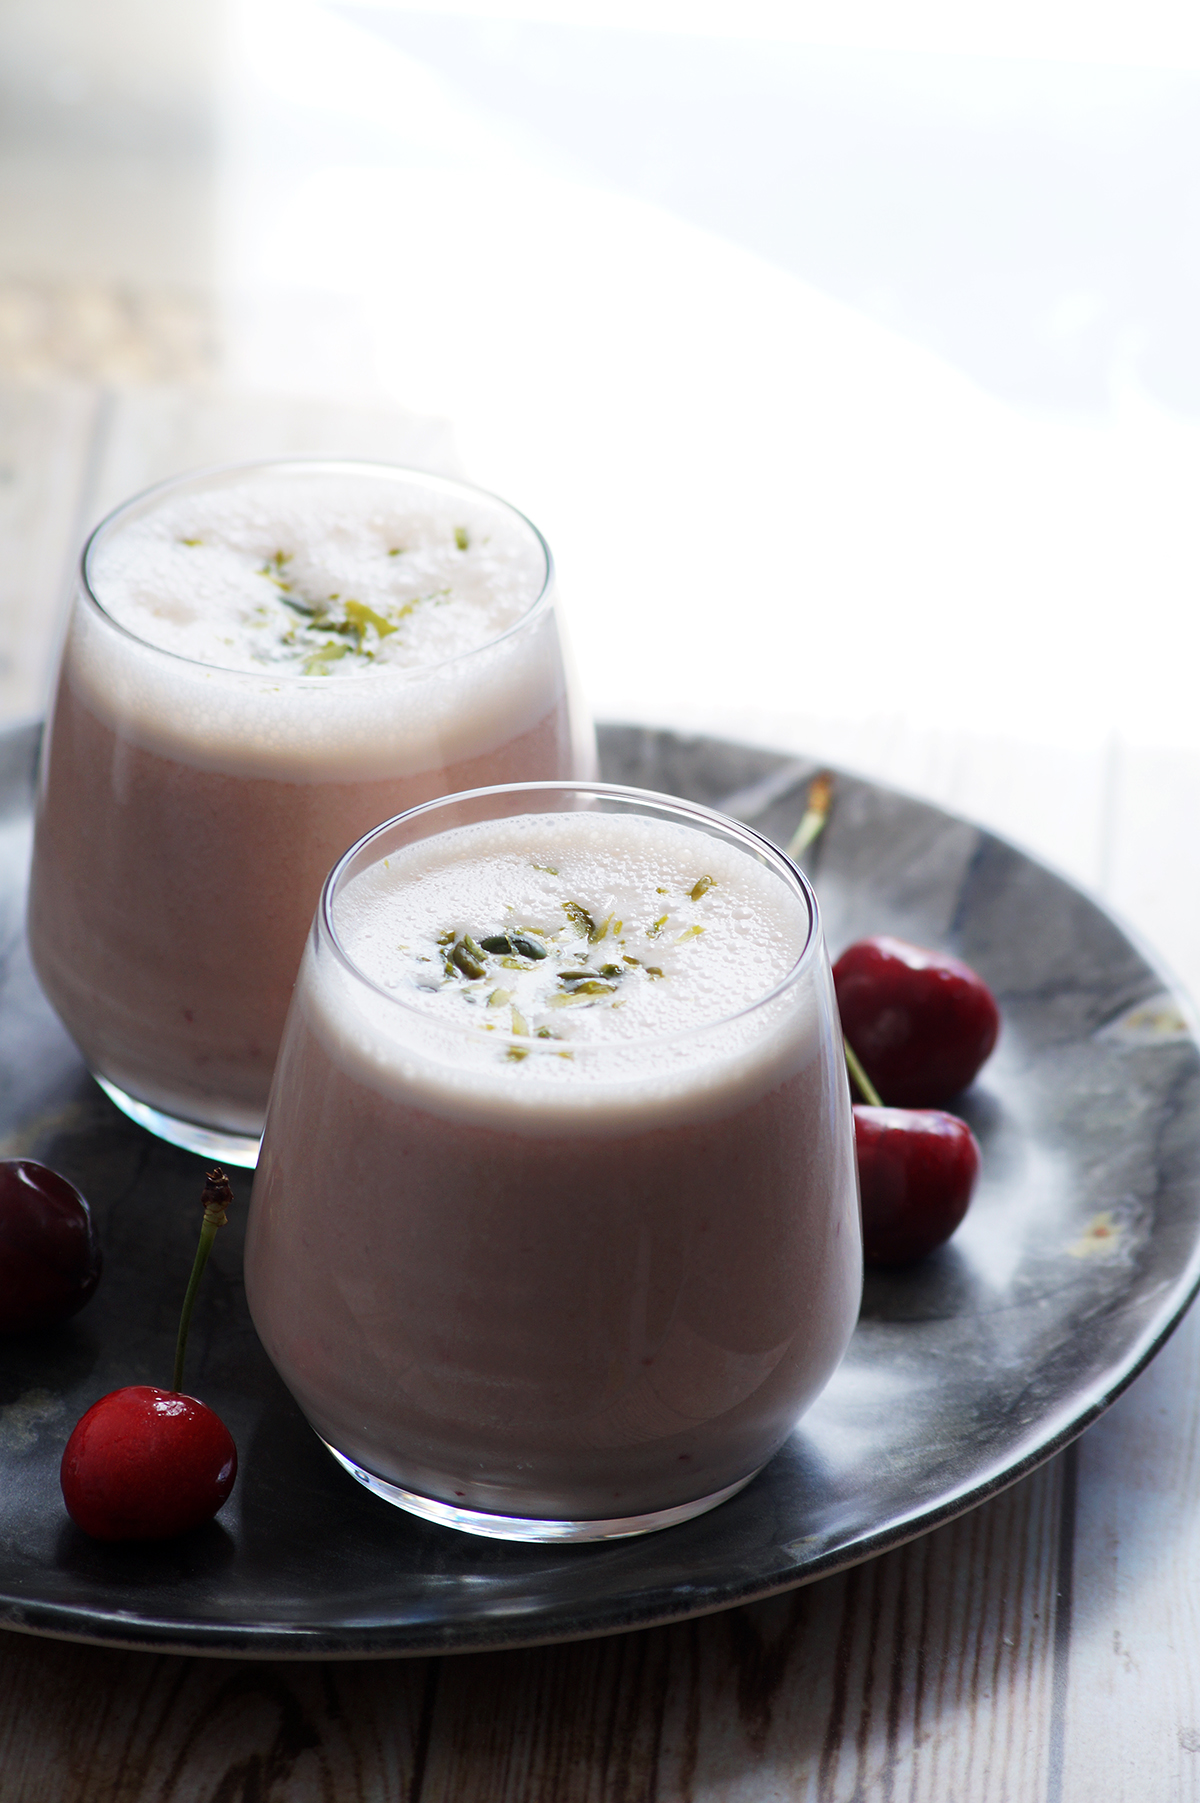
    Add chopped pistachios or any of your favorite nuts on top.

    Serve immediately.

    Few more related recipes

    • Cherry Almond Cake
    • Cherry Turnovers
    • Kesar Mango Lassi
    • Pistachio Lassi
    • Shikanji
    • Mohabbat Ka Sharbat

    Cherry lassi recipe video below:

    If you love this recipe then don't forget to give it a five-star rating! You can also follow me on Facebook, Instagram and Youtube for my latest recipes and videos!
    Print Recipe

    Cherry Lassi Recipe

    Easy and refreshing Indian beverage made with yogurt, cherries, rose water and cardamom.
    Prep Time5 minutes mins
    Cook Time0 minutes mins
    Total Time5 minutes mins
    Course: Beverage, Dessert
    Cuisine: Indian
    Keyword: easy cherry recipes, Indian Drinks, Lassi Recipes
    Servings: 3
    Author: Hari Chandana Ponnaluri

    Ingredients

    • 1.5 Cups Yogurt
    • 1 Cup Pitted Cherries
    • 1 Cup Water
    • 1 Tablespoon Rose Water (optional)
    • ½ Teaspoon Cardamom Powder
    • 3 Tablespoons Sugar
    • Ice Cubes
    • 1 Tablespoon Chopped Pistachios (optional)

    Instructions

    • Combine all the ingredients in a blender jar and blend until smooth.
    • Pour into glasses and garnish with pistachios.
    • Serve immedietely.
    Video

    Thai Inspired Sea Buckthorn Iced Tea

    June 1, 2021

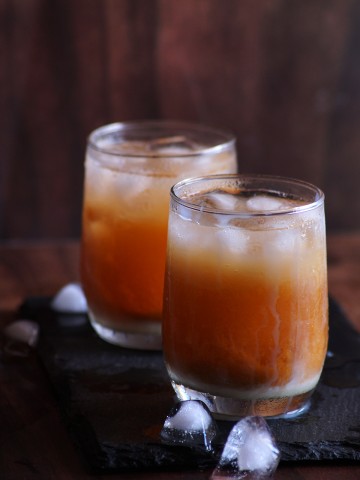
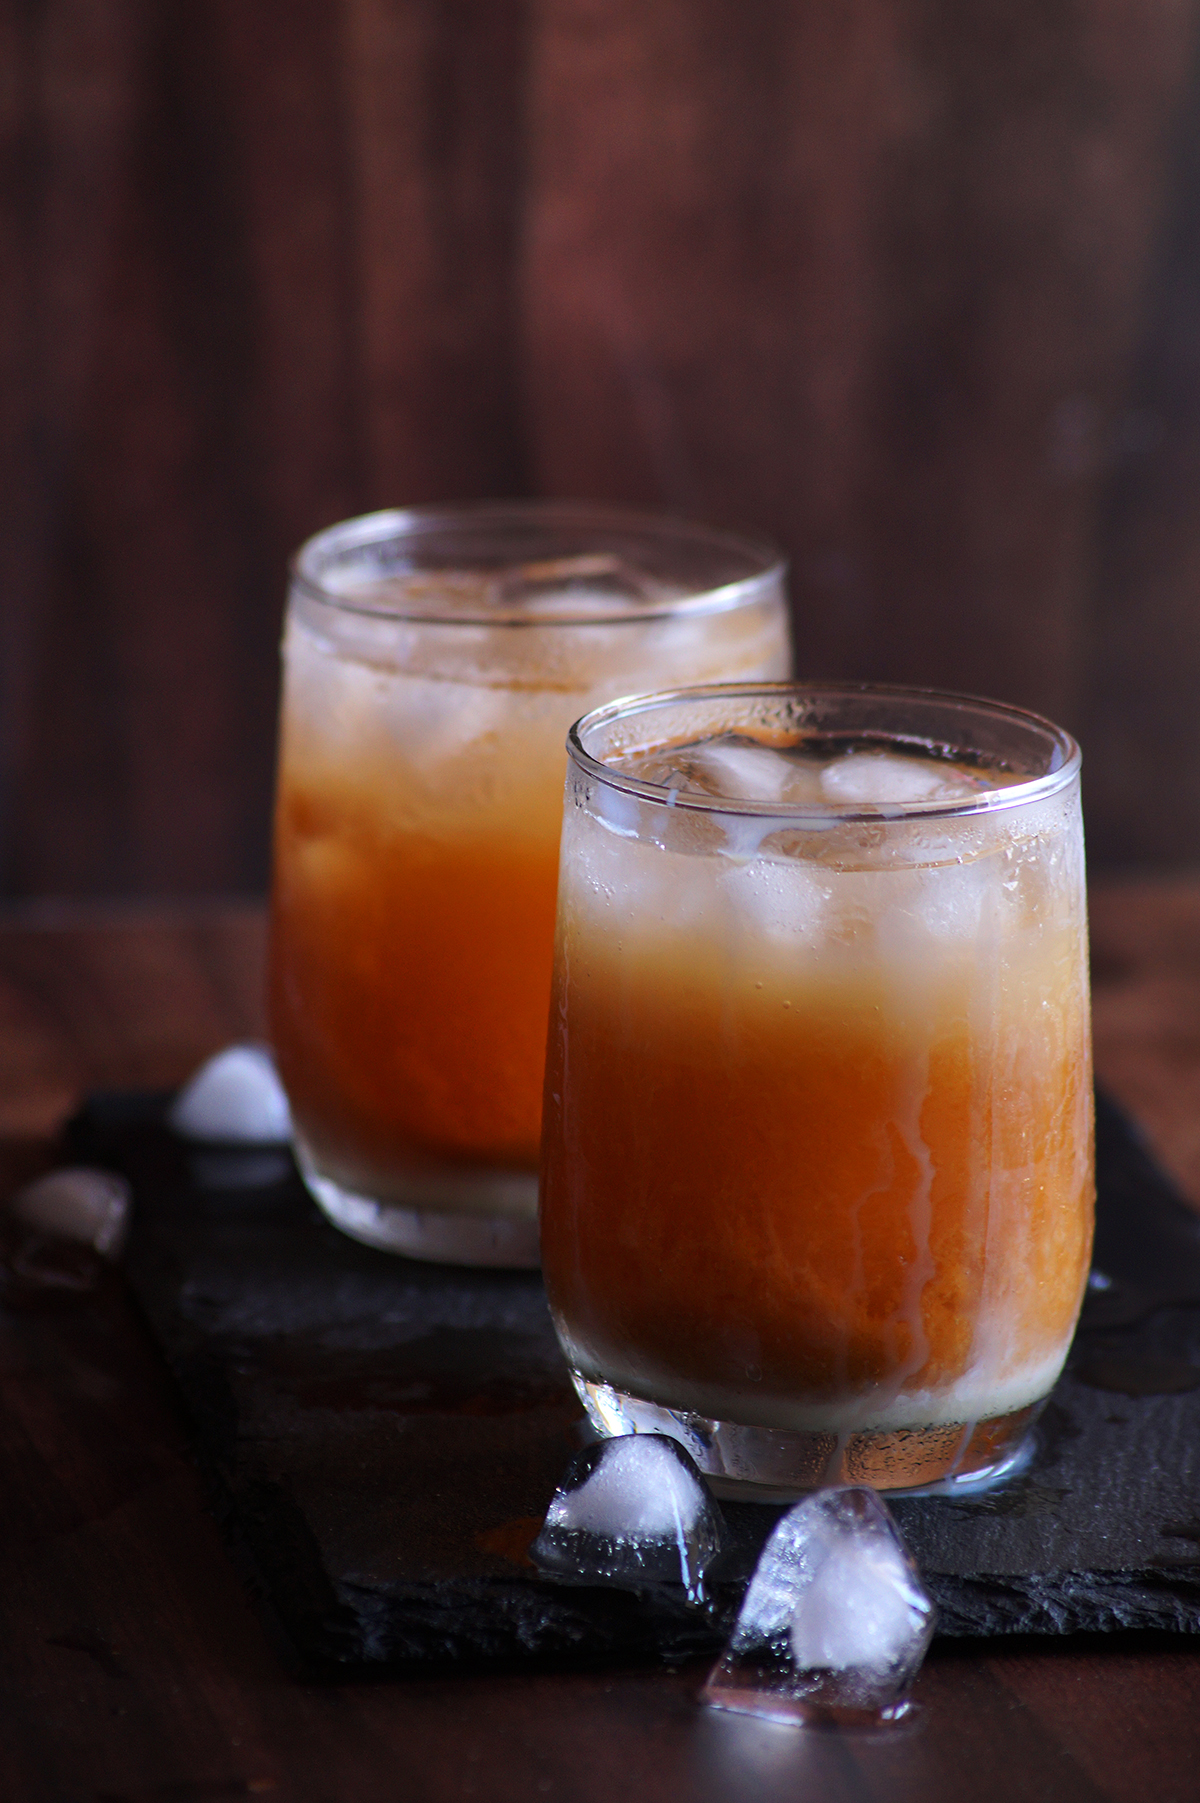
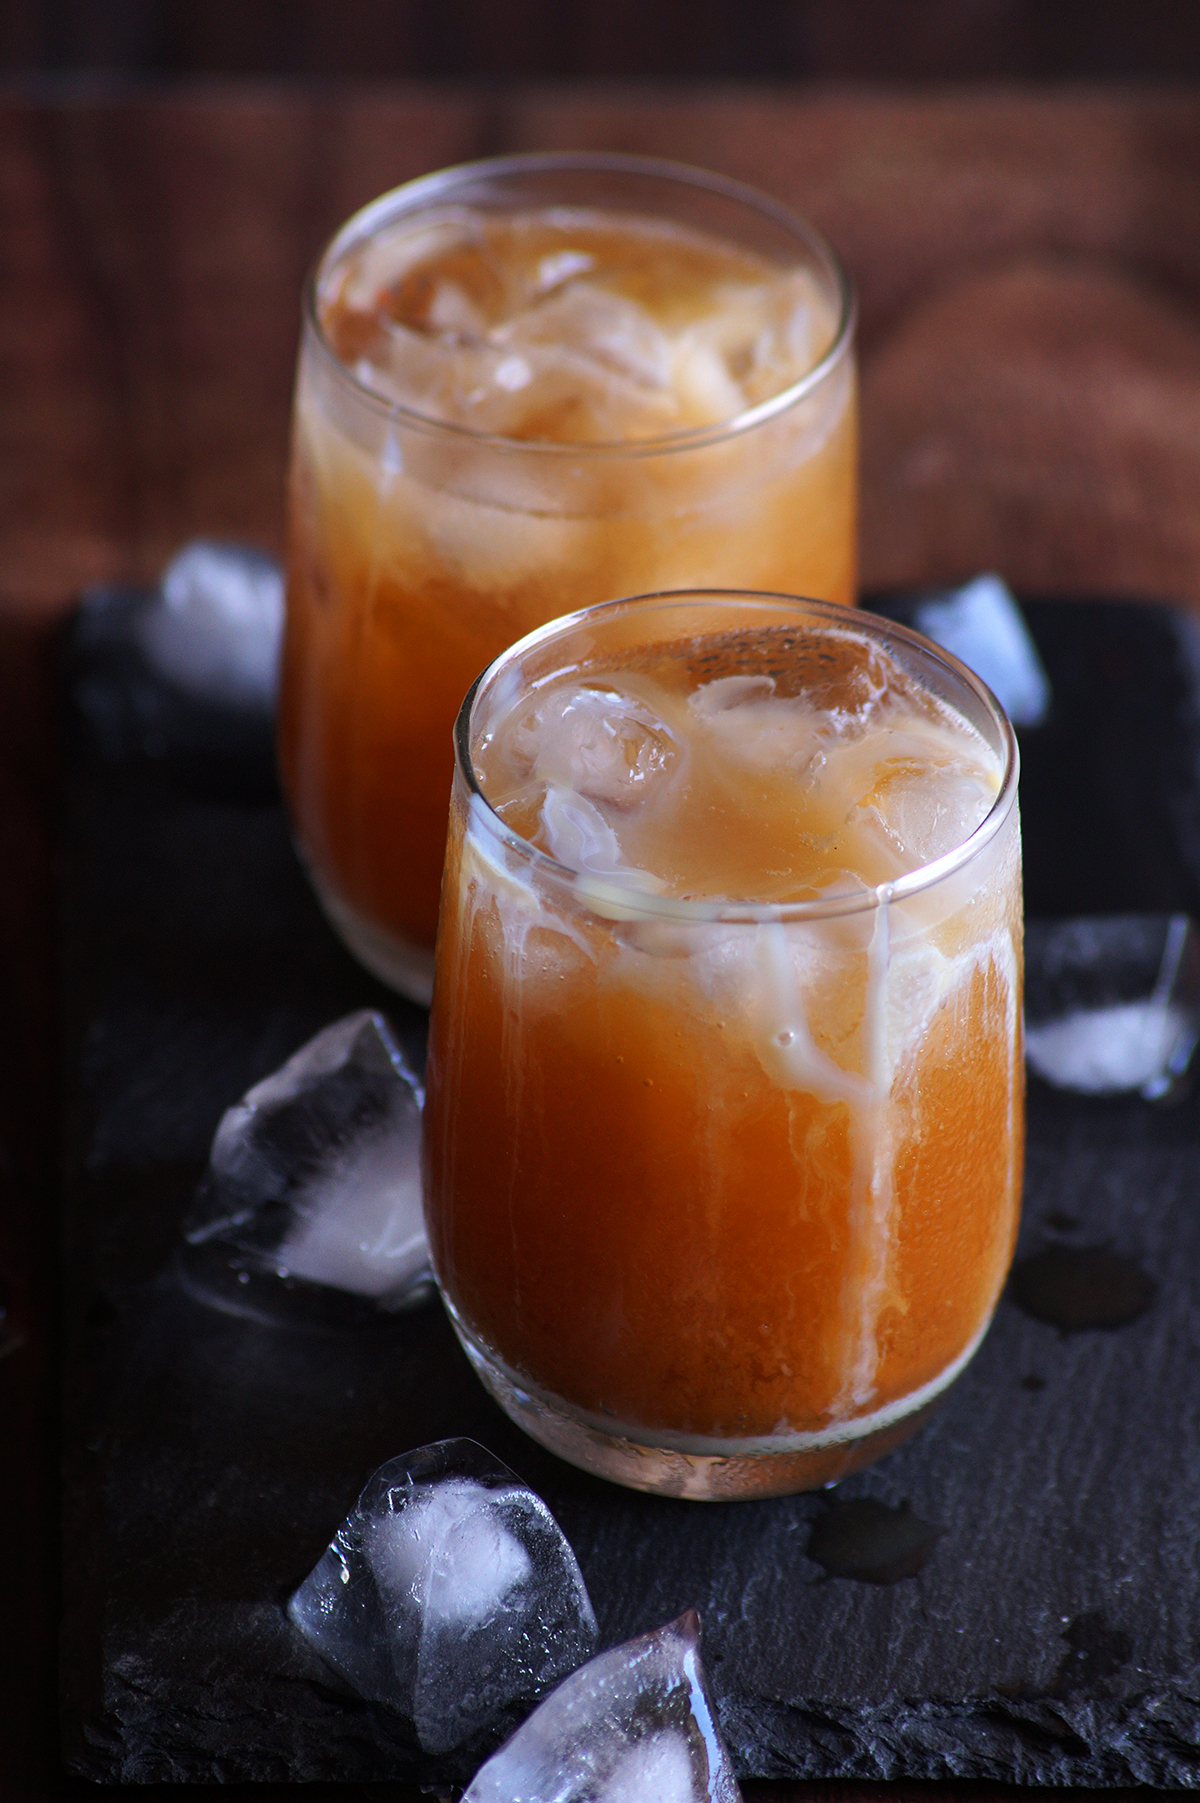
    Easy and refreshing Thai-inspired iced tea with Sea Buckthorn tea concentrate!

    It is a super simple and refreshing tea made with store-bought seabuckthorn tea concentrate, black tea and condensed milk.

    Step by step instructions:

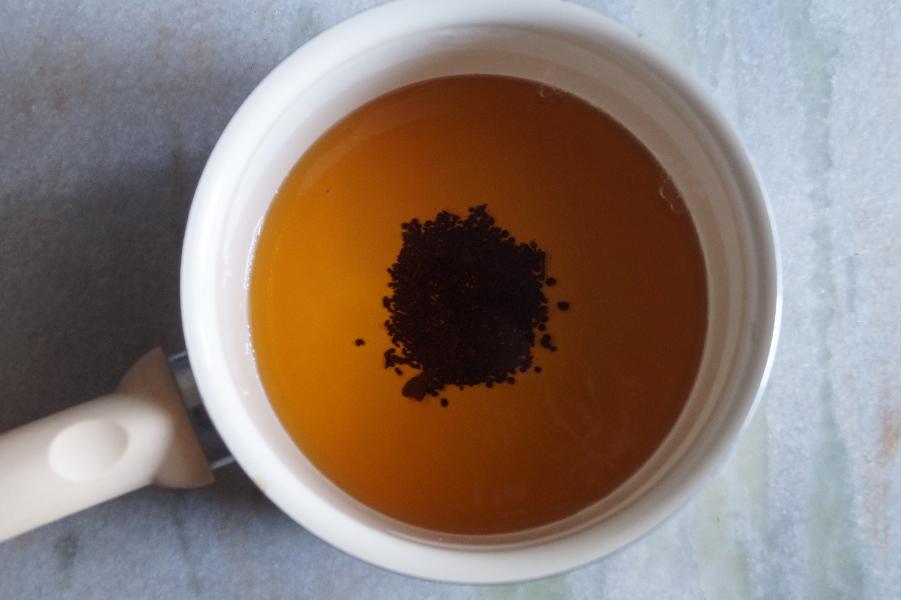
    Bring one cup of water to a boil and remove it from the flame.
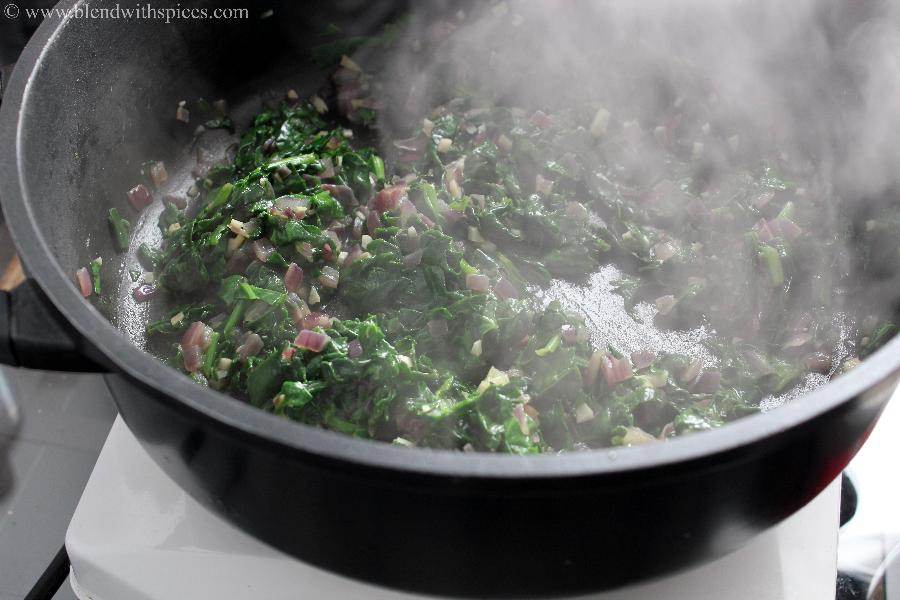
    Add black tea powder / leaves and sugar and let it steep for 3-4 minutes.

    Drain and let it cool completely.

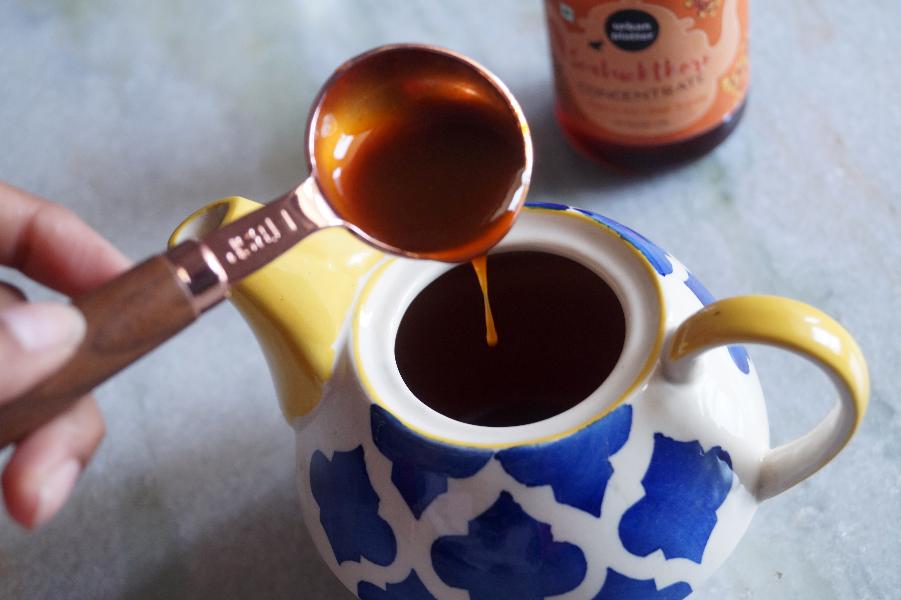
    Add sea buckthorn tea concentrate to the filtered tea and mix well.

    Add ice in two glasses.

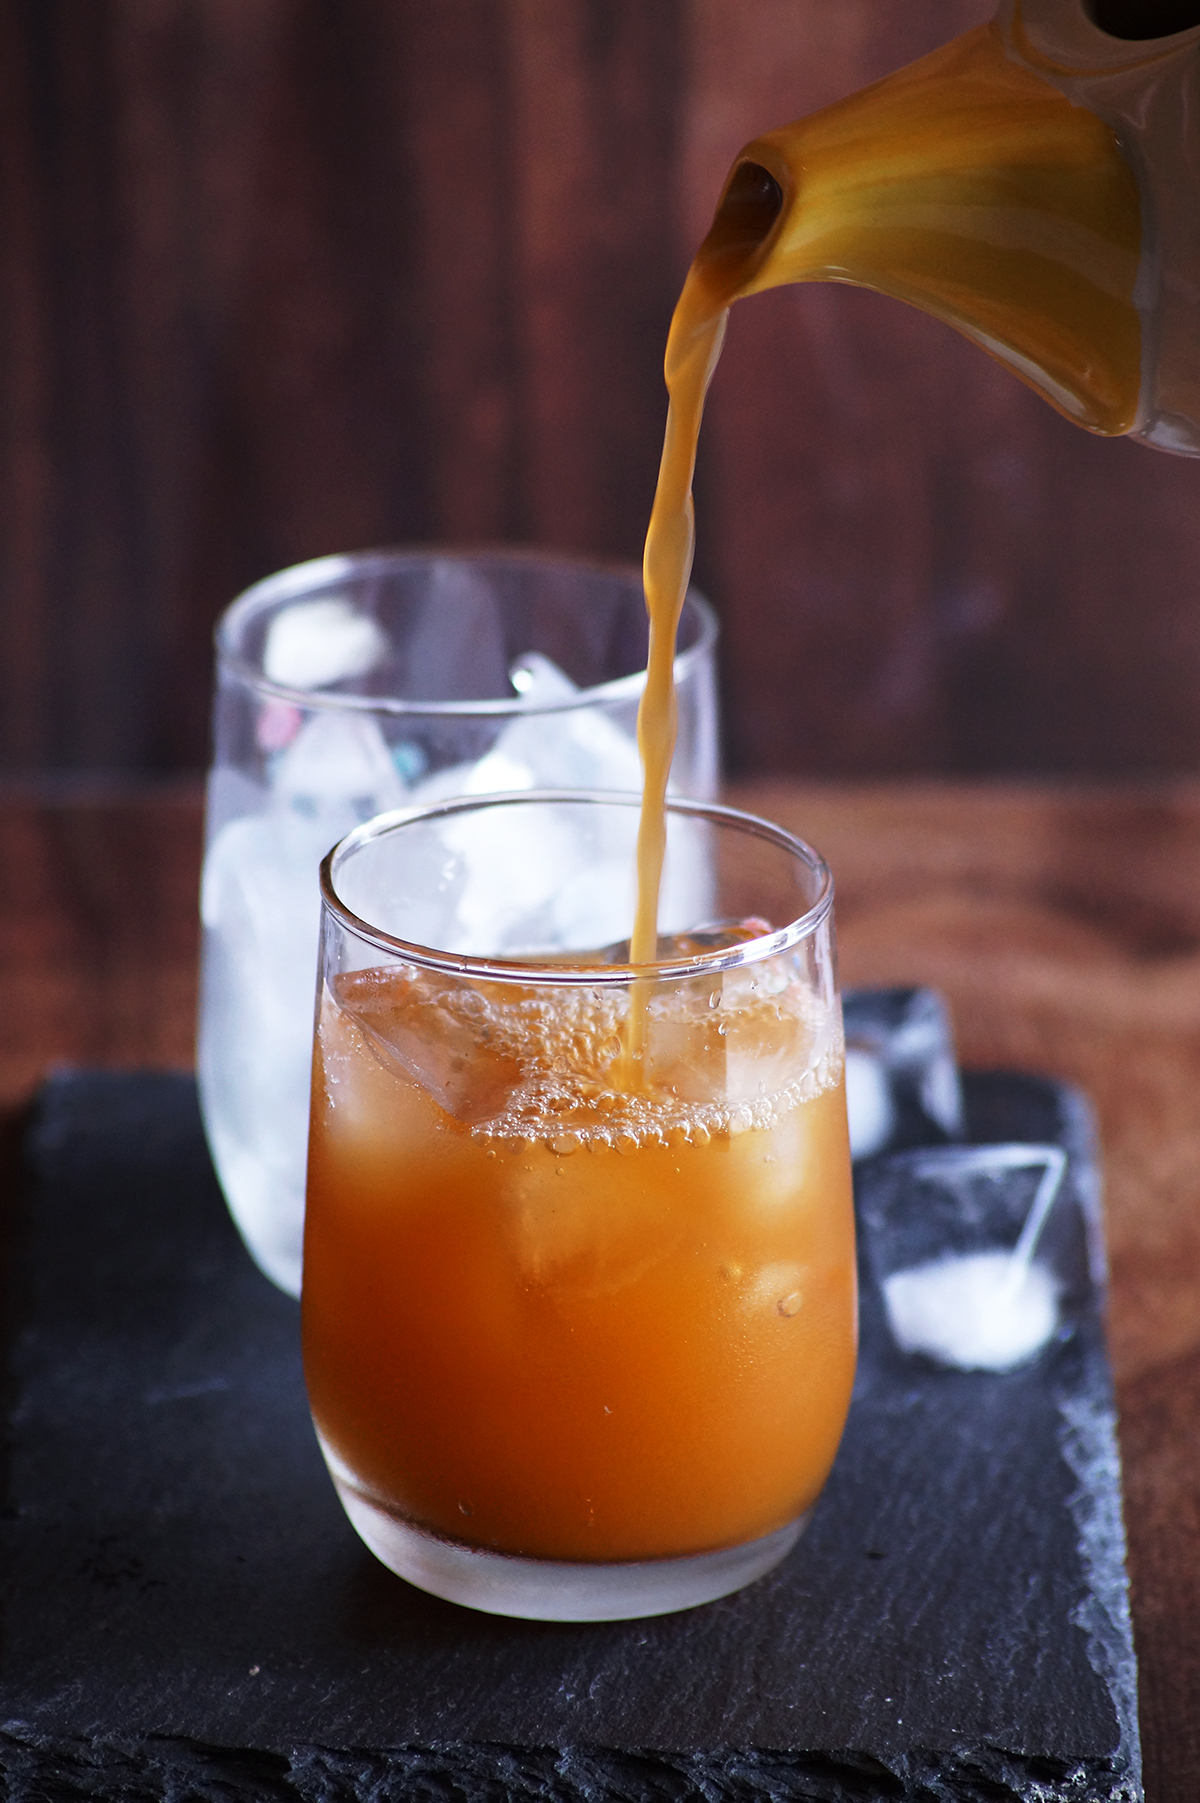
    Pour prepared tea over ice cubes.

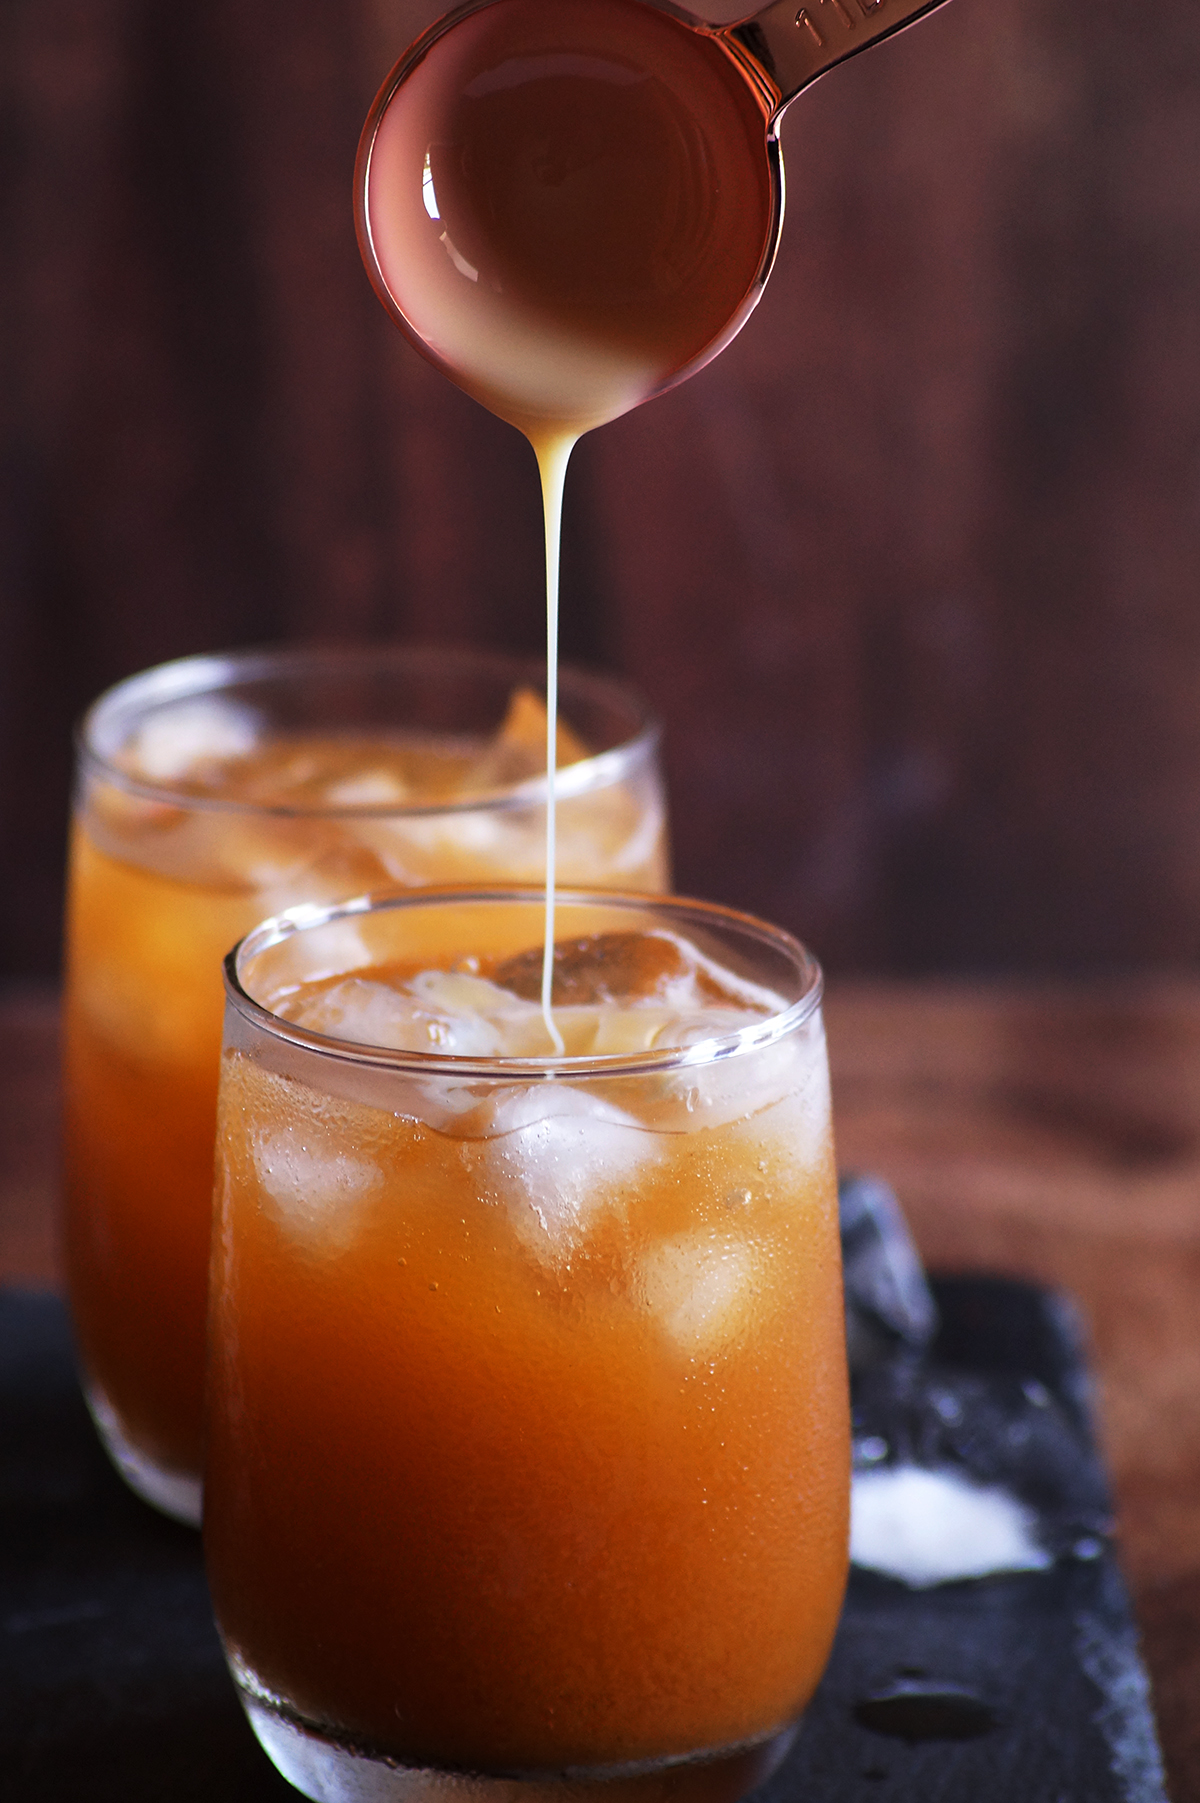
    Drizzle ½ tablespoon of condensed milk on the top of each glass.

    Few more beverages on the blog:

    • Mango Iced Tea
    • Dalgona Coffee
    • Thandai
    • Pistachio Lassi
    • Grapefruit Green Tea
    Print Recipe

    Thai-Inspired Sea Buckthorn Iced Tea

    Easy and refreshing Thai-inspired iced tea with Sea Buckthorn tea concentrate!
    Servings: 2
    Author: Hari Chandana Ponnaluri

    Ingredients

    • 1 cup Water
    • 2 tablespoons Sea Buckthorn Tea Concentrate
    • 1 teaspoon Sugar
    • 1 tablespoon Sweetened Condensed Milk
    • ½ teaspoon Black Tea Powder

    Instructions

    • Bring one cup of water to a boil and remove it from the flame.
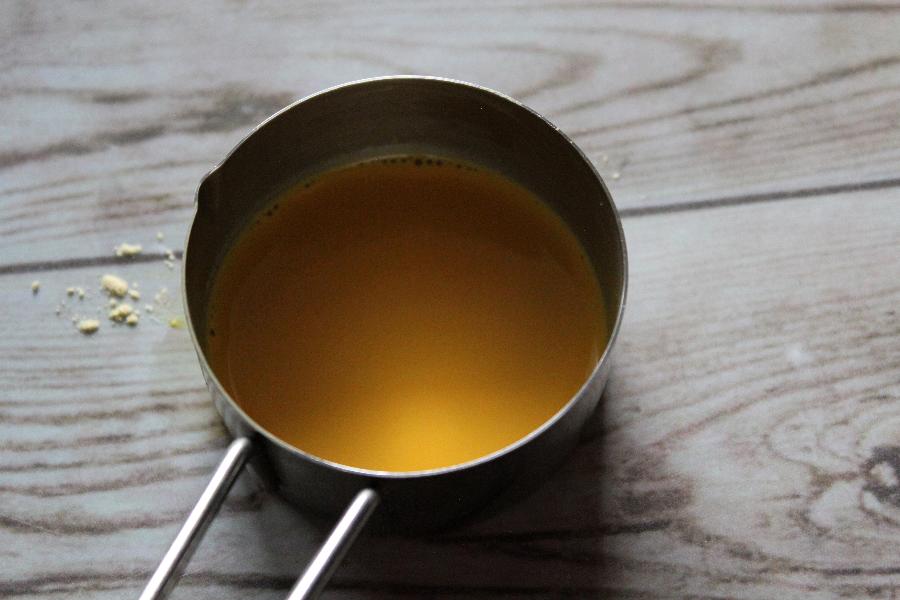
    • Add black tea powder / leaves and sugar and let it steep for 3-4 minutes.
    • Drain and let it cool completely.
    • Add sea buckthorn tea concentrate to the filtered tea and mix well.
    • Add ice in two glasses.
    • Pour prepared tea over ice cubes.
    • Drizzle ½ tablespoon of condensed milk on the top of each glass.
    • « Go to Previous Page
    • Page 1
    • Interim pages omitted …
    • Page 12
    • Page 13
    • Page 14
    • Page 15
    • Page 16
    • Interim pages omitted …
    • Page 93
    • Go to Next Page »

    Primary Sidebar

    Welcome!

    I’m Hari Chandana Ponnaluri, the creator, recipe developer, and photographer of Blend with Spices, a food blog where I share flavorful, approachable, and authentic vegetarian recipes from India and beyond..

    More about me

    Popular Recipes

    • Cranberry Orange Snowball Cookies
    • Chocolate Crinkle Cookies (Eggless)
    • kolaczki Cookies (Polish Christmas Jam Cookies)
    • Sugar Plums
    • Peppermint Kiss Cookies
    • Potato Chip Cookies

    Indian Festival Recipes

    • Moru Curry (Kerala Moru Kachiyathu)
    • Palada Payasam (Palada Pradhaman)
    • Nellikai Sadam (South Indian Amla Rice)
    • Instant Pot Avial (Kerala Mixed Vegetable Curry)
    • Mawa Modak
    • Upma Kozhukattai
    See more Festival Recipes →

    Footer

    About

    • Privacy Policy

    Don’t Miss A Recipe!

    Subscribe to our mailing list

    Contact

    • Contact

    Copyright © 2020 Blend with Spices