
• Skip to main content
  • Skip to primary sidebar

Blend with Spices logo

menu icon
go to homepage
  • Home
  • About Me
  • Recipe Index
  • Festival Recipes
  • Eggless Baking
    • Facebook
    • Instagram
    • Pinterest
    • Twitter
    • YouTube
  • search icon
    Homepage link
    • Home
    • About Me
    • Recipe Index
    • Festival Recipes
    • Eggless Baking
    • Facebook
    • Instagram
    • Pinterest
    • Twitter
    • YouTube
  • ×
    Home » Recipes

    Chocolate Covered Oreos

    Chocolate Covered Oreos

    December 16, 2022

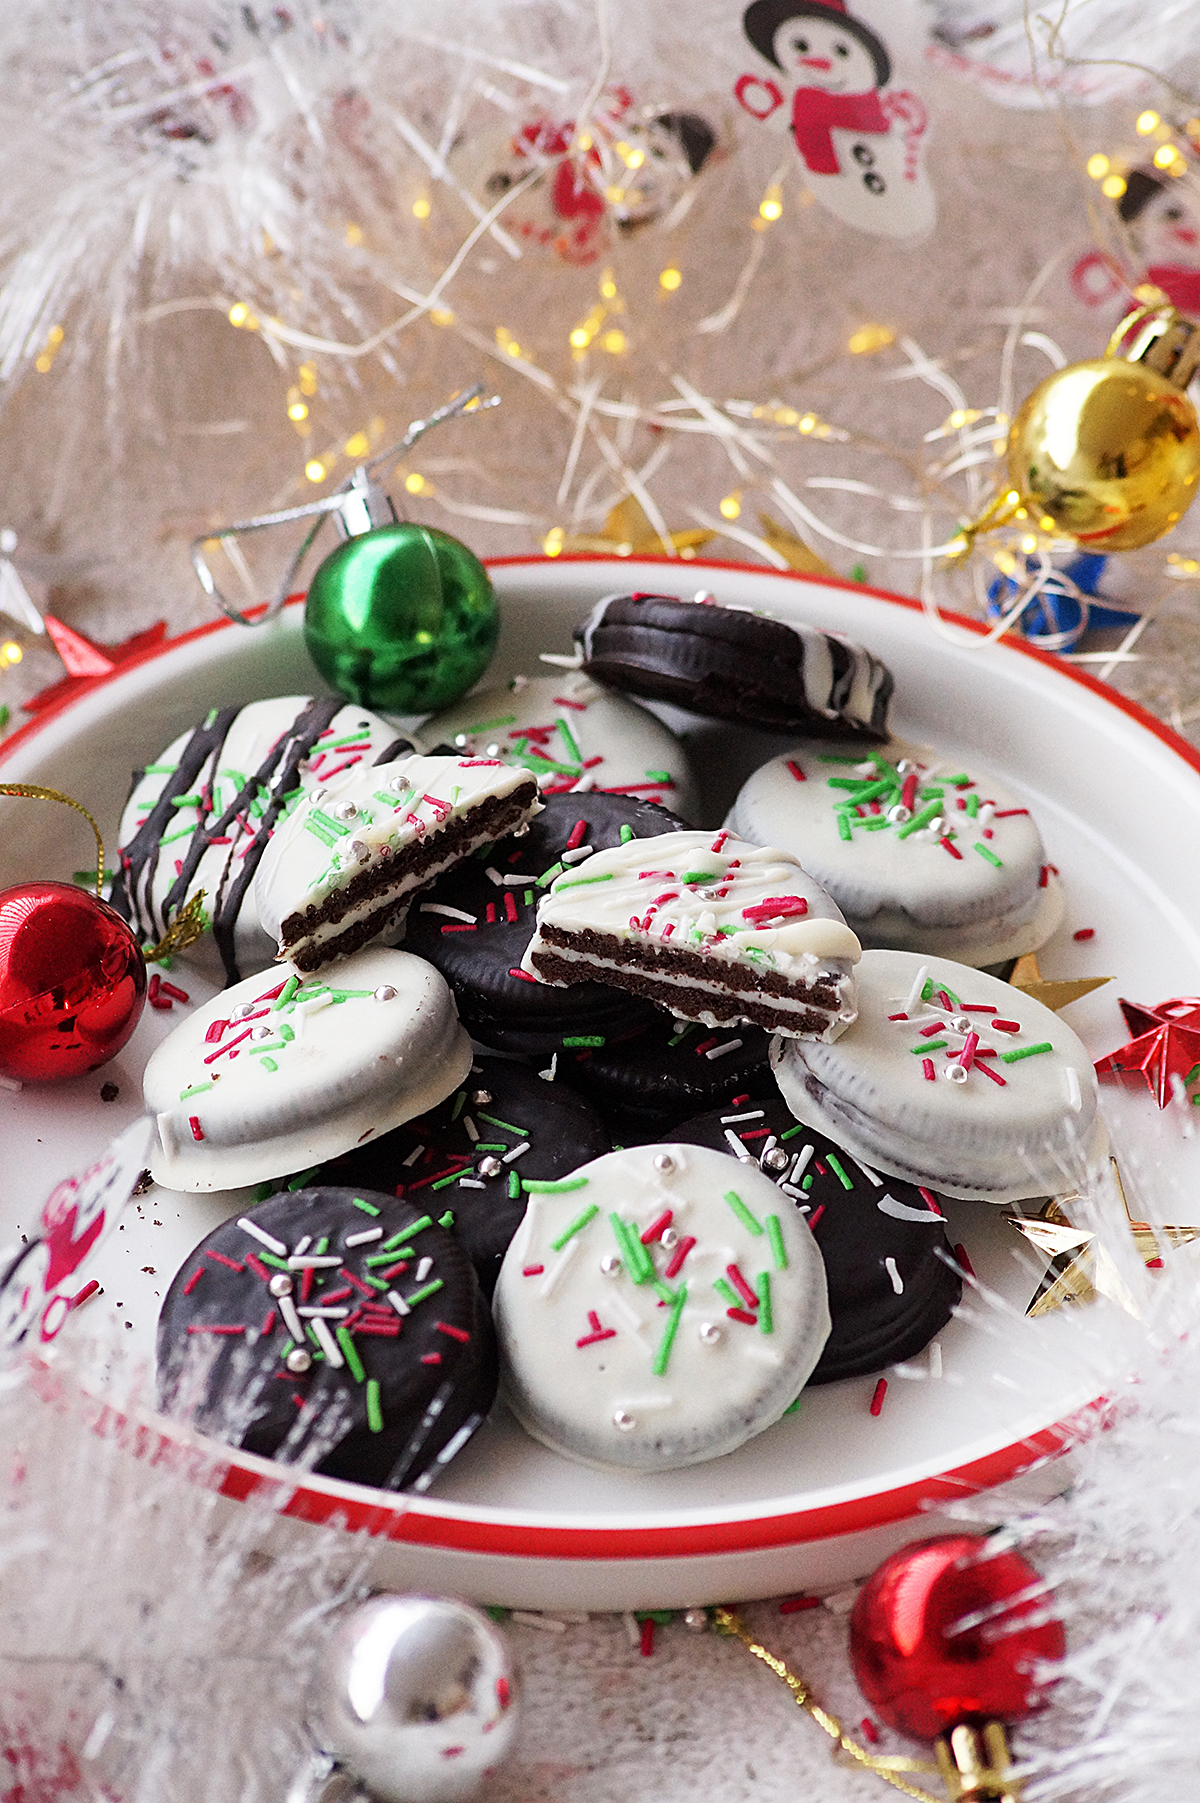
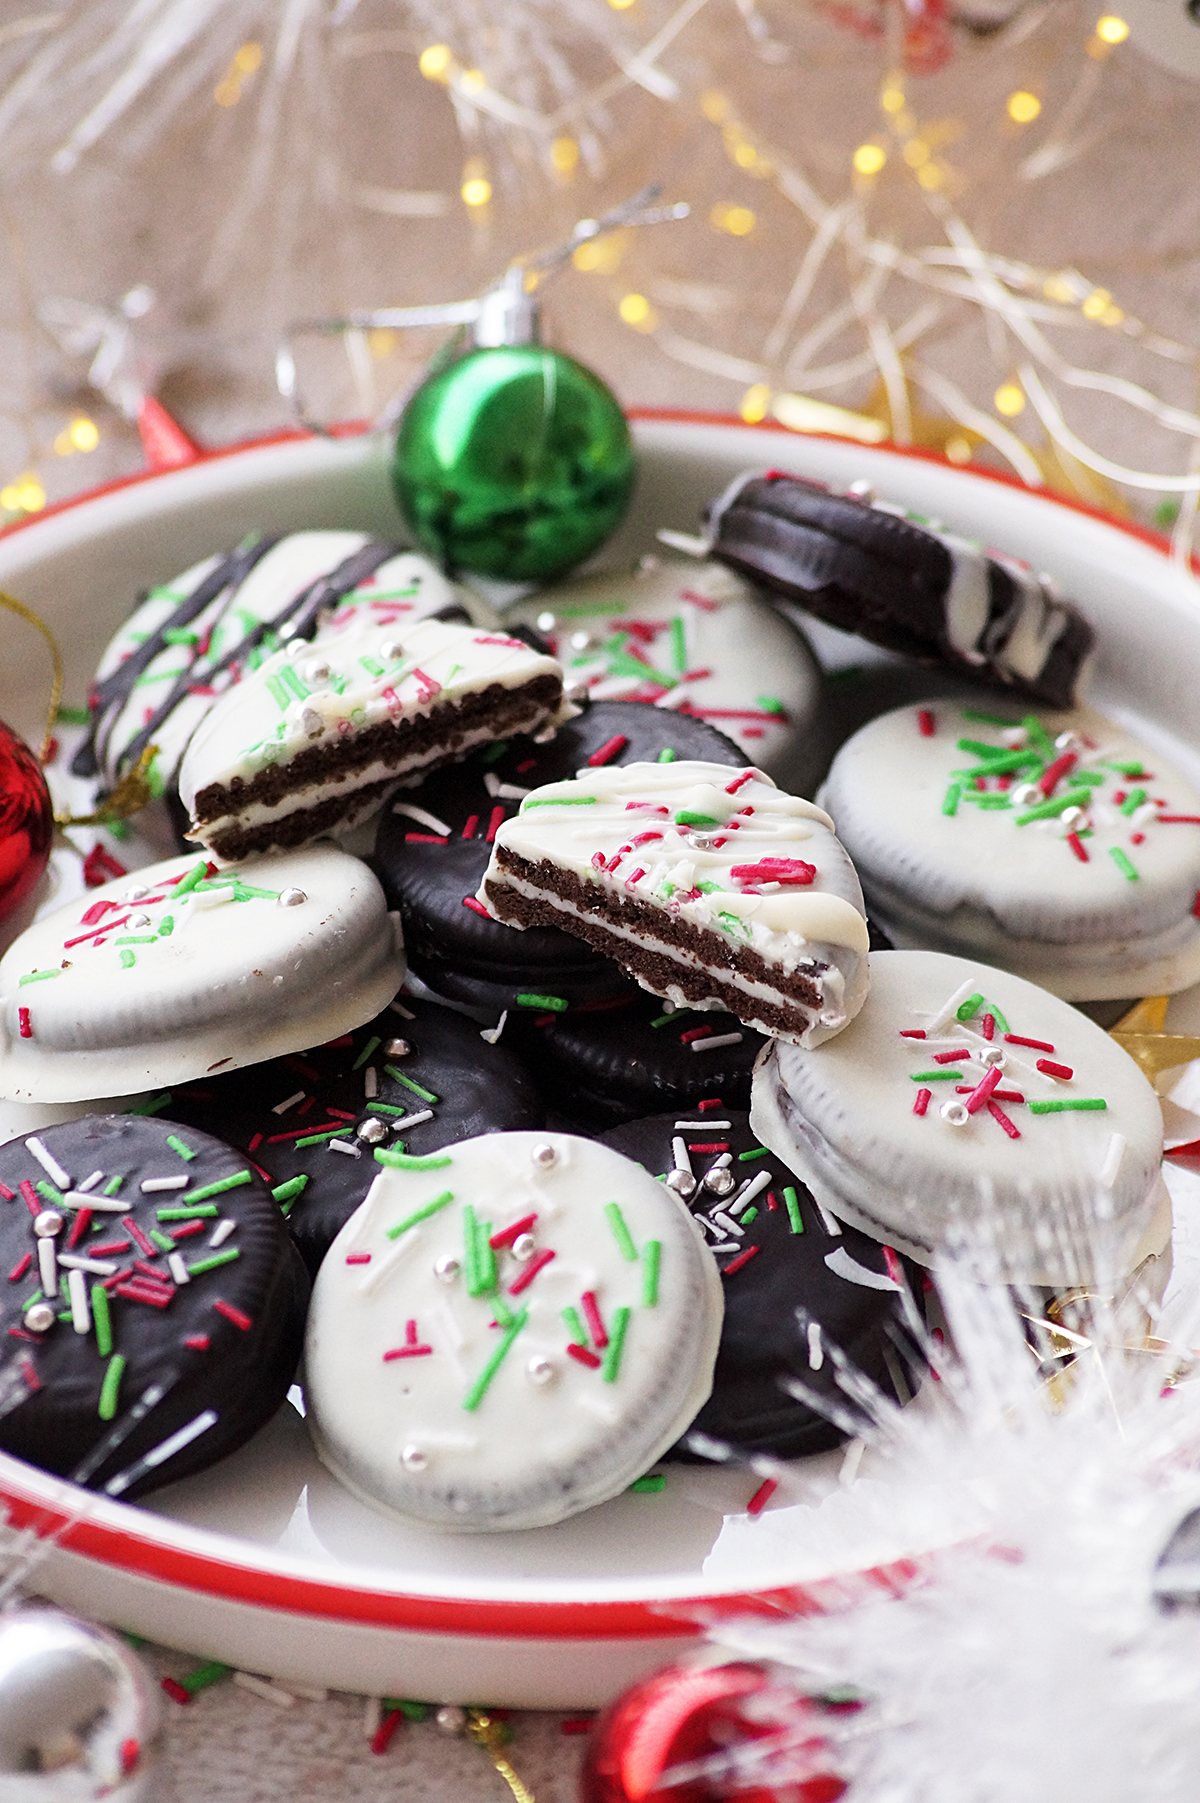
    Chocolate Covered Oreos - These super easy, beautiful and delicious no-bake cookies are perfect for the holiday season! A great addition to your Christmas cookie trays!
    What are chocolate covered oreos?

    Chocolate covered oreos are one of the popular and delicious snacks made with oreo cream cookies and chocolate. These can be easily made by dipping the store-bought oreo cookies in melted white or dark chocolate, or by drizzling chocolate over them.

    These are one of the popular and delicious sweet treats that is often enjoyed during the Christmas season.

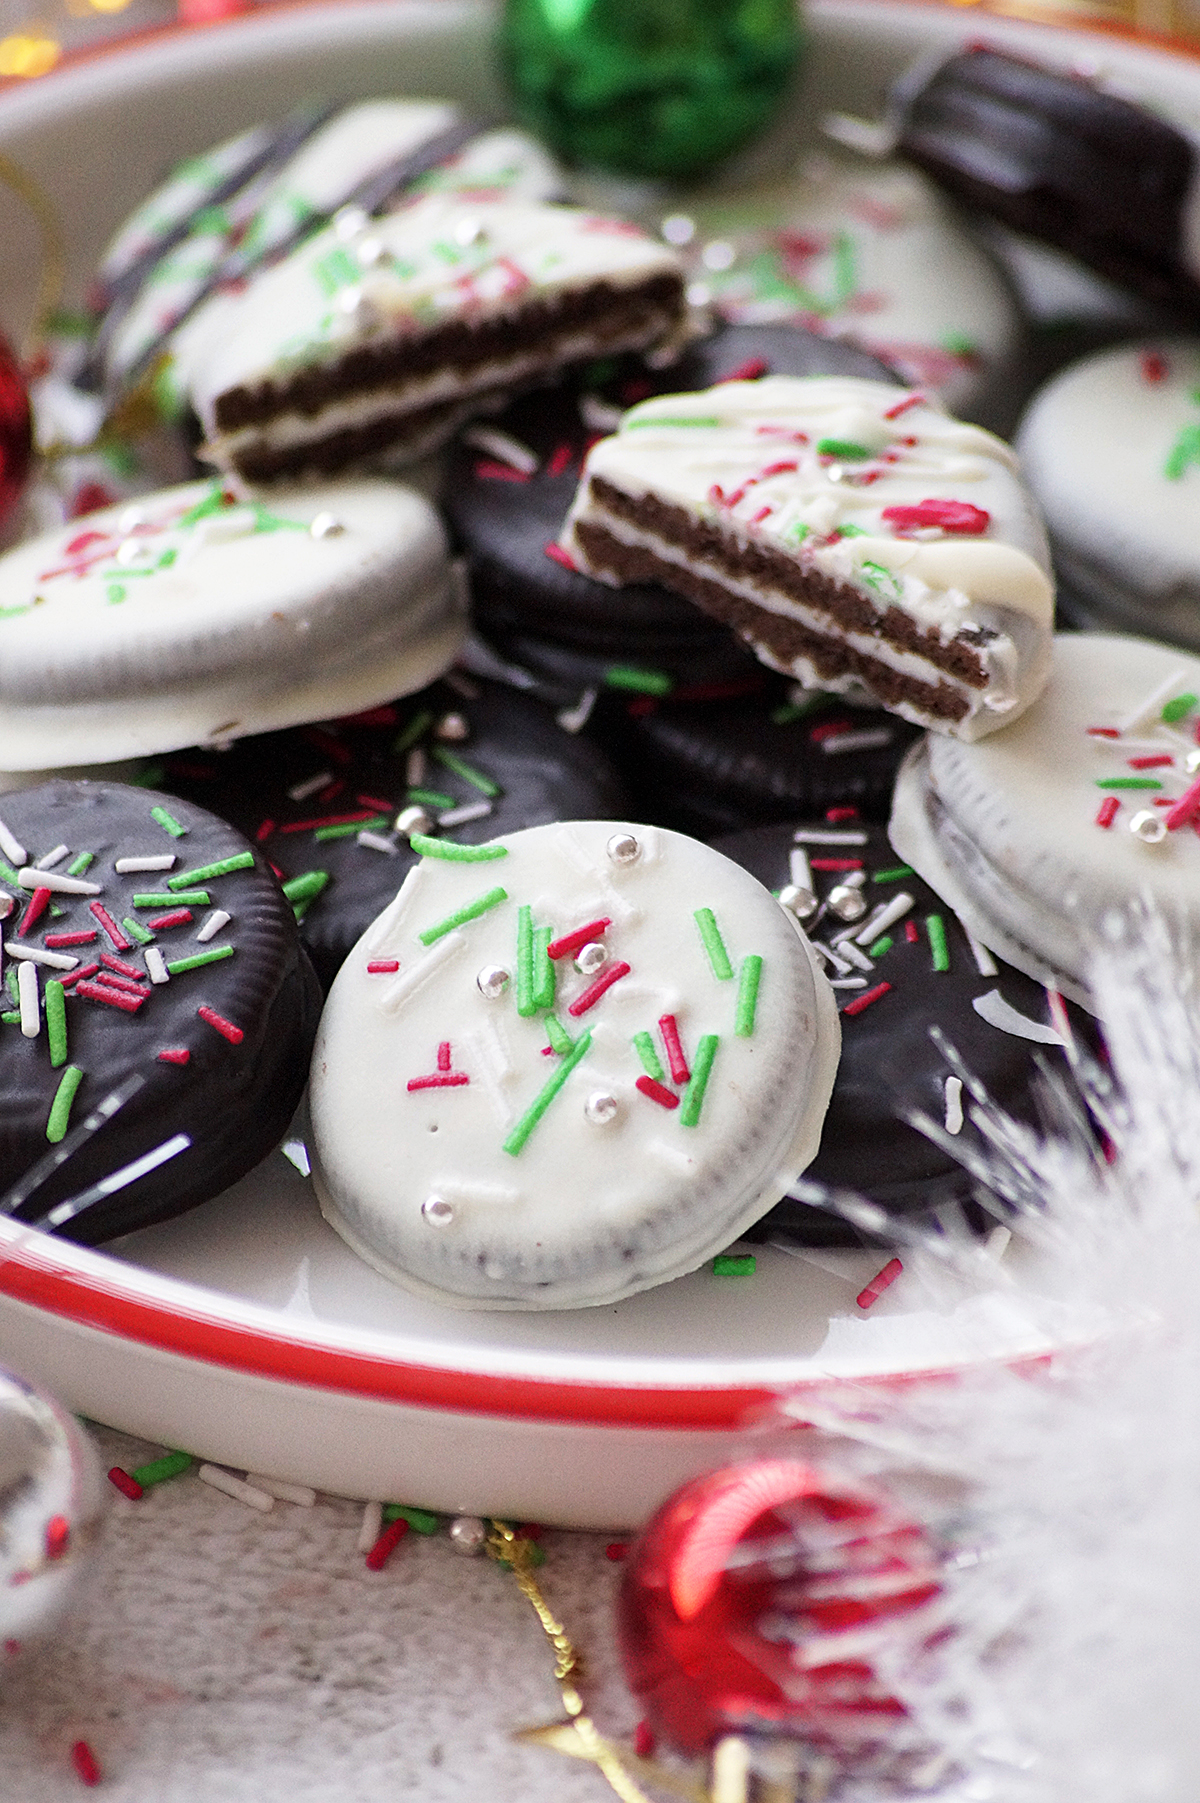
    These chocolate coated oreos are so versatile and can be decorated with holiday-themed sprinkles and toppings.

    Why you'll love this recipe:

    Relatively easy to make!

    These are no-bake cookies and needs just 3-4 ingredients!

    Perfect for the holiday season!

    Can be decorated with so many things!

    Easy and perfect edible gift for Diwali and Christmas!
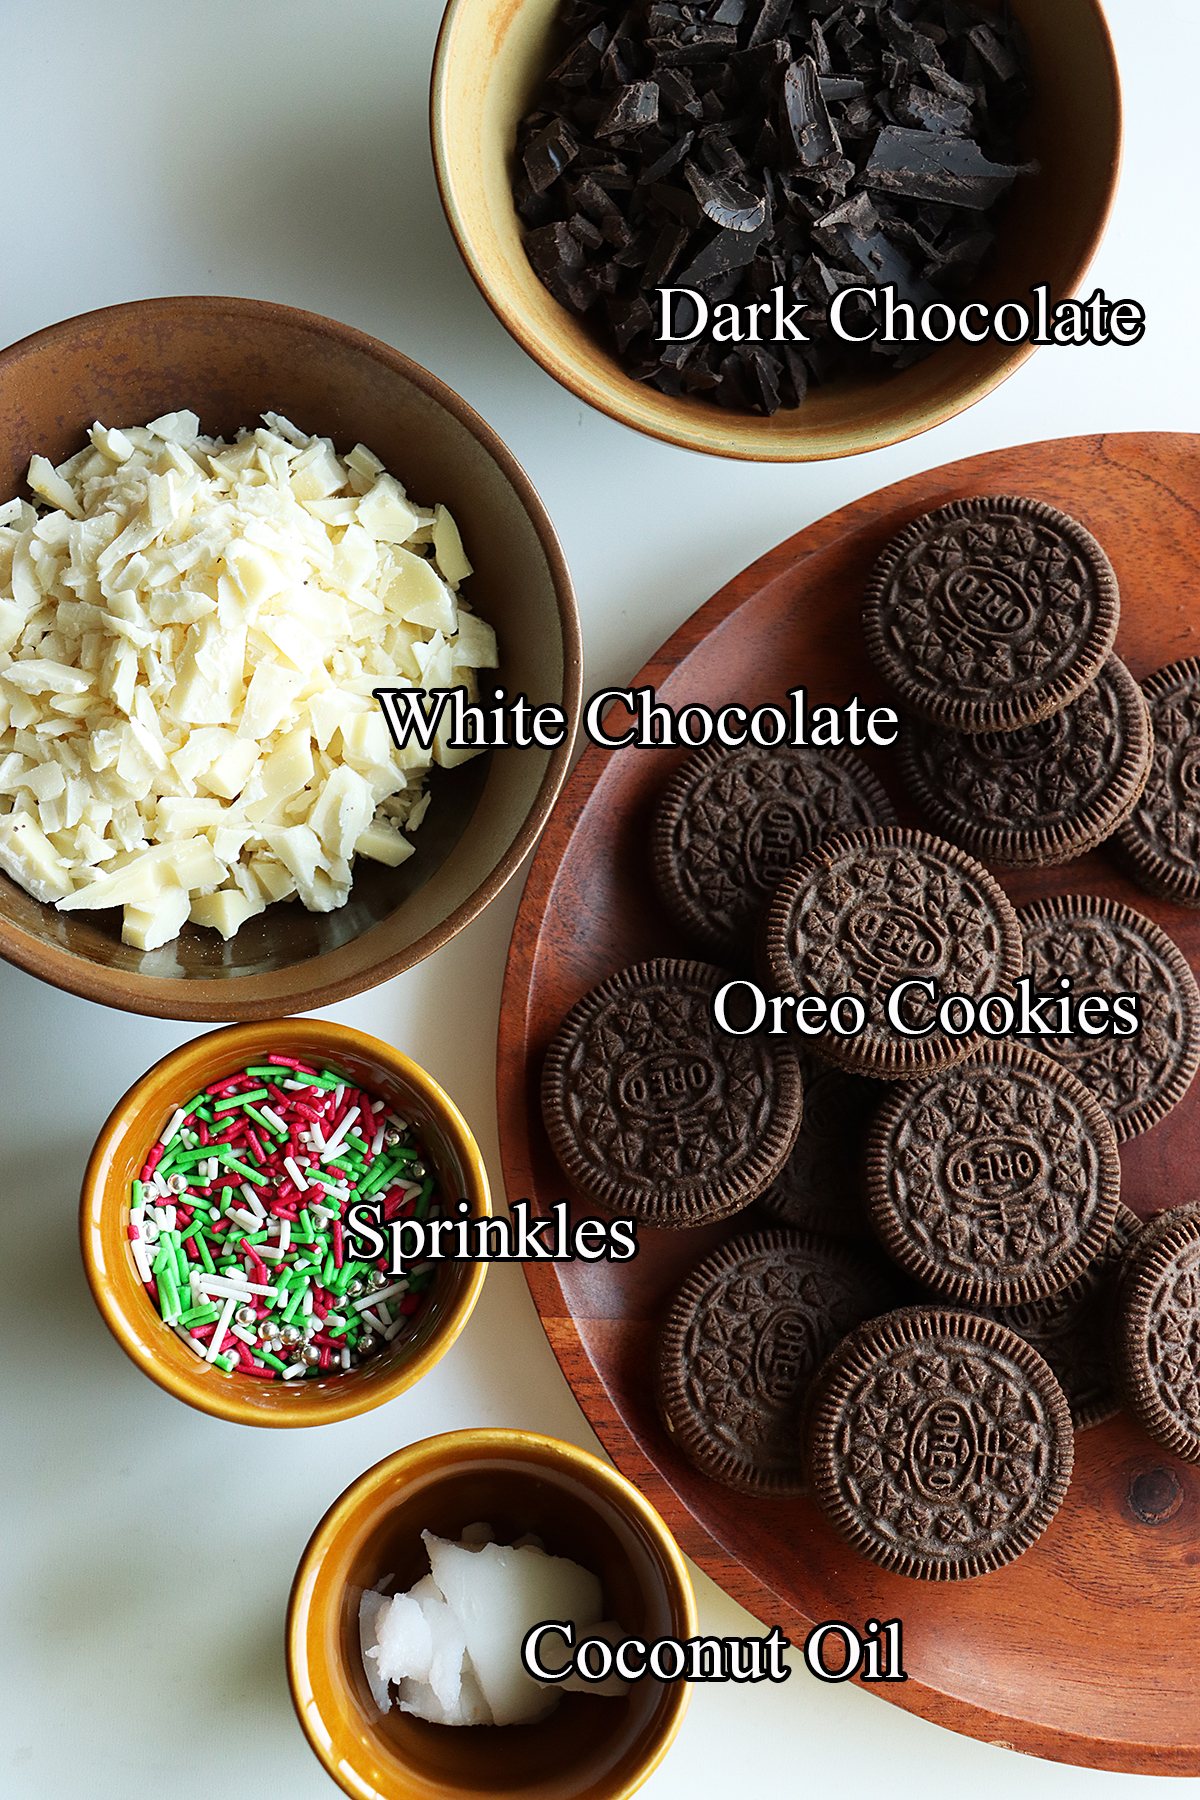
    Oreos - I have used regular variety oreos in this recipe , you can use any type of oreo cookie that you like. You can also use double-stuffed Oreos for an extra chocolatey treat. Choose a type of oreo that goes well with the chocolate coating. Peanut butter, mint and peppermint oreos work well in this case.

    Chocolate - Make sure you are using a good quality chocolate for the best results. I made these covered oreos with both white and dark chocolate. You could also use almond bark or melting wafers.

    Coconut Oil - Adding coconut oil is an easy way to thin out chocolate for easy dipping. I highly recommend coconut oil in this recipe.

    Sprinkles - You can use chocolate sprinkles or holiday sprinkles.
    Storage suggestions:

    Chocolate covered Oreos will keep for about 4 weeks when stored in an airtight container at room temperature. Store them in refrigerator if you want to store them for longer.

    You can also freeze them, If you want to store them for a longer period of time. Place them in an airtight container or freezer bag and store them in the freezer for up to 3 months. Thaw them in the fridge overnight, or at room temperature before serving.

    Serving suggestions:

    These can be enjoyed on their own, or with a glass of milk or a cup of coffee.

    Serve them as a dessert. They make a great sweet treat for the parties.

    You could also use them as a topping. Add a whole or chopped choco covered oreos over the puddings, ice creams, desserts and yogurt to make them more delicious.

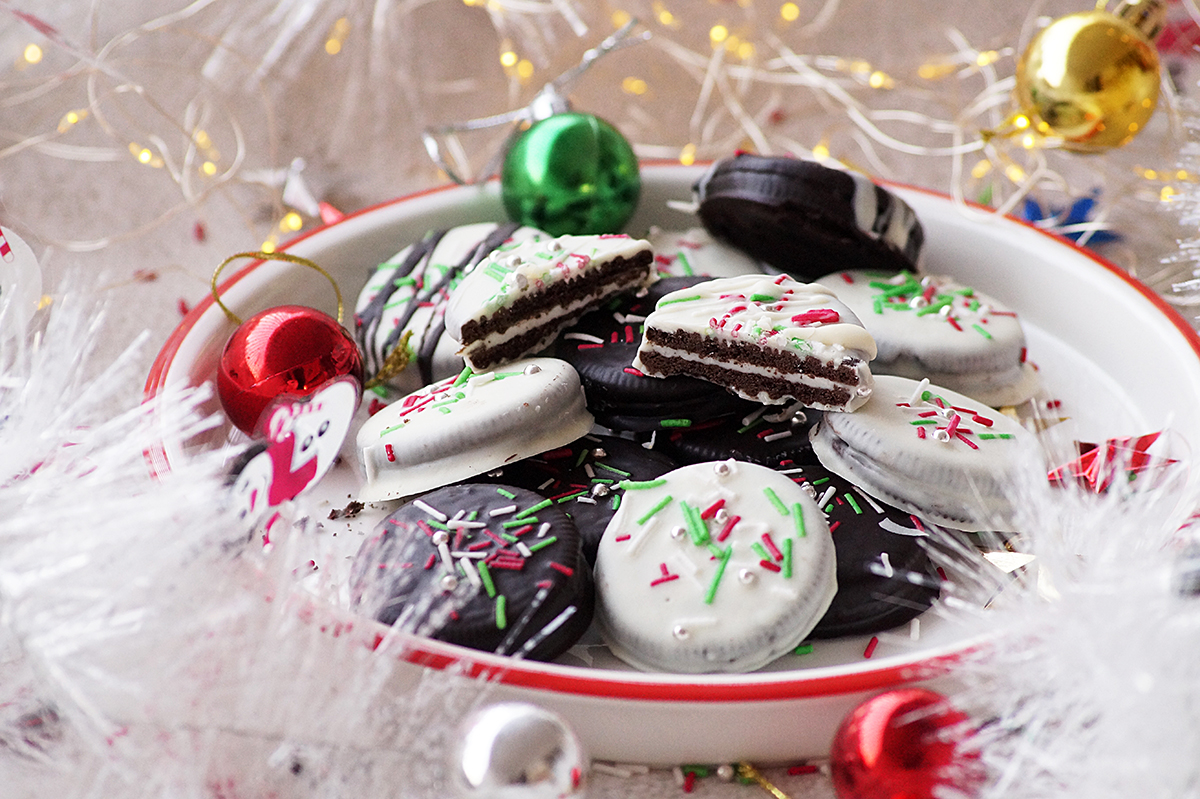
    These Christmas chocolate covered oreos can be a great addition to your cookie trays during the festive season!
    Topping ideas:

    Drizzle some melted chocolate, salted caramel or peanut butter oven the coated cookies.

    To make them festive, decorate them with Valentines day / Christmas sprinkles.

    You can also sprinkle some sparkling sugar.

    They can be decorated with finely chopped nuts as well.

    Crushed candy canes can also be used for a peppermint variation.
    Tips & Notes:

    Use a good quality chocolate for the best taste and flavor.

    Stir chocolate frequently to prevent it from burning.

    If you are using chocolate slab, chop them into fine pieces, it will melt evenly.

    Sprinkle toppings immediately, otherwise they won't stick.

    Line a tray with parchment paper to avoid the chocolate dipped cookies sticking to the tray.

    Step by step instructions:
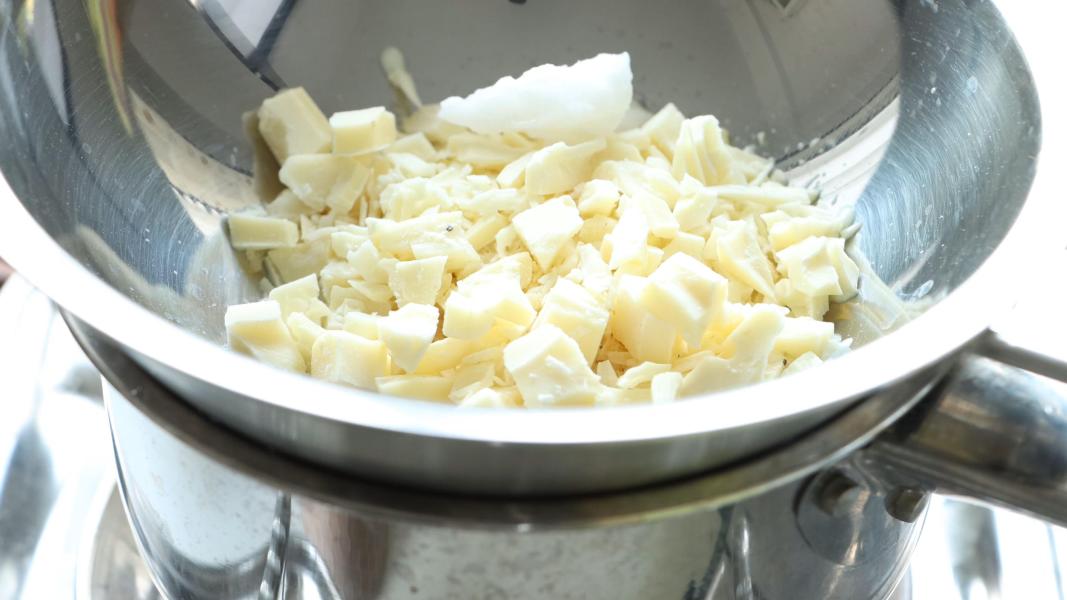
    Heat some water in a pan or vessel over low heat and place a heat resistant bowl on top of the water pot.

    Add chopped chocolate and coconut oil into the top bowl.
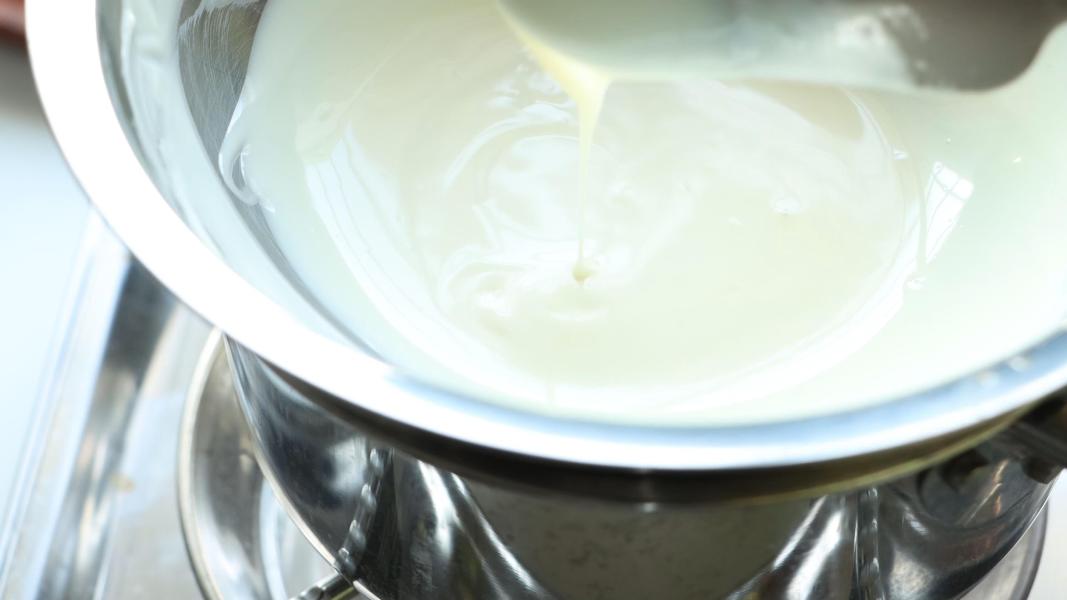
    Keep stirring with a spatula until it is smooth and shiny.

    You can also melt it in a microwave as well.
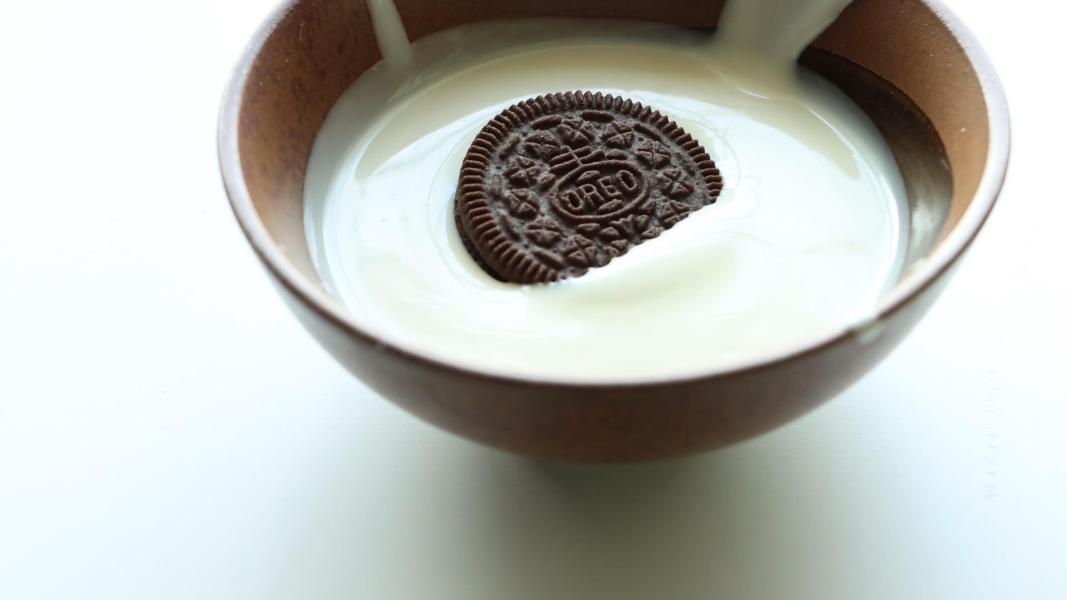
    Transfer it a bowl.

    Dip each oreo into the melted chocolate and coat it well.
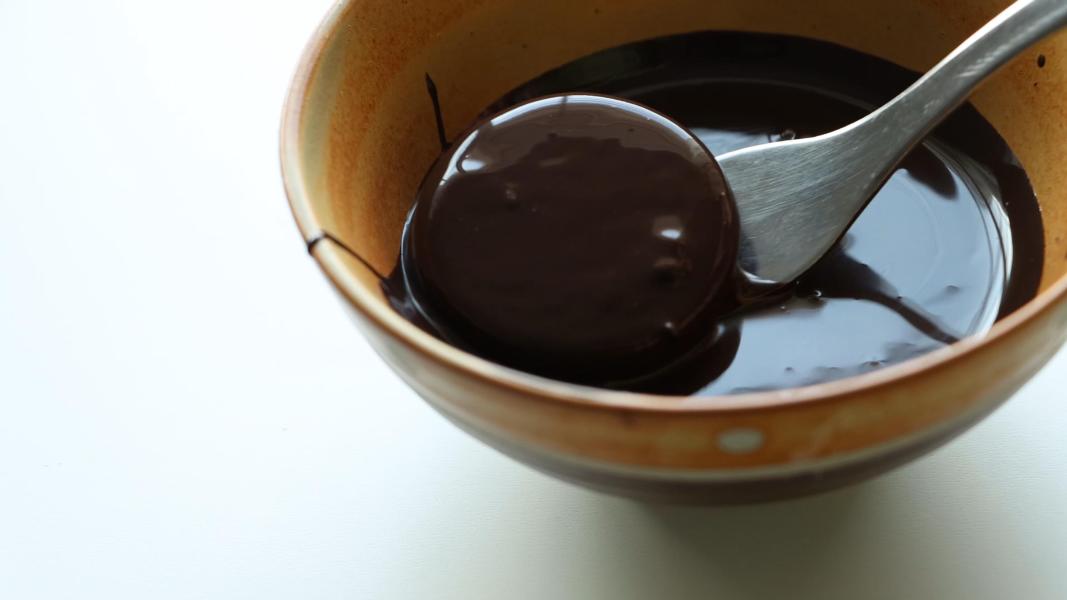
    Tap to remove the excess chocolate.
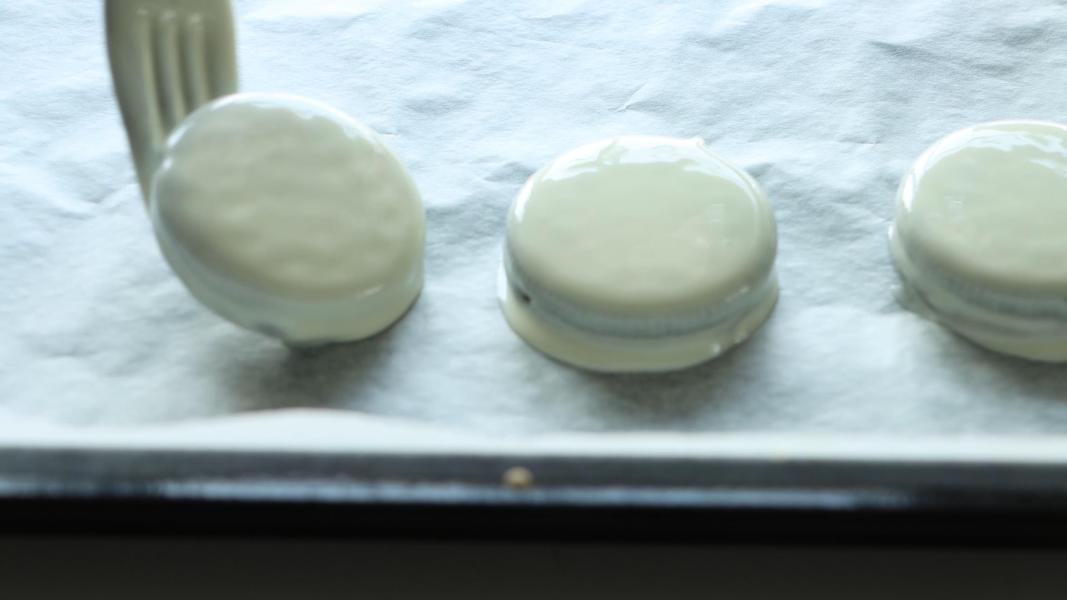
    Arrange them on a lined plate or tray.
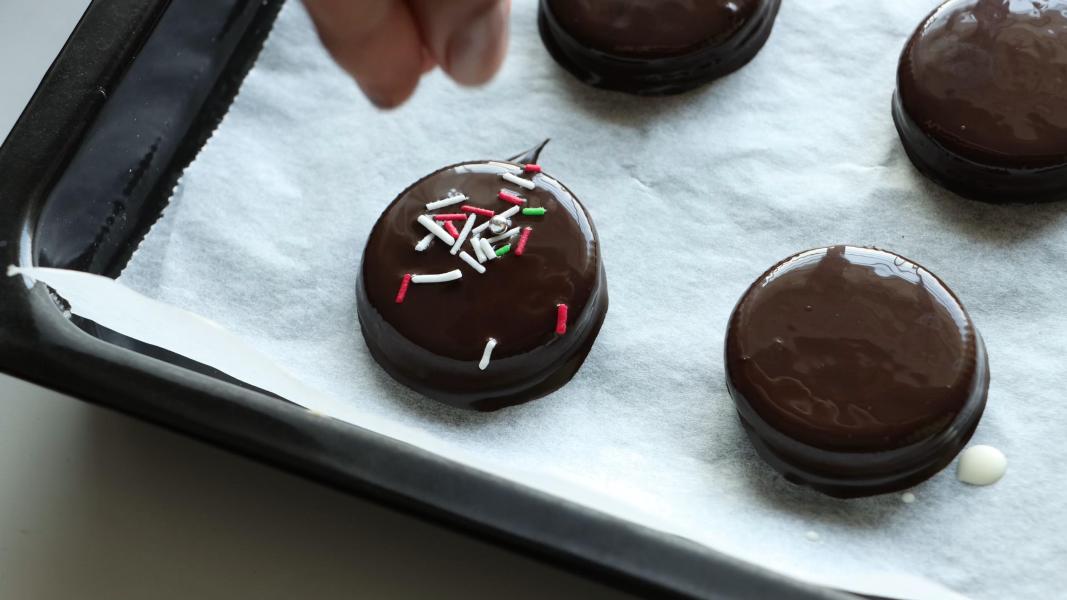
    Immediately, sprinkle nuts or Christmas sprinkles on top while the chocolate is still wet.

    Let the chocolate to set fully, at room temperature or in the fridge.

    Serve & enjoy!

    Few more holiday recipes:

    • Raspberry Fool
    • Oreo Bark
    • Secret Kiss Snowball Cookies
    • Snowballs
    • Rose Almond Cookies
    • Thandai Bark
    • Gulab Jamun Truffles
    • Cherry Turnovers

    How to make chocolate covered oreos recipe video below:

    Print Recipe

    Chocolate Covered Oreos Recipe

    Chocolate Covered Oreos - These super easy and delicious no-bake cookies are perfect for the holiday season! A great addition to your Christmas cookie trays!
    Prep Time20 minutes mins
    Cook Time10 minutes mins
    Total Time30 minutes mins
    Course: Dessert, Snack
    Cuisine: American, International
    Keyword: Chocolate Covered Oreos, christmas recipes, Oreo Recipes
    Servings: 16 Cookies
    Calories: 126kcal
    Author: Hari Chandana Ponnaluri

    Ingredients

    • ½ Cup White Chocolate
    • ½ Cup Dark Chocolate
    • 1 Tablespoon Coconut Oil
    • 16 Oreo Cookies
    • Sprinkles as needed

    Instructions

    • Heat some water in a pan or vessel over low heat and place a heat resistant bowl on top of the water pot.
    • Add chopped chocolate and coconut oil into the top bowl.
    • Keep stirring with a spatula until it is smooth and shiny.
    • Dip each oreo into the melted chocolate and coat it well.
    • Tap to remove the excess chocolate.
    • Arrange them on a lined plate or tray.
    • Immediately, sprinkle nuts or christmas sprinkles on top while the chocolate is still wet.
    • Repeat process with the remaining cookies.
    • Let the chocolate to set fully, at room temperature or in the fridge.
    • Serve & enjoy!
    Video

    Nutrition

    Calories: 126kcal | Carbohydrates: 14g | Protein: 1g | Fat: 7g | Saturated Fat: 4g | Polyunsaturated Fat: 1g | Monounsaturated Fat: 2g | Trans Fat: 0.01g | Cholesterol: 1mg | Sodium: 53mg | Potassium: 83mg | Fiber: 1g | Sugar: 10g | Vitamin A: 4IU | Vitamin C: 0.03mg | Calcium: 18mg | Iron: 2mg

    Chocolate Kiss Snowball Cookies

    December 15, 2022

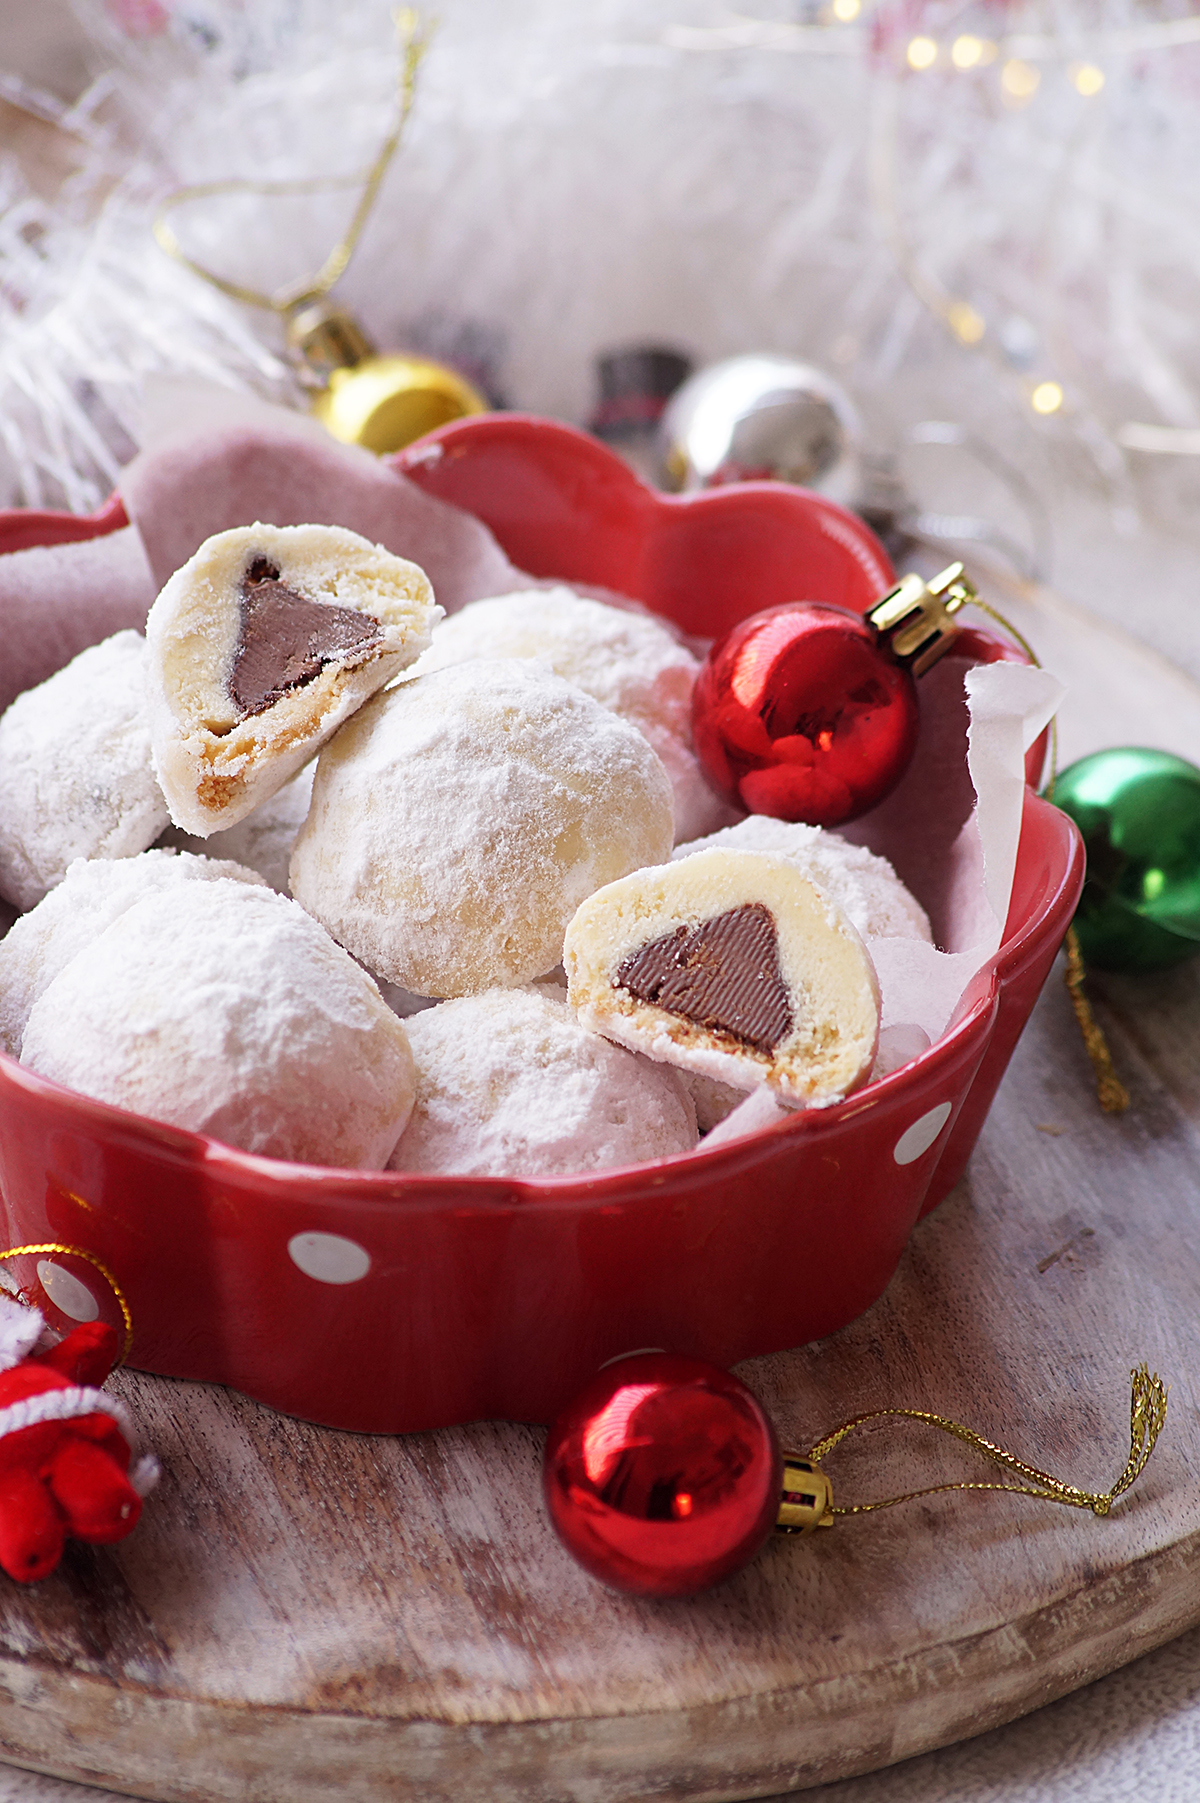
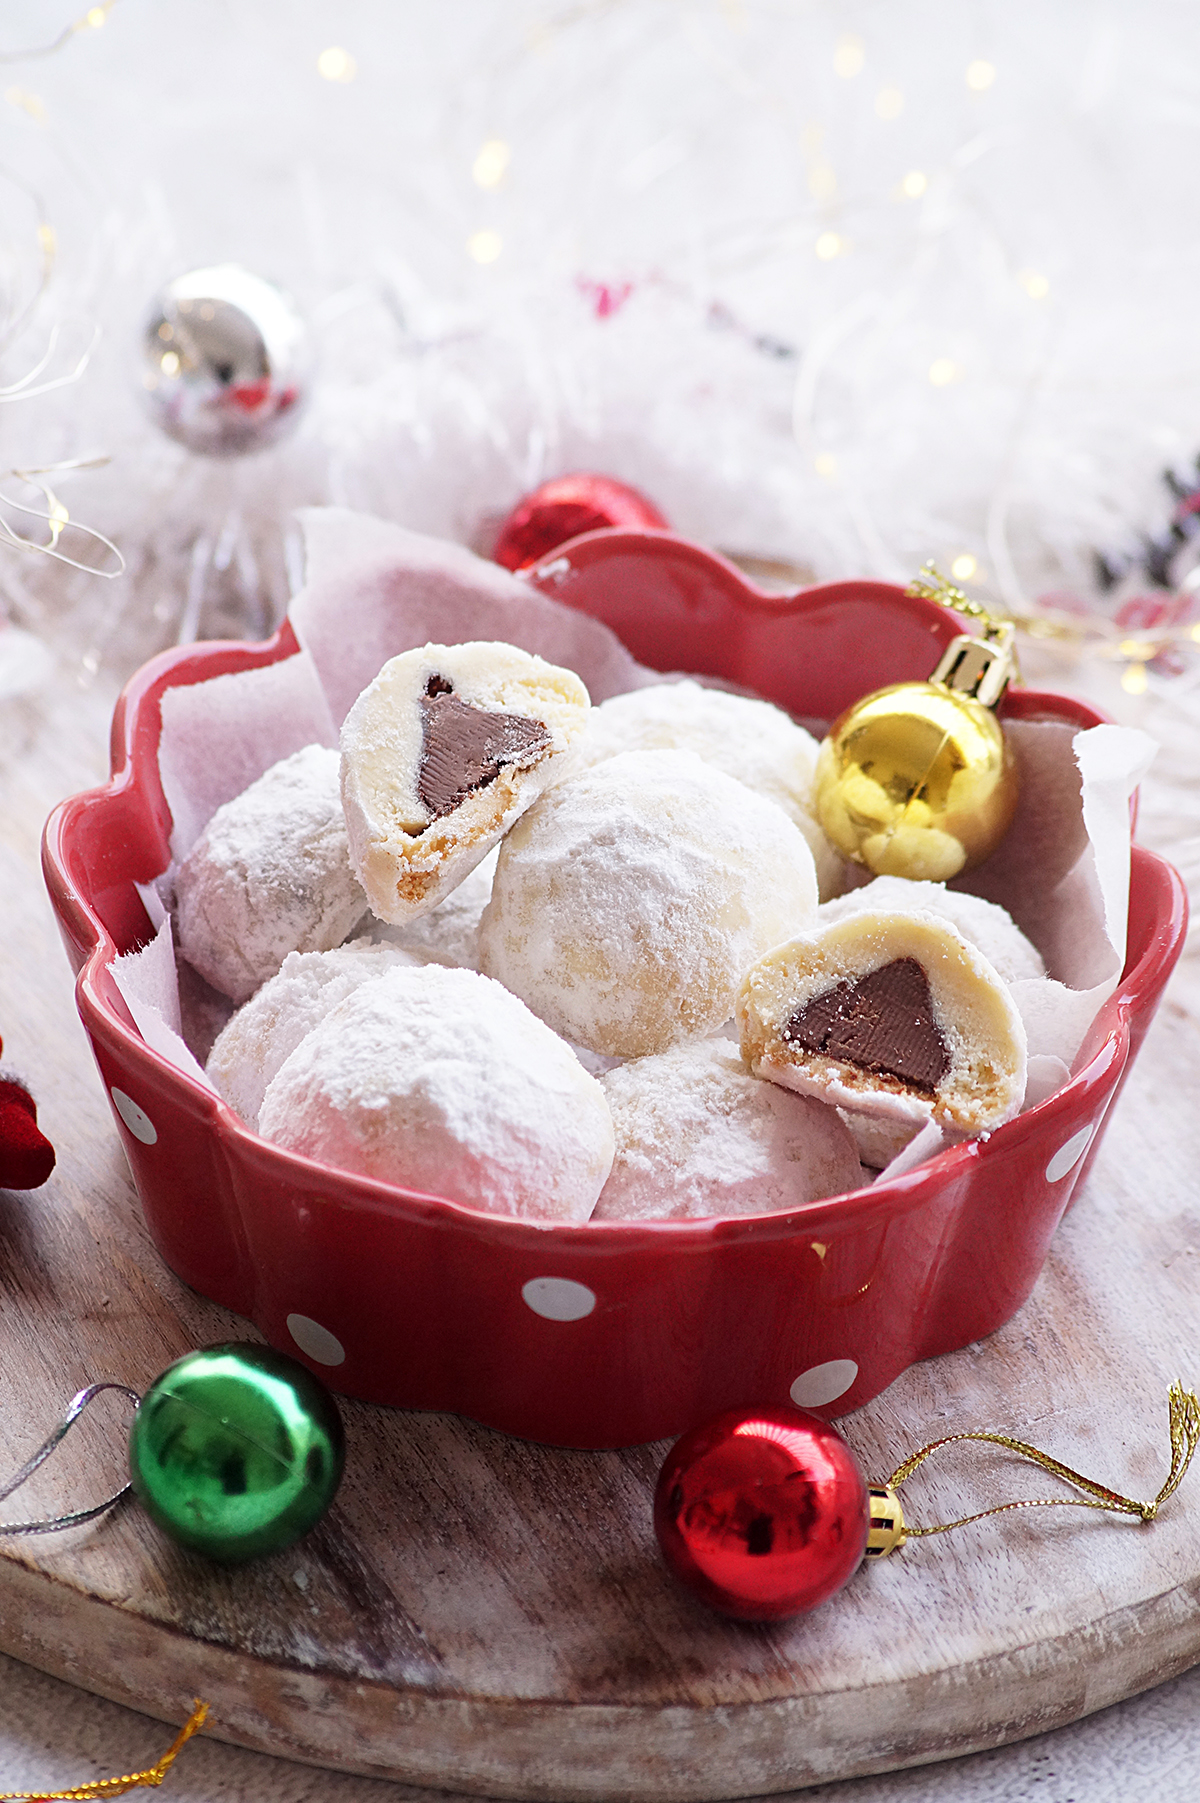
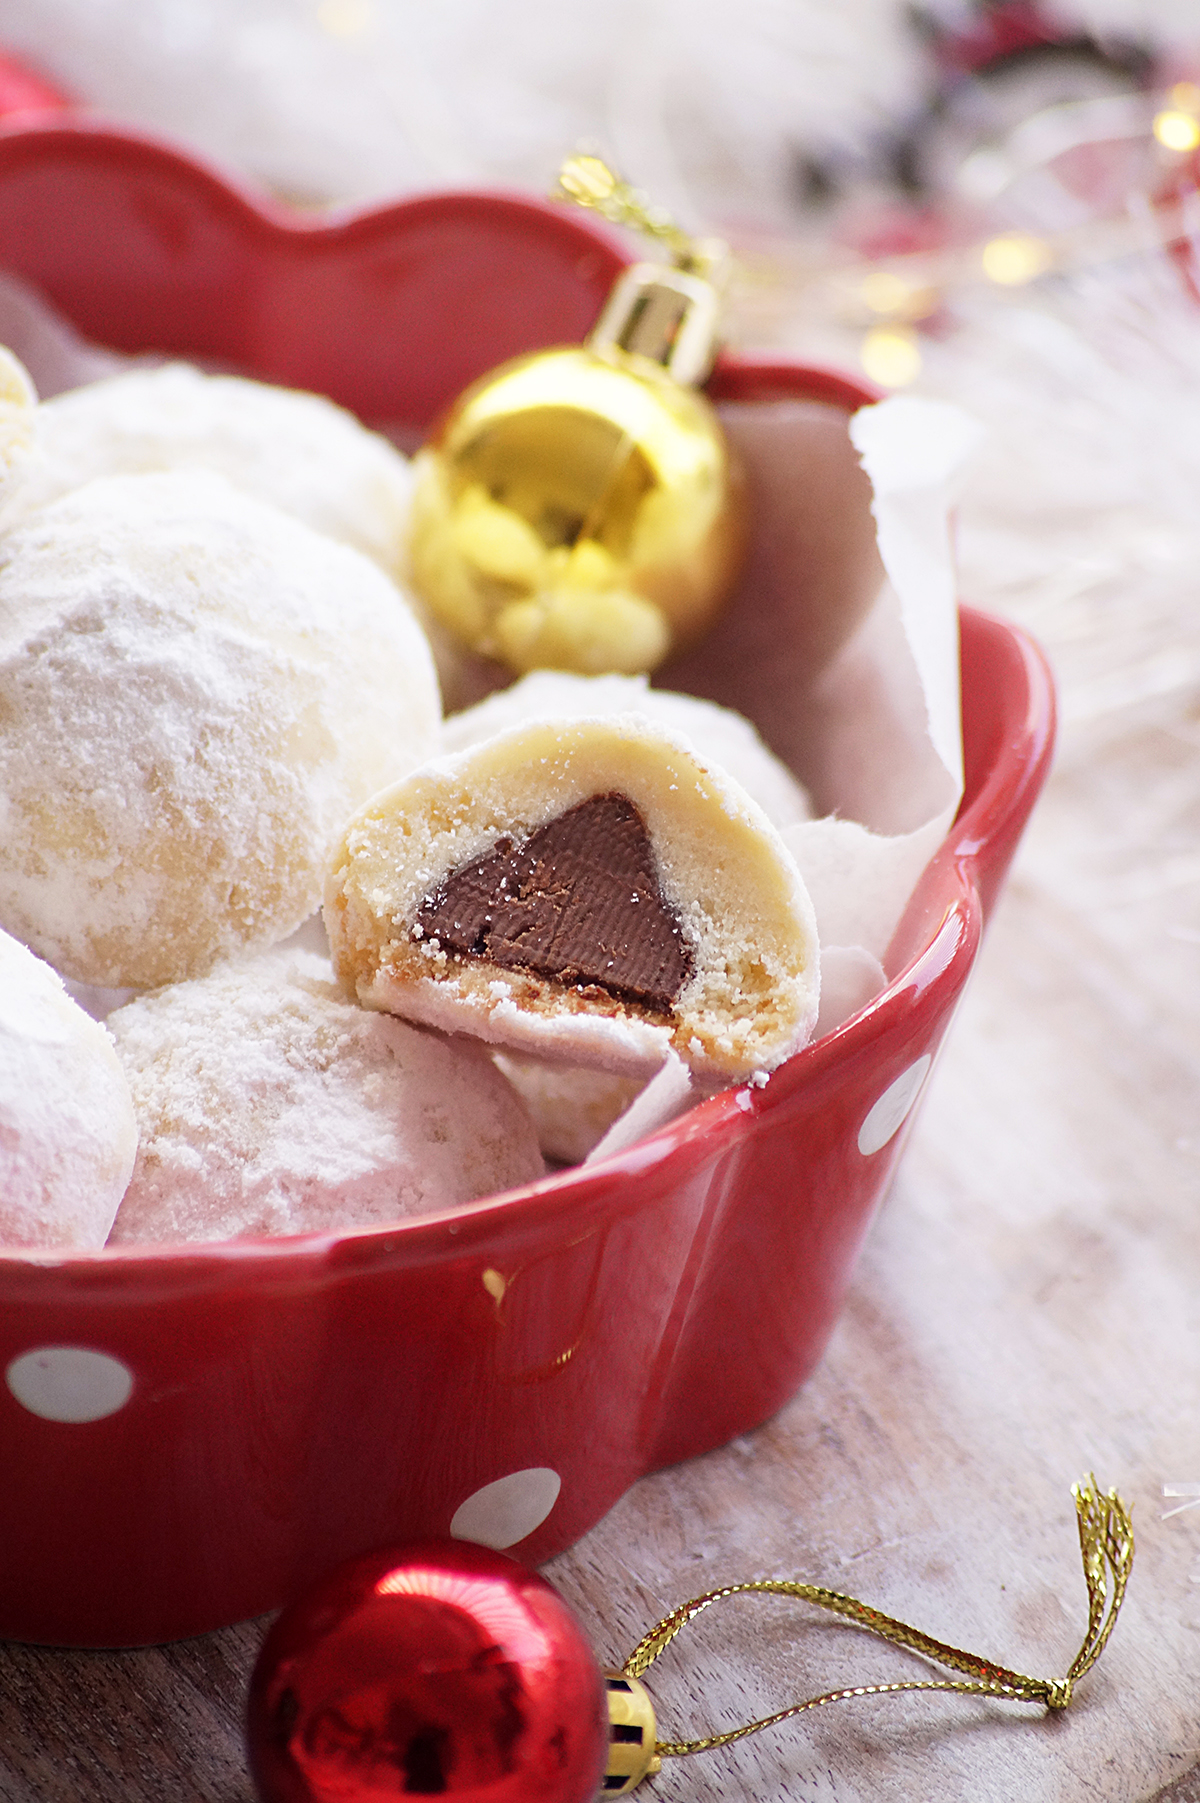
    Chocolate Kiss Snowball Cookies - These classic snowball cookies are rich, buttery, delicate, delicious and have a chocolate surprise inside. A perfect Christmas cookie recipe that everyone will love!

    What are chocolate kiss snowballs?

    Snowball are one of the traditional and popular Christmas cookies. They are tiny shortbread cookie balls rolled in powdered sugar, which gives them a white, snow-like appearance.

    These are so rich, addictive and they just melt in your mouth. Snowballs are also known as Mexican Wedding Cookies, Italian Wedding Cookies and Russian Tea Cakes.

    There are many variations of snowball cookies, and chocolate kiss snowballs are one among them all. They are nothing but the classic snowballs stuffed with Hershey kisses.

    Why you'll love this recipe:

    So easy and fun to make!

    These look fancy with a secret chocolate kiss inside the cookie!

    Perfect for any occasion!

    A great addition to your cookie tray!

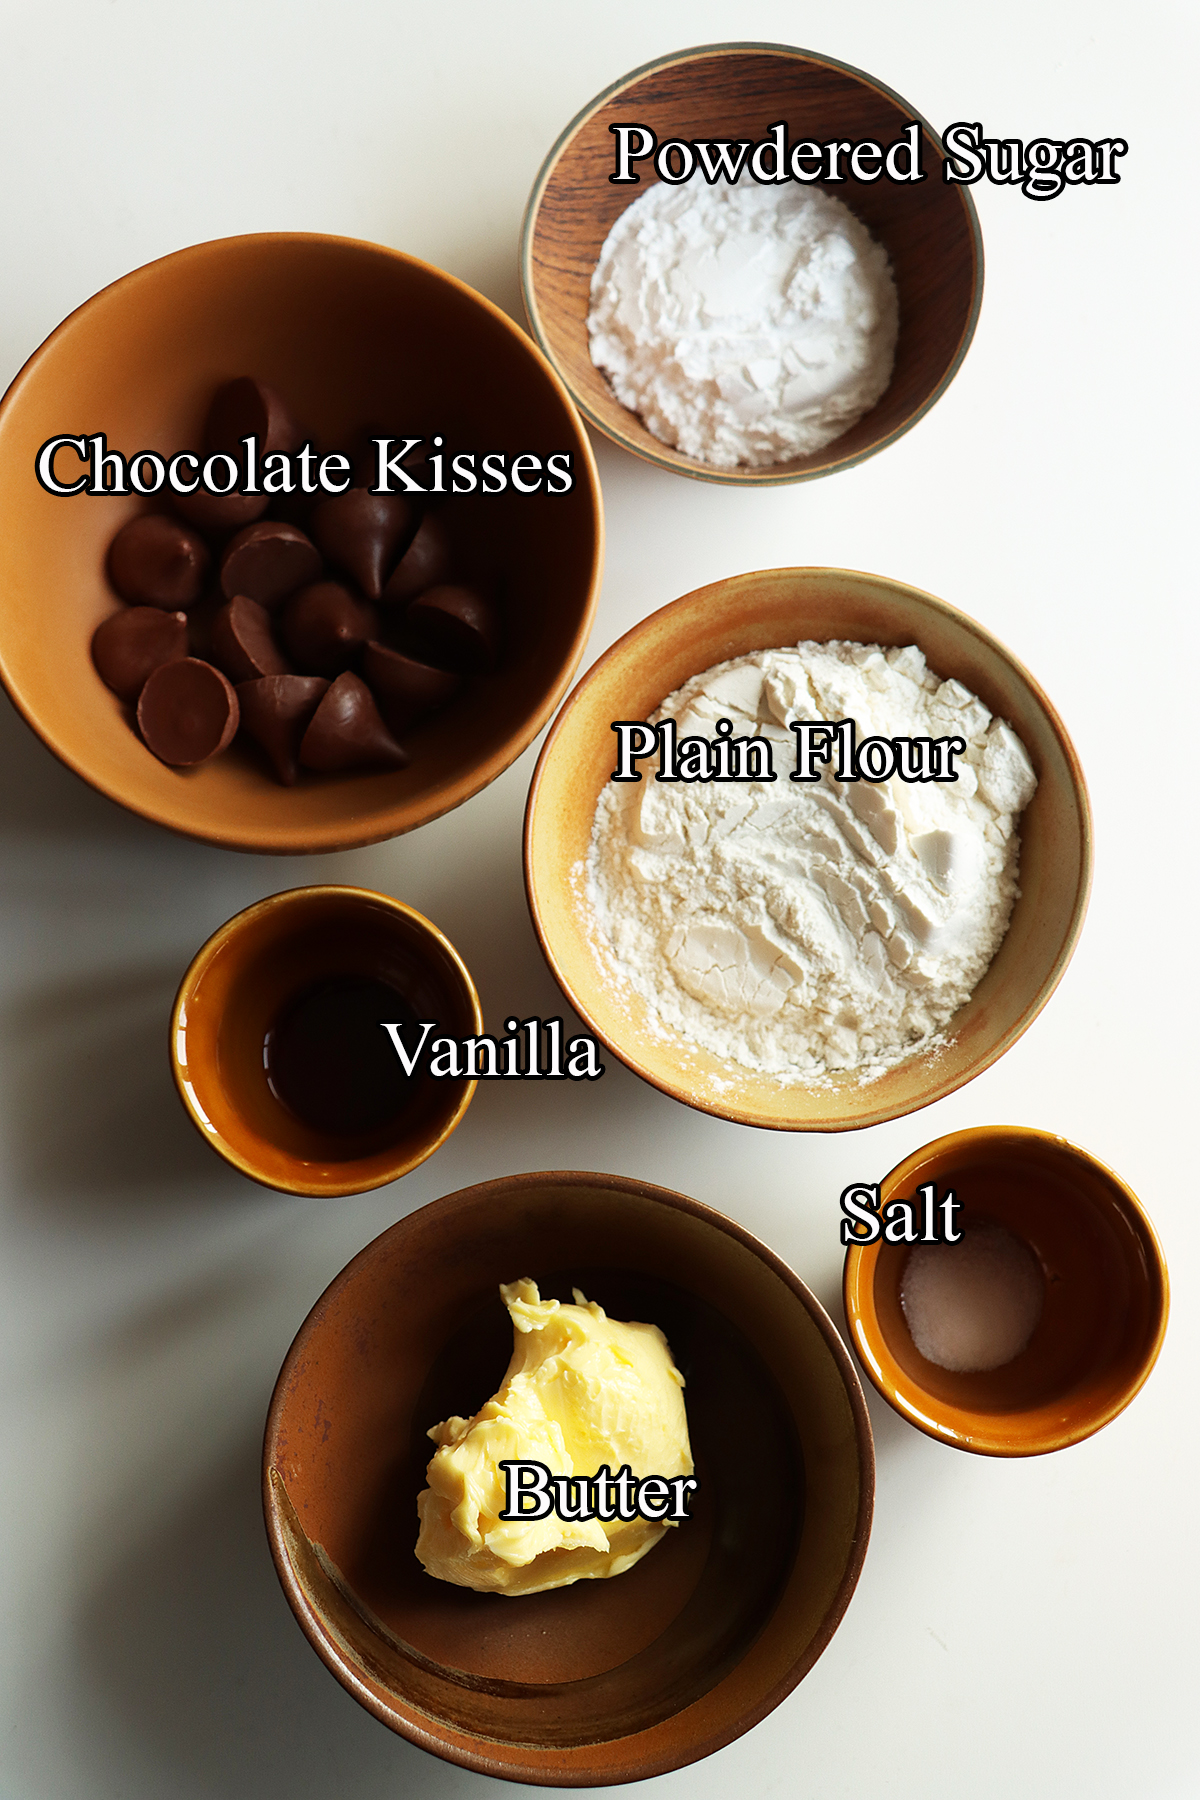
    Ingredients:

    Chocolate Kisses - I have used Hershey's chocolate kisses in this recipe. If you don't have them handy, you can also use a piece of semi sweet chocolate.

    Unsalted Butter - Skip salt if you are using salted butter.

    Flour - I have used all-purpose flour to make these cookies. I haven't tried any other flours yet.

    Vanilla - You could also use a good quality almond extract.

    Powdered Sugar

    Salt

    Variations:

    You can swap vanilla with almond extract for a flavor variation.

    You could also add ¼ cup of finely chopped nuts such as walnuts, pecans and almonds to the dough.

    To make them more chocolatey, add some cocoa powder to the cookie dough.

    Storage suggestions:

    You can store the unbaked stuffed cookie balls in the refrigerator for 4-5 days. If you want to store them longer, freeze them for about 2 months.

    You can store the baked ones in an airtight container at room temperature for up to a week.

    Can the baked snowballs be frozen?

    Absolutely, once the cookies are baked and rolled in powdered sugar, arrange them in an airtight container and separate the layers with parchment papers.  You can freeze them for up to 2 months. Let them thaw at room temperature and roll them in some powdered sugar again before serving.

    Can I double this recipe?

    Yes! this hershey kiss snowballs recipe can be doubled easily. No preparation changes needed.

    Tips & Notes:

    Follow the exact measurements to make them perfect.

    Make sure the dough is firm and chilled when you bake.

    Be careful not to overbake them.

    You will need to roll the baked ones in powdered sugar when they are still warm.

    Once they are cool, roll them again in powdered sugar if needed.

    If you want to make super white snowball cookies, roll them twice in powdered sugar.

    Step by step instructions:

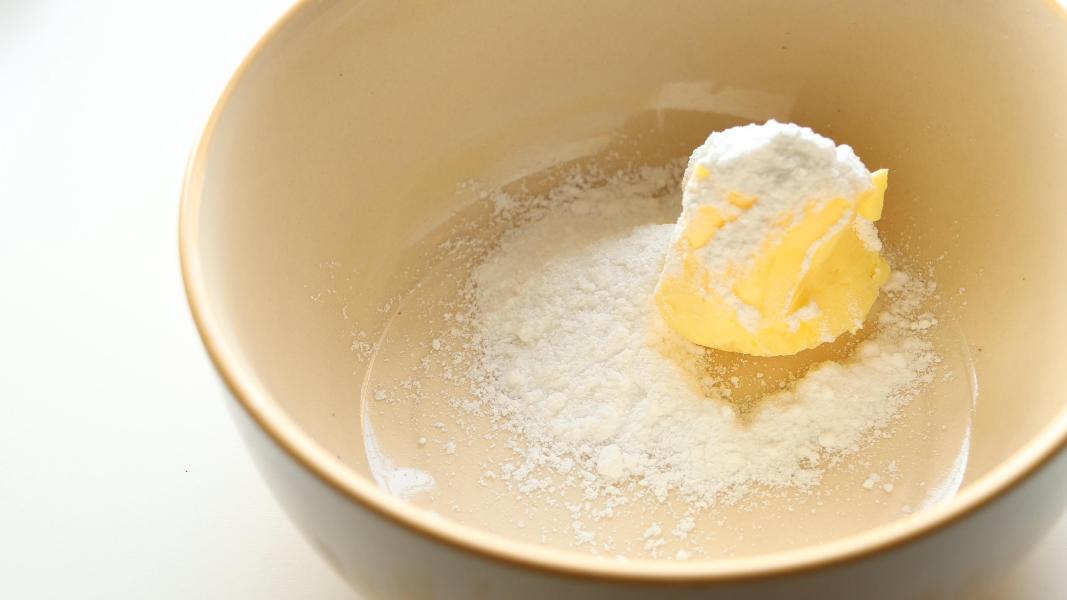
    Take a mixing bowl, add softened butter and powdered sugar. Mix everything well until smooth and creamy using a spatula or whisk.

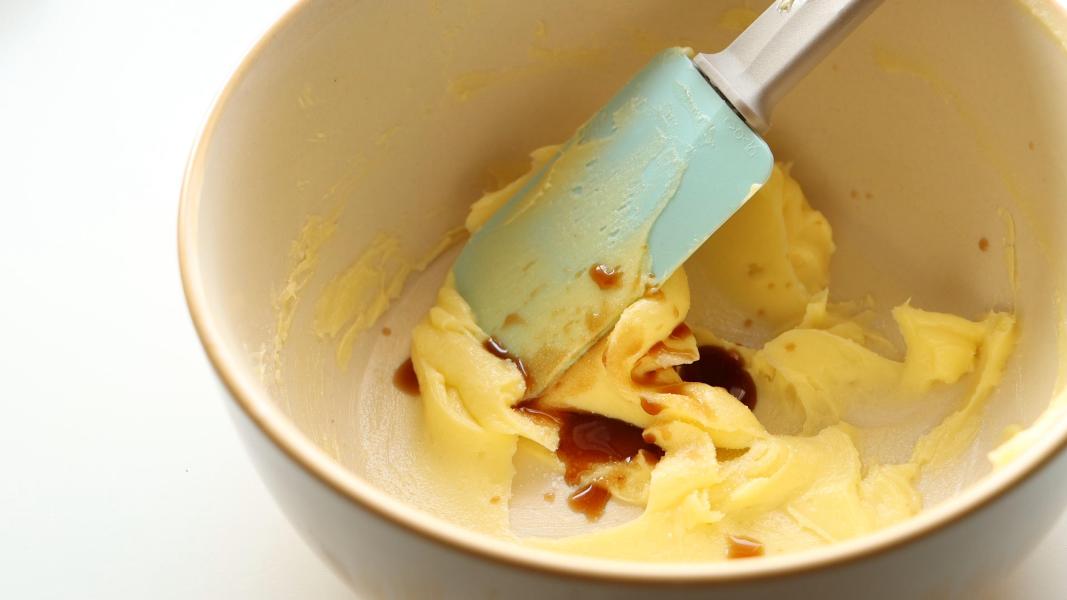
    Add salt and vanilla and mix well.

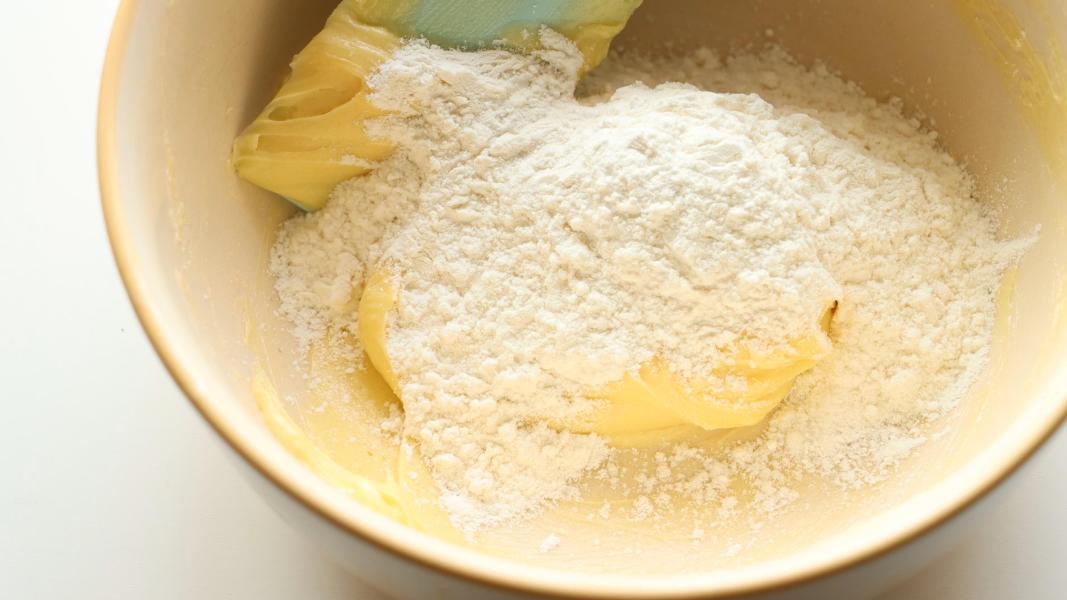
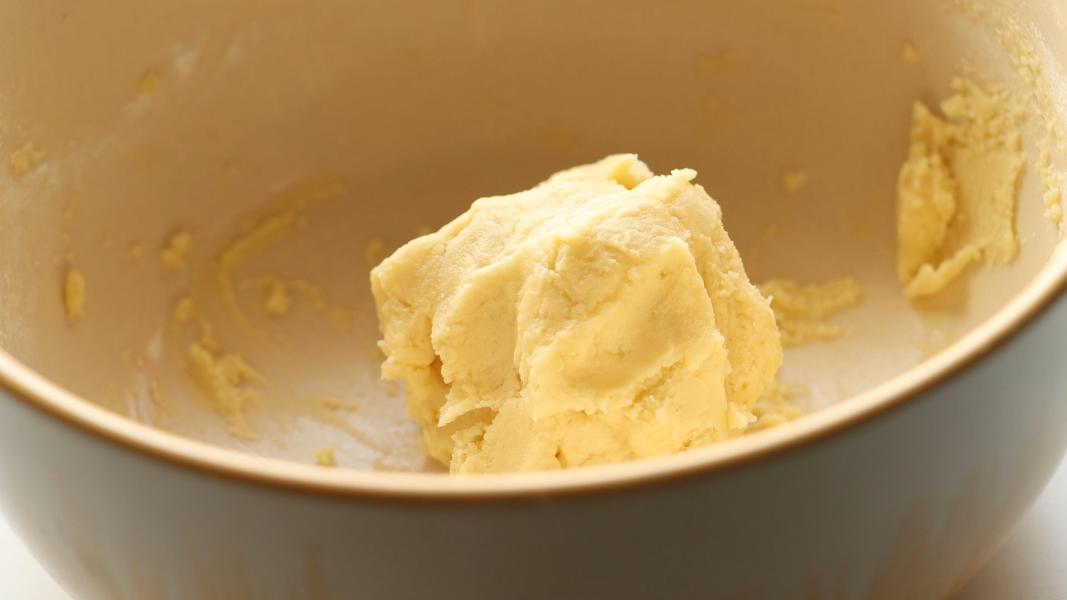
    Add measured flour to the creamed butter and mix well to make a smooth dough.

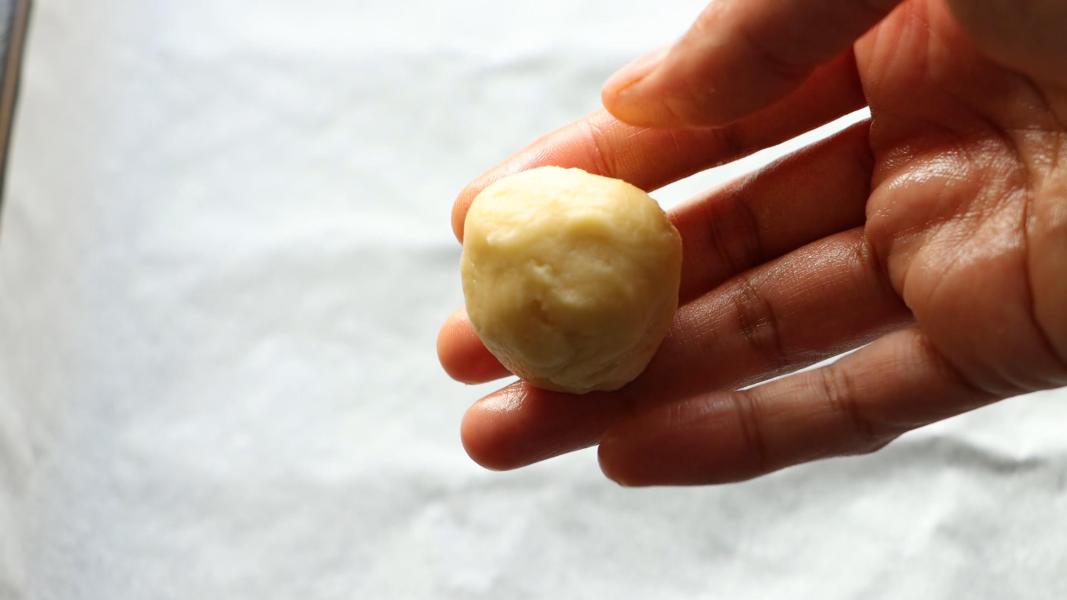
    Take a tablespoon of dough and shape into round balls. You will be able to make 18-20 dough balls.

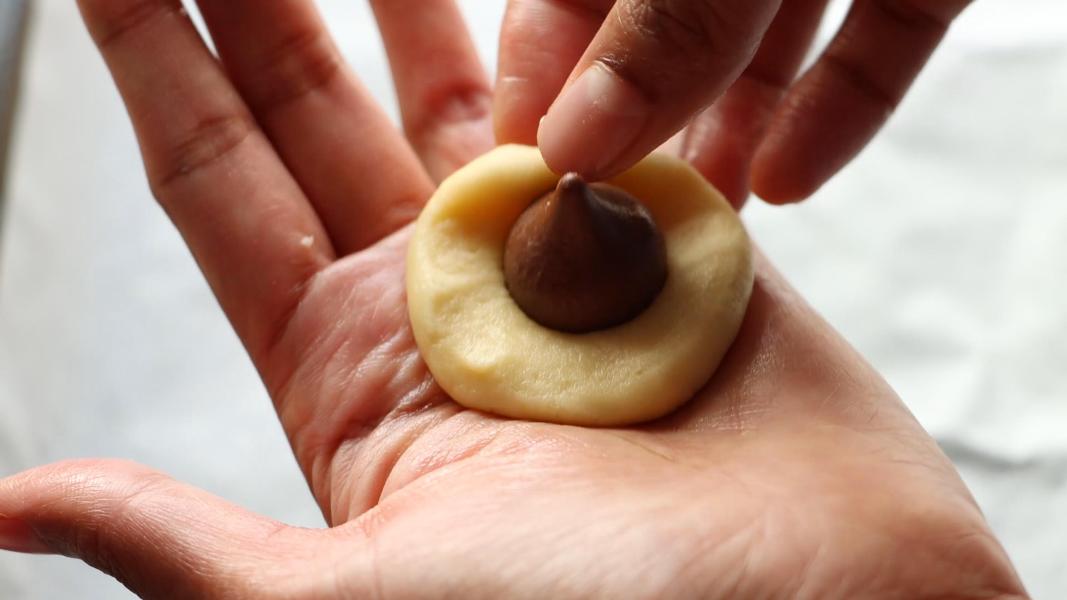
    Flatten the dough ball and place a chocolate kiss in the middle.

    Gather the edges together to seal it properly. Roll them into round balls.

    Arrange the rolled cookie balls on a lined baking tray and let them chill in the refrigerator for an hour or until the dough is firm.

    When they are firm, remove them from the fridge and place the tray in the preheated oven.

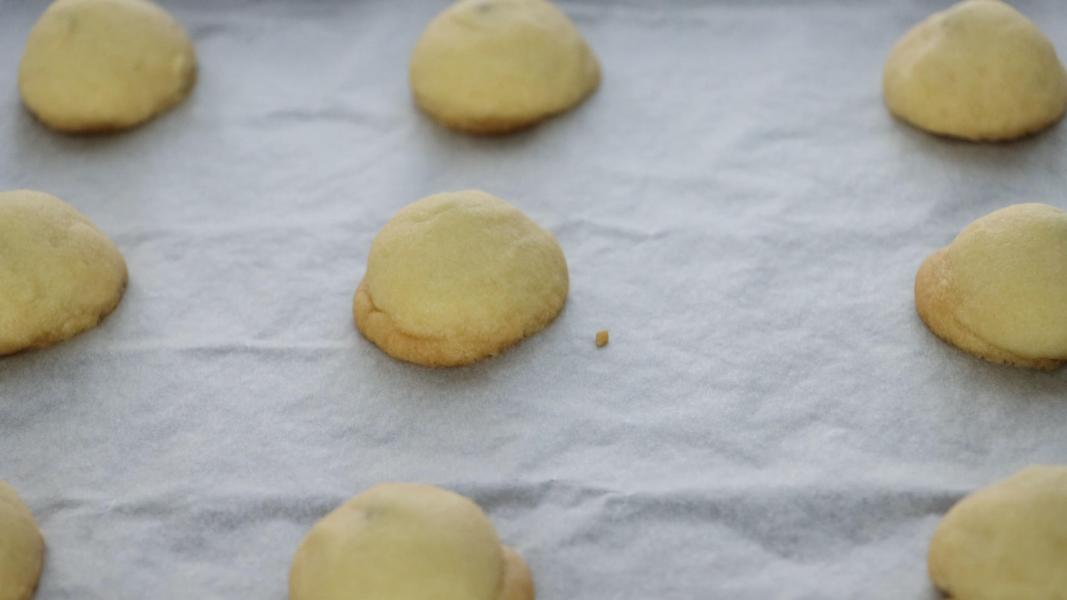
    Let them bake for about 15-18 minutes or until the bottom of cookies is slightly browned at 180 degrees C.

    Once they are baked, take them out of the oven and allow them to cool down a bit.

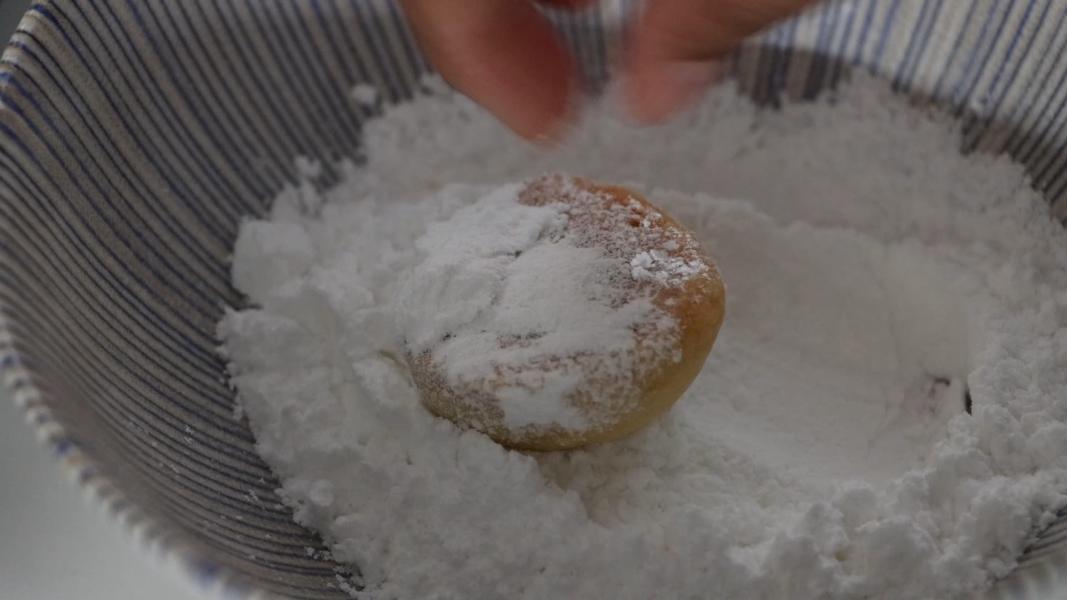
    When the baked cookies are still warm, roll them in powdered sugar.

    Arrange them on a wire rack and let them cool completely.

    Roll them twice in powdered sugar if needed. Serve & enjoy!
    Few more Christmas recipes:

    • Nutella Sandwich Cookies
    • Chocolate Snowballs
    • Fruitcake Cookies
    • Swedish Chocolate Balls
    • Goan Kulkuls
    • Orange Tutti Frutti Cake
    • Cherry Almond Cake
    • Italian Sesame Cookies

    Chocolate kiss snowball cookies recipe video below:

    Print Recipe

    Chocolate Kiss Snowball Cookies Recipe

    Chocolate Kiss Snowball Cookies Recipe - Rich, buttery, delicate and delicious snowball cookies with hershey kisses. These are perfect for the holidays!
    Prep Time15 minutes mins
    Cook Time15 minutes mins
    Total Time30 minutes mins
    Course: Baking, Cookies, Dessert
    Cuisine: European, International
    Keyword: Chocolate Kiss Snowball Cookies, Christmas Cookies, christmas recipes, cookies for christmas, cookies for holidays
    Servings: 18 Cookies
    Calories: 119kcal
    Author: Hari Chandana Ponnaluri

    Ingredients

    • ½ Cup Unsalted Butter Softened
    • ¼ Cup Powdered Sugar for the dough
    • ¼ Teaspoon Salt
    • ½ Teaspoon Vanilla Extract
    • 1 Cup Plain Flour / All-Purpose Flour
    • ¾ Cup Powdered Sugar To coat the baked cookies
    • 18 Hershey Chocolate Kisses

    Instructions

    • Combine unsalted butter, and powdered sugar in a bowl and mix well until it is smooth. Add salt and vanilla and combine it well.
    • Add flour to the butter mixture and mix everything to make a dough.
    • Divide the dough into 18-20 small round balls.
    • Flatten each ball a bit and stuff it with a hershey chocolate kiss.
    • Gather the edges and seal it properly.
    • Roll it into a smooth round ball.
    • Arrange stuffed cookie dough on a lined baking tray and let them chill in the refrigerator for an hour or until they become firm.
    • Once they are chilled, bake them in the preheated oven for 15-18 minutes at 180 degrees C.
    • When the bottom of cookies is lightly browned, remove them from the oven and let them cool down a bit.
    • While cookies are still warm, roll them in powdered sugar.
    • Transfer them to a wire rack and let them cool completely. Roll them twice in powdered sugar if needed.
    • Store in an airtight container. If you want, sprinkle the top of the cookies with more powdered sugar before serving.

    Video

    Nutrition

    Calories: 119kcal | Carbohydrates: 15g | Protein: 1g | Fat: 7g | Saturated Fat: 4g | Polyunsaturated Fat: 0.2g | Monounsaturated Fat: 1g | Trans Fat: 0.2g | Cholesterol: 15mg | Sodium: 37mg | Potassium: 9mg | Fiber: 0.3g | Sugar: 9g | Vitamin A: 158IU | Calcium: 12mg | Iron: 0.4mg

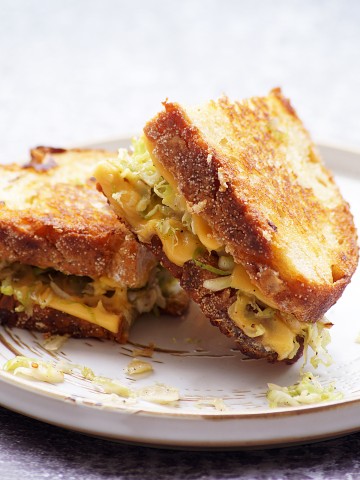
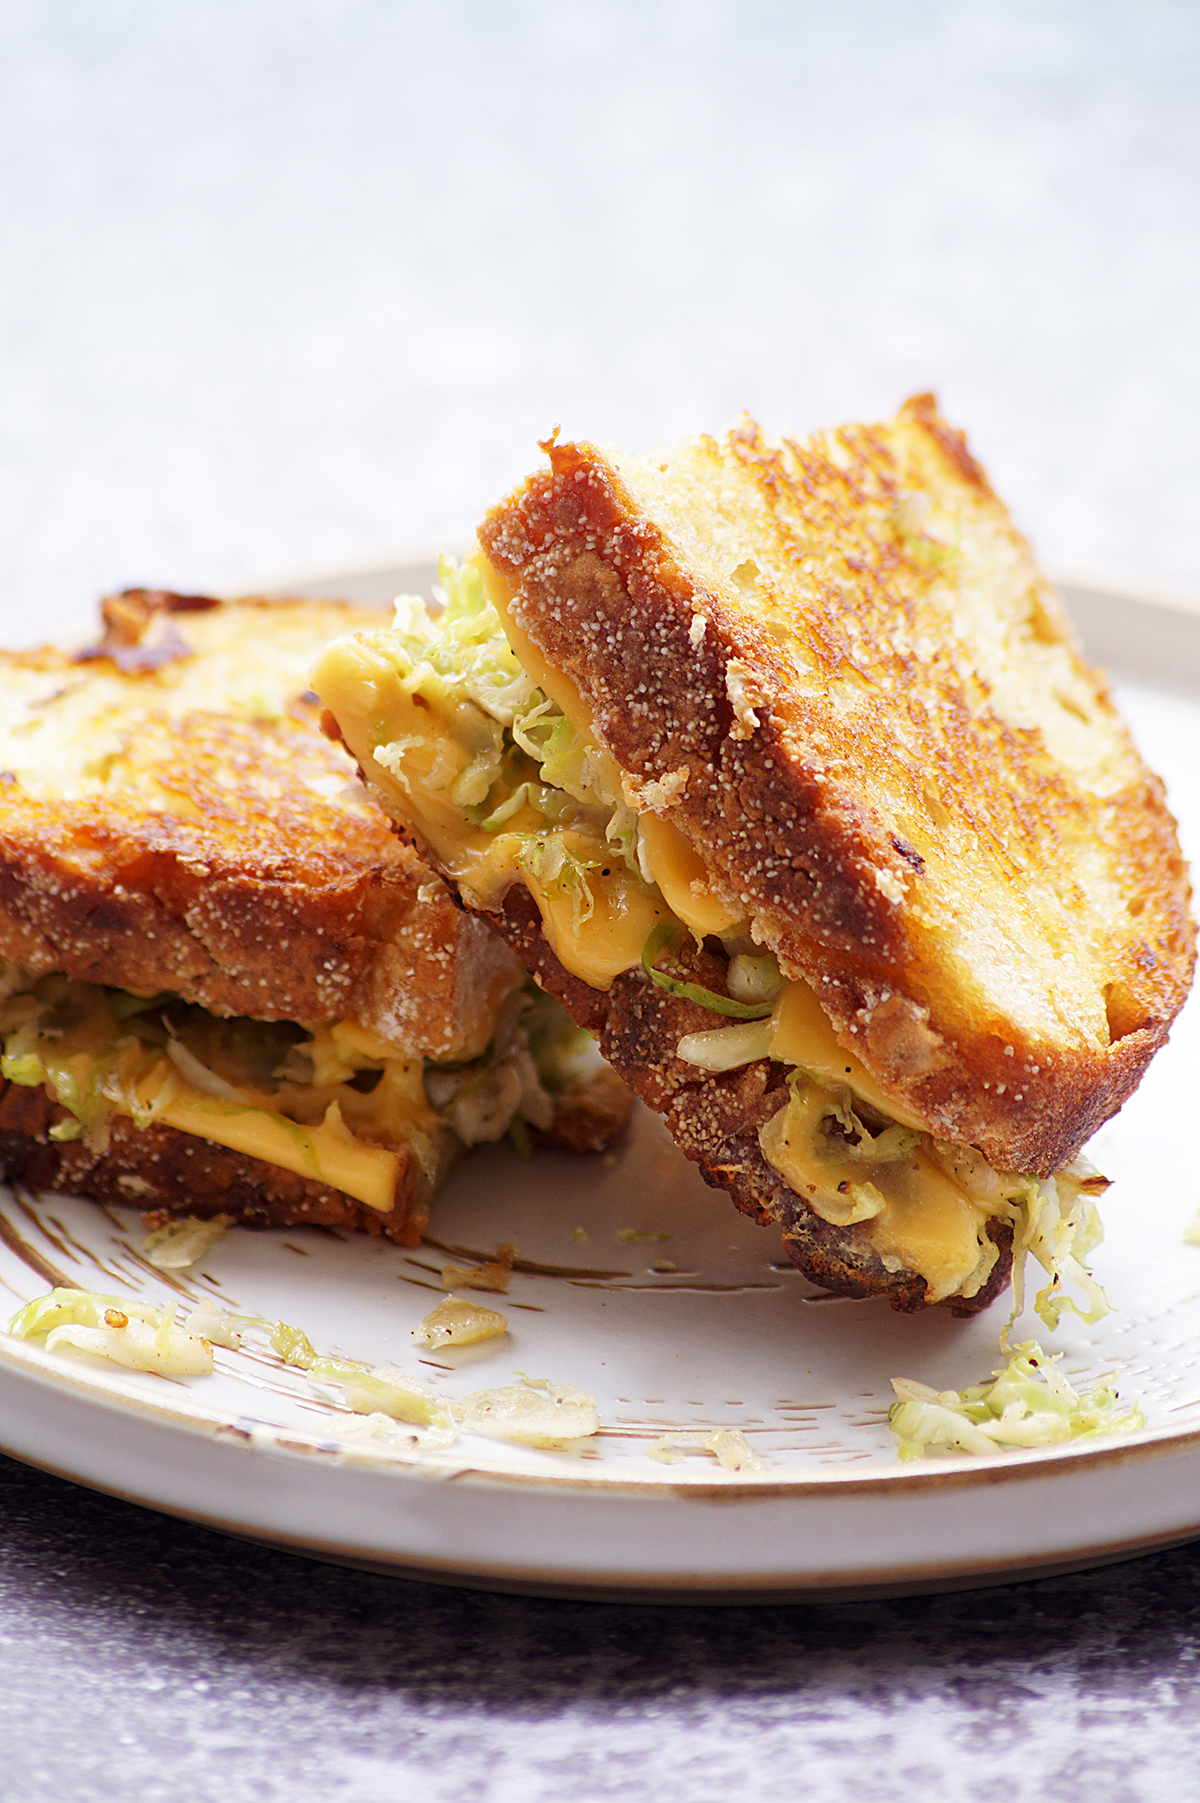
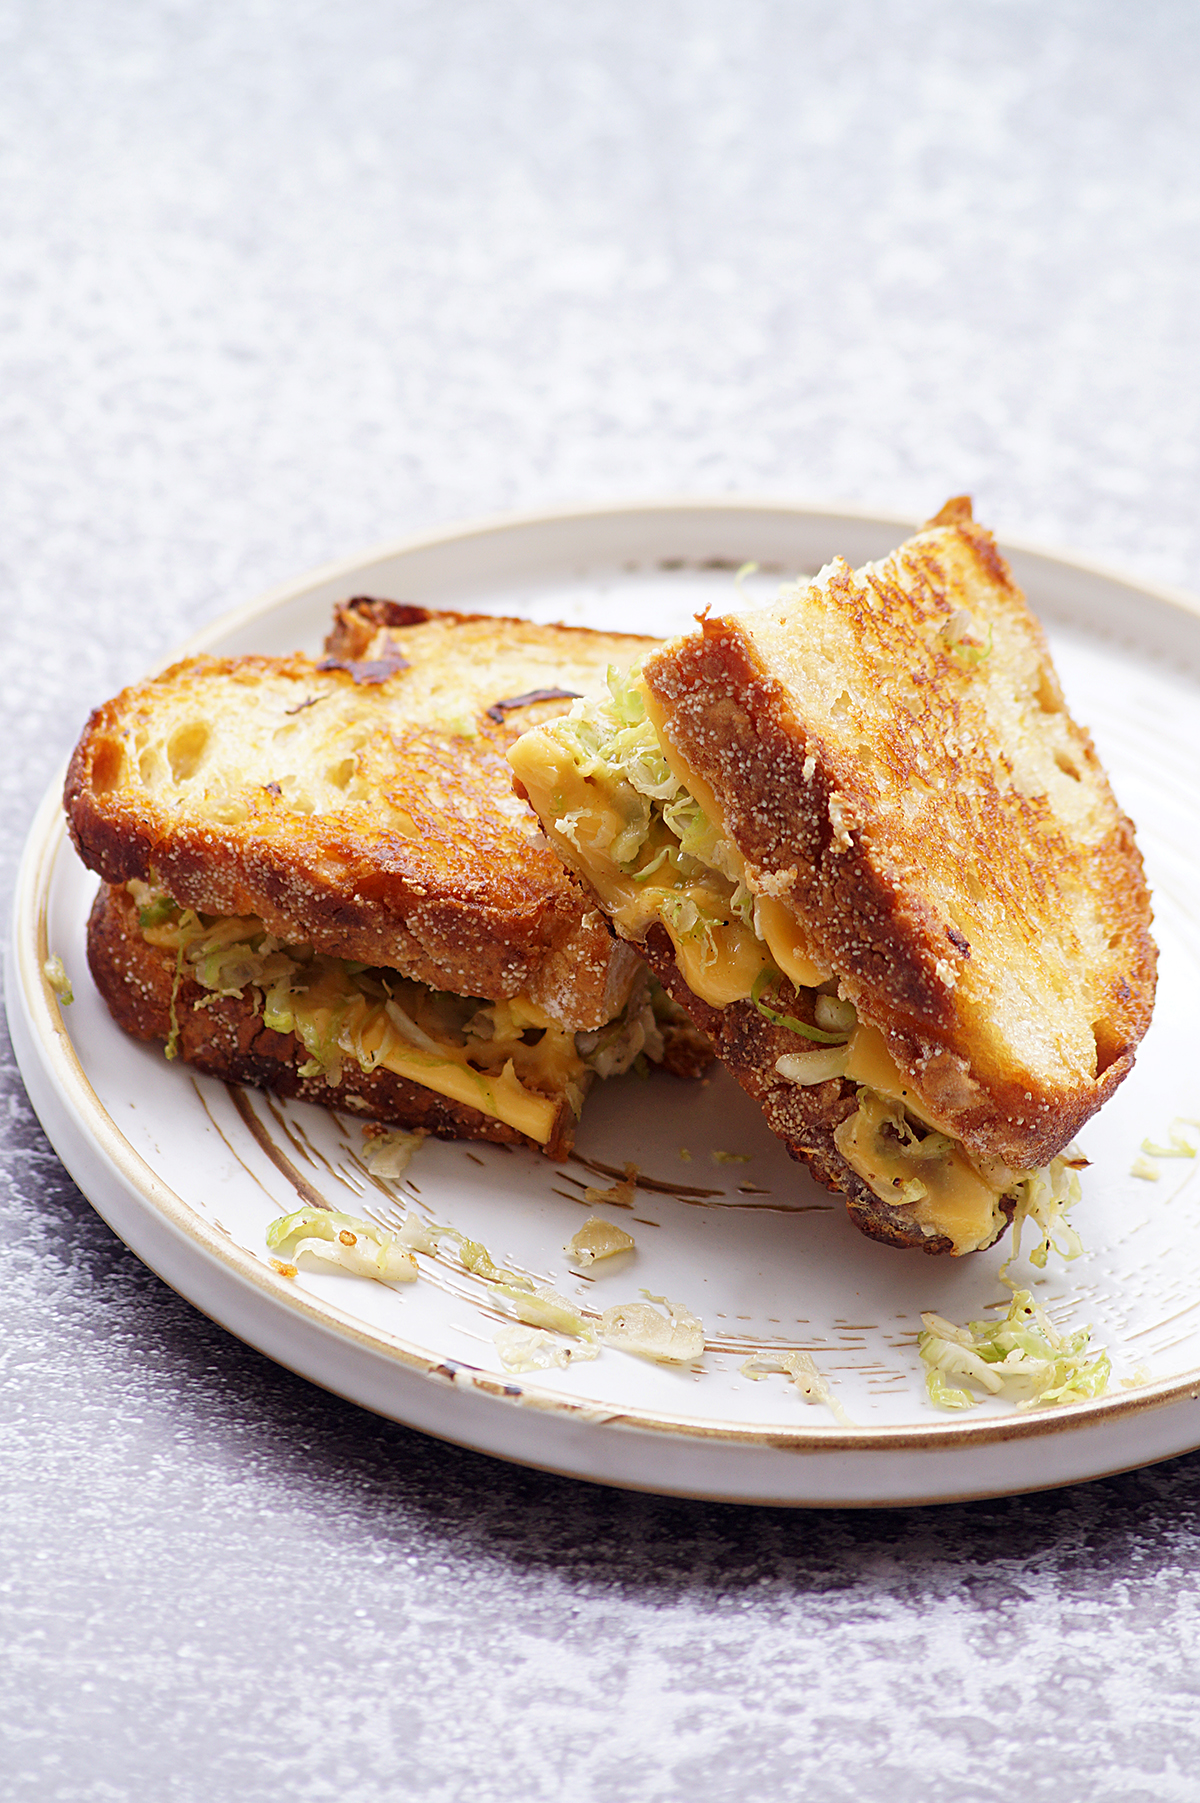
    Brussels Sprouts Grilled Cheese Sandwich

    December 14, 2022

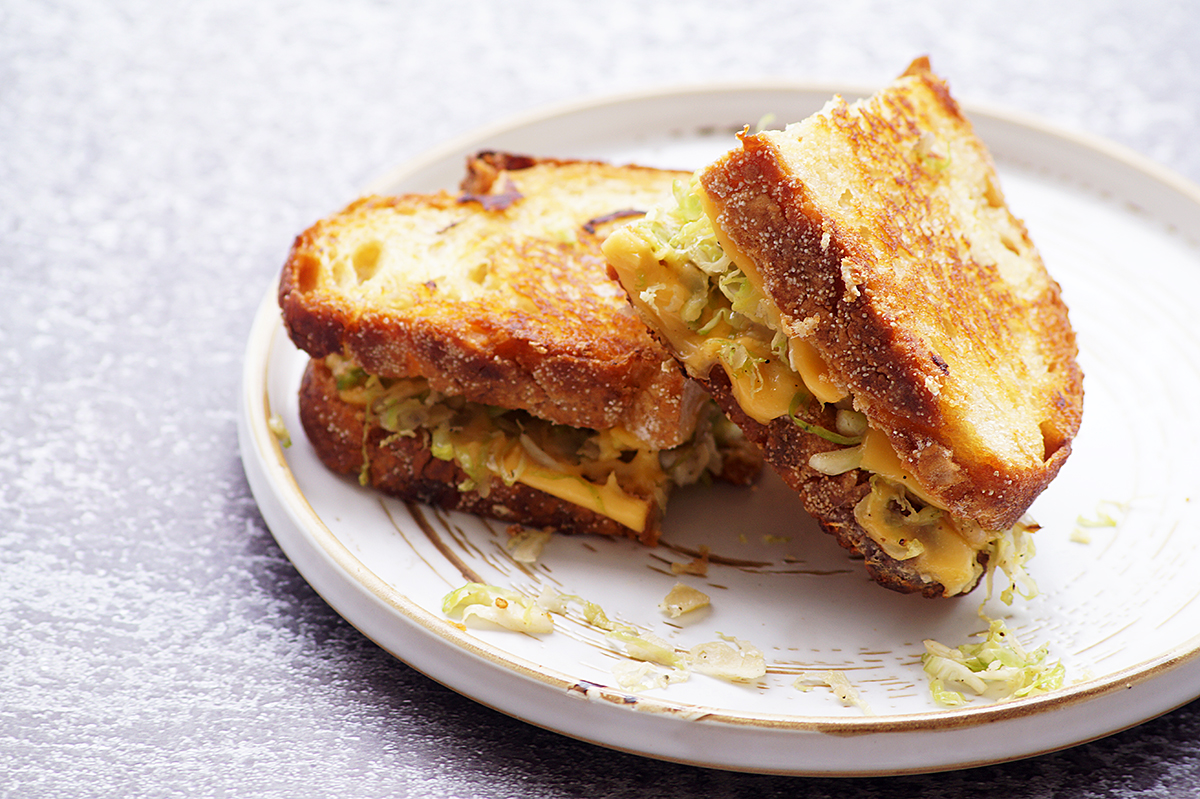
    Brussels Sprouts Sandwich Recipe - A simple, healthy and easy grilled cheese sandwich with brussels sprouts is a delicious and unique variation of the classic grilled cheese sandwich!

    What are brussels sprouts?

    Brussels sprouts are a type of tiny, green vegetable that belongs to the cabbage family. They have a slightly bitter taste and a crunchy texture, and are a good source of vitamins and minerals, including vitamin C and potassium.

    Brussels sprouts can be boiled, roasted, grilled, or sautéed, and then served on their own or with a sauce or dressing. They can also be added to the salads, stir-fries, rice, pasta, wraps and sandwiches.

    Today's recipe is a simple grilled cheese sandwich with the seasonal sliced brussels sprouts. If you are looking for some easy recipes with brussels sprouts, this recipe is for you!

    Why you'll love this recipe:

    Super simple recipe and easy to make!

    Can be served as breakfast, lunch or dinner!

    A delicious way to eat brussels sprouts!

    The filling can be made ahead!

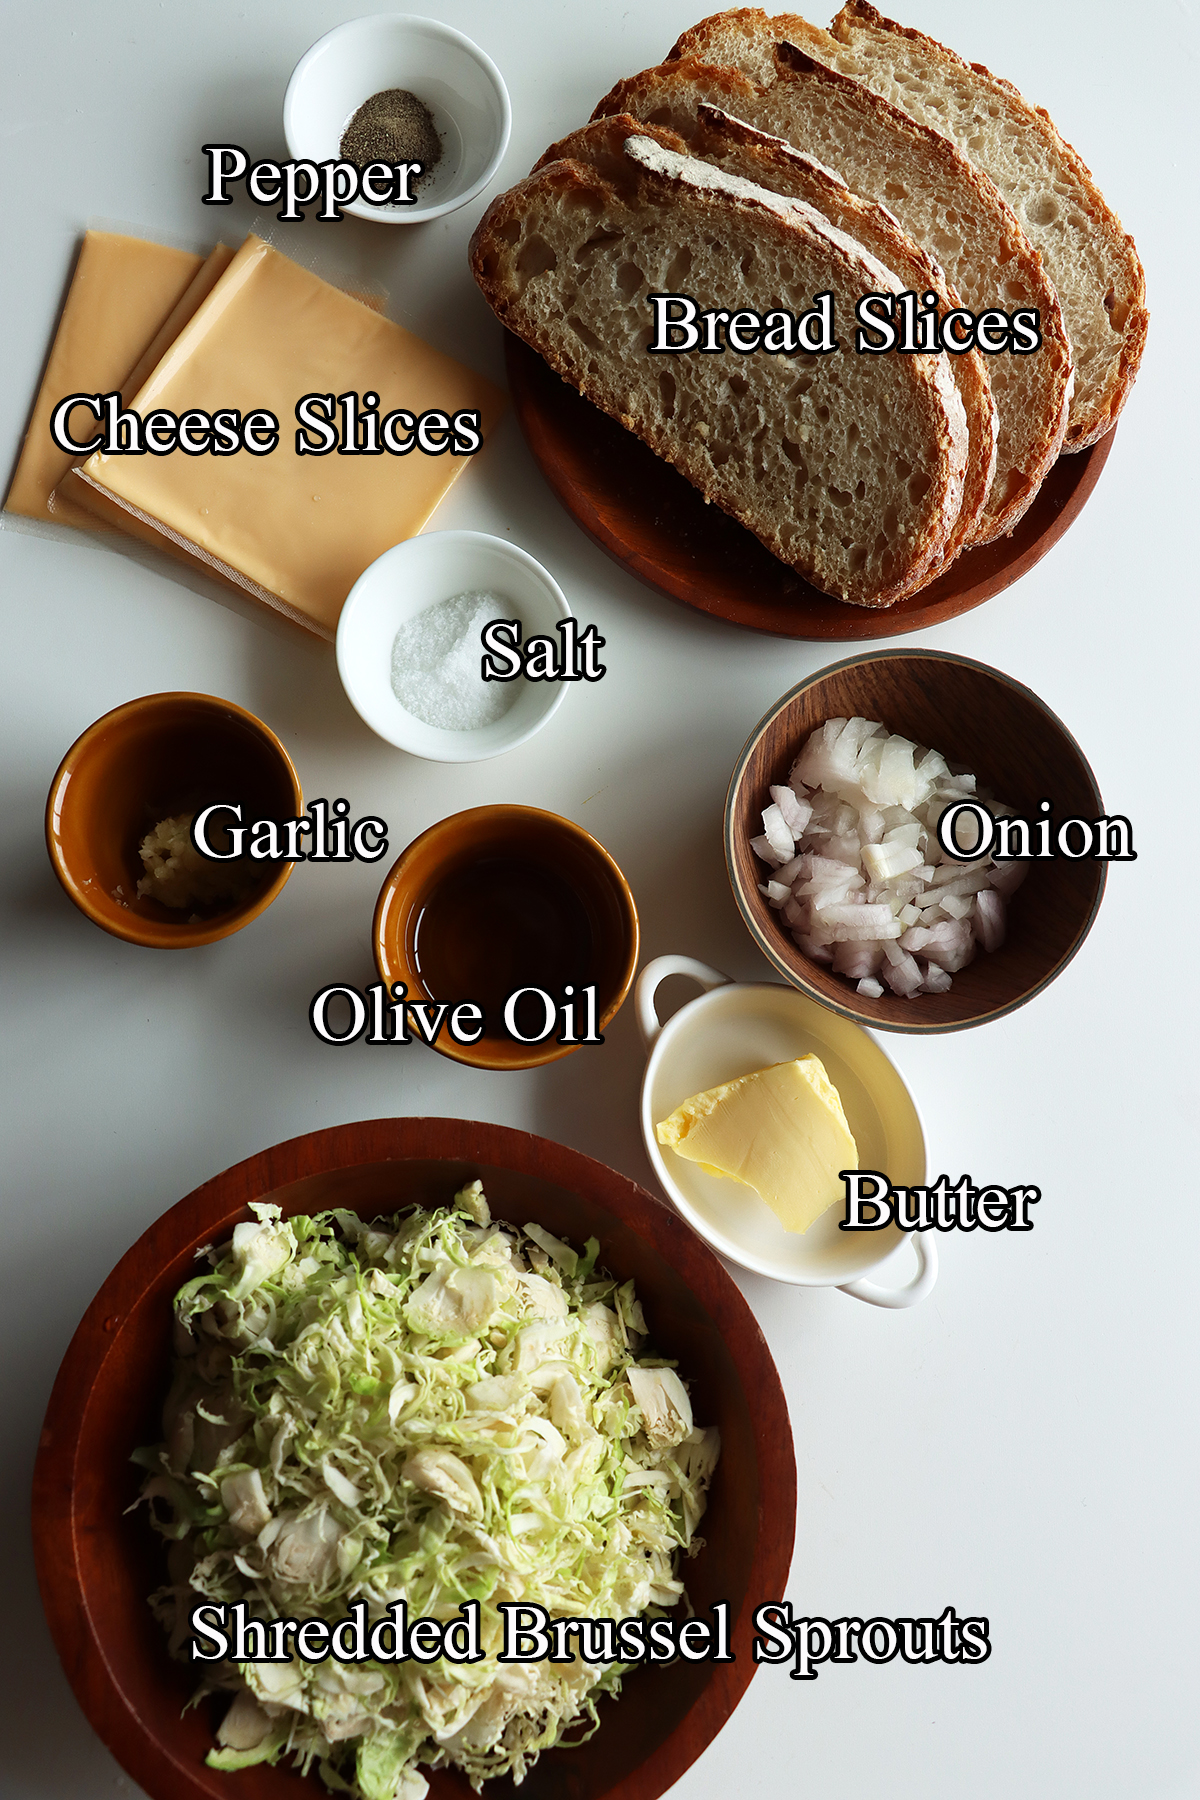
    Ingredients:

    Brussels Sprouts - Fresh or frozen brussels sprouts can be used. Make sure they are thinly sliced.

    Bread - I have use sourdough bread in this recipe. Any kind of breads would work well.

    Onion - It is totally optional. But, I would recommend using it.

    Garlic - Use a good amount of freshly minced garlic for the best flavor. You can also swap it with garlic powder.

    Cheese - I have used cheese slices, you could also use grated mozzarella or cheddar cheese.

    Olive Oil & Butter - I have used olive oil for cooking the vegetable and butter for toasting the bread. You can substitute butter with olive oil.

    Salt & Pepper

    Serving suggestions:

    This sandwich can be enjoyed on its own or with your favorite dip or ketchup.

    It can also be served with a cup of soup.

    Storage suggestions:

    The assembled and toasted sandwiches can be stored in the refrigerator for up to 2 days. Do not forget to wrap them tightly in plastic wrap or foil to prevent the sandwiches from drying out.

    If you want to store them for longer, freeze them. Frozen sandwiches can be stored for up to 3 months.

    Tips & Notes:

    You could also add some pickled jalapenos to the filling for the extra flavor and spice.

    Make sure the vegetable is tender and cooked properly.

    Replace the cheese slices with the grated cheese if you want.

    Step by step instructions:

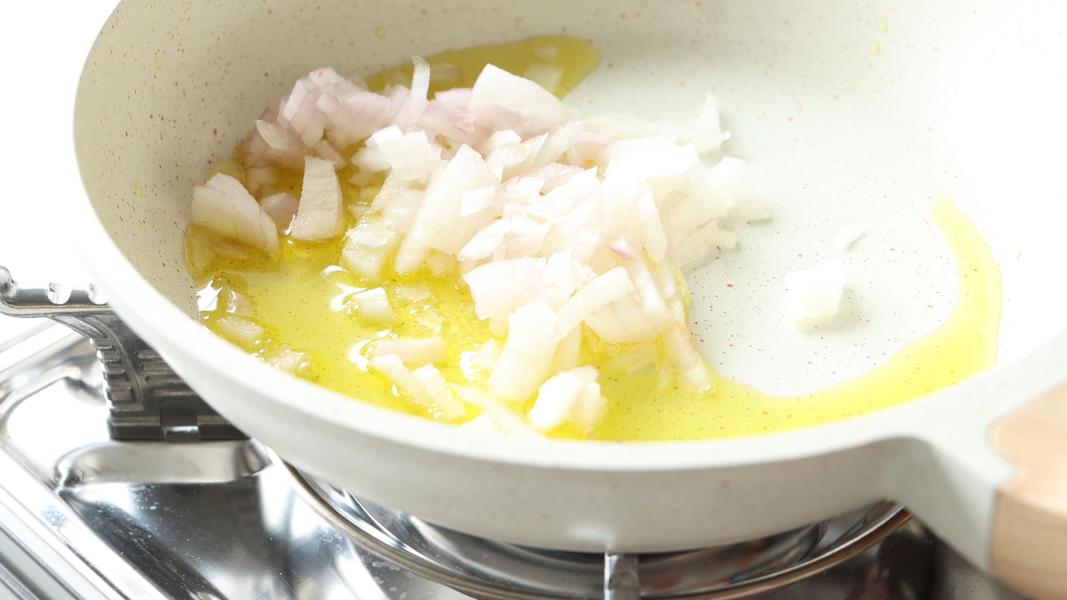
    Heat oil in a pan or skillet and add chopped onion.

    Sauté them until translucent.

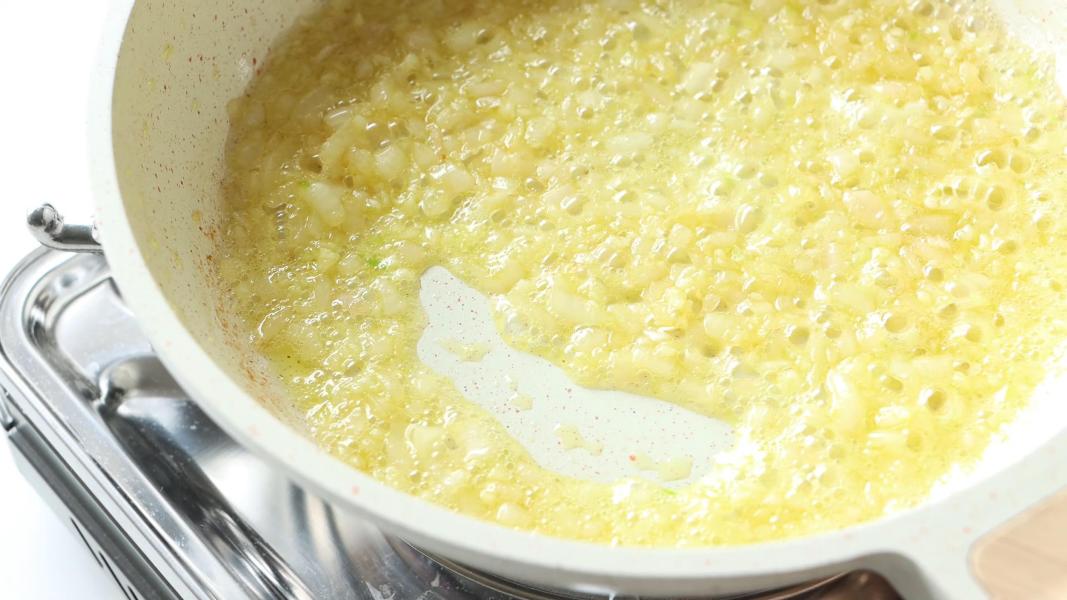
    Add minced garlic and sauté for one more minute.

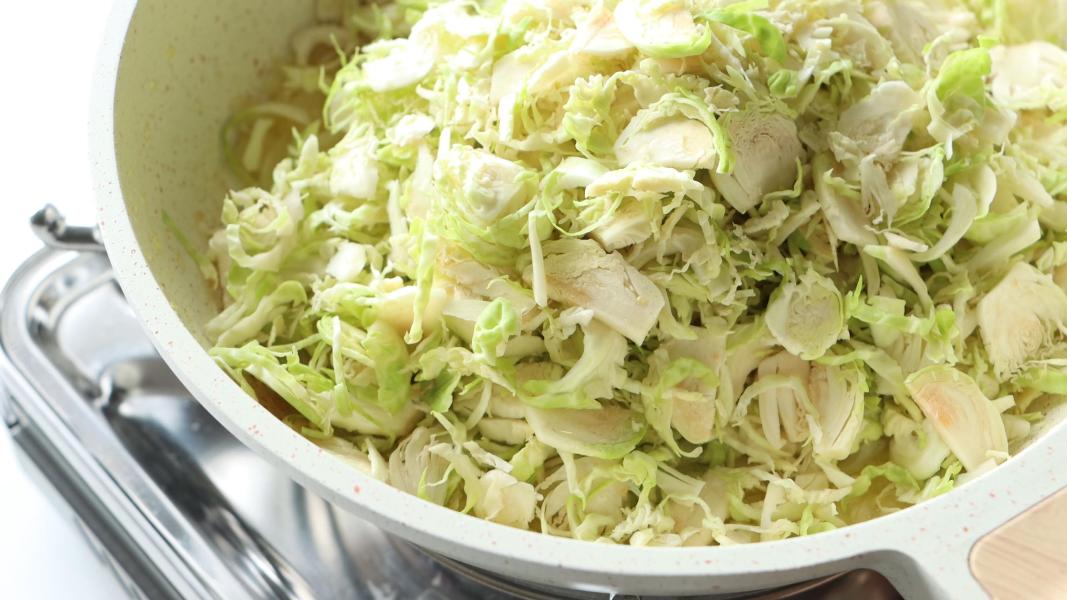
    Now add 2 cups of thinly sliced / shredded brussels sprouts to the pan and mix everything.

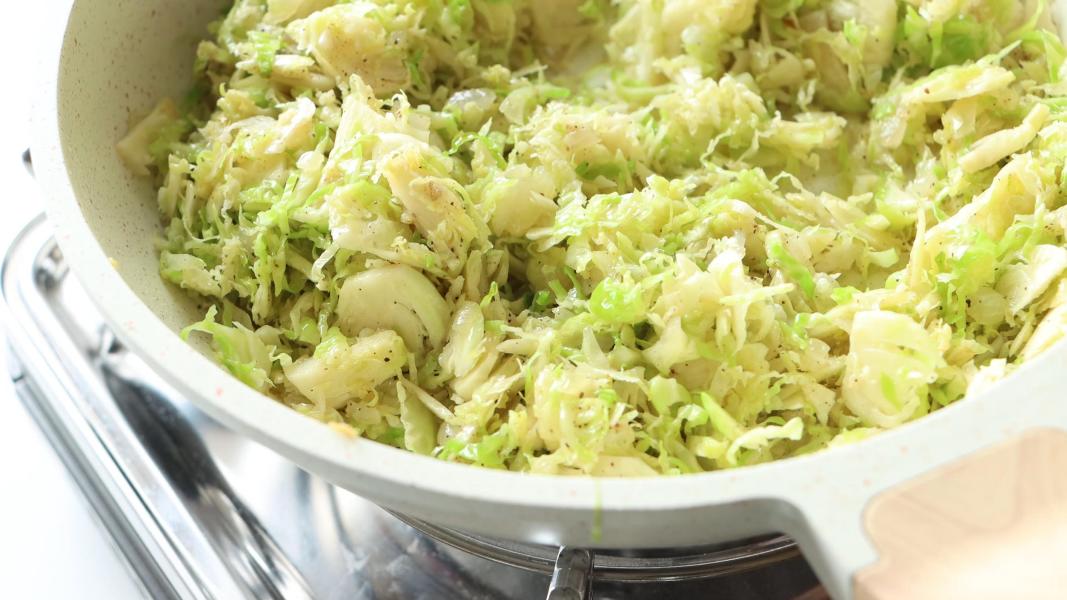
    Add enough salt and continue cooking until the veggies are tender.

    Once it is cooked, add freshly ground black pepper and mix well.

    Remove it from the heat and let it cool down a bit.

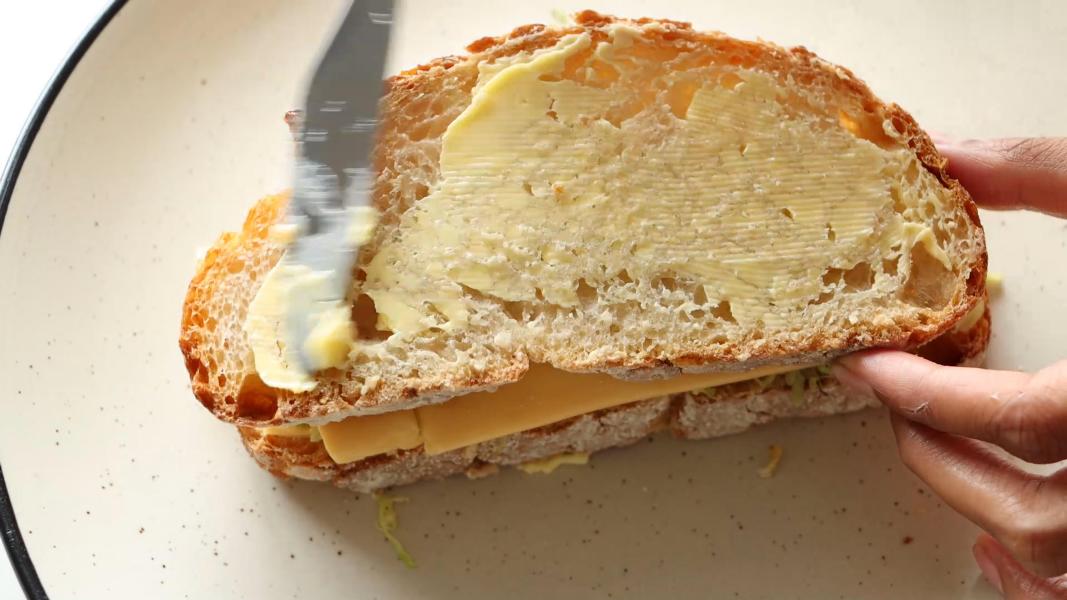
    Butter one side of bread and flip it.

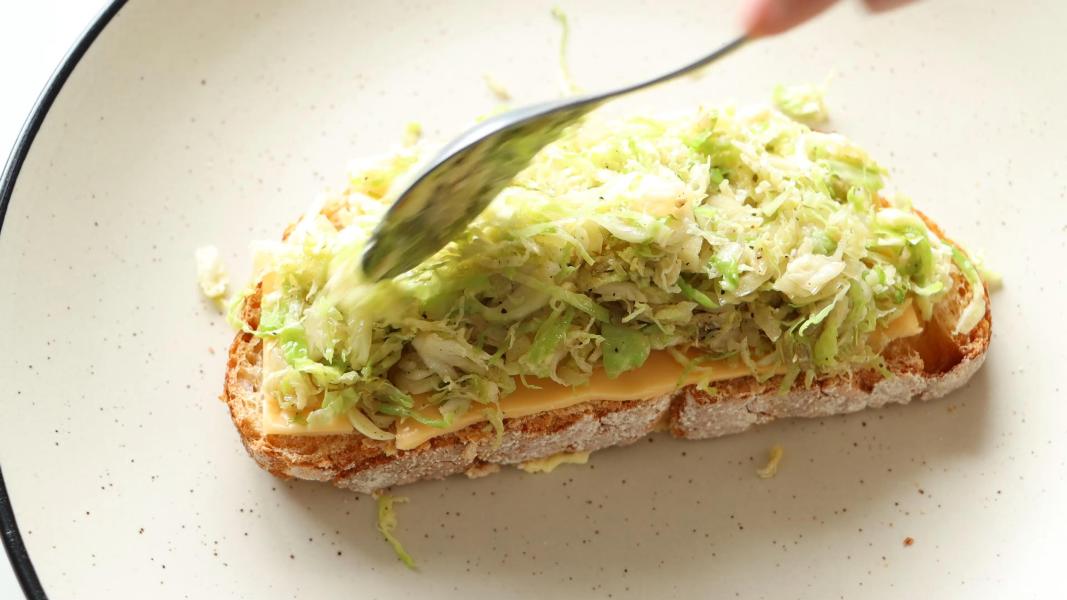
    Add a cheese slice or grated cheese to the another side of the bread and top it with prepared brussels sprout filling.

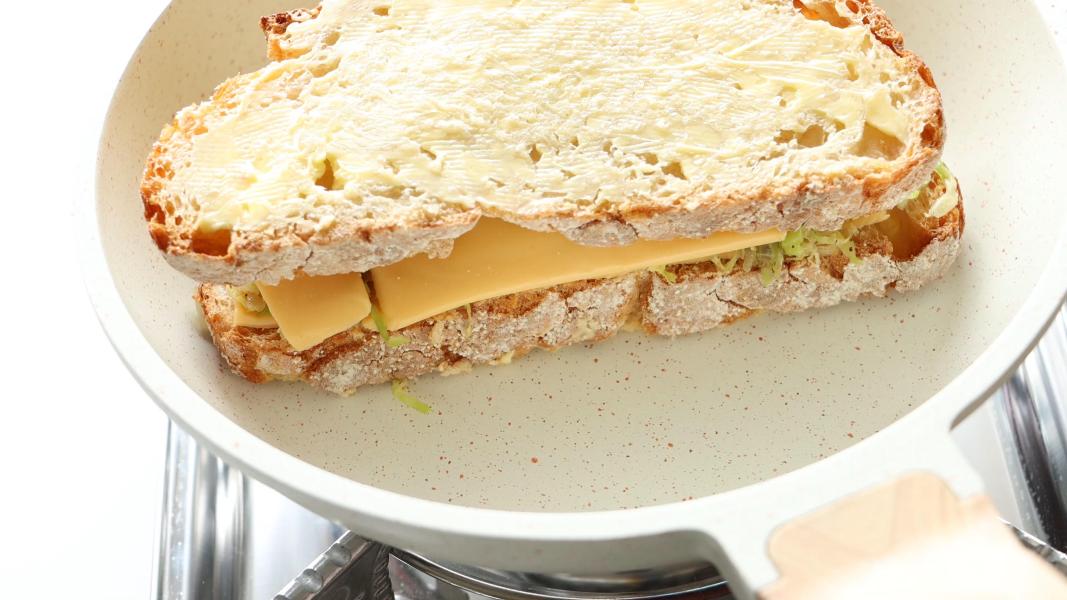
    Place the another cheese slice over it.

    Finally cover it with another bread slice and spread butter evenly on it.

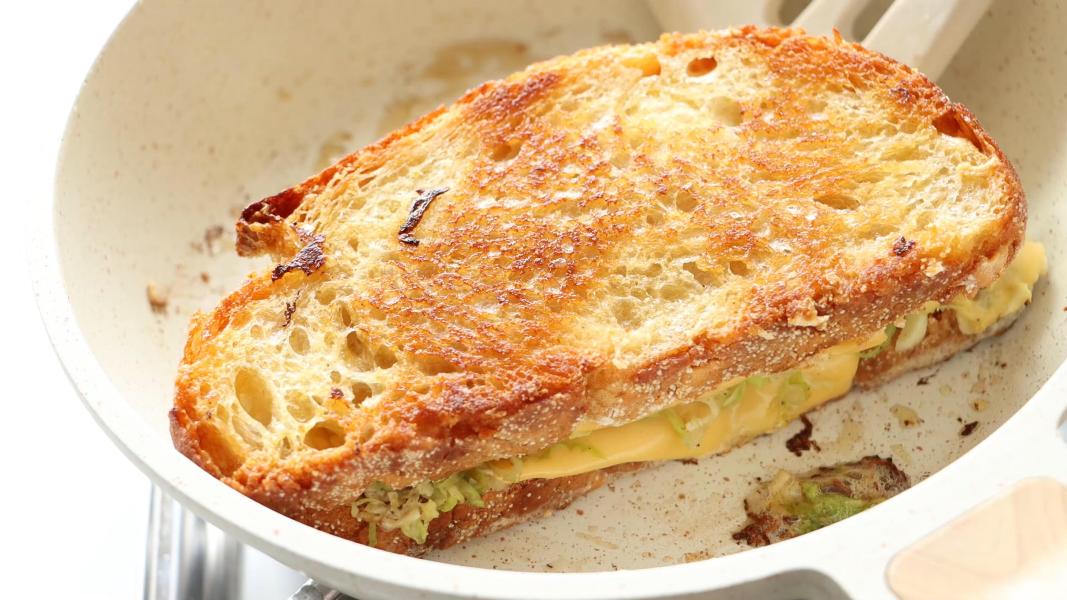
    Place the sandwich in the heavy bottomed skillet or pan and roast on both sides until golden brown color.

    When the bread is golden brown and crispy, take it out of the pan and cut into half.

    Serve and enjoy!

    You might love these recipes:

    • Paneer Bhurji Sandwich
    • Chocolate Sandwich
    • Avocado Cherry Tomato Toast with Arugula
    • Chestnut Hummus
    • Bombay Veg Toast Sandwich
    • Hasselback Butternut Squash
    • Persimmon Kale Salad
    • Apple Yogurt Salad

    Brussels sprouts grilled cheese sandwich recipe video below:

    Print Recipe

    Brussels Sprouts Grilled Cheese Sandwich Recipe

    Brussels Sprouts Sandwich Recipe - A simple, healthy and easy grilled cheese sandwich with brussels sprouts!
    Prep Time10 minutes mins
    Cook Time15 minutes mins
    Total Time25 minutes mins
    Course: Breakfast, Dinner, Lunch, Main Course, Snack
    Cuisine: American, European, International
    Keyword: brussels sprouts grilled cheese sandwich recipe, Brussels Sprouts Recipes, Sandwich Recipes
    Servings: 2
    Calories: 573kcal
    Author: Hari Chandana Ponnaluri

    Ingredients

    • 2 Tablespoons Olive Oil
    • ¼ Cup Chopped Onion
    • 2 Cups Shredded Brussels Sprouts
    • 1 Heaped Teaspoon Minced Garlic
    • ¼ Teaspoon Ground Black Pepper
    • 4-6 Bread Slices
    • 8-12 Cheese Slices
    • 2 Tablespoons Butter

    Instructions

    • Heat oil in a pan or skillet and add chopped onion. Sauté them until translucent.
    • Add garlic and sauté for one more minute.
    • Now add 2 cups of thinly sliced / shredded brussels sprouts to the pan and mix everything.
    • Add enough salt and continue cooking until the veggies are tender.
    • Once it is cooked, add freshly ground black pepper and mix well.
    • Remove it from the heat and let it cool down a bit.
    • Butter one side of bread and flip it.
    • Add a cheese slice or grated cheese to the another side of the bread and top it with prepared brussels sprout filling.
    • Place the another cheese slice over it.
    • Finally cover it with another bread slice and spread butter evenly on it.
    • Place the sandwich in the heavy bottomed skillet or pan and roast on both sides until golden brown color.
    • When the bread is golden brown and crispy, take it out of the pan and cut into half.
    • Serve hot!

    Video

    Notes

    Use any of your favorite bread such as sourdough, rye, whole wheat or seeded breads.
    You can also add some jalapenos to the stuffing. 

    Nutrition

    Calories: 573kcal | Carbohydrates: 36g | Protein: 27g | Fat: 36g | Saturated Fat: 15g | Polyunsaturated Fat: 3g | Monounsaturated Fat: 16g | Trans Fat: 0.01g | Cholesterol: 52mg | Sodium: 814mg | Potassium: 540mg | Fiber: 5g | Sugar: 6g | Vitamin A: 1335IU | Vitamin C: 76mg | Calcium: 724mg | Iron: 3mg

    Oreo Bark

    December 12, 2022

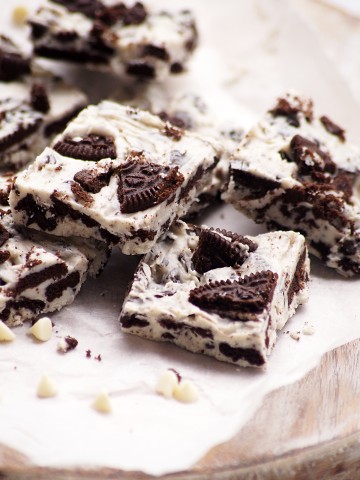
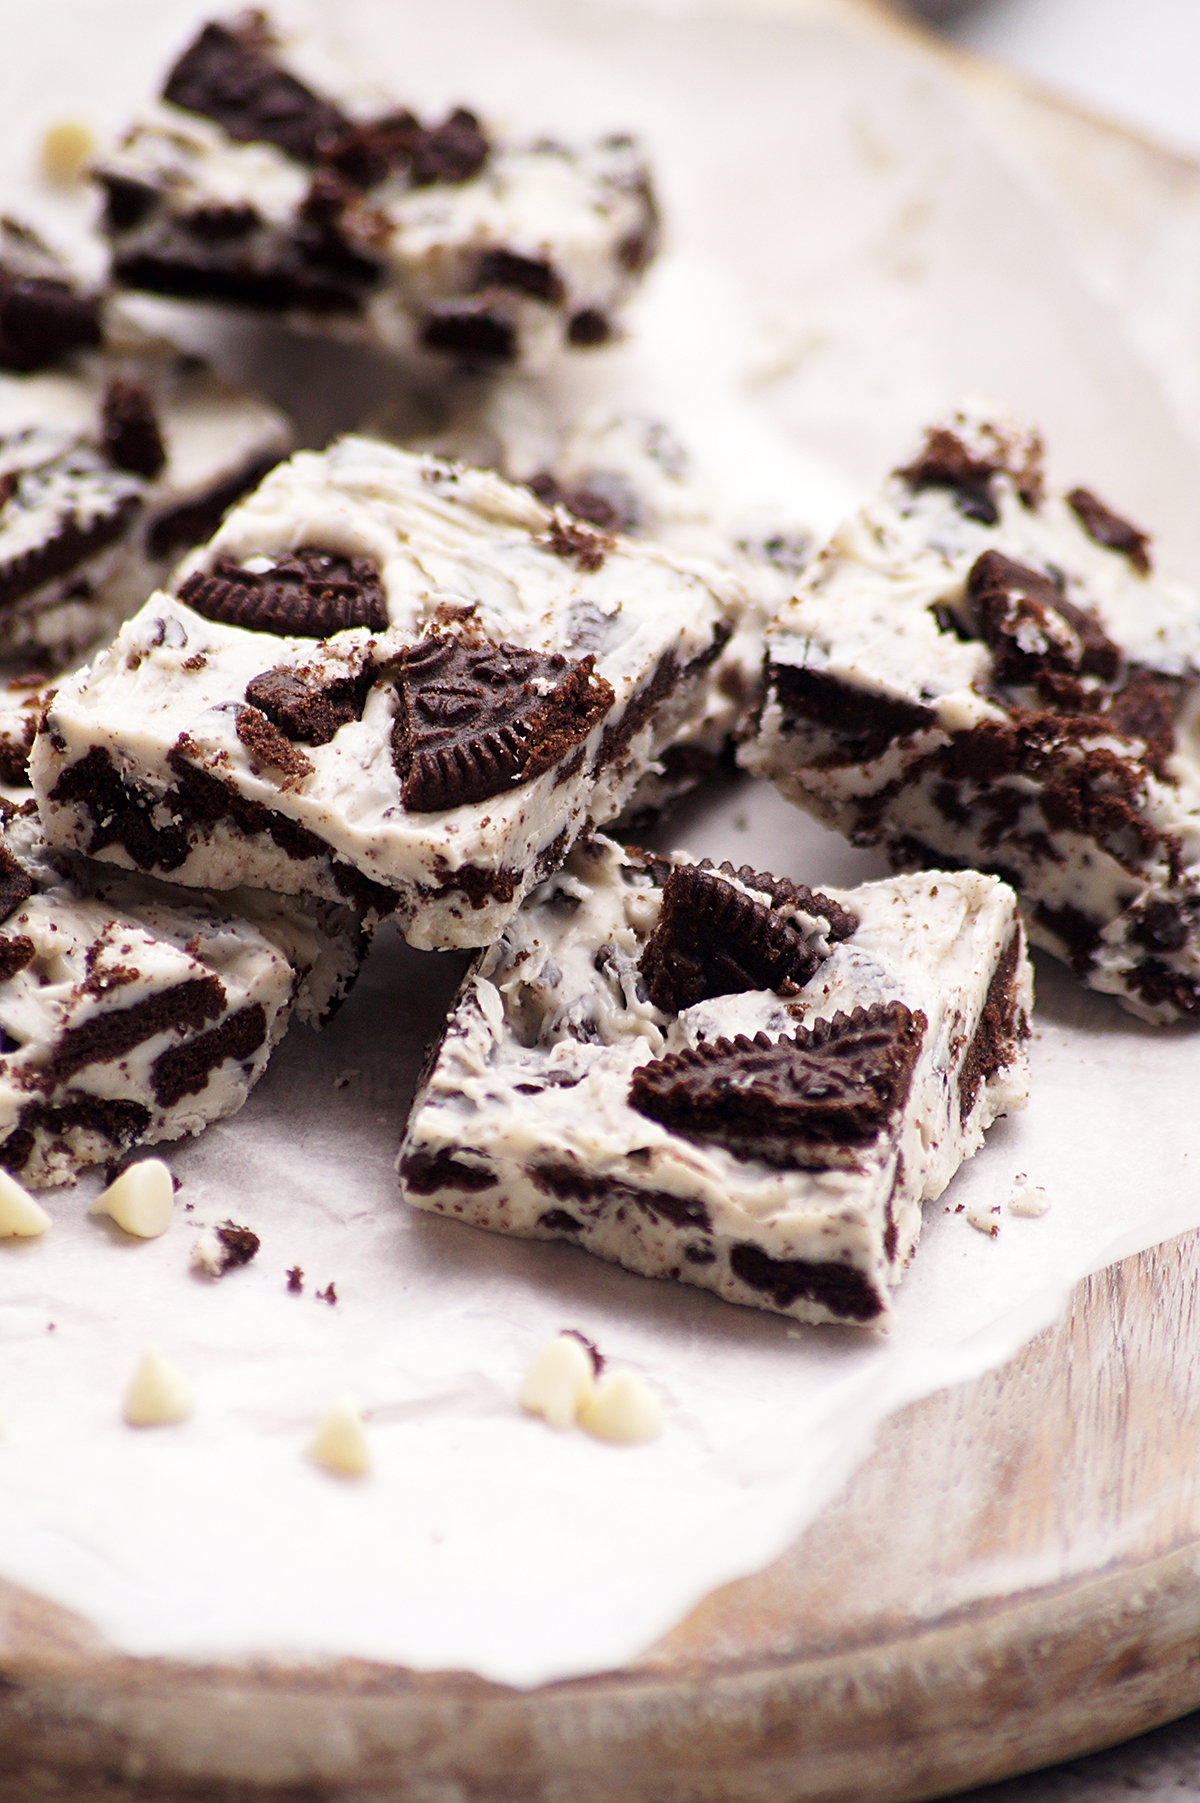
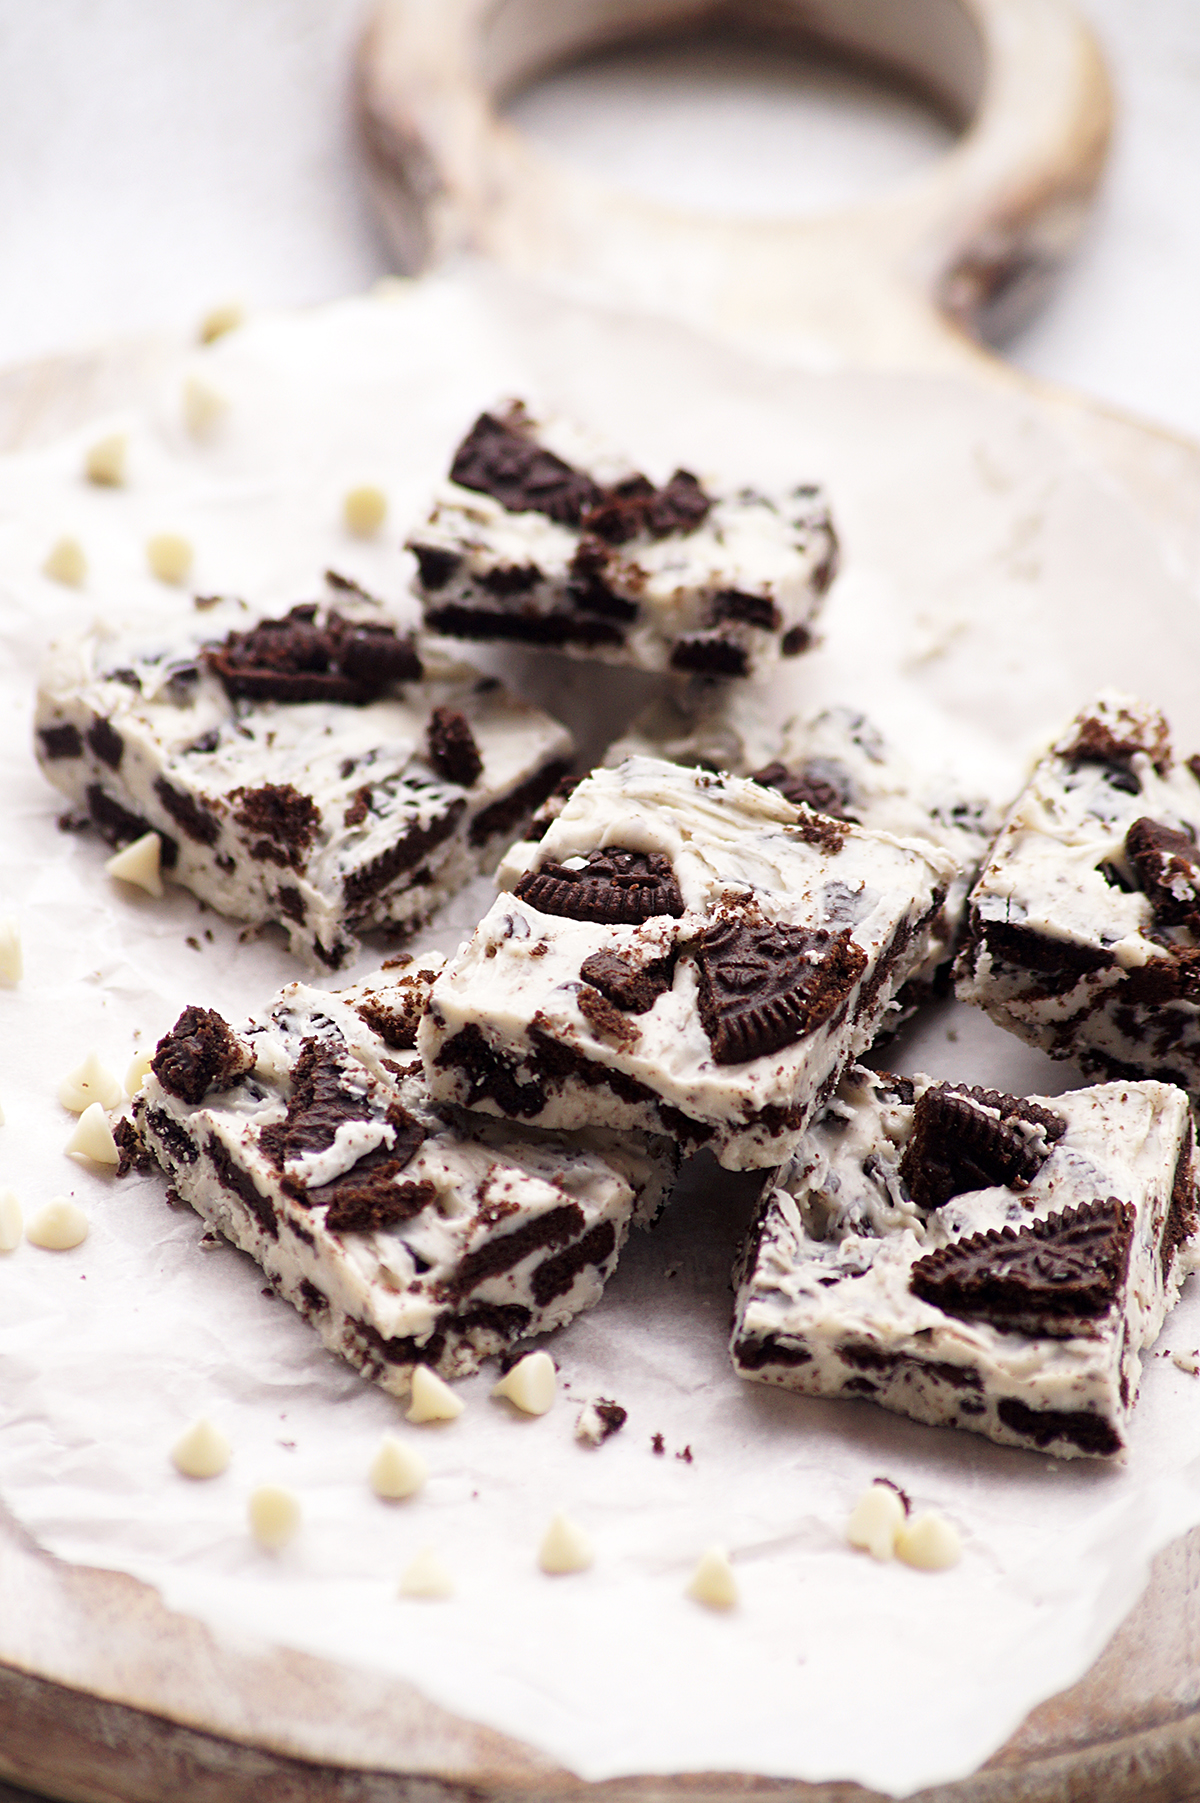
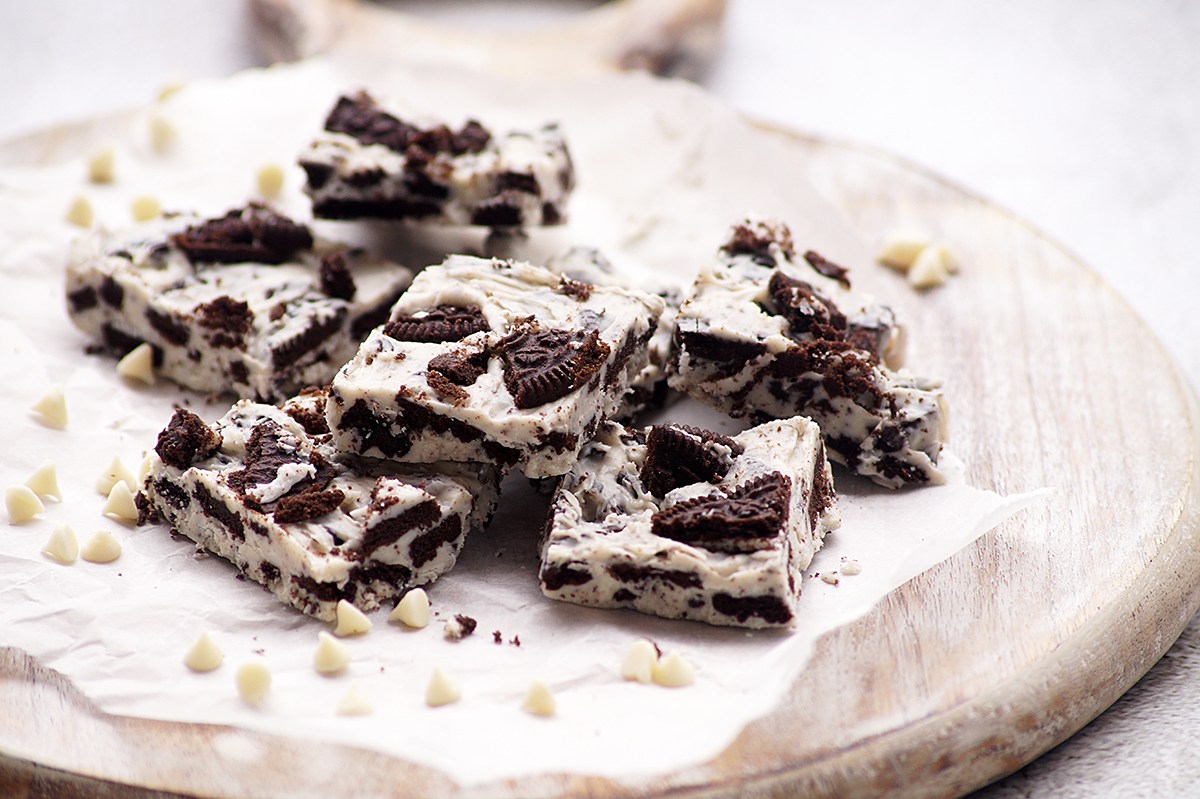
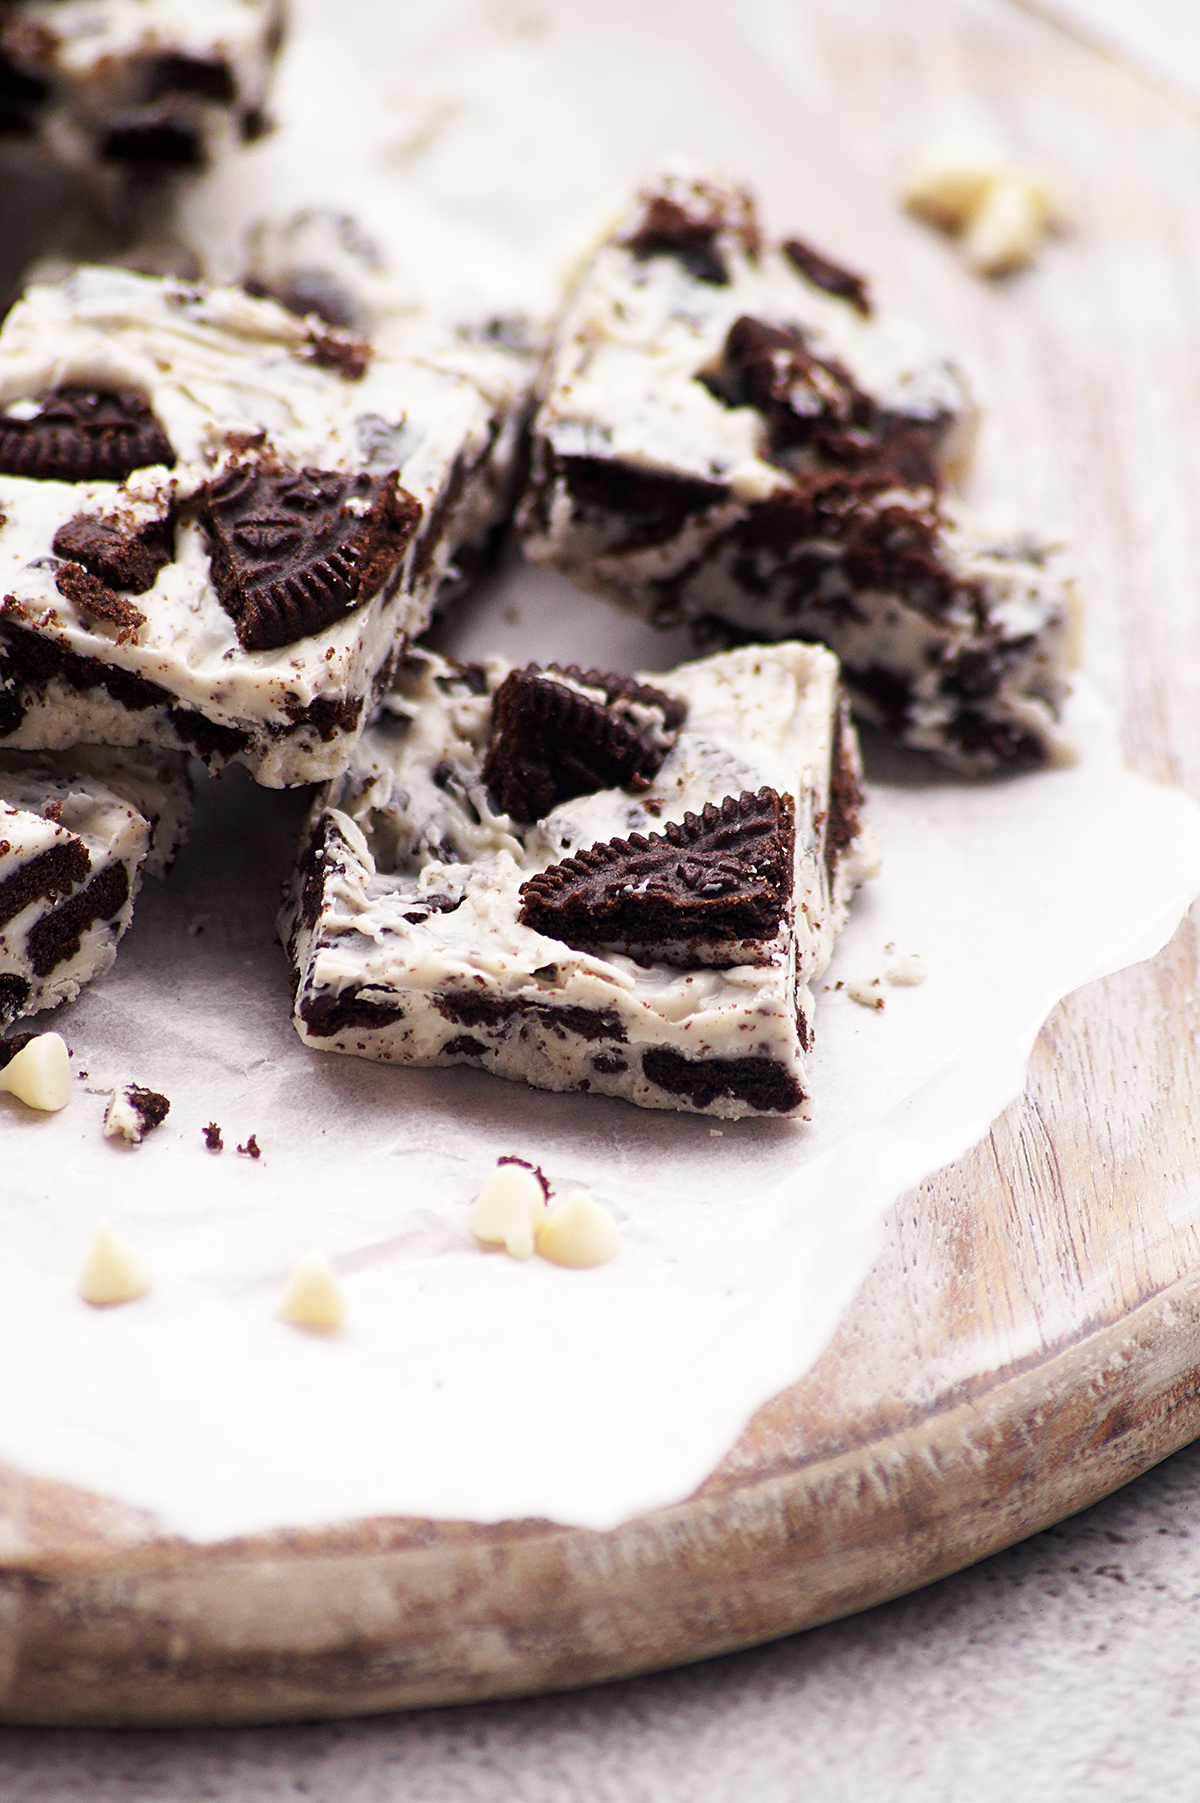
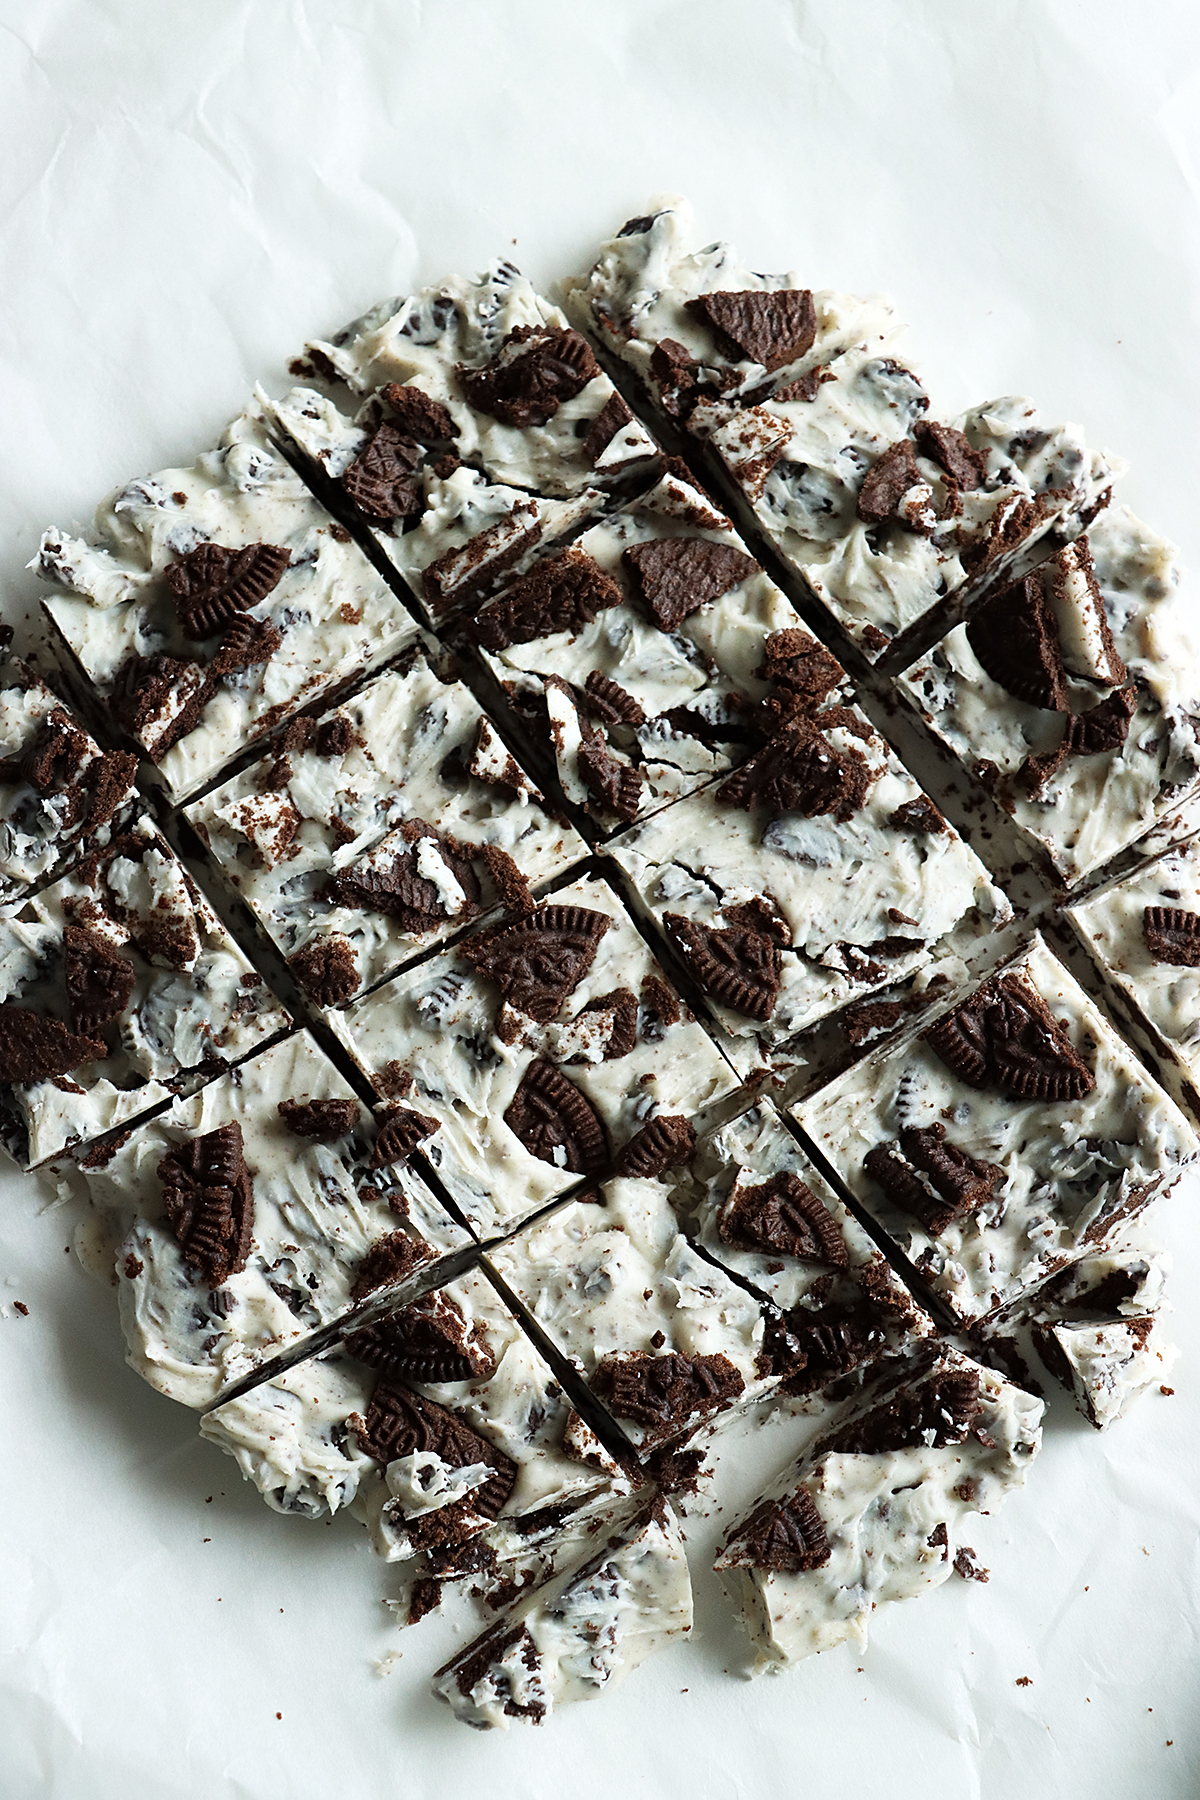
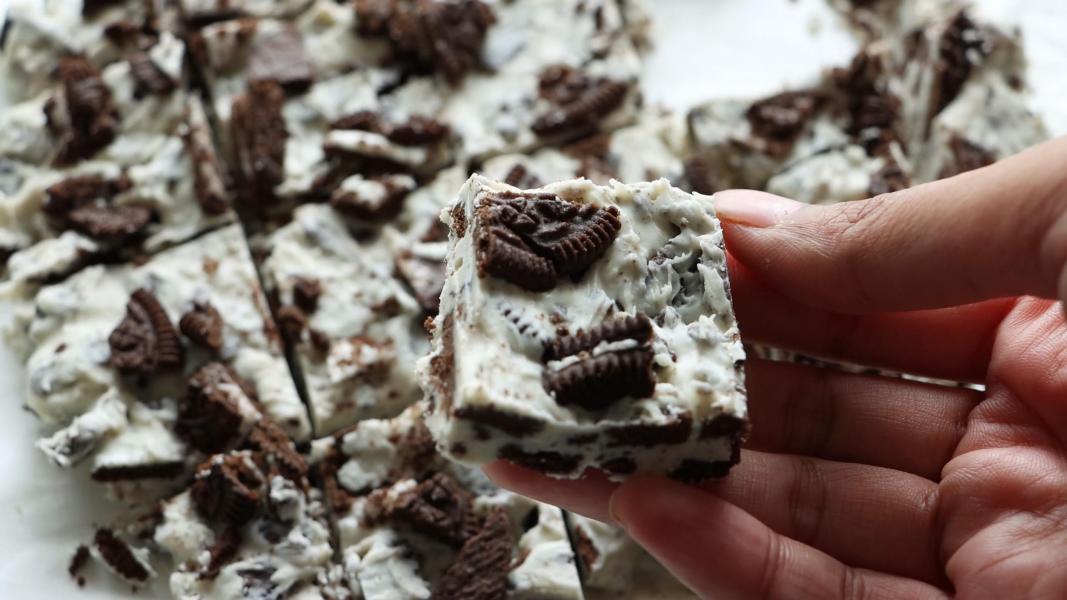
    Oreo Bark Recipe - Super quick and easy holiday candy prepared with 2 ingredients. A perfect addition to your Christmas cookie tray!

    What is oreo bark?

    Chocolate bark is one of the quick and easy chocolate desserts that can be made with just couple of ingredients. The process of making this dessert is pretty much straight forward. Melt the chocolate, add your favorite flavors and variety of toppings and set it in the refrigerator or freezer, that's it!

    Oreo bark is one of the easy and quick christmas bark recipes using oreos and white chocolate. The combination of oreo cookies and white chocolate is amazing and it is is perfect candy recipe for the holidays!

    Why you'll love this recipe:

    Requires 2 ingredients!

    Super quick candy recipe for the holidays!

    It's a perfect addition to your cookie tray!

    Perfect for any occasion!

    Ingredients:

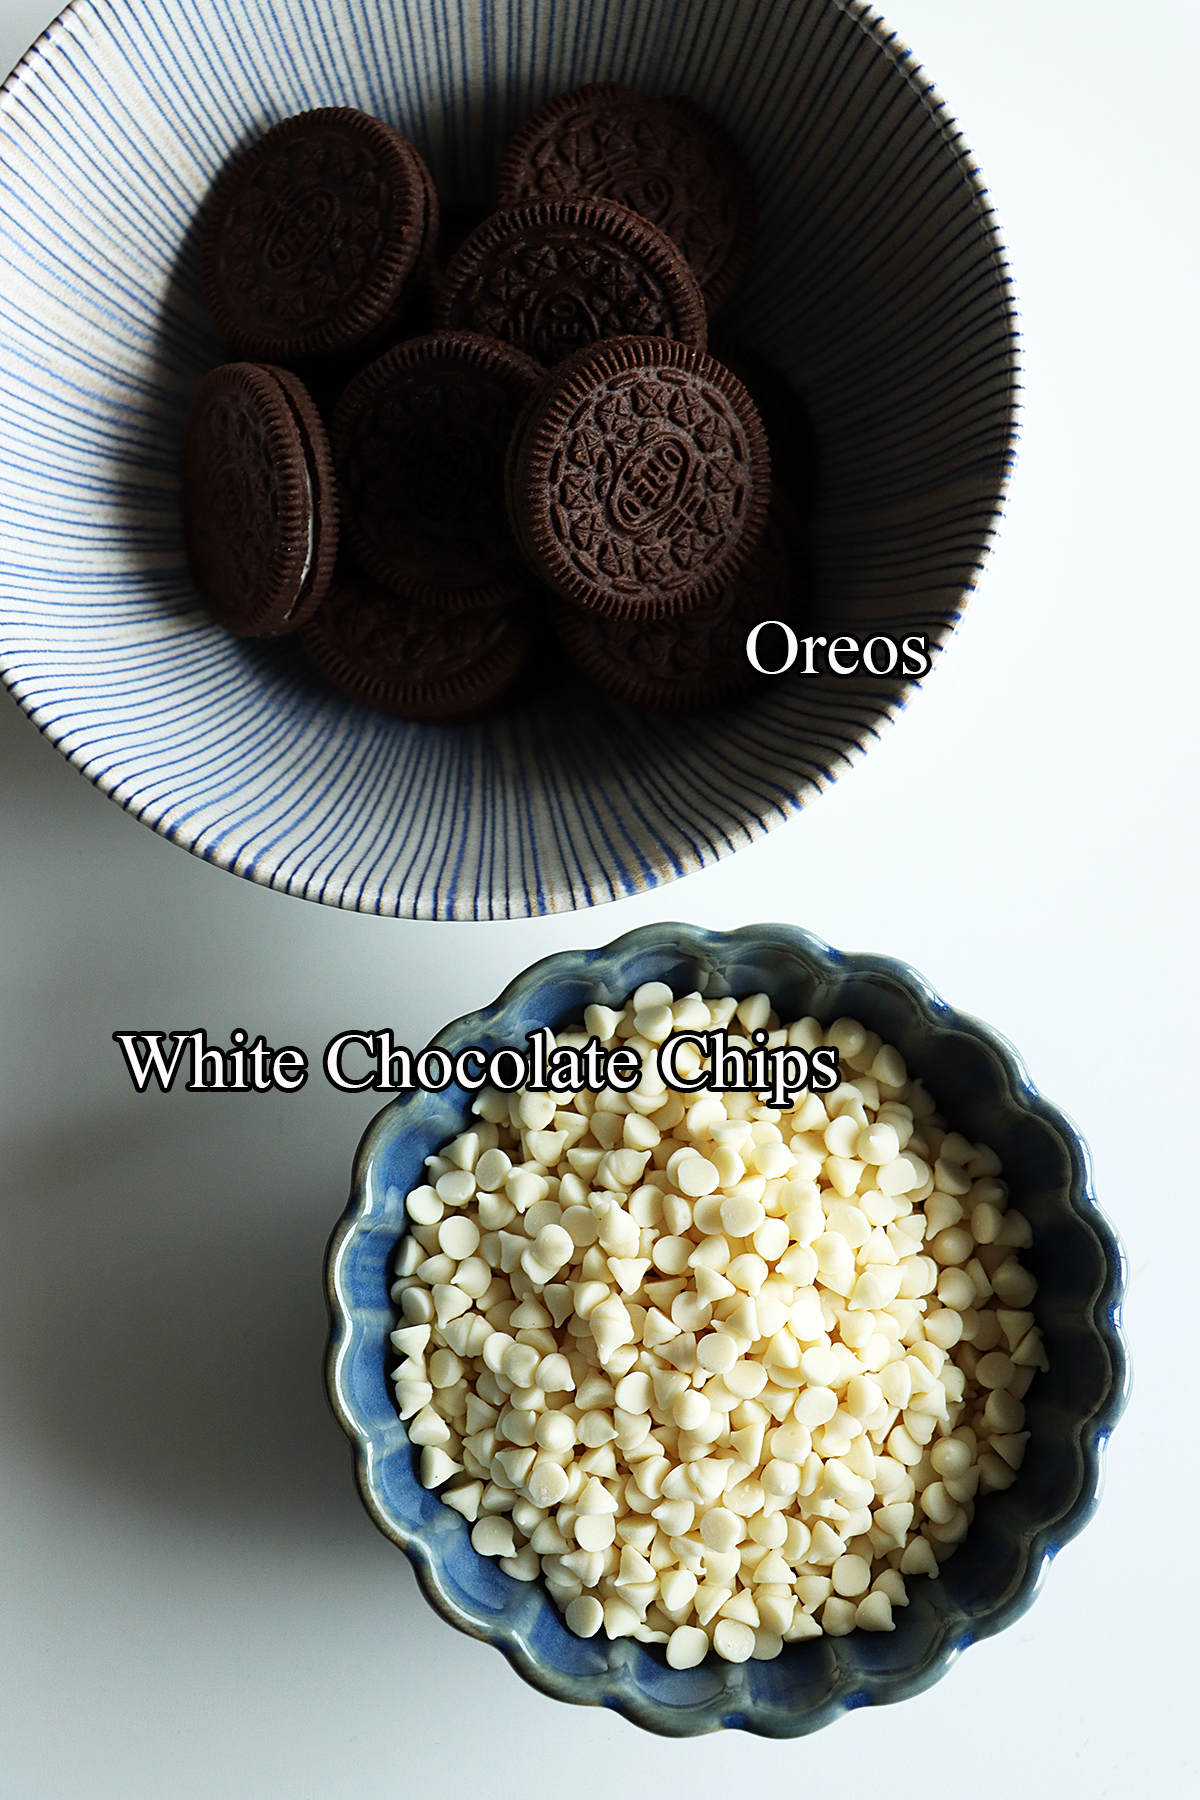
    Oreos - I have used classic oreo cream cookies. You can use any of your favorite flavored oreo cookies.

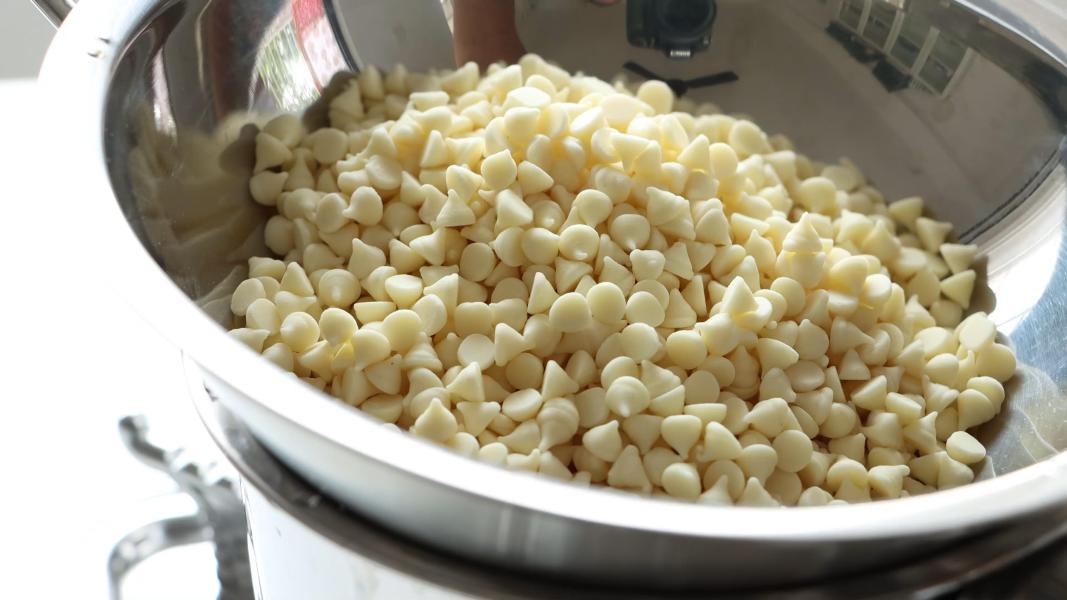
    White Chocolate - I have used white chocolate chips in this recipe. You could also use almond bark or melting wafers.

    Storage suggestions:

    Store them in an airtight container in a cool and dry place up to a week. You can also store them in the refrigerator for 2-3 weeks. Make sure you are storing them in an airtight container.

    They freeze really well. They can be stored in the freezer for up to 2 months.

    Serving suggestions:

    Can I use dark chocolate instead of white chocolate?

    Absolutely! swap it with the same amount of the dark chocolate. I personally love these with white chocolate though.

    Decoration ideas:

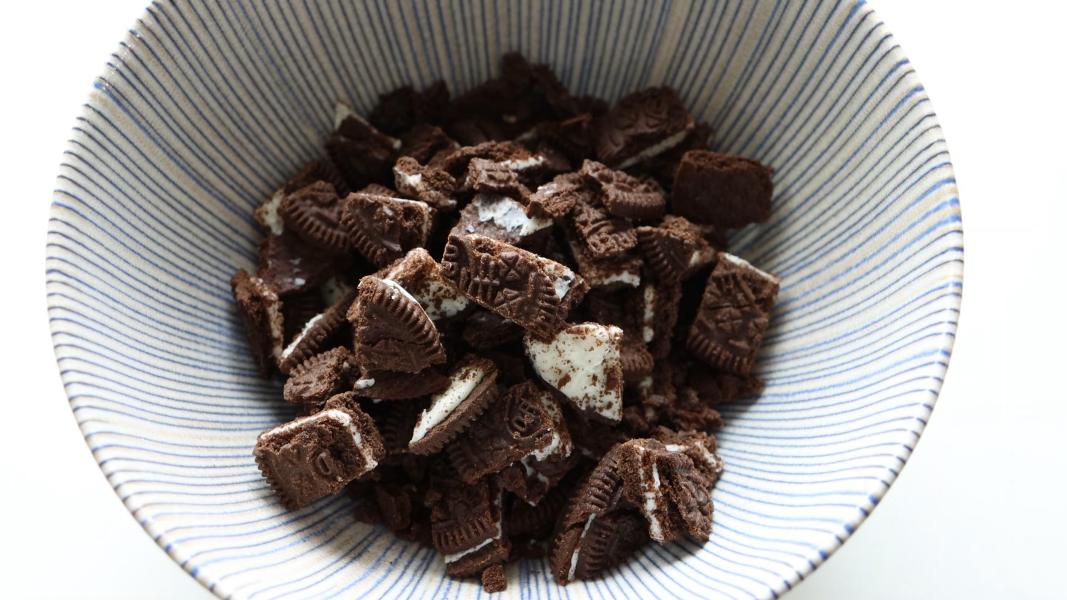
    I have used broken oreos here. You could also use oreo crumbs instead of pieces. Below are few more ideas.

    Chocolate Chips

    Sprinkles

    Sparkling Sugar

    M&Ms

    Crushed Candy Canes

    Tips & Notes:

    Use a good quality chocolate for the best taste and flavor.

    If you are using chocolate slab, chop them into fine pieces, it will melt evenly.

    Discard if there are any cookie crumbs.

    Step by step instructions:

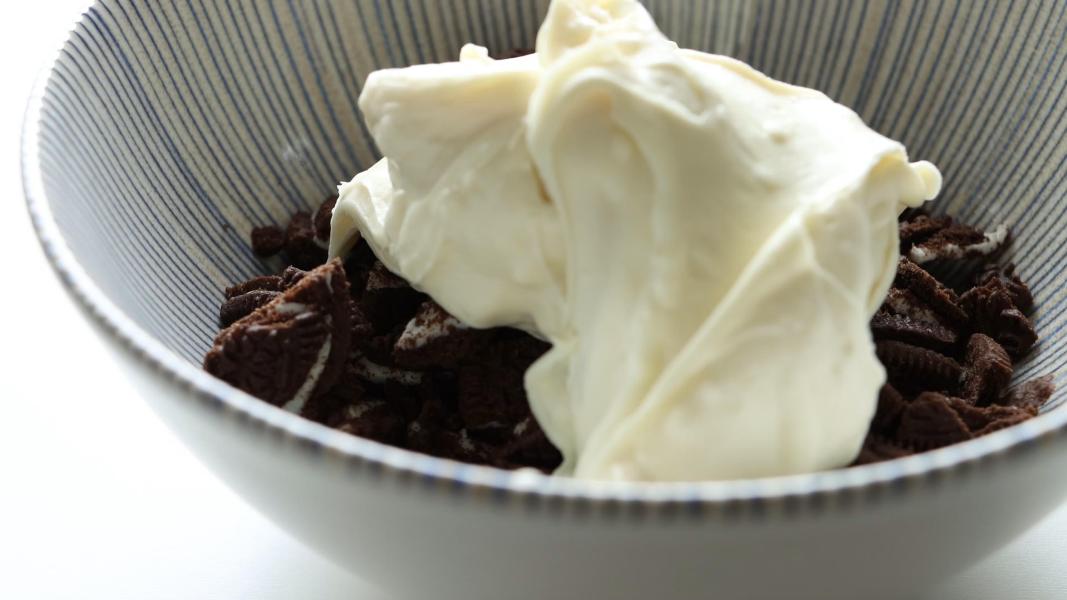
    Chop oreo cookies into pieces.

    Reserve some oreo pieces for garnishing.

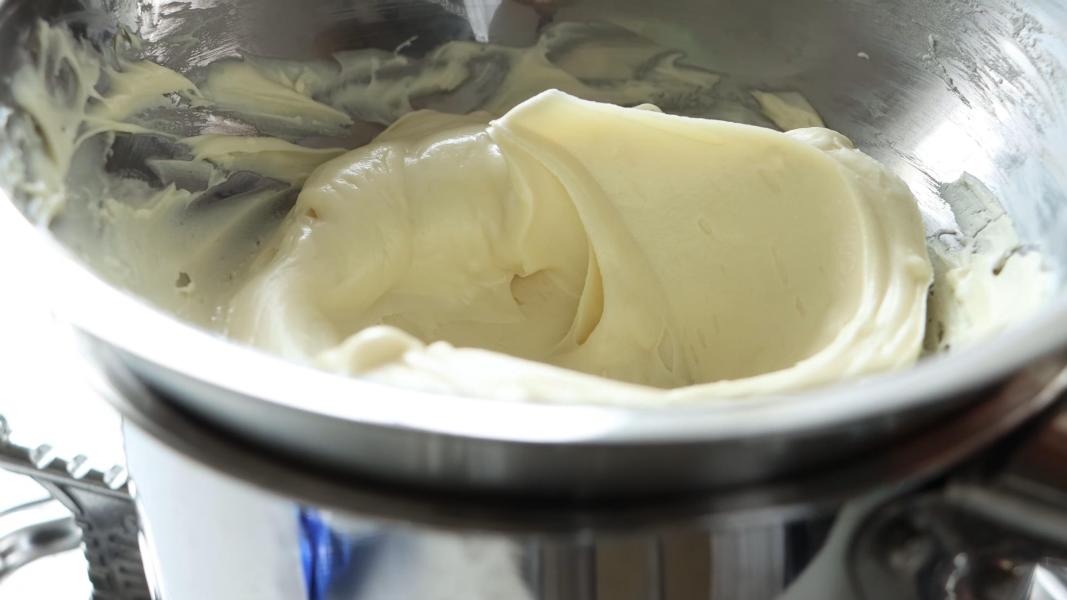
    Heat some water in a pan or vessel over low heat and place a heat resistant bowl on top of the water pot.

    Add chocolate chips into the top bowl.

    You could also add a little bit of coconut oil to make it super smooth.

    Keep stirring with a spatula until it is almost melted.

    Remove it from the heat and continue stirring until smooth and shiny.

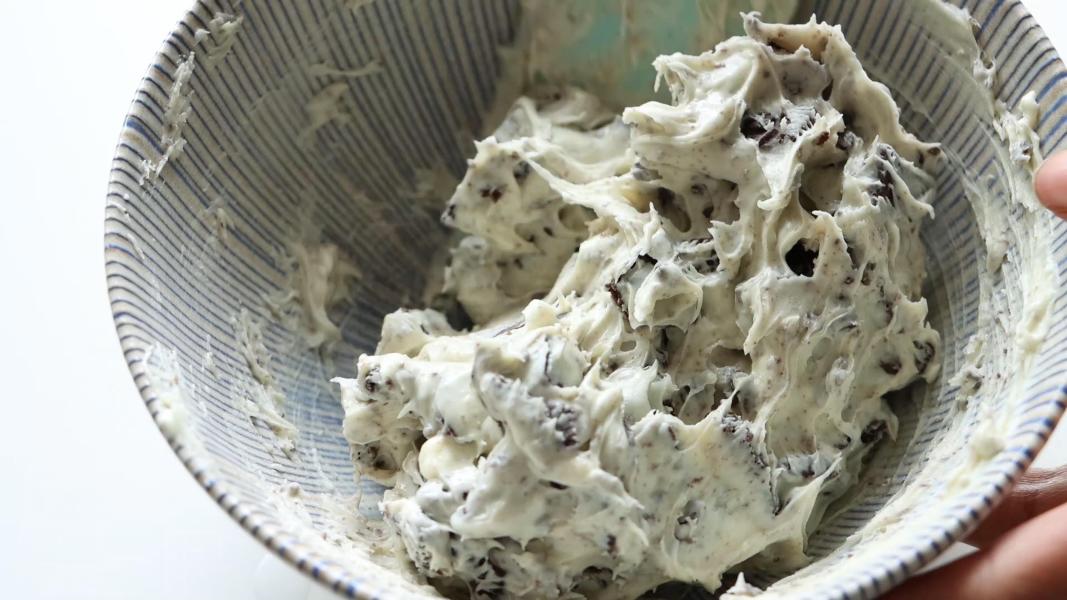
    Add the melted white chocolate to the chopped oreos.

    Gently fold everything until oreos are well coated with chocolate.

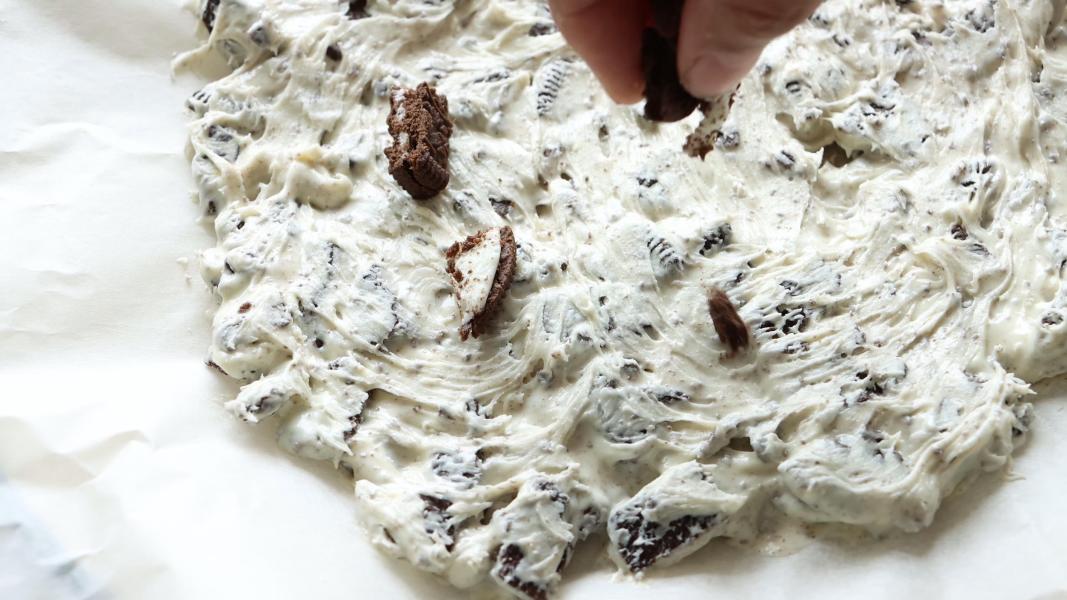
    Line a tray with parchment paper.

    Transfer the oreo chocolate mix to the lined tray and spread it evenly using a spatula.

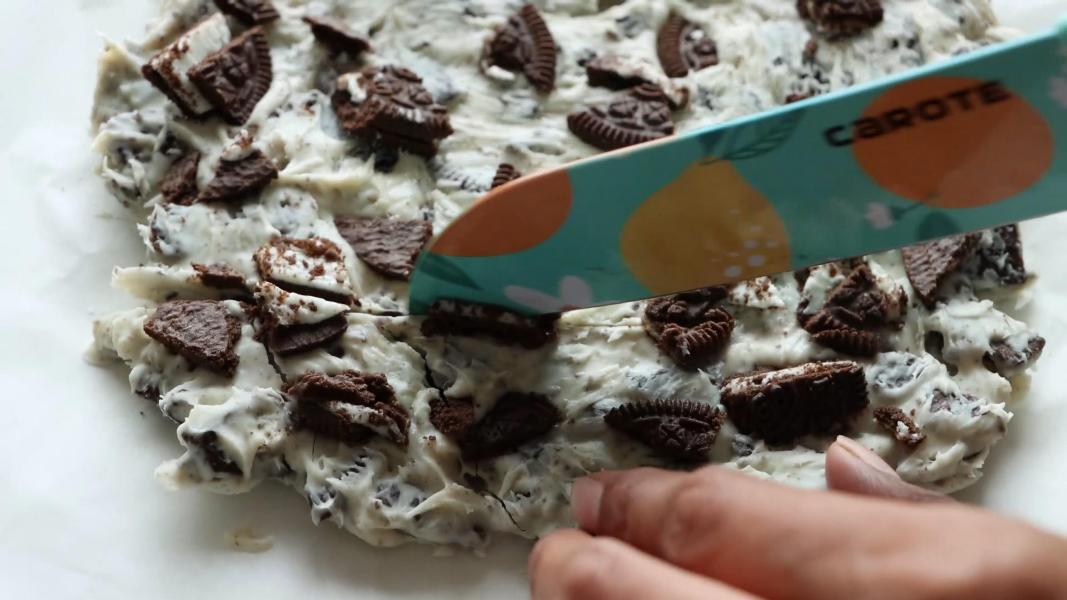
    Top it with reserved oreo pieces and gently press them.

    Let it set at room temperature for an hour or two or place it in the freezer for 10 minutes to set.

    Once it is completely set, break or cut it into pieces using a sharp knife.

    Transfer them to an airtight container.

    Few more Christmas recipes on the blog:

    • Biscotti Regina
    • Fruitcake Cookies
    • Chocolate Snowballs
    • Mexican Wedding Cookies
    • Goan Kulkuls
    • Chocolate Crinkle Cookies

    How to make oreo bark recipe video below:

    Print Recipe

    Oreo Bark Recipe

    Oreo Bark Recipe - Super quick and easy holiday candy prepared with 2 ingredients. A perfect addition to your Christmas cookie tray!
    Prep Time10 minutes mins
    Cook Time5 minutes mins
    Total Time15 minutes mins
    Course: Dessert, Snack
    Cuisine: American, International
    Keyword: chocolate recipes, christmas recipes, Oreo Bark Recipe, Oreo Recipes
    Servings: 15 Pieces
    Calories: 109kcal
    Author: Hari Chandana Ponnaluri

    Ingredients

    • 1 Cup White Chocolate Chips
    • 12 Oreo Cookies

    Instructions

    • Chop oreo cookies into small pieces using a knife. Reserve some pieces for decoration.
    • Heat some water in a pan or vessel over low heat and place a heat resistant bowl on top of the water pot.
    • Add chocolate chips into the top bowl.
    • Keep stirring with a spatula until it is almost melted.
    • Remove it from the heat and continue stirring until smooth.
    • Add the melted white chocolate to the chopped oreos.
    • Gently fold everything until oreos are well coated with chocolate.
    • Line a tray with parchment paper.
    • Transfer the oreo chocolate mix to the lined tray and spread it evenly using a spatula.
    • Top it with reserved oreo pieces and gently press them.
    • Let it set at room temperature for an hour or two or place it in the freezer for 10 minutes to set.
    • Once it is completely set, break or cut it into pieces using a sharp knife.
    • Transfer them to an airtight container.

    Video

    Nutrition

    Calories: 109kcal | Carbohydrates: 14g | Protein: 1g | Fat: 6g | Saturated Fat: 3g | Polyunsaturated Fat: 0.5g | Monounsaturated Fat: 2g | Trans Fat: 0.01g | Cholesterol: 3mg | Sodium: 48mg | Potassium: 57mg | Fiber: 0.3g | Sugar: 11g | Vitamin A: 4IU | Vitamin C: 0.1mg | Calcium: 26mg | Iron: 1mg

    Hasselback Butternut Squash

    December 1, 2022

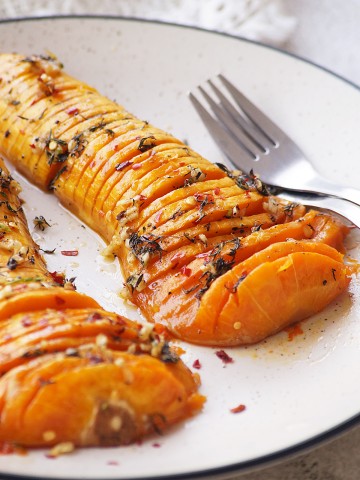
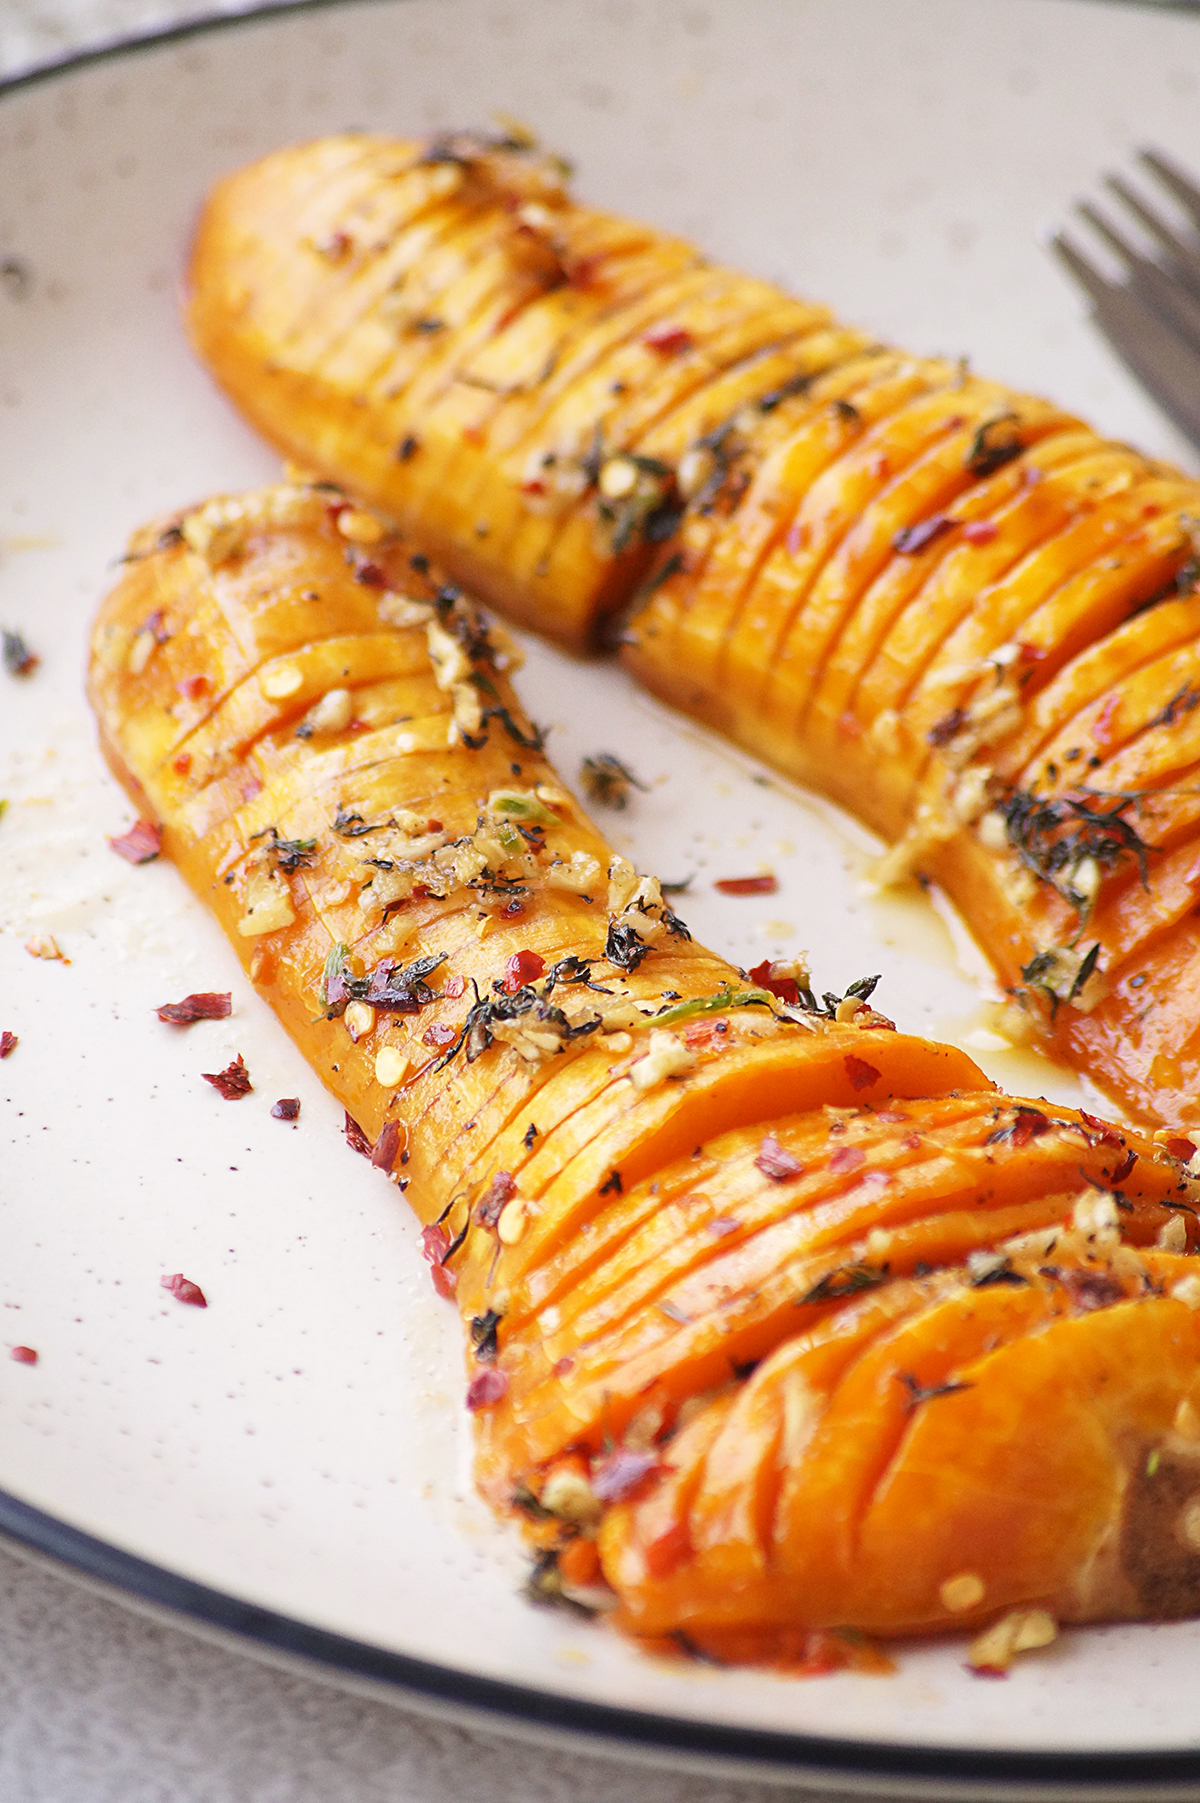
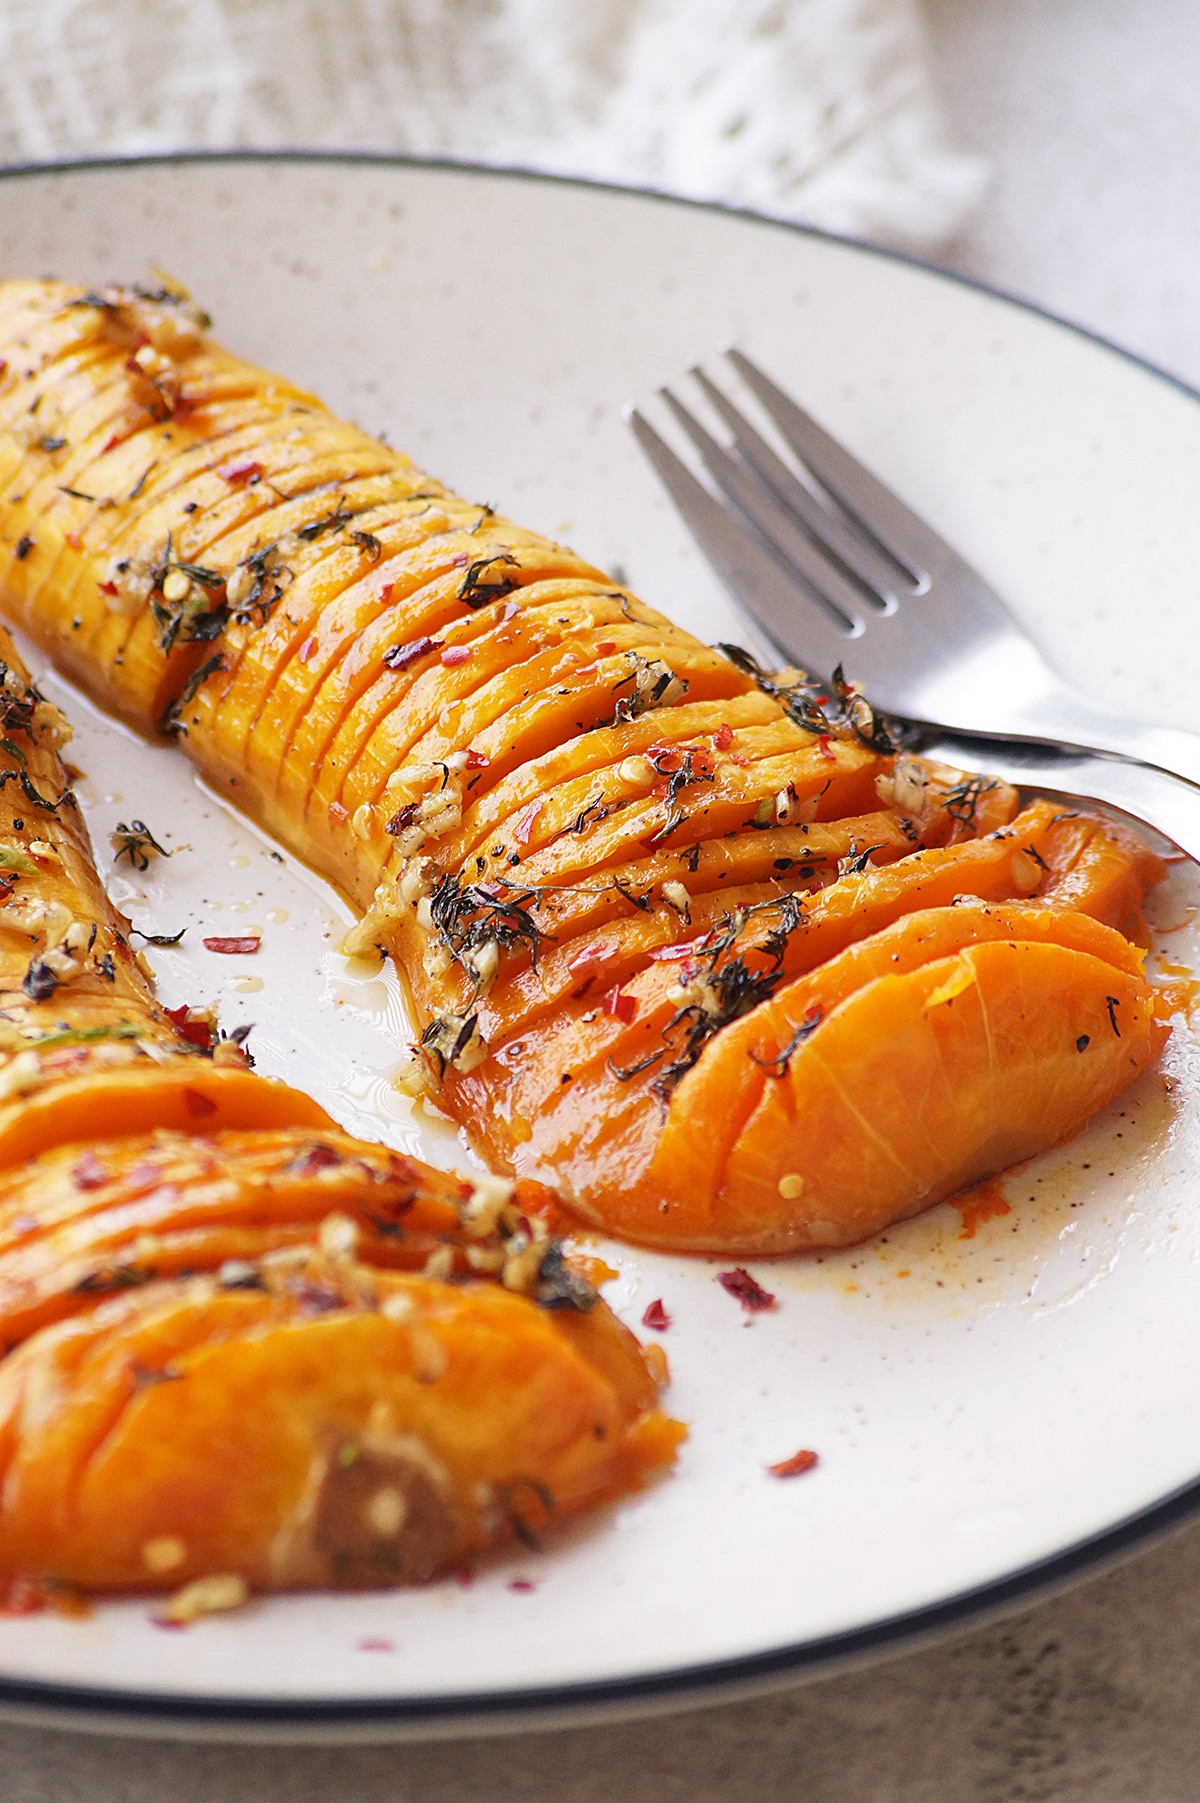
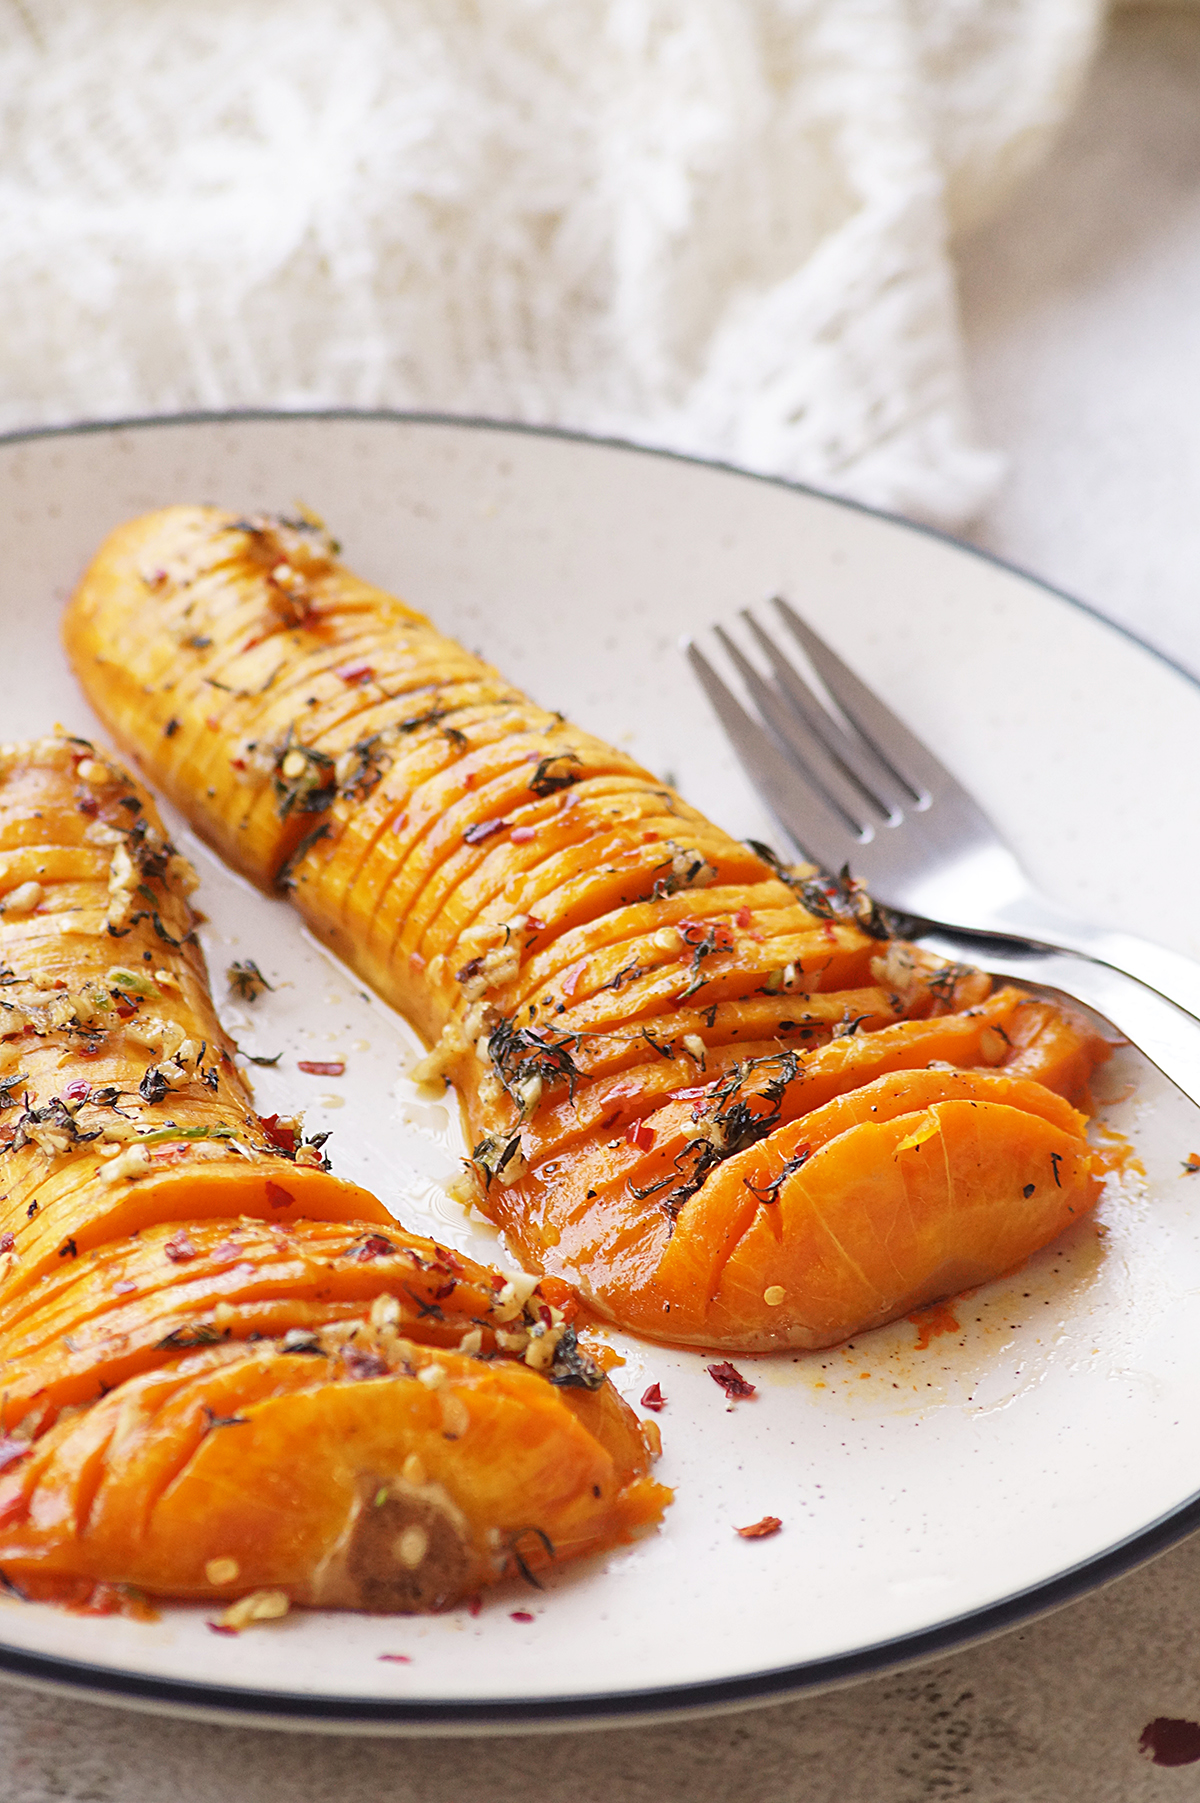
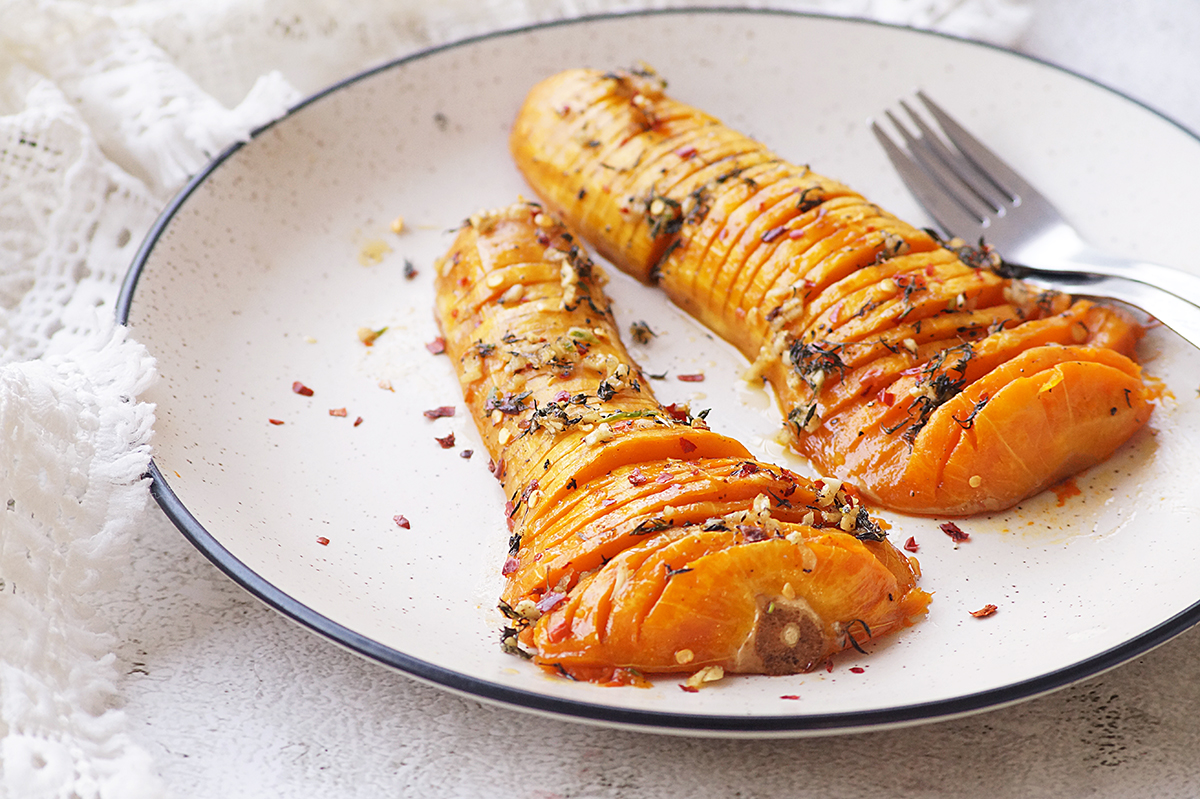
    Hasselback Butternut Squash - Super simple, soft and sumptuous roasted butternut squash with thyme and garlic! A perfect side dish for the holiday season!

    What is hasselback butternut squash?

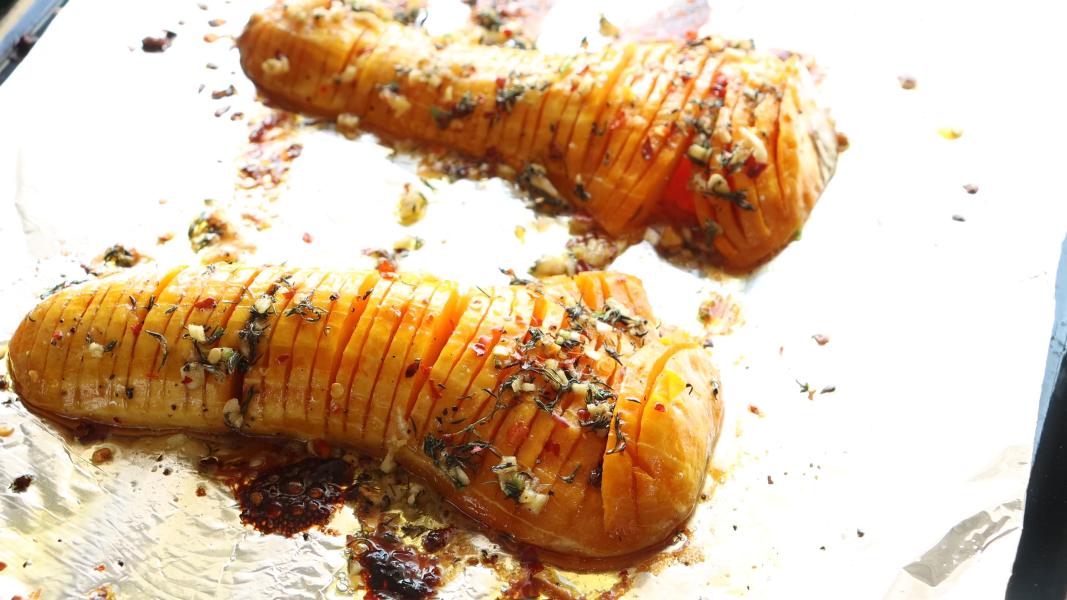
    The term Hasselback originated from a Swedish restaurant called Hasselbacken, with their flagship dish that is world renowned as Hasselback potatoes. Similarly, squash/pumpkin could make for a sumptuous, elegant dish called Hasselback butternut squash during winter holiday season.

    Its ravishing appearance doesn't quite give away the ridiculous ease at which it can be made, especially for those who haven't quite explored squash/pumpkin's versatility!

    Why you'll love this recipe:

    Looks festive and rich!

    So easy to put everything together!

    Garlic and thyme is a killer combination!

    A perfect side dish for Thanksgiving and Christmas!

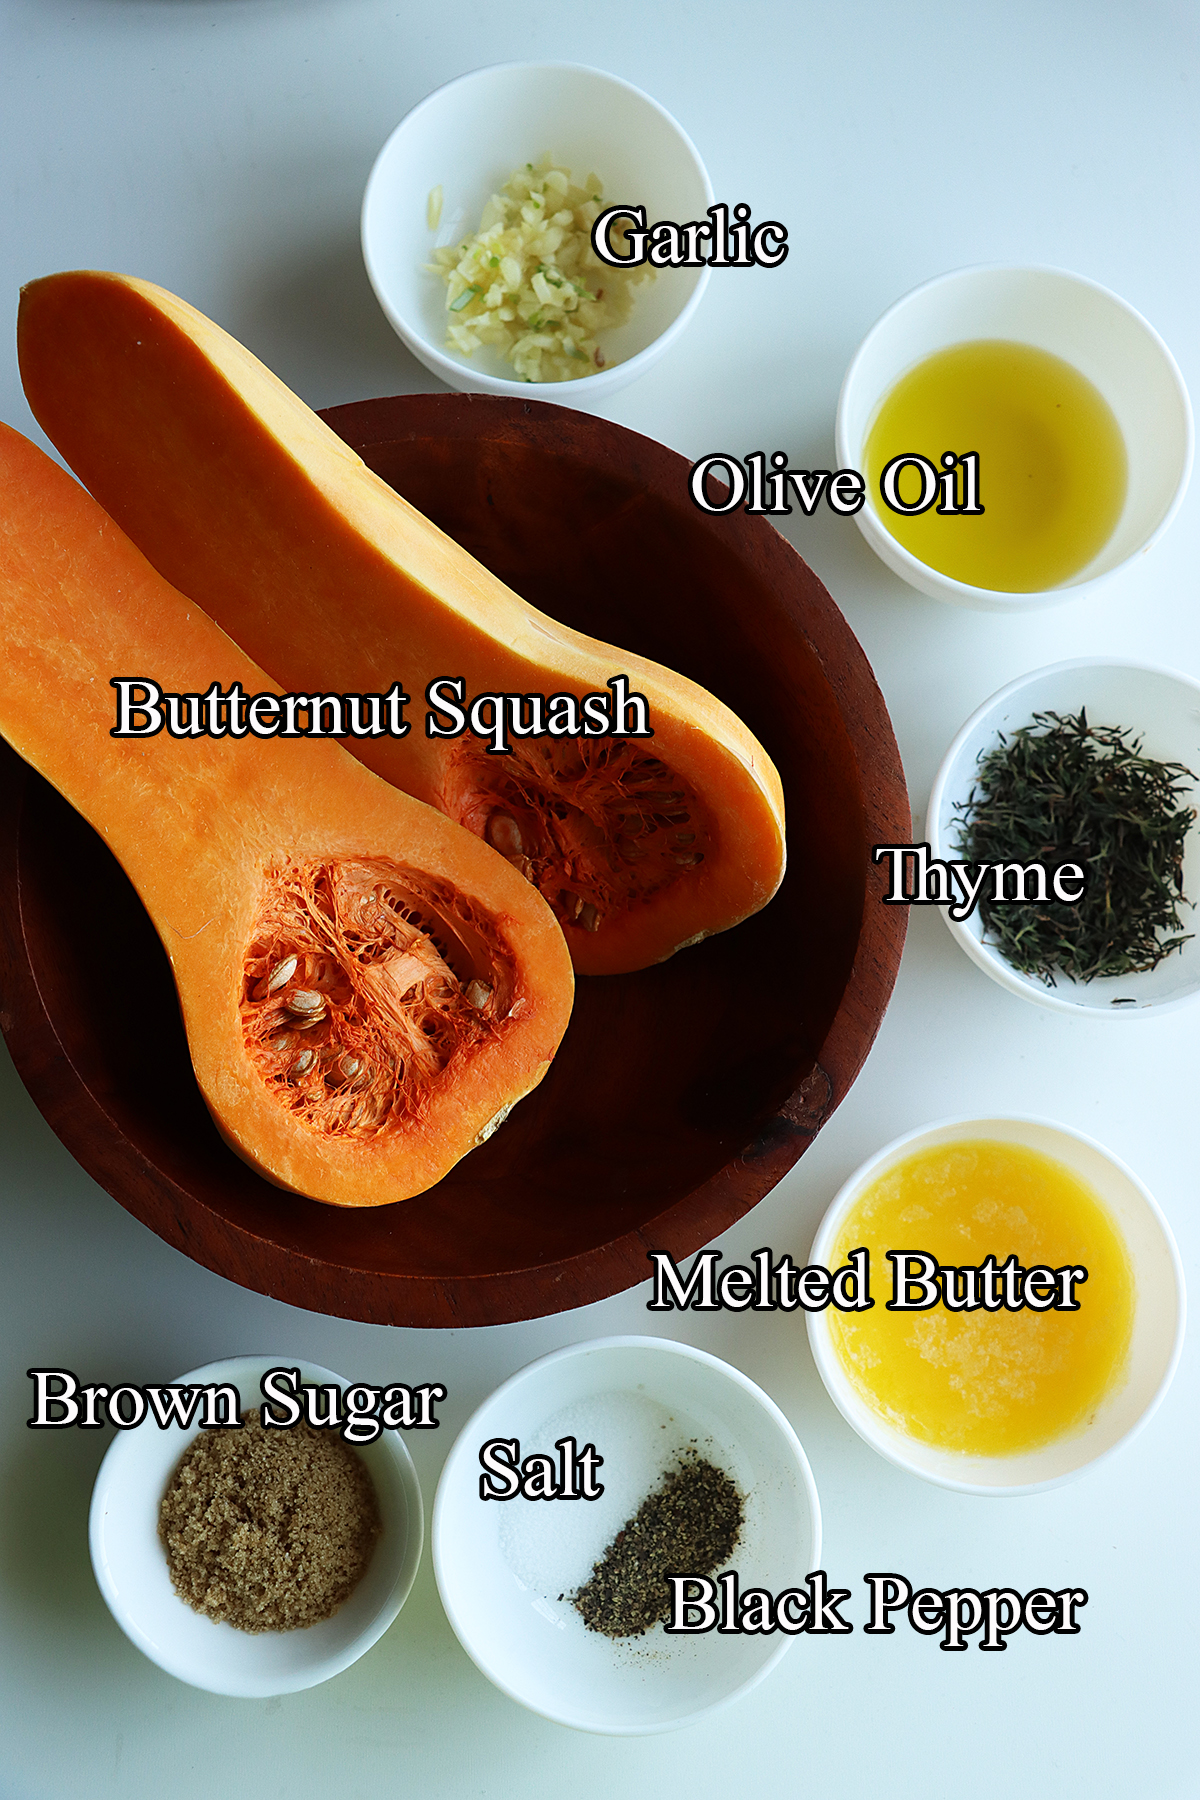
    Ingredients:

    Butternut Squash - I have used small sized butternut squash. The baking time depends on the size of the pumpkin you use.

    Thyme - I have used fresh thyme here, you could also use dried thyme.

    Melted Butter - Replace it with olive oil, olive oil or avocado oil if you are vegan.

    Brown Sugar - You can also use maple syrup or honey.

    Olive Oil

    Garlic

    Salt & Pepper

    Storage suggestions:

    This can be stored in the refrigerator for up to 4 days. Reheat it in the microwave or the oven whenever you need to serve.

    It can also be served cold.

    How to make it vegan?

    Simply swap melted butter with olive oil to make this dish vegan.

    Step by step instructions:

    Start the process with preheating the oven at 200 degrees C.

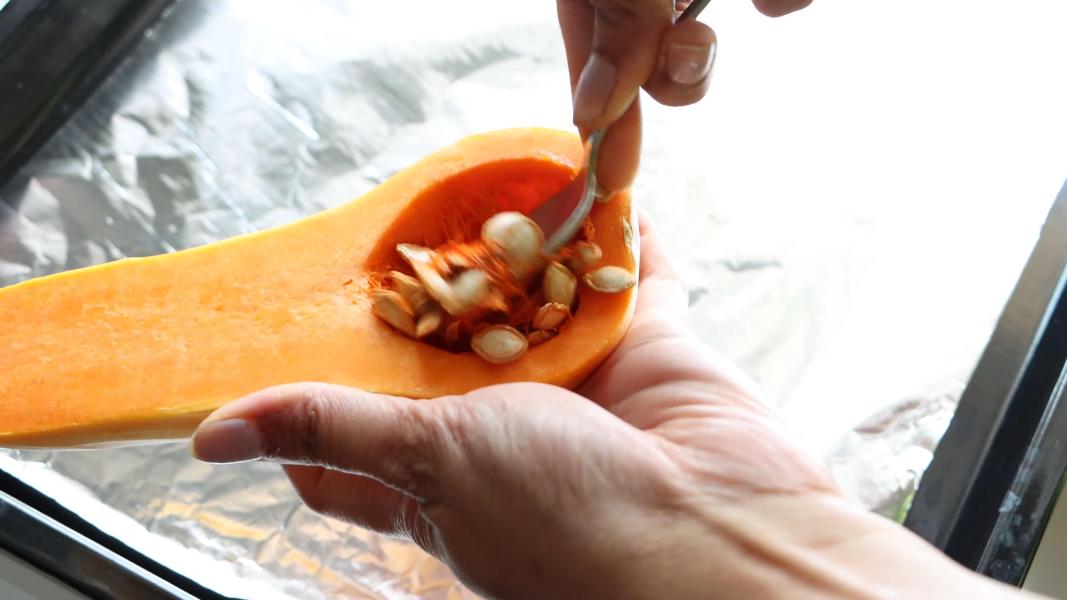
    Wash, peel and cut the butternut squash in half lengthwise.

    Scoop out the seeds using a spoon.

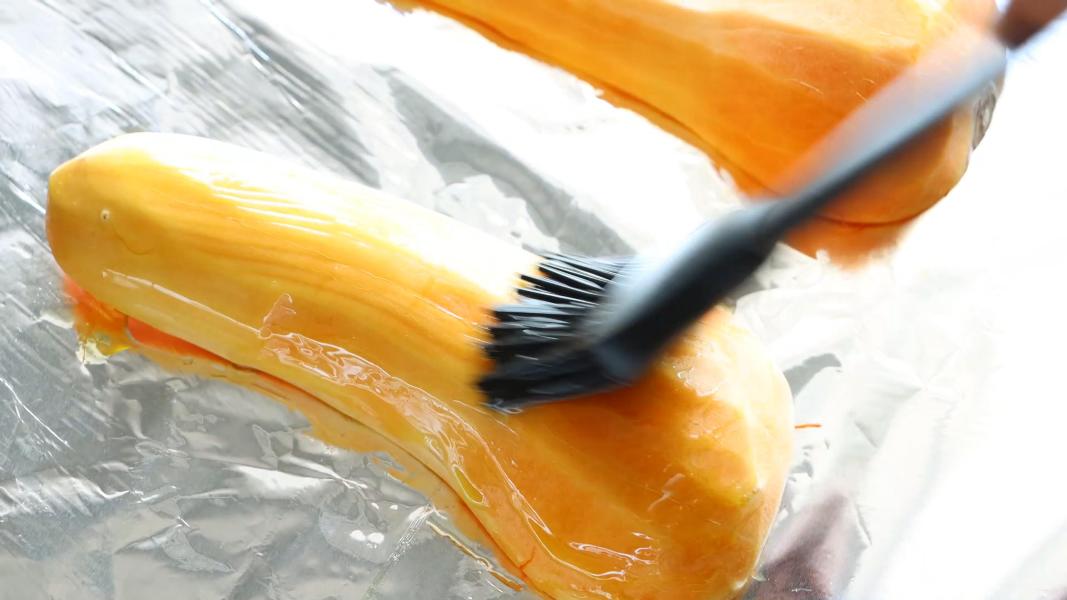
    Place them in a lined baking tray and brush them with olive oil.

    Sprinkle with salt and pepper.

    Bake them in the preheated oven for about 15 minutes at 200 degrees C.

    When they are half cooked and soft enough to cut, remove it from the oven and let it cool down a bit.

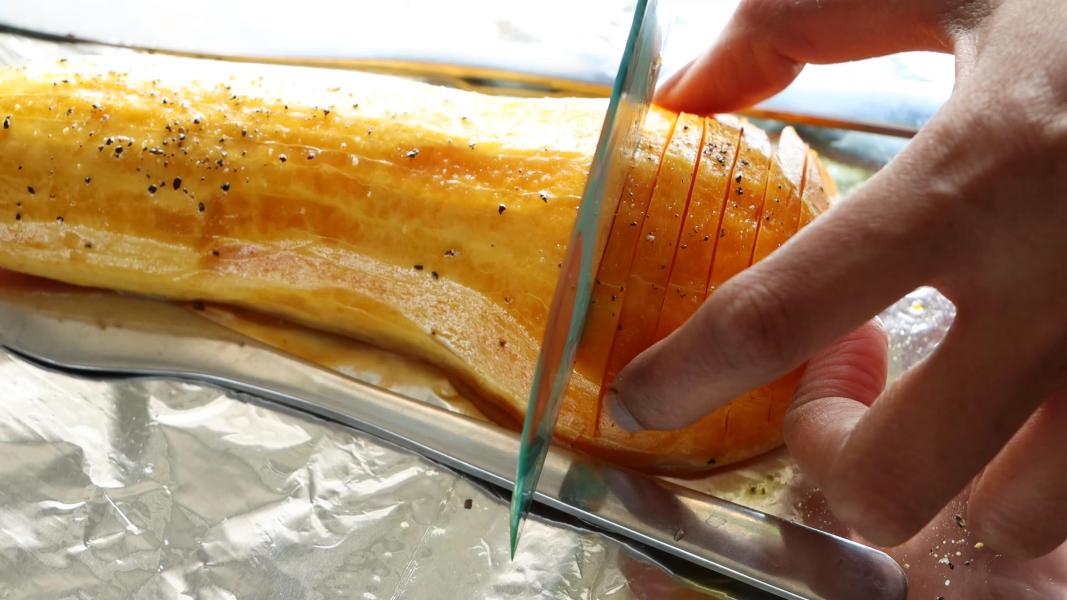
    When it is cool enough to handle, place 2 spatulas or forks on both sides of the squash and start slicing.

    Slice them thinly, leaving ¼ inch at bottom unsliced.

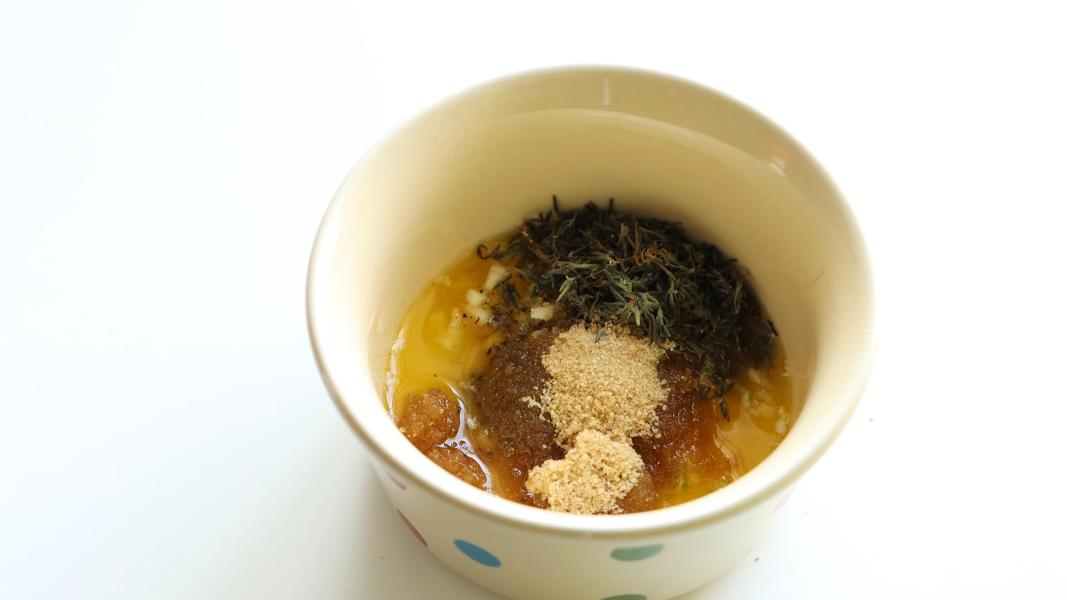
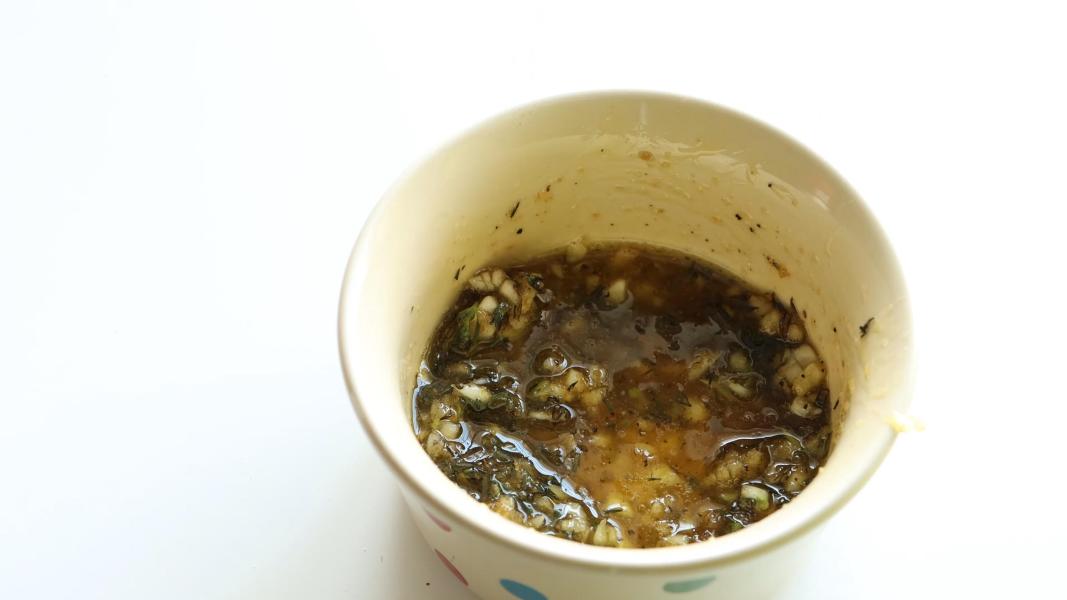
    Combine melted butter, garlic, sugar, salt, pepper and thyme in a small mixing bowl.

    Mix everything until well combined.

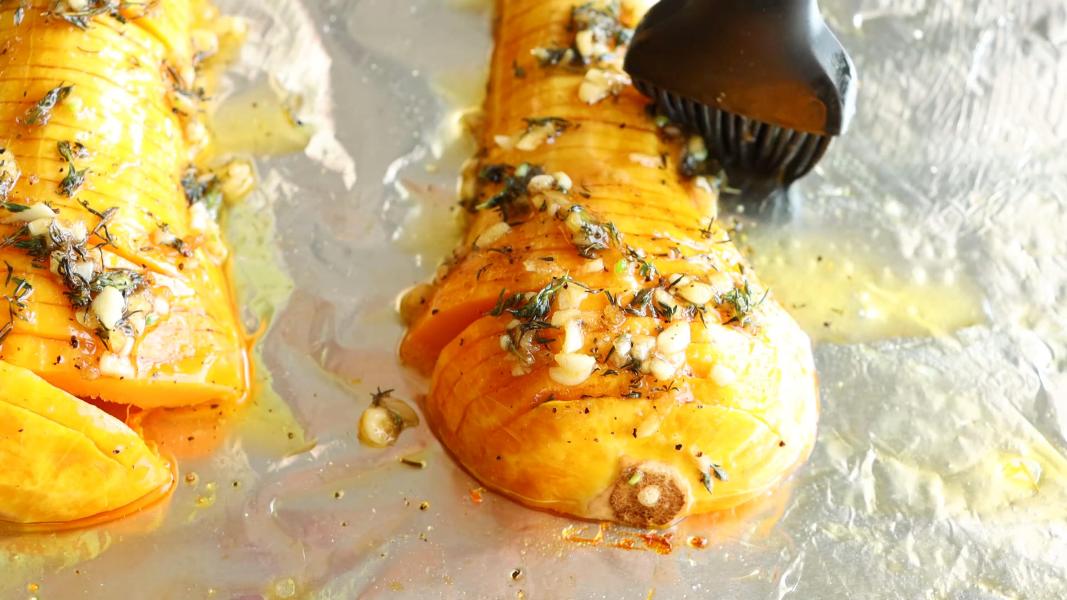
    Spread the butter on the butternut squash and brush well.

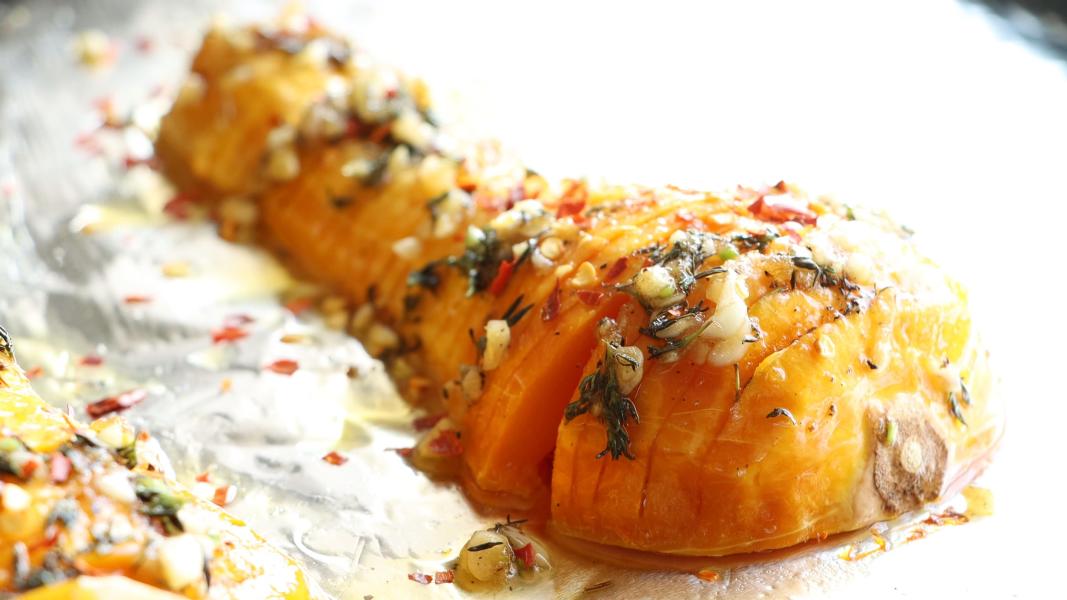
    Sprinkle with chilli flakes if needed.

    Bake them again in the preheated oven for about 25 minutes or until it is tender.

    Serve and enjoy!

    You might love these recipes:

    • Kale Persimmon Salad
    • Apple Yogurt Salad
    • Swedish Chocolate Balls
    • Instant Pot Chestnuts
    • Instant Pot Lemon Rice
    • Greek Spinach Rice
    • Chocolate Peanut Butter Pudding

    Hasselback butternut squash recipe video below:

    Print Recipe

    Hasselback Butternut Squash

    Hasselback Butternut Squash - Super simple, soft and sumptuous roasted butternut squash with thyme and garlic! A perfect side dish for the holiday season!
    Prep Time10 minutes mins
    40 minutes mins
    Total Time50 minutes mins
    Course: Main Course, Side Dish
    Cuisine: Swedish
    Keyword: christmas recipes, hasselback butternut squash, Holiday Recipes, Thanksgiving Recipes
    Servings: 4
    Calories: 180kcal
    Author: Hari Chandana Ponnaluri

    Ingredients

    • 1 Small Butternut Squash
    • 2 Tablespoons Melted Butter
    • 1 Tanblespoon Chopped Garlic
    • 1 Tablespoon Fresh Thyme
    • 1 Tablespoon Brown Sugar
    • ½ Tablespoon Extra Virgin Olive Oil
    • ½ Teaspoon Salt
    • ½ Teaspoon Black Pepper

    Instructions

    • Preheating the oven at 200 degrees C.
    • Wash, peel and cut the butternut squash in half.
    • Scoop out the seeds using a spoon.
    • Place squash halves in a lined baking tray and brush them with olive oil.
    • Sprinkle with salt and pepper.
    • Bake them in the preheated oven for about 15 minutes at 200 degrees C.
    • When they are half cooked and soft enough to cut, remove it from the oven and let it cool down a bit.
    • When it is cool enough to handle, place 2 spatulas or forks on both sides of the squash and start slicing.
    • Slice them thinly, leaving ¼ inch at bottom unsliced.
    • Combine melted butter, garlic, sugar, salt, pepper and thyme in a small mixing bowl.
    • Mix everything until well combined.
    • Spread the butter on the butternut squash and brush well.
    • Sprinkle with chilli flakes if needed.
    • Bake them again in the preheated oven for about 25 minutes or until it is tender.
    • Serve warm!

    Video

    Notes

    The baking time will depend on the size of the pumpkin you use. Adjust the time accordingly. 

    Nutrition

    Calories: 180kcal | Carbohydrates: 26g | Protein: 2g | Fat: 9g | Saturated Fat: 5g | Polyunsaturated Fat: 1g | Monounsaturated Fat: 3g | Cholesterol: 19mg | Sodium: 299mg | Potassium: 679mg | Fiber: 4g | Sugar: 7g | Vitamin A: 20016IU | Vitamin C: 42mg | Calcium: 101mg | Iron: 2mg

    Persimmon Kale Salad

    November 22, 2022

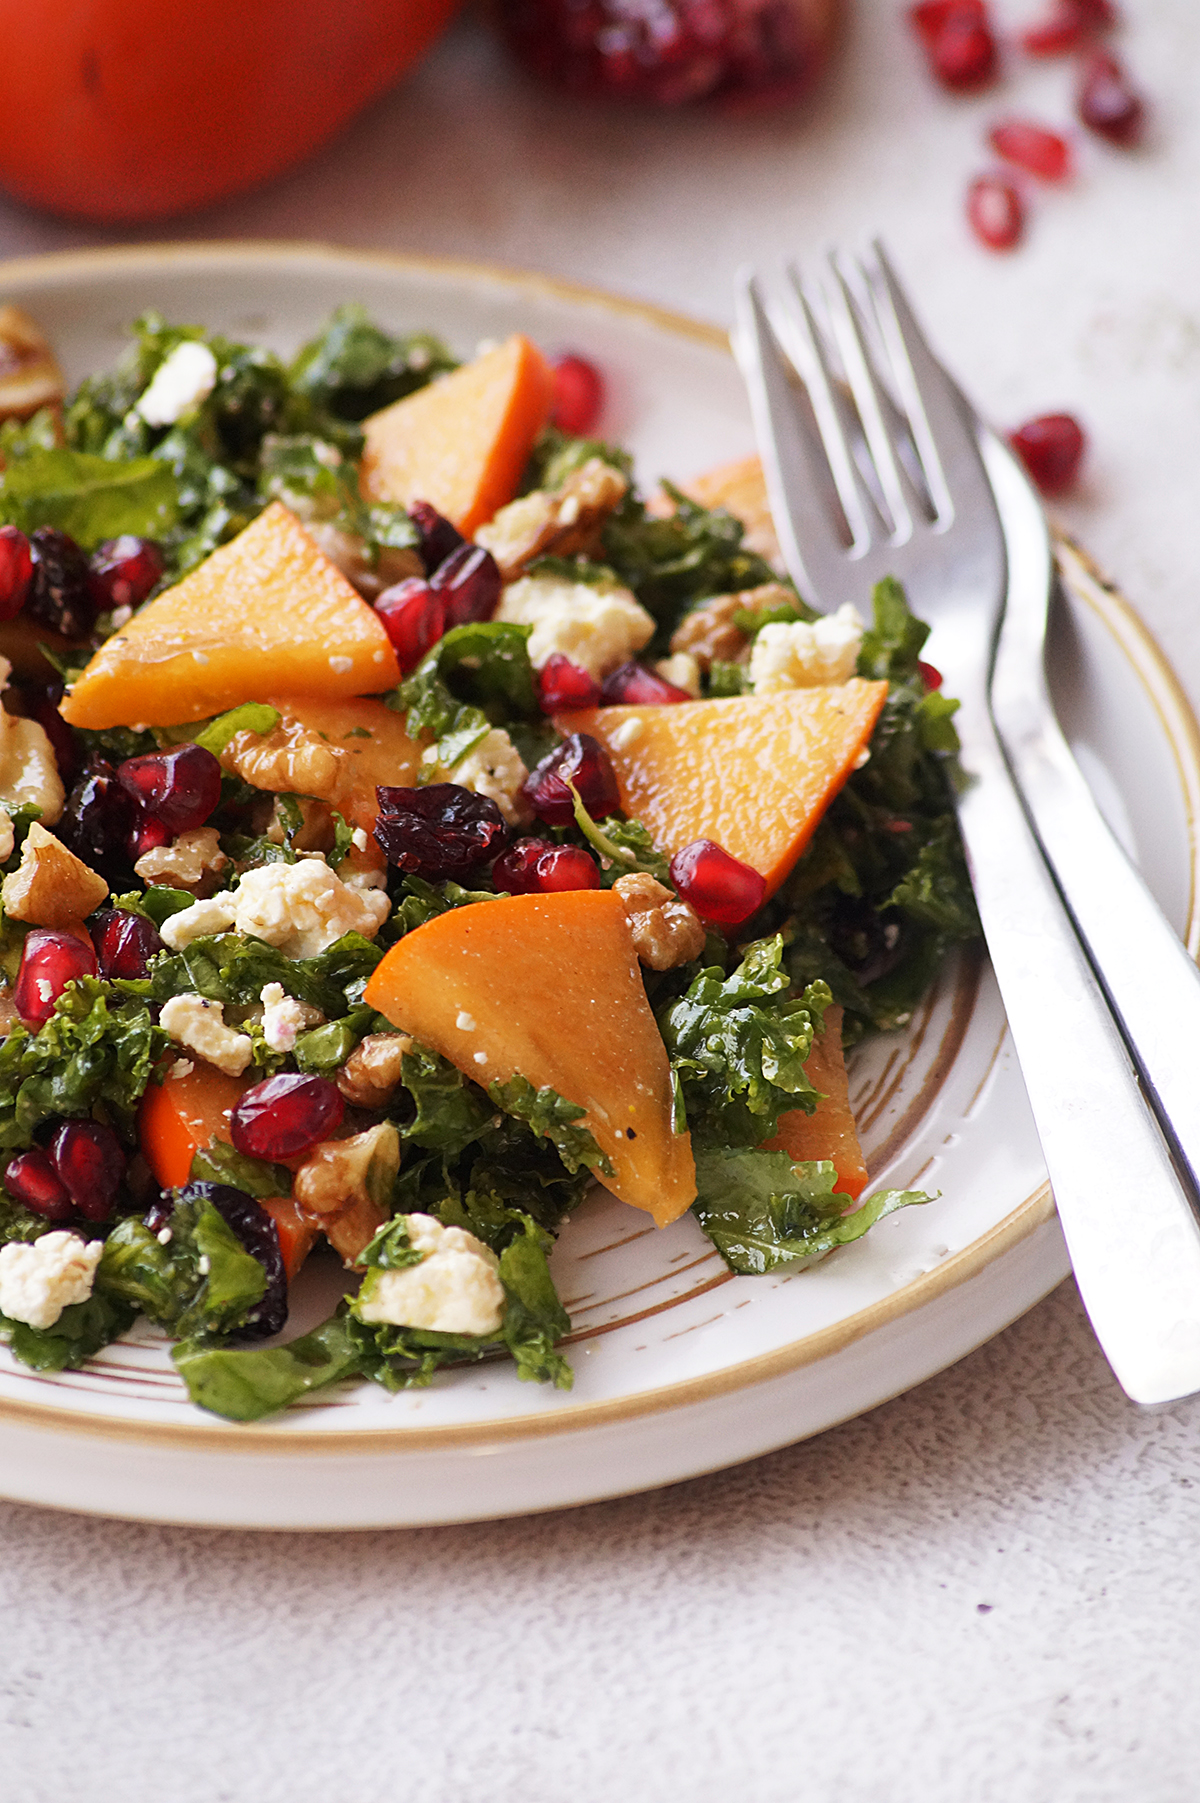
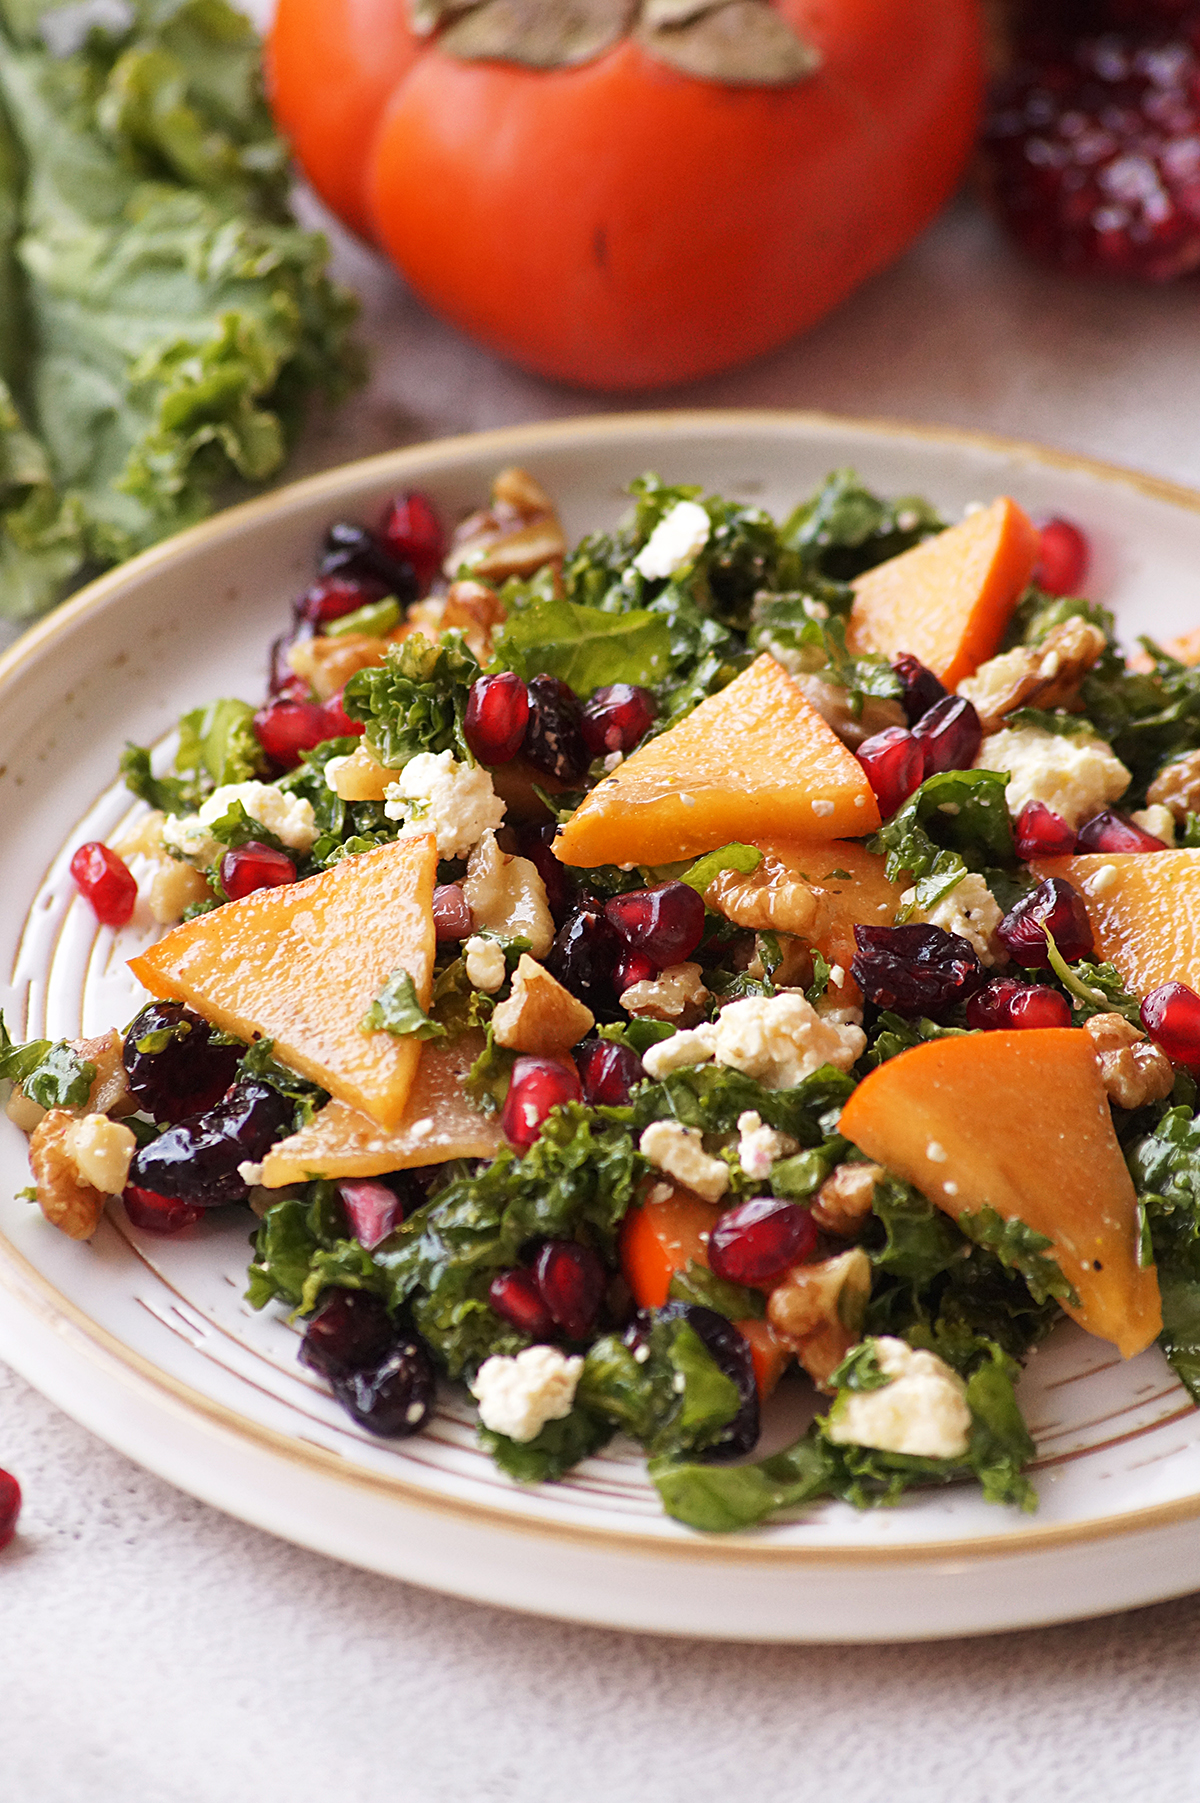
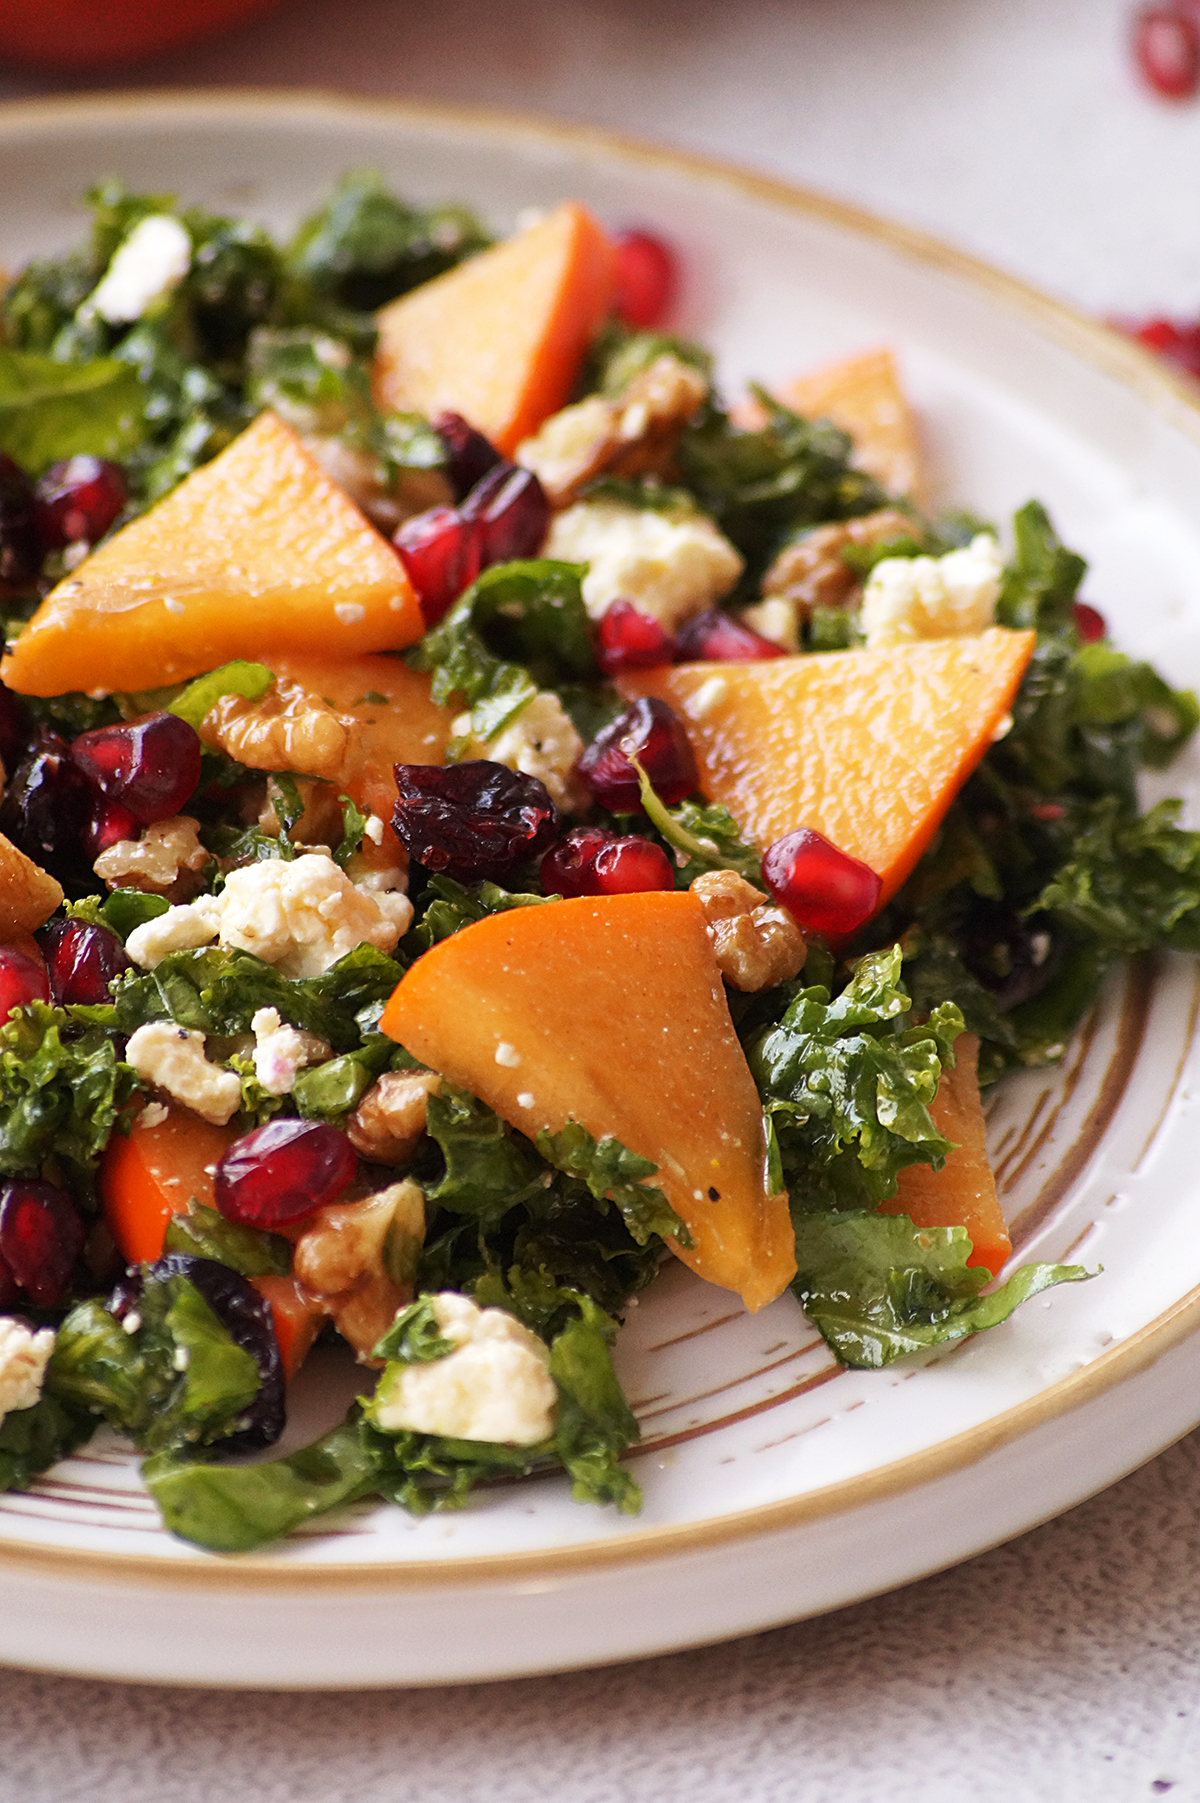
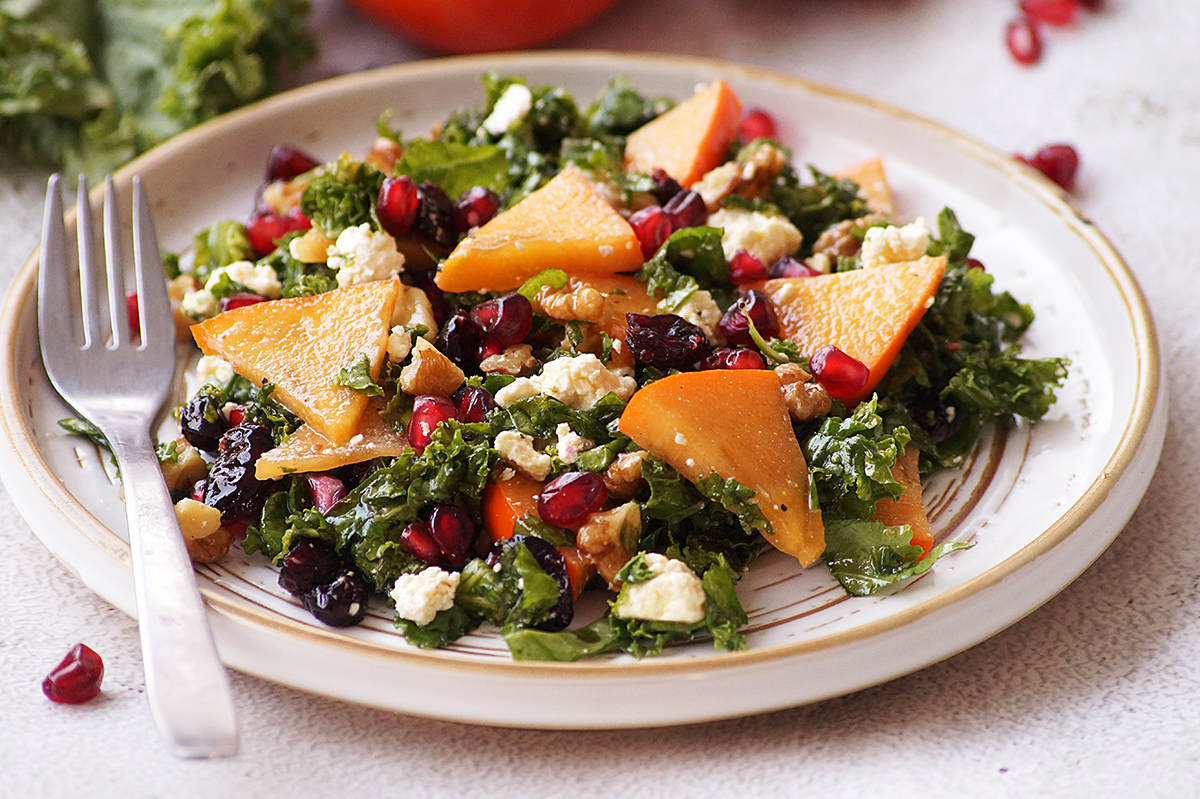
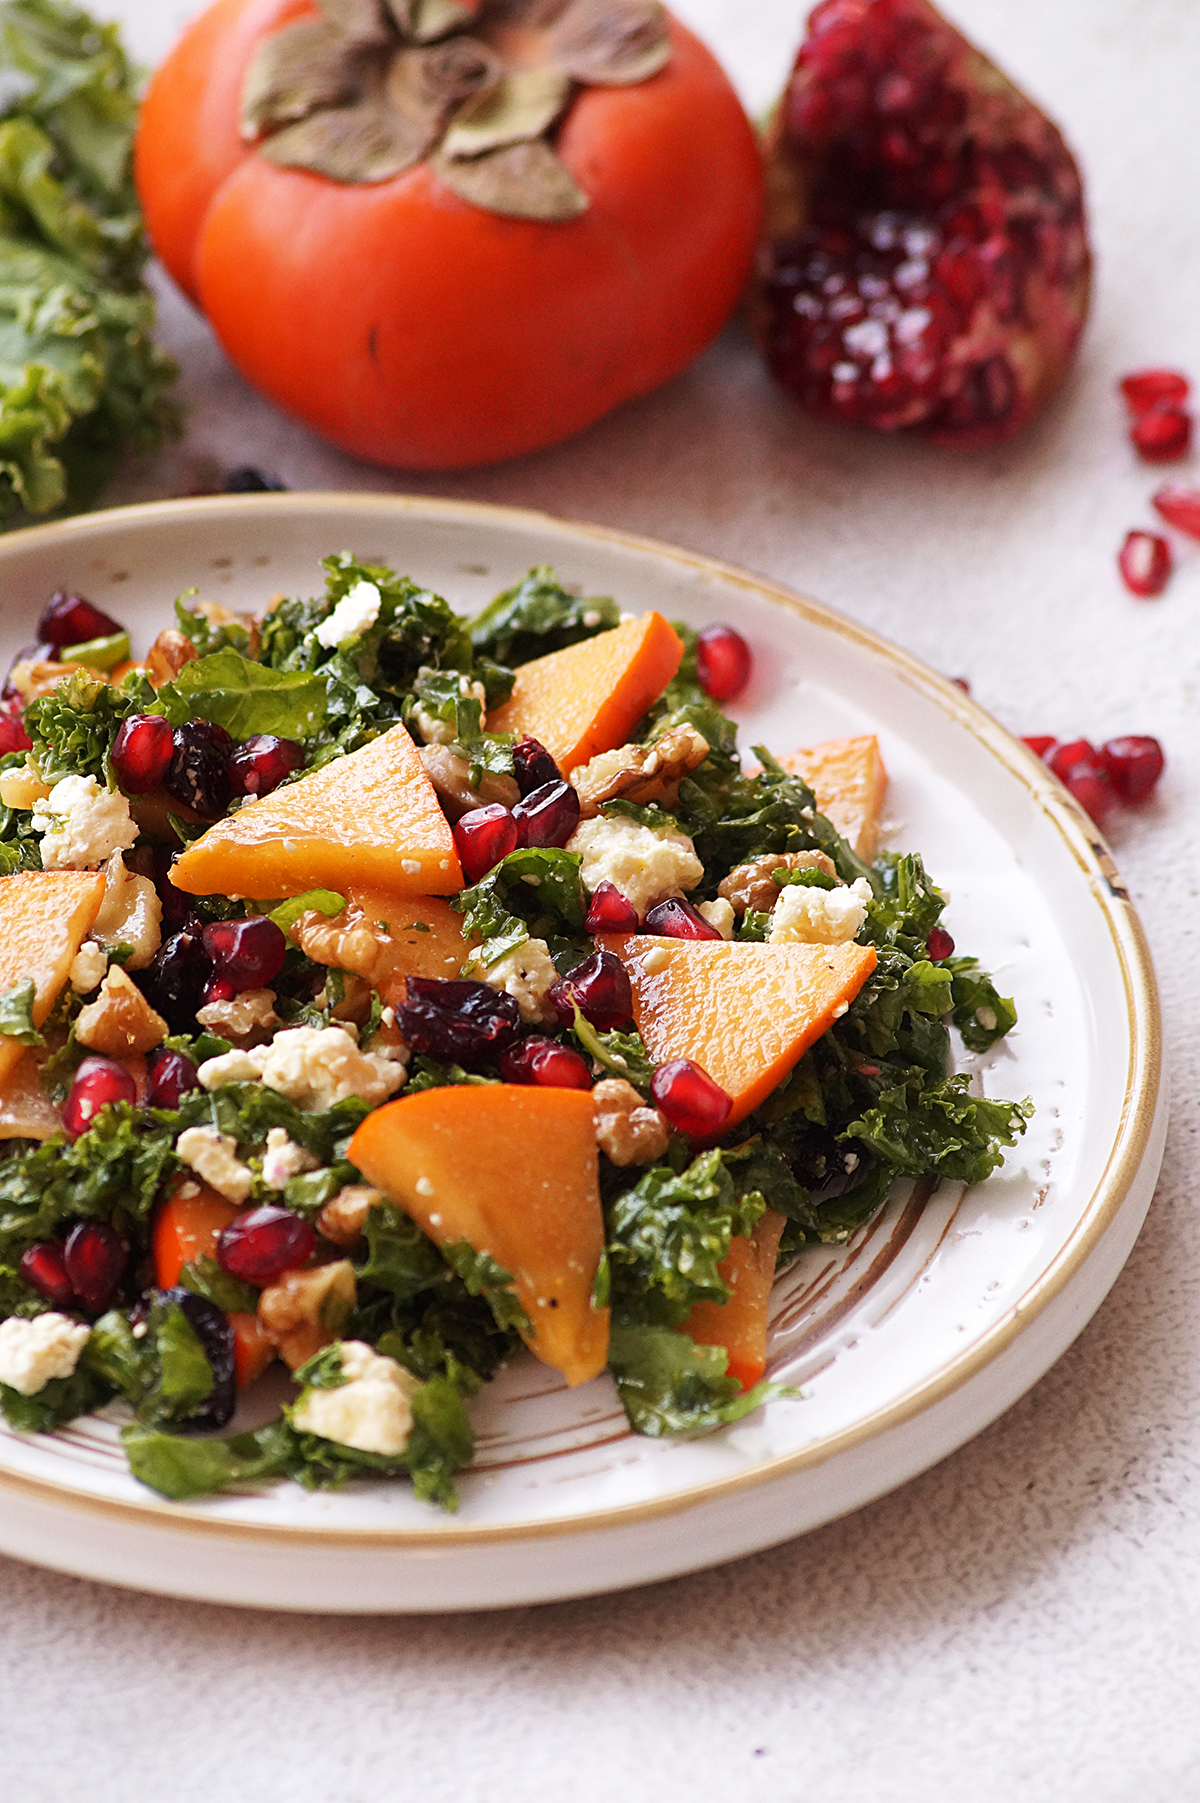
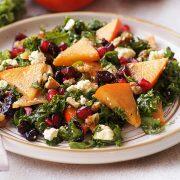
    Persimmon Kale Salad - A simple, sweet, crunchy and healthy holiday salad made with seasonal persimmons, kale, pomegranate, feta, nuts and cranberries. It is so pretty and perfect for Thanksgiving and Christmas!

    What is persimmon kale salad?

    It is one of the flavorful and delicious holiday salad recipes made with seasonal fuyu persimmons, kale, pomegranate, feta and lemon vinaigrette.

    This sweet, salty and crunchy salad can be prepared ahead of time with pantry staples for Thanksgiving and Christmas dinners.

    More persimmon recipes:

    • Vegan Persimmon Smoothie
    • Homemade Persimmon Jam
    • Persimmon Pineapple Salsa
    • Vegan Persimmon Chia Pudding

    Why you'll love this recipe:

    A perfect fall salad recipe with seasonal ingredients!

    Super simple and easy to make for gatherings or parties!

    It looks so festive and can be made for Thanksgiving and Christmas!

    That makes a great weekday dinner, too.

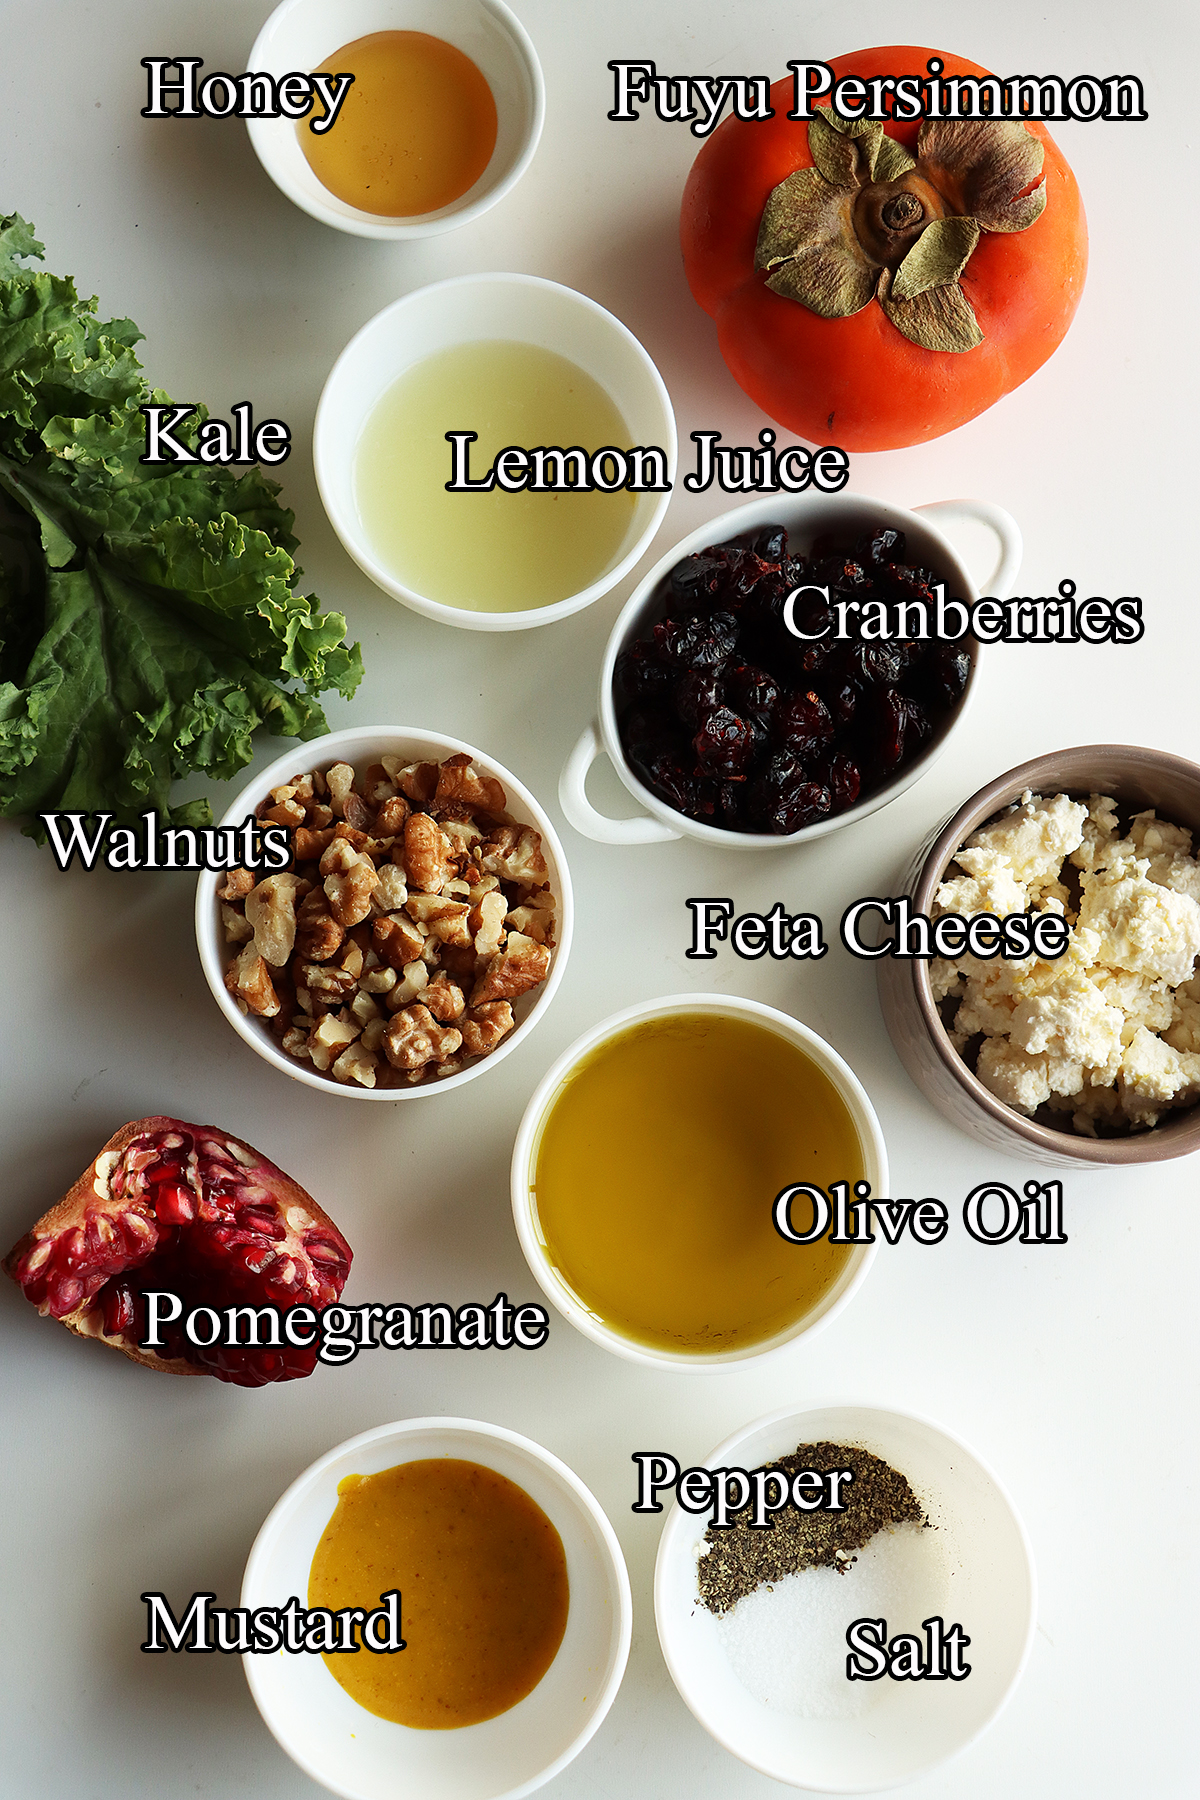
    Ingredients:

    Persimmons - Do not use Hachiya variety persimmons. Always use Fuyu persimmons in salad recipes. If you can't find fuyu variety, replace them with apples or pears.

    Kale - I have used curly kale in this recipe. Can be substituted with another variety of kale.

    Pomegranate - I really loved the combination of persimmon, kale and pomegranate. If you don't have them, don't skip dried cranberries.

    Dried Cranberries - These are totally optional but they will add the festive touch during the holiday season.

    Walnuts - Use a good quality toasted walnuts. You could also toast them in a pan until they are lightly browned and fragrant. You can also swap them with toasted pecans or toasted slivered almonds.

    Honey - Can be substituted with maple syrup.

    Feta Cheese - Do not skip feta

    Mustard - I would recommend using dijon or english mustard. If you don't have it in hand, skip it.

    Olive Oil, Lemon Juice, Salt & Pepper

    Can I make this ahead of time?

    Absolutely! You can assemble the salad a day before and store it in the refrigerator. If you want to store it for longer, add the dressing to the kale and store it in the refrigerator for up to 3 days. Add fruits, walnuts and feta before serving.

    Serving suggestions:

    This will be an excellent add-on to your holiday menu. It can also be served as a simple dinner.

    Tips & Notes:

    Do not use Hachiya variety persimmons, they don't work well.

    Swap walnuts with any of your favorite nutes.

    You don't need to peel persimmons. Slice then thinly and cup them.

    If you can't find persimmons, they can be replaced with sliced apples or sliced pears.

    You can also use mixed greens or arugula instead of kale.

    Step by step instructions:

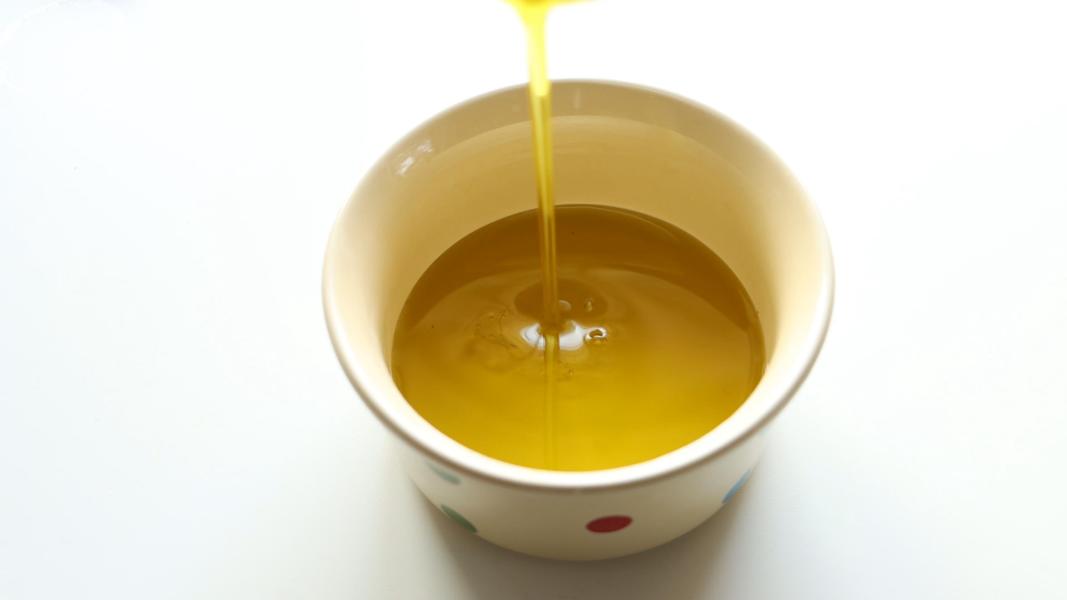
    In a small mixing bowl or jar, add extra-virgin olive oil.

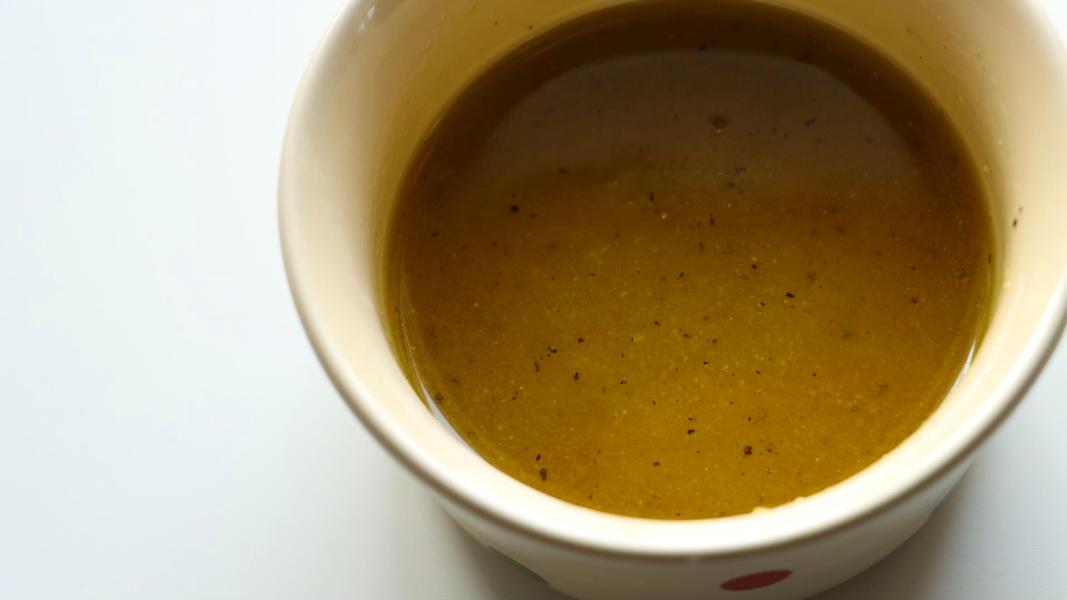
    Add mustard, lemon juice, honey, salt and pepper to the bowl.

    Mix everything well using a fork until well combined. Alternatively, add everything into a jar, close the lid and shake until combined.

    You can store this dressing in the refrigerator for up to 3 days.

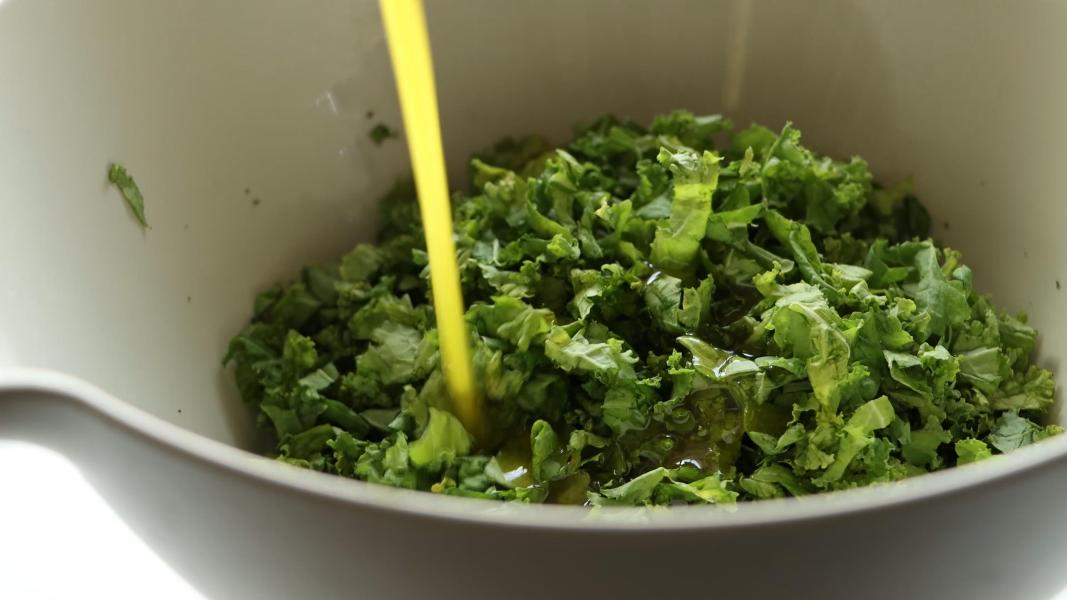
    Take 4 tightly packed cups of washed, dried, stemmed and chopped kale into a large mixing bowl or salad bowl.

    Pour the prepared the dressing over the kale.

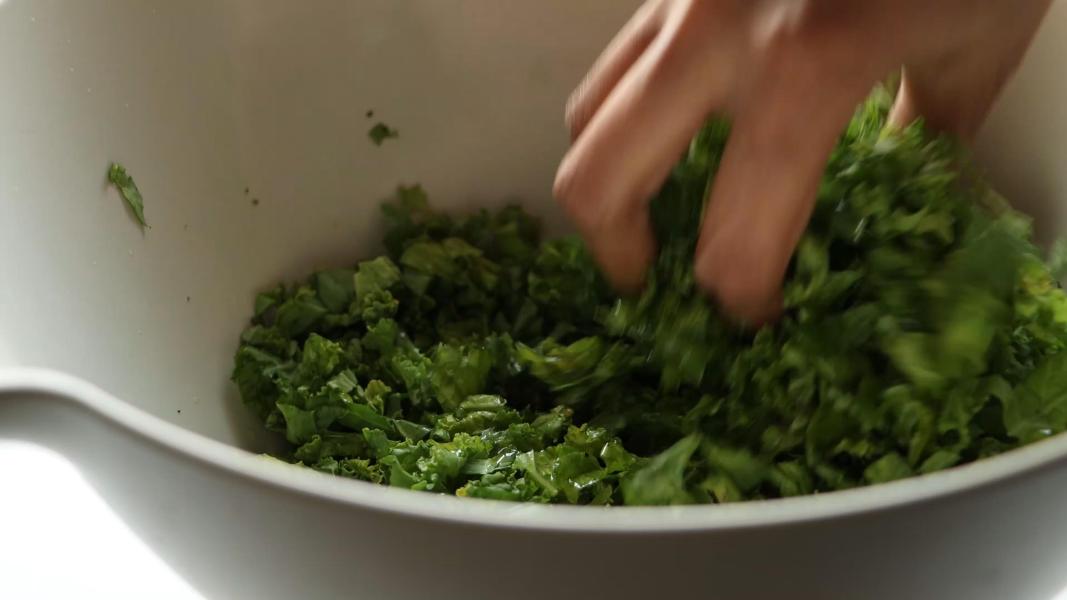
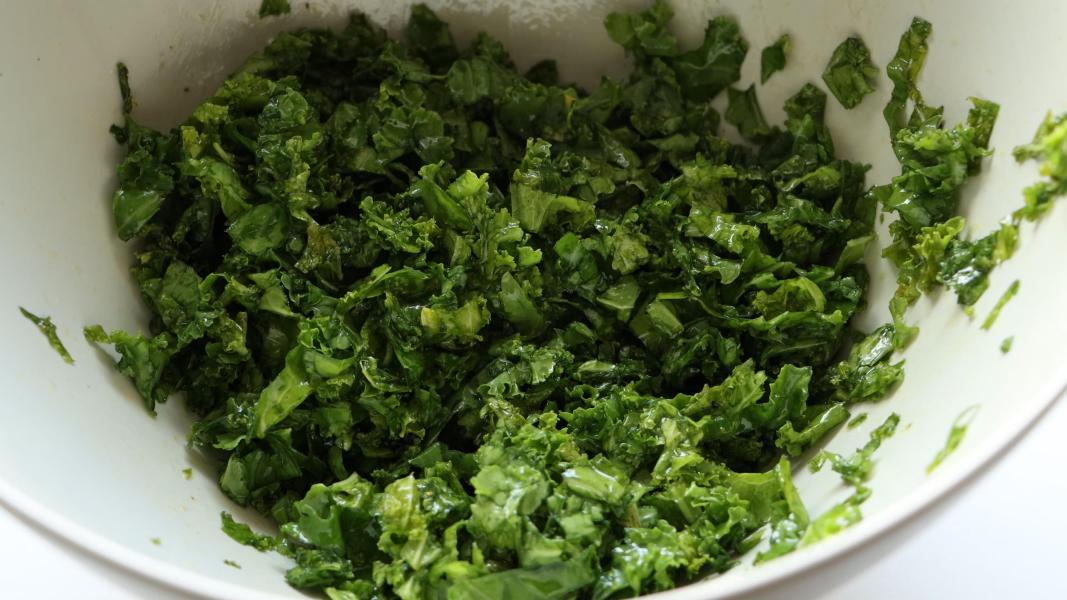
    Massage the leaves using your hands for few minutes.

    You can rest it in the refrigerator for an hour or skip this step.

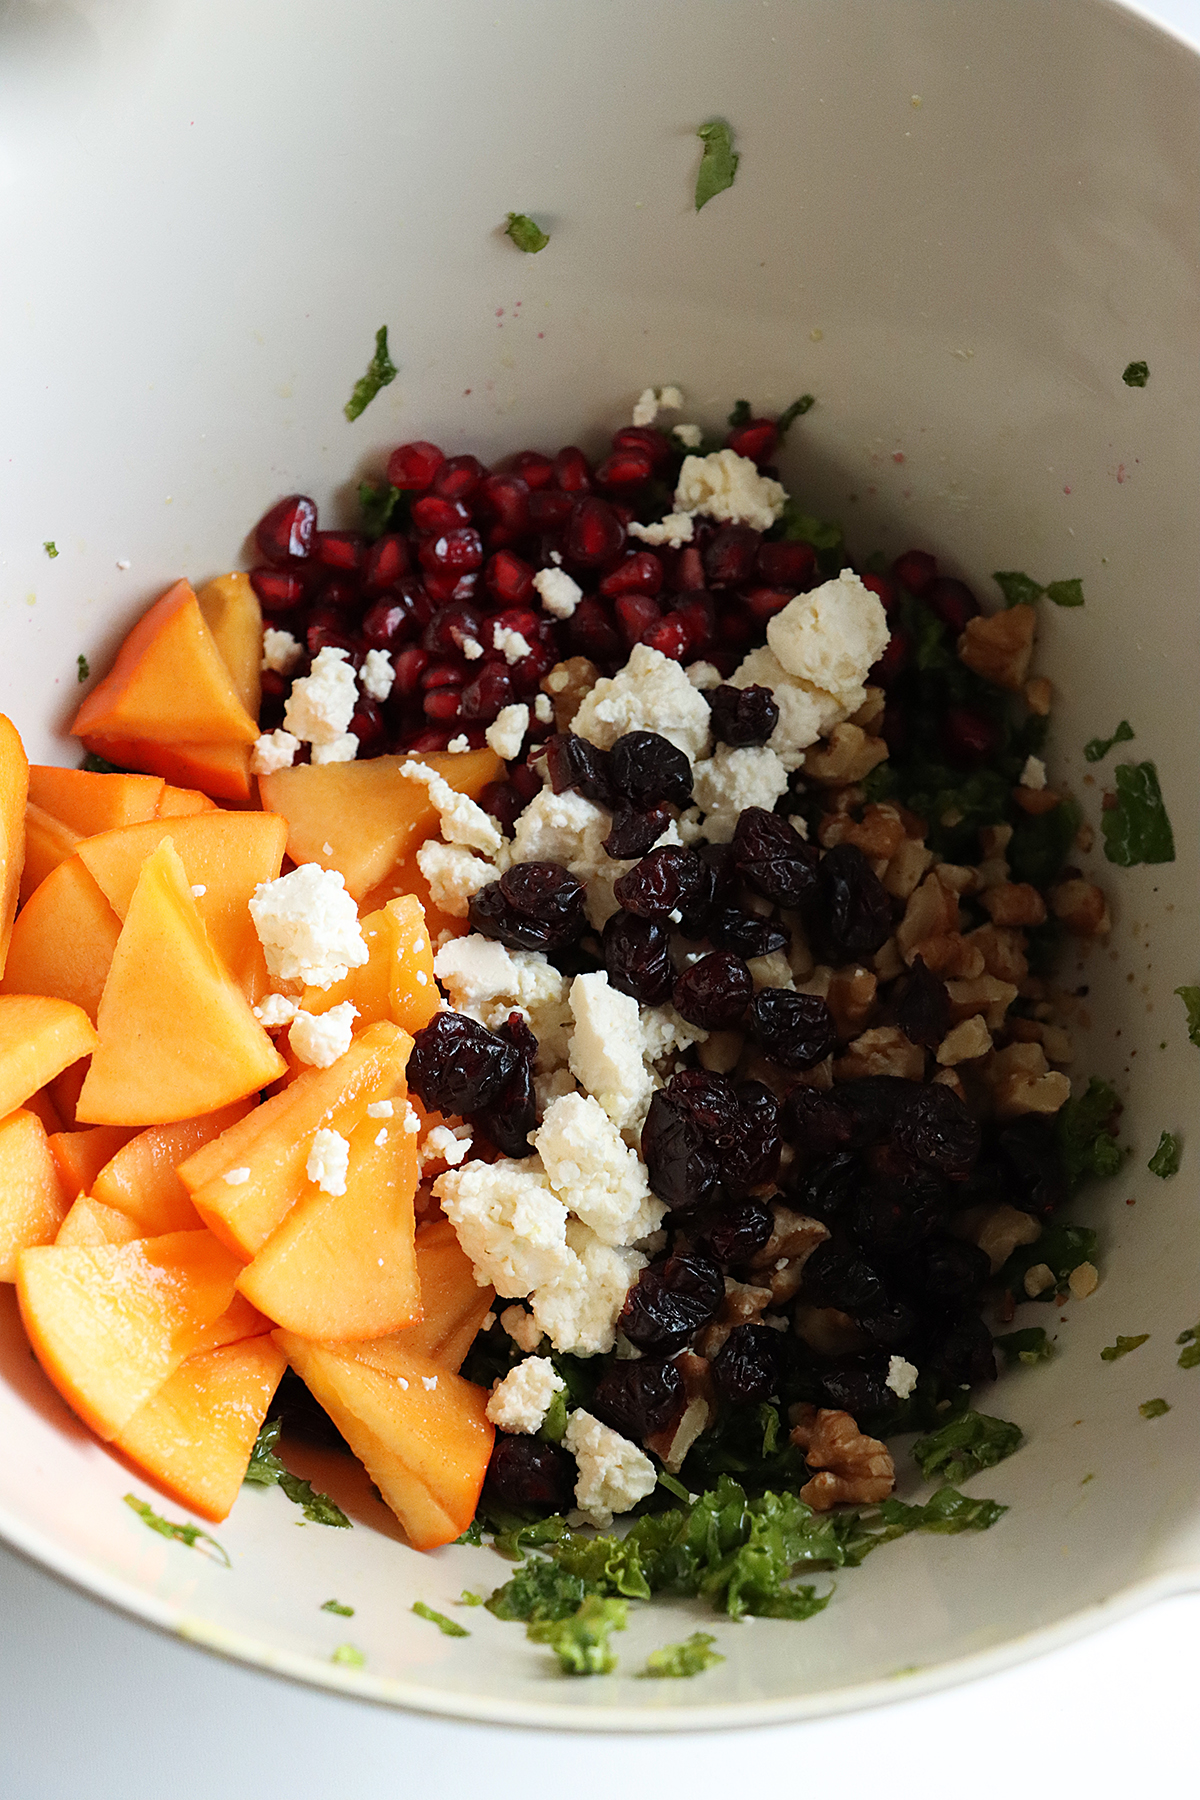
    Add sliced persimmon, crumbled feta, pomegranate and toasted walnuts to the massaged kale.

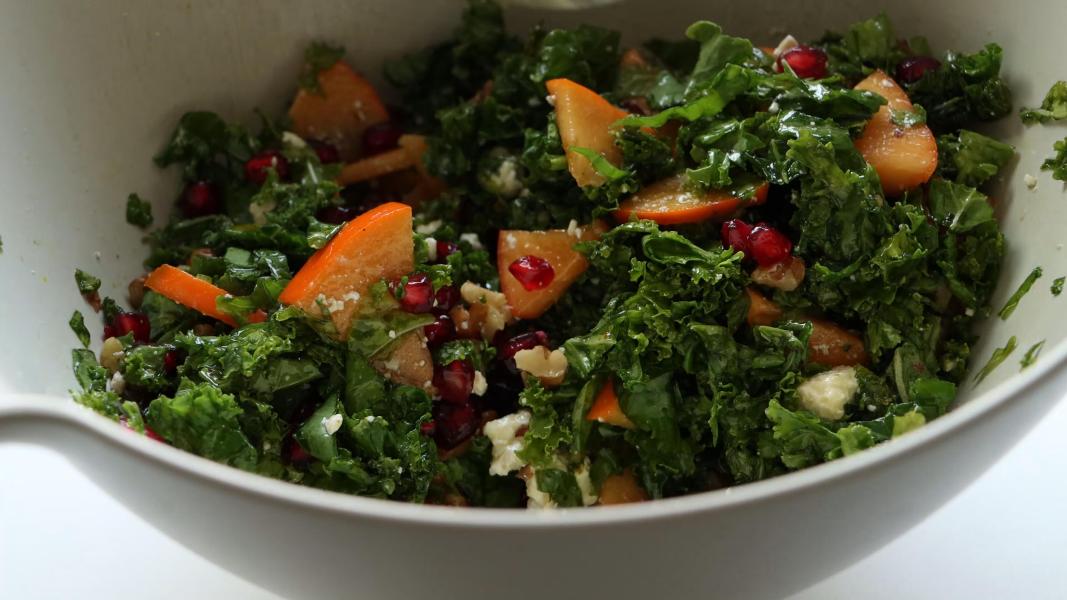
    Gently toss everything and serve!

    You might love these holiday recipes:

    • Apple Yogurt Salad
    • Eggless Fruitcake Cookies
    • Chocolate Snowball Cookies
    • Biscotti Regina
    • Chocolate Crinkle Cookies
    • Vegan Tomato Coconut Pasta
    • Eggless Dates Cake

    Kale persimmon pomegranate salad recipe video below:

    Print Recipe

    Persimmon Kale Salad Recipe

    Persimmon Kale Salad - A simple, sweet, crunchy and healthy holiday salad made with seasonal persimmons, kale, pomegranate, feta, nuts and cranberries. It is so pretty and perfect for Thanksgiving and Christmas!
    Prep Time15 minutes mins
    Total Time15 minutes mins
    Course: Main Course, Salad
    Cuisine: American, International
    Keyword: christmas recipes, Holiday Recipes, persimmon kale salad recipe, Persimmon Recipes, Salad Recipes, Thanksgiving Recipes
    Servings: 3
    Calories: 476kcal
    Author: Hari Chandana Ponnaluri

    Ingredients

    • 4 Cups Chopped Kale washed and stemmed
    • 1 Cup Chopped Fuyu Persimmon (1 piece of persimmon)
    • ⅓ Cup Pomegranate Arils
    • ⅓ Cup Feta Cheese
    • ⅓ Cup Toasted Walnuts (or Pecans)
    • ¼ Cup Dried Cranberries

    Dressing:

    • ¼ Cup Extra Virgin Olive Oil
    • 2 Tablespoons Lemon Juice
    • ½ Teaspoon Dijon Mustard
    • 1 Teaspoon Honey
    • ¼ Teaspoon Salt
    • ¼ Teaspoon Ground Black Pepper

    Instructions

    • Combine olive oil, lemon juice, mustard, honey, salt and pepper in a small mixing bowl or jar and mix everything until well combined.
    • Place the chopped kale leaves in a mixing bowl and pour the dressing over the top.
    • Gently massage the kale with your hands for few minutes.
    • Add toasted walnuts, chopped persimmon, pomegranate, feta and cranberries to the prepared kale.
    • Gently mix everything. Adjust the salt and pepper and serve!

    Video

    Nutrition

    Calories: 476kcal | Carbohydrates: 47g | Protein: 8g | Fat: 32g | Saturated Fat: 6g | Polyunsaturated Fat: 9g | Monounsaturated Fat: 15g | Cholesterol: 15mg | Sodium: 443mg | Potassium: 686mg | Fiber: 6g | Sugar: 13g | Vitamin A: 8999IU | Vitamin C: 141mg | Calcium: 348mg | Iron: 4mg

    Homemade Pumpkin Pie Spice

    November 18, 2022

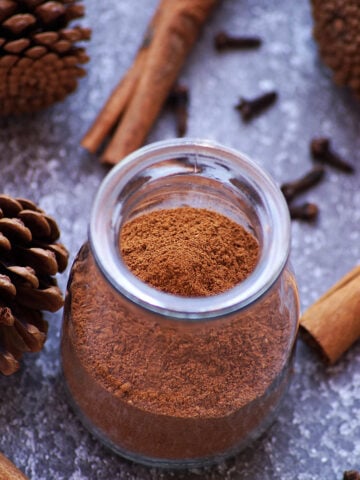
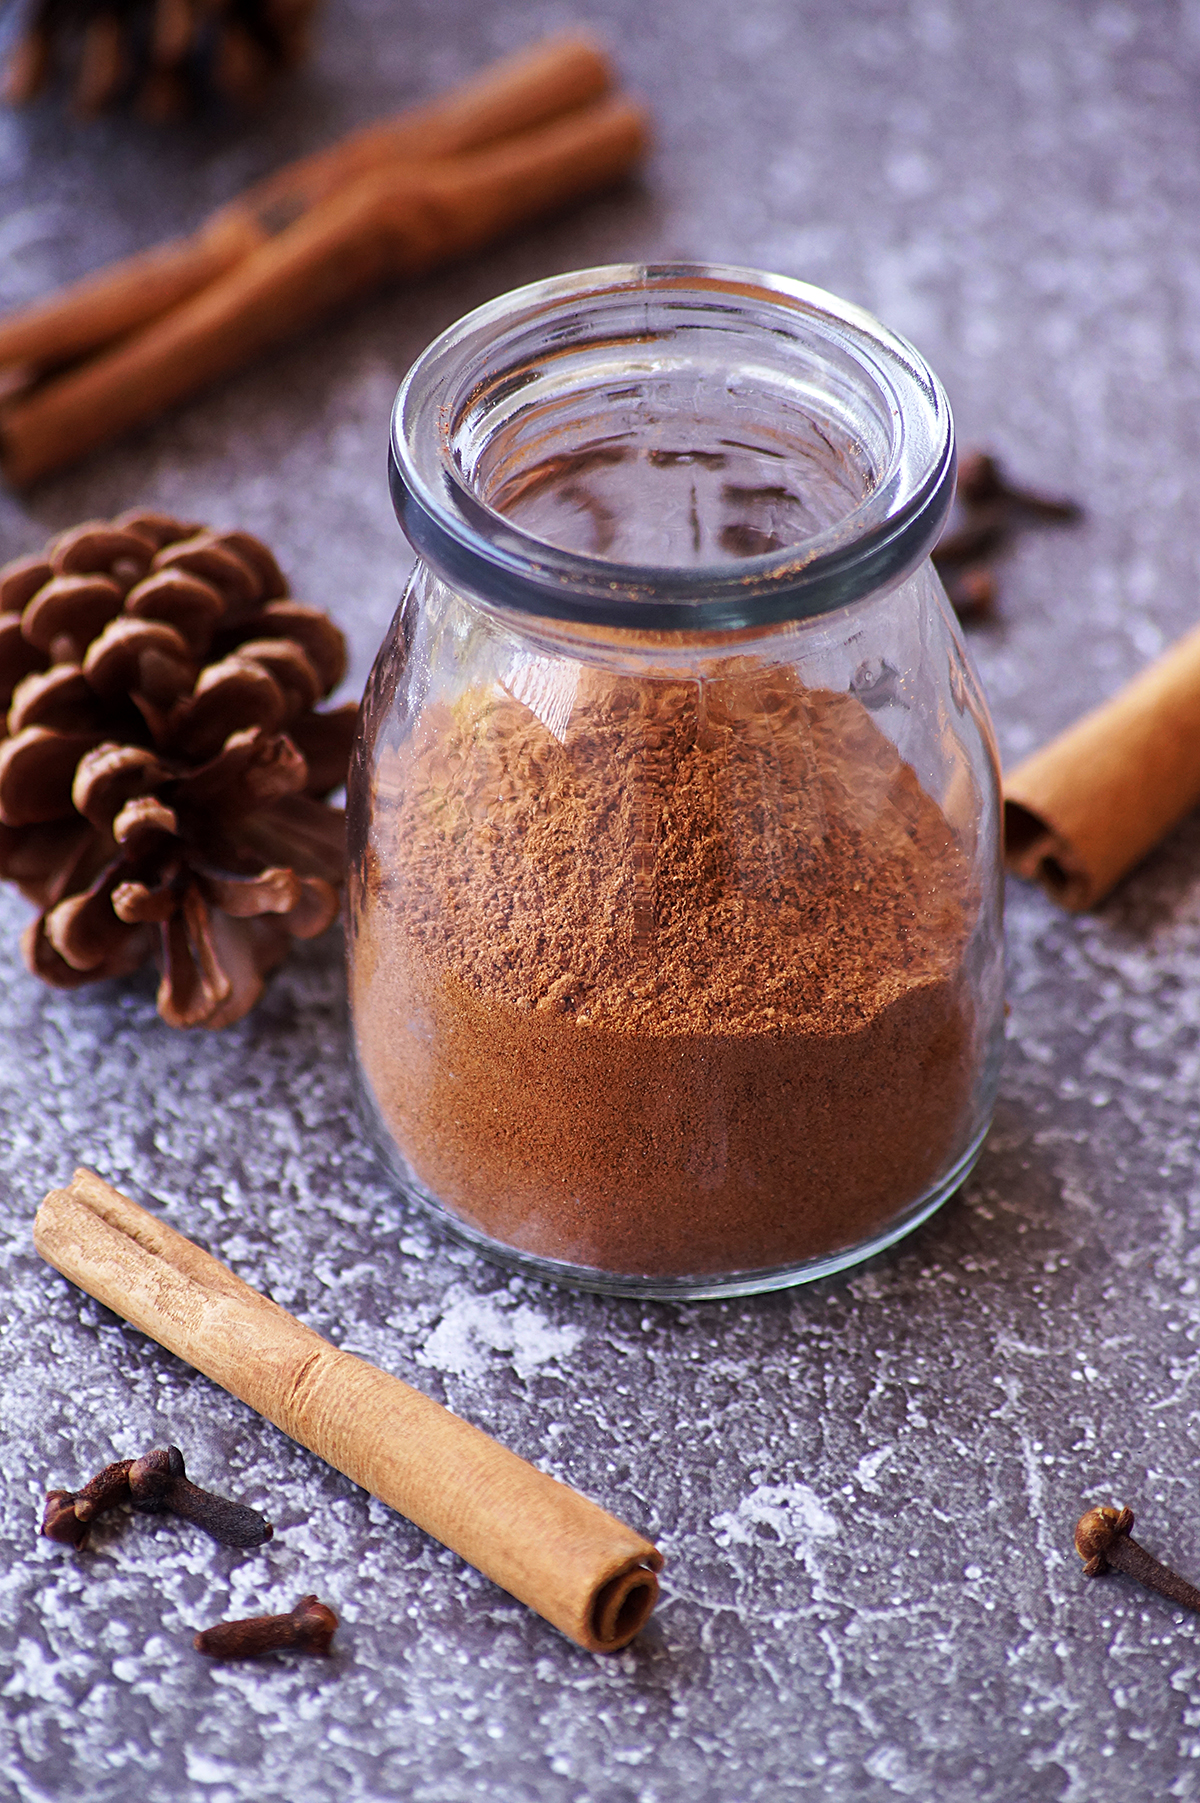
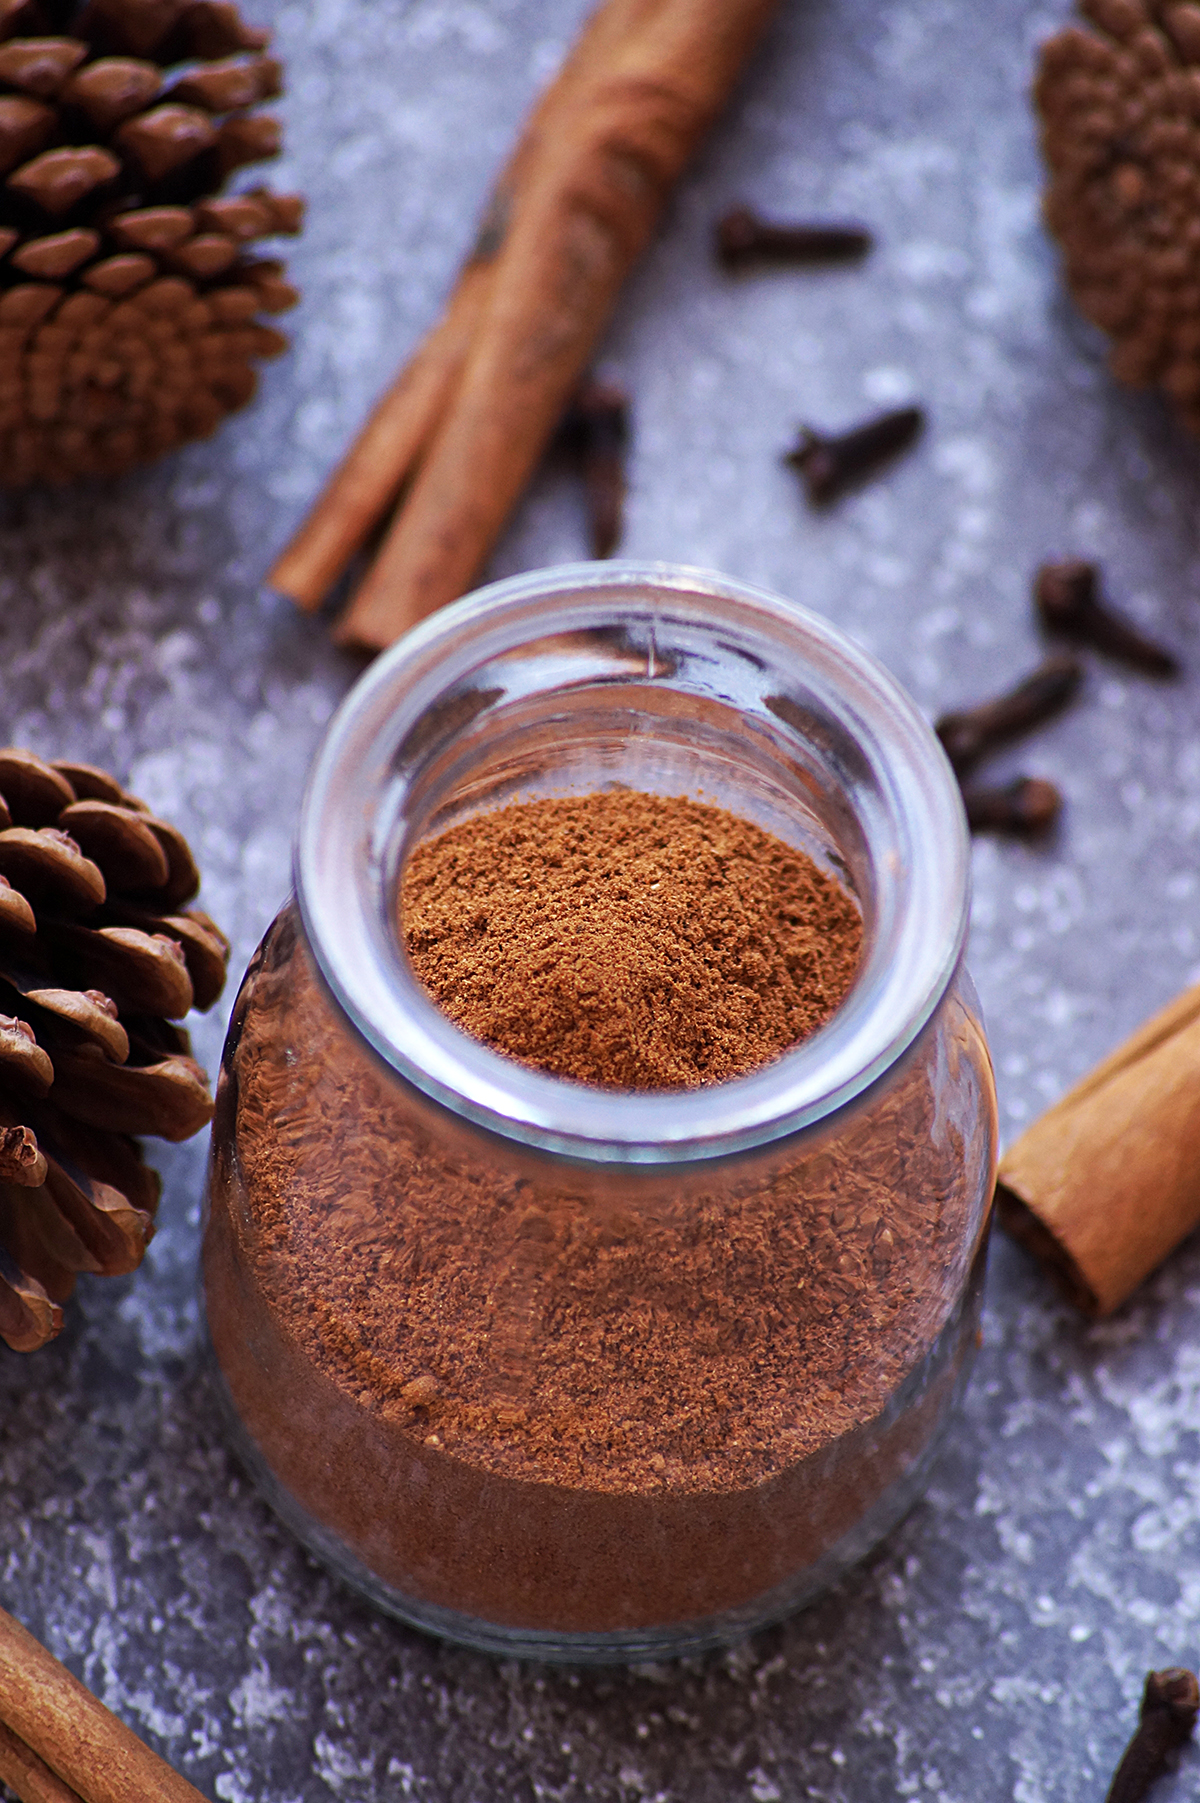
    Homemade Pumpkin Pie Spice - Super quick, easy and so much better than the store-bought version! A perfect spice blend for all your fall and holiday baking!

    What is pumpkin pie spice?

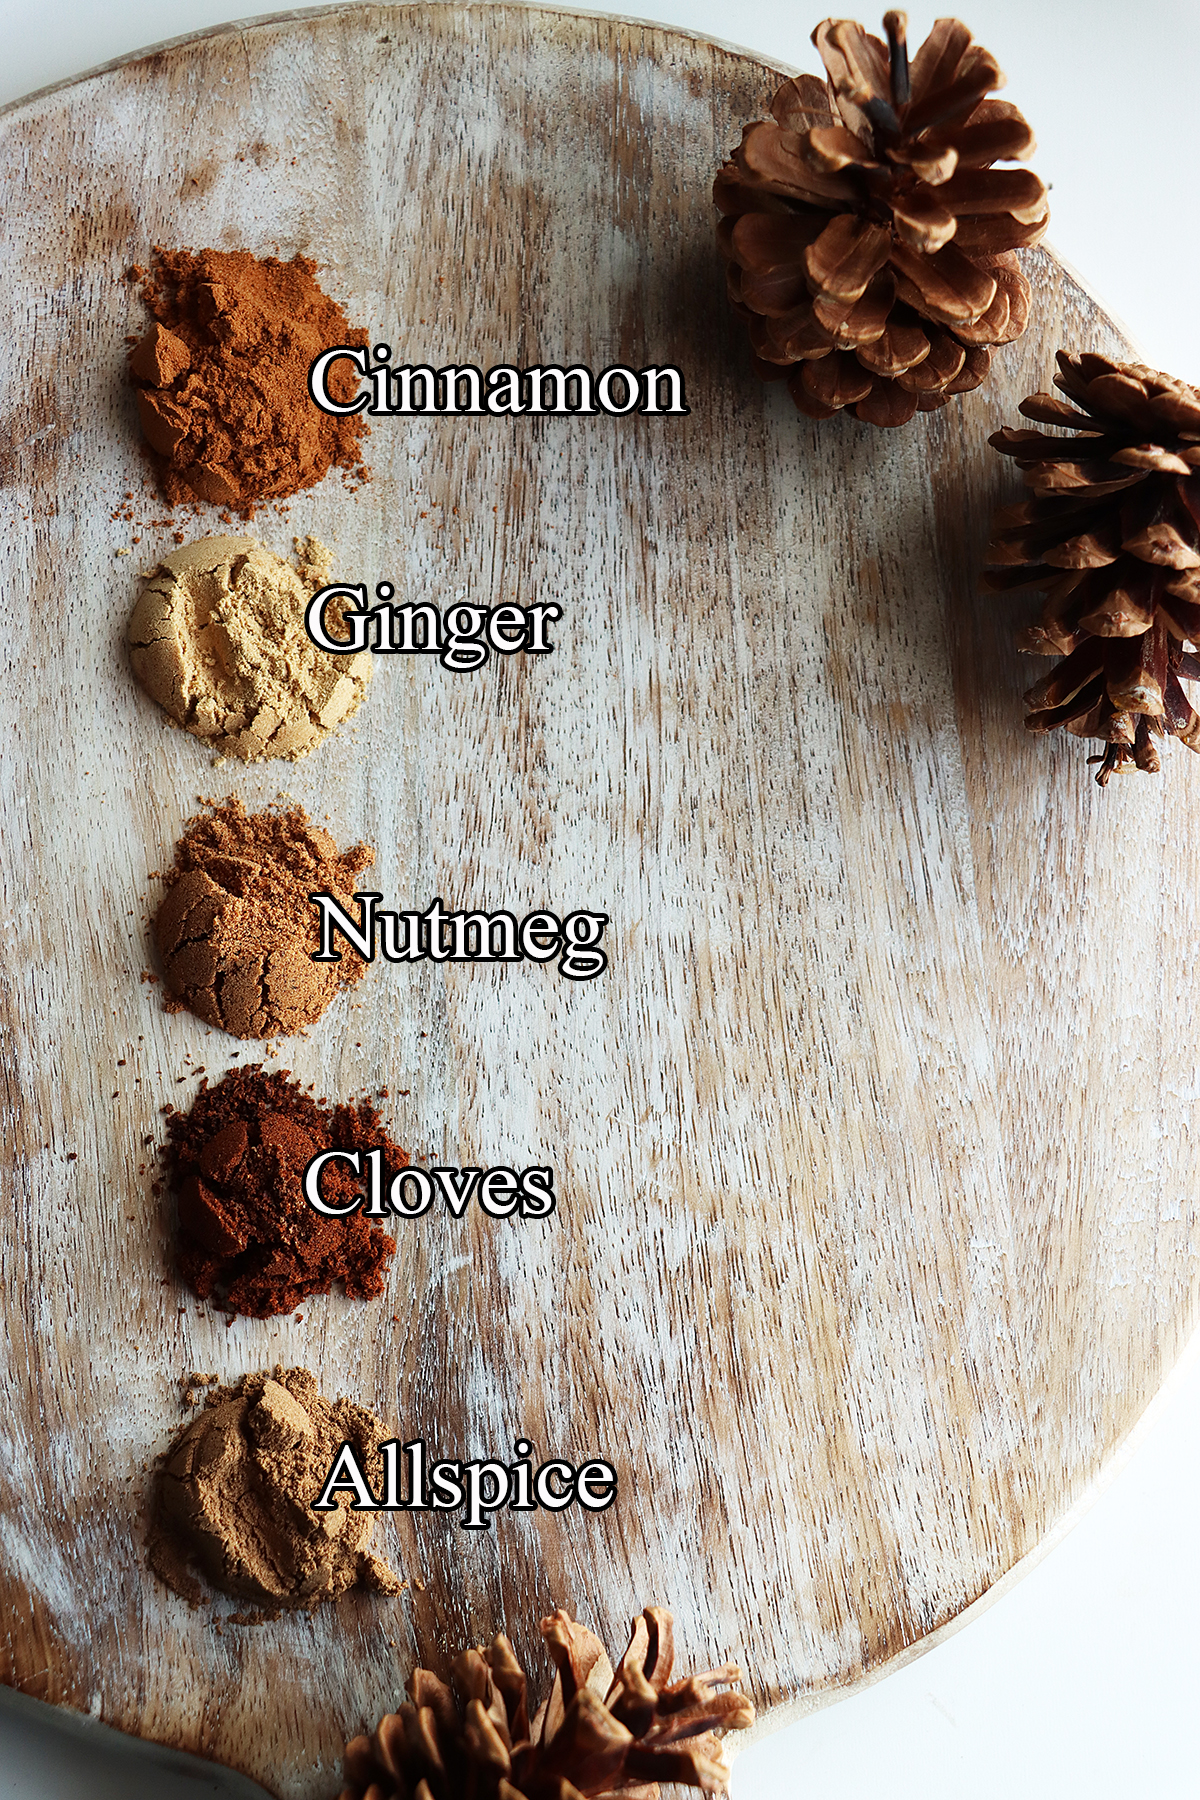
    Pumpkin pie spice is a wonderful blend of warm spices that includes cinnamon, nutmeg, ginger, cloves and allspice. It is very popular during the autumn and holiday season and used especially to give fall flavors to the pumpkin pies.

    It is one of the versatile seasonings and can be used in variety of dishes like cakes, cookies, muffins and latte.

    All you need is 4-5 ground spices and 5 minutes to make this DIY pumpkin pie spice!

    Why you'll love this recipe

    It super quick and easy to make!

    Lot more cheaper than the store-bought one!

    You can always adjust the flavors by adding more or less!

    It makes a great homemade gift for the holiday season!

    A perfect combination of fall flavors for all your holiday recipes!

    Ingredients:

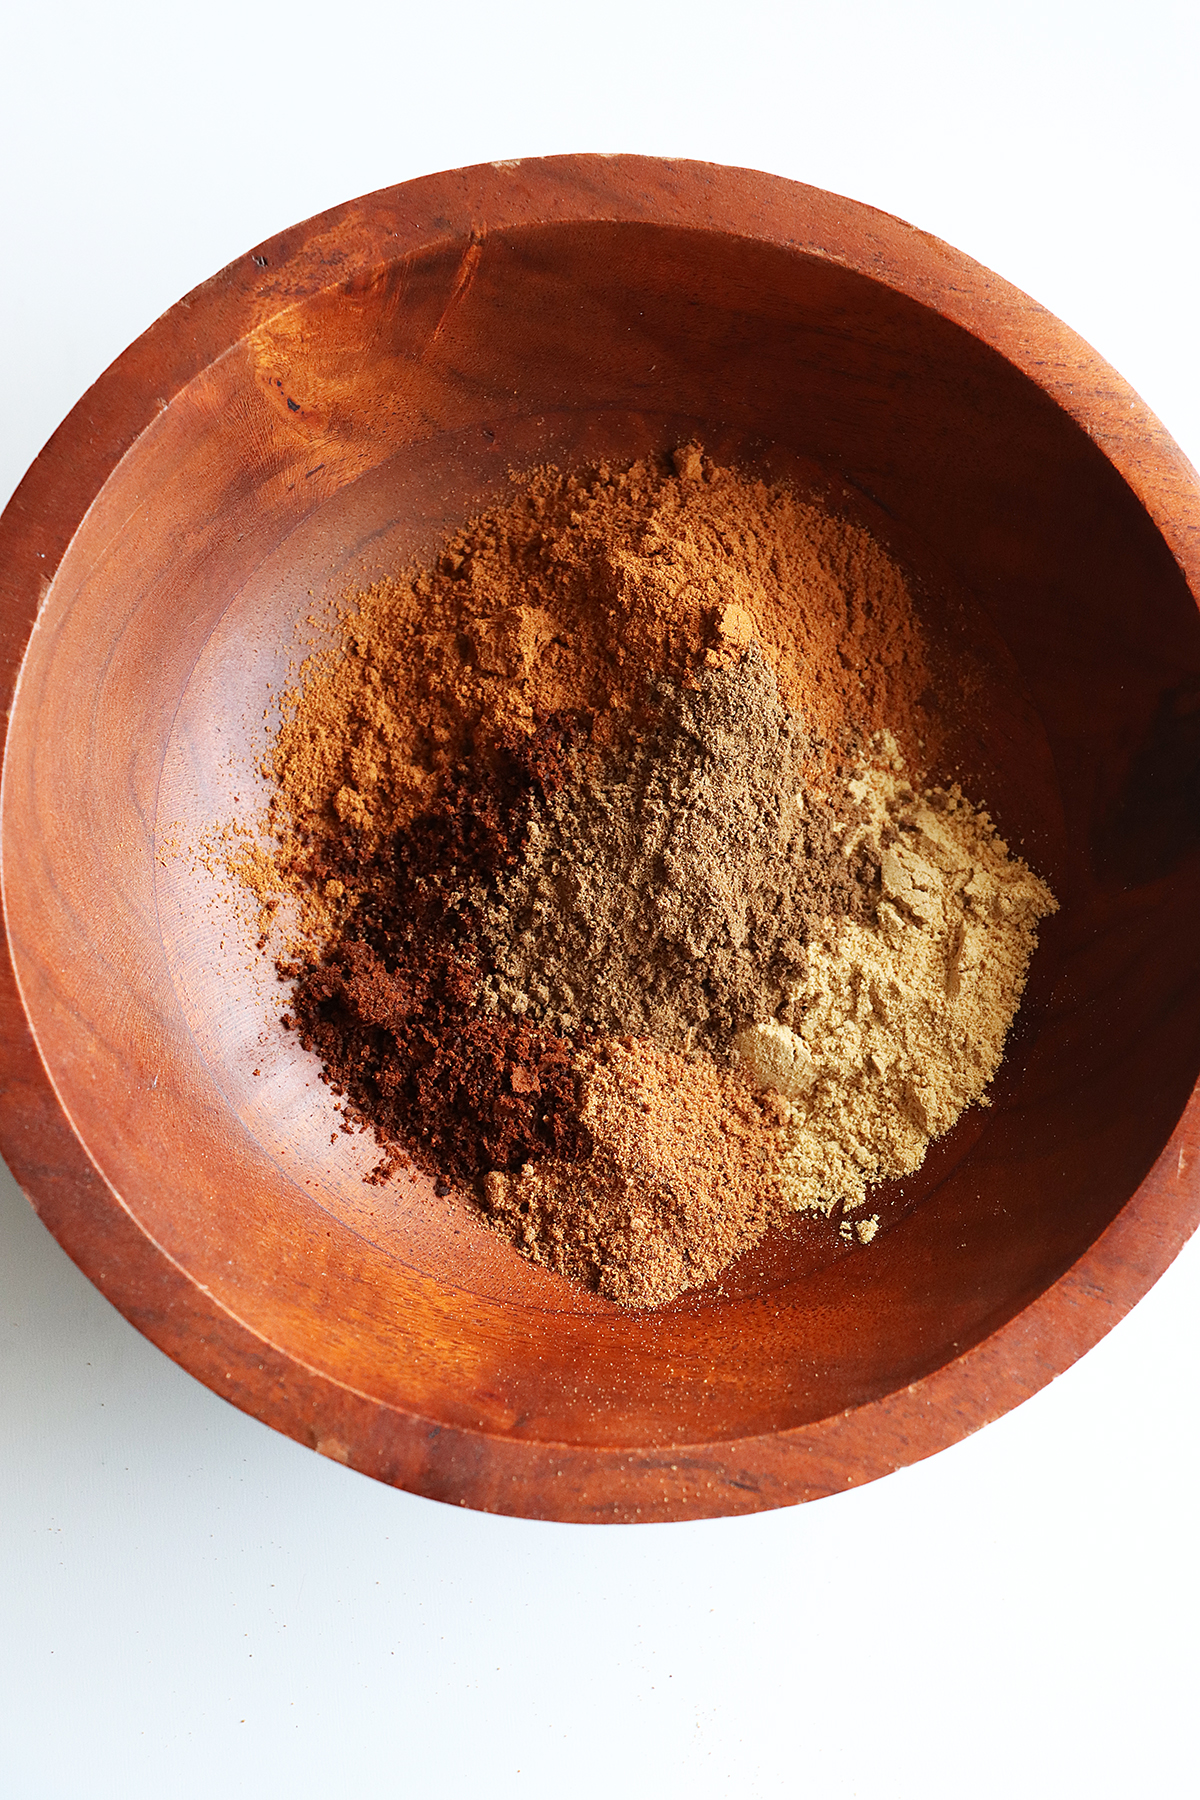
    Pumpkin spice mix usually made with 4-5 ingredients. Allspice is totally optional but I would recommend including it. Make sure the ground spices are fresh and good quality. If they don't have any scent, do not use them. The below spices are all you need to make your own pumpkin pie spice at home.

    Cinnamon

    Ginger

    Nutmeg

    Cloves

    Allspice

    Can I double the recipe?

    Absolutely! If you are making this in bulk for gifting, it can be easily doubled. I would recommend using a blender to ensure even mixing.

    If you want to make it fresh every time, cut the recipe in half.

    How to use pumpkin spice?

    Add this homemade spice blend to your coffee, cakes, breads, cookies, muffins, pancakes, waffles, oatmeal, chia puddings, yogurt and pies. The options are endless.

    If you are making a fall dish that calls for pumpkin spice mix, you can use the same quantity of this homemade pumpkin spice blend.

    Storage suggestions:

    Transfer the leftover pumpkin spice to an airtight container or jar and store it in a dry place like a kitchen cupboard or drawer. It can be stored for a year.

    Step by step instructions:

    Combine all the ingredients in a mixing bowl.

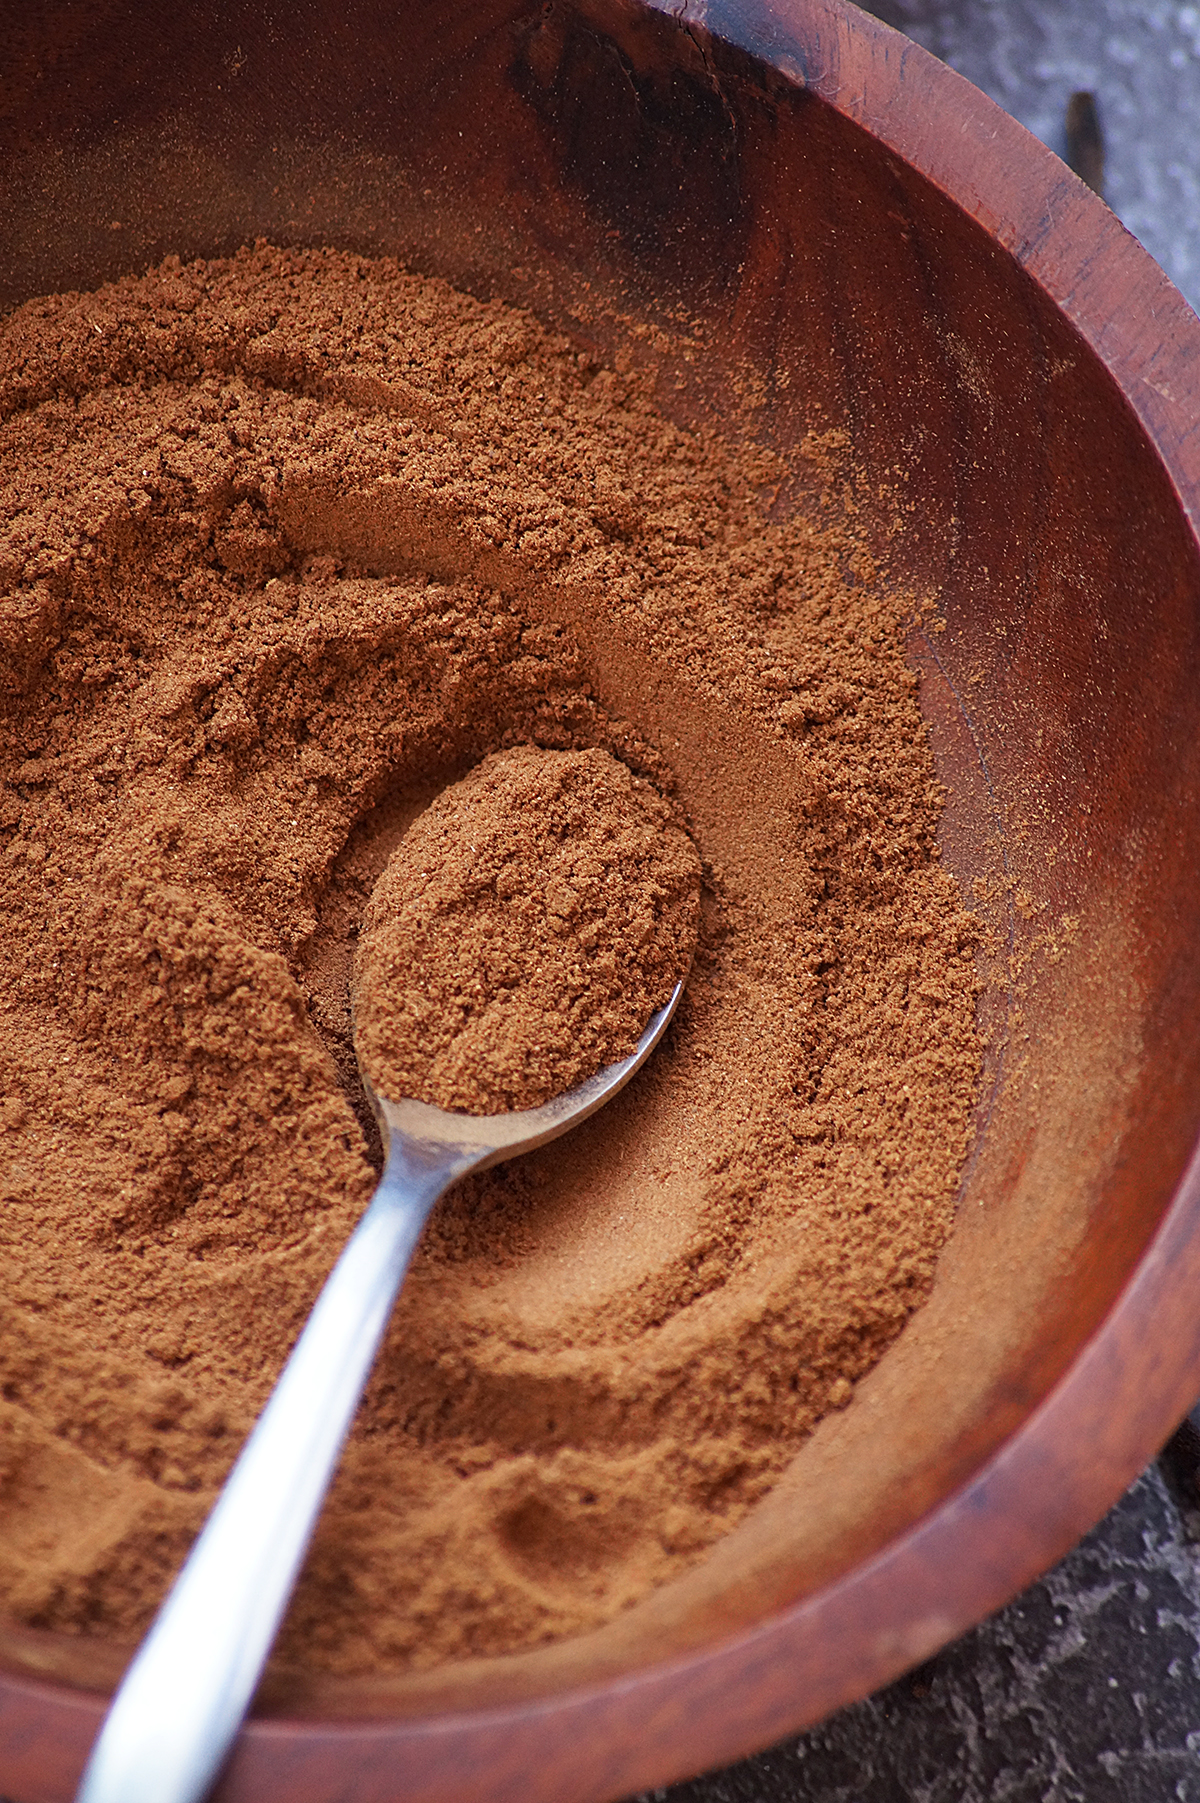
    Mix everything using a whisk or spoon until well combined.

    You might love these holiday recipes:

    • Chestnut Cardamom Milk
    • Chestnut Chocolate Smoothie
    • Persimmon Chia Pudding
    • Persimmon Jam
    • Fruitcake Cookies
    • Chocolate Snowball Cookies
    • Italian Sesame Cookies
    • Mexican Wedding Cookies

    How to make pumpkin pie spice at home

    Recipe slightly adapted from Allrecipes

    Print Recipe

    Homemade Pumpkin Pie Spice

    Homemade Pumpkin Pie Spice - Super quick, easy and so much better than the store-bought pumpkin spice! A perfect spice blend for all your fall and holiday baking!
    Prep Time5 minutes mins
    Cook Time0 minutes mins
    Total Time5 minutes mins
    Cuisine: American, International
    Servings: 5 Tablespoons
    Calories: 21kcal
    Author: Hari Chandana Ponnaluri

    Ingredients

    • 3 Tablespoons Ground Cinnamon
    • 2 Teaspoons Ground Ginger
    • 2 Teaspoons Ground Nutmeg
    • 1 Teaspoon Ground Cloves
    • 1 Teaspoon Ground Allspice

    Instructions

    • Combine all the ingredients in a jar or mixing bowl.
    • Mix everything until well combined.
    • Store it in an airtight container.

    Video

    Nutrition

    Calories: 21kcal | Carbohydrates: 5g | Protein: 0.4g | Fat: 0.5g | Saturated Fat: 0.3g | Polyunsaturated Fat: 0.1g | Monounsaturated Fat: 0.1g | Trans Fat: 0.002g | Sodium: 2mg | Potassium: 42mg | Fiber: 3g | Sugar: 0.4g | Vitamin A: 18IU | Vitamin C: 0.4mg | Calcium: 56mg | Iron: 1mg

    Gulab Jamun Turnovers

    October 22, 2022

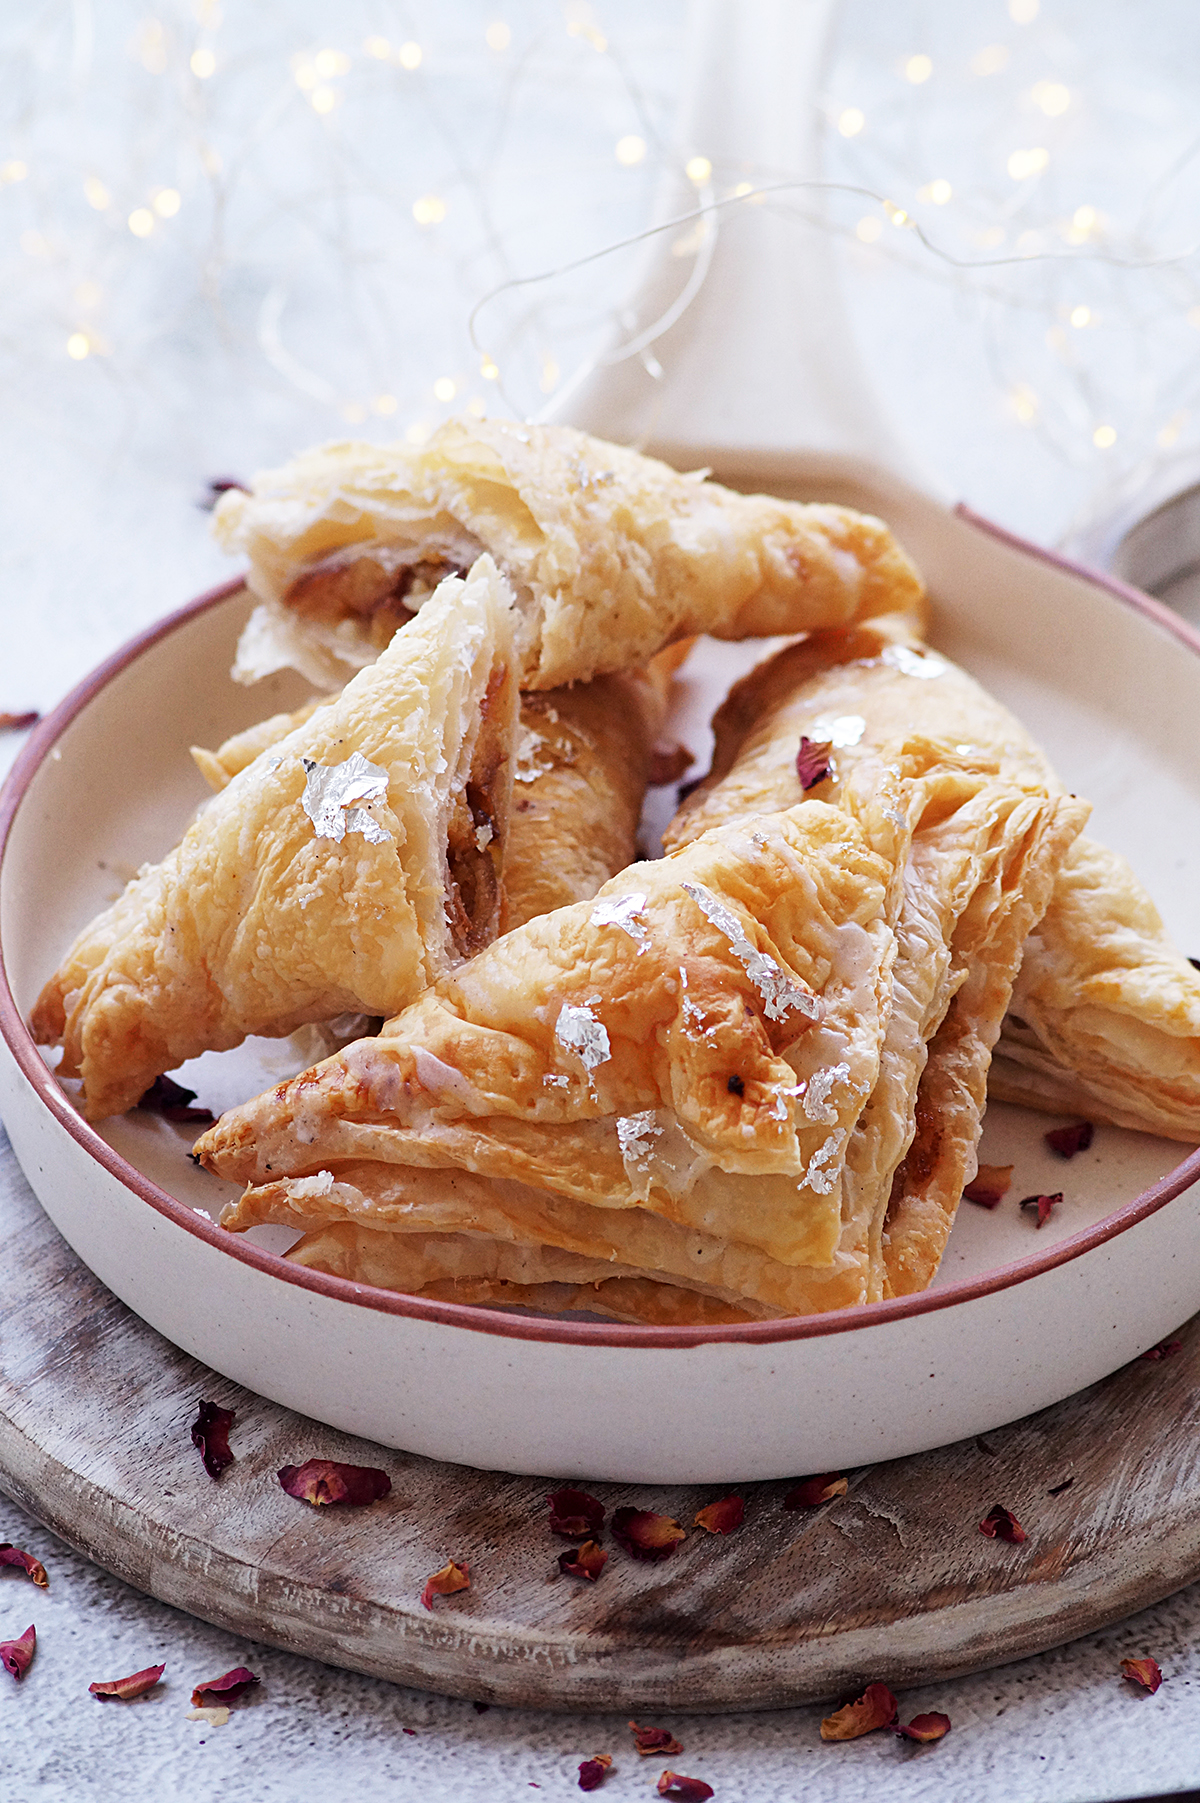
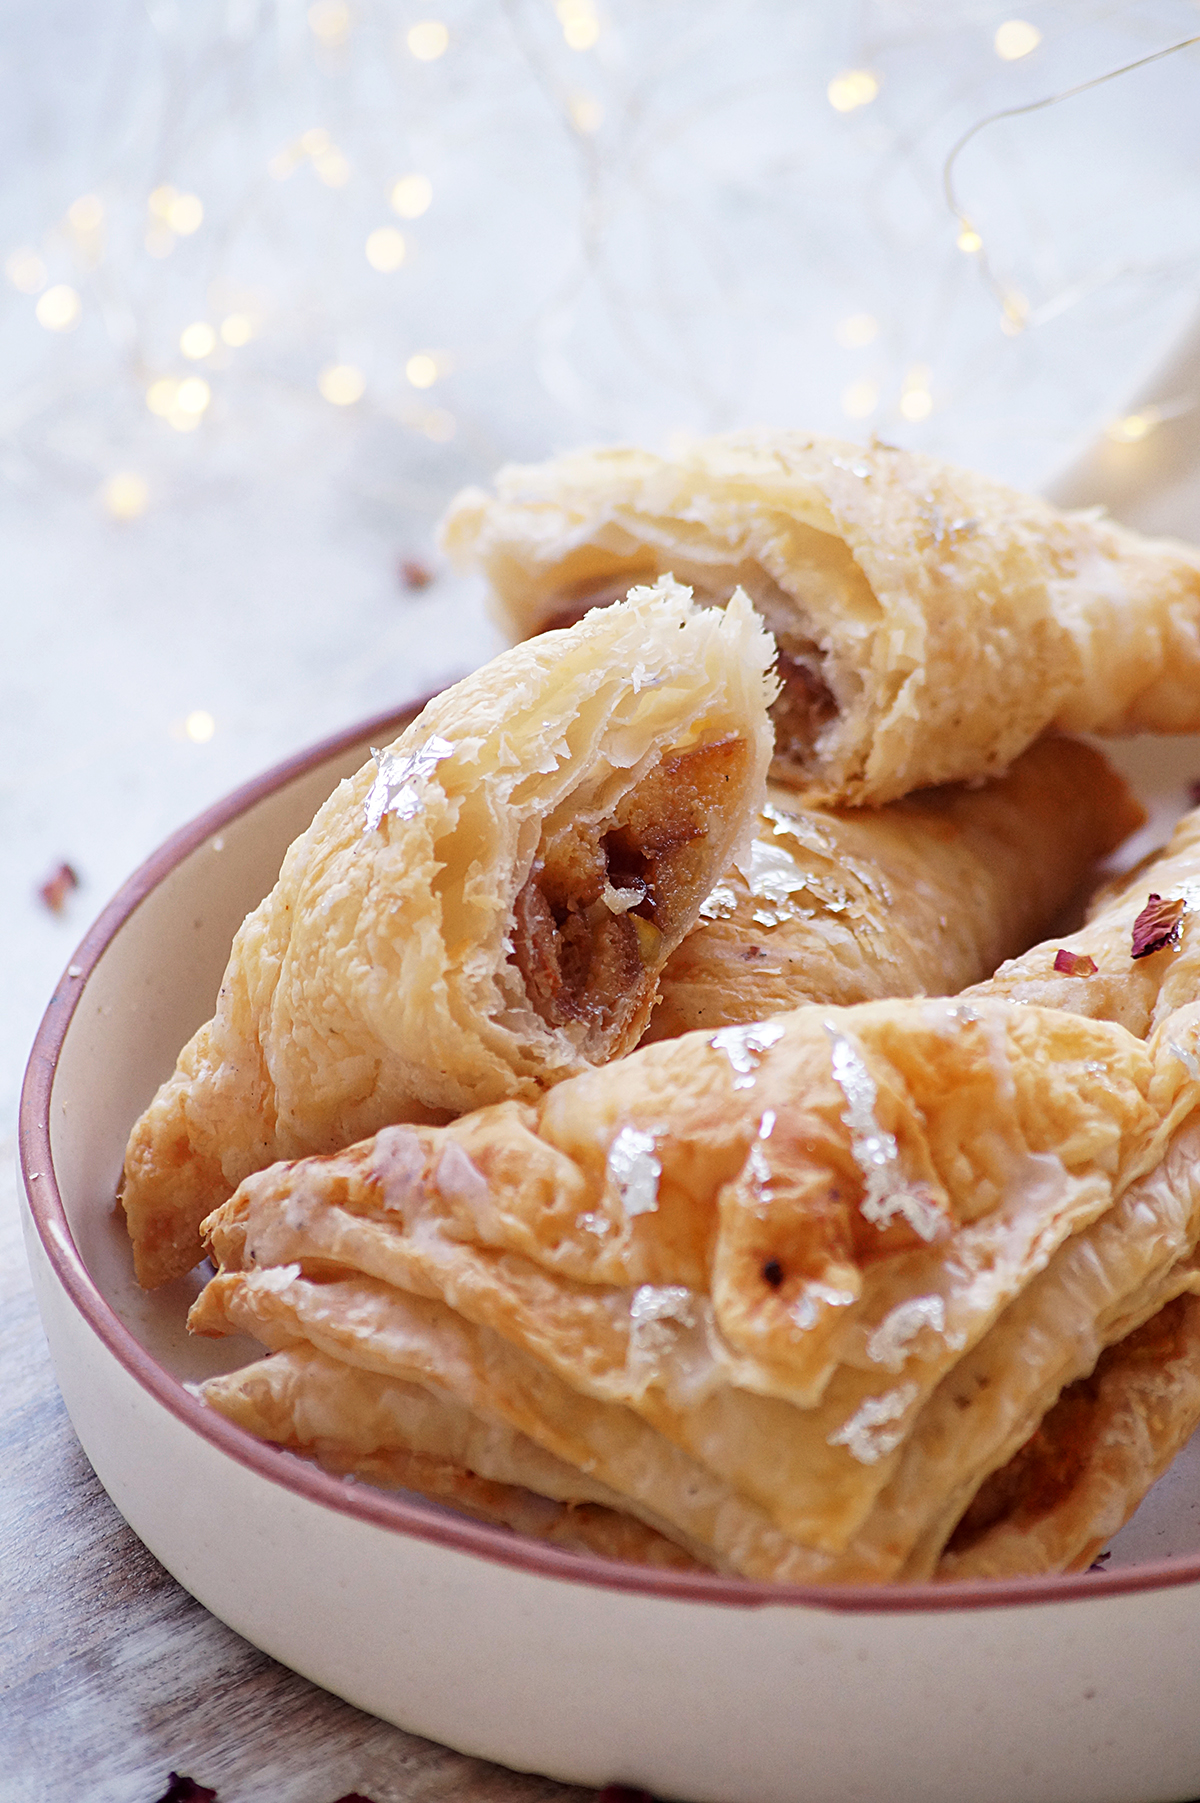
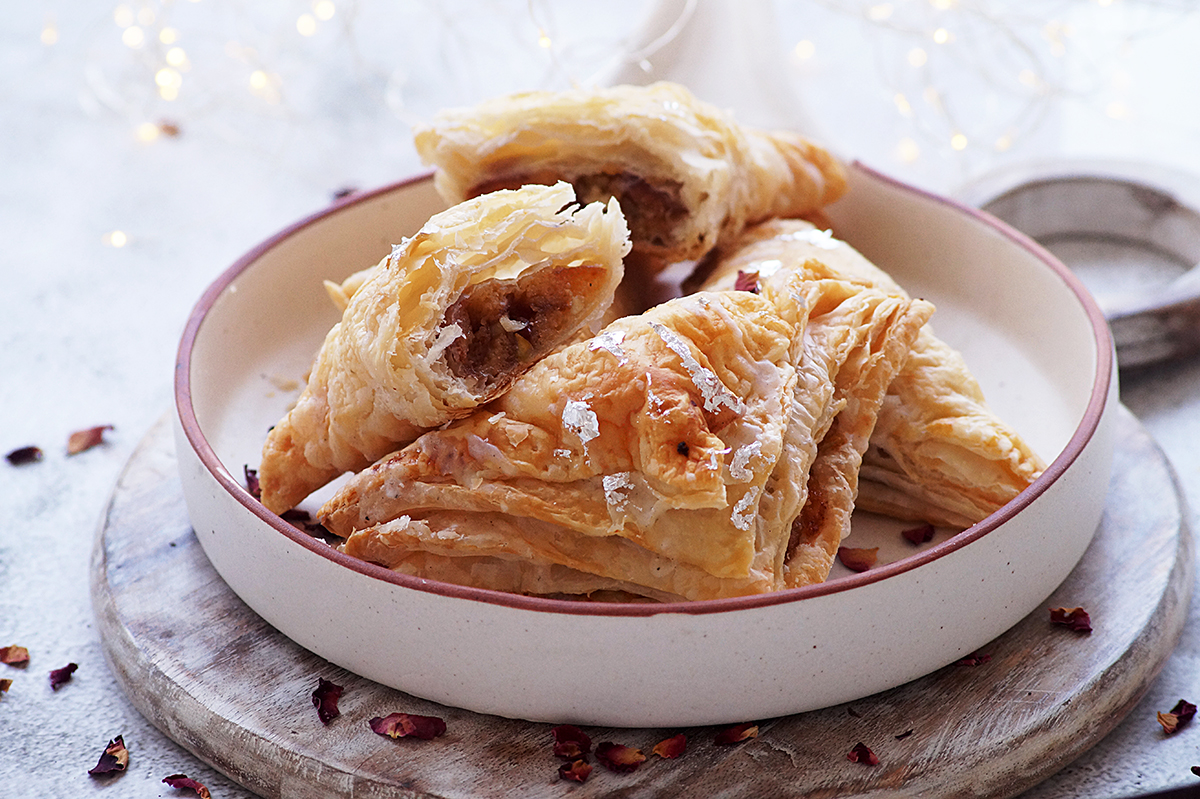
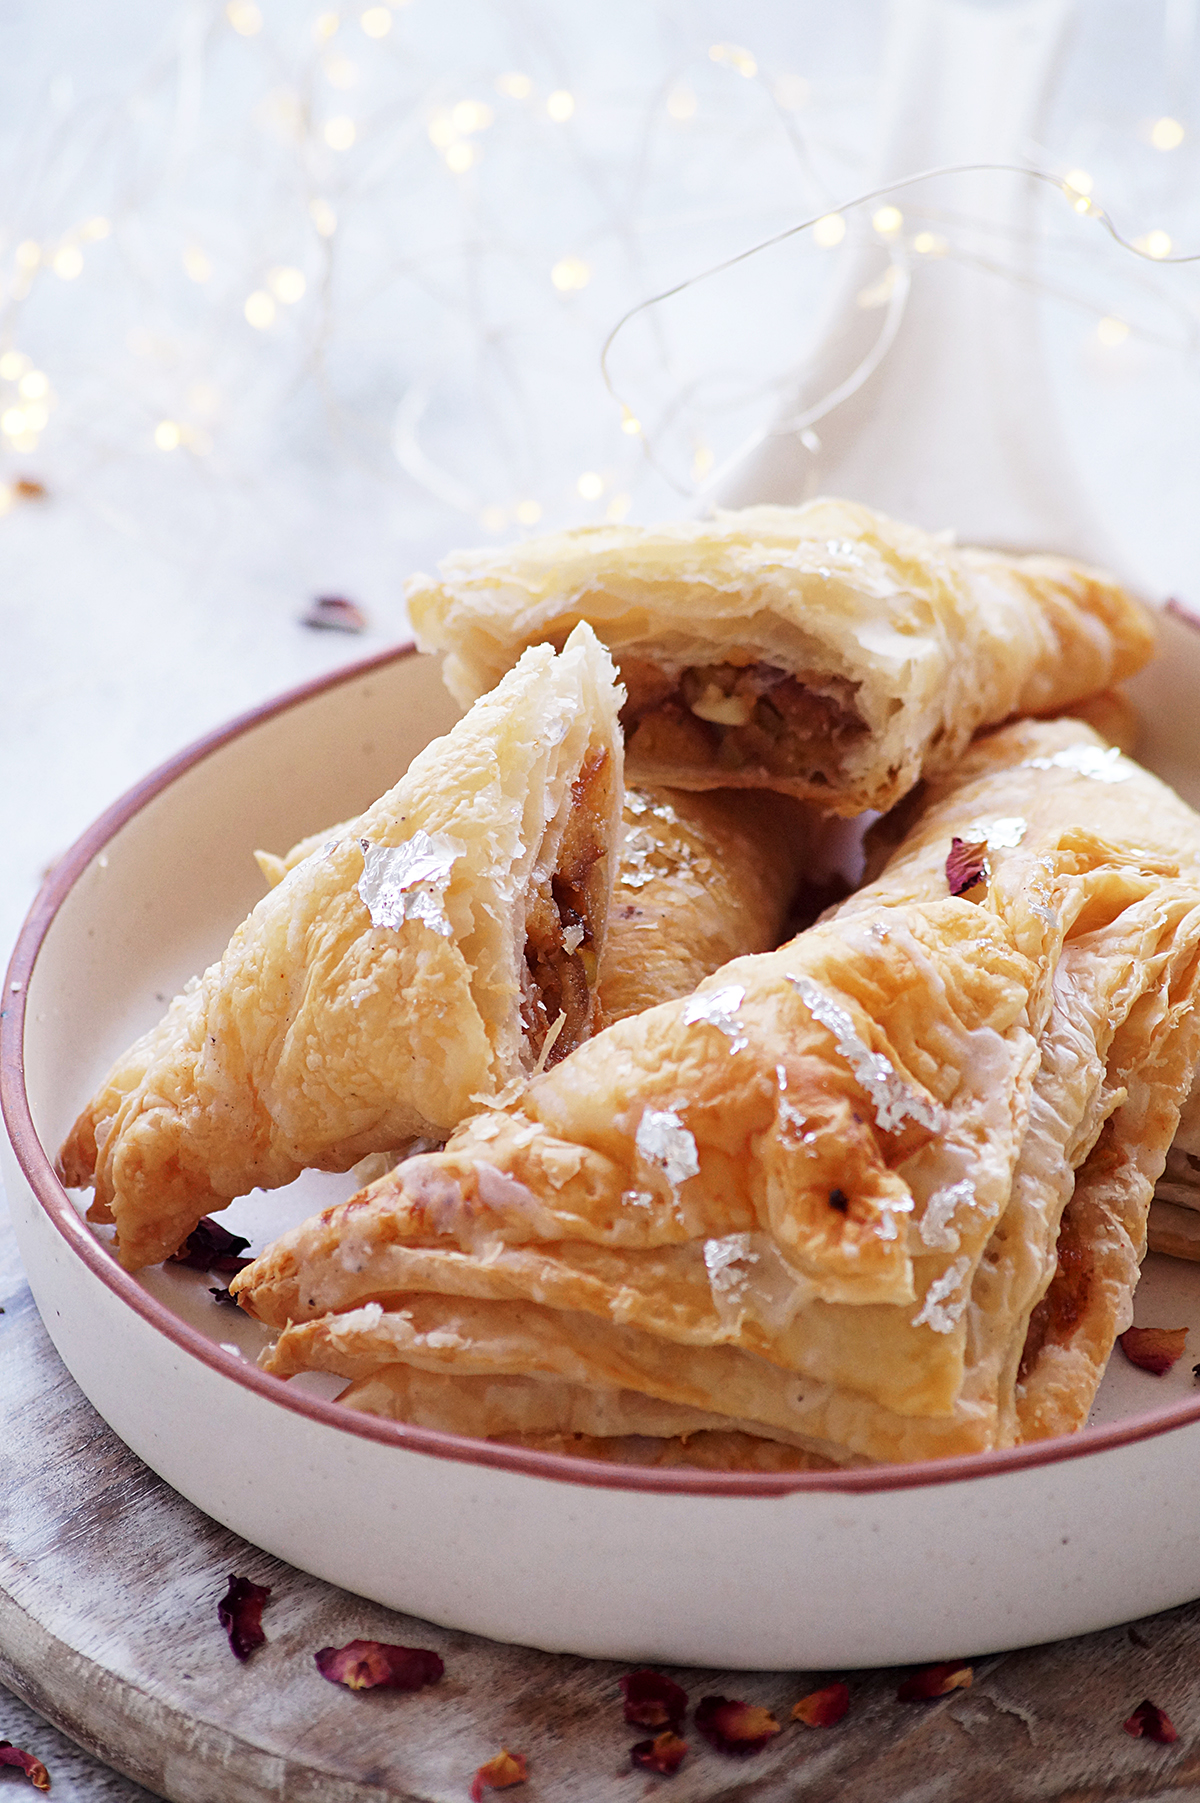
    Gulab Jamun Turnovers - Super easy, flaky and delicious puff pastry turnovers stuffed with juicy gulab jamuns and crunchy nuts. These Indian fusion pastries are best when served as breakfast or snack with a cup of coffee.

    What is a gulab jamun turnover?

    Turnovers are easy and simple stuffed pastries made with puff pastry sheets. These are usually stuffed with different kinds of fruits and veggie fillings.

    I have stuffed puff pastry sheet with Indian gulab jamuns and nuts to create a wonderful and innovative Indian fusion dessert.

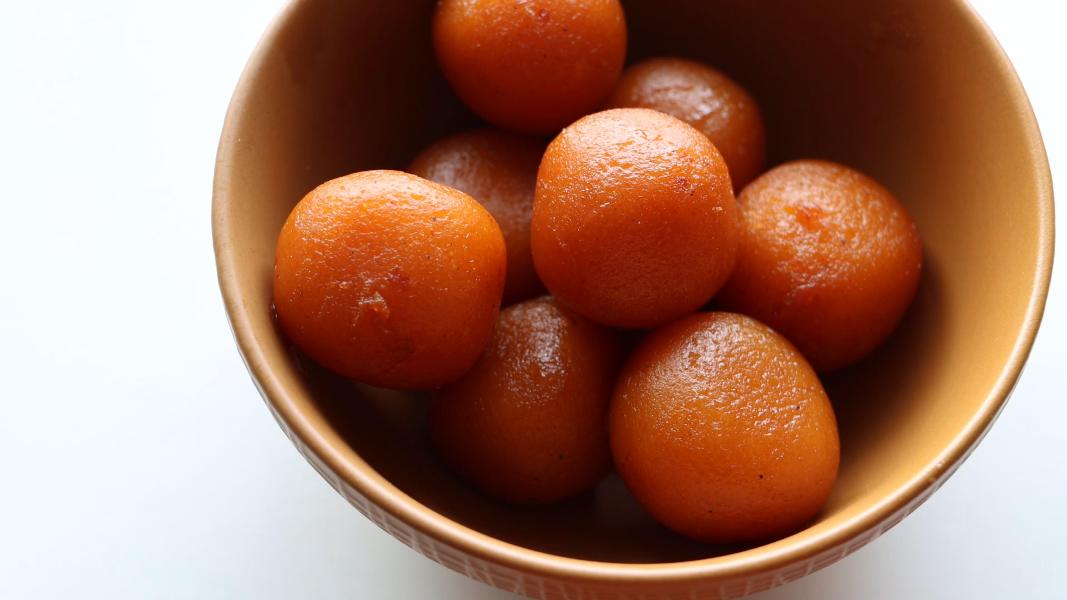
    Gulab jamuns are one of the famous and traditional Indian desserts, these are deep-fried khoya (milk solids) dumplings soaked in a cardamom infused sugar syrup. They are super soft, juicy and just melt in your mouth.

    These sweet and flaky pastries are easily made at home with just a handful of ingredients.

    Few more Indian fusion recipes:

    • Gulab Jamun Truffles
    • Custard Gulab Jamun
    • Thandai White Chocolate Bark
    • Chocolate Stuffed Gulab Jamuns
    • Chocolate Peda

    Why you'll love this recipe

    Requires less ingredients compared to many fusion desserts

    A novice cook can also bake these using store-bought pastry sheet and gulab jamuns

    Makes a beautiful dessert for the festive season!

    Perfect for diwali parties or any other dinner parties!

    Ingredients:

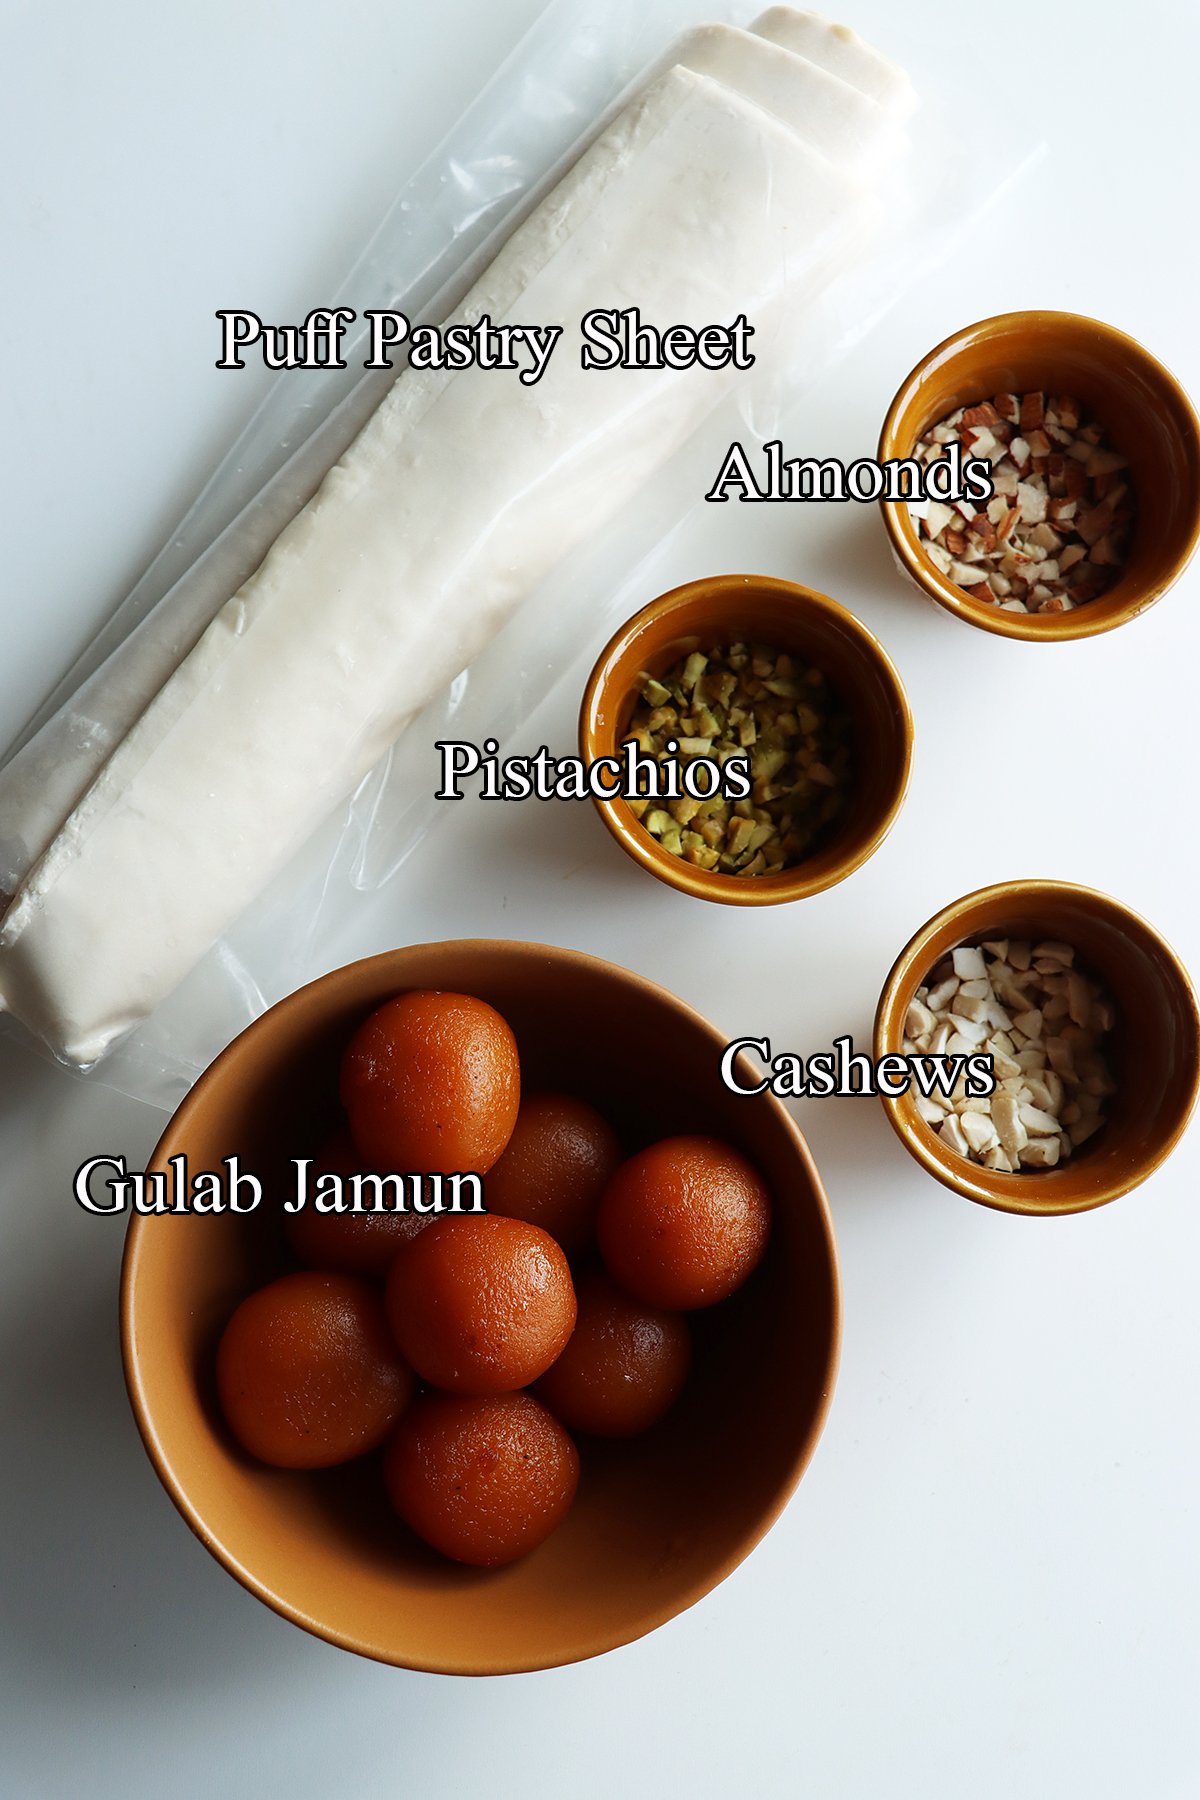
    Puff Pastry Sheet - Homemade or store-bought pastry sheets can be used. Thaw them before use.

    Gulab Jamuns - You can easily get them from any Indian sweet shop or online. These are available in tins these days. If you want to make them from scratch, you can check my khoya gulab jamun and instant mix gulab jamuns recipes.

    Make sure you are using a good quality gulab jamuns.

    Nuts - You can use any of your favorite nuts. I have used almonds, cashews and pistachios. You don't need to roast the nuts but if you only have roasted ones, use them.

    Powdered Sugar, Cardamom Powder & Milk - These are optional. You will need them If you want to drizzle a simple glaze over the bakes puffs. You could also replace cardamom with saffron.

    Edible silver varq - These edible silver foil will give a festive look. Totally optional though.

    Can I make them ahead?

    Yes, they freeze beautifully. Once the pastries are assembled (DO NOT brush with milk), freeze them flat on a single layer. Once they are frozen, transfer them to a ziplock bag and freeze them up to a month or two.

    Whenever you want to bake them, just arrange the frozen ones on a baking sheet, brush with milk and bake immediately. You don't need to thaw them to bake. Just remember the baking time will be a little longer if they are frozen.

    Storage suggestions:

    They stay well at room temperature for up to 2 days. The shelf-life of the puffs depends on the freshness of the gulab jamuns as well.

    If you want to store them for longer, I would suggest storing them in the refrigerator for up to a week. Reheat them before serving.

    Serving suggestions:

    These are so versatile. Serve them as a snack, dessert or breakfast. They are great when served warm or cold.

    These are perfect for dinner parties and brunches.

    Alternatives for the glaze:

    I have drizzled a simple cardamom glaze over the pastries to make them a little more attractive and delicious. If you don't want to do it, below are some other options to make them fancy! ????

    Almonds - Sprinkle the slivered almonds or sliced almonds on the stuffed turnovers before baking. They will add a nice crunch and taste to them.

    Coarse Sugar - Sprinkle a generous amount of coarse sugar on top after brushing with milk.

    Powdered sugar - Simply dust the baked pastries with some powdered sugar.

    Step by step instructions:

    Preheat the oven at 200 degrees C.

    You will need around 8 pieces of regular sized gulab jamuns for one puff pastry sheet which makes 6 turnovers.

    Take the gulab jamuns out of the sugar syrup. Don't need to squeeze the syrup, just take them out.

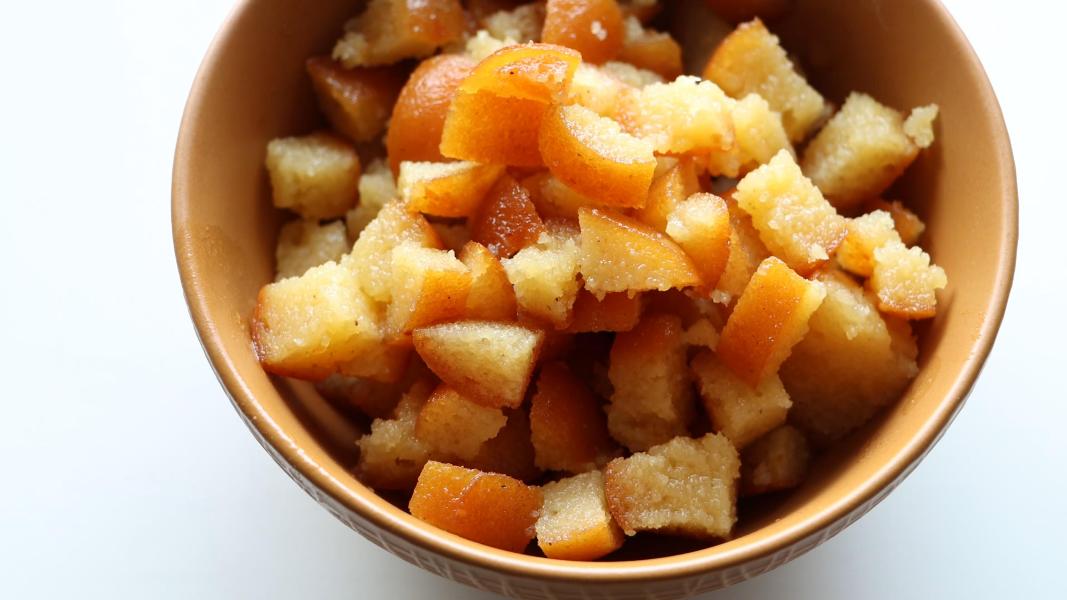
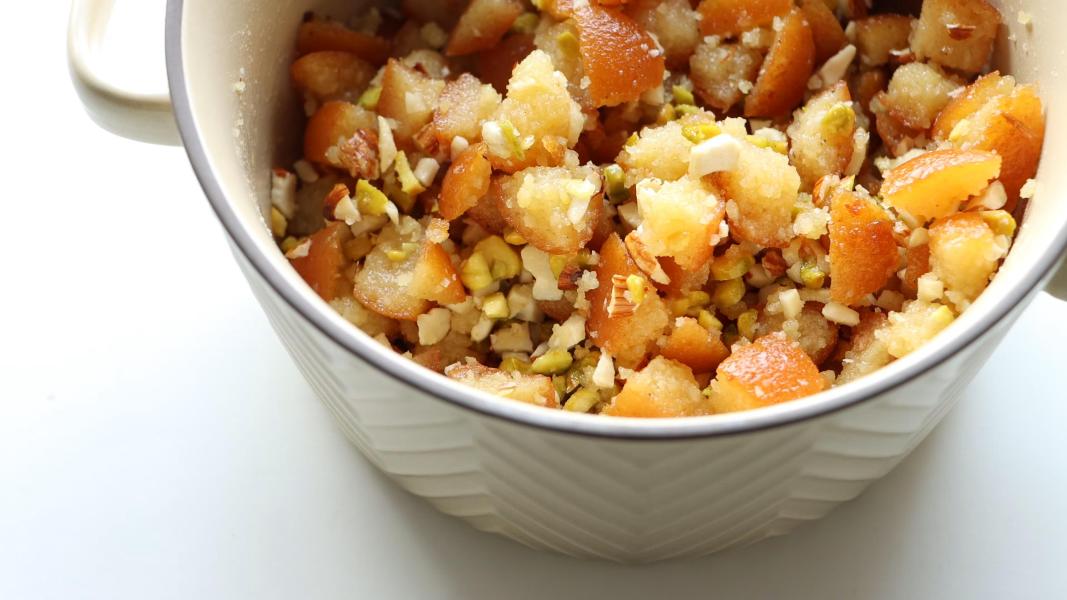
    Chop them into small pieces.

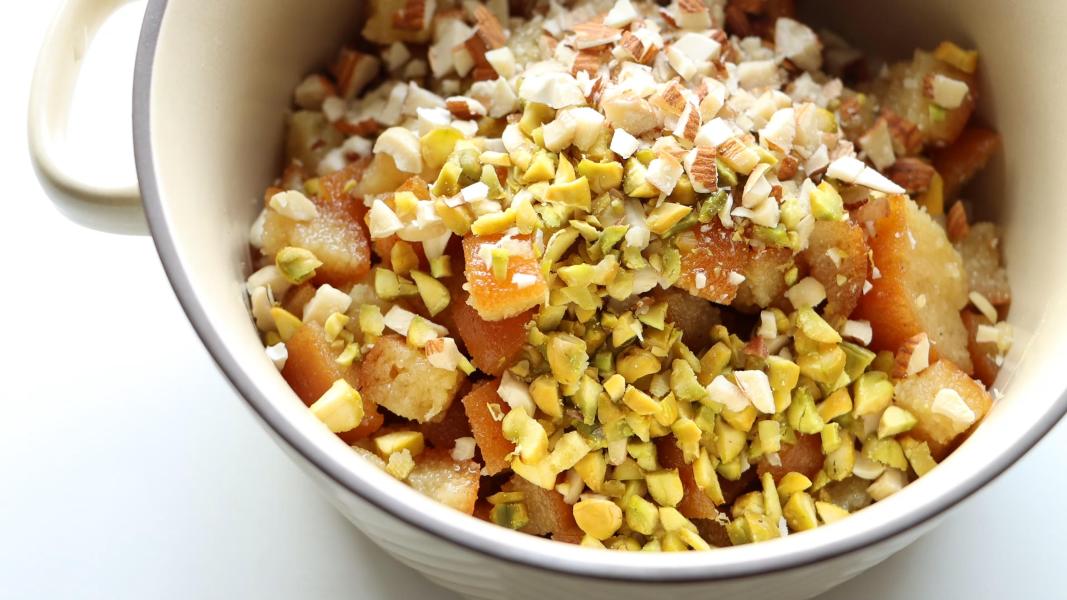
    Add the chopped gulab jamuns and chopped nuts to a mixing bowl.

    Give it a good mix until they are well combined.

    Keep it aside.

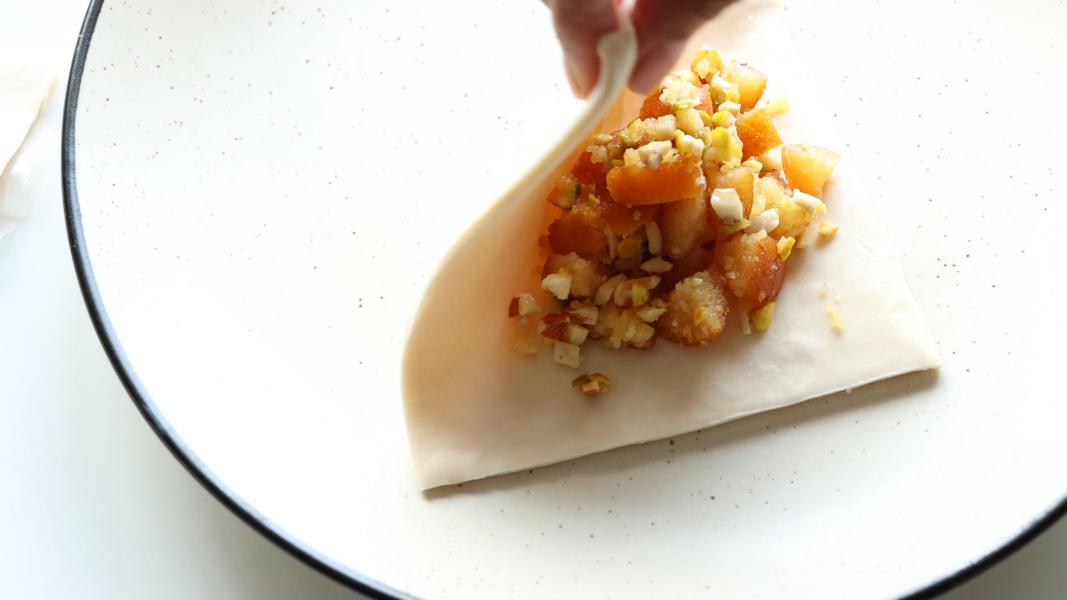
    Cut the thawed puff pastry sheet into squares.

    Fill the pastry sheet square with the prepared sweet stuffing.

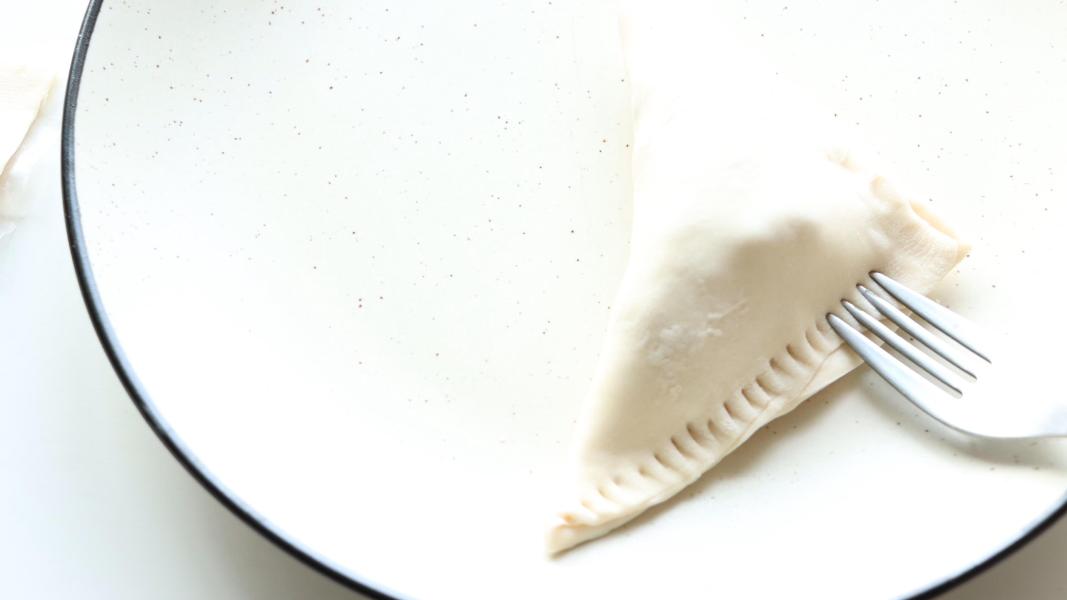
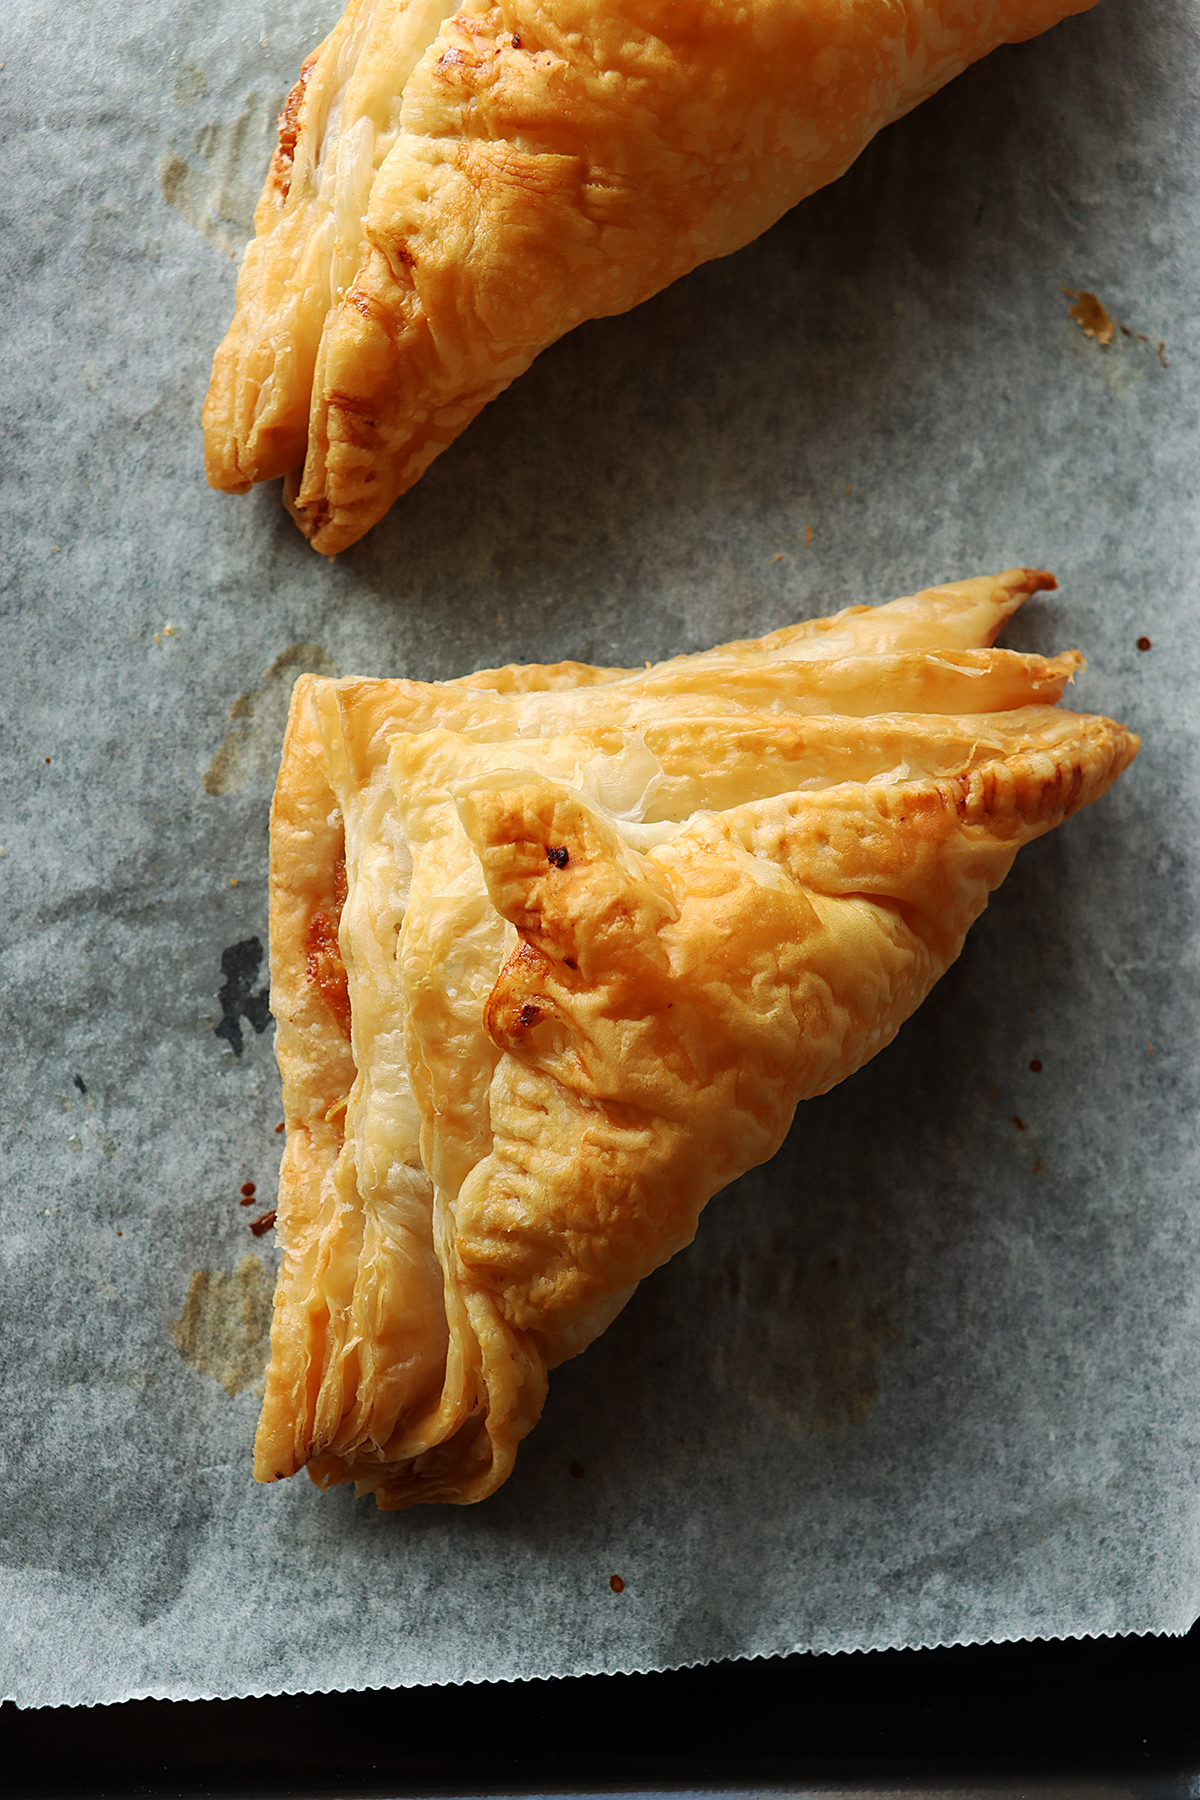
    Fold the dough to make a triangle shape. Press the edges of the dough together to seal it.

    Press the edges using a fork to seal them properly.

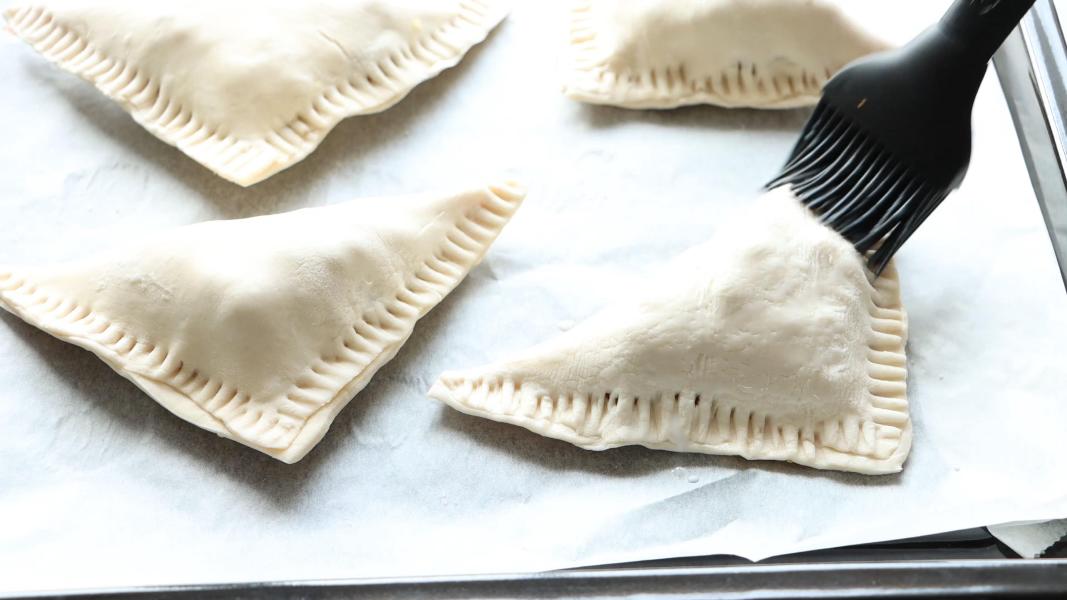
    Transfer the stuffed and folded pastries to a lined baking tray.

    Brush them with some milk to get a beautiful brown color (If you eat eggs, brush them with eggwash).

    Pop them in the preheated oven and bake at 200 degrees C for 30 - 35 minutes or until they are golden brown.

    Once they are browned, remove them from the oven and let them cool completely.

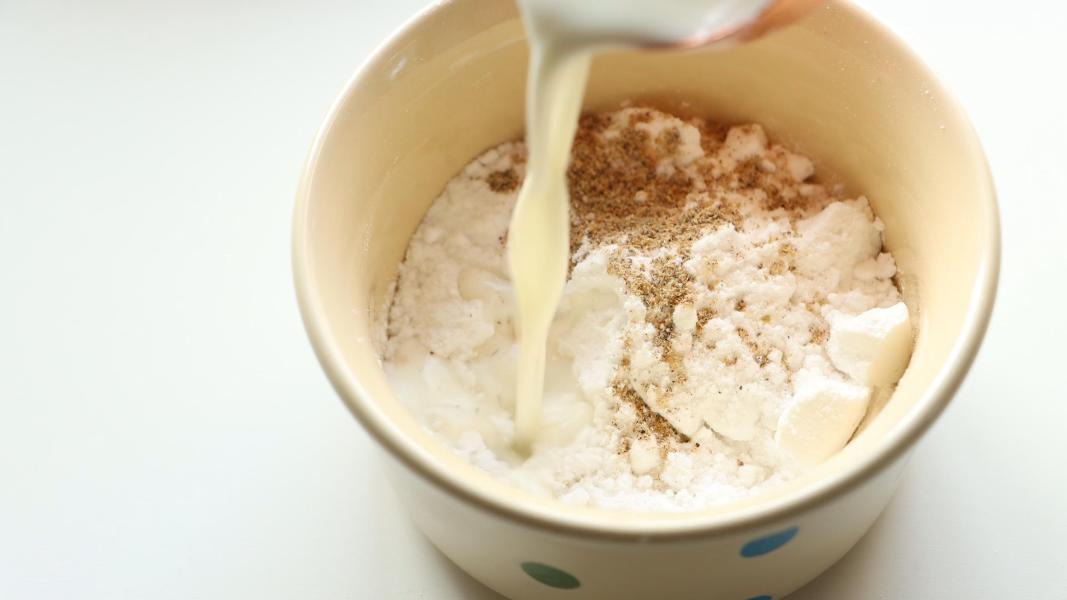
    To make the cardamom glaze, combine powdered sugar, ground cardamom and milk in a small mixing bowl.

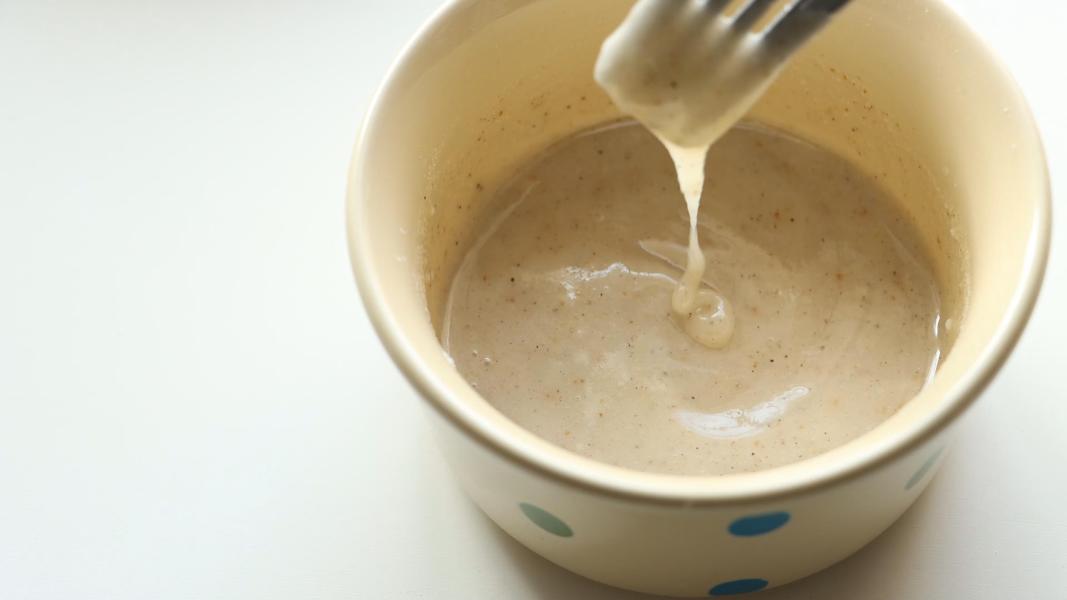
    Mix everything well with a fork until creamy and smooth.

    Add more milk or powdered sugar to adjust the consistency.

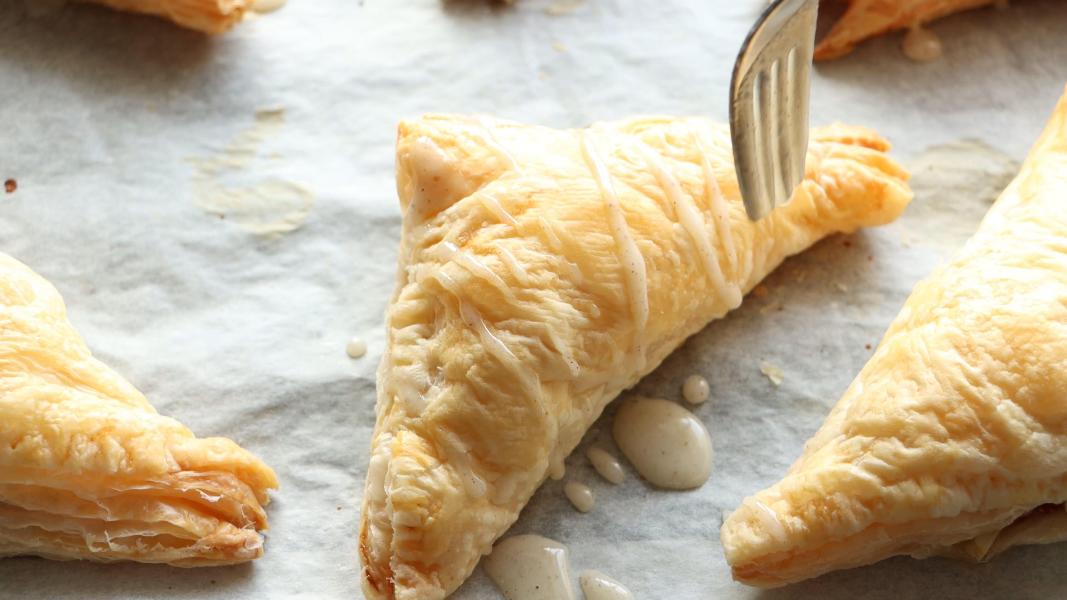
    Drizzle the glaze over the cooled or warm turnovers.

    Decorate them with edible silver foil if needed.

    Serve and enjoy!

    You might love these recipes:

    • Rava Khoya Ladoo
    • French Palmiers
    • Cherry Turnovers
    • Besan Condensed Milk Burfi
    • Chocolate Mawa Burfi
    • Malai Modak
    • Walnut Halwa

    Gulab jamun turnover with puff pastry recipe video below

    Print Recipe

    Gulab Jamun Turnovers with Puff Pastry

    Gulab Jamun Turnovers - Super easy, flaky and delicious puff pastry turnovers stuffed with juicy gulab jamuns and crunchy nuts. These Indian fusion pastries are best when served as breakfast or snack with a cup of coffee.
    Prep Time10 minutes mins
    Cook Time30 minutes mins
    Total Time40 minutes mins
    Course: Breakfast, Brunch, Dessert, Snack
    Cuisine: Fusion, Indian, International
    Keyword: easy indian desserts, Fusion, gulab jamun turnover recipe, puff pastry recipes
    Servings: 6 Pastries
    Author: Hari Chandana Ponnaluri

    Ingredients

    • 1 Puff Pastry Sheet
    • 8 Pieces Gulab Jamuns
    • 2 Tablespoons Chopped Almonds
    • 2 Tablespoons Chopped Pistachios
    • 2 Tablespoons Chopped Cashews

    For the cardamom glaze

    • ¼ Cup Powdered Sugar
    • ¼ Teaspoon Ground Cardamom
    • 1 Tablespoon Milk (or as needed)

    Instructions

    • Preheat the oven at 200 degrees C.
    • Take the gulab jamuns out of the sugar syrup and chop them into small pieces.
    • Add the chopped gulab jamuns and chopped nuts to a mixing bowl. Mix well.
    • Cut the thawed puff pastry sheet into squares.
    • Fill the pastry sheet square with the prepared sweet stuffing.
    • Fold the dough to make a triangle shape. Press the edges of the dough together to seal it.
    • Press the edges using a fork to seal them properly.
    • Transfer the stuffed and folded pastries to a lined baking tray.
    • Brush them with some milk to get a beautiful brown color (If you eat eggs, brush them with eggwash).
    • Pop them in the preheated oven and bake at 200 degrees C for 30 - 35 minutes or until they are golden brown.
    • To make the cardamom glaze, combine powdered sugar, ground cardamom and milk in a small mixing bowl.
    • Mix everything well with a fork until creamy and smooth.
    • Add more milk or powdered sugar to adjust the consistency.
    • Drizzle the glaze over the cooled or warm turnovers.
    • Decorate them with edible silver foil if needed.

    Video

    Notes

    Use a good quality gulab jamuns.
    Adjust the quantity of gulab jamuns and nuts as needed.
    The baking time will depend on the size of the oven. Bake them until they are browned.

    Custard Gulab Jamun

    October 19, 2022

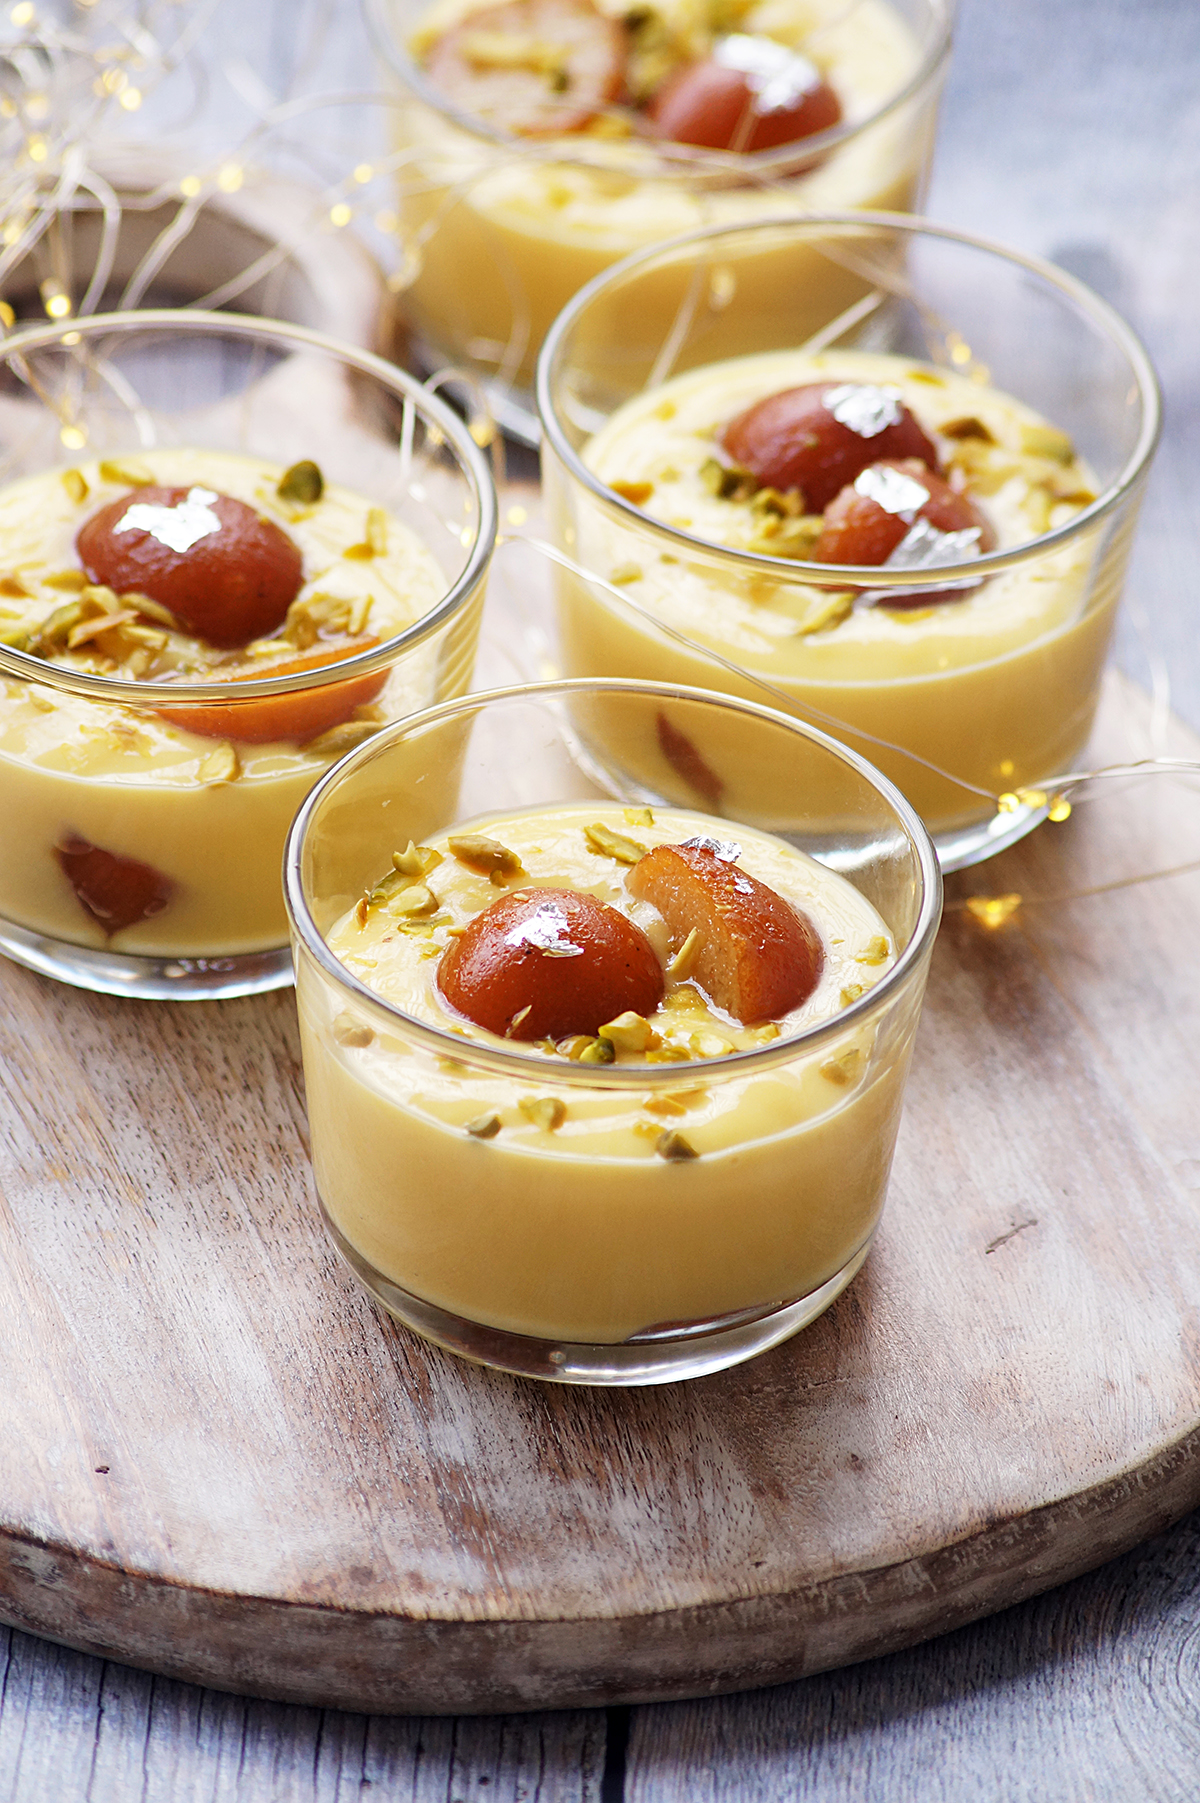
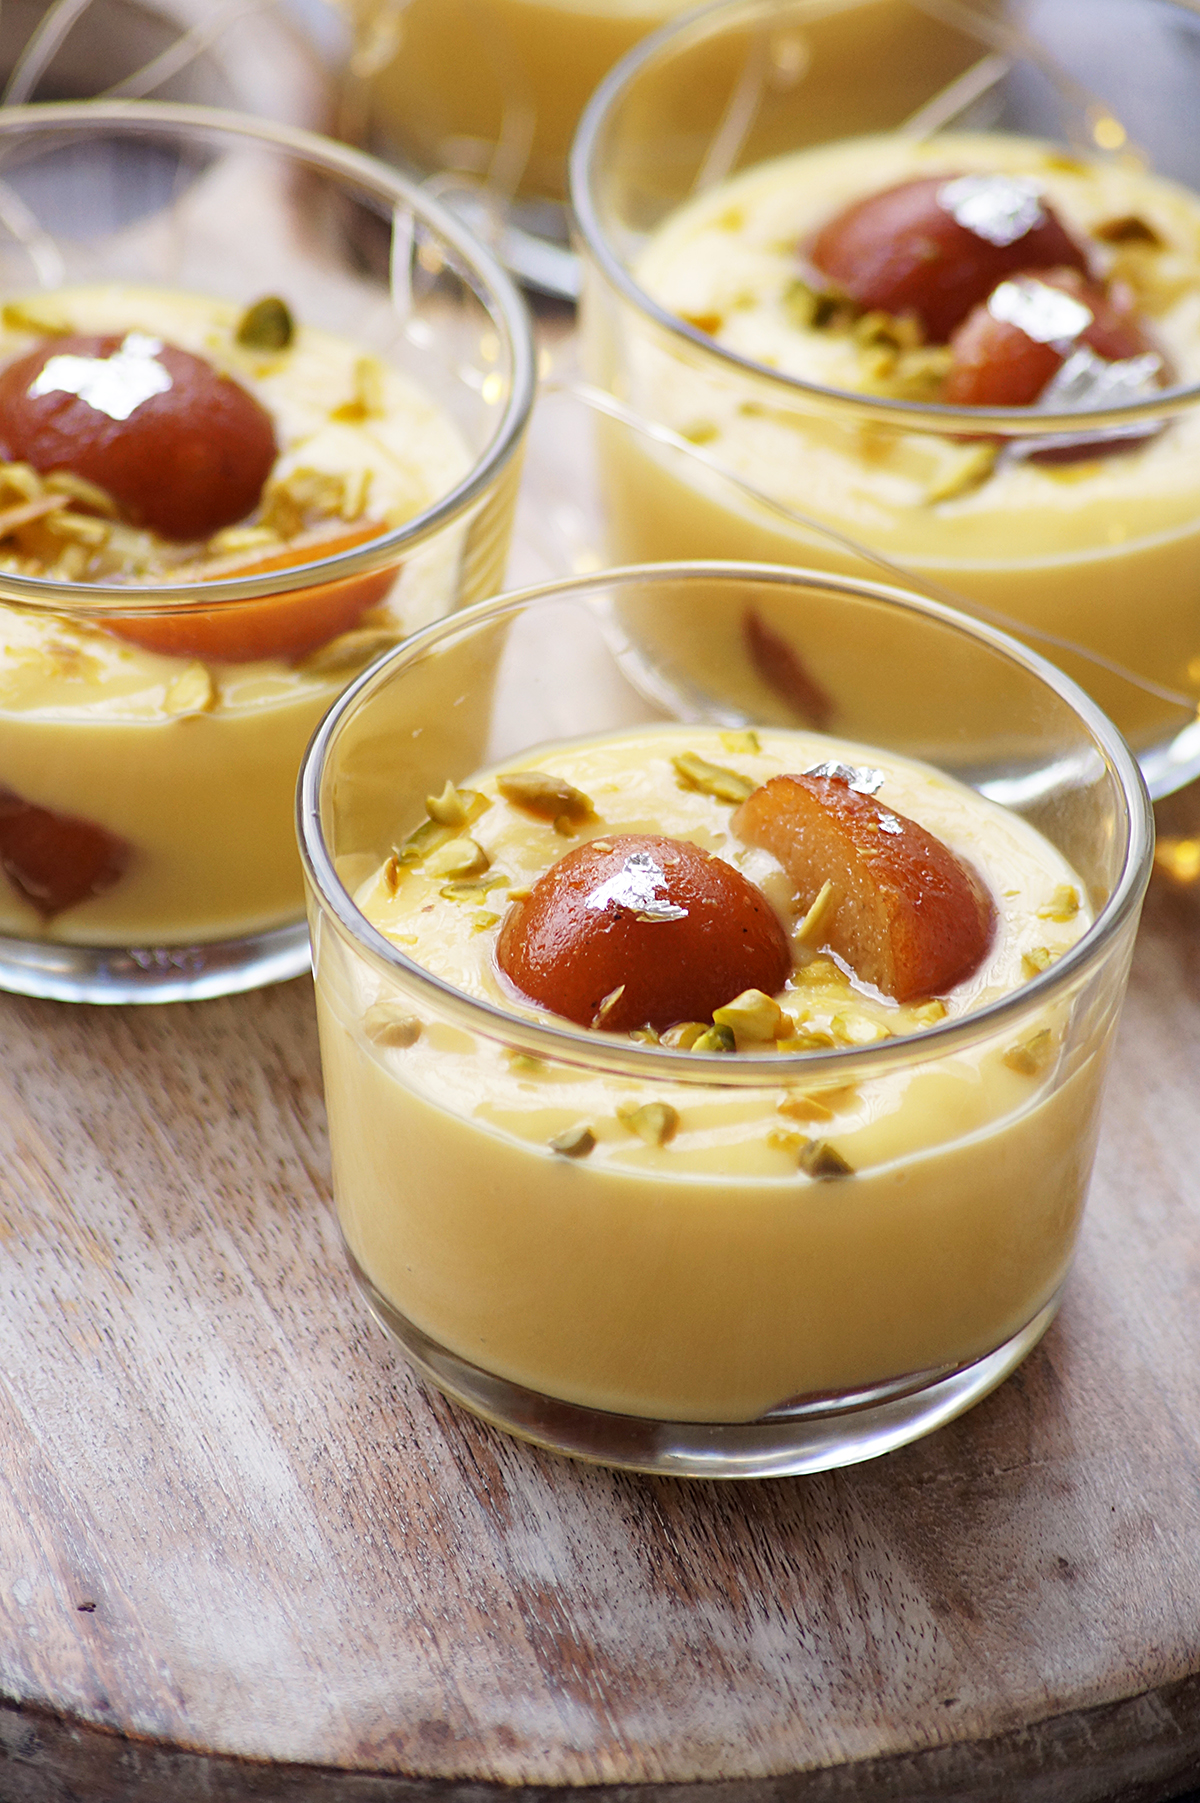
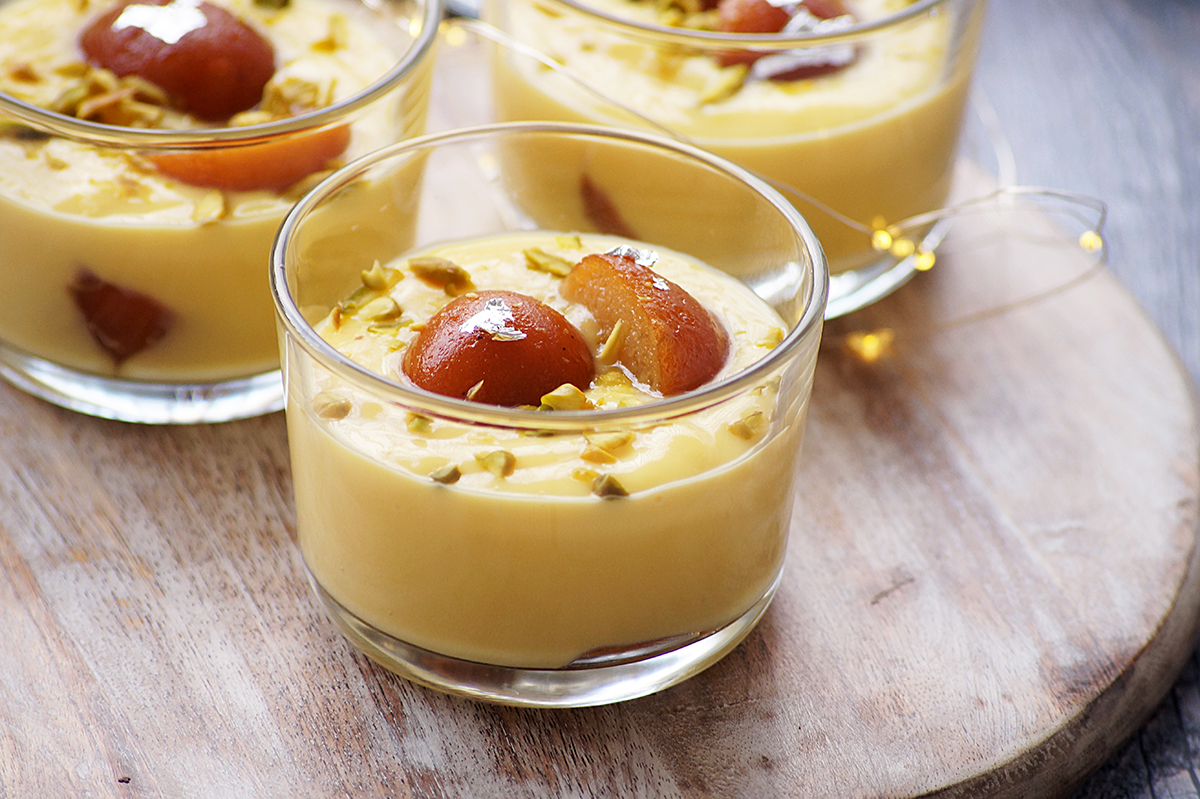
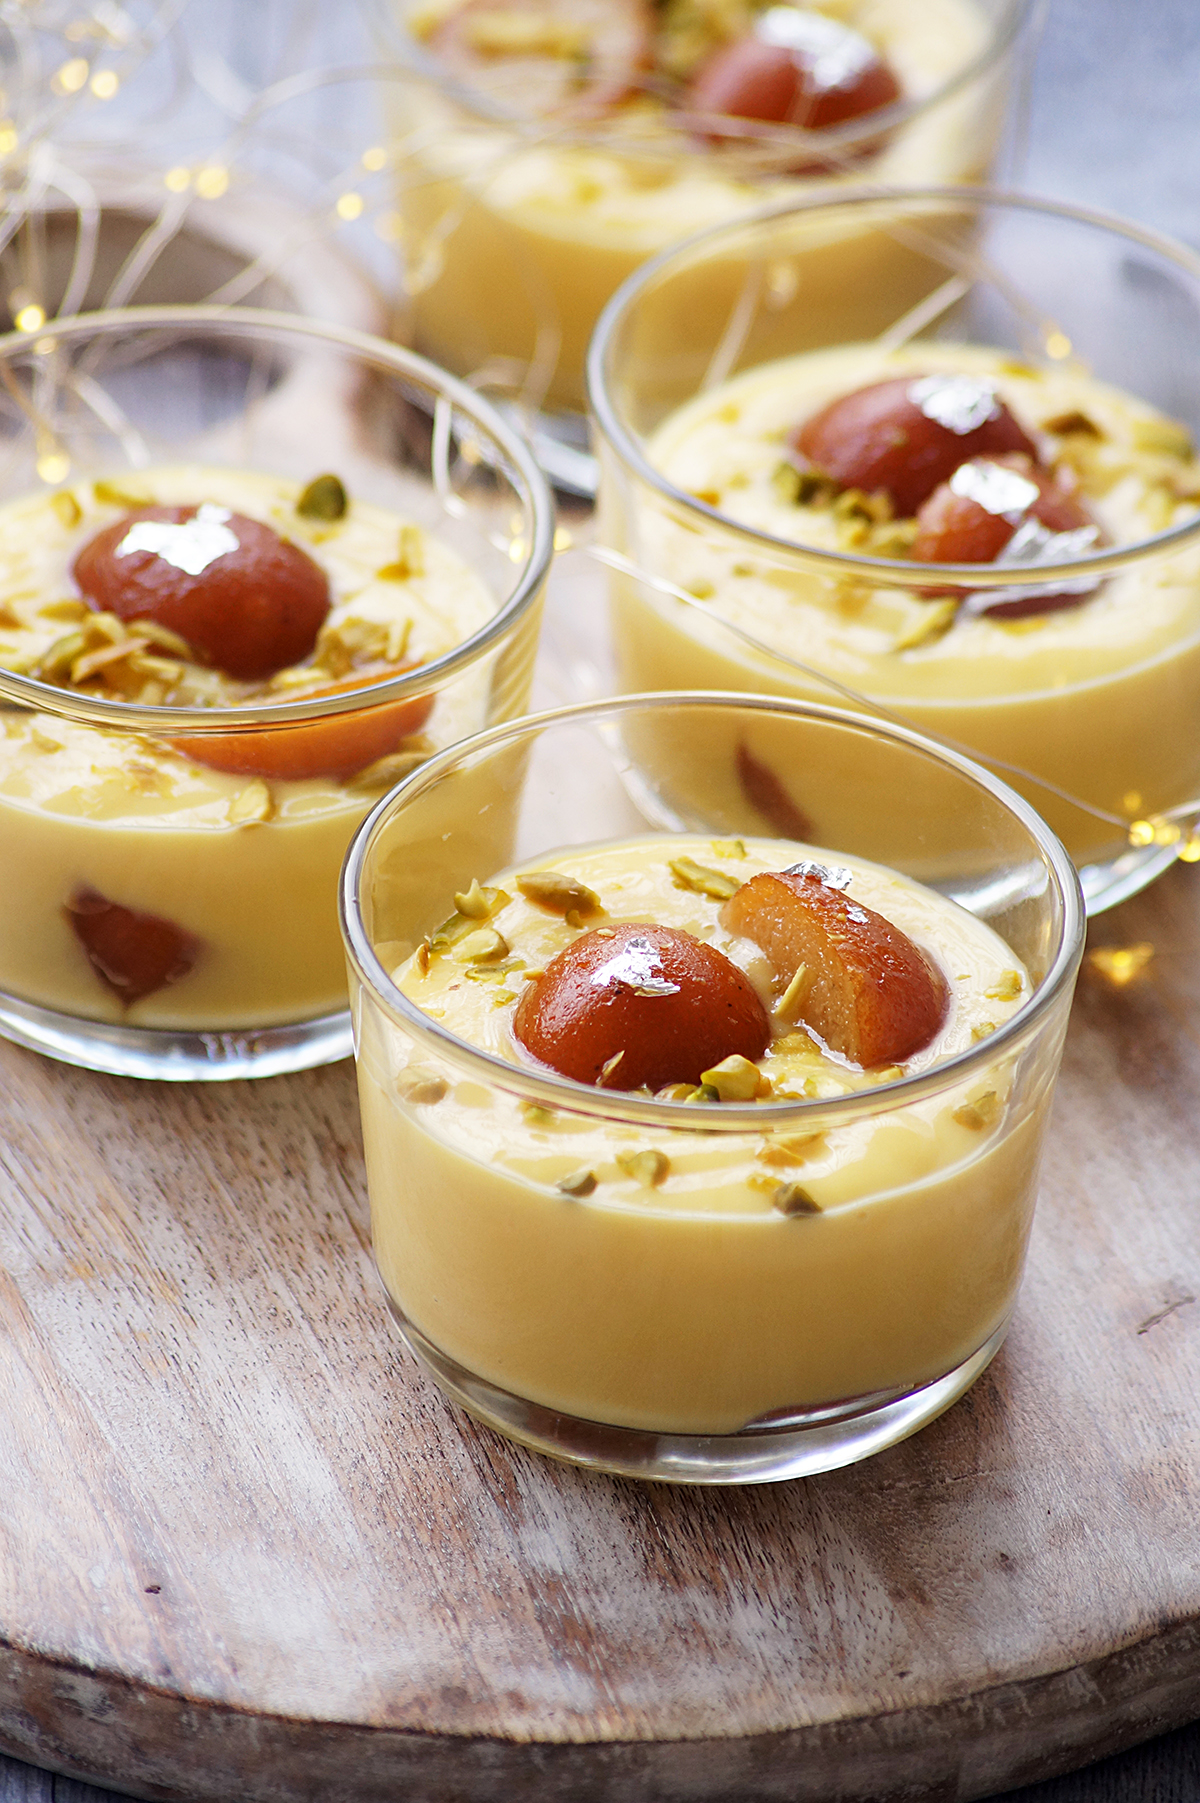
    Custard Gulab Jamun Recipe - Creamy eggless custard served with soft and juicy gulab jamuns! A simple fusion Indian dessert for the holiday season and diwali parties!

    What is custard gulab jamun?

    It is a fusion Indian dessert where the traditional Indian gulab jamuns are served with a creamy eggless custard.

    Gulab jamuns are one of the famous and classic Indian desserts, these are deep-fried khoya (milk solids) dumplings soaked in a cardamom flavored sugar syrup. They are super soft, juicy and just melt in your mouth.

    This dessert can be made in minutes if you are using store-bought gulab jamuns.

    Few more fusion desserts recipes:

    • Thandai White Chocolate Bark
    • Rice Paper Modak Rolls
    • Gulab Jamun Truffles
    • Chocolate Makhana

    Why you'll love this recipe:

    Super easy and quick to make with 4-5 ingredients!

    It looks fancy without any fancy ingredients!

    Makes a beautiful dessert for the festive season!

    Can be made in advance!

    Perfect for diwali parties or any other dinner parties!

    Ingredients:

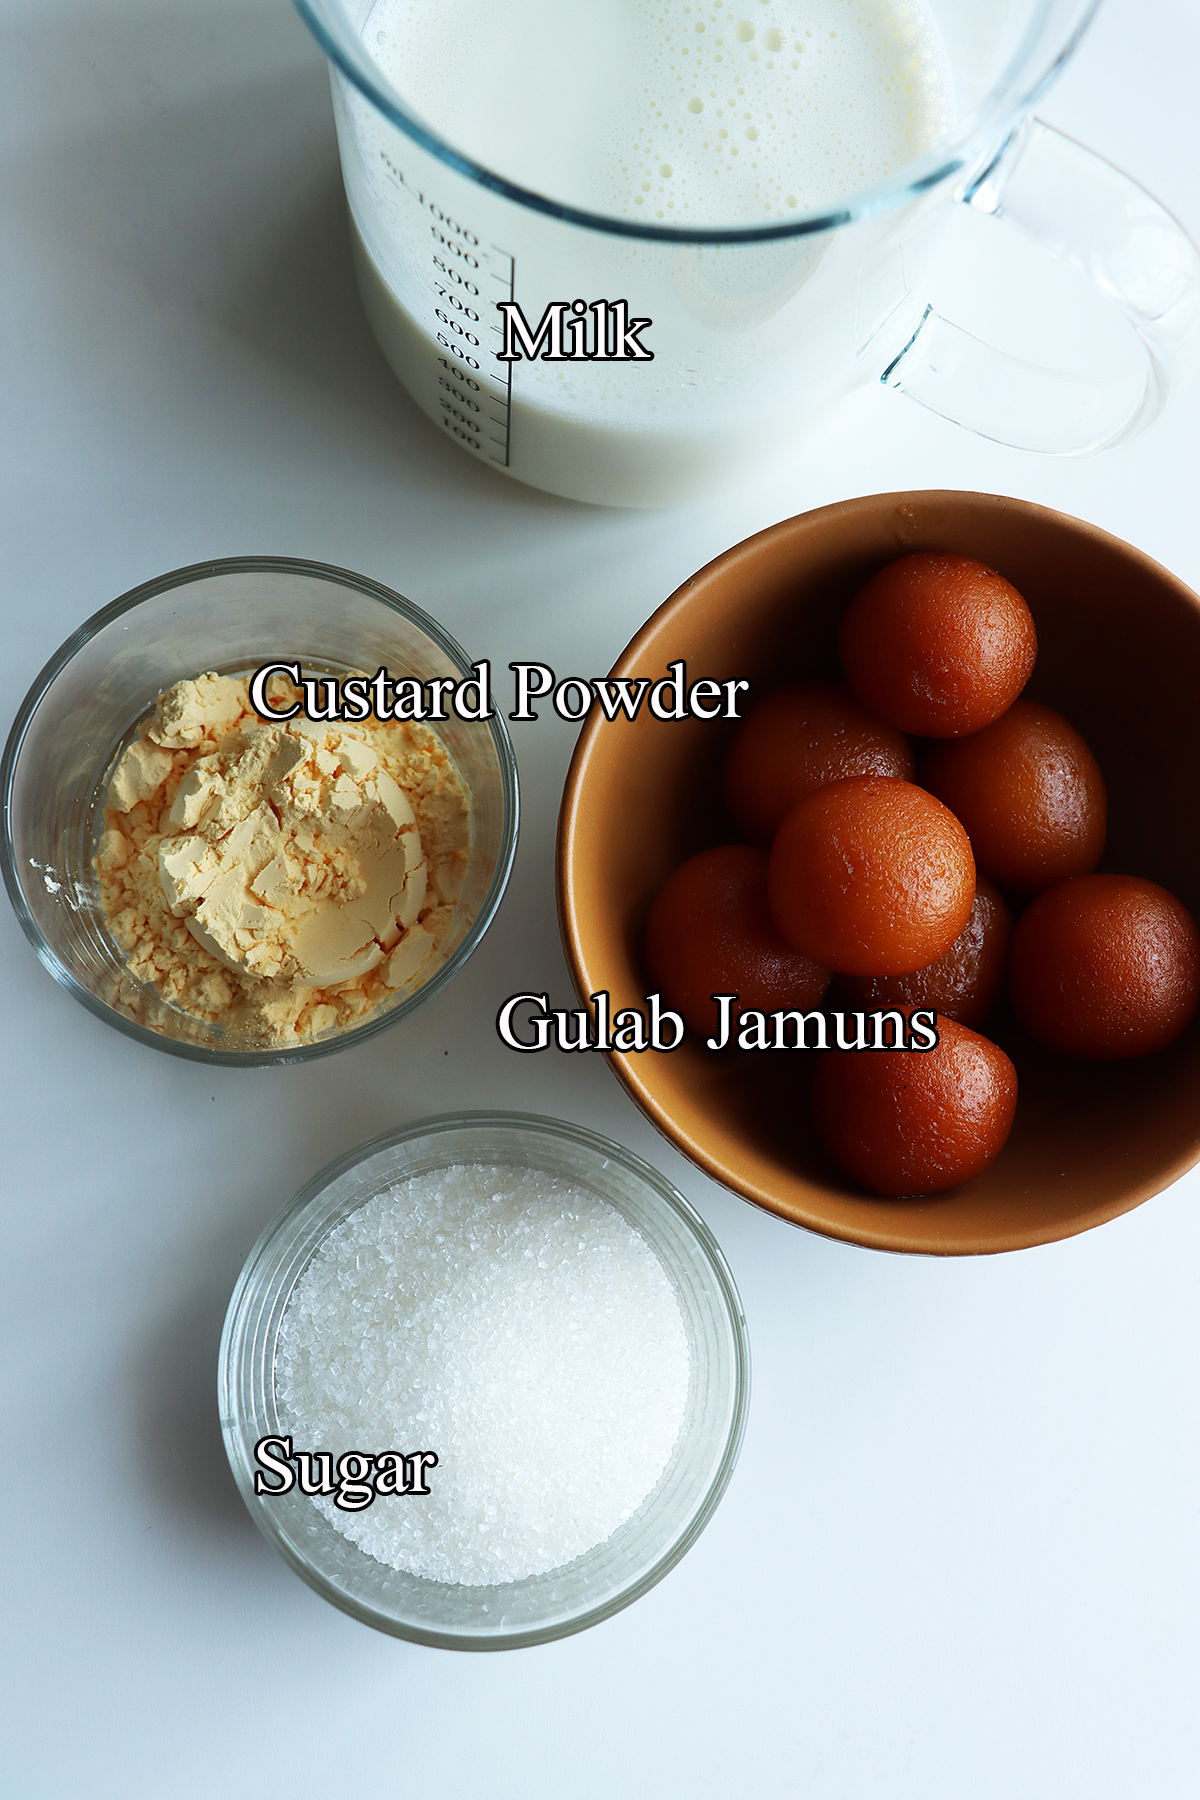
    Gulab Jamuns - This is the key ingredient. You can easily buy them from any Indian sweet shop or online.

    These are available in tins these days. If you want to make them from scratch, you can check my khoya gulab jamun and instant mix gulab jamuns recipes.

    Homemade instant mix gulab jamuns works really well.

    Milk - Use whole full-fat milk for the best and creamy texture. You can also use the 2% fat milk.

    Custard Powder - Just in case you never came across custard powder, it is nothing but cornflour/corn starch with added vanilla and color. If you can't find it, replace it with the same amount of cornflour and ⅛ teaspoon of vanilla extract. Add a little bit of turmeric powder to give it a gorgeous yellow tinge.

    Sugar - I have used white sugar in this recipe. You can replace it with brown sugar but the color of the dessert will be different. Adjust the quantity of sugar according to your taste.

    Nuts - Use any of your favorite nuts to garnish it. Skip if you want to make a nut-free dessert.

    Edible silver foil - Totally optional. It is just for decoration and gives a beautiful festive look.

    Storage suggestions:

    The custard can be stored in the refrigerator for up to 2 days.

    If you are making this for parties, make it 1-2 days before and assemble the dessert just before or few hours before serving.

    The assembled dessert cups can be stored in the refrigerator for a day.

    Serving suggestions:

    Serve it chilled in short glasses or dessert jars.

    If you want to serve warm gulab jamuns with chilled custard sauce, microwave the gulab jamuns and add them to the chilled custard just before serving.

    Variations:

    Add a biscuit base layer if you want a more fancy dessert.

    Use a different flavored custard powder such as butterscotch, strawberry, kesar pista, kesar elaichi and chocolate.

    Top it with crushed chikki or crushed praline to add the crunch and flavor.

    You can also add a little bit of cardamom powder or rose water to it.

    Tips & Notes:

    Reduce the sugar if you want less sweetness.

    I have used regular sized gulab jamuns in this recipe. You will need 2 pieces of gulab jamuns for single serving. If you are going to use the mini / small sized gulab jamuns, you may need 6-8 smaller ones for single serving.

    Make sure you keep stirring the milk mixture while cooking to prevent lumps from forming.

    Instructions:

    Combine custard powder and ¼ cup of warm milk in a small mixing bowl.

    Mix well using a fork or small whisk until there are no lumps left. Keep it aside until use.

    Add remaining milk to a heavy bottomed pan and bring it to a simmer.

    Add sugar and mix until it dissolves completely.

    Slowly add the custard powder mixture to the milk and stir continuously.

    Continue stirring to prevent lumps from forming. Stir constantly and cook over low flame until it thickens.

    Remove it from the flame when the custard ends up coating the spatula.

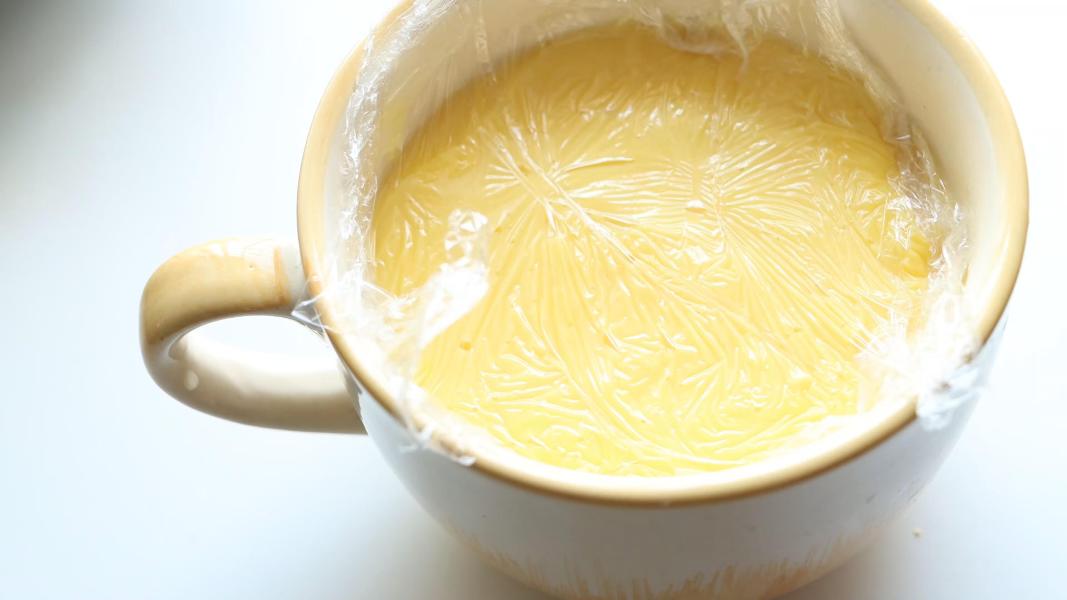
    Transfer the cooked mixture to a bowl and cover it with a plastic wrap. It will prevent skin formation.

    Let it set in the refrigerator for 1-2 hours or until use.

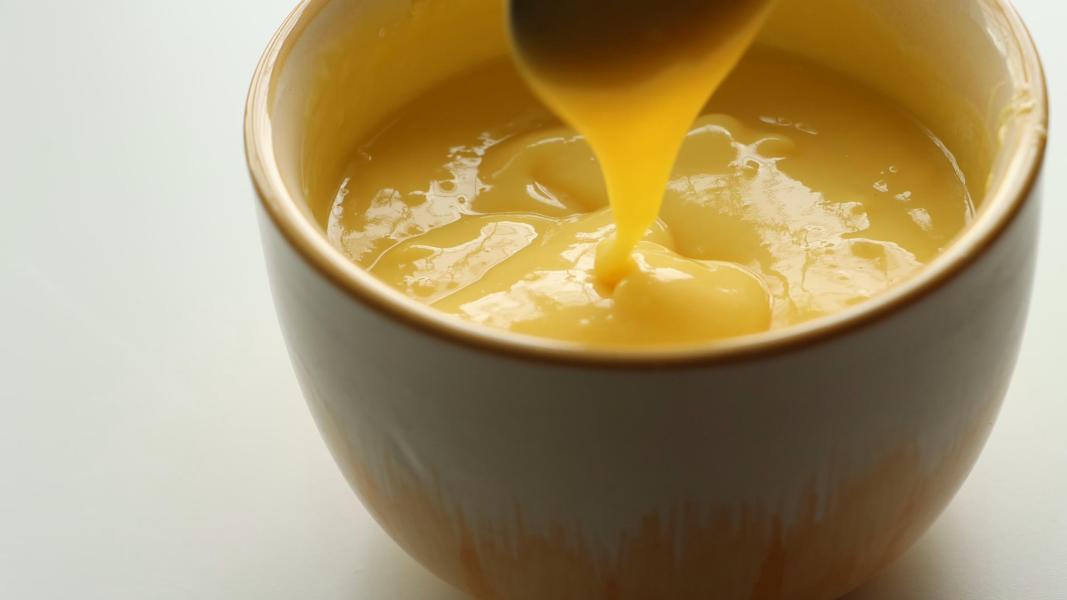
    Remove the plastic wrap and give it a mix to make it smooth and creamy.

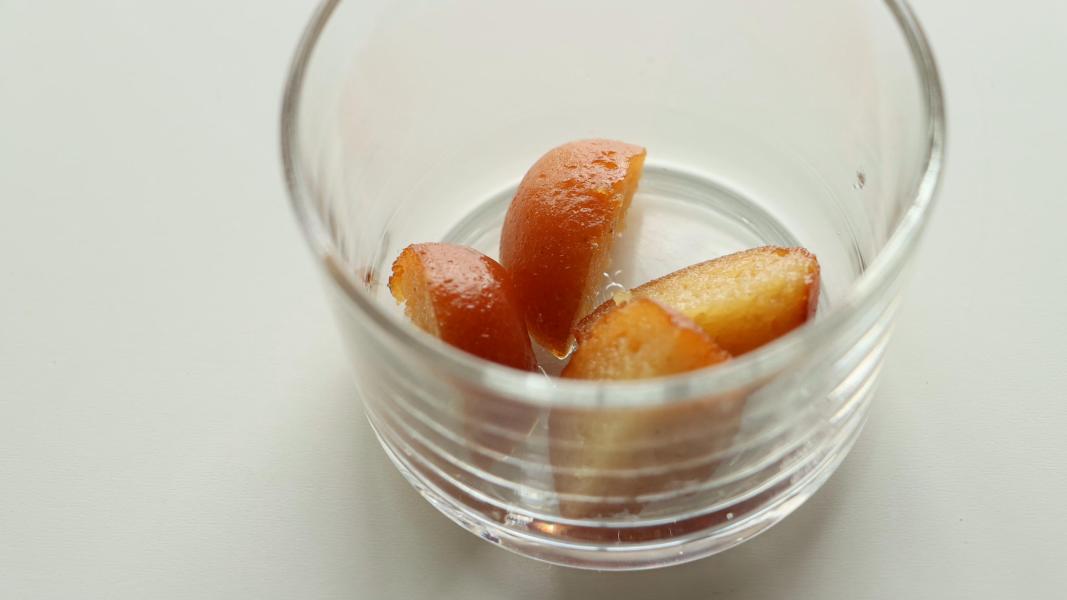
    To assemble the dessert, take one gulab jamun out of the sugar syrup and cut it into 4 pieces.

    Add them to a dessert serving bowl.

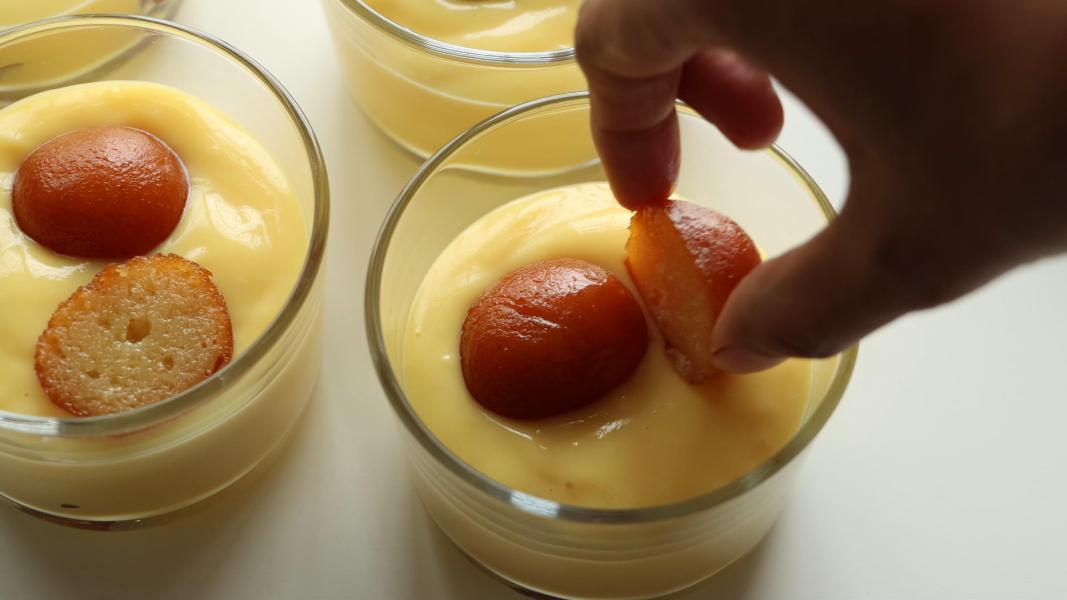
    Top them with the chilled custard.

    Cut the another gulab jamun in half and place them over the custard layer.

    Garnish it with chopped pistachios and edible silver vark/foil and serve chilled.

    You might love these recipes:

    • Dry Fruit Sunnundalu
    • Instant Pot Vermicelli Kheer
    • Chocolate Peanut Butter Pudding
    • Mawa Kulfi
    • Beetroot Halwa

    How to make gulab jamun custard recipe video below:

    Print Recipe
    5 from 2 votes

    Custard Gulab Jamun Recipe

    Custard Gulab Jamun Recipe - Creamy eggless custard served with soft and juicy gulab jamuns! A simple Indian fusion dessert for the holiday season and diwali parties!
    Prep Time5 minutes mins
    Cook Time10 minutes mins
    Total Time15 minutes mins
    Course: Dessert
    Cuisine: Fusion, Indian, International, World
    Keyword: custard gulab jamun, custard powder recipes, easy indian desserts, Fusion
    Servings: 4
    Author: Hari Chandana Ponnaluri

    Ingredients

    • 2 Cups Milk
    • 8 Gulab Jamuns
    • 3 Tablespoons Custard Powder
    • 6 Tablespoons Sugar

    Instructions

    • Combine custard powder and ¼ cup of milk in a bowl. Mix without any lumps.
    • Bring remaining milk to a simmer.
    • Add sugar and let it dissolve completely.
    • Add custard powder and milk mixture to the milk and mix well.
    • Keep stirring and cook until it thickens.
    • Turn off the flame when the custard ends up coating the spatula.
    • Transfer it to a bowl and cover it with a plastic wrap.
    • Refrigerate it for 1- 2 hours.
    • To assemble the dessert, cut one gulab jamun into 4 pieces and add them into the dessert glass.
    • Add chilled custard on top. Cut another gulab jamun in half and place it over the custard.
    • Garnish with nuts and serve chilled.

    Video

    Notes

    Adjust the sugar according to your taste.
    Remember, custard will thicken more as it cools.

    Instant Pot Chestnuts

    October 17, 2022

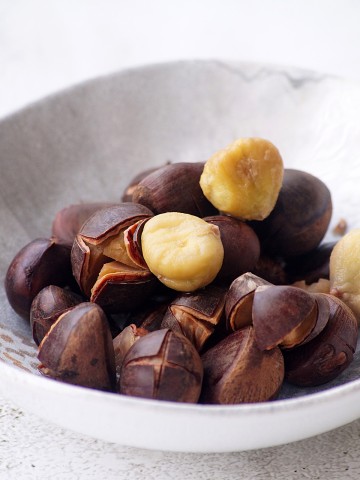
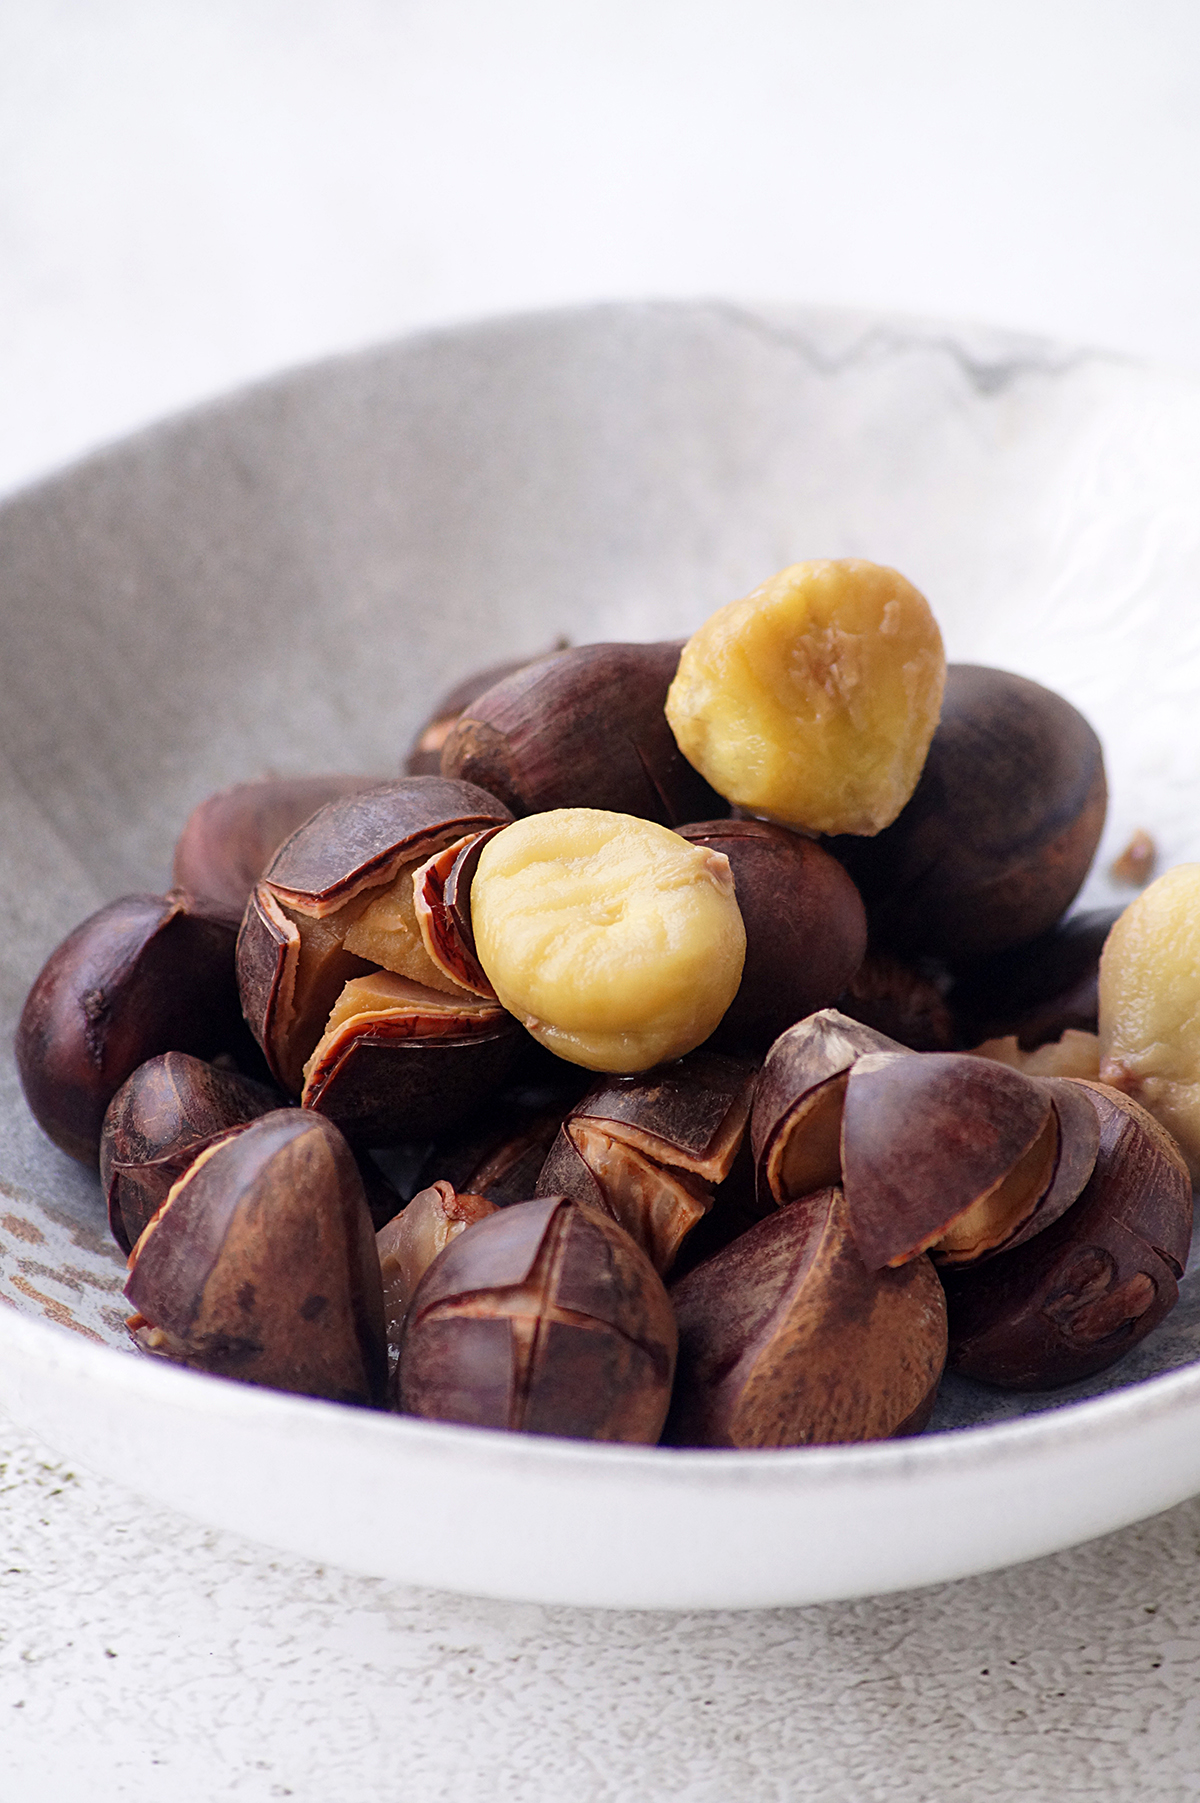
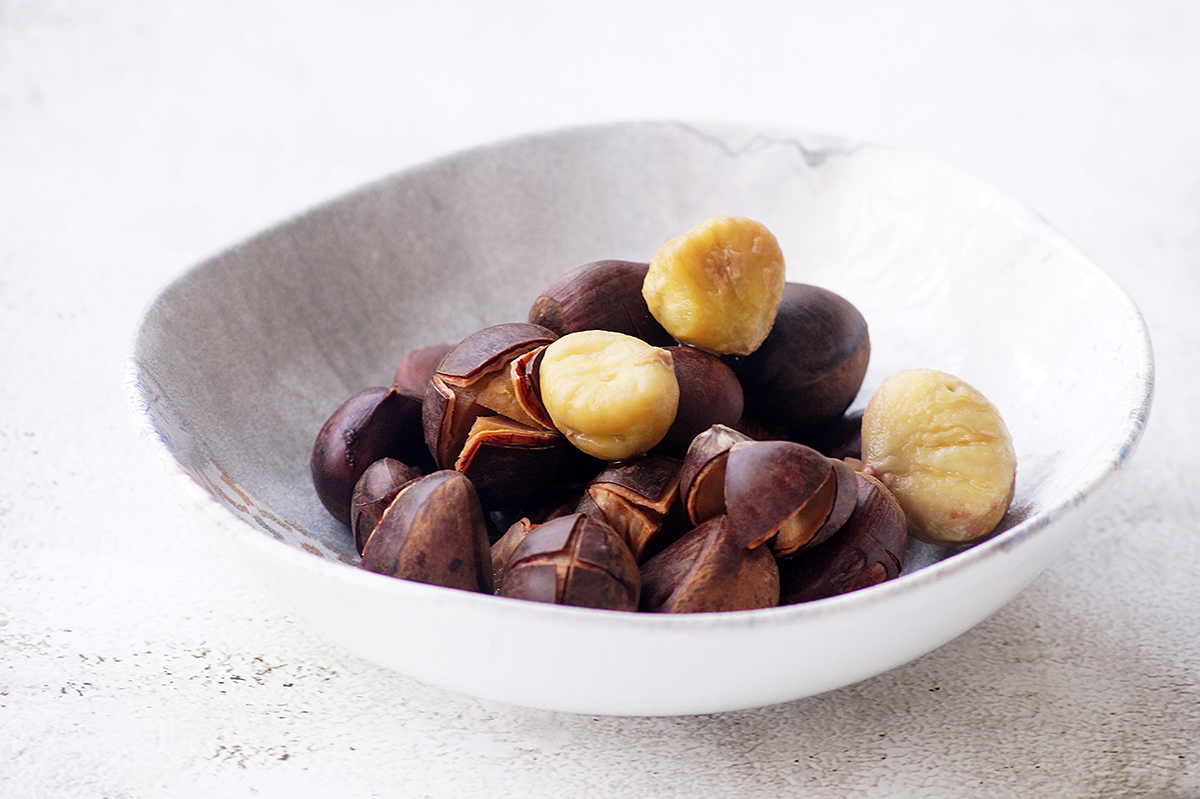
    Instant Pot Chestnuts Recipe - These soft, nutty, sweet, delicious and easy-to-peel Instant pot boiled chestnuts are perfect for the holiday season!

    What are chestnuts?

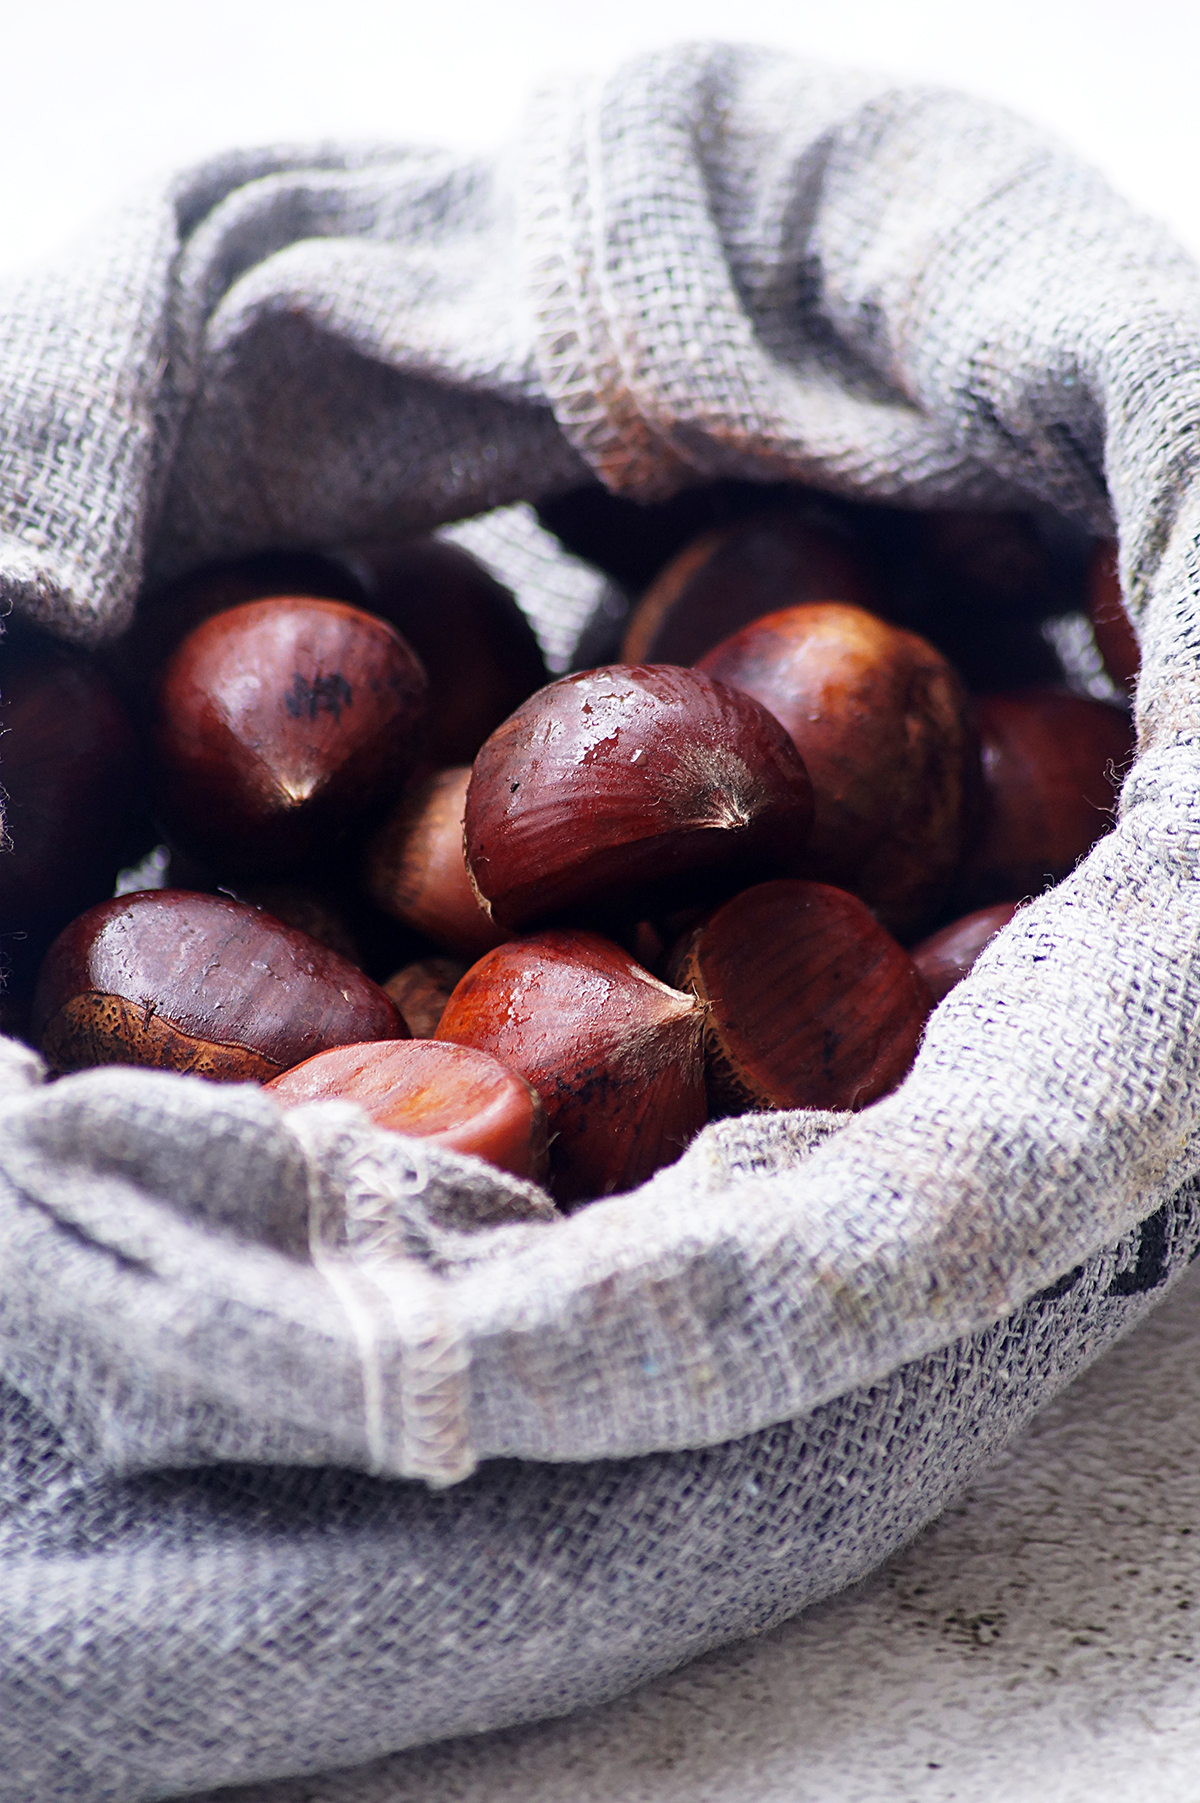
    They are hard-skinned nuts that are very popular in Europe, USA , Asia, and middle eastern counties. These are also called Marroni, Marrons, Kestane, Castañas, Kesteni Kastanien, Châtaignes and Castagne in Switzerland, Spain, Bulgaria, Germany, Turkey, Italy and other European countries.

    Roasted marroni or chestnuts are a very popular European street food in the winter. We buy the warm roasted chestnuts from the street vendors here in Europe. Read more about them here.

    The raw nuts can be roasted or cooked to use in many dishes such as cookies, soups, cakes, beverages and breads.

    There are a couple of ways to cook or boil them and cooking them in the Instant pot is one of the easy way among them all.

    Serving suggestions:

    The cooked and peeled chestnuts can be served warm as-is or you can use them to make the below recipes.

    • Chestnut Hummus
    • Chestnut Chocolate Truffles
    • Chestnut Chocolate Smoothie
    • Chestnut Cardamom Milk
    • Chestnut Chocolate Spread

    Storage suggestions:

    Cooked chestnuts can be stored in the refrigerator for up to 4 days. Place them in an airtight container and refrigerate.

    If you want to store them for longer, they can be stored in the freezer. Let the them cool down and add them to a plastic ziplock covers. Remove the air from the cover as much as you can and store it in the freezer for up to 6 months.

    Tips & Notes:

    The outer skin of the chestnuts is hard. Use a sharp knife and carefully cut them.

    Once they are cooked, do not drain them. Take out one chestnut at a time and start peeling.

    Don't let them cool completely, it will be very tough to peel them if they cooled down.

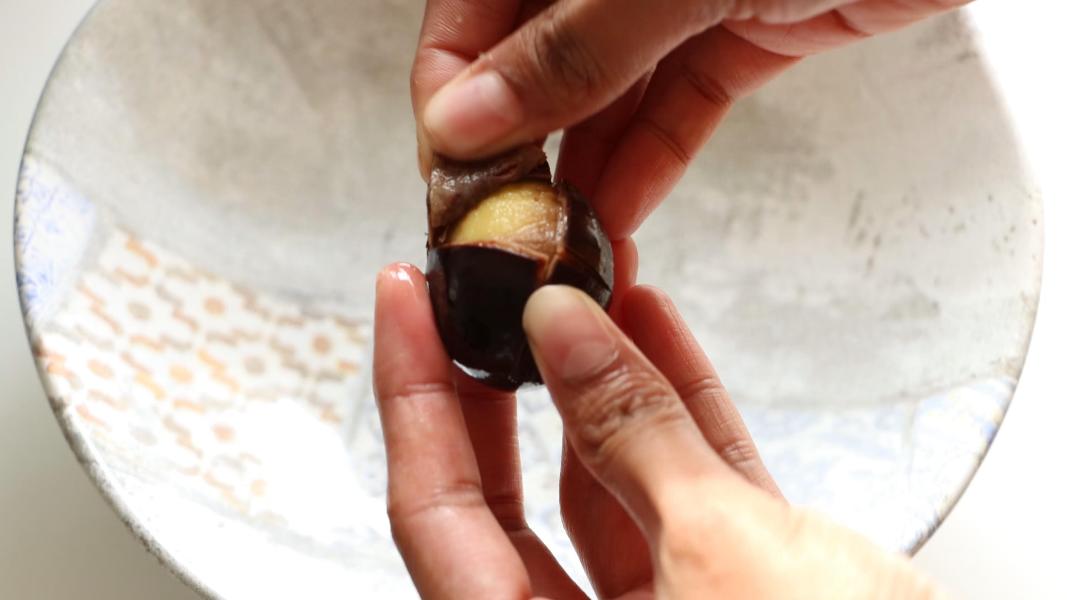
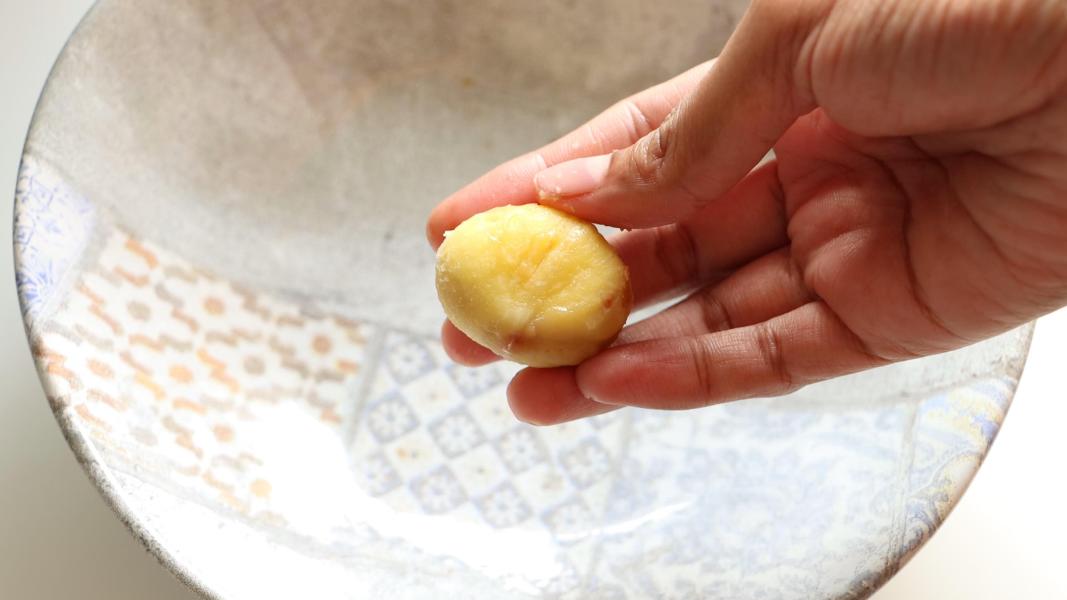
    When they are hot enough to handle, peel each chestnut. Remove the outer hard layer and inner brown layer.

    If you are not able to peel them easily, dip it in the hot water and try again.

    If there are any dark brown colored chestnuts, discard them.

    Can I double the recipe?

    Absolutely! However, you will need to reheat it occasionally during the peeling process since there are so many to peel.

    Step by step instructions:

    Rinse the chestnuts using plenty of water.

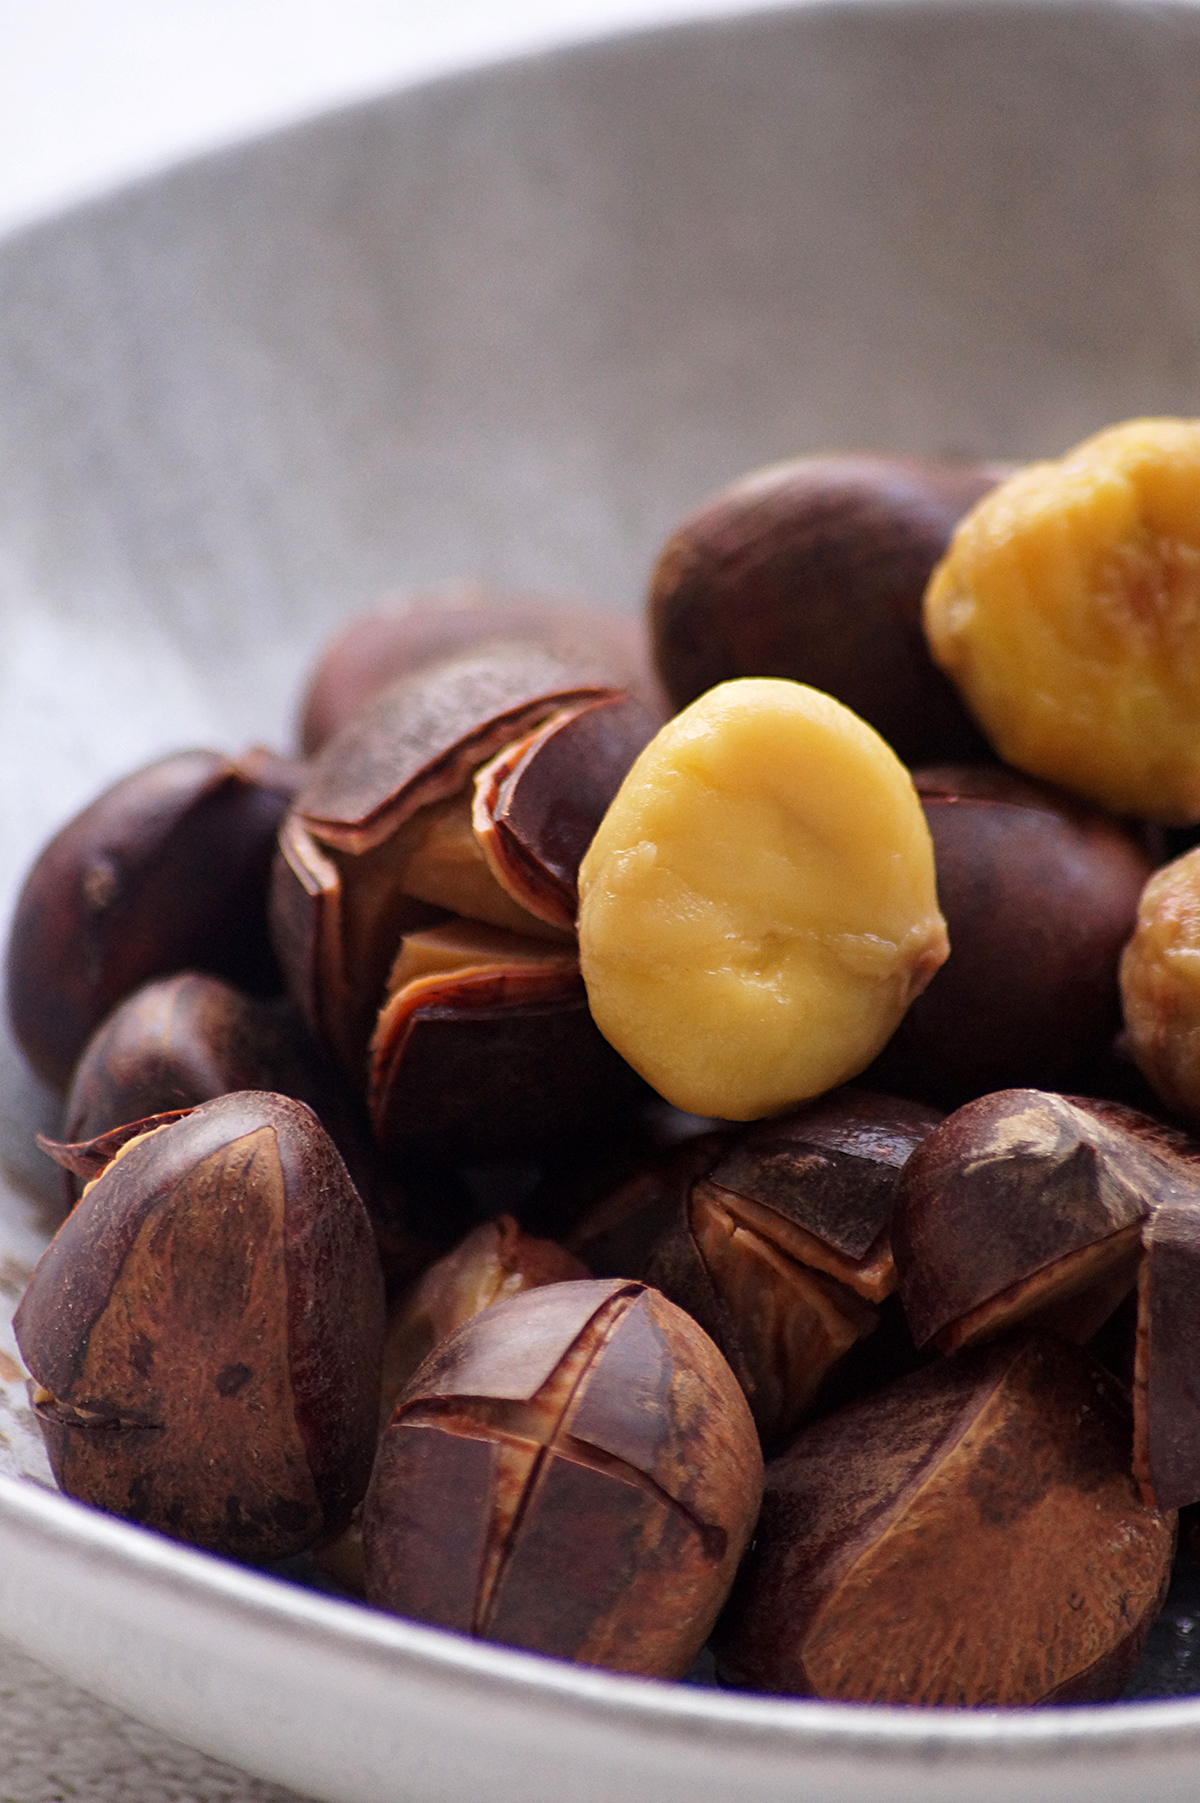
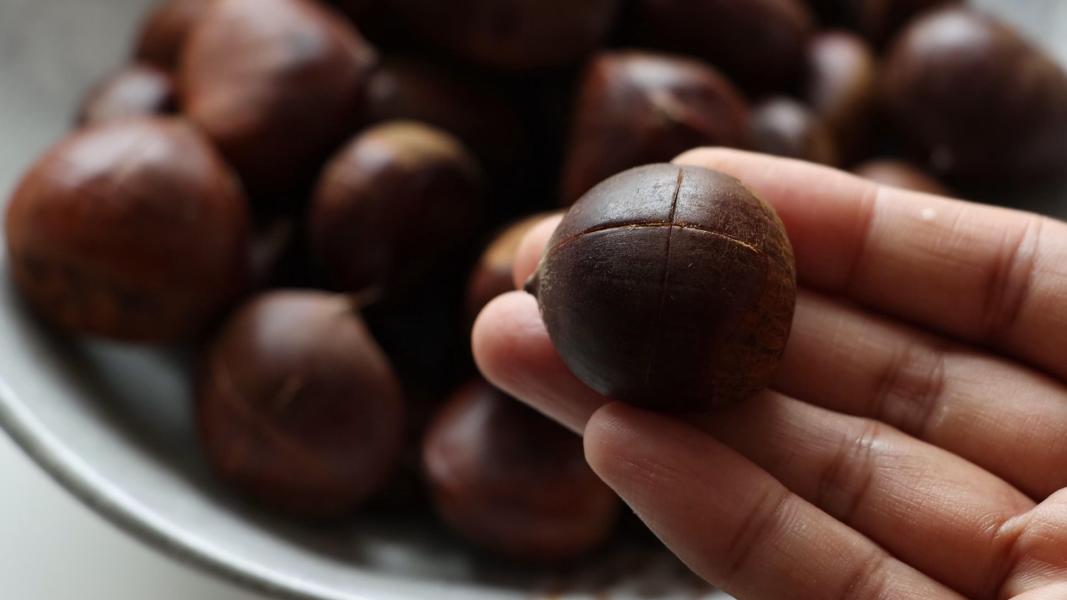
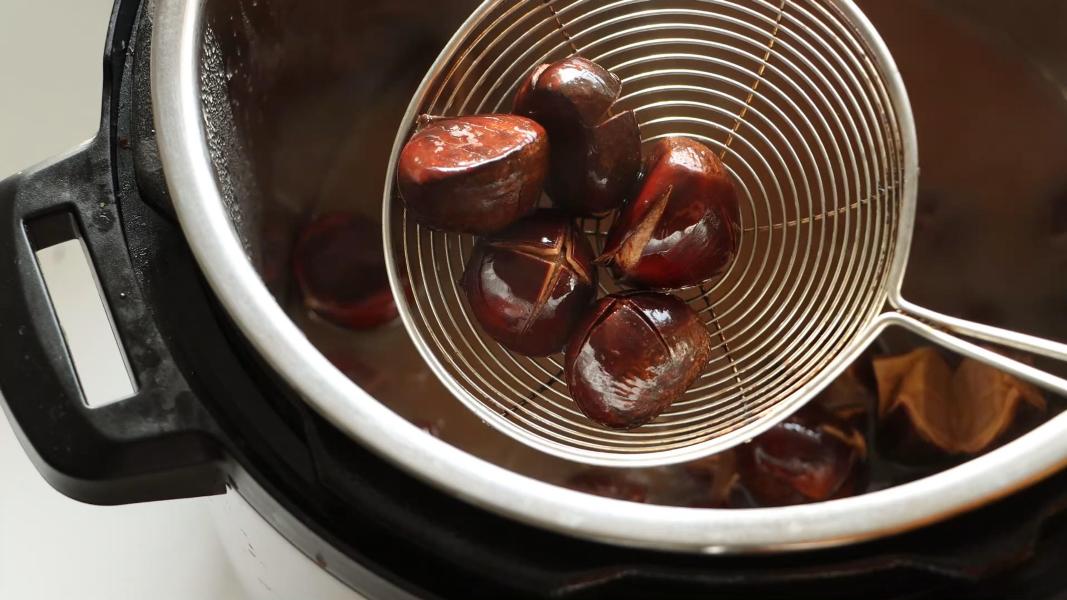
    Using a sharp knife, make an X cut on the round side of the chestnuts.

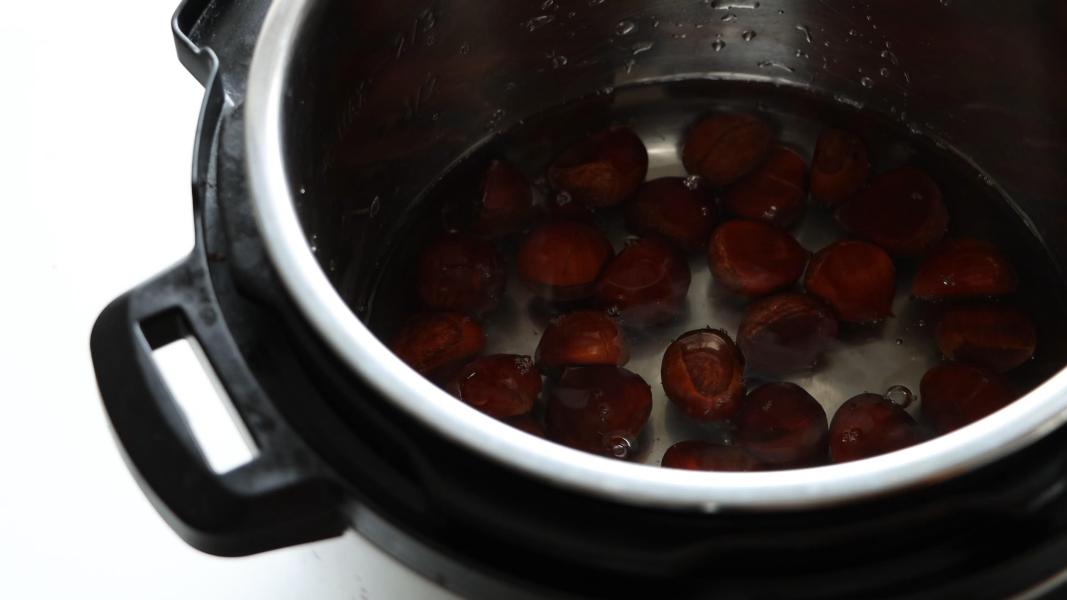
    Add 2 cups of chestnuts and 3 cups of water to the inner pot of the instant pot.

    Close the lid and set the valve in sealing position.

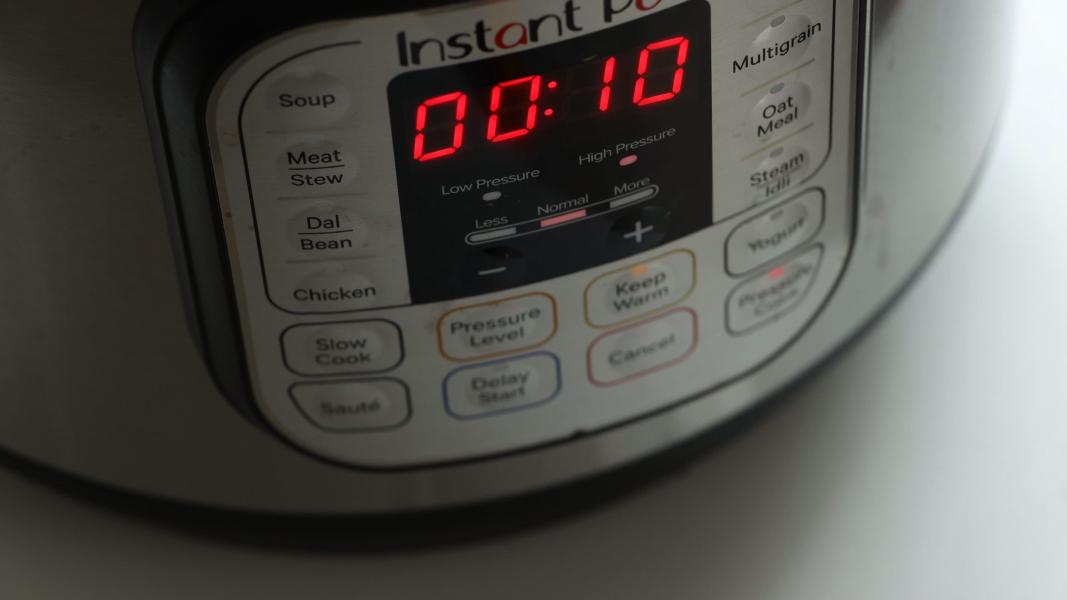
    Select the pressure cook or manual mode and adjust the time to 10 minutes.

    Let the pressure release naturally.

    Wait until the metal pin drops completely and open the lid.

    Let them cool down a bit and take one chestnut out of the water.

    Peel the outer hard layer and inner brown layer.

    Repeat the process with remaining nuts.

    Serve & enjoy!
    You might love these recipes:

    • Instant Pot Lemon Rice
    • Instant Pot Vermicelli Kheer
    • Swedish Chocolate Balls
    • Greek Spinach Rice
    • Avocado Yogurt Dip

    How to cook chestnuts in instant pot

    Print Recipe

    Instant Pot Chestnuts

    Instant Pot Chestnuts Recipe - These soft, nutty, sweet, delicious and easy-to-peel Instant pot boiled chestnuts are perfect during the holiday season!
    Prep Time15 minutes mins
    Cook Time10 minutes mins
    Total Time25 minutes mins
    Course: Snack
    Cuisine: European, World
    Keyword: easy chestnut recipes, instant pot recipes
    Servings: 4
    Calories: 140kcal
    Author: Hari Chandana Ponnaluri

    Ingredients

    • 2 Cups Chestnuts (500 Grams)
    • 3 Cups Water

    Instructions

    • Using a sharp knife, make an X cut on the round side of the chestnuts.
    • Add chestnuts and water to the instant pot and close the lid.
    • Set the valve in sealing position.
    • Press Manual / Pressure Cook mode and pressure cook for 10 minutes.
    • Release the pressure naturally and open the lid.
    • Take the each chestnut out of the water and peel.
    • Serve and enjoy!

    Video

    Nutrition

    Calories: 140kcal | Carbohydrates: 32g | Protein: 1g | Fat: 1g | Saturated Fat: 0.2g | Polyunsaturated Fat: 0.4g | Monounsaturated Fat: 0.3g | Sodium: 10mg | Potassium: 346mg | Vitamin A: 19IU | Vitamin C: 29mg | Calcium: 19mg | Iron: 1mg

    White Chocolate Pistachio Butter

    October 12, 2022

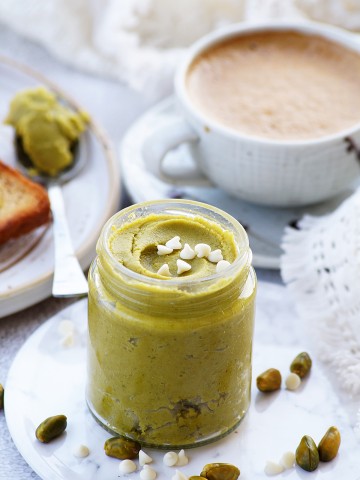
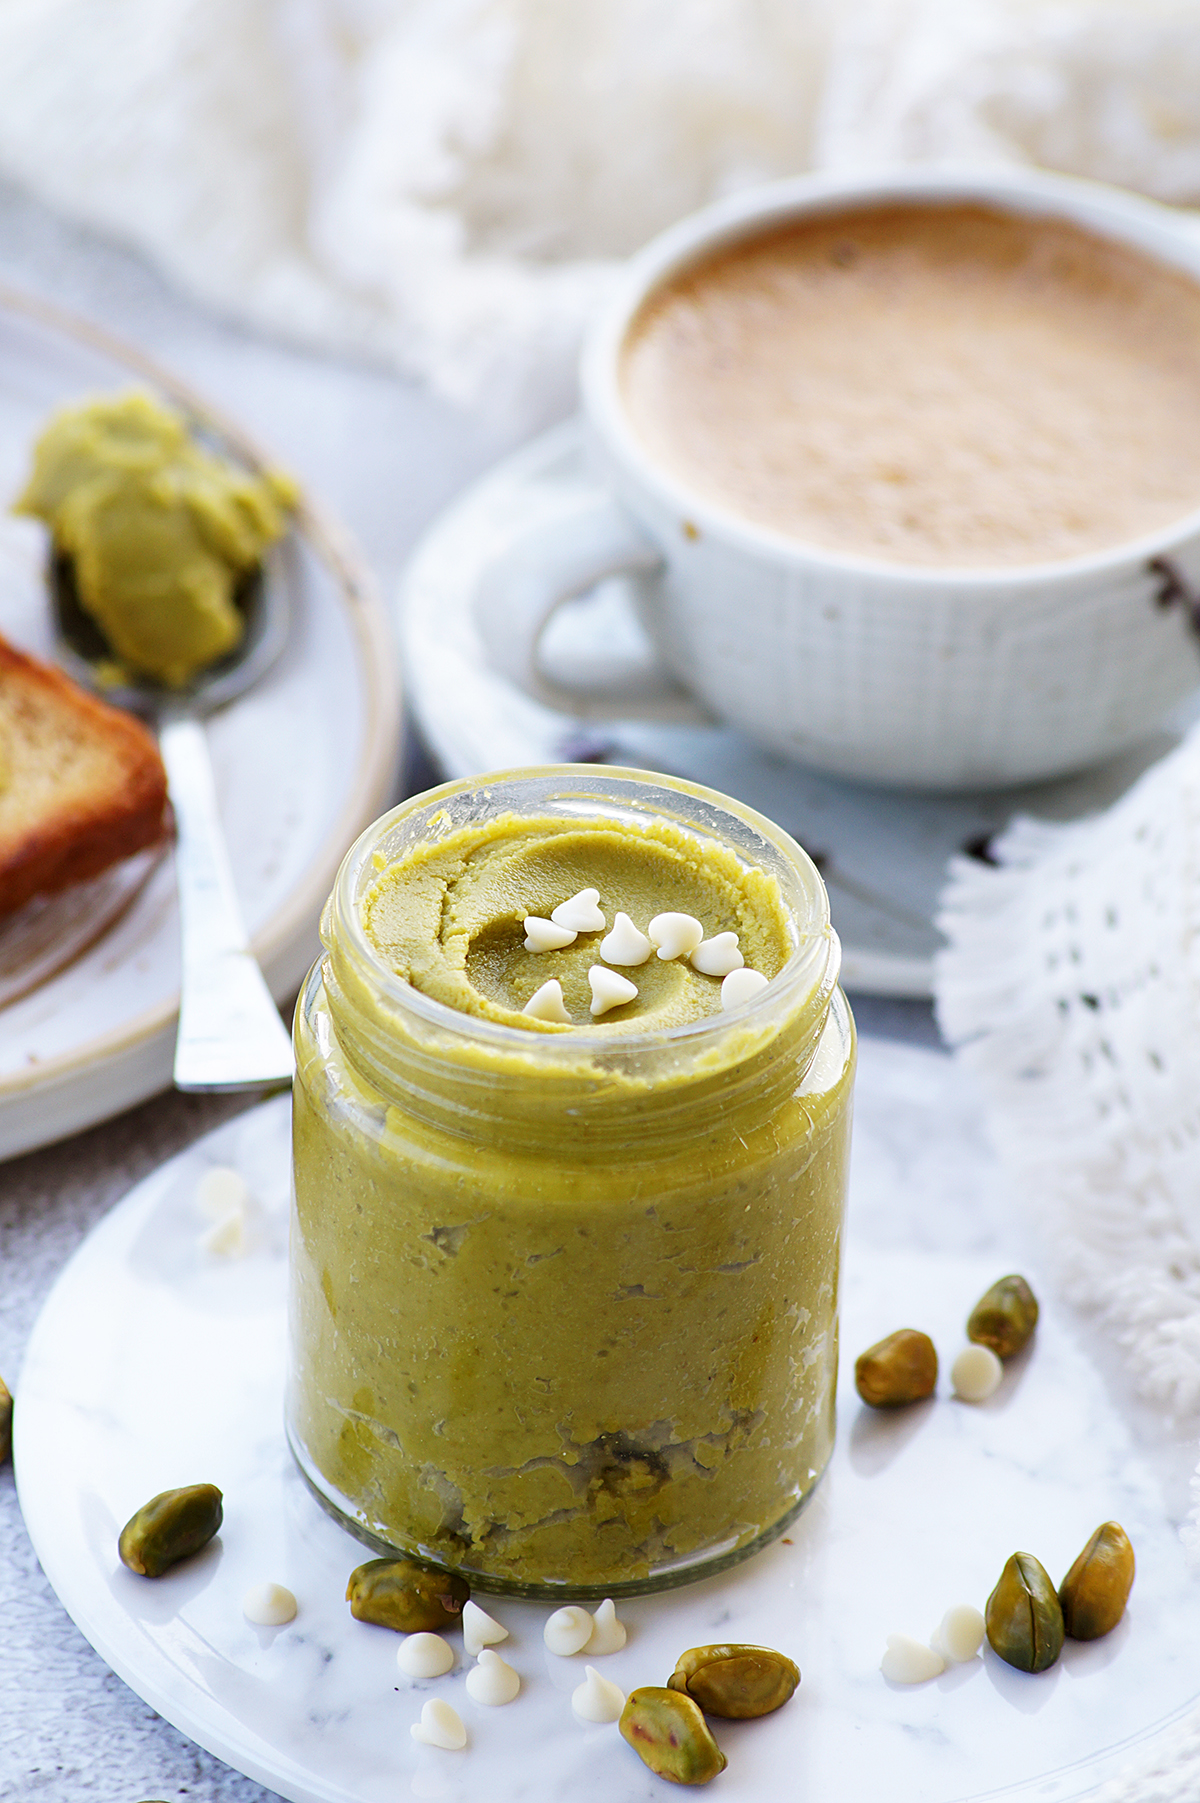
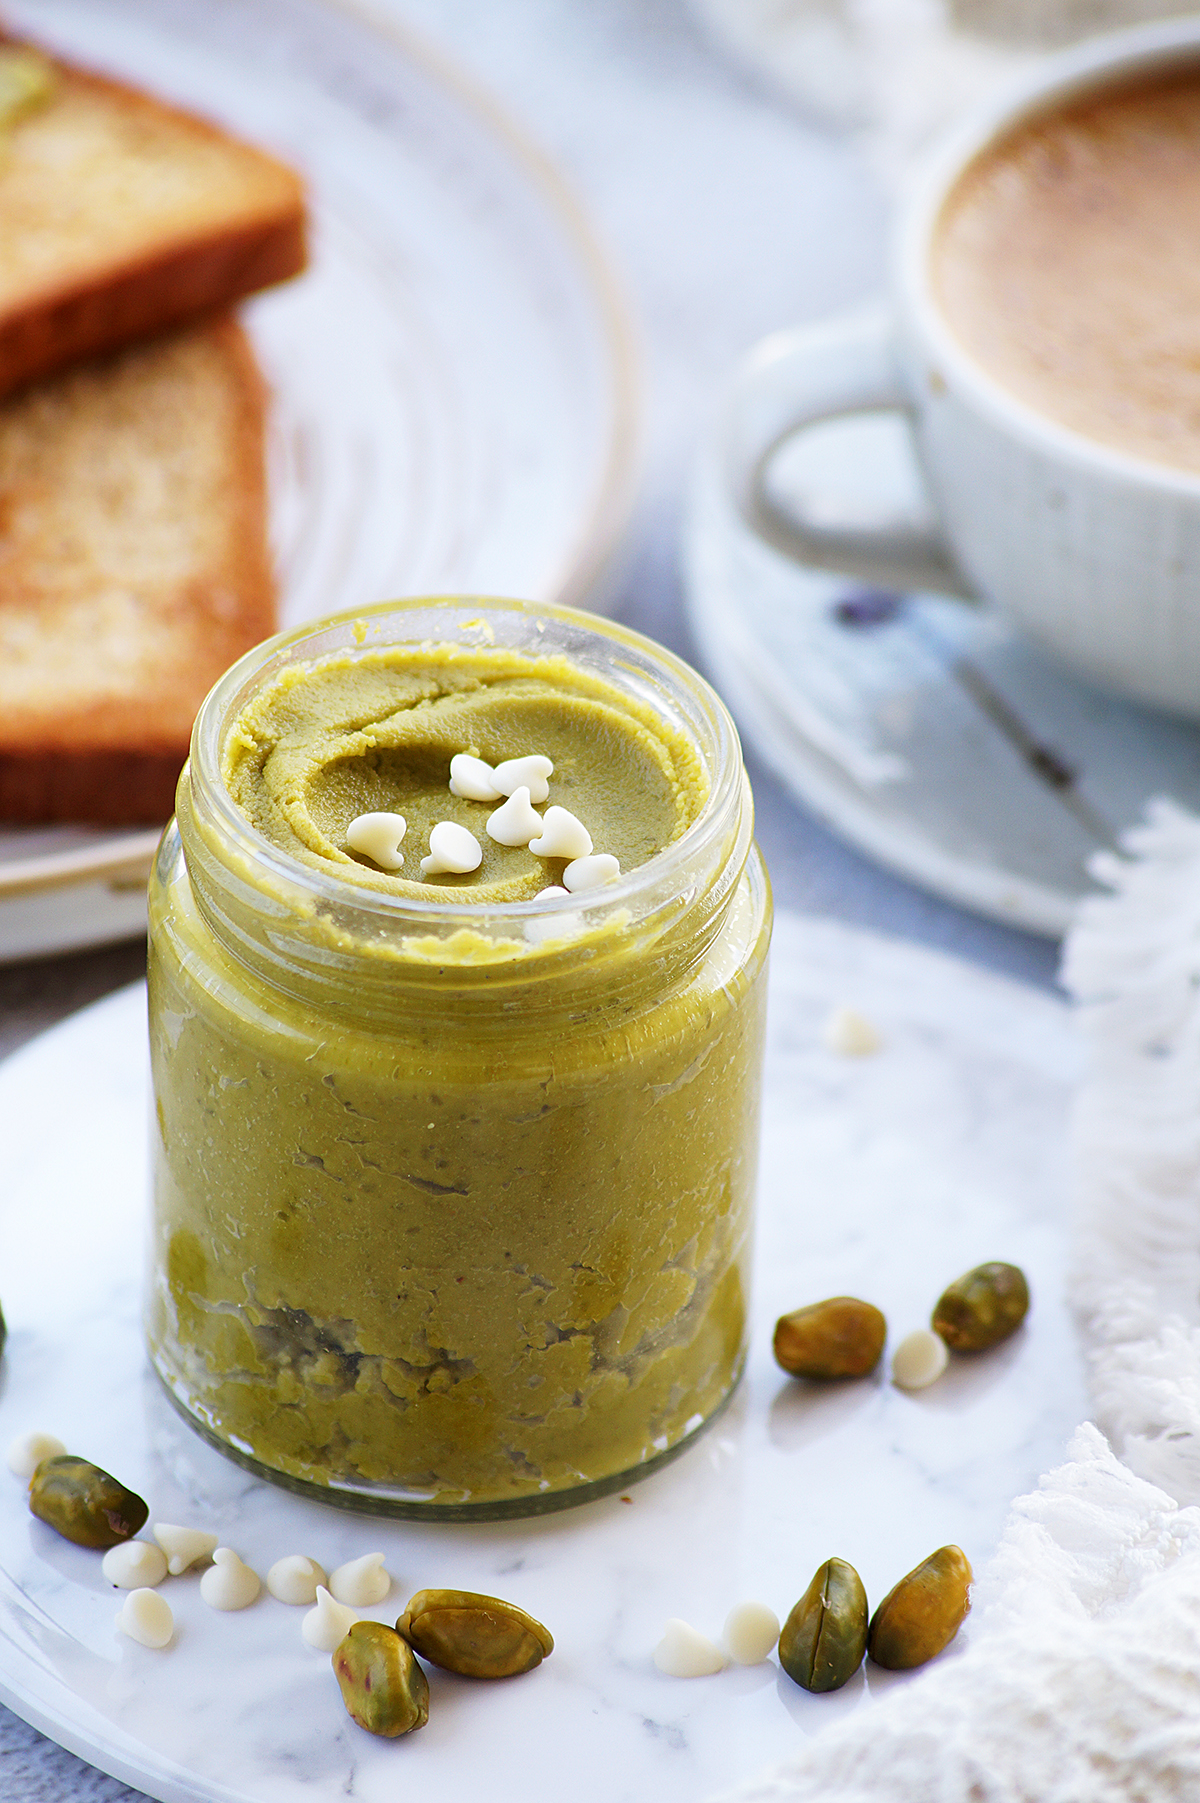
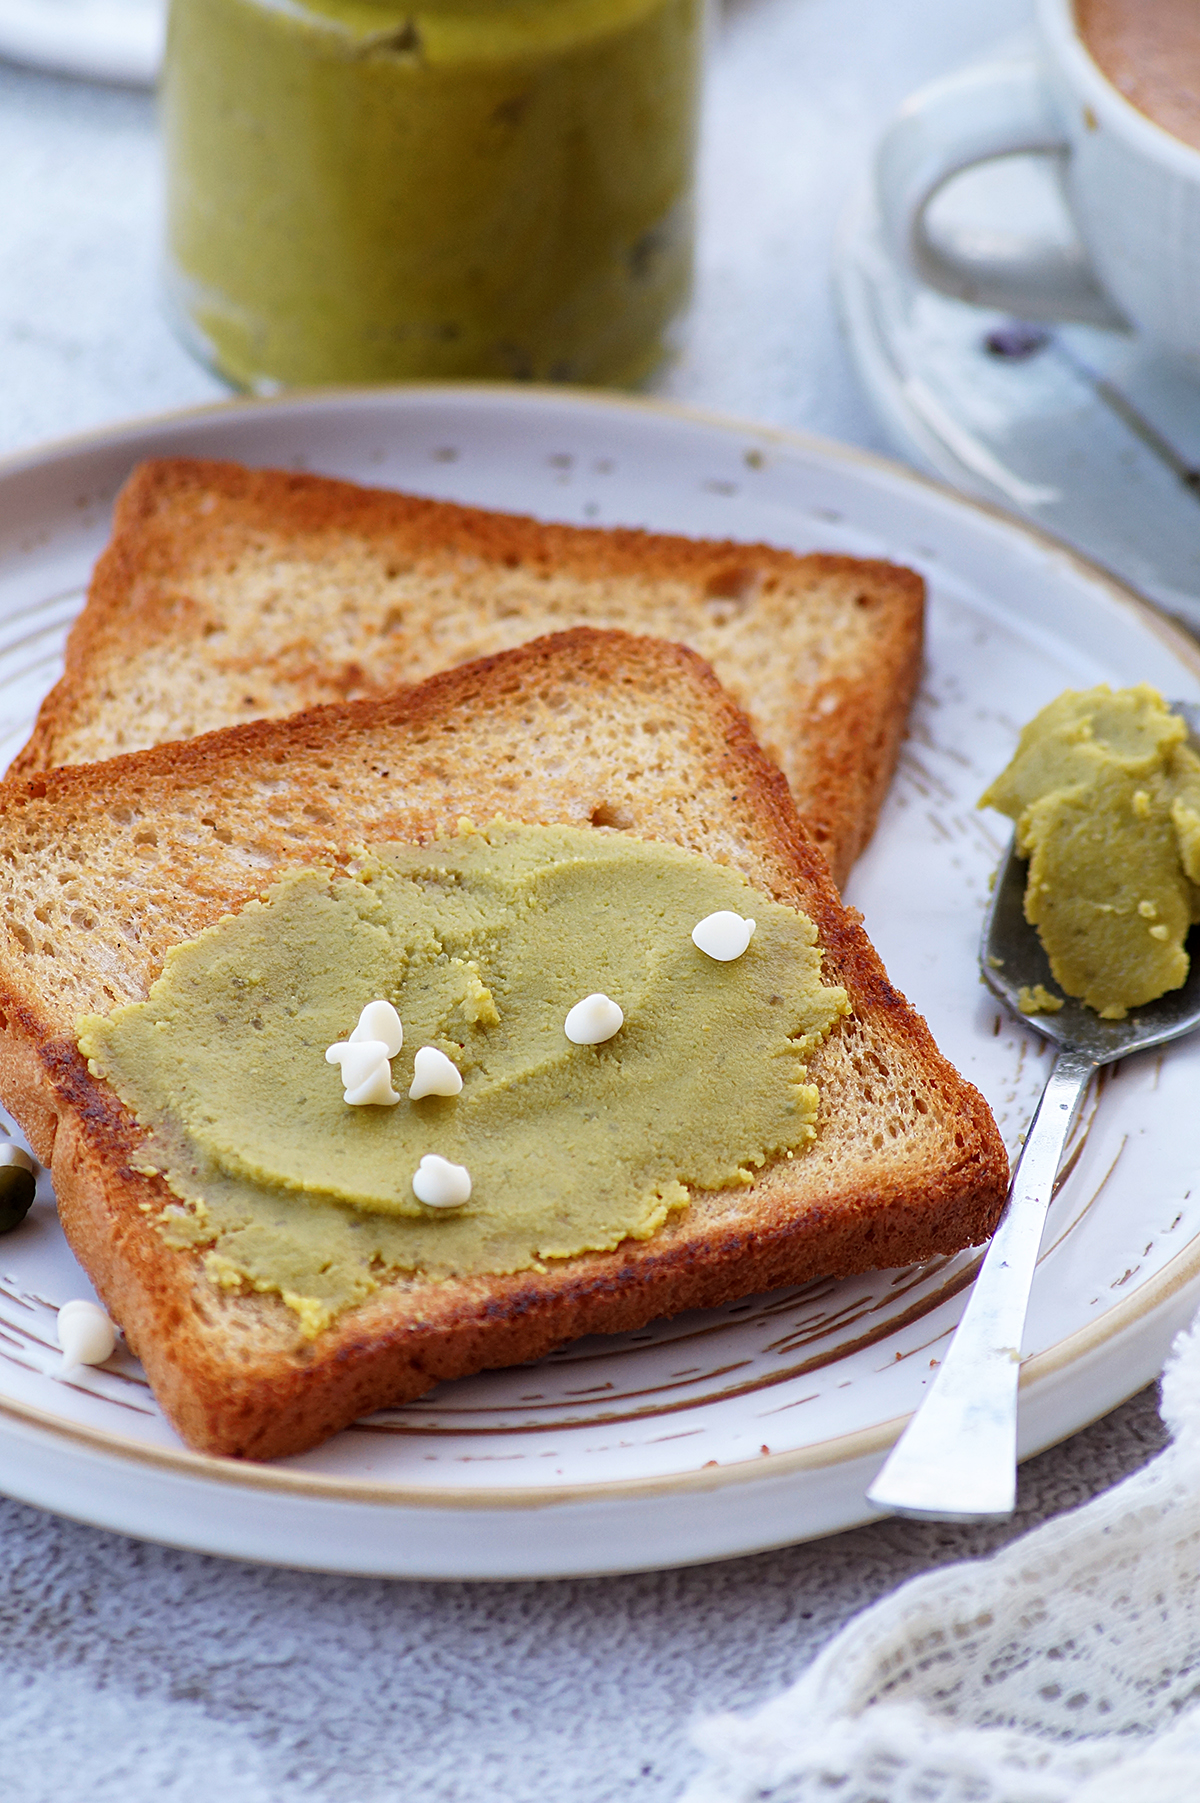
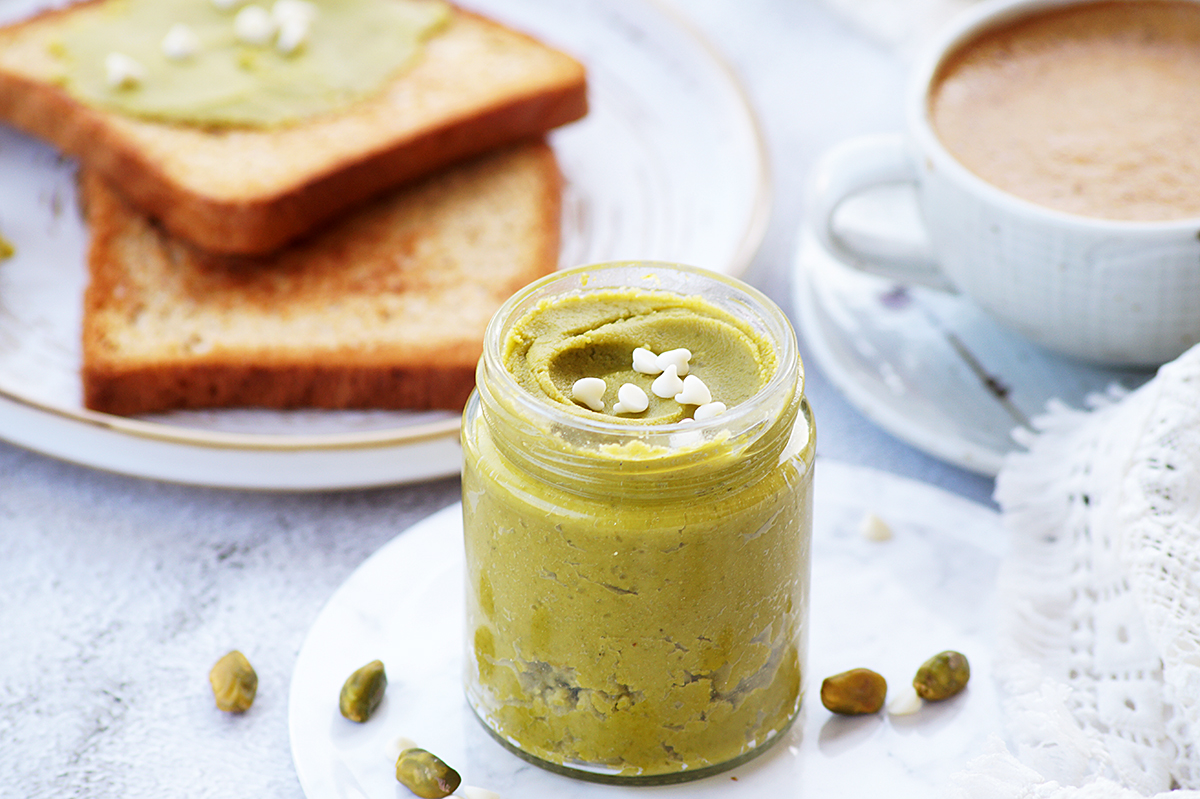
    White Chocolate Pistachio Butter - This homemade spread is simple, delicious and full of flavors. It tastes SO good on toast, waffles, with yogurt and the options are endless!

    What is white chocolate pistachio butter?

    Pistachio white chocolate butter is a super simple and fantastic homemade spread made with pantry staples.

    All you need is few minutes and 4-5 ingredients to make this incredible, chocolatey and nutty homemade spread.

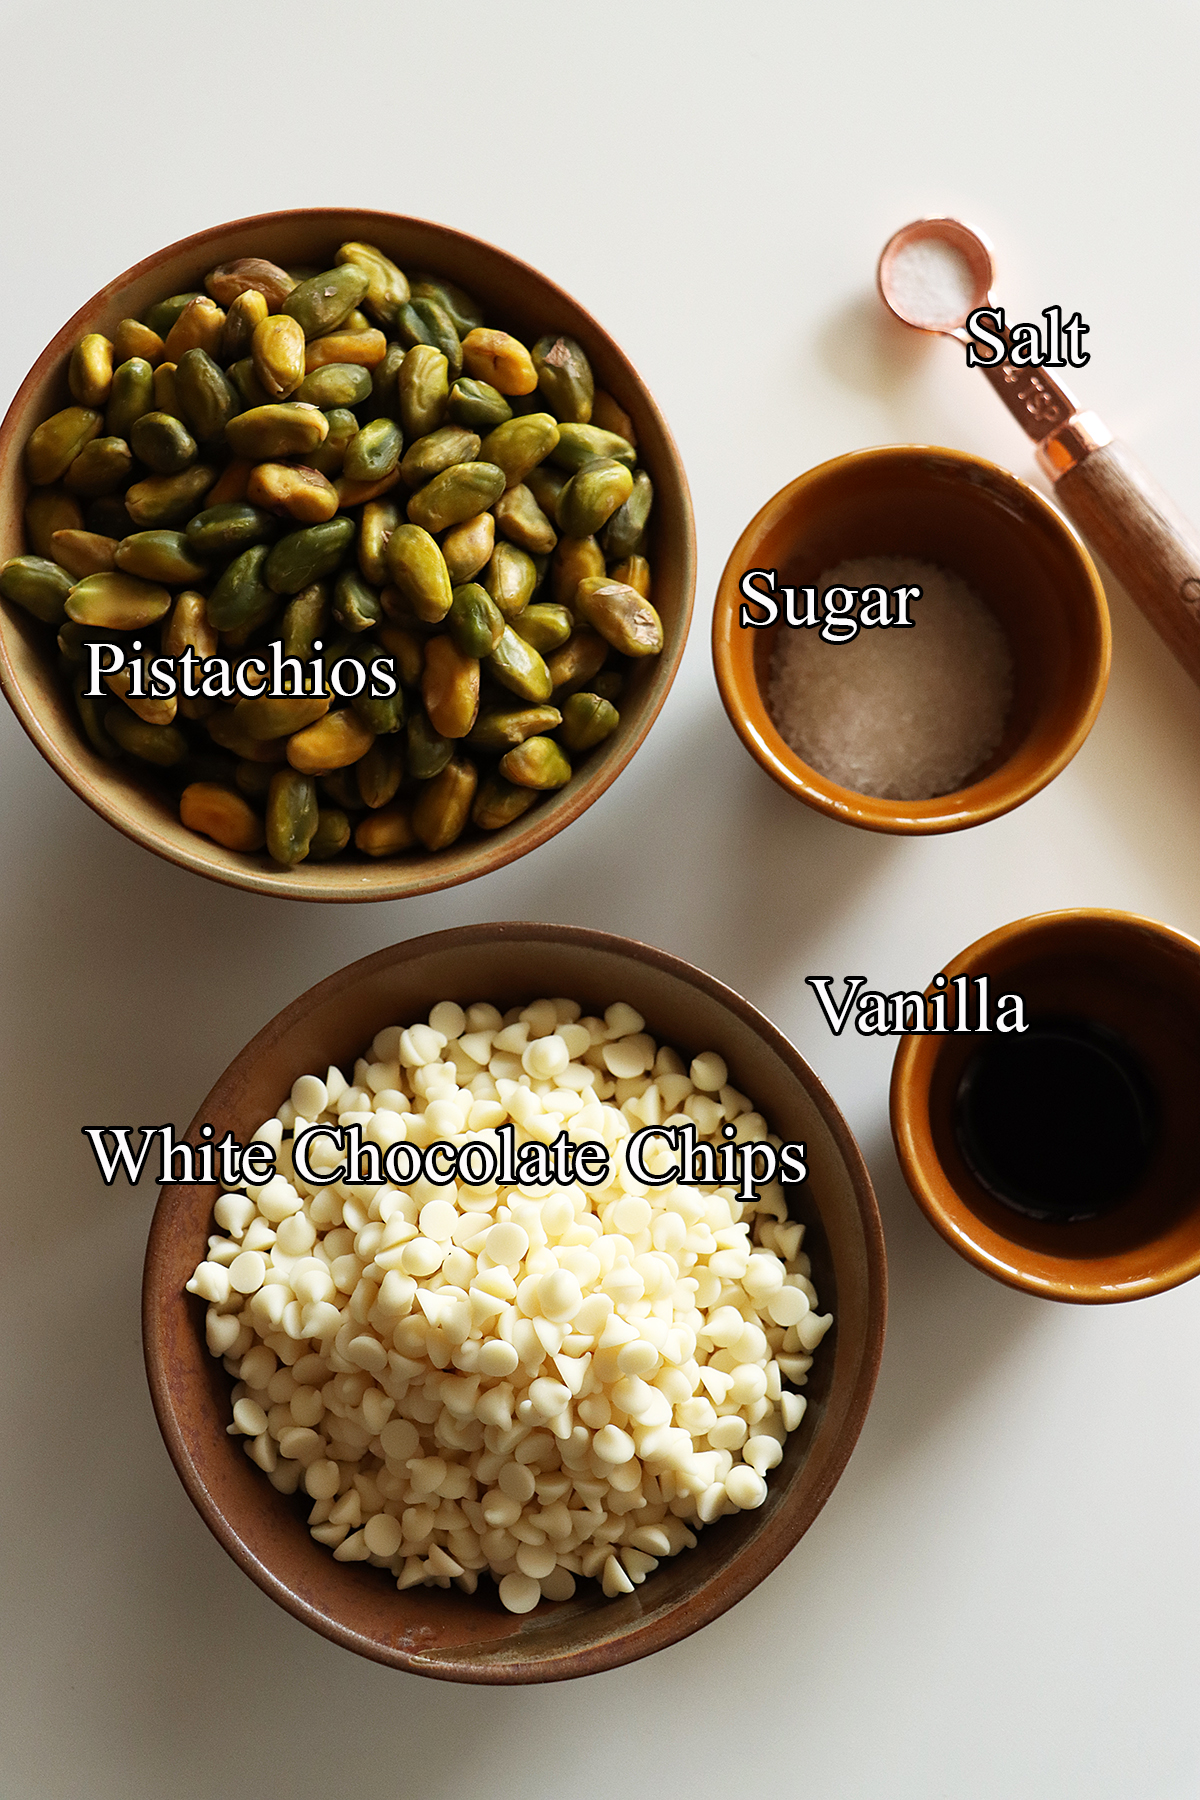
    Pistachios and white chocolate are the main ingredients of this spread and it is lightly flavored with vanilla.

    Few more homemade spread recipes:

    • Chestnut Chocolate Spread
    • Chocolate Raspberry Jam
    • Cherry Cream Cheese Spread
    • Vegan Banana Chocolate Jam
    • Raspberry Chia Jam
    • Persimmon Jam

    Why you'll love this recipe:

    Super simple and versatile!

    Perfect for holidays! Makes a wonderful edible gift!

    Doesn't require any fancy ingredients.

    Great addition to any desserts!

    Ingredients:

    Pistachios - Use unsalted shelled pistachios. I have used raw nuts here but you can also use the toasted ones too.

    White Chocolate - Use a good quality white chocolate. If you are going to use a chocolate slab, chop it into fine pieces. Or simply use white chocolate chips.

    Vanilla - It is totally optional but it adds a wonderful flavor to this pistachio butter.

    Sugar - You really don't need lots of sugar. 1 or 2 tablespoons of sugar is just fine. You can replace it with any of your favorite sweeteners.

    Oil - If you don't want to add oil, you can skip this. But it makes the spread smooth and creamy.

    Salt - Do not skip this

    Serving suggestions:

    Slather it on toast, bagels, or muffins.

    Serve it as a dip with graham crackers.

    Use it as a sandwich filling to make English tea sandwiches.

    It can also be served with pancakes, yogurt, ice creams, fruits and cookies.

    Storage suggestions:

    This can stay fresh for up to a month or two if refrigerated.

    Variations:

    Chop some of the pistachios and add them at end to make this spread chunky.

    Replace the vanilla with almond extract.

    Add a little bit of ground cardamom for a different flavor.

    Step by step instructions:

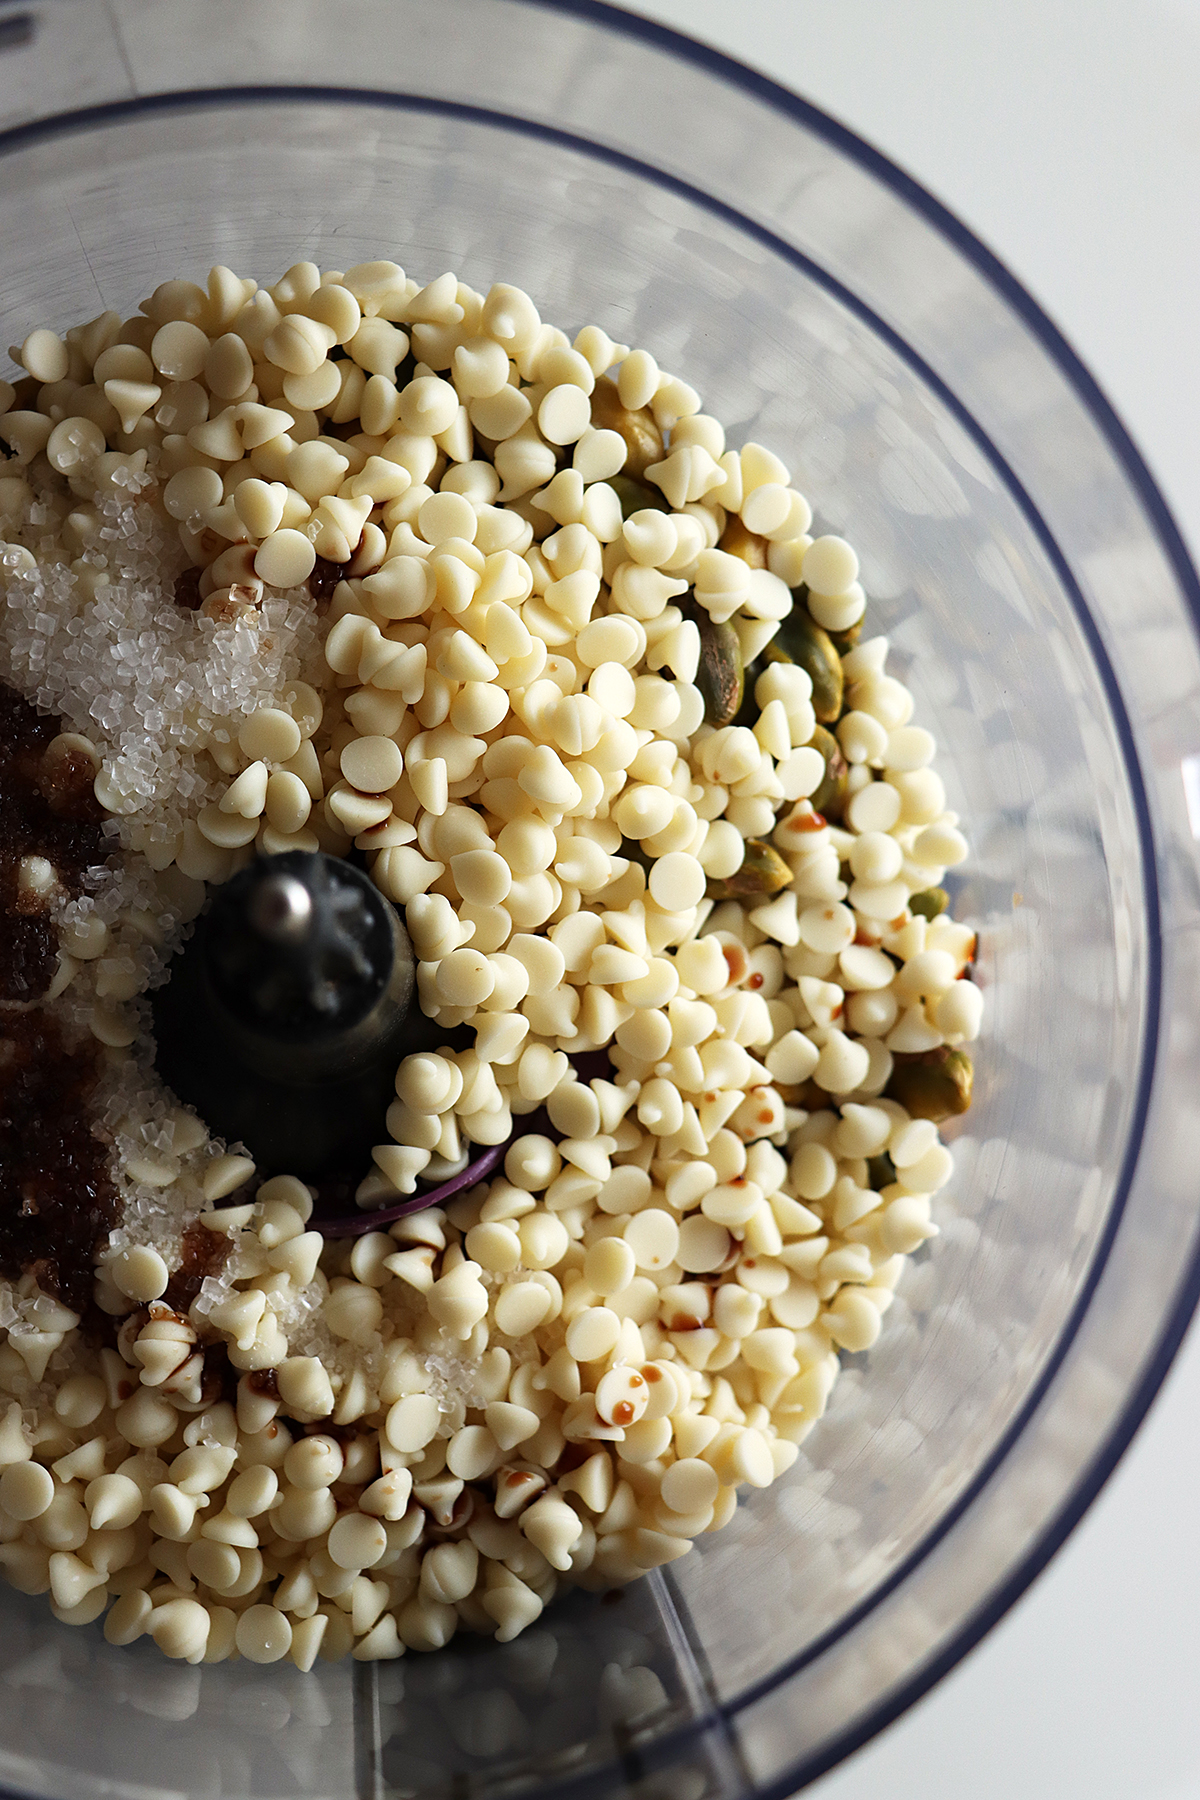
    Add all the ingredients except oil into the food processor.

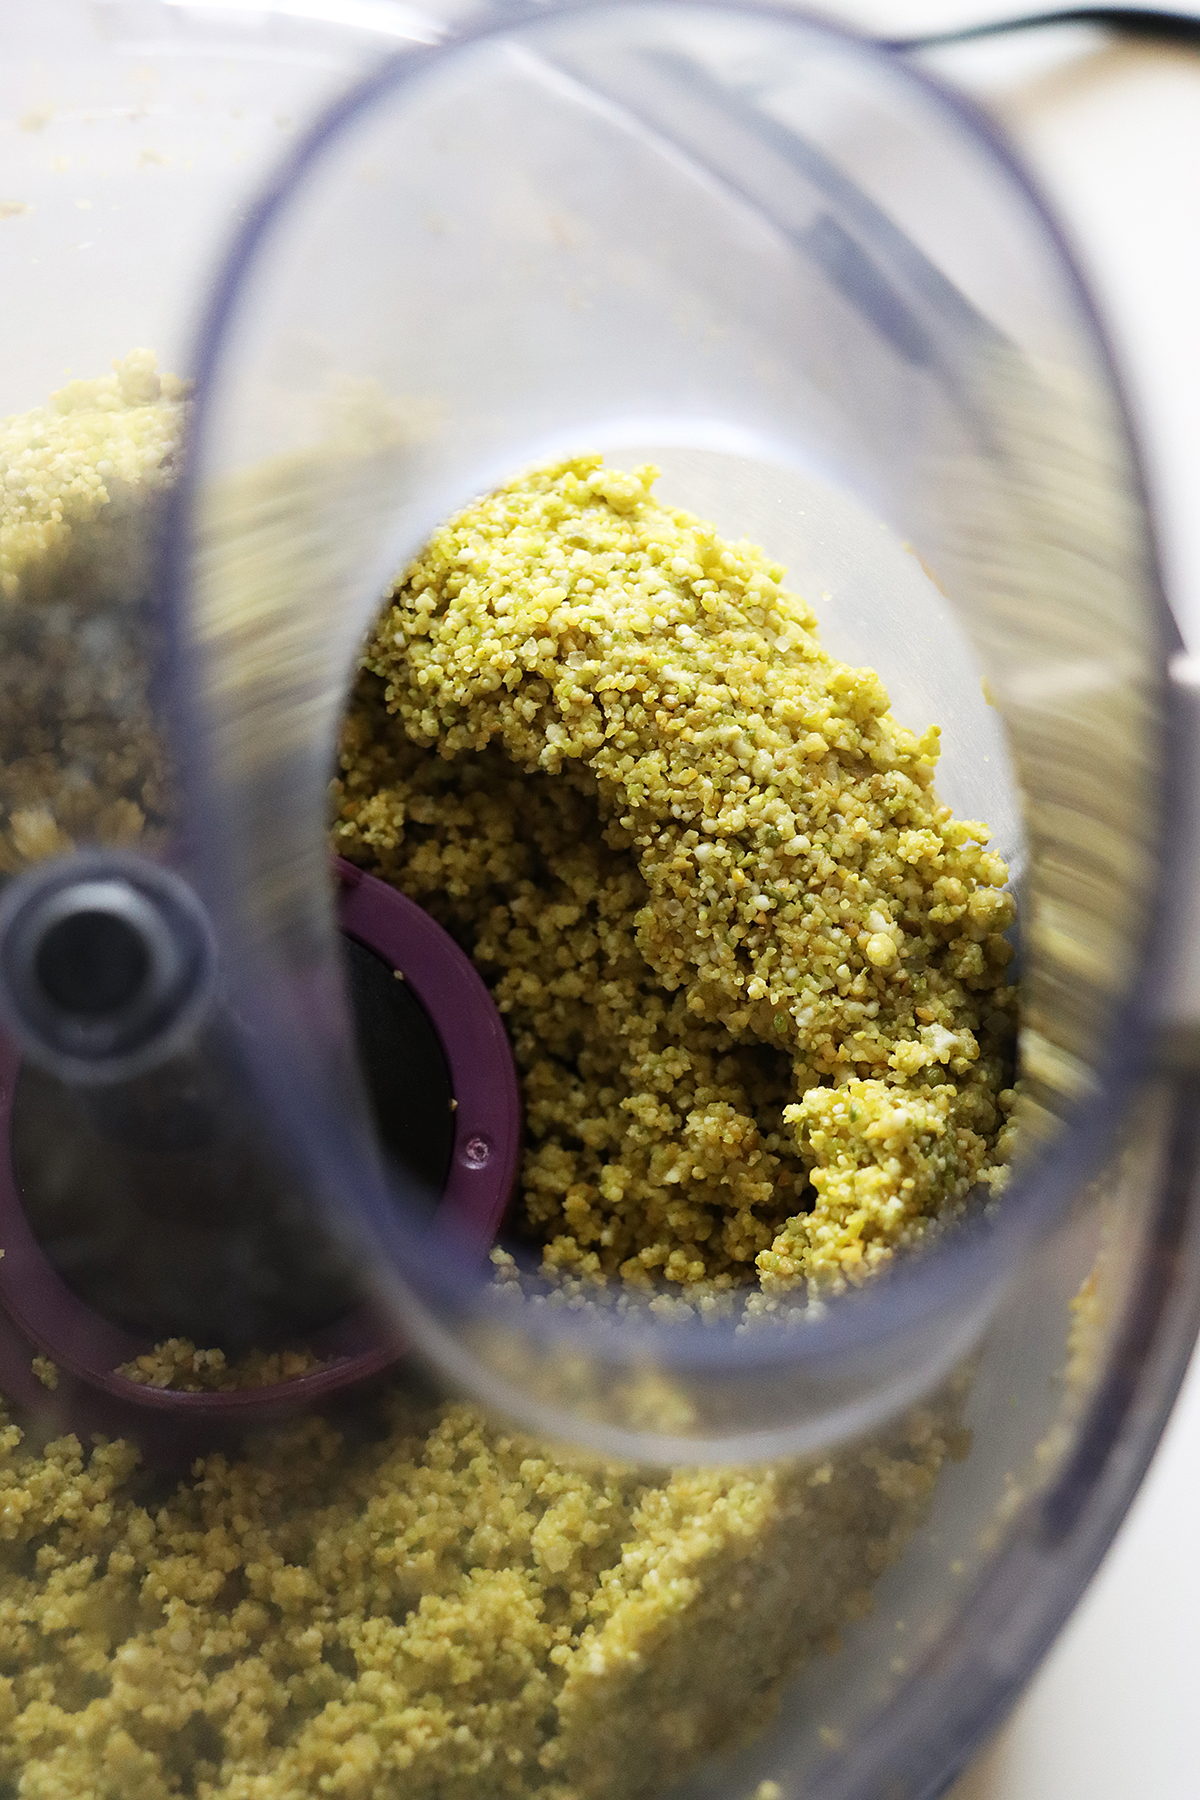
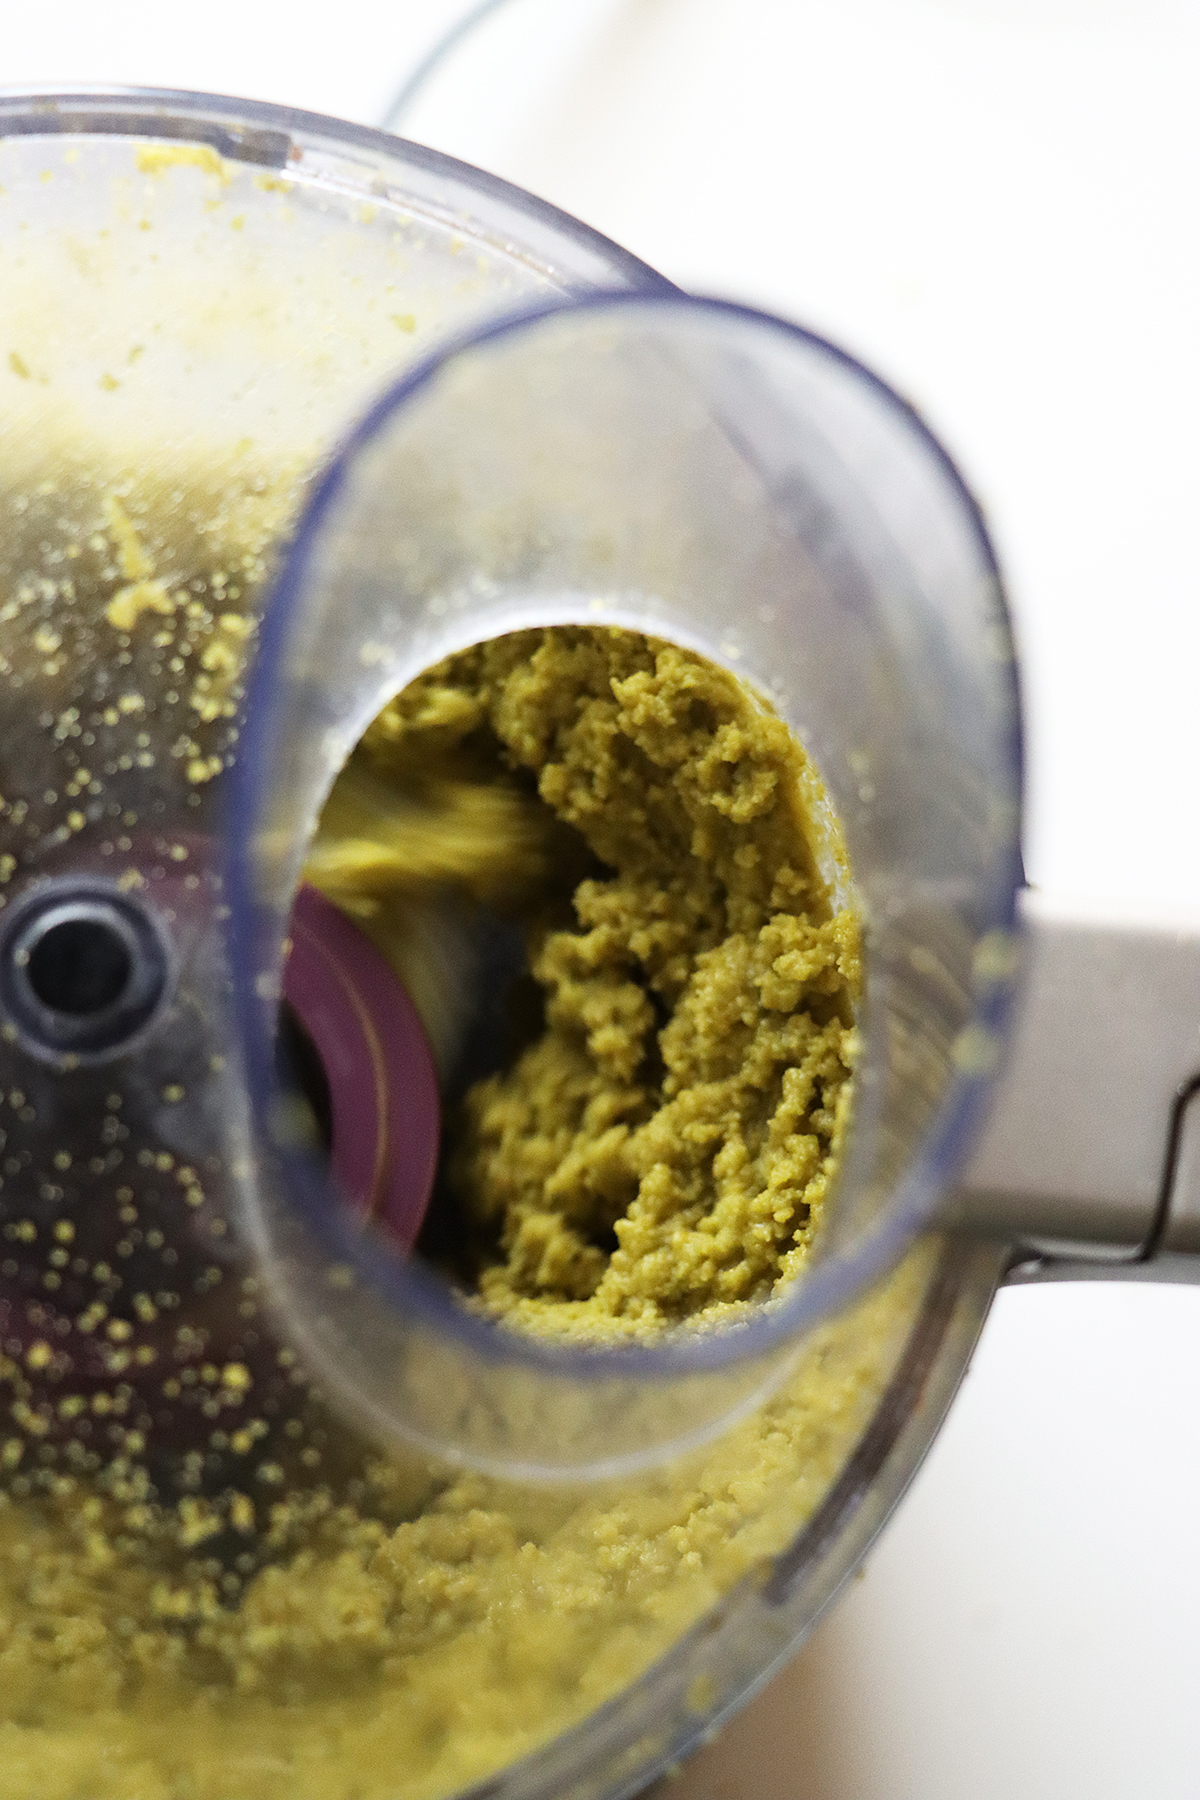
    Grind everything until it is powdered.

    Scrape down the sides of the food processor while blending.

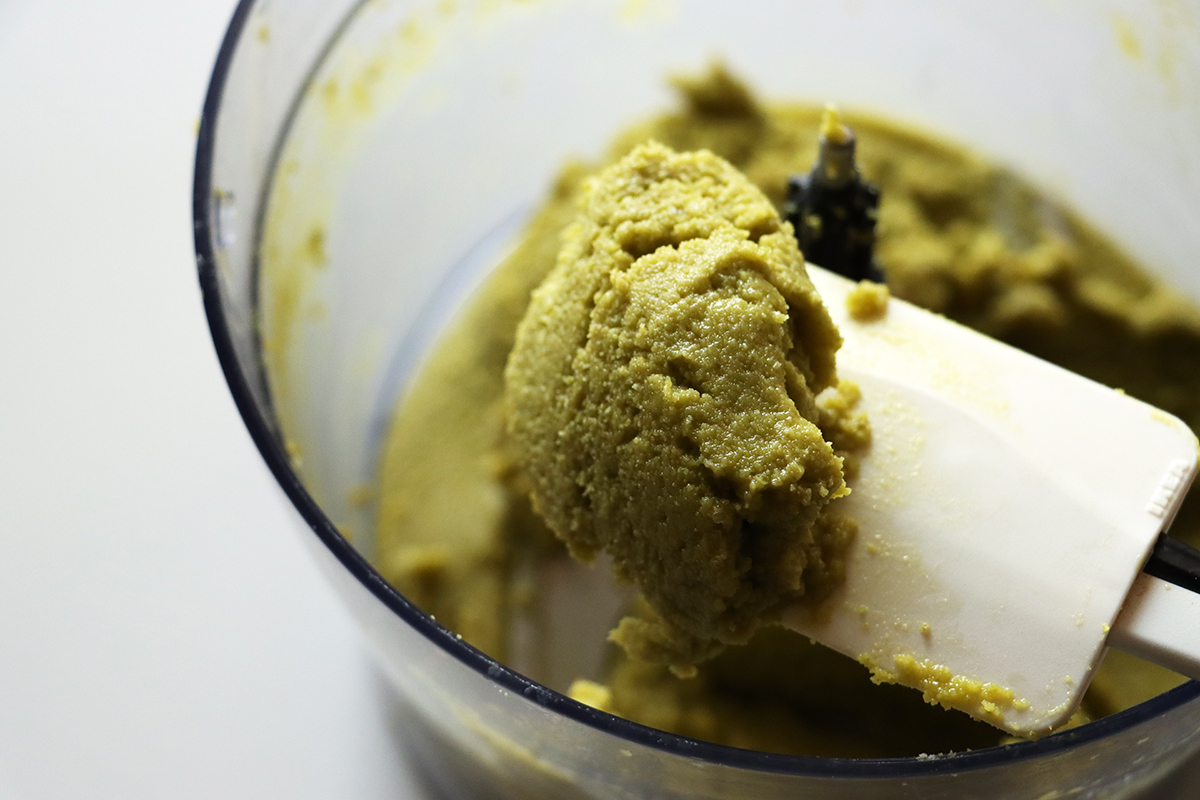
    Then add oil and continue blending.

    Grind until it is smooth, creamy and spreadable.

    Transfer it to an airtight container and store in the refrigerator.

    You might like these recipes:

    • Pista Lassi
    • Banana Almond Pistachio Milkshake
    • Dry Fruit Sunnundalu
    • Thandai Chocolate Bark
    • Gulab Jamun Truffles
    • Healthy Chestnut Truffles

    Pistachio white chocolate spread recipe video below:

    Print Recipe

    White Chocolate Pistachio Butter Recipe

    White Chocolate Pistachio Butter - This homemade spread is simple, delicious and full of flavors. It tastes SO good on toast, waffles, with yogurt and the options are endless!
    Prep Time15 minutes mins
    Cook Time0 minutes mins
    Total Time15 minutes mins
    Course: Breakfast, Condiments, Dessert
    Cuisine: International
    Keyword: Homemade Jam Recipes, homemade spread recipes, white chocolate pistachios butter recipe
    Servings: 1.5 Cups (approx)
    Author: Hari Chandana Ponnaluri

    Ingredients

    • 1 Cup Unsalted Shelled Pistachios
    • ¾ Cup White Chocolate Chips
    • 1 Tablespoon Sugar
    • ½ Teaspoon Vanilla Extract
    • ⅛ Teaspoon Salt
    • 1 Tablespoon Oil (optional)

    Instructions

    • Combine all the ingredients except oil in a food processor.
    • Blend everything until it is powdered. Scrape down the sides occasionally
    • Add oil at this stage if you are using. Continue grinding until it is smooth, creamy and spreadable.
    • Transfer it to an airtight container and keep it refrigerated.

    Video

    Notes

    Add more sugar or any of your favorite sweetener if you want more sweetness. 

    Dry Fruit Sunnundalu

    October 9, 2022

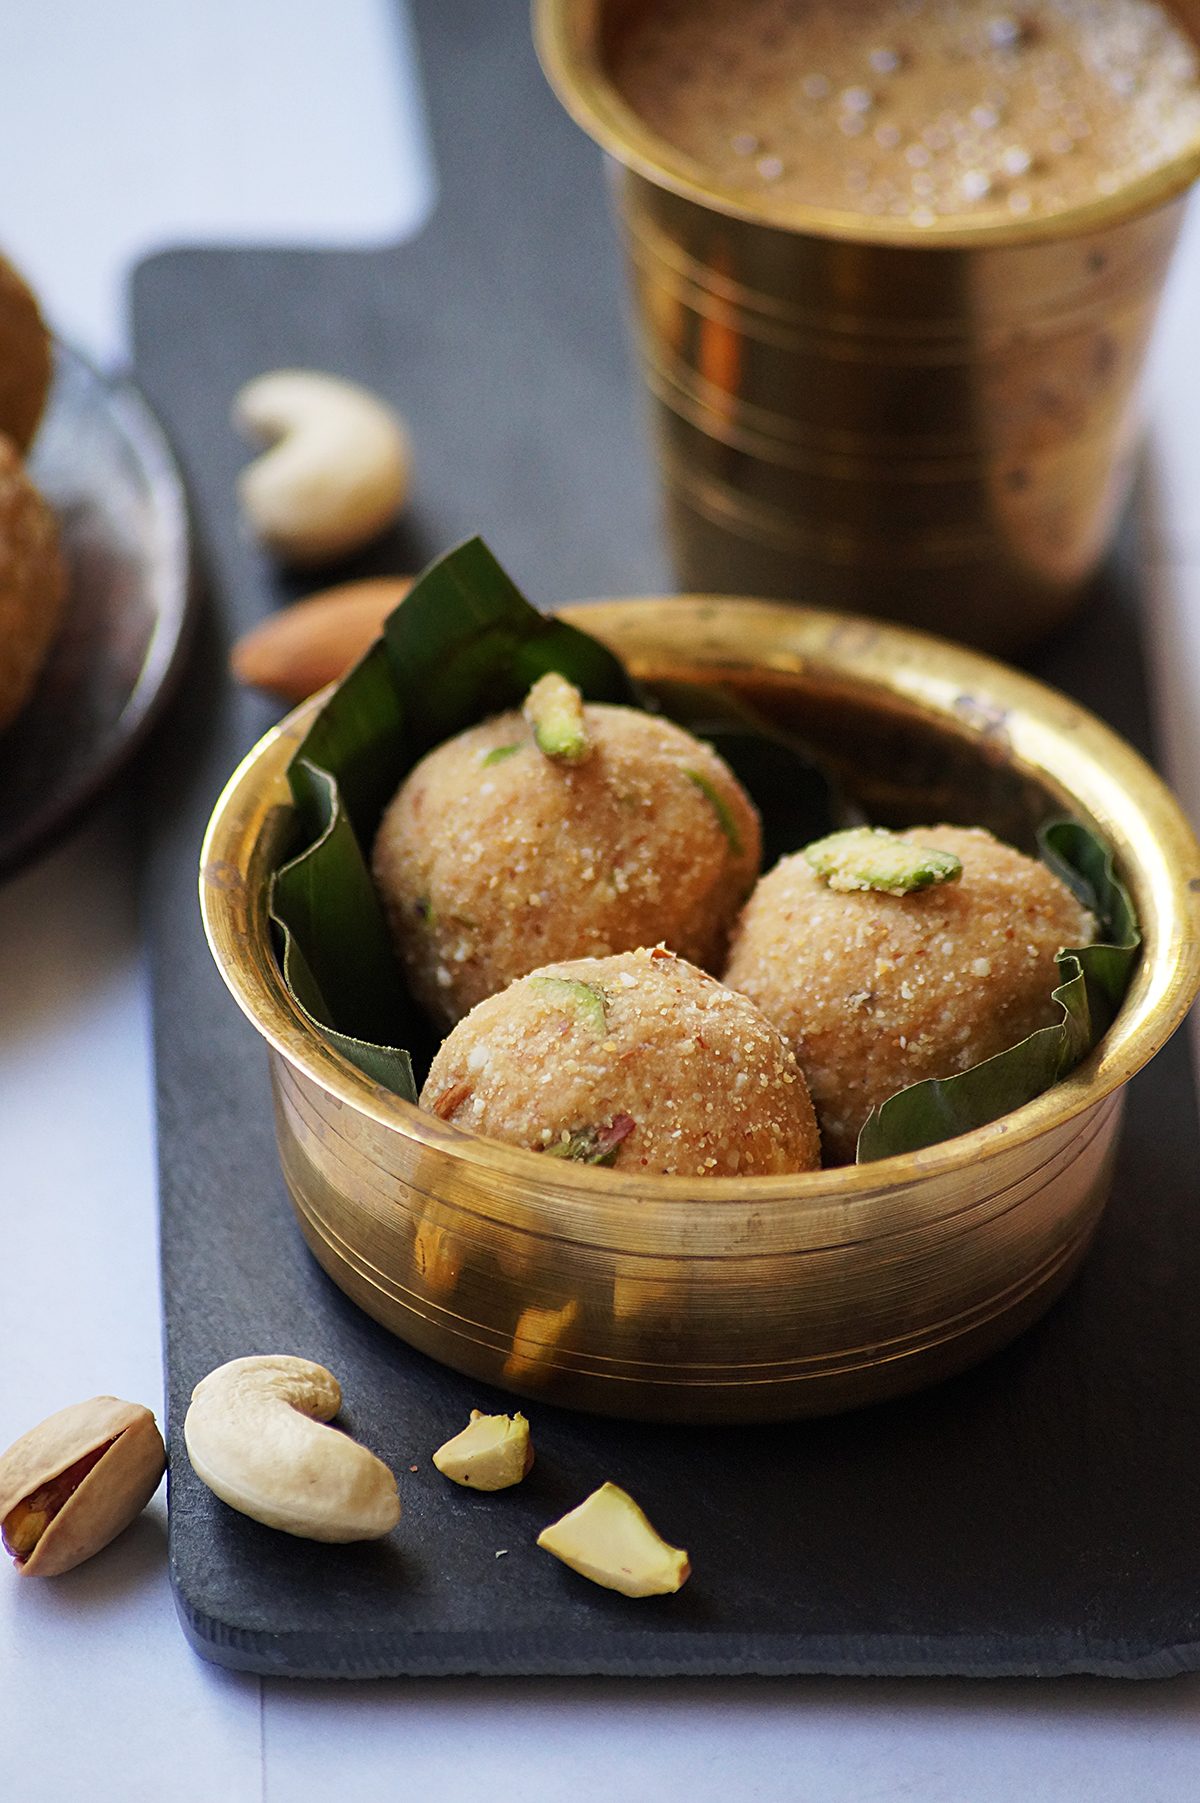
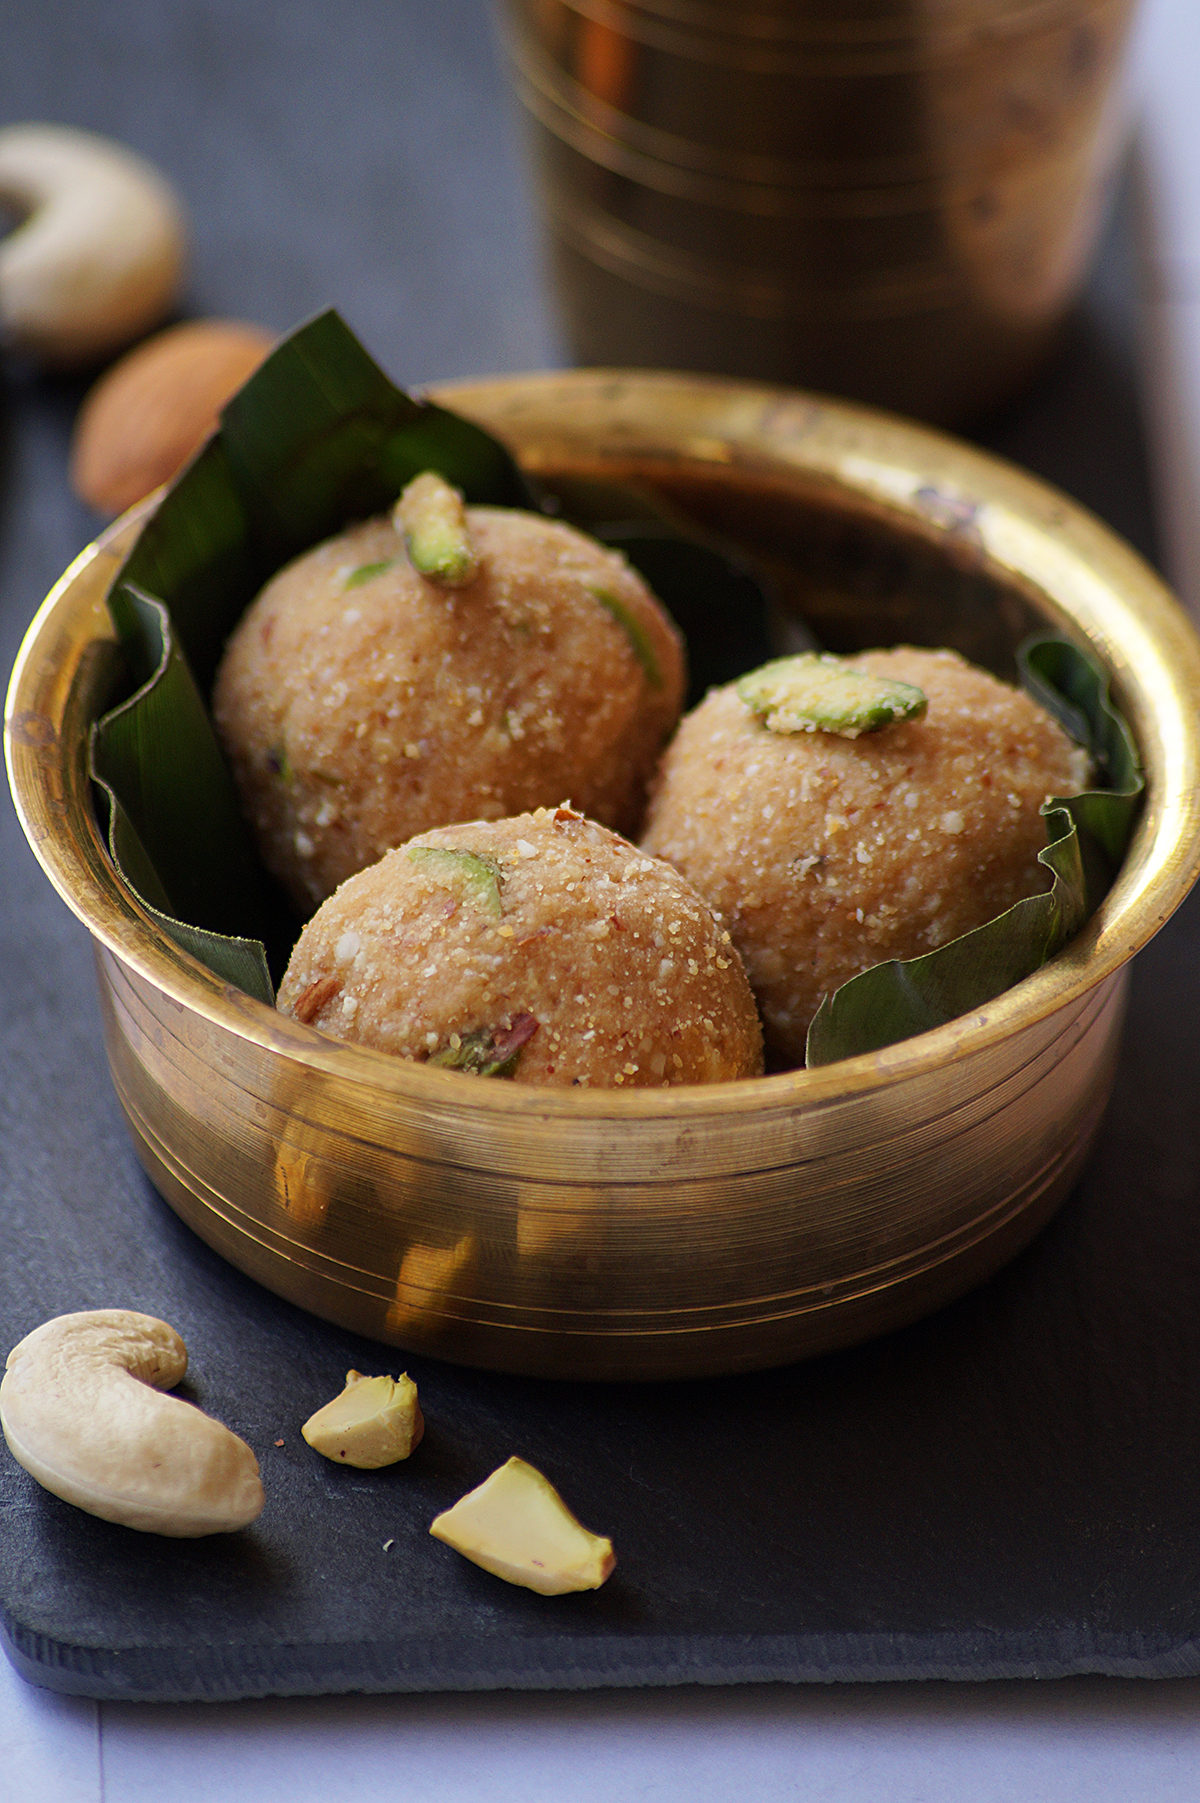
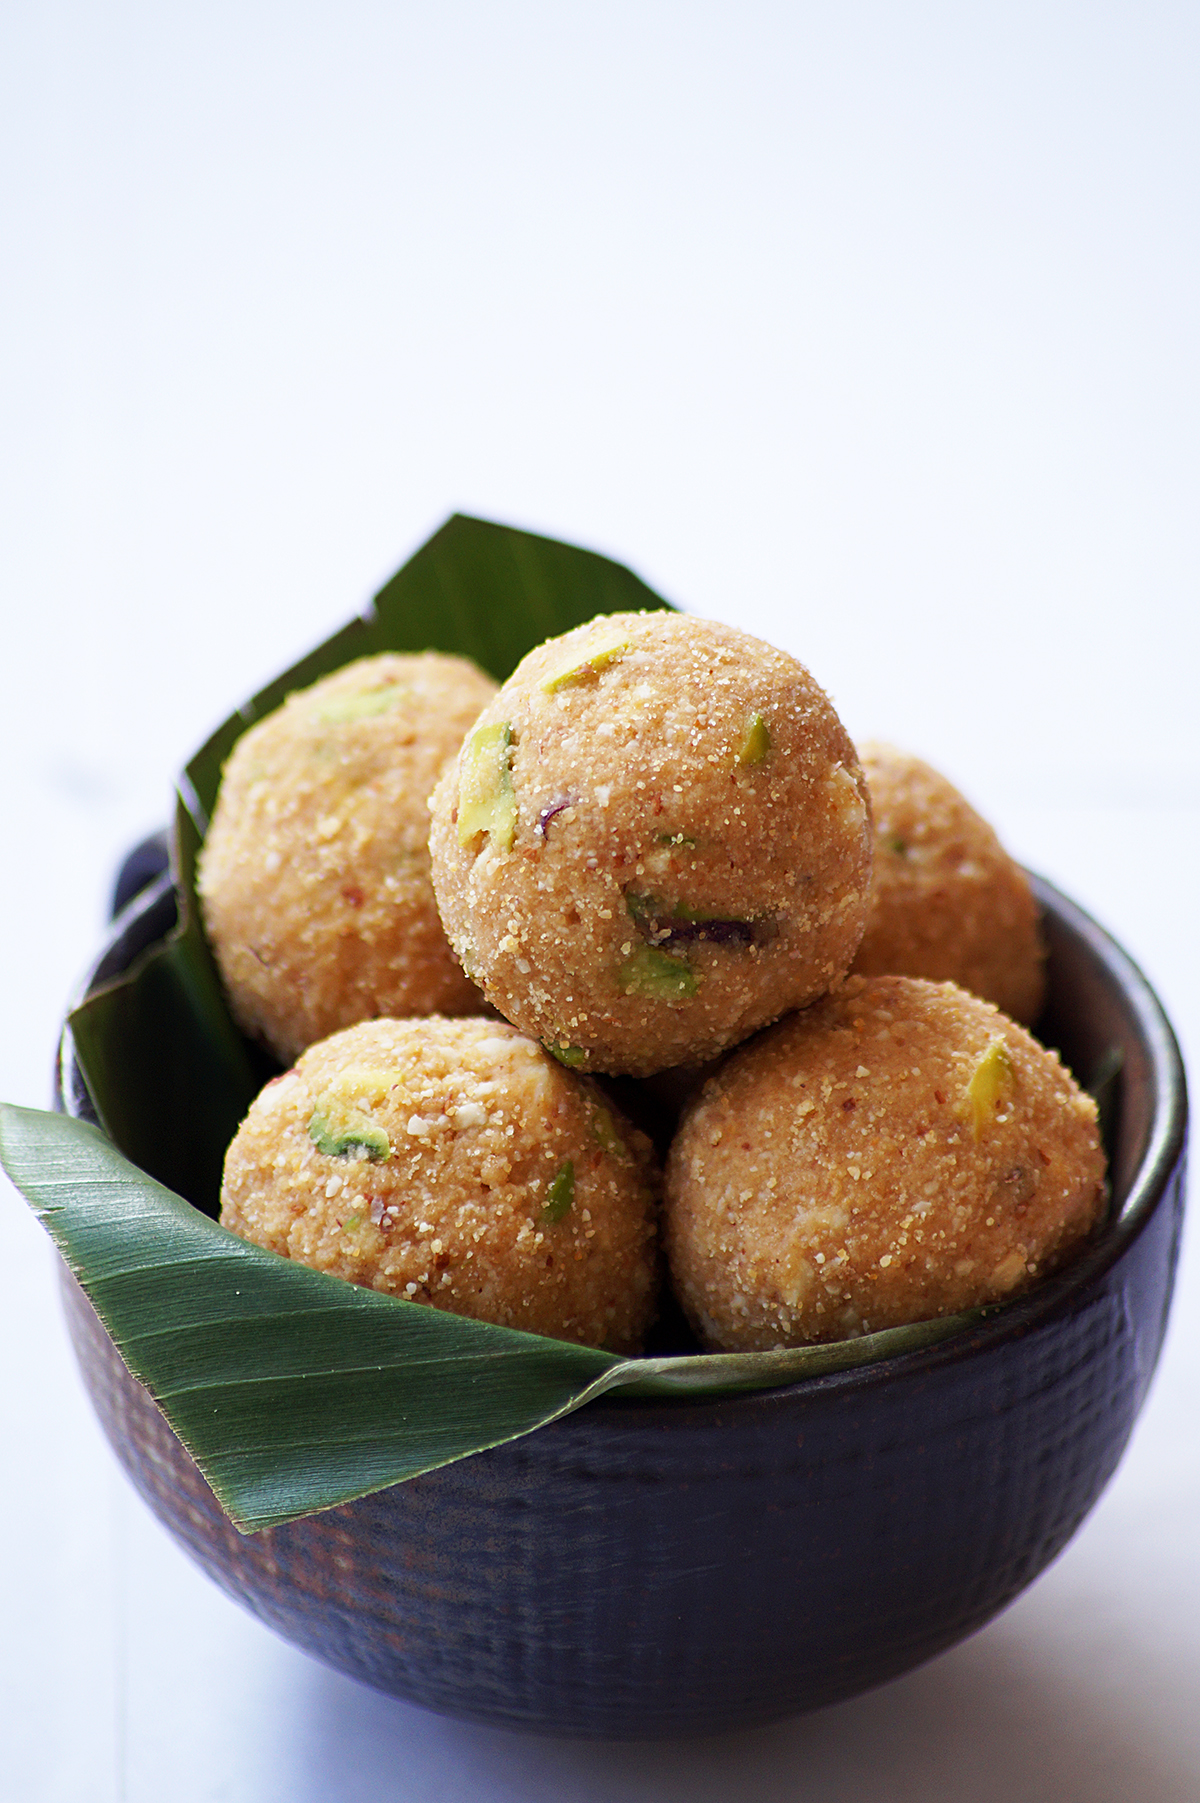
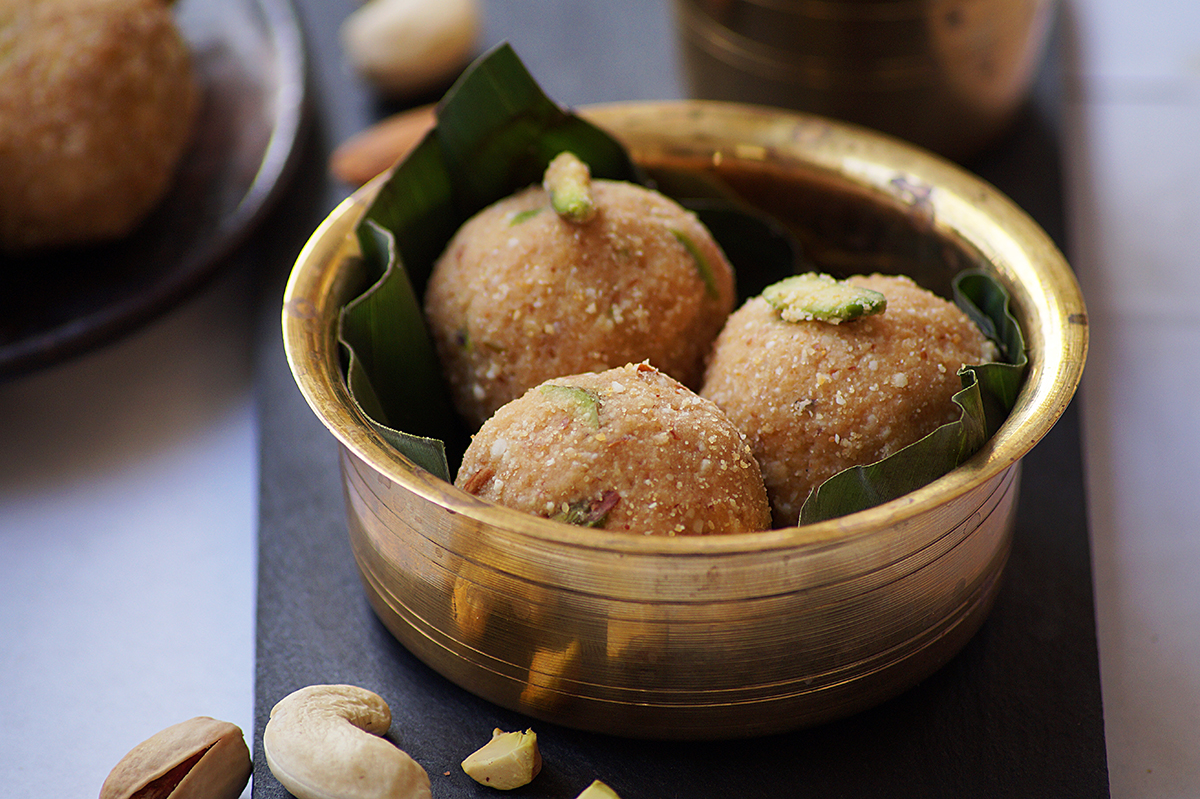
    Dry Fruit Sunnundalu - Easy, healthy and irresistible Andhra sweet snack with lentils, nuts, jaggery and ghee. Rich in Iron, Protein and Minerals!

    What are dry fruit sunnundalu?

    Sunnunda is an authentic and classic sweet snack from Andhra Pradesh, India. The main ingredient is Urad Dal or Minapappu (skinned black gram). The traditional version of sunnundalu are made with urad dal, jaggery / sugar and ghee (clarified butter)

    Dry fruit sunnundalu is a new and fusion variation of the classic sunnundalu where I have added some nuts to make them rich, delicious and more nutritious.

    These are rich in Iron, Protein and Minerals.

    Why you'll love this recipe:

    Makes a wonderful edible gift.

    Can be stored up to 20 days

    Requires only 5 ingredients

    Perfect to make during festivals like Sankranti, Diwali and Raksha Bandhan!

    Very healthy and tasty!

    Ingredients & Substitutions:

    Urad Dal - Urad dal is skinned black gram. You can find these lentils in any Indian store or online easily. You could also use whole black gram (minumulu in telugu) but the color of the laddus will be black.

    Jaggery - It is a natural and unrefined sweetener made from sugar cane juice. Traditionally, we use jaggery to make these urad dal laddus. However, you can replace it with equal quantity of sugar or brown sugar.

    Ghee - Ghee is clarified butter and can be easily made at home by melting some butter. Ghee makes it easier to bind and roll the laddus and helps in better digestion too.

    Nuts - I have used almonds, cashews and pistachios in this recipe. You can swap them with any of your favorite nuts.

    Can I replace urad dal with any other lentils?

    Absolutely, you can use moong dal or yellow mung lentils.

    Serving suggestions:

    These are best served with a cup of coffee or tea

    Can be served as a sweet snack.

    Storage suggestions:

    They stay fresh up to 20 days if you store them in an airtight container.

    They don't require refrigeration.

    Variations:

    You can also add a couple of teaspoons of roasted poppy seeds

    I haven't added any spices but cardamom is a good option.

    Tips & Notes:

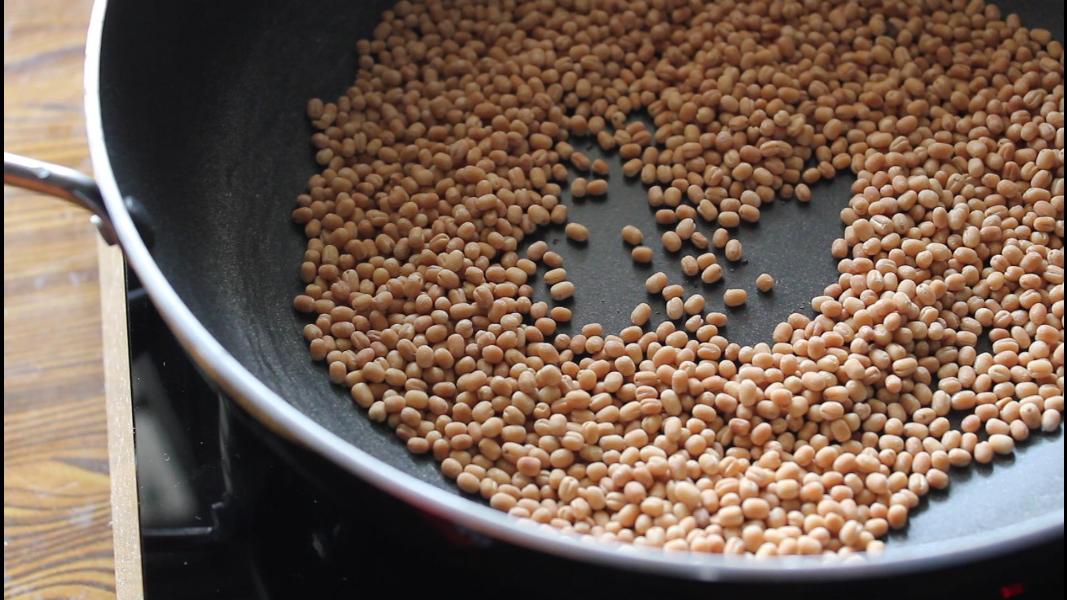
    Always roast the lentils over a low - medium flame.

    Make sure you keep stirring to prevent the lentils from burning.

    Urad Dal should be well roasted to prevent raw taste.

    Do not use cold or solid ghee. The ghee should be warm.

    Adjust the quantity of ghee. Add ghee little by little till you are able to shape the mixture.

    Always roll laddus immediately after adding ghee to the lentil-jaggery mixture.

    I have used chopped pistachios. They add a nice crunch and lovely color.

    Step by step instructions:

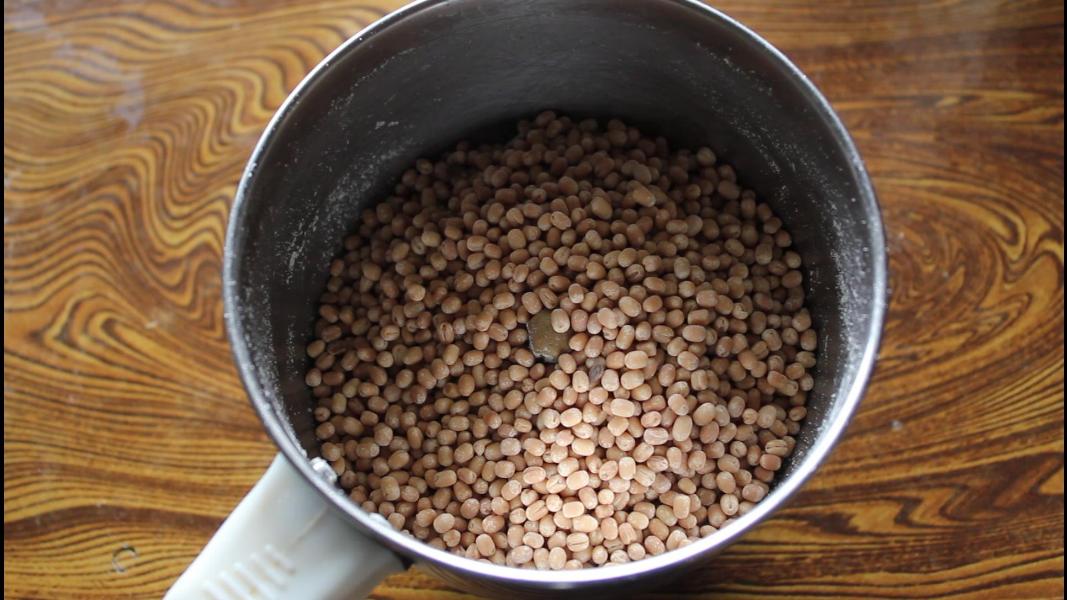
    Heat a pan and dry roast the lentils over a low-medium flame.

    Keep stirring to prevent burning. Once it is golden brown color, take it out of the pan and let it cool completely.

    In the same pan, add cashew nuts and dry roast them for 5 minutes or until they start changing the color.

    Take them out and set aside.

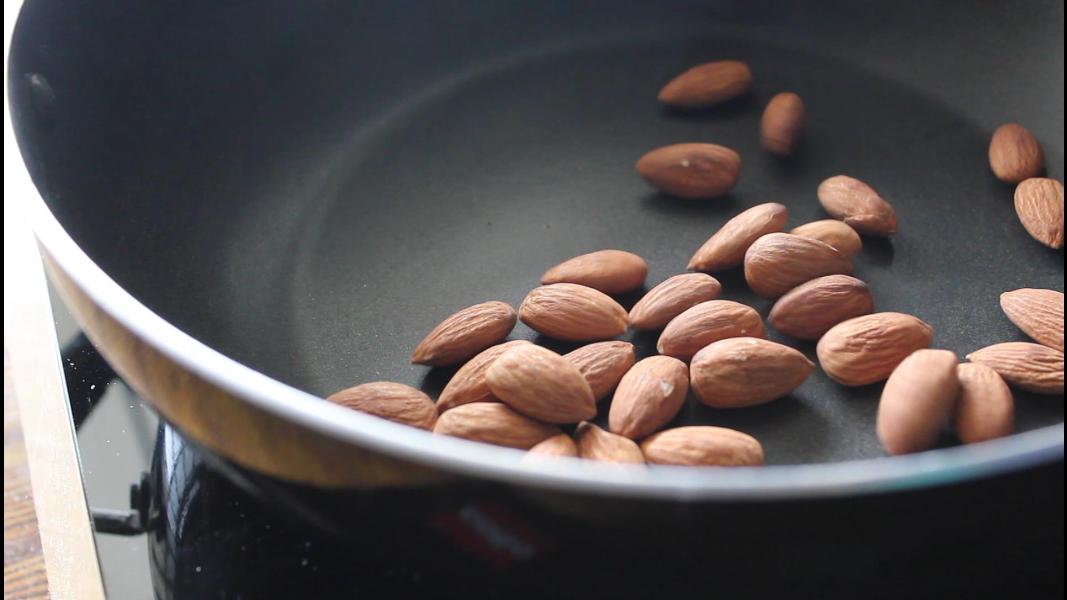
    Then roast almonds for 5 minutes or until they start changing the color.

    Let them cool completely.

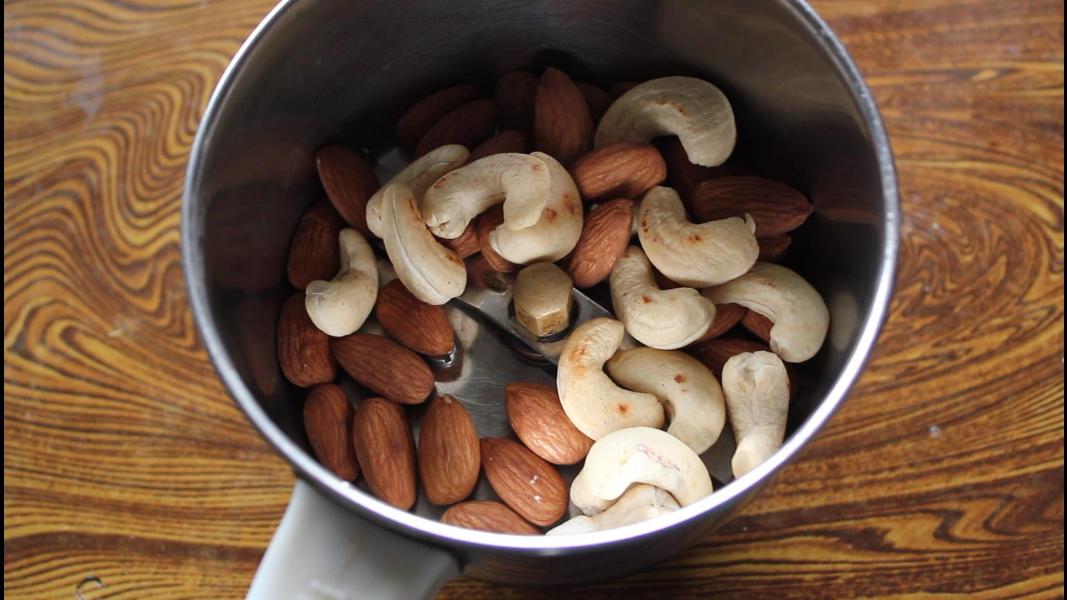
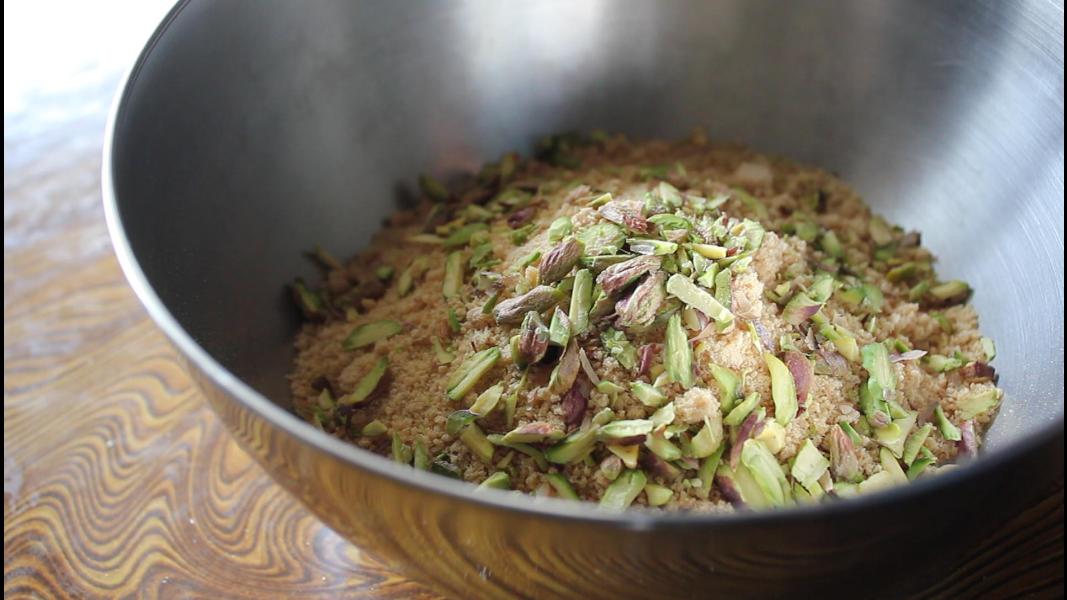
    Grind the roasted nuts to a coarse powder.

    Do not make it into a fine powder. Transfer it to a mixing bowl.

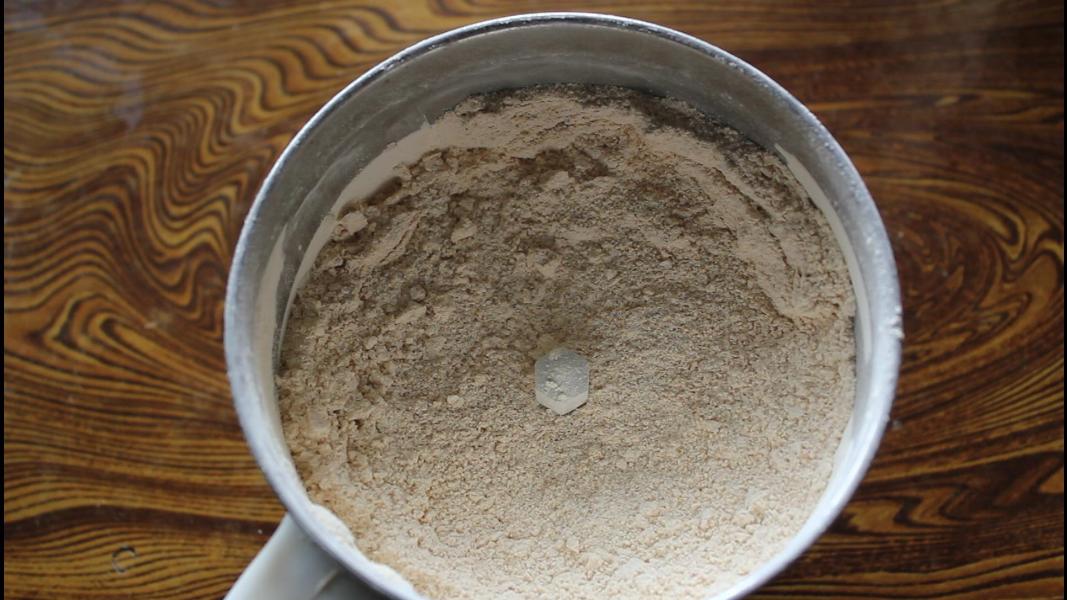
    Add the roasted urad dal to the jar.

    Grind until you get a little coarse or fine powder.

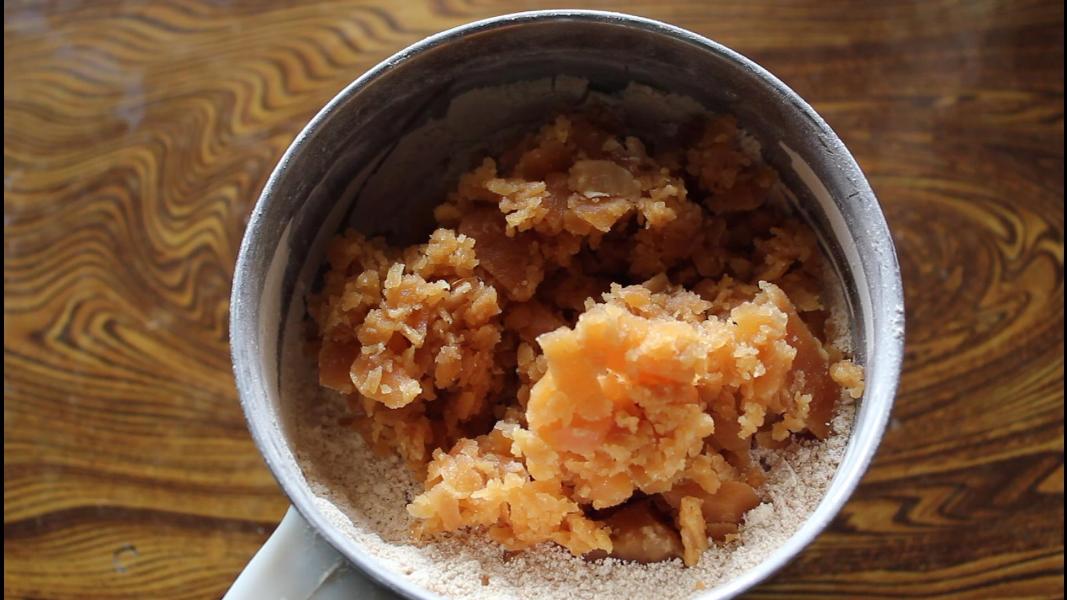
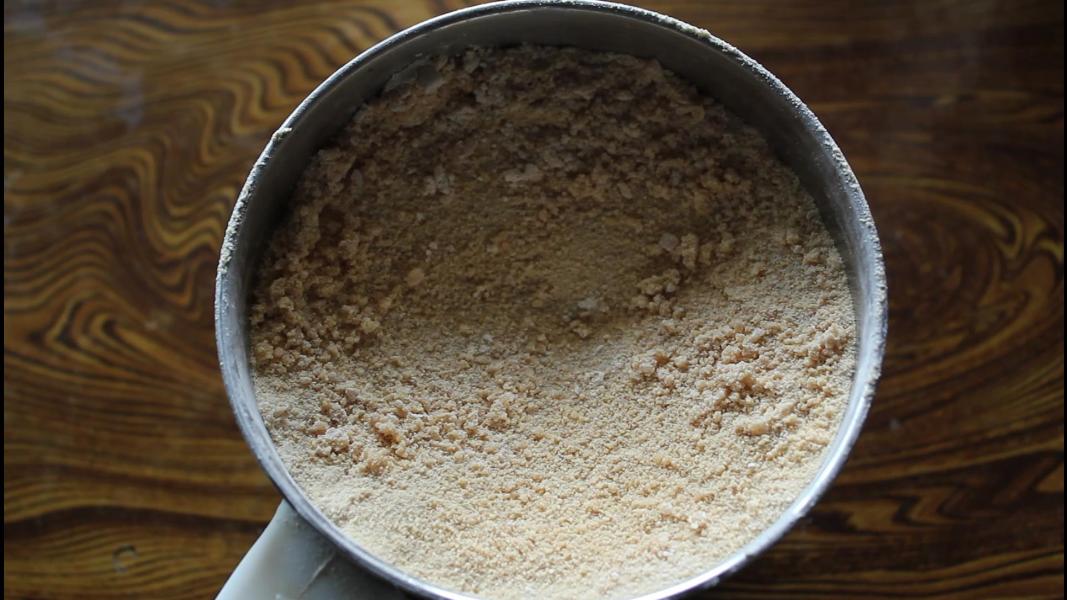
    Add jaggery to the ground urad dal. blend it again until well combined.

    Blend it again until well combined.

    Add the urad-jaggery mixture to the ground nuts.

    Add chopped or slivered pistachios to the mixing bowl.

    Mix everything well.

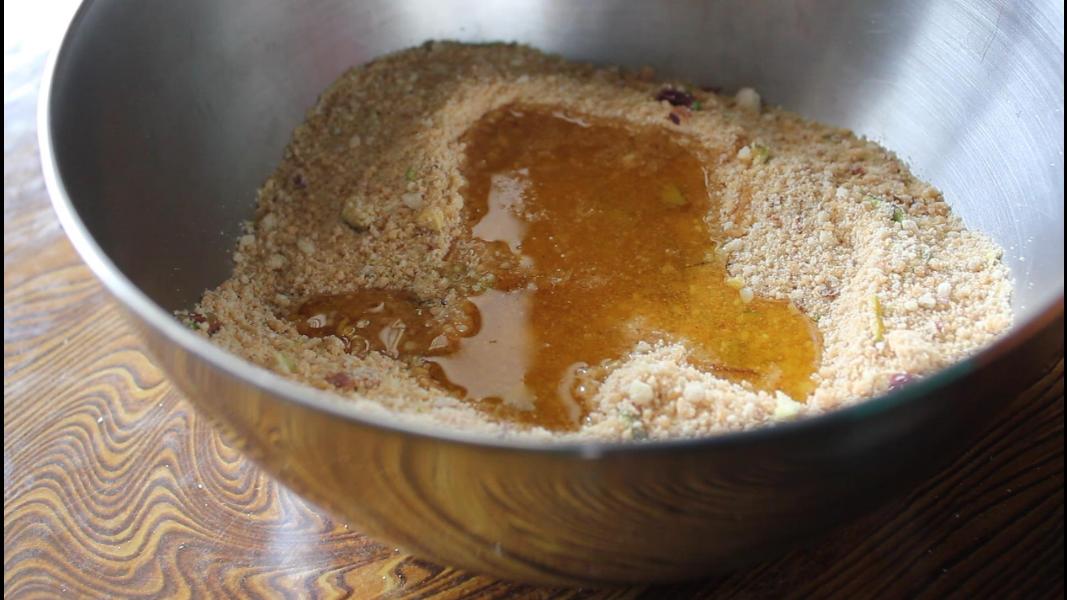
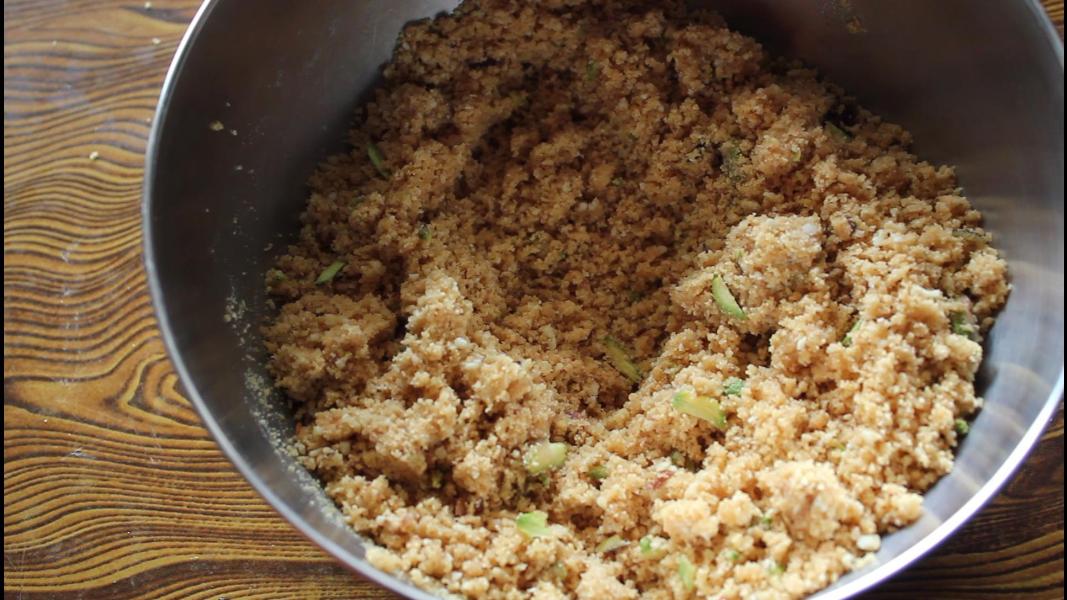
    Add warm ghee little by little over the ladoo mixture and mix it well using a spatula.

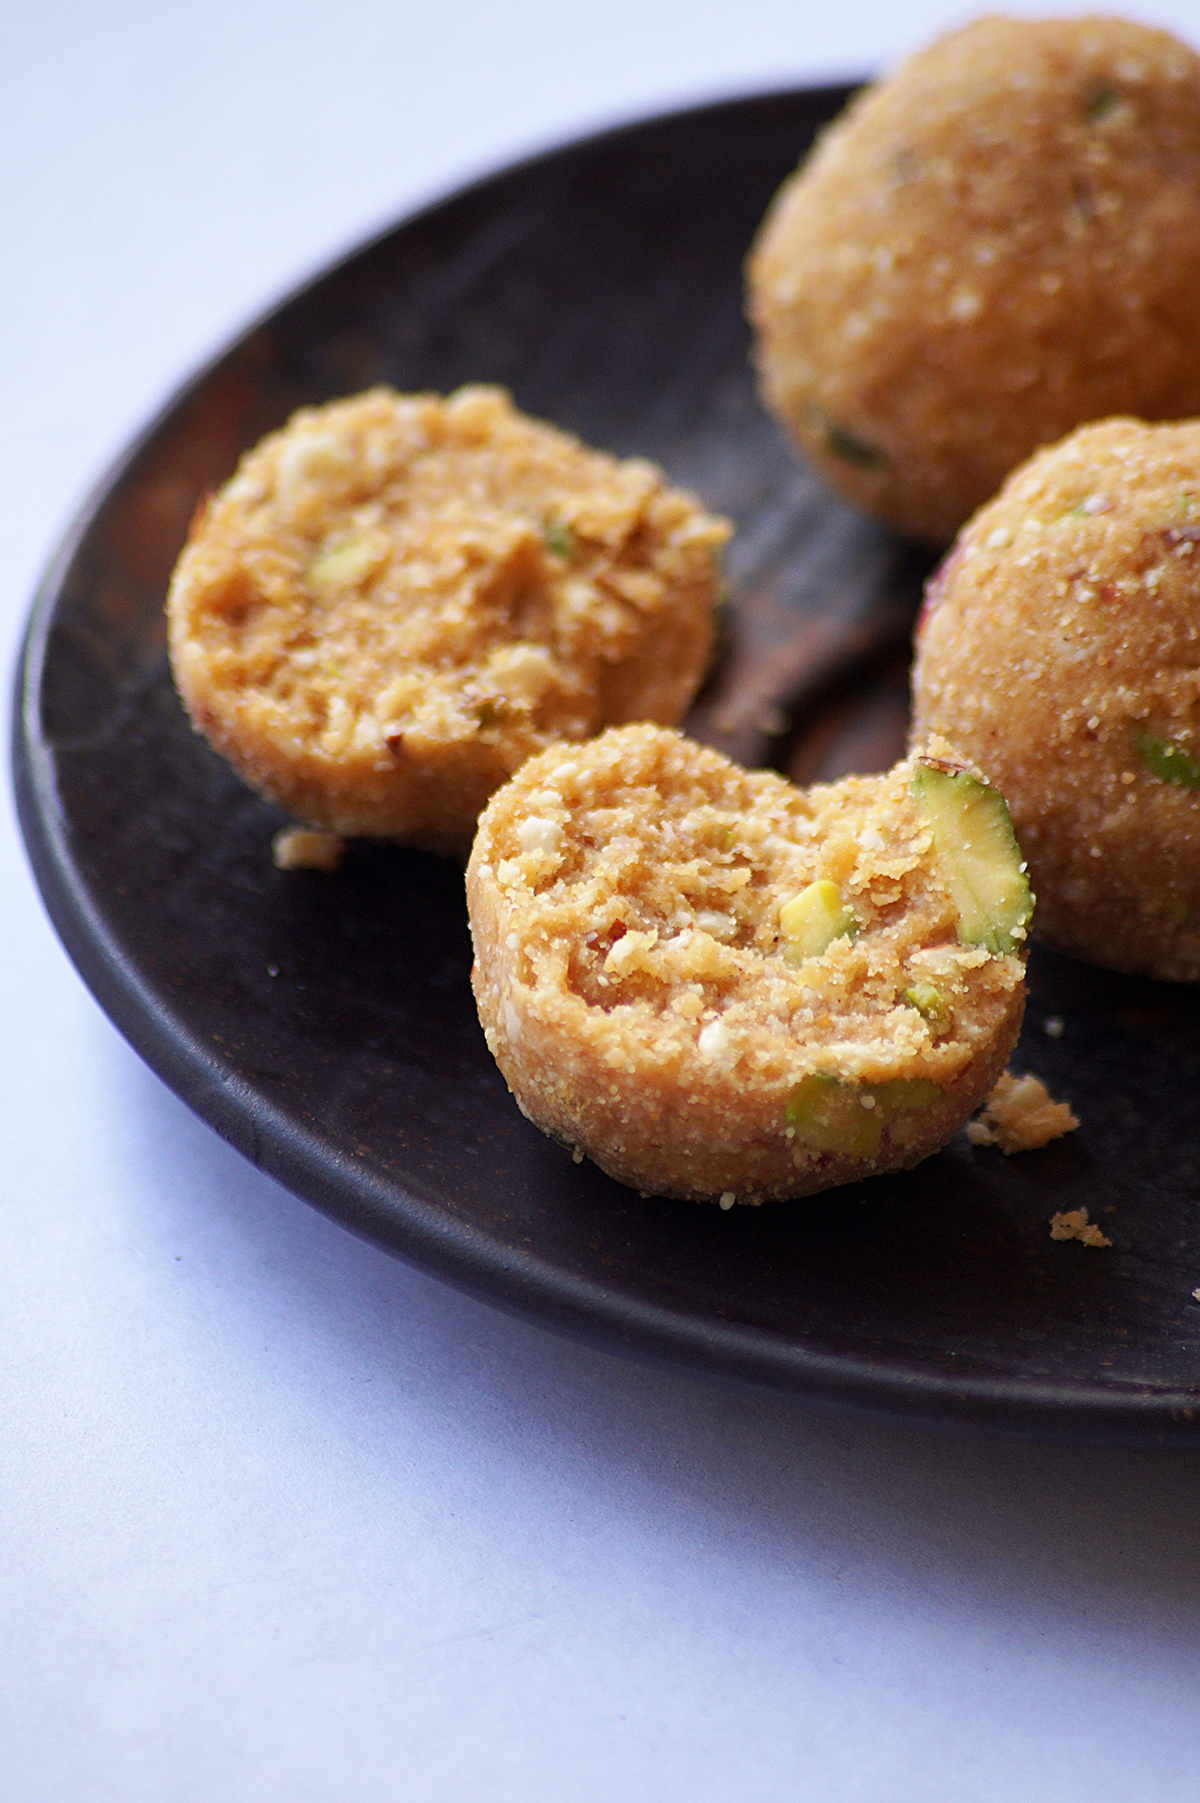
    It should look like wet sand. Add more warm and melted ghee if needed.

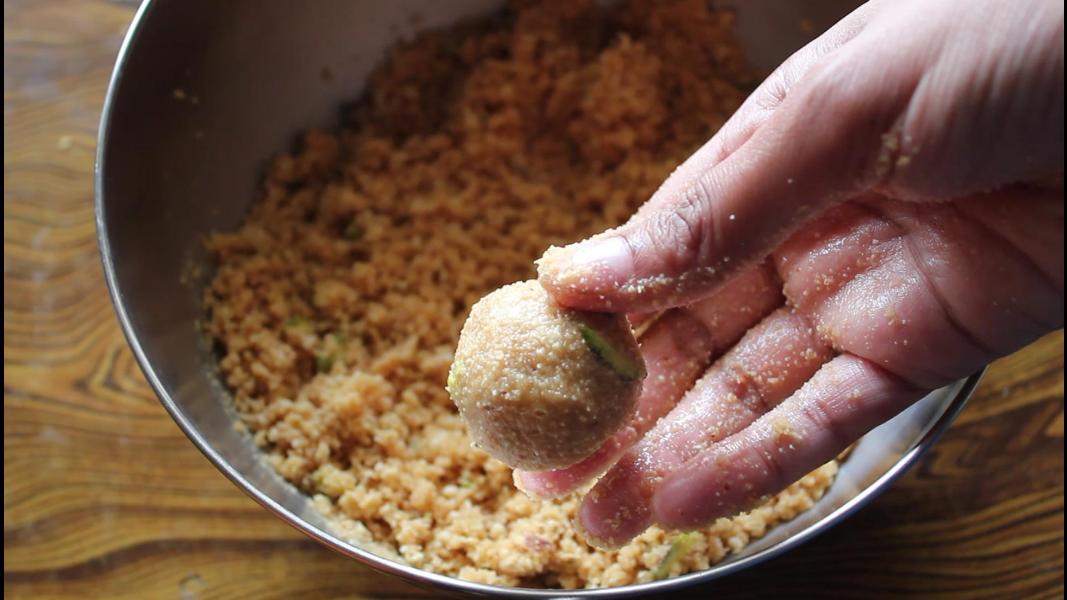
    You should be able to roll the ladoos.

    When it is still warm, take a portion of it and roll tightly to make laddus.

    Arrange them on a plate and let them set for sometime.

    Serve & enjoy!
    You might like these recipes:

    • Nuvvula Undalu
    • Gulab Jamun Truffles
    • Jeedipappu Pakam
    • Kova Kajjikayalu
    • Corn Flakes Jaggery Laddu
    • Rava Khoya Ladoo
    • Microwave Palkova

    How to make dry fruit sunnundalu recipe video below:

    Print Recipe

    Dry Fruit Sunnundalu Recipe

    Dry Fruit Sunnundalu - Easy, healthy and irresistible Andhra sweet snack with lentils, nuts, jaggery and ghee. Rich in Iron, Protein and Minerals!
    Prep Time15 minutes mins
    Cook Time30 minutes mins
    Total Time45 minutes mins
    Course: Dessert, Snack, Sweet
    Cuisine: Andhra, Indian, South Indian
    Keyword: andhra recipes, easy diwali sweets, Indian sweet snacks, Indian Sweets, sunnundalu recipe
    Servings: 15 Ladoos
    Calories: 110kcal
    Author: Hari Chandana Ponnaluri

    Ingredients

    • ½ Cup Urad Dal
    • ¼ Cup Almonds
    • ¼ Cup Cashews
    • ¼ Cup Chopped Pistachios
    • 6 - 8 Tablespoons Ghee
    • 1 Cup Jaggery

    Instructions

    • Dry roast urad dal over a low-medium flame until they are golden brown color.
    • Transfer them to a plate and let it cool completely.
    • Dry roast cashews and almonds separately for 5 minutes or until they start to changing color.
    • Once the roasted nuts cooled down, grind them to a coarse powder. Transfer it to a mixing bowl.
    • Grind the roasted urad dal to a fine or little coarse powder. Then add jaggery to the ground lentils and blend it again for even mixing.
    • Combine ground nuts, ground lentils and chopped pistachios in a bowl.
    • Add warm ghee little by little and mix until you get a wet sand like mixture.
    • Take some portion of it and roll tightly to make laddus
    • Serve & enjoy!
    Video

    Notes

    Adjust the quantity of ghee. Add ghee little by little till you are able to shape the mixture.
    You don't need to roast the pistachios
    Add more jaggery if you want more sweetness.

    Nutrition

    Calories: 110kcal | Carbohydrates: 5g | Protein: 3g | Fat: 9g | Saturated Fat: 4g | Polyunsaturated Fat: 1g | Monounsaturated Fat: 3g | Trans Fat: 0.001g | Cholesterol: 15mg | Sodium: 1mg | Potassium: 52mg | Fiber: 2g | Sugar: 0.4g | Vitamin A: 6IU | Vitamin C: 0.4mg | Calcium: 13mg | Iron: 1mg
    • « Go to Previous Page
    • Page 1
    • Interim pages omitted …
    • Page 9
    • Page 10
    • Page 11
    • Page 12
    • Page 13
    • Interim pages omitted …
    • Page 93
    • Go to Next Page »

    Primary Sidebar

    Welcome!
    I’m Hari Chandana Ponnaluri, the creator, recipe developer, and photographer of Blend with Spices, a food blog where I share flavorful, approachable, and authentic vegetarian recipes from India and beyond..

    More about me

    Popular Recipes

    • Cranberry Orange Snowball Cookies
    • Chocolate Crinkle Cookies (Eggless)
    • kolaczki Cookies (Polish Christmas Jam Cookies)
    • Sugar Plums
    • Peppermint Kiss Cookies
    • Potato Chip Cookies

    Indian Festival Recipes

    • Moru Curry (Kerala Moru Kachiyathu)
    • Palada Payasam (Palada Pradhaman)
    • Nellikai Sadam (South Indian Amla Rice)
    • Instant Pot Avial (Kerala Mixed Vegetable Curry)
    • Mawa Modak
    • Upma Kozhukattai
    See more Festival Recipes →

    Footer

    About

    • Privacy Policy

    Don’t Miss A Recipe!
    Subscribe to our mailing list

    Contact

    • Contact

    Copyright © 2020 Blend with Spices