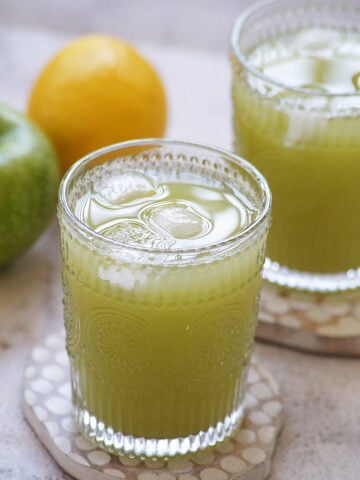
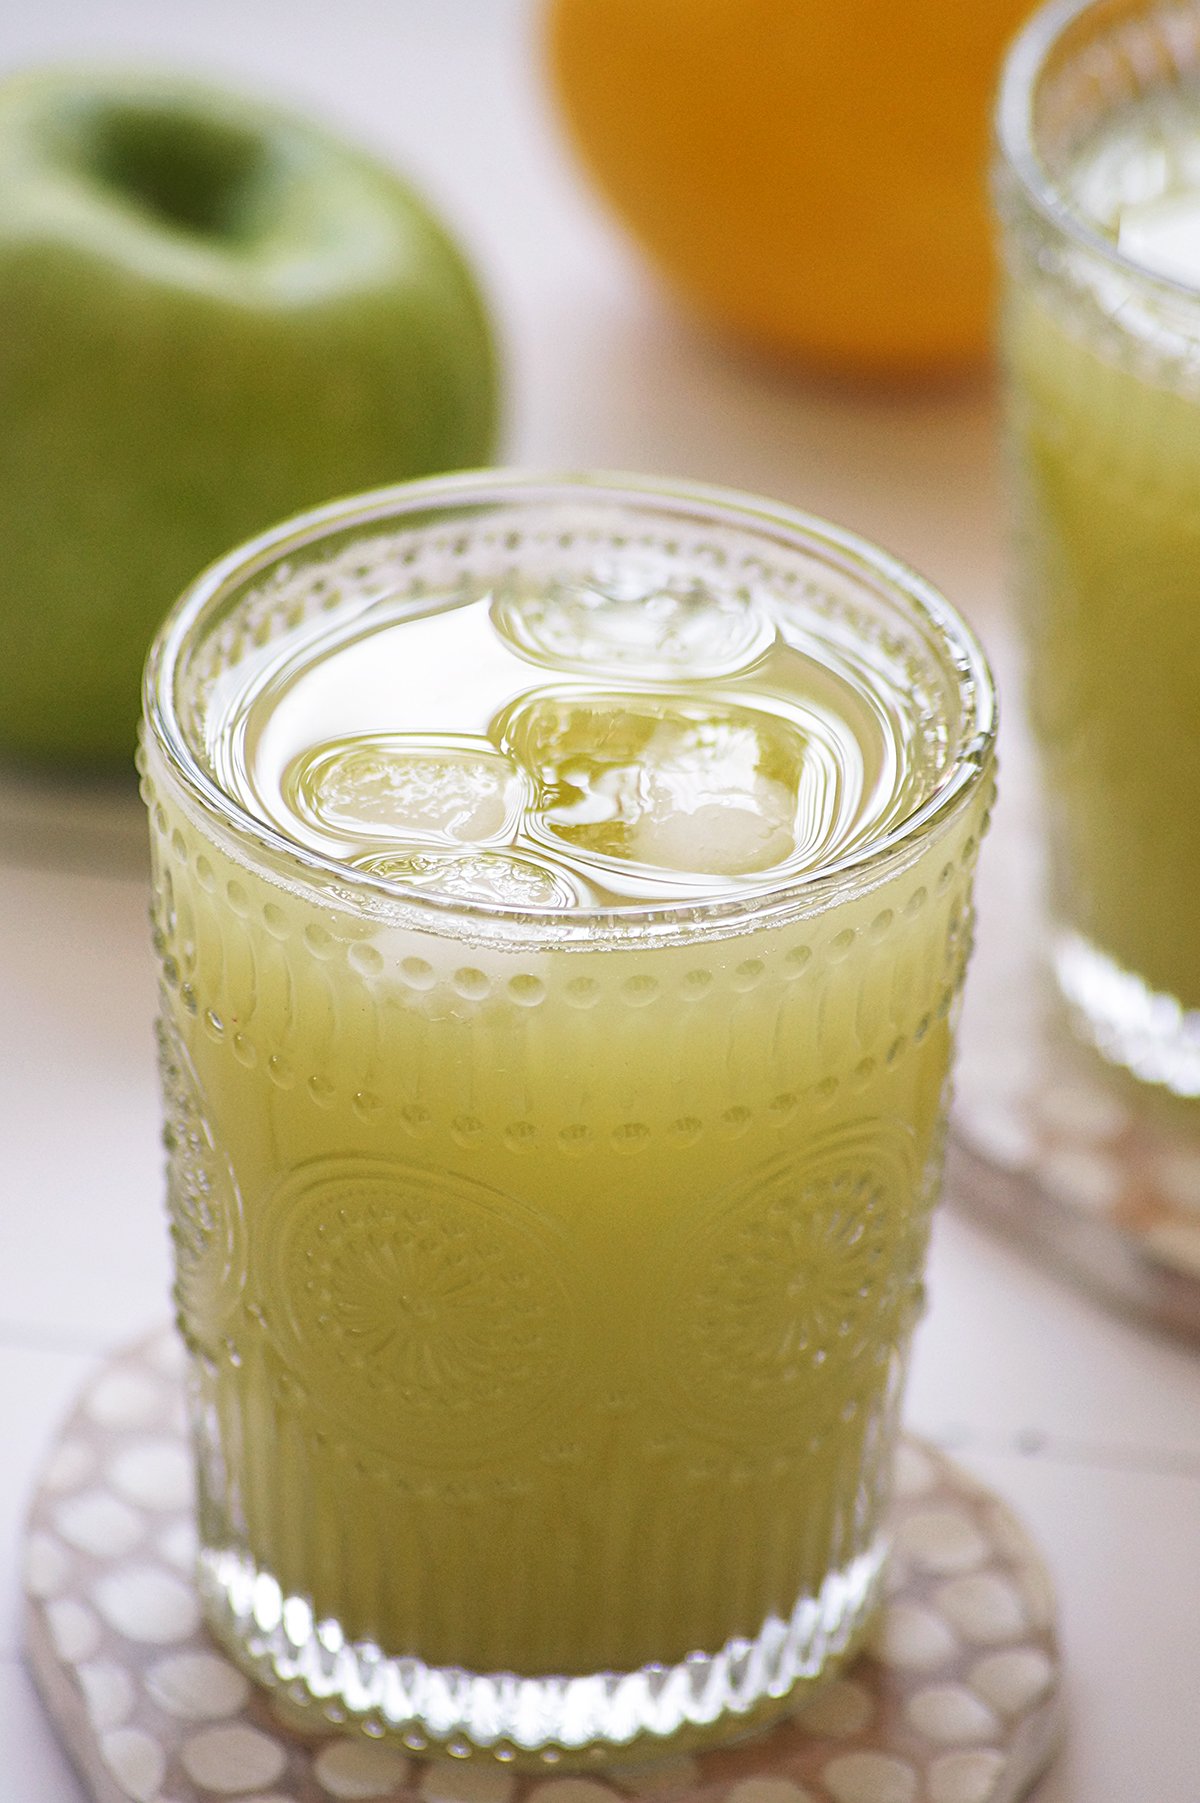
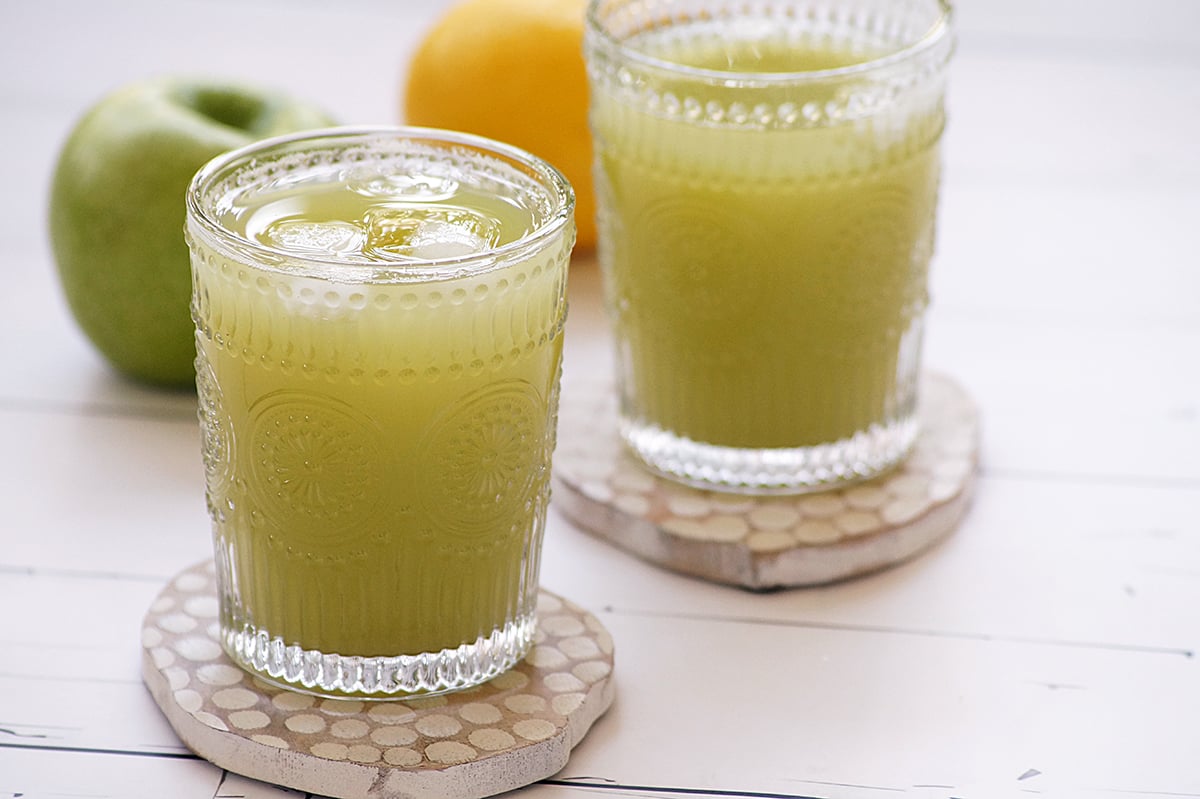
Green apple juice is a healthy and refreshing drink made with green apples, cucumber, ginger, lemon, and a little honey. It is refreshing, delicious, tangy, and perfect to sip on a sunny day!
What is Green Apple Juice?
Green apple juice is a simple and refreshing drink made from fresh green apples (Granny Smith), English cucumber, ginger, lemon, and honey. The Granny Smith apples have a tangy flavor and are perfect for juicing, apart from making Apple Nachos, Roasted Sweet Potatos and Apples, and Red Hot Cinnamon Apples.
Green apple juice is not only delicious but also very nourishing and refreshing. It is packed with vitamin C, antioxidants, and natural hydration and is a perfect beverage for sunny days. You just need to roughly chop all the ingredients and blend to make this fresh apple drink. It is one of the best and refreshing fruit juices to try at home.
Ingredients & Substitutions:
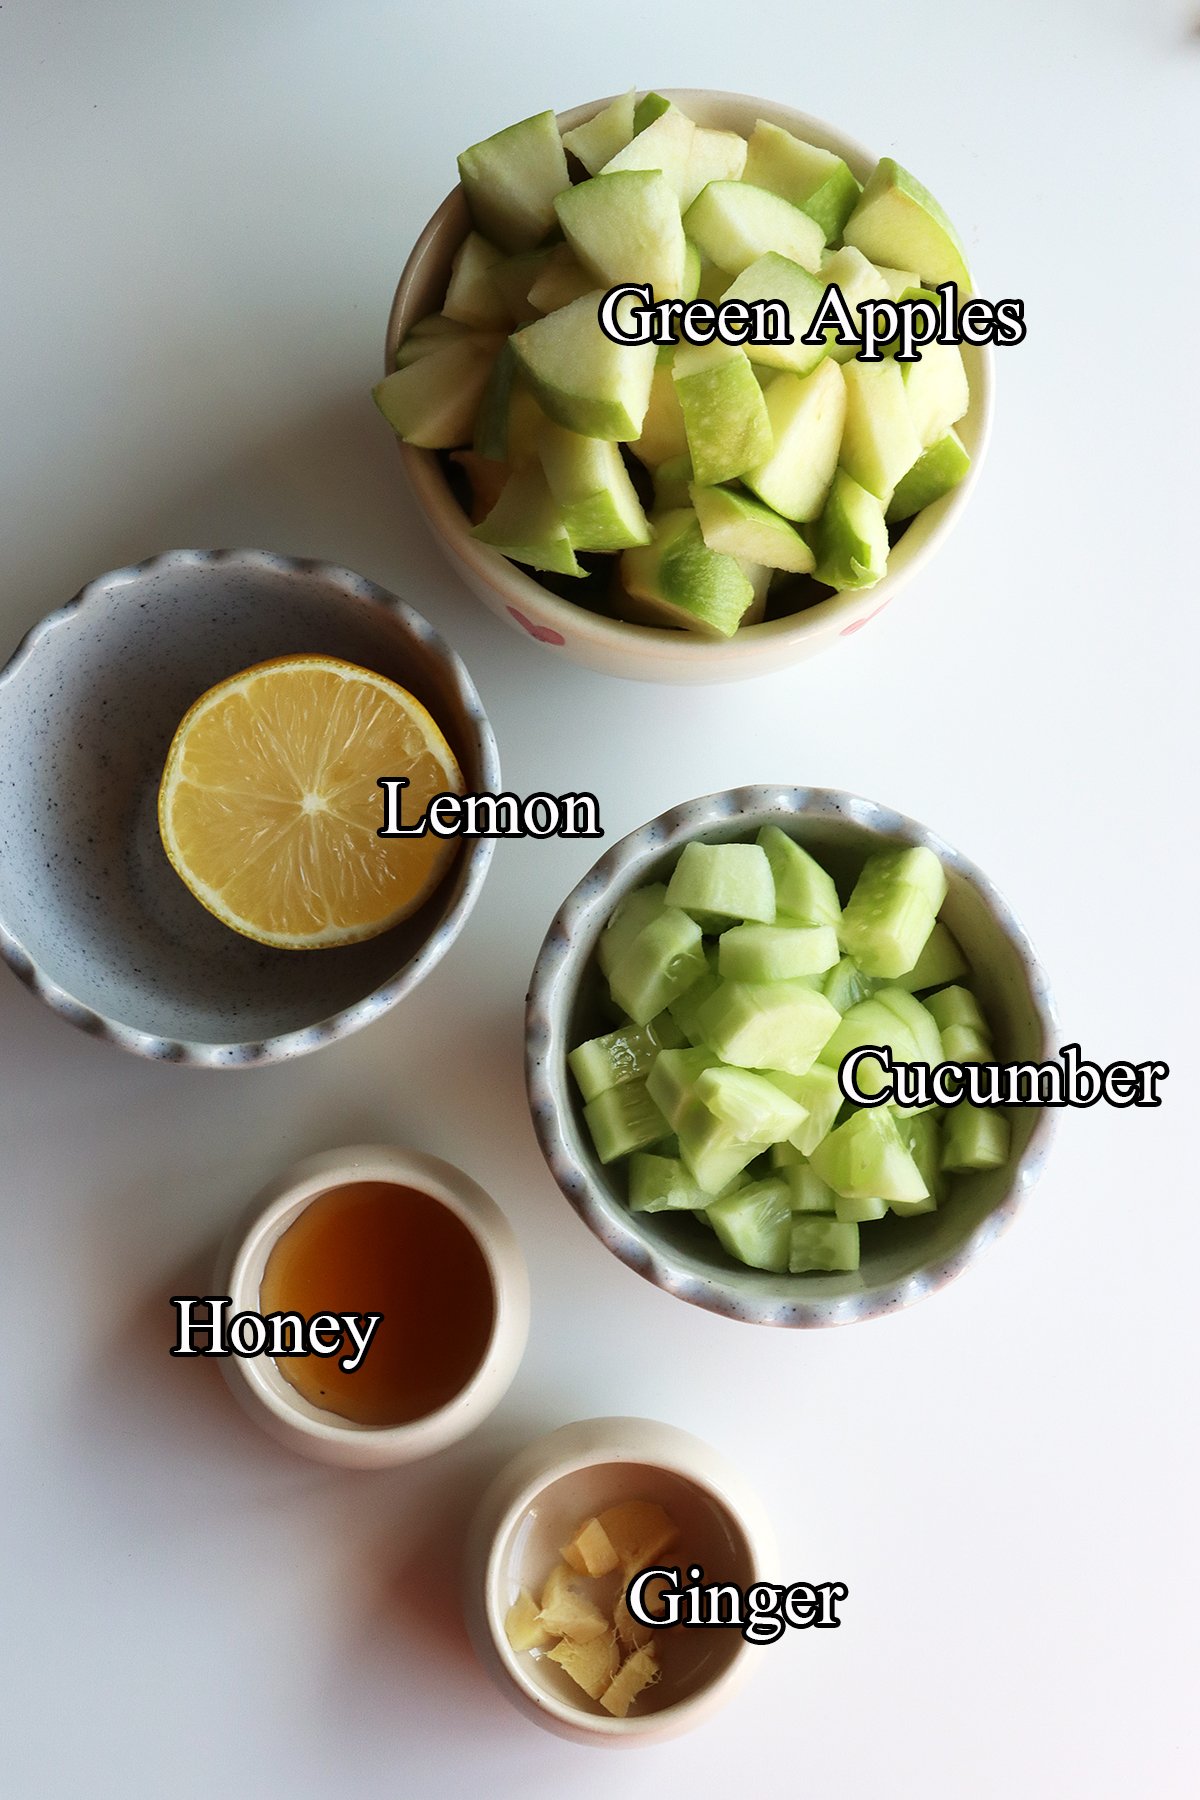
Green Apples - Granny Smith apples work best for this recipe. If you can't find them, any tart apple variety will do. You can also use sweet apples, but they will change the flavor and taste of the drink.
Cucumber - Adds cooling and refreshing flavor and also makes the drink lighter. I have used English cucumber in this recipe, regular cucumbers work too. Do not forget to peel the skin.
Ginger - A small piece of fresh ginger gives the juice a little zing. You can adjust the quantity according to your preference, or skip it completely.
Lemon - Fresh lemon juice lifts the flavor and adds brightness. You can also use lime juice.
Honey - Balances the tartness of green apples and adds a touch of sweetness. You can replace it with maple syrup or agave syrup. You can leave it out if you like your juice naturally tart.
Variations:
Blend in a few fresh mint leaves along with the apples and cucumber for a herbal flavor.
Replace lemon with fresh orange juice for a sweeter version.
Add a handful of spinach or any other greens to make a nourishing green detox juice.
How to Make Green Apple Juice:
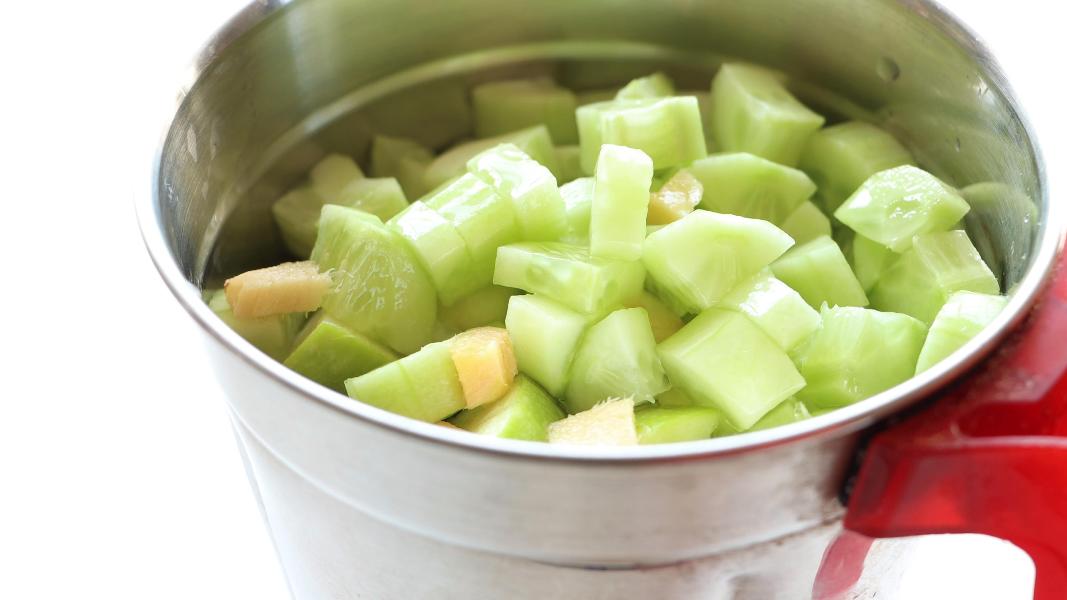
Wash, core, and chop green apples into cubes and set aside. Wash, peel, and chop a cucumber into pieces. Wash, peel, and ginger into small pieces.
Add all the chopped ingredients, honey, lemon juice, and cold water to a blender or mixie jar.
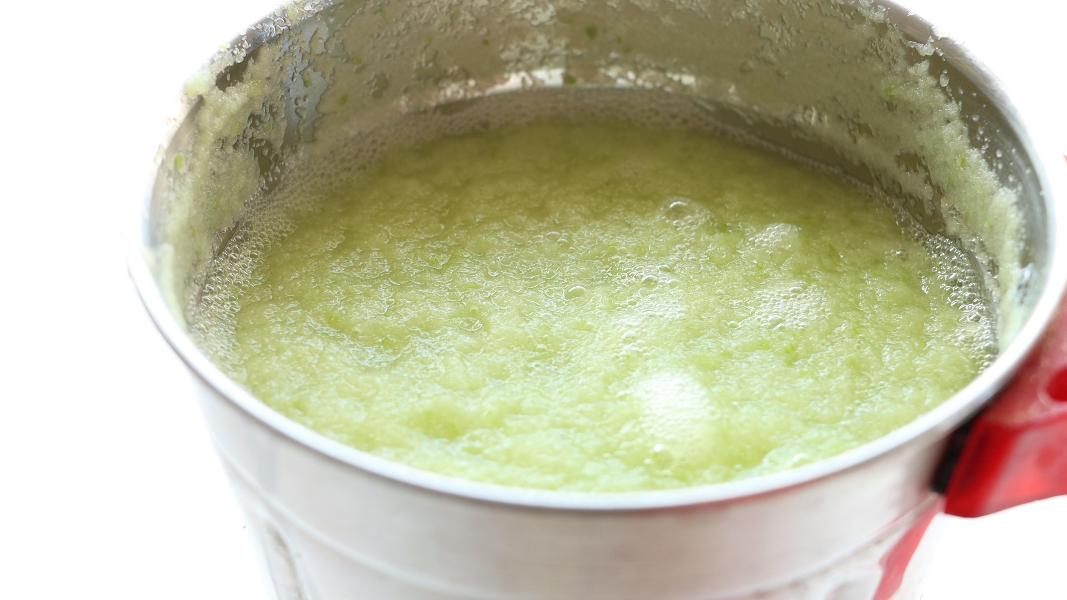
Blend everything until smooth.
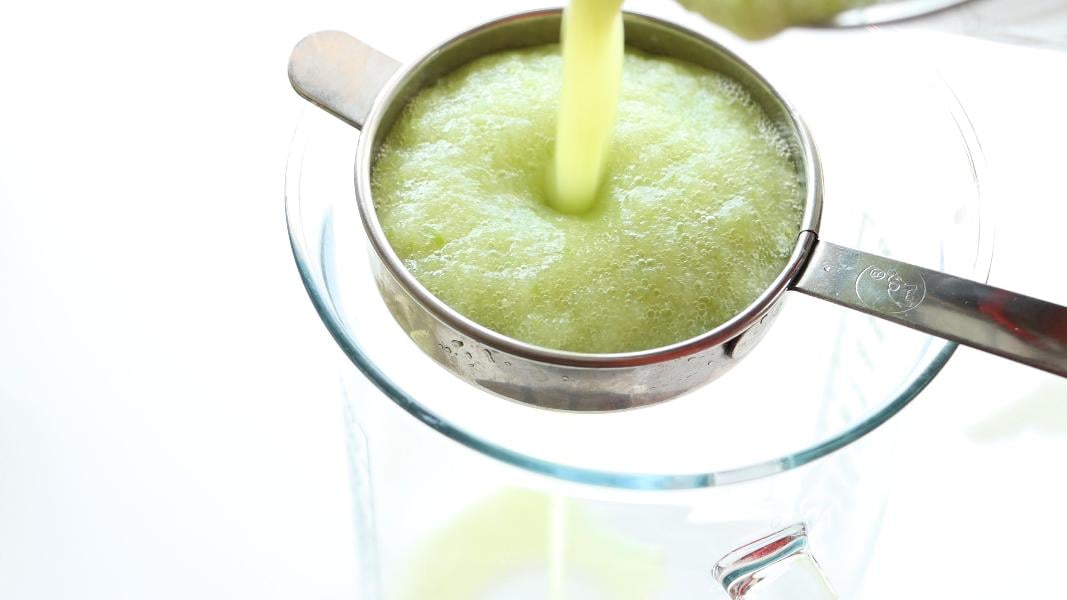
Strain through a fine mesh strainer or tea strainer if needed.
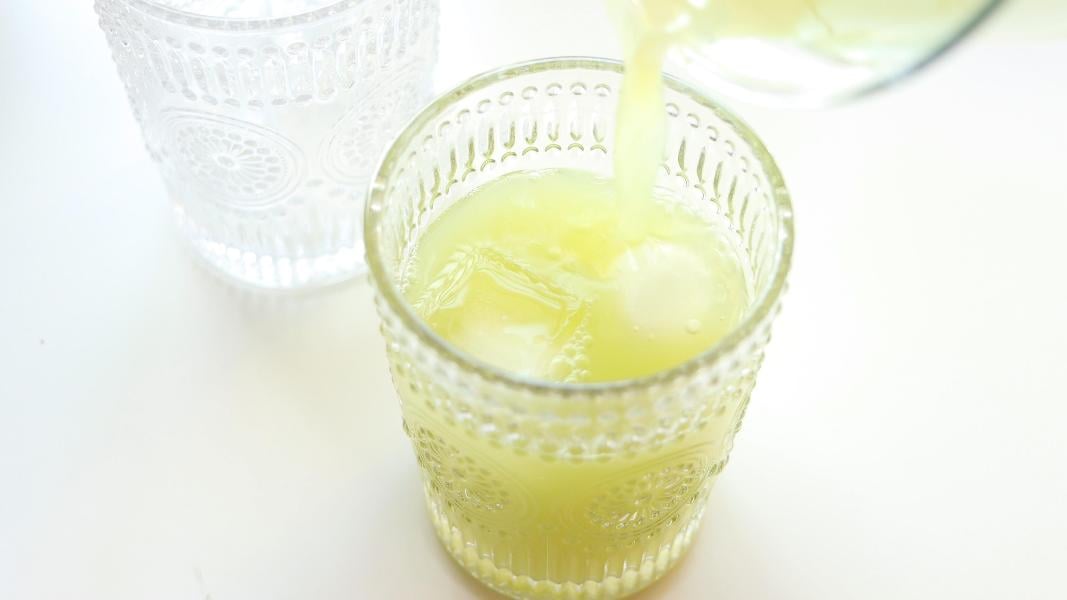
Drop a few ice cubes into serving glasses. Pour the prepared juice over ice cubes.
Serve immediately.
Tips & Notes:
- Use fresh ingredients for the best flavor.
- Adjust the amount of ginger to your taste.
- Use chilled apples, cucumber and cold water for the most refreshing drink.
Storage suggestions:
Green apple juice tastes best when it is freshly made. It can be stored in the refrigerator for a day. The lemon helps slow down browning, but the juice may still change color slightly. It is totally normal. Do not freeze.
Serving suggestions:
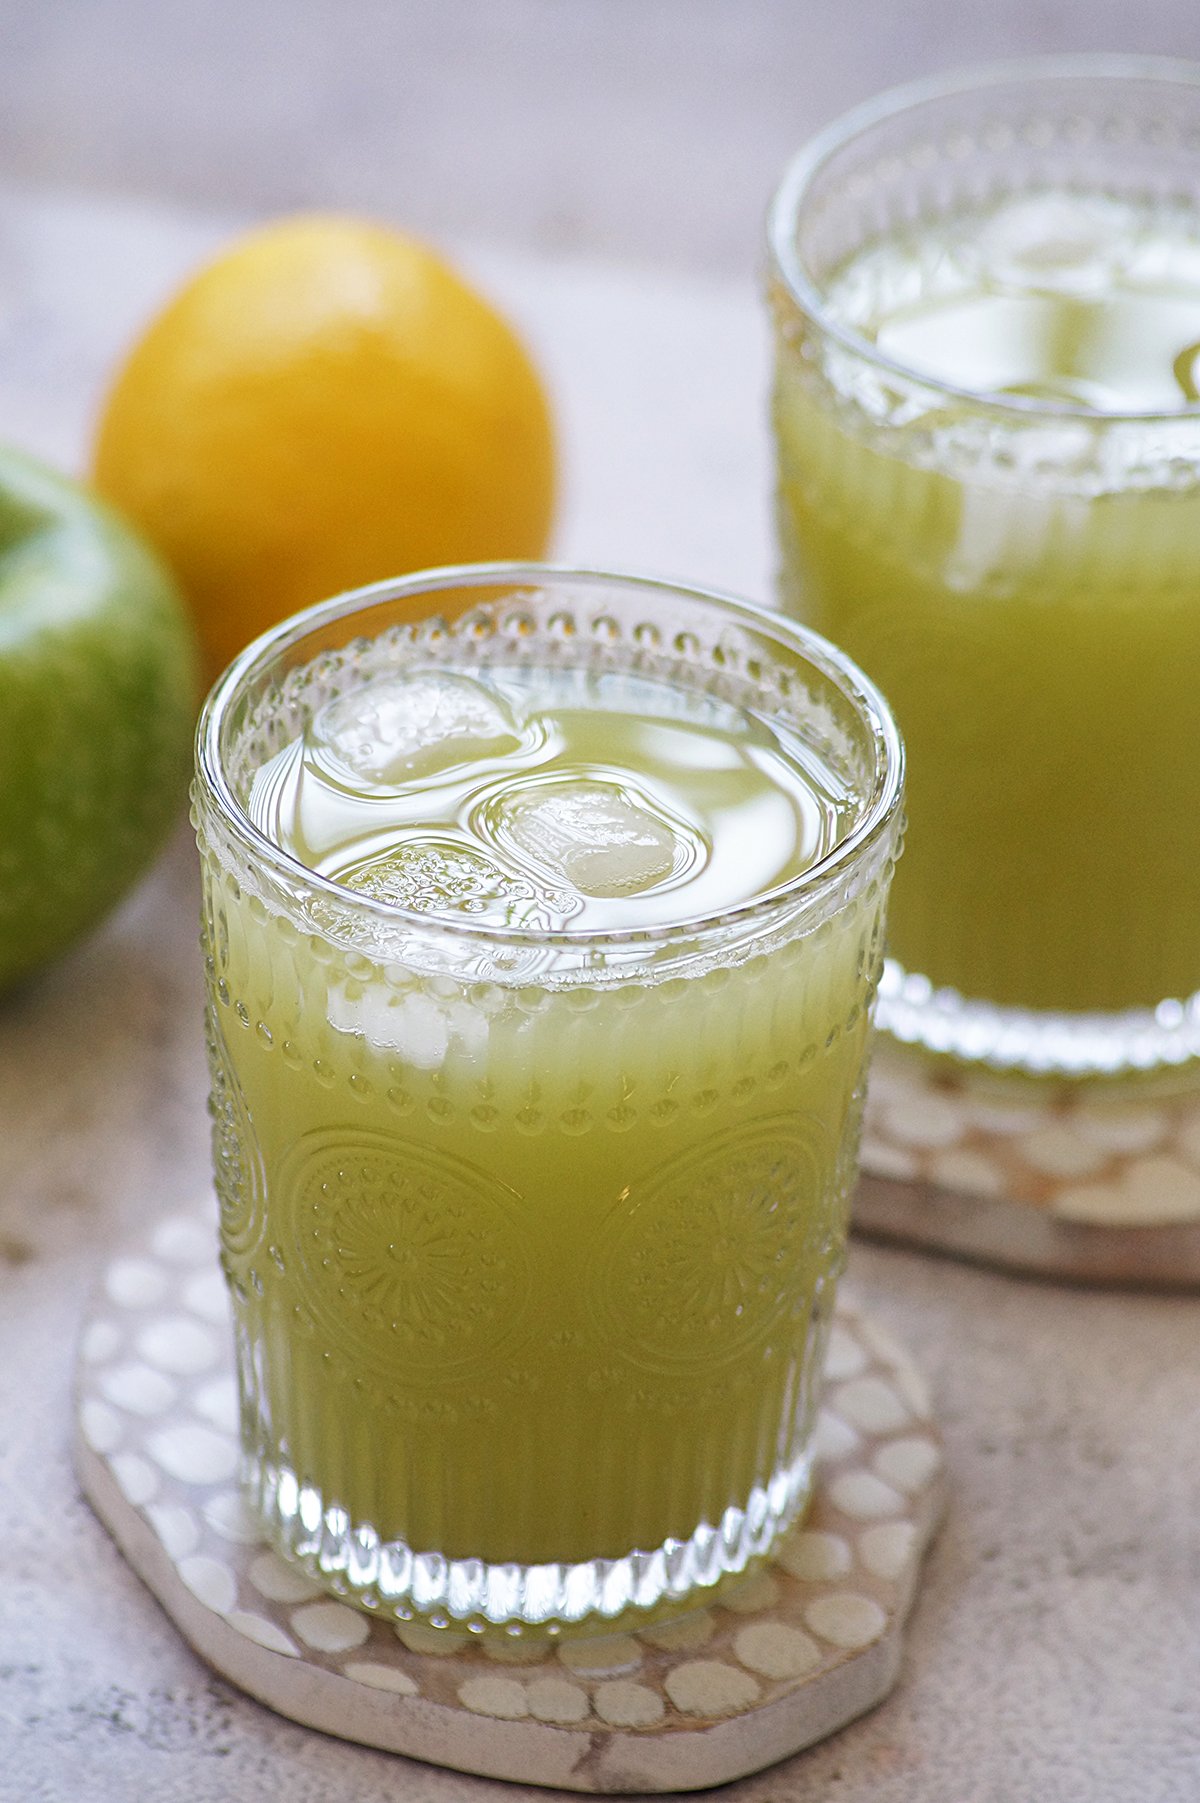
Green apple juice tastes best when it is served cold. Pour the juice over ice before serving or let it sit in the refrigerator for some time.
It is perfect for summer afternoons when you want to have something hydrating and light.
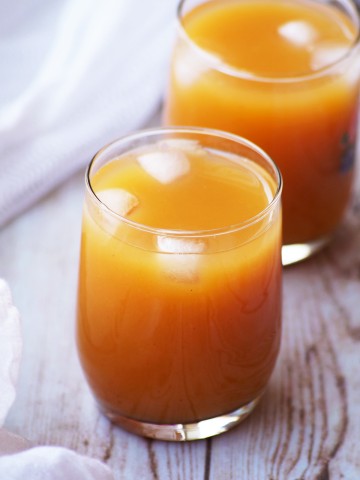
You can include this juice in your party menus along with other juices like Watermelon Juice, Grape Juice and Orange Juice.
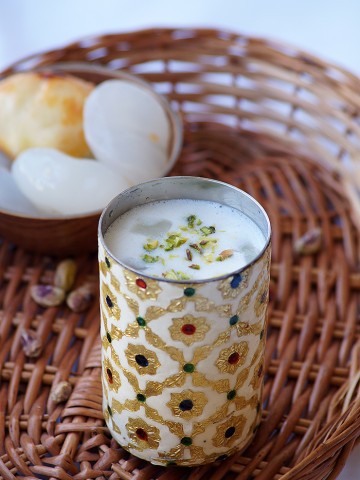
More Beverage Recipes:


If you tried this Green Apple Recipe or any other recipe on my blog please leave a 🌟 star rating and let me know how it went in the 📝 comments. Thanks for visiting my blog today!

Green Apple Juice Recipe
Ingredients
- 2 Green Apples
- 1 English Cucumber
- ½ Lemon
- 1 Inch Ginger
- ½ Tablespoon Honey (or to taste)
Instructions
- Wash, core, and chop green apples into cubes and set aside. Wash, peel, and chop a cucumber into pieces. Wash, peel, and ginger into small pieces.
- Add all the chopped ingredients, honey, lemon juice, and cold water to a blender or mixie jar.
- Blend everything until smooth.
- Strain through a fine mesh strainer or tea strainer if needed.
- Drop a few ice cubes into serving glasses. Pour the prepared juice over ice cubes.
- Serve immediately.