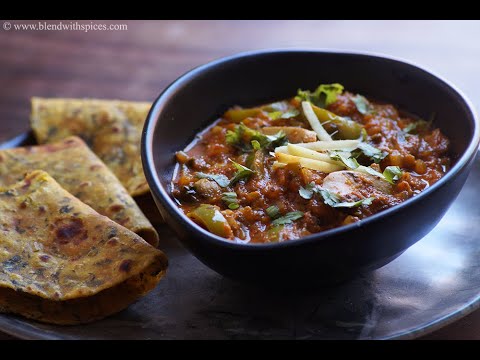

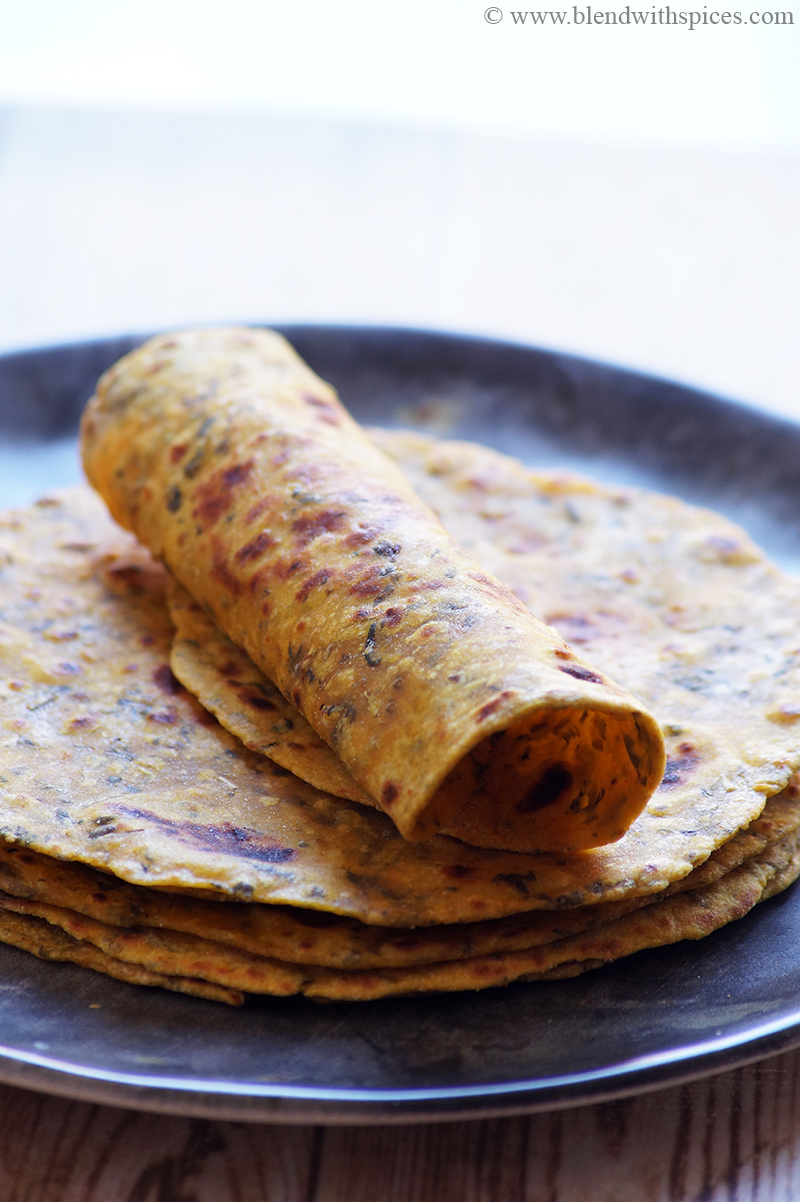
Kasoori Methi Paratha Recipe - Healthy, flavorful and easy Indian flatbread prepared with whole wheat flour, dry fenugreek leaves and spices.

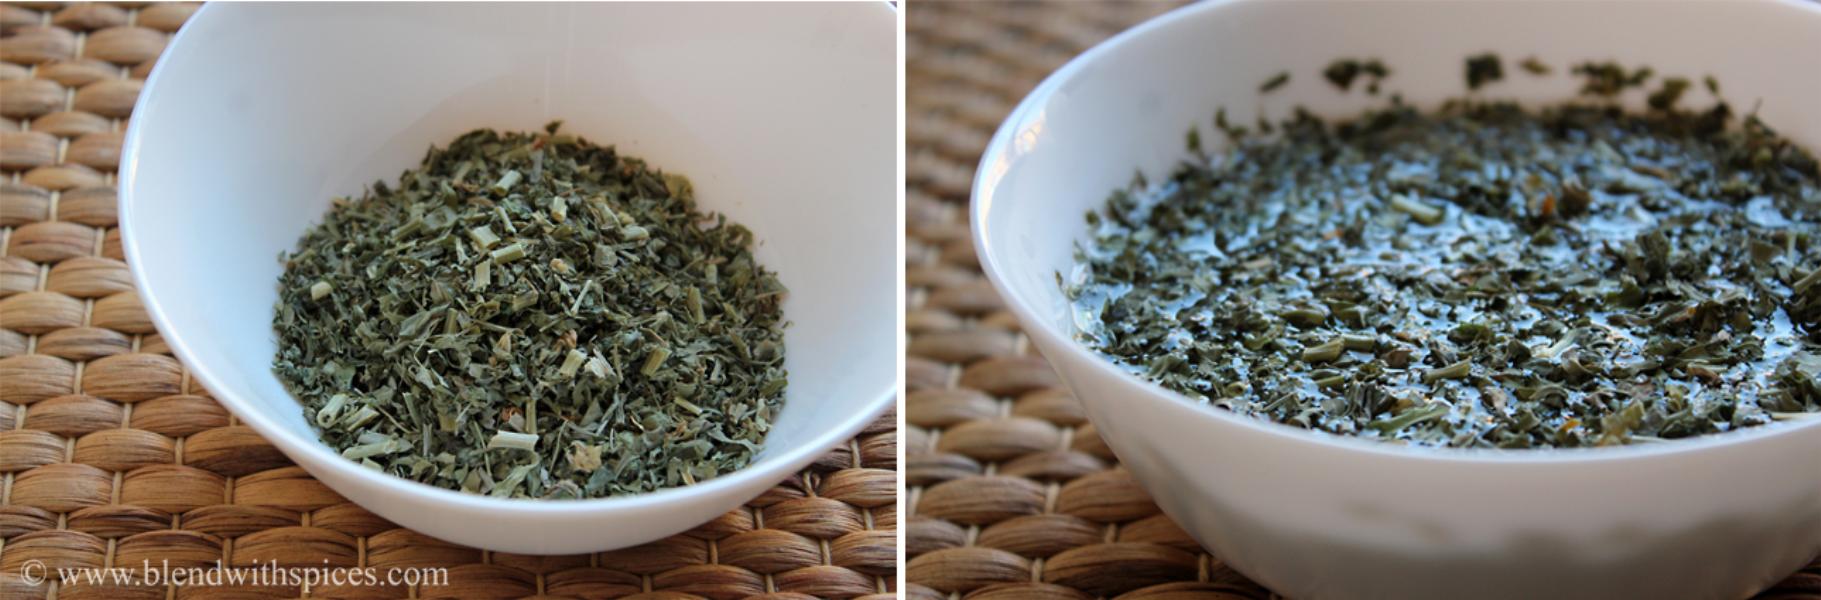
What is Kasuri Methi?
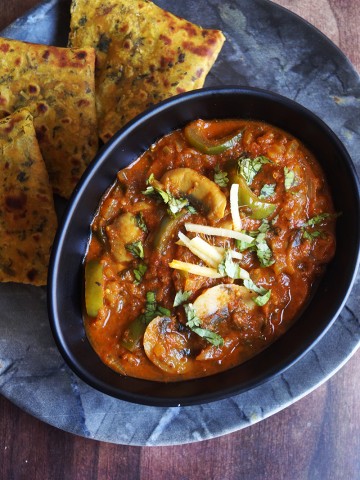
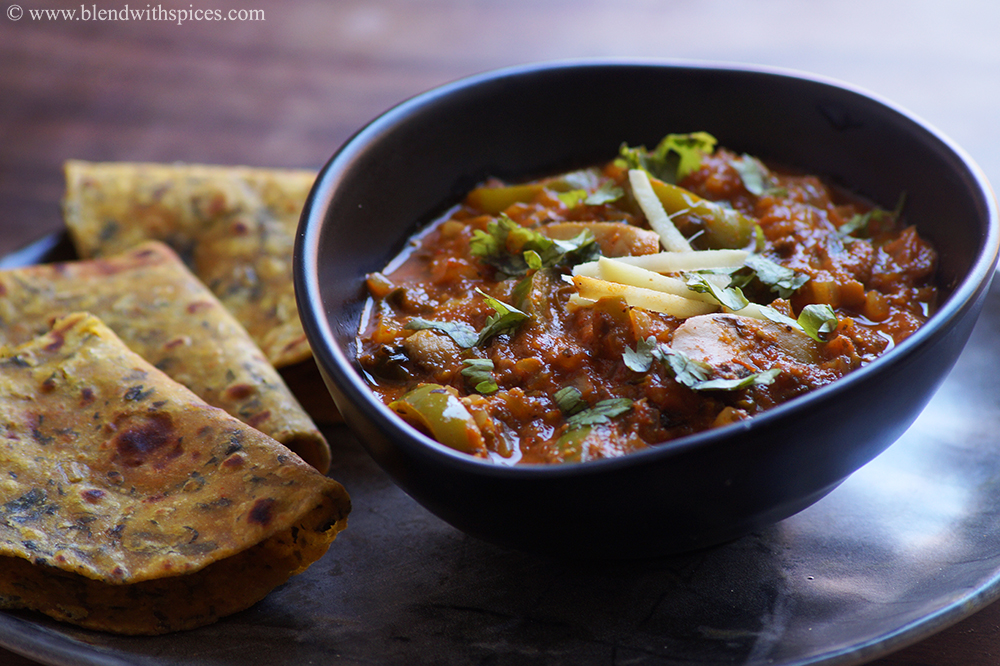
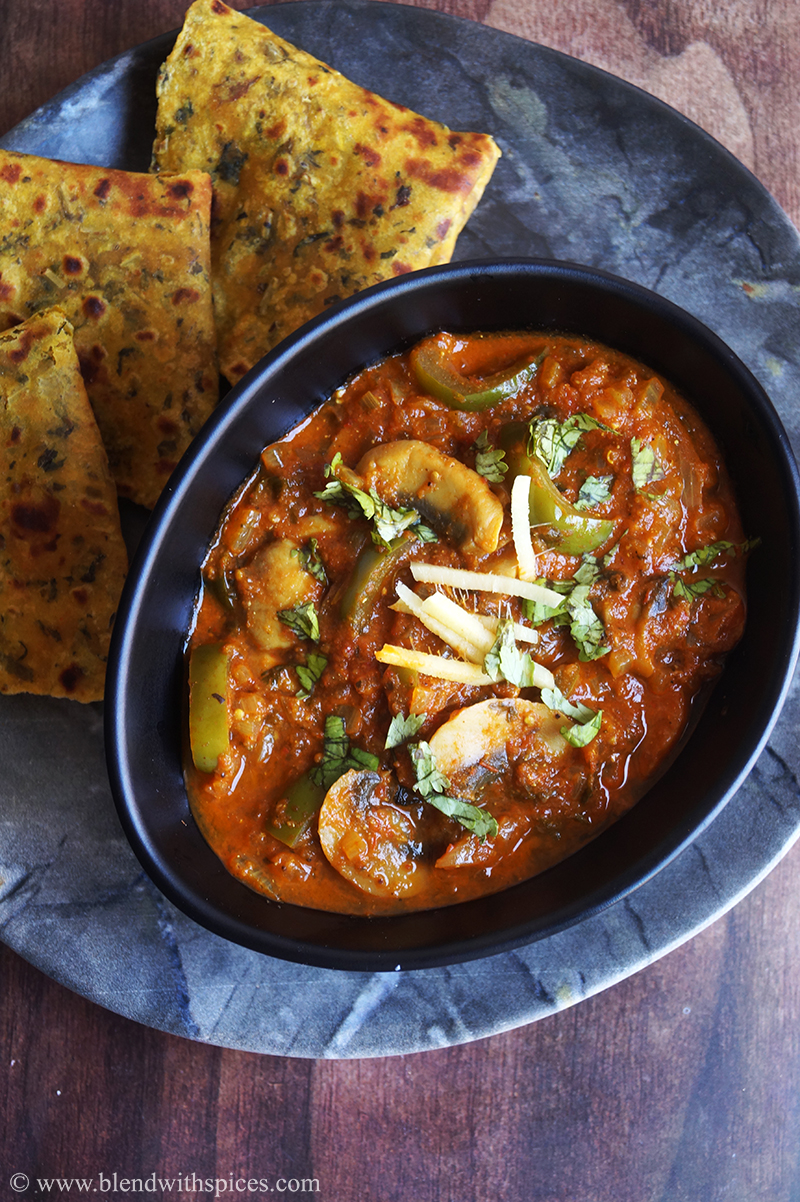
Kasuri Methi is dried methi leaves or fenugreek leaves and has a strong aroma. Adding a pinch of dried fenugreek will give a great aroma to the Indian curries or dals such as Kadai Mushroom, Masoor Dal and Matar Mushroom Butter Masala.
What is Kasoori Methi Paratha?
Apart from adding dry methi to the Indian curries, we can also make parathas or flatbreads with them. Traditionally, methi parathas are made with fresh fenugreek leaves but here I am replacing it with dried ones. This is a wonderful way to prepare flavorful and healthy parathas if you don't find fresh greens.

Are these paranthas vegan?
Yes, just use oil instead of ghee to cook them if you are vegan.
Serving suggestions:
They are perfect to serve as breakfast, lunch or dinner and tastes great with pickle, curries or yogurt.
Tips:
- The dough should be soft and pliable in order to make the soft parathas.
- Always keep the dough covered to prevent it from drying.
- If you have time, let the dough rest for some time to make soft parathas.
- You can also use cumin seeds instead of ajwain or carom seeds.
Kasoori Methi Roti Recipe with Step by Step Photos:
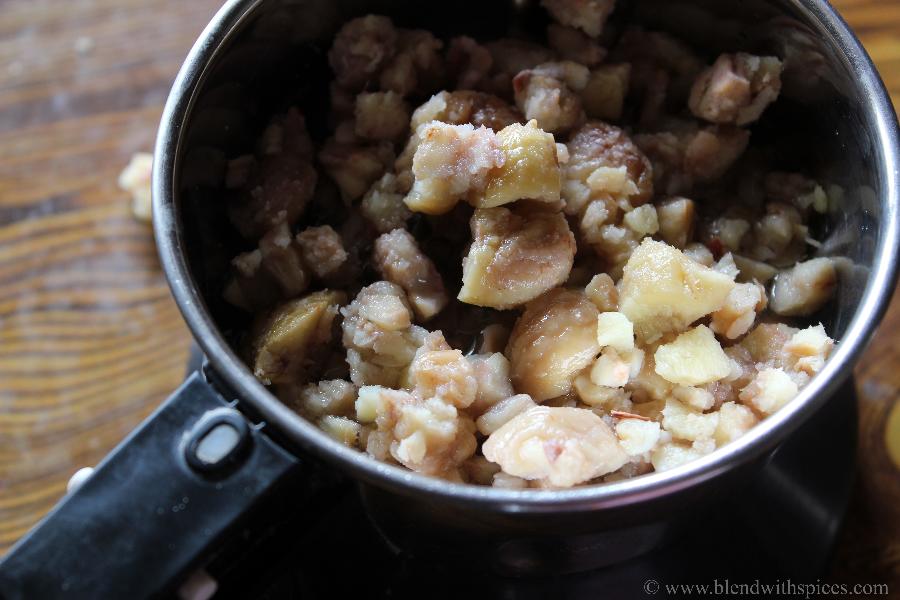
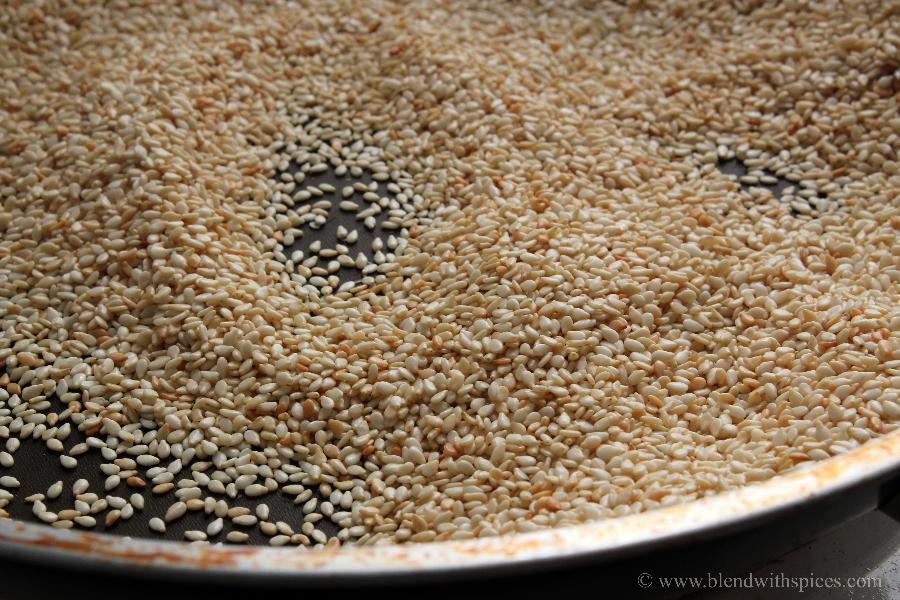
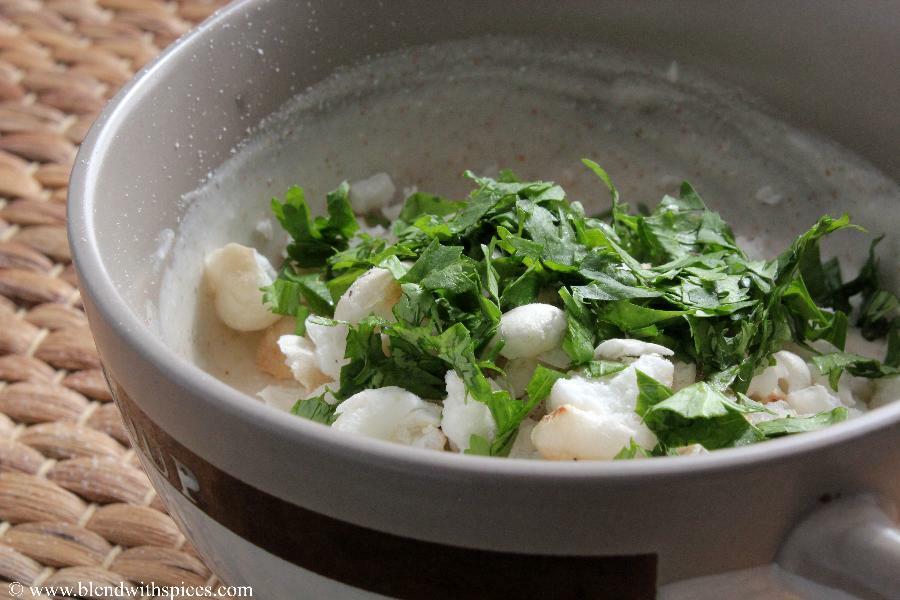
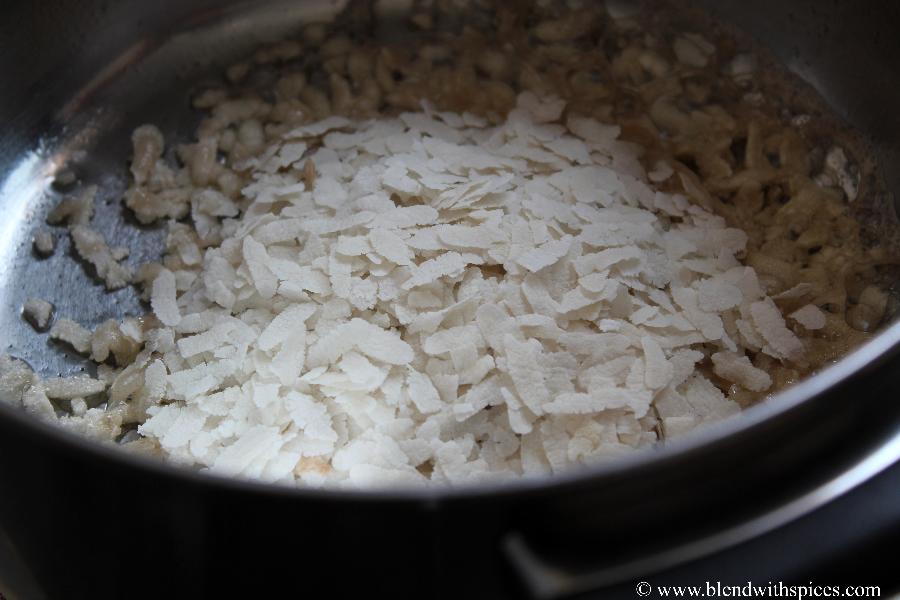
- To soften the dry leaves, boil one cup of water and soak leaves in hot water for about 10 minutes. Discard if there are any hard stems in it.
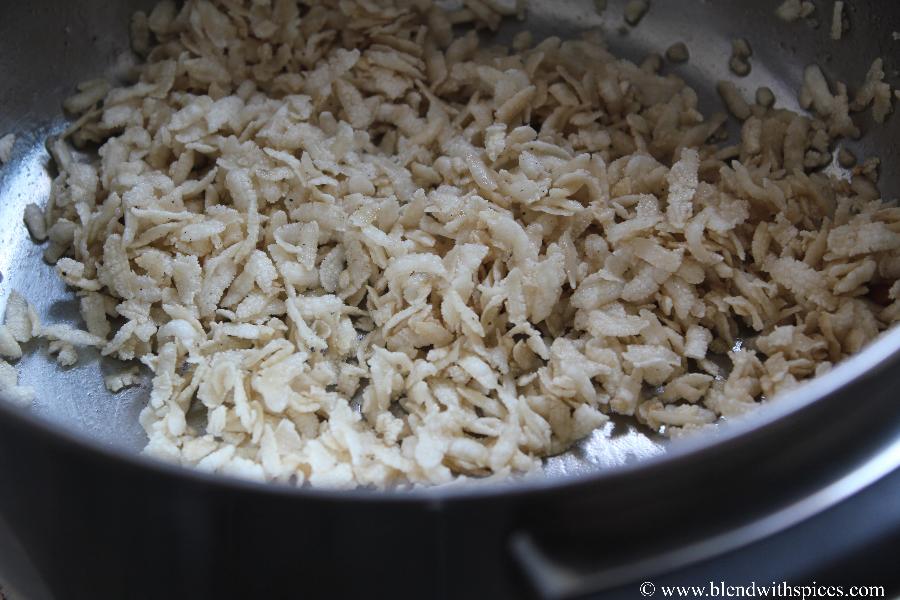
- Drain water completely and keep it aside.
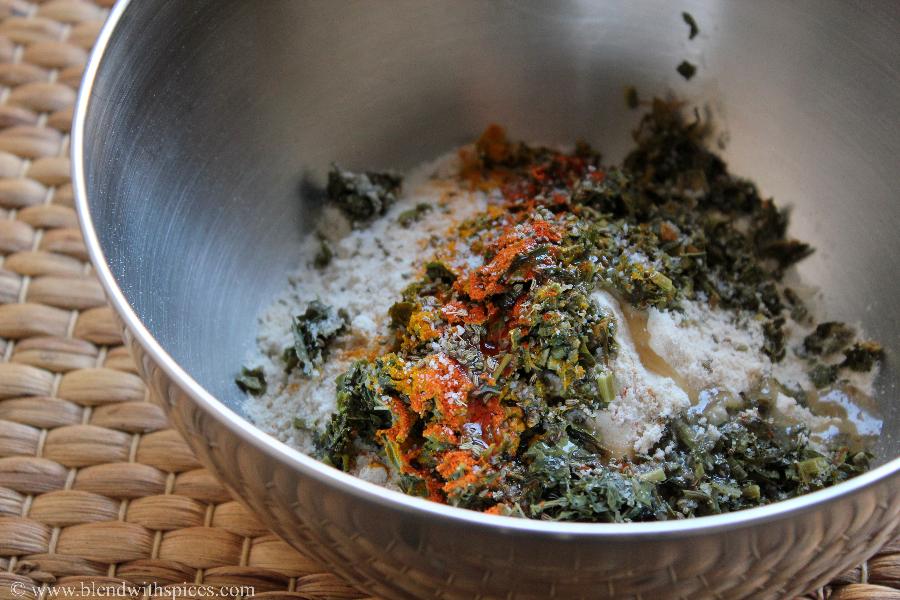
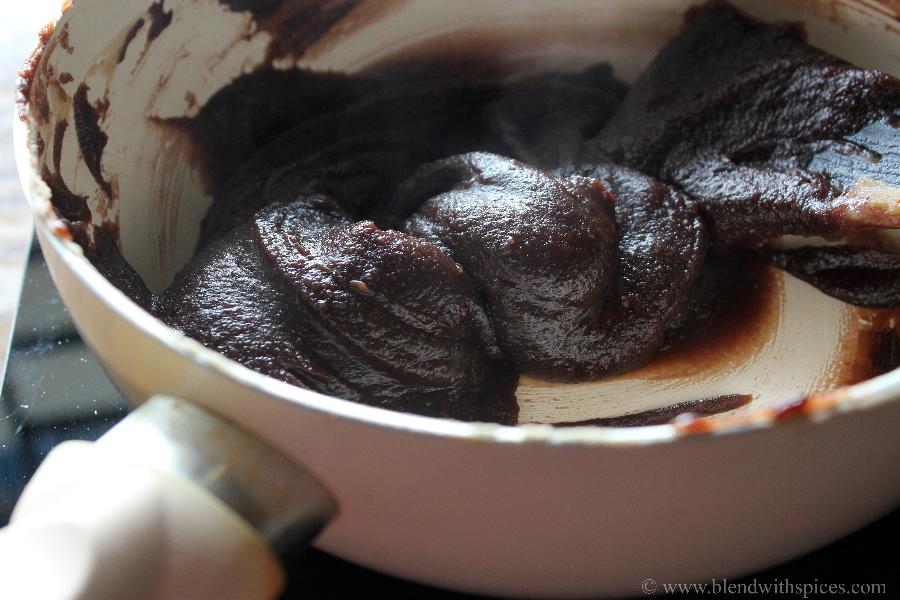
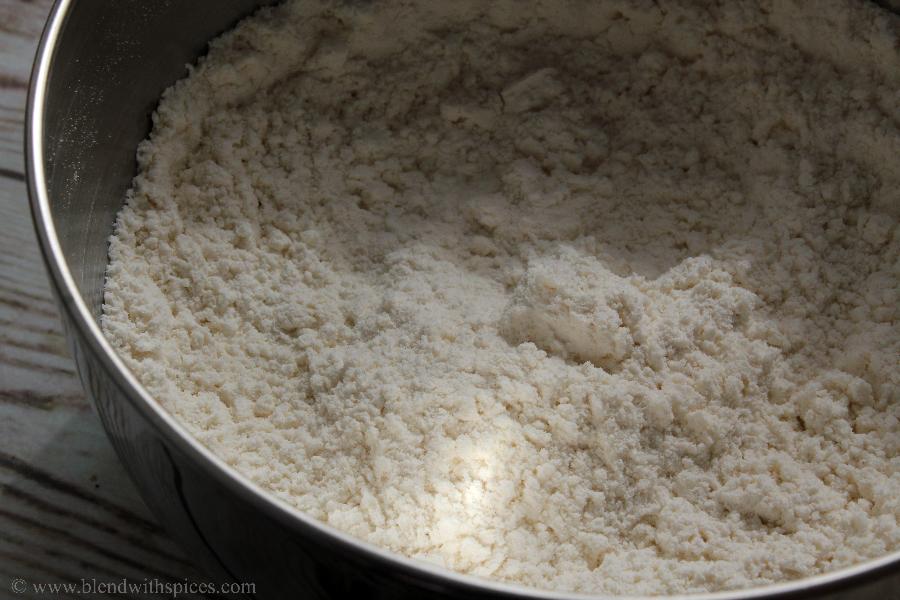
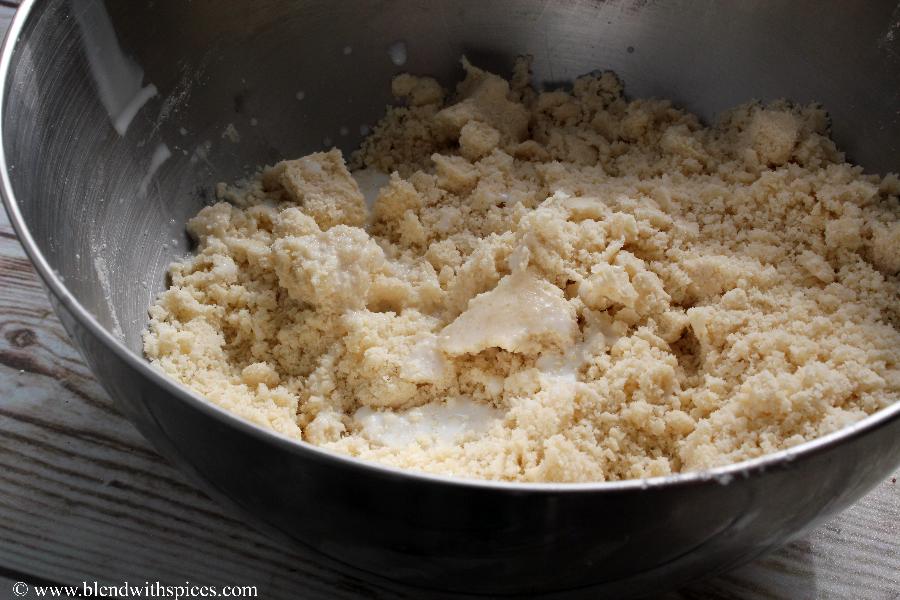
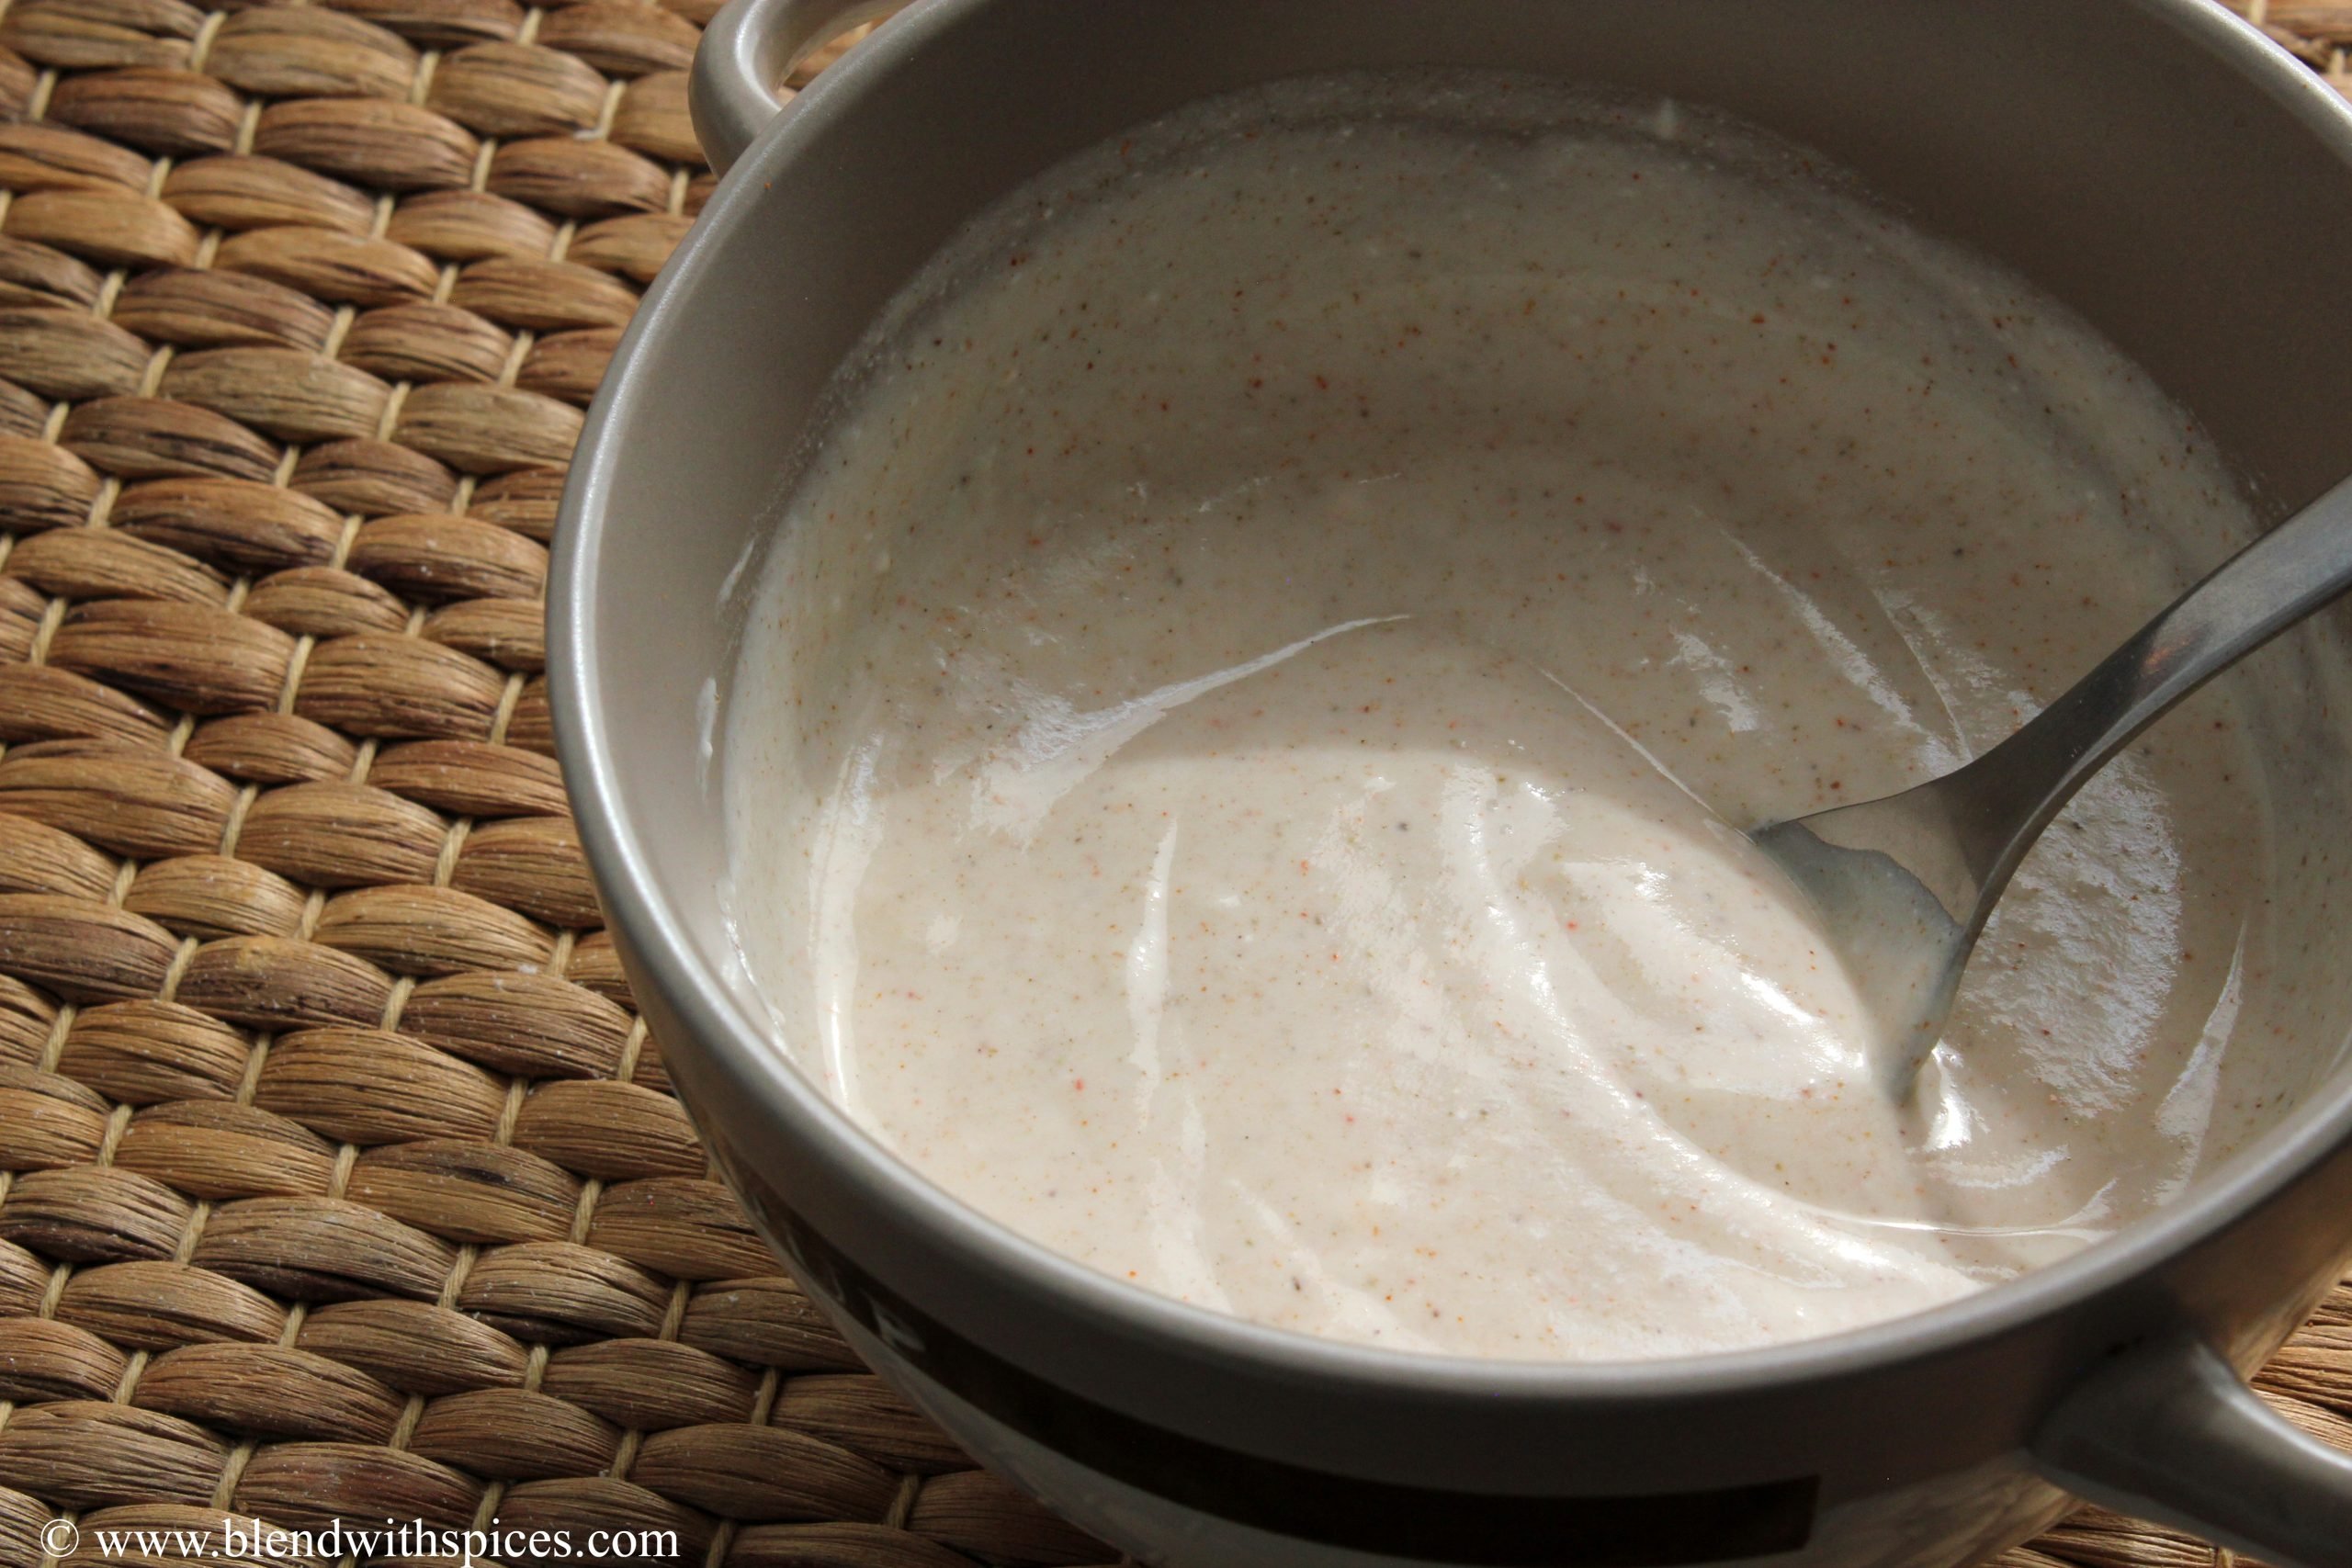
- In a mixing bowl, add one cup of whole wheat flour or atta, drained leaves, turmeric powder, salt, red chilli powder, ajwain and 1 tablespoon of oil.
- Mix and rub everything together using your fingers.
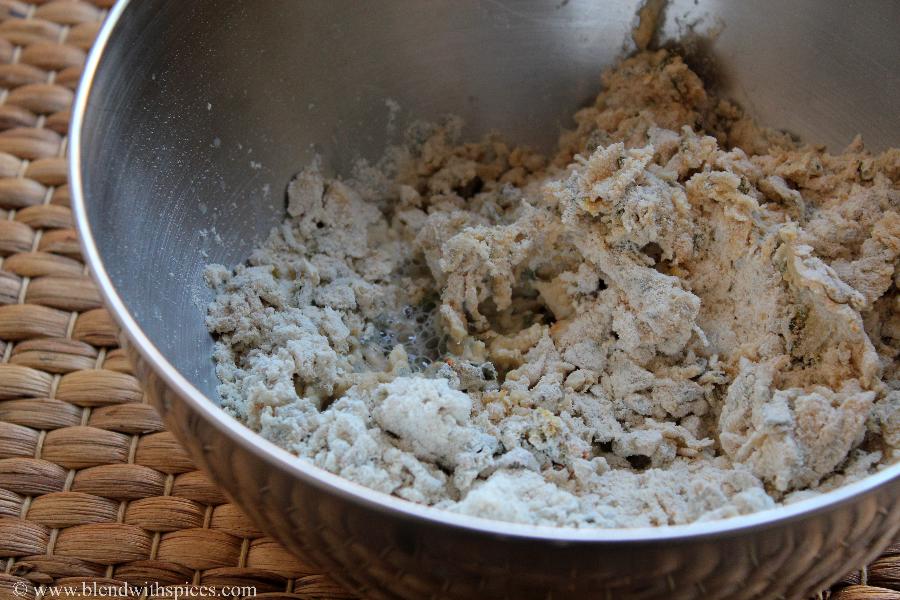
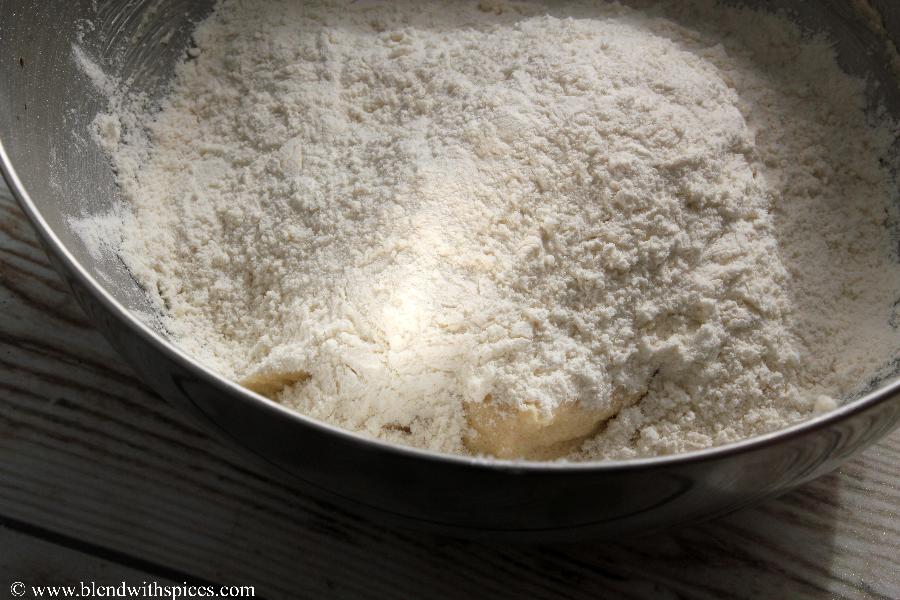
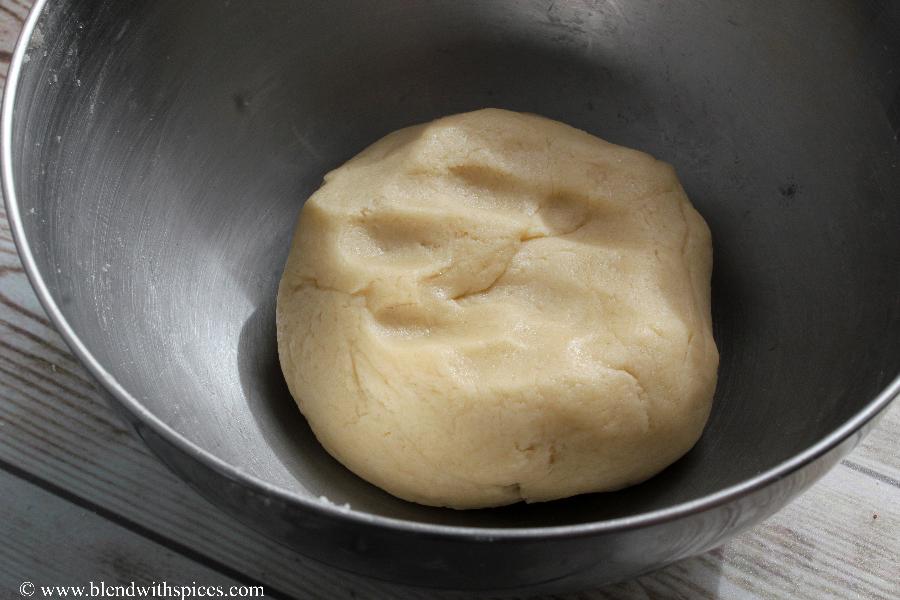
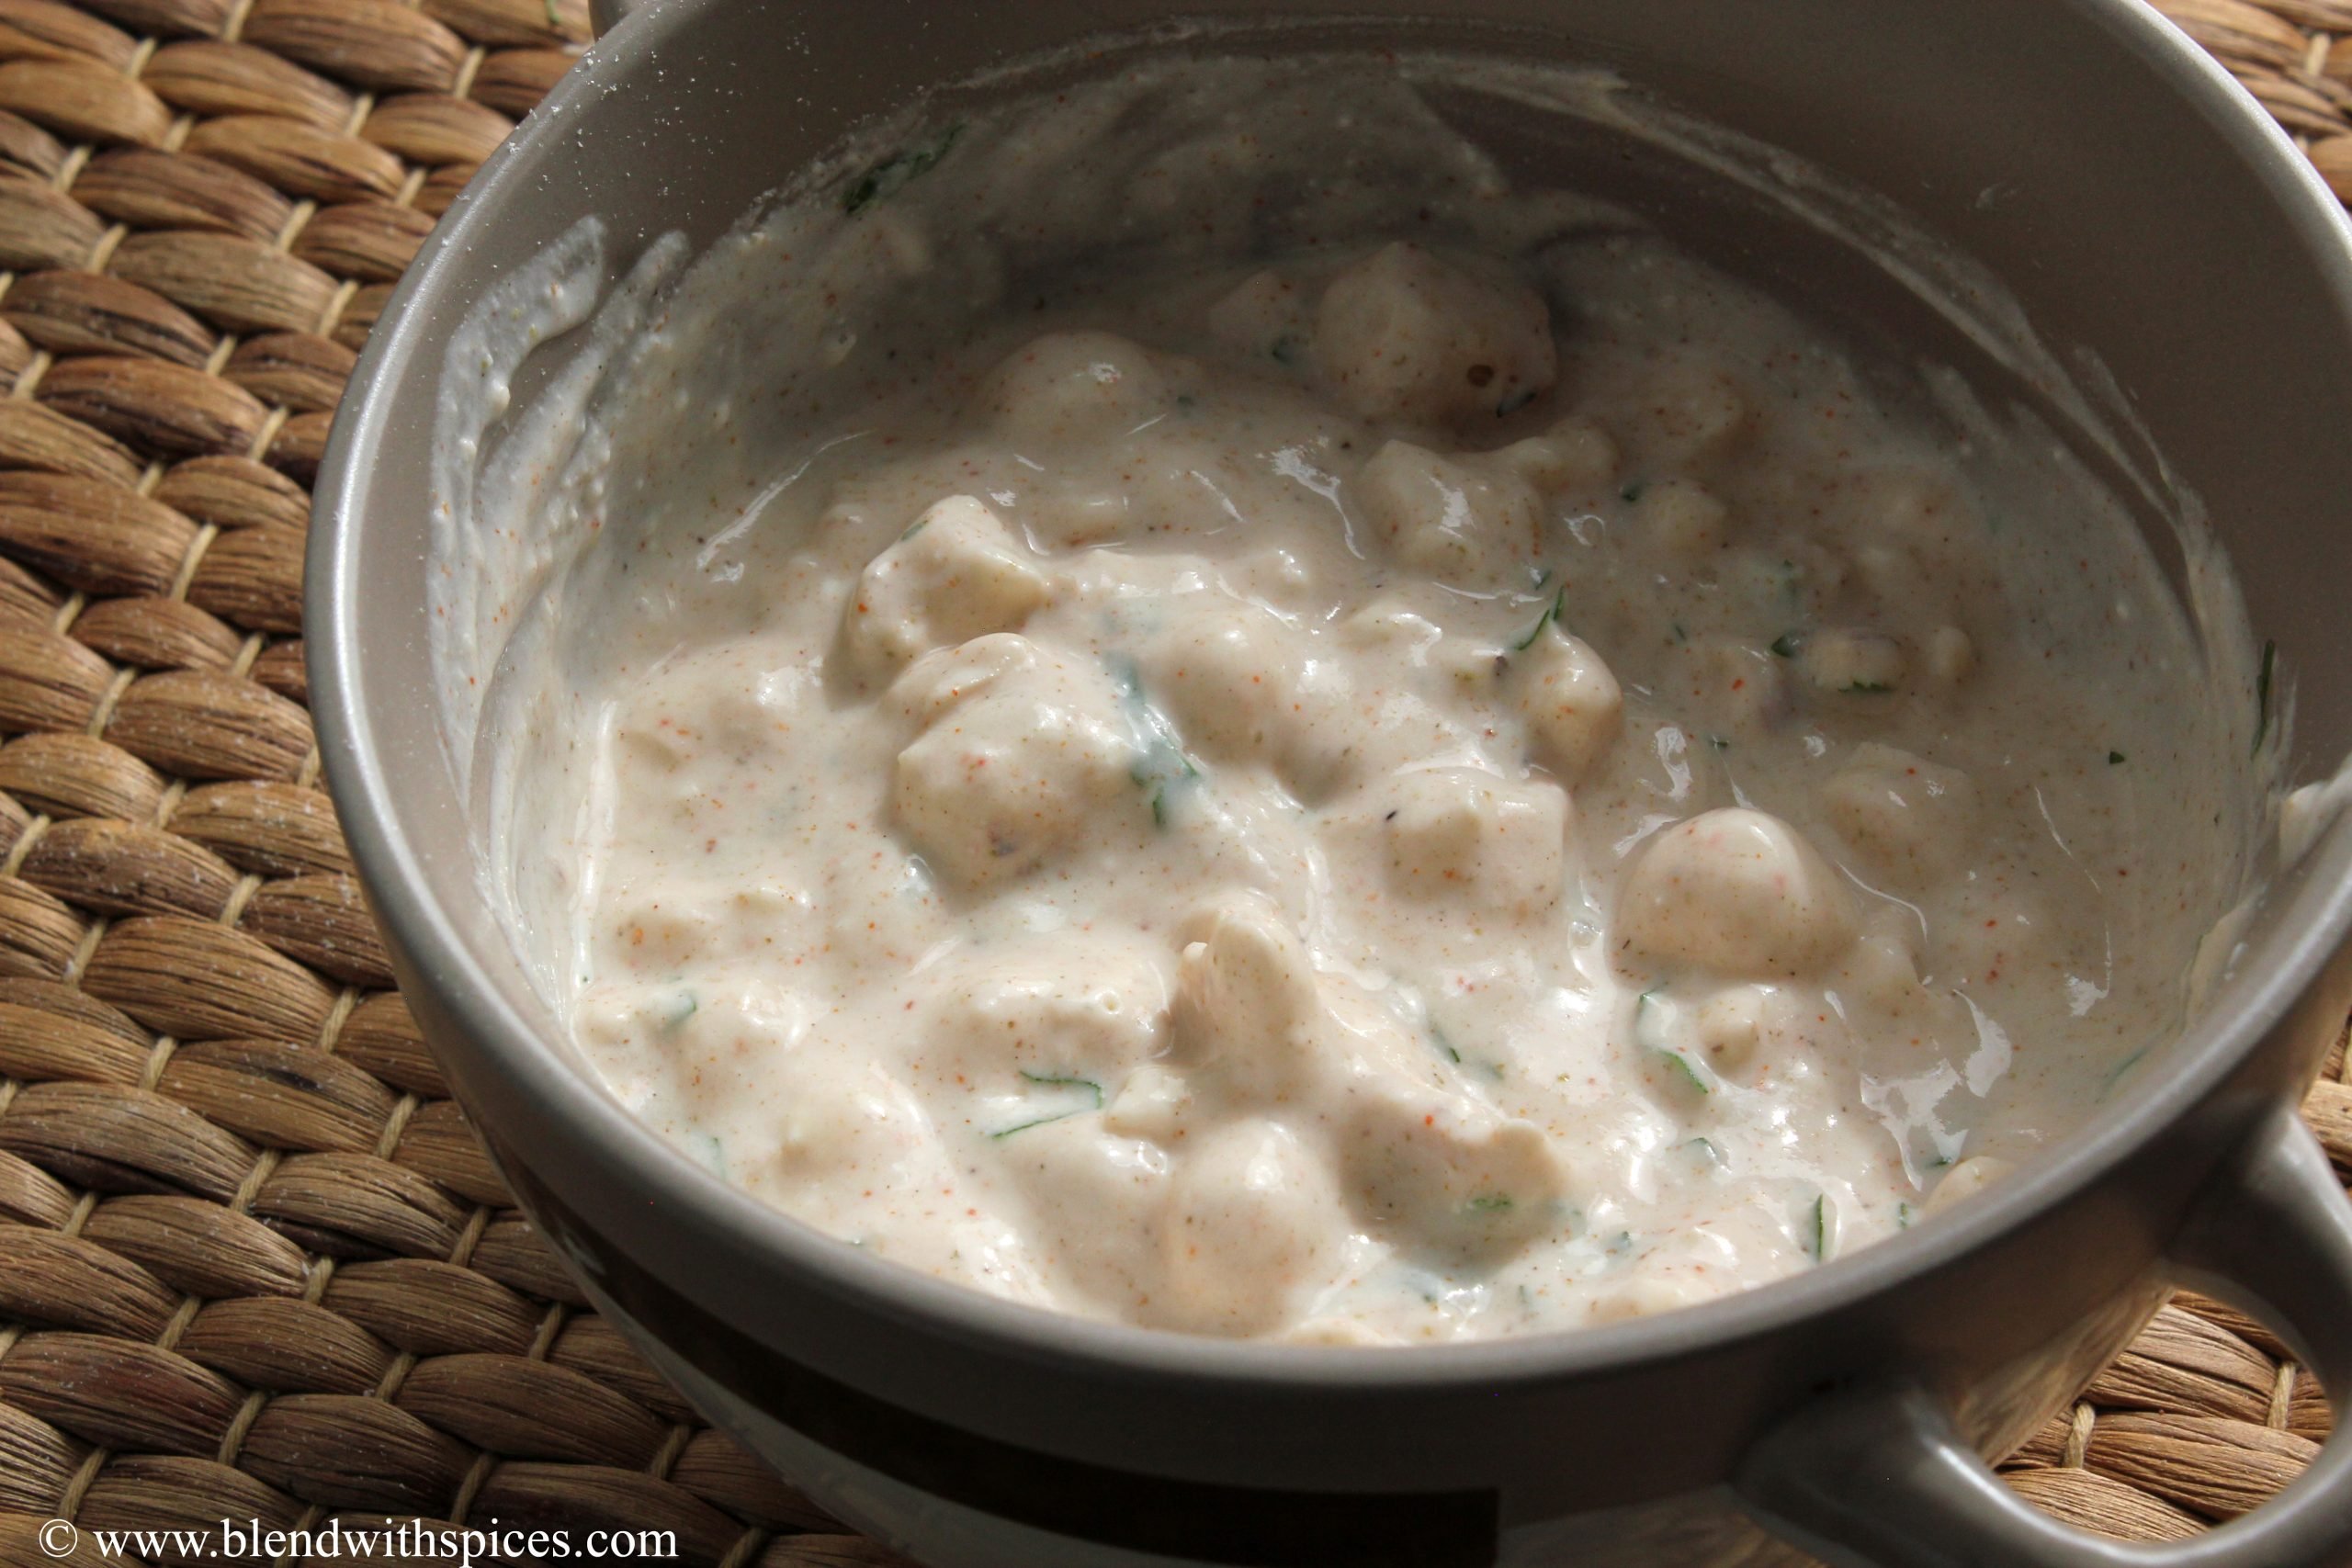
- Sprinkle water little by little and start kneading to make a soft dough.

- Make sure the dough is soft and smooth. Otherwise, parathas won't be soft.
- You can rest the dough for some time at this stage or prepare rotis immediately.
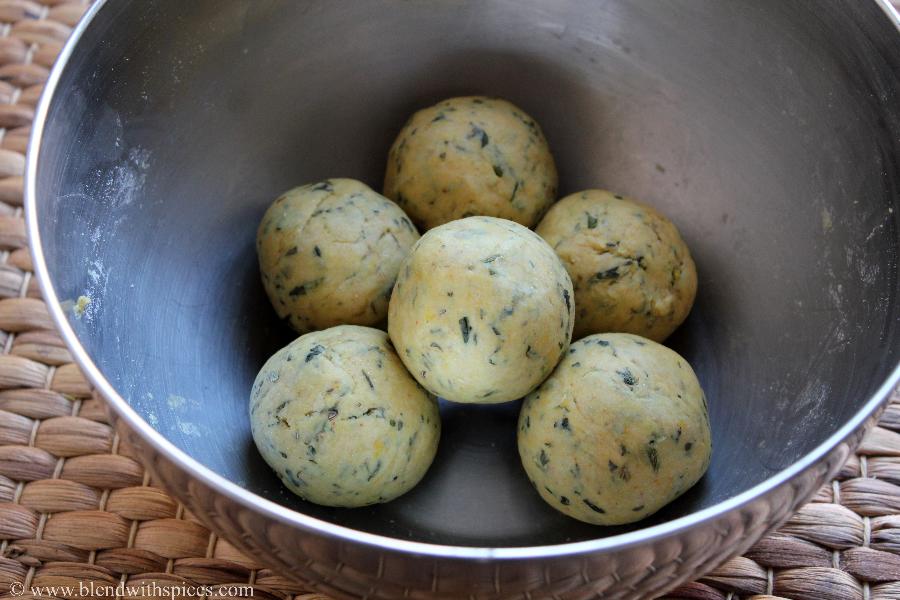
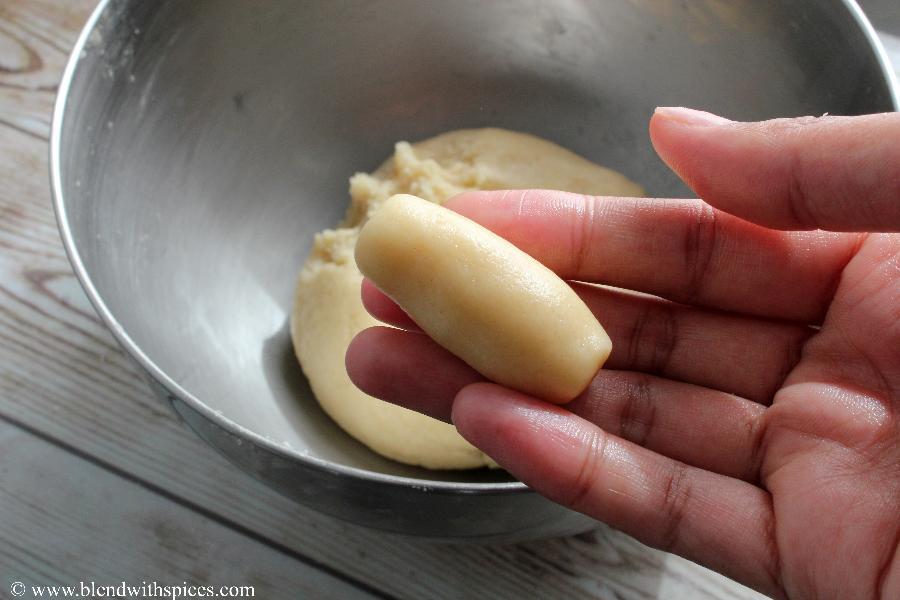
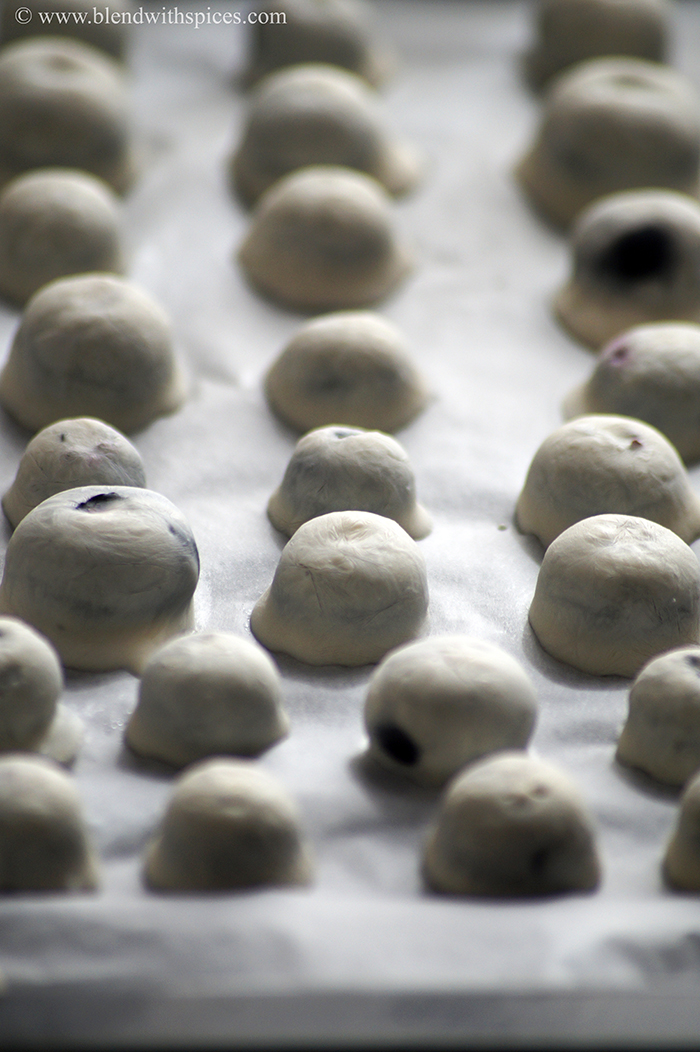
- Divide the prepared dough into 6 equal portions and make them into round balls.
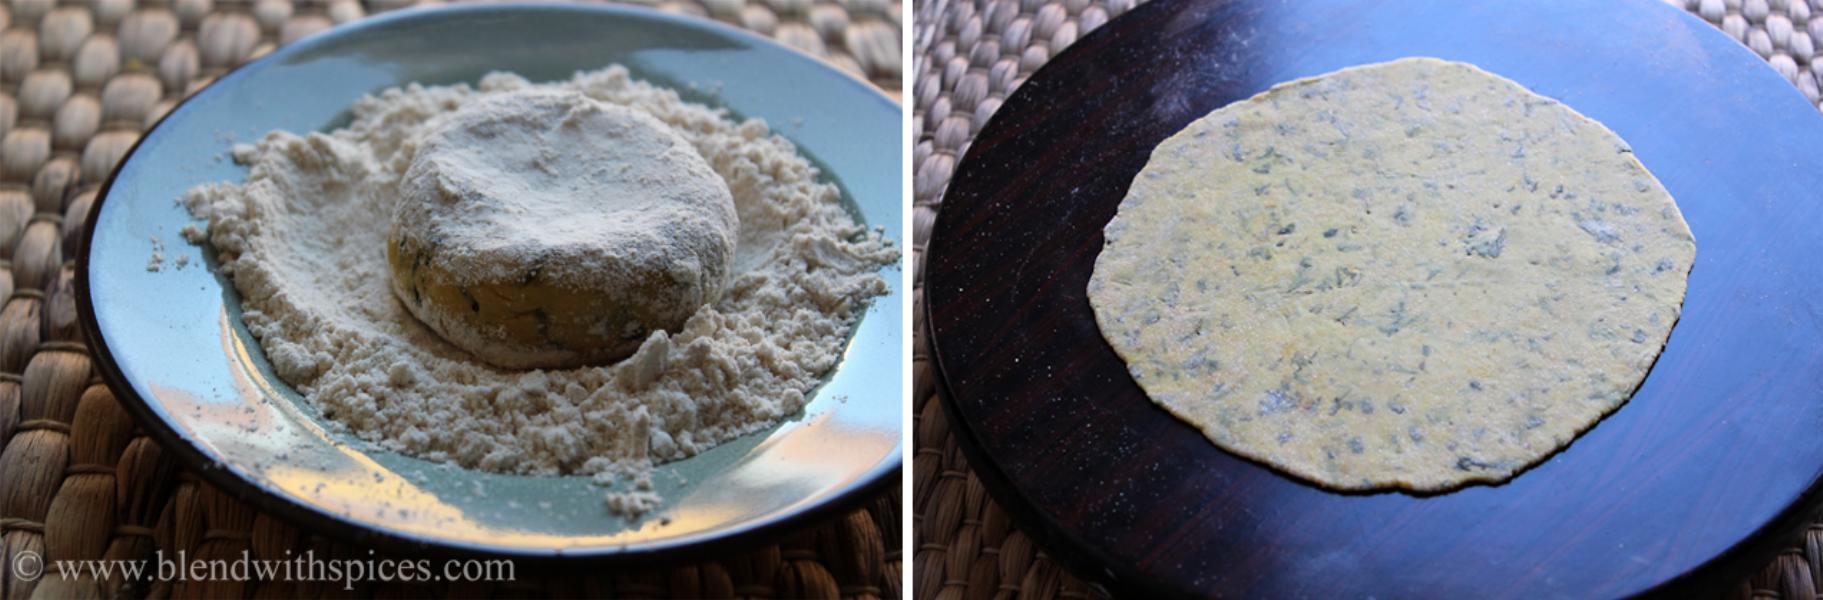
- Dust each ball with wheat flour and roll it using a rolling pin to make a thin or slightly thick round circle.
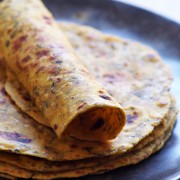
- Transfer the rolled dough to a hot pan and press gently and cook for a minute.
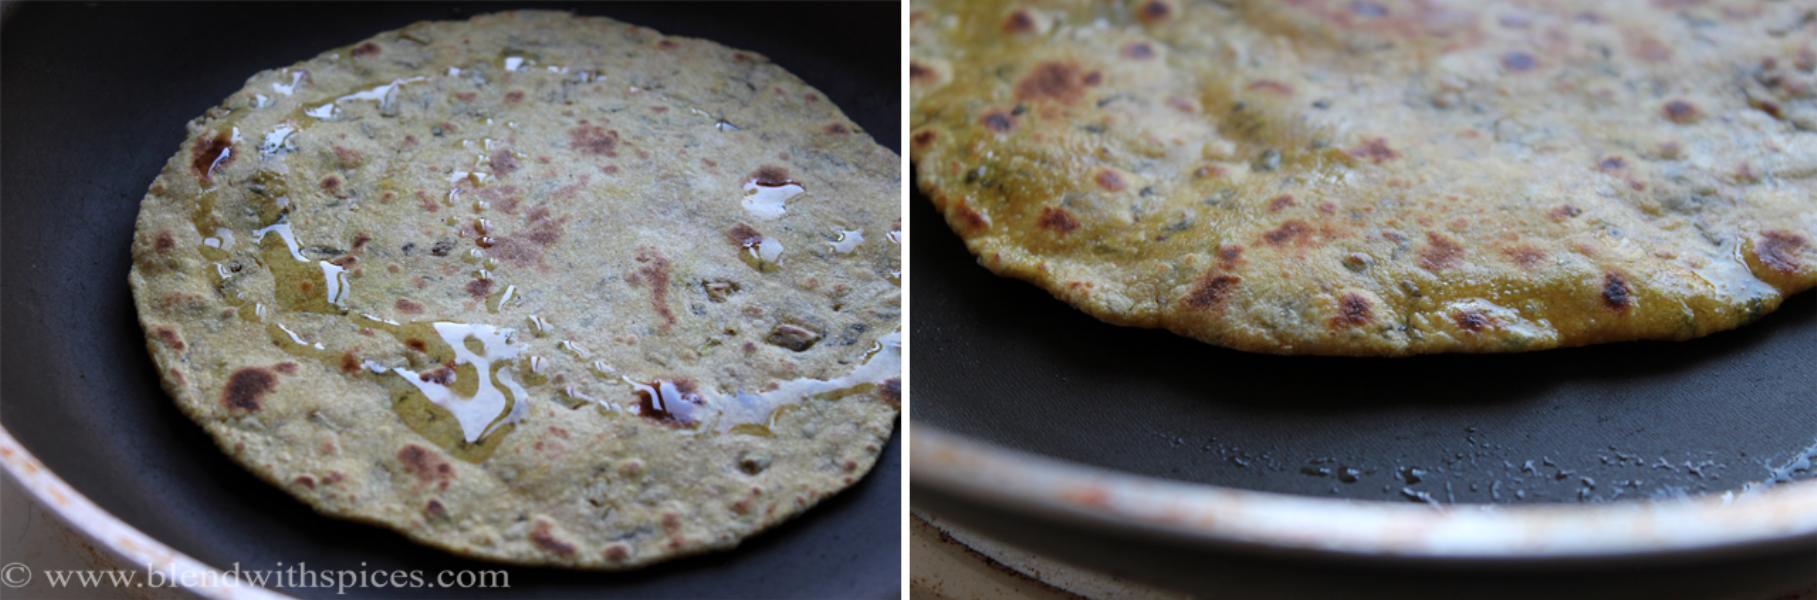
- Flip the paratha and drizzle some oil or ghee and cook on both sides.
- Serve hot!
If you are looking for more Indian roti or paratha recipes then check the below recipes.
More recipes like this:
How to Make Kasuri Methi Paratha Recipe Video below:
Kasuri Methi Paratha Recipe
Ingredients
- 1 cup Wheat Flour (plus extra for dusting)
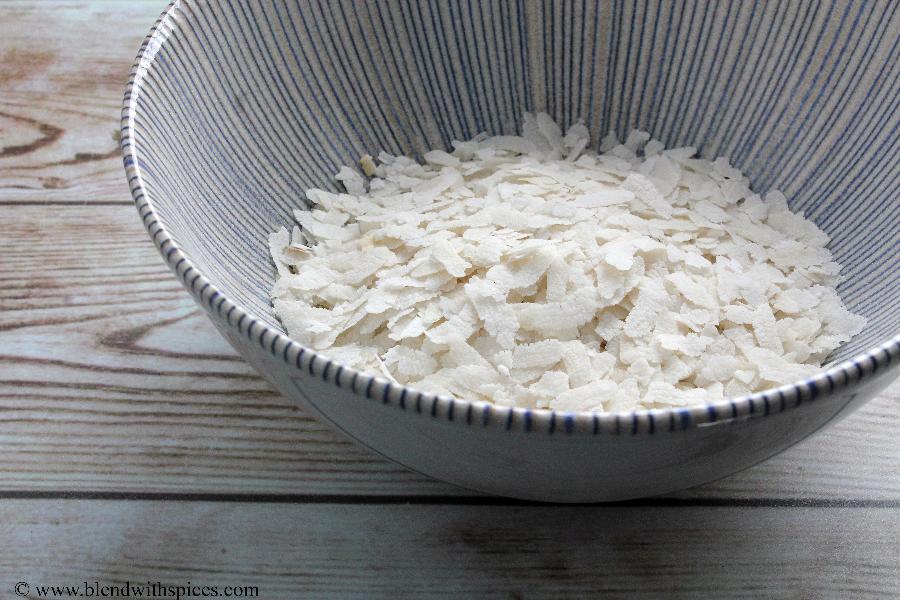
- ¼ cup Kasoori Methi
- 1 tablespoon Oil for the dough
- `¼ teaspoon Turmeric Powder
- ¼ teaspoon Red Chilli Powder
- ¼ teaspoon Ajwain Seeds / Carom Seeds
- Salt to taste
- 1 tablespoon Ghee or Oil for roasting parathas
Instructions
- Soak kasoori mehi leaves in 1 cup of hot water for 10 minutes. Discard any hard stems.
- Drain water completely and set aside.
- In a mixing bowl, combine, flour, methi, chilli powder, salt, turmeric, carom seeds and 1 tablespoon of oil. Mix everything well.
- Make a soft dough by adding water little by little.
- Divide the dough into 6 round balls and keep them covered.
- Dust each ball with wheat flour and roll to make round roti.
- Place the rolled paratha on a hot pan. Press gently and cook for a minute.
- Flip the paratha and drizzle some oil or ghee and cook on both sides.
- Remove from the pan and place the hot paratha in a bowl and cover it with a lid.
- Serve hot with yogurt or pickle.