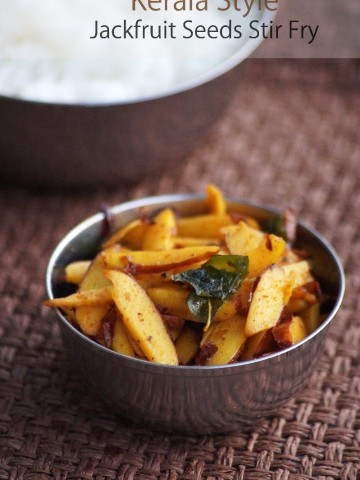
Chakkakuru Mezhukkupuratti Recipe - Kerala style stir-fry using jackfruit seeds, shallots or onions and spices. A wonderful side dish for rice.

What is Chakkakuru Mezhukkupuratti?
"Chakkakuru" means jackfruit seeds in Malayalam and "Mezhukkupuratti" is a Kerala style of making stir-fry where the vegetables are sauteed with onion, garlic and spices.
Usually, the stir-fry can be prepared with a variety of vegetables like plantains, beans, yam and bitter gourd.
The best part is the dish doesn't require any grinding and can be made easily.
Is it vegan?
Yes. It is a vegan curry.
Serving suggestions:
It tastes best when served with hot steamed rice.
Step by step preparation:
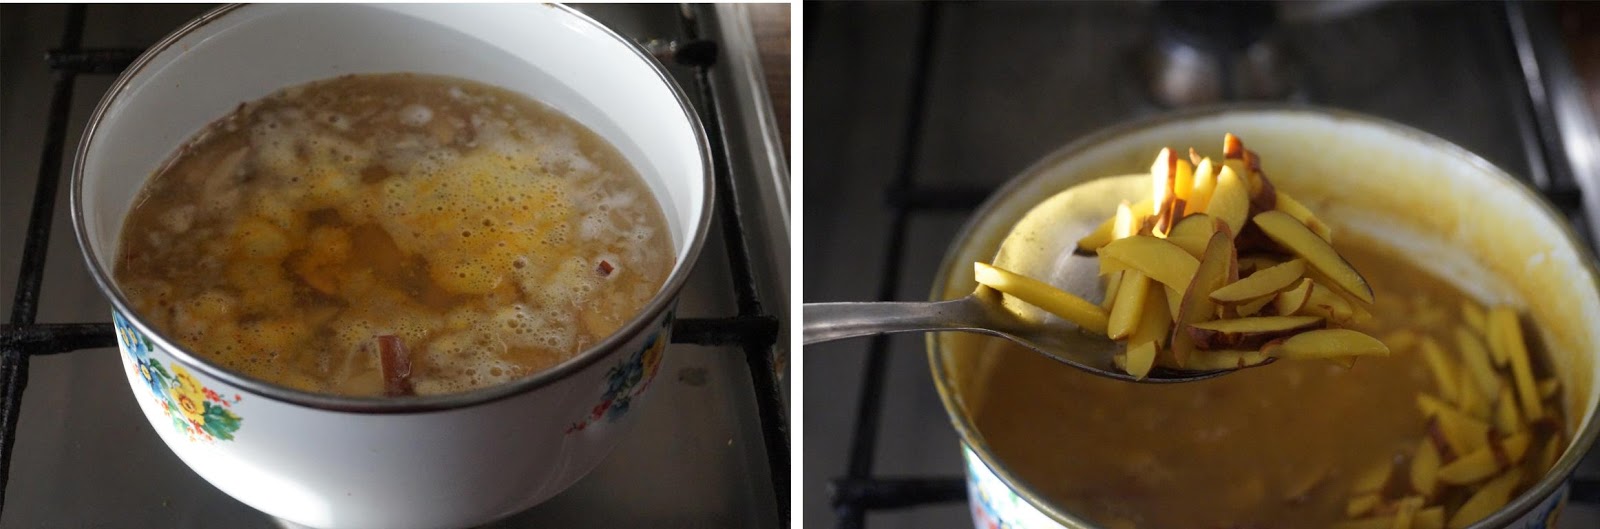
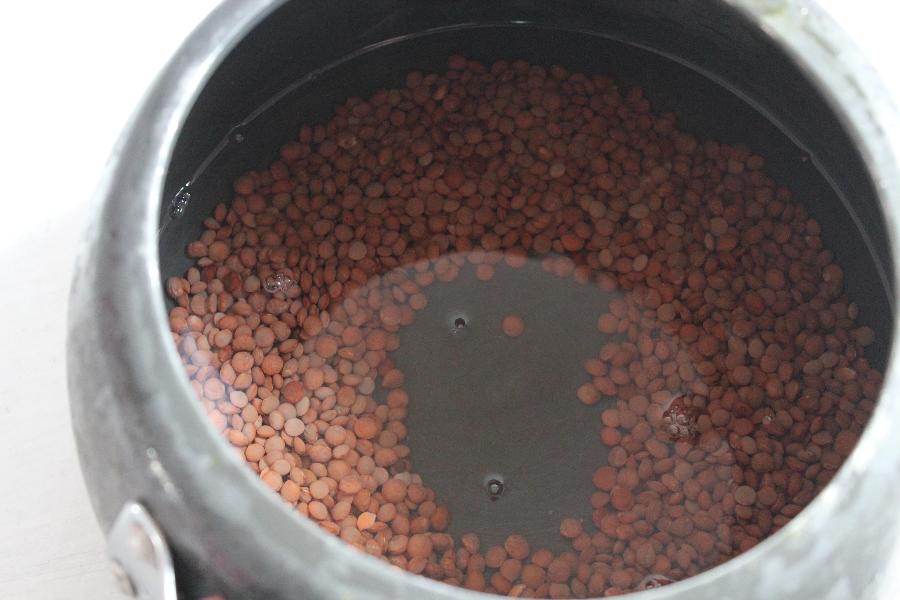
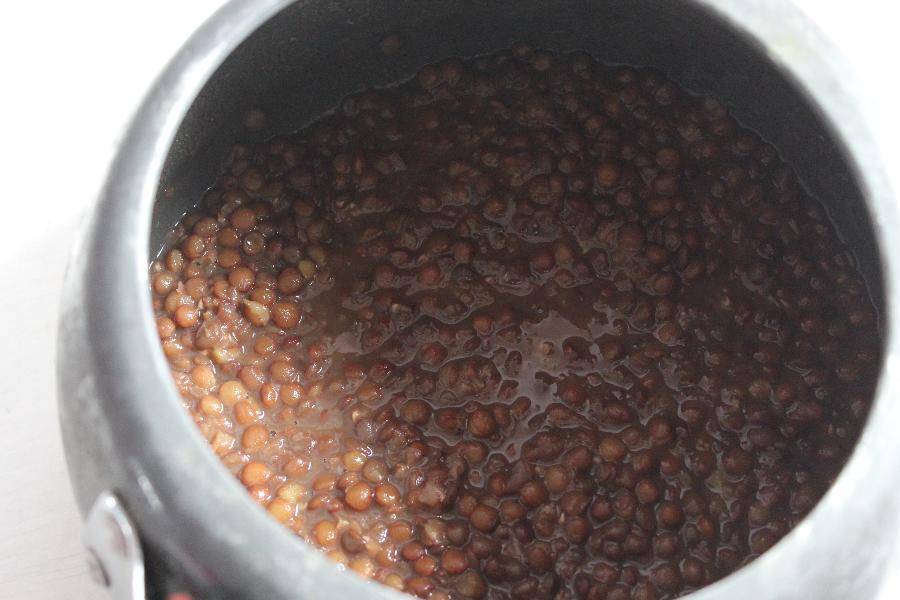
- Bring water to boil. Add the sliced jackfruit seeds, turmeric powder and salt. Cover and cook until soft and cooked.
- Drain water and set aside.
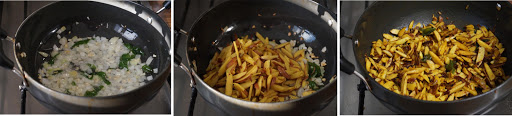
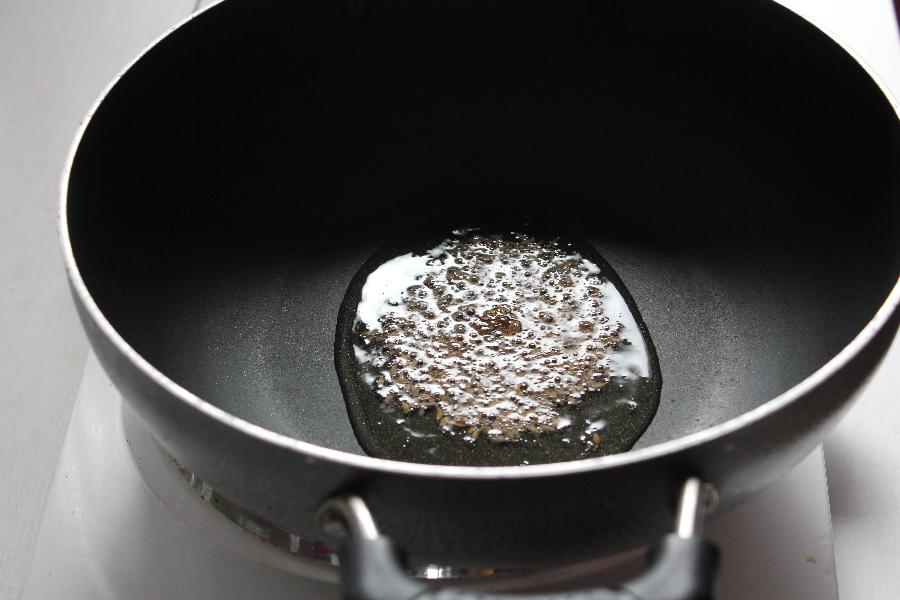
- Heat coconut oil in a heavy-bottomed pan. Add finely chopped garlic and fry for a minute.
- Add curry leaves and chopped onion or shallots and fry until light brown color.
- Add the cooked jackfruit seeds, salt, red chilli powder and black pepper and combine well.
- Saute over a low-medium flame until light brown color.
Few more Curry recipes you'll love:
- Soya chunks gravy
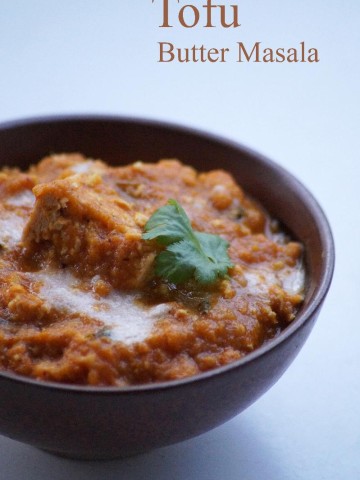
- Tofu butter masala
- Badami Paneer
- Gutti Vankaya Kobbari Karam
- Vendakka Thoran
- Arbi ka saag
- Aloo allam pachimirchi koora
- Kadai Mushroom
- Aloo Beans
- Vazhaithandu Poriyal
How to make Chakkakuru Mezhukkupuratti recipe video below:

Chakkakuru Mezhukkupuratti Recipe
Kerala style stir-fry made with jackfruit seeds and spices. A traditional side dish for rice.
Servings: 3
Ingredients
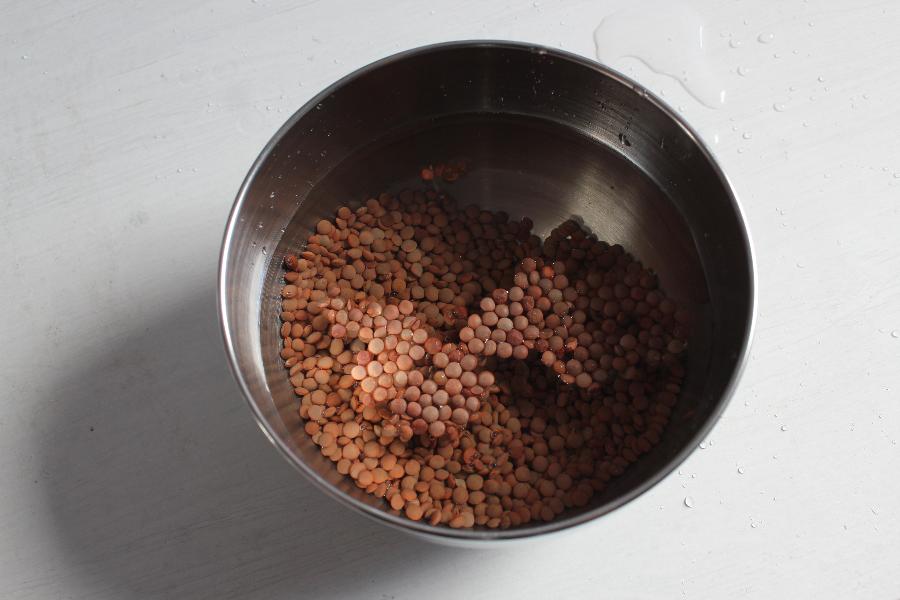
- 2 cups Sliced Jackfruit Seeds
- 1 medium Onion
- 2 teaspoon finely chopped Garlic
- ¼ teaspoon Crushed Black Pepper
- ½ teaspoon Red Chilli Powder or as needed
- ½ teaspoon Turmeric Powder
- Few Curry Leaves
- 2-3 tablespoon Coconut Oil
- Salt to taste
Instructions
- Bring water to boil. Add the sliced jackfruit seeds, turmeric powder and salt. Cover and cook until soft and cooked.
- Drain water and set aside.
- Heat oil in a heavy-bottomed pan. Add the garlic and fry for a minute.
- Add the curry leaves and chopped onion and fry until light brown color.
- Add the cooked jackfruit seeds, salt, red chilli powder and black pepper and combine well.
- Fry over a low – medium flame until light brown color.
- Serve hot with rice and ghee.
Video