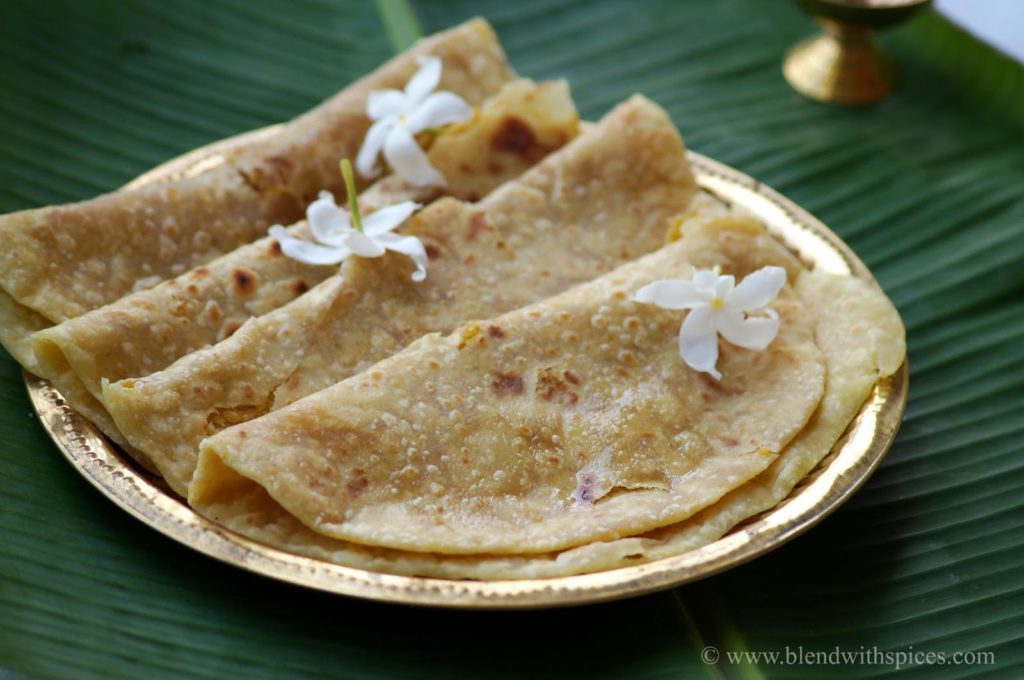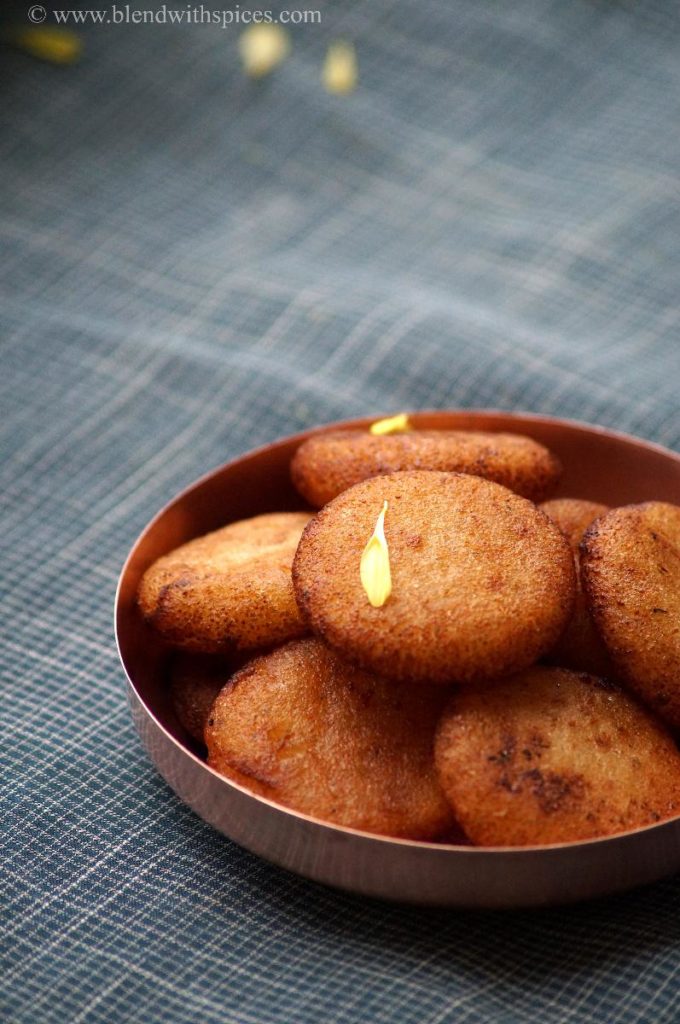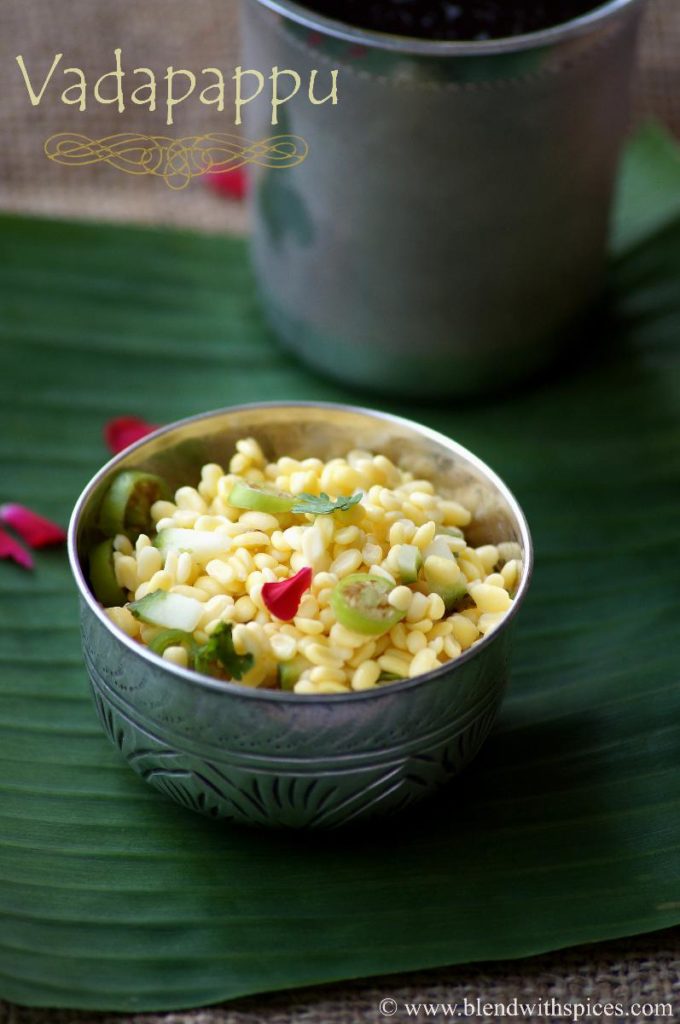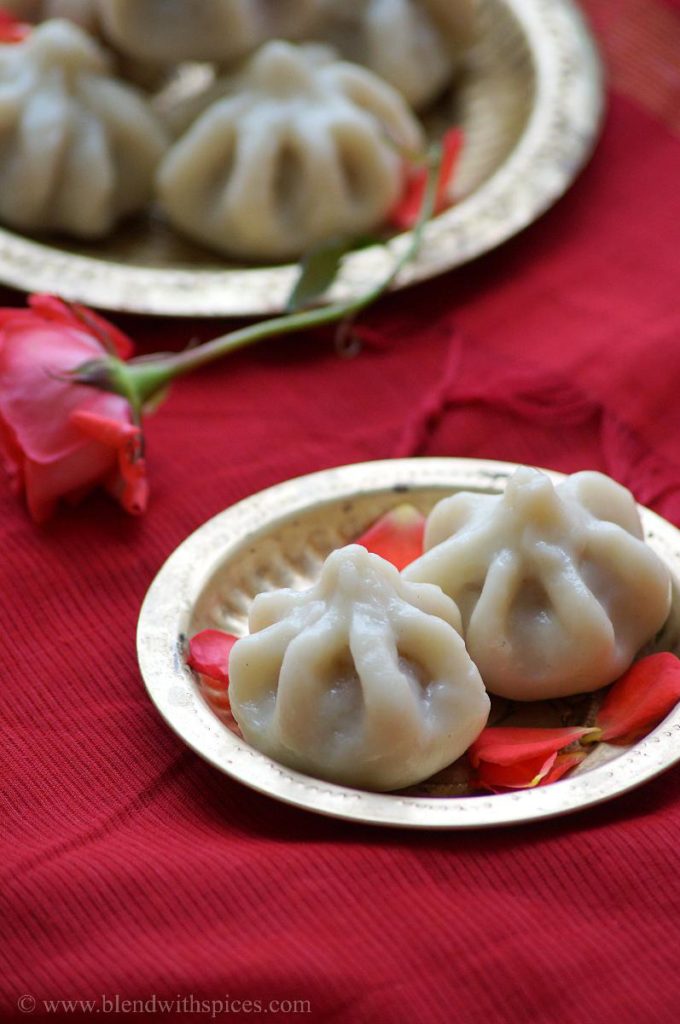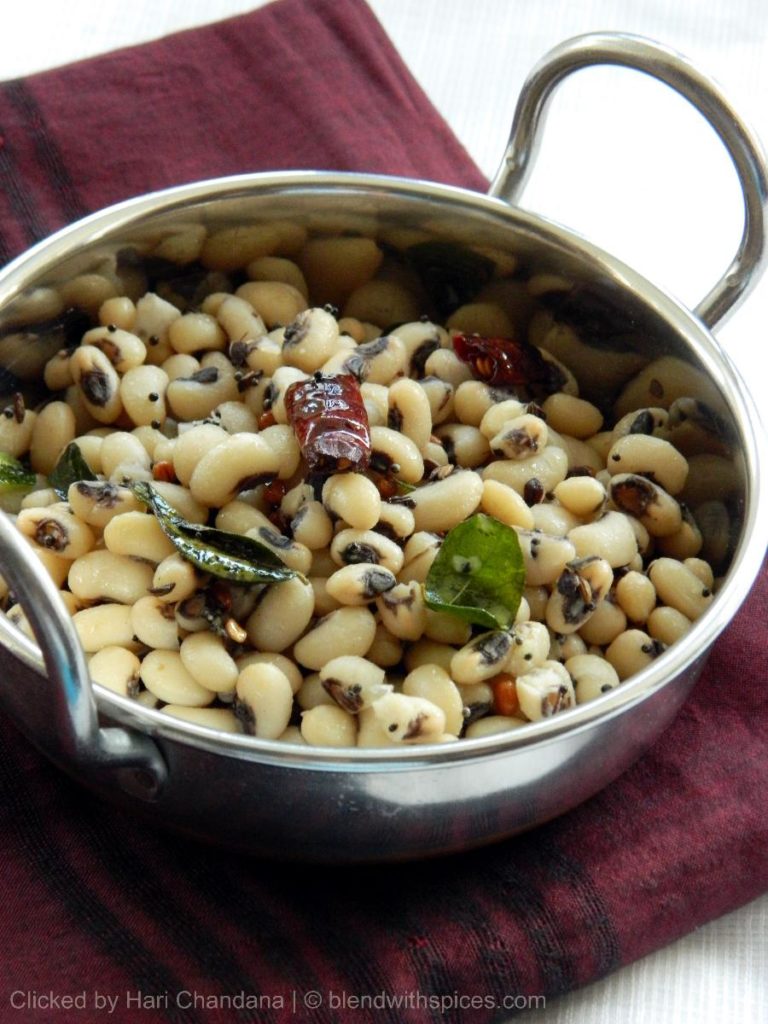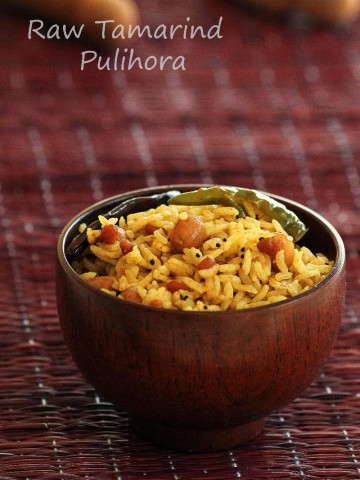
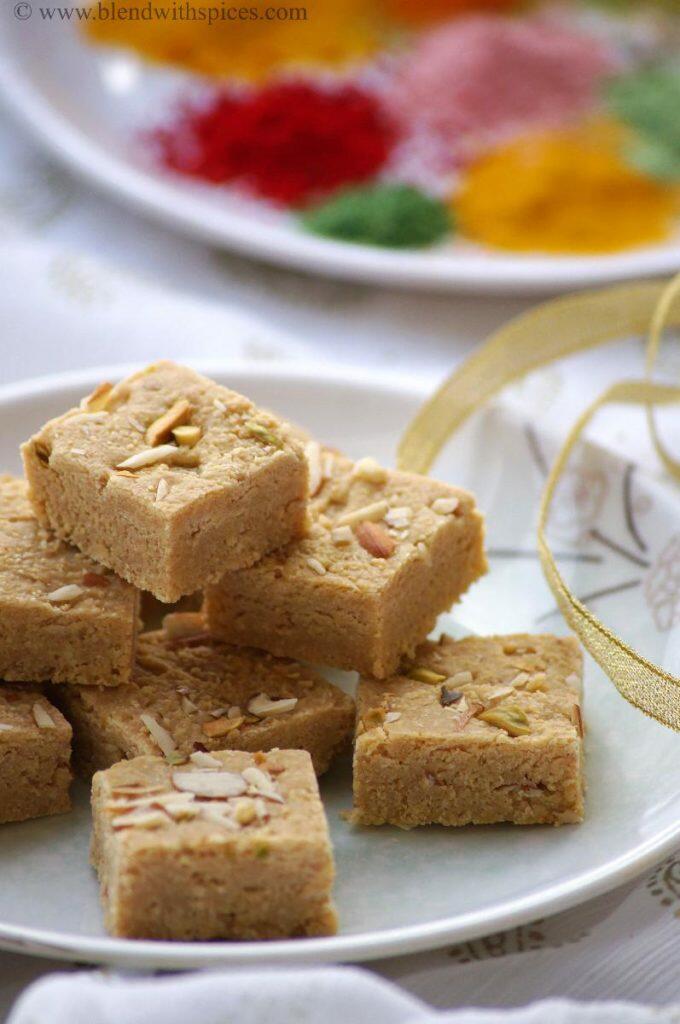
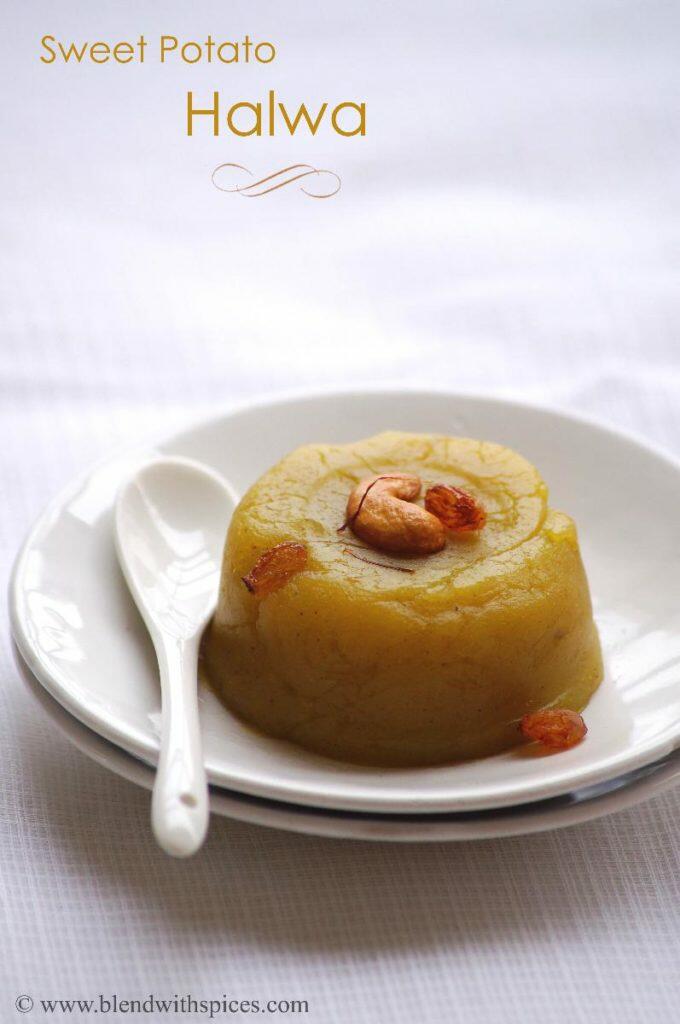
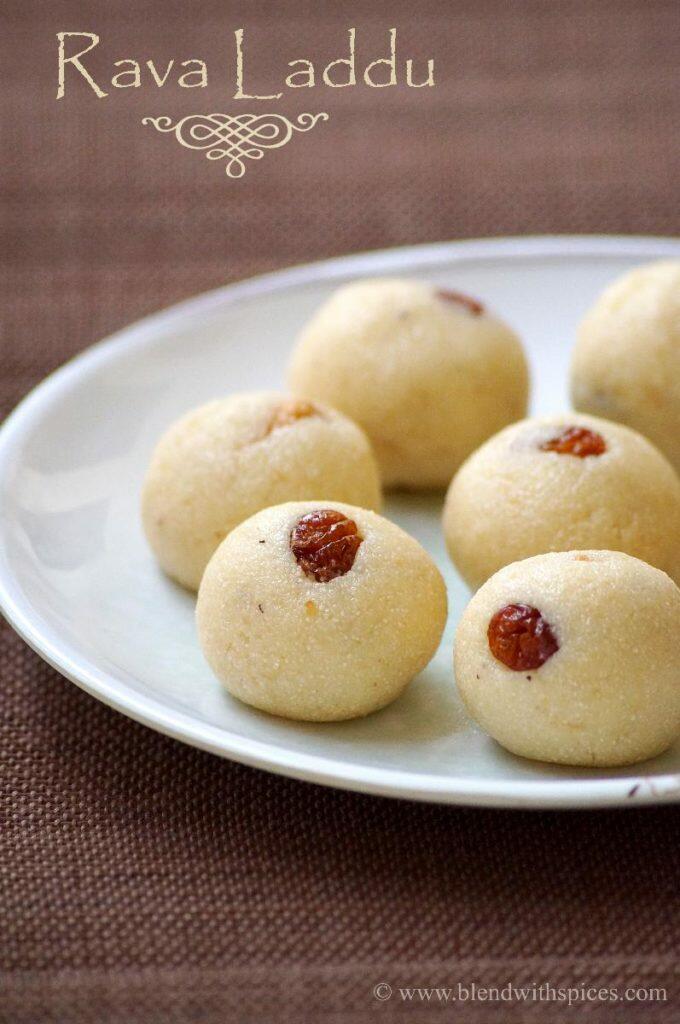
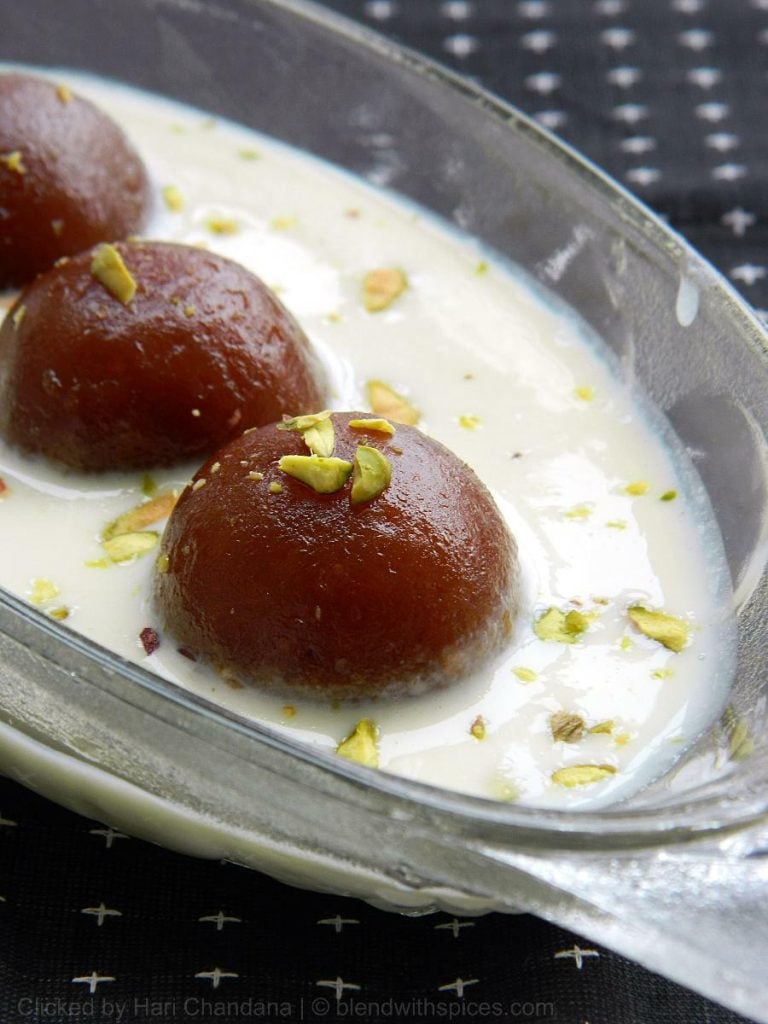
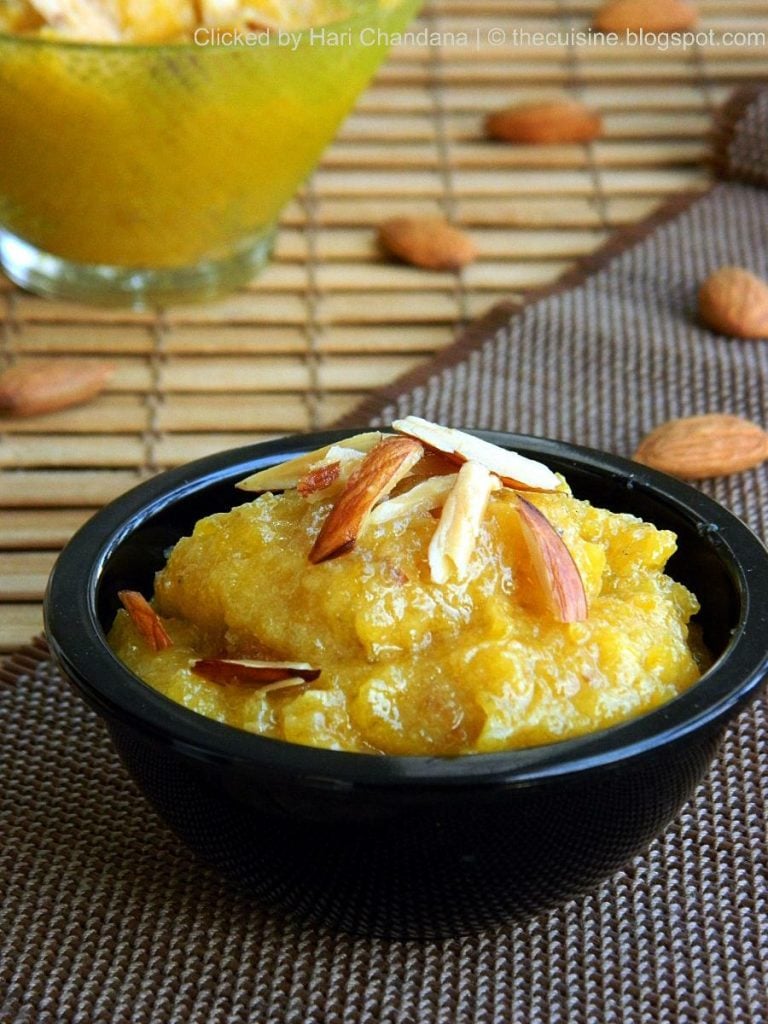
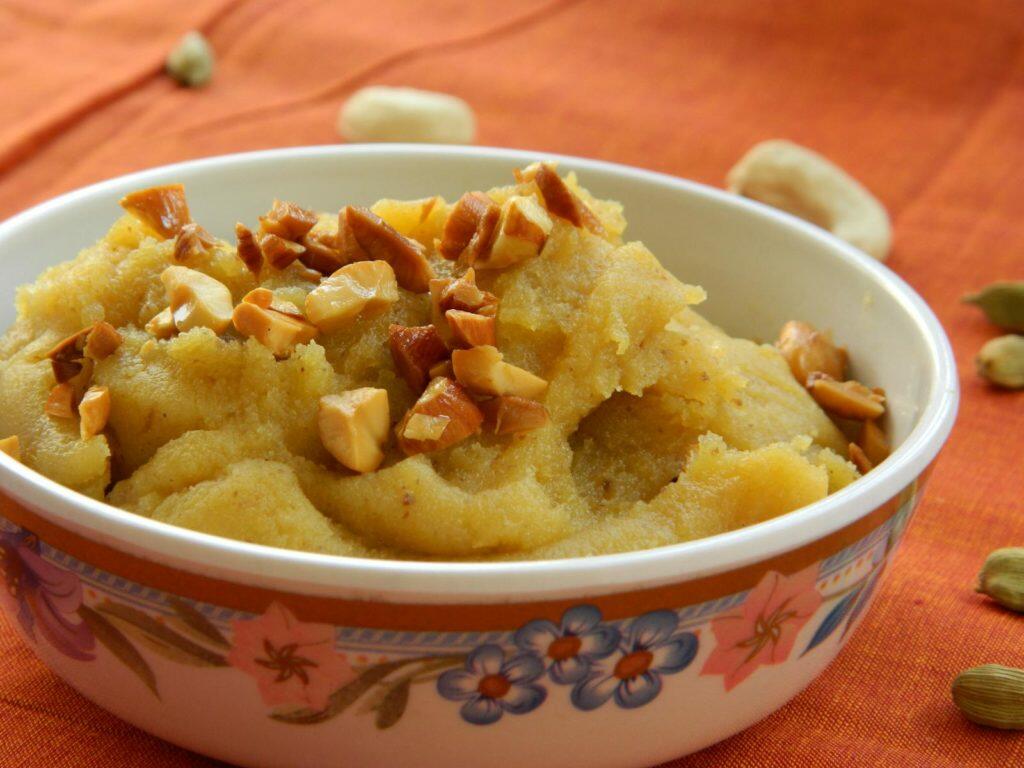
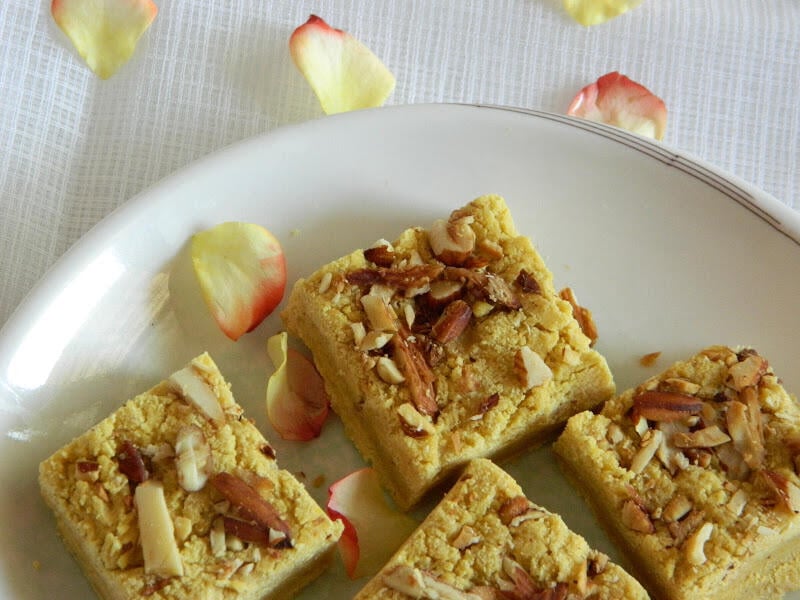
Krishnashtami Prasadam Recipes - Krishna Jayanthi Recipes - Gokulashtsmi Recipes - Janmashtami Special Recipes


Check out other Festival Recipes:


Check out other Festival Recipes:
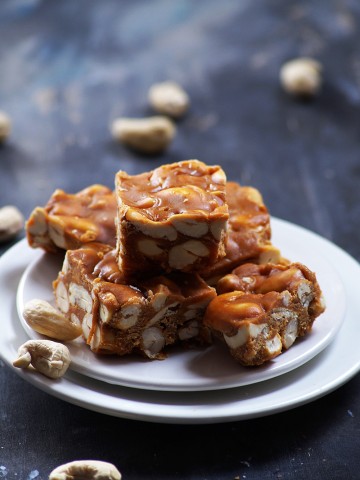
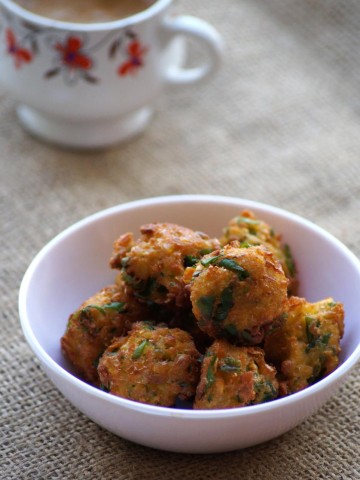
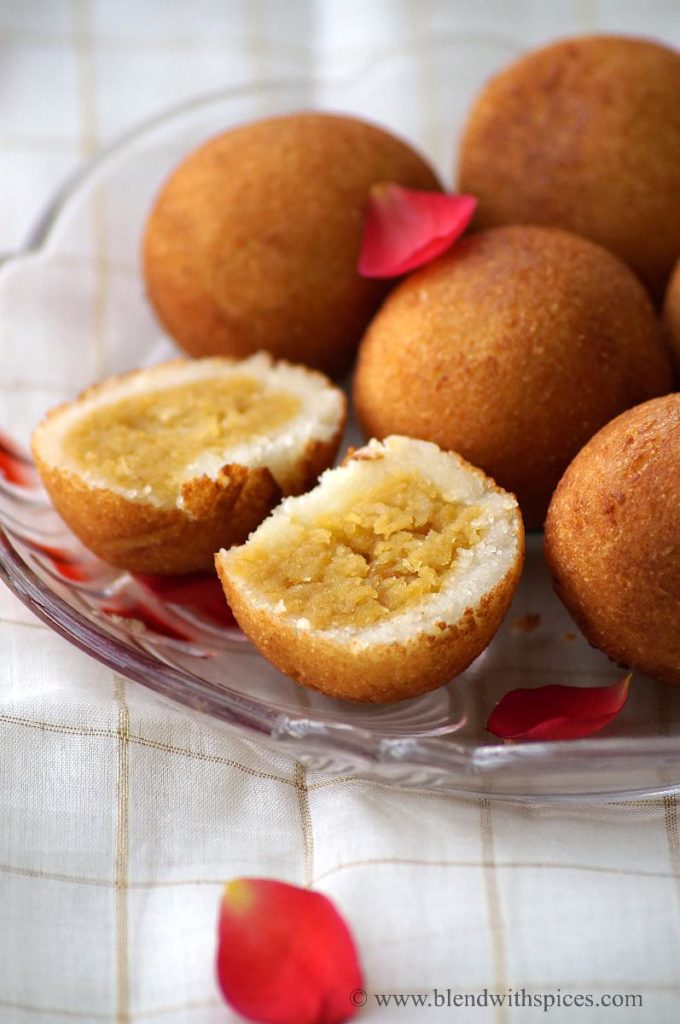
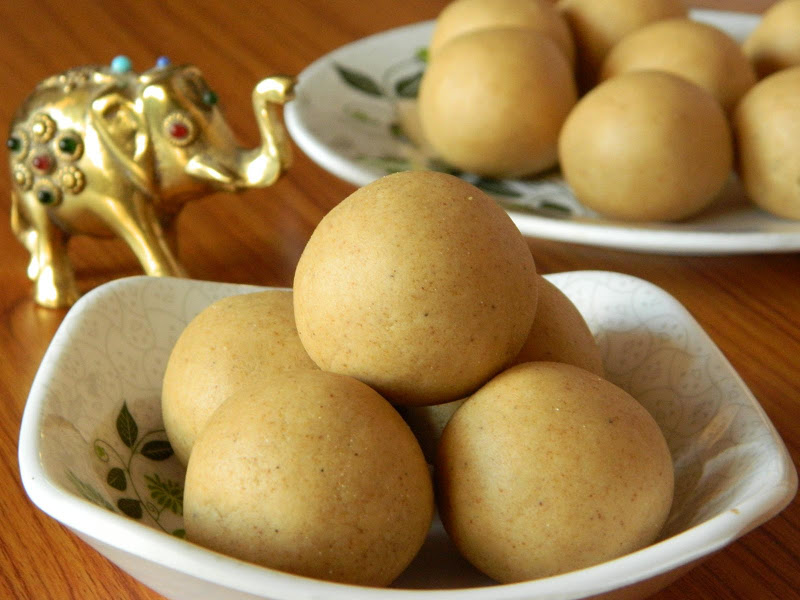
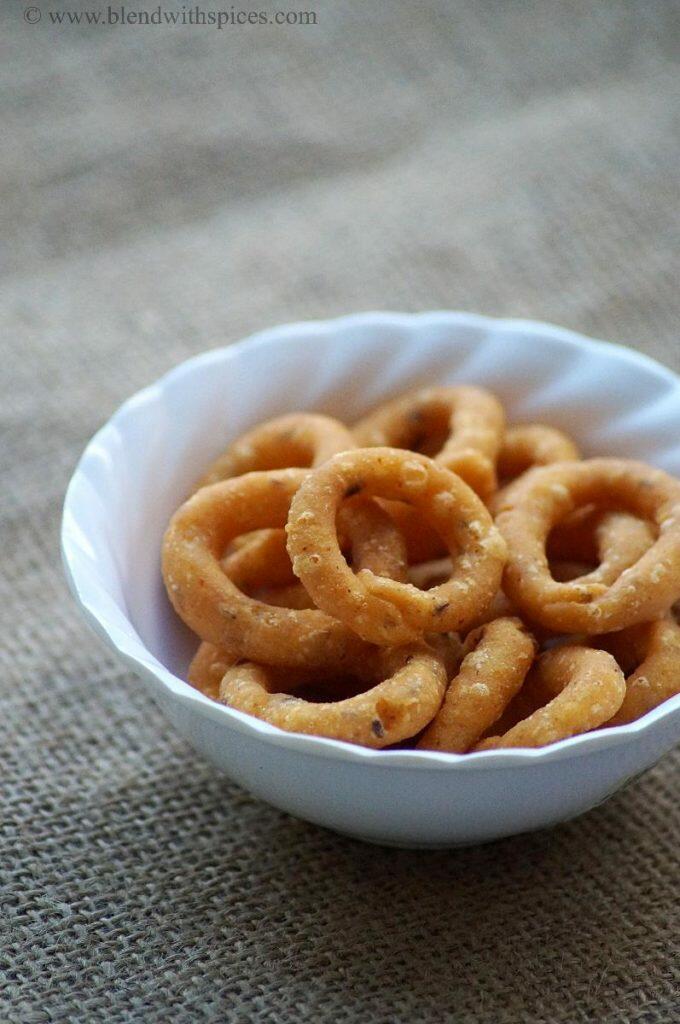
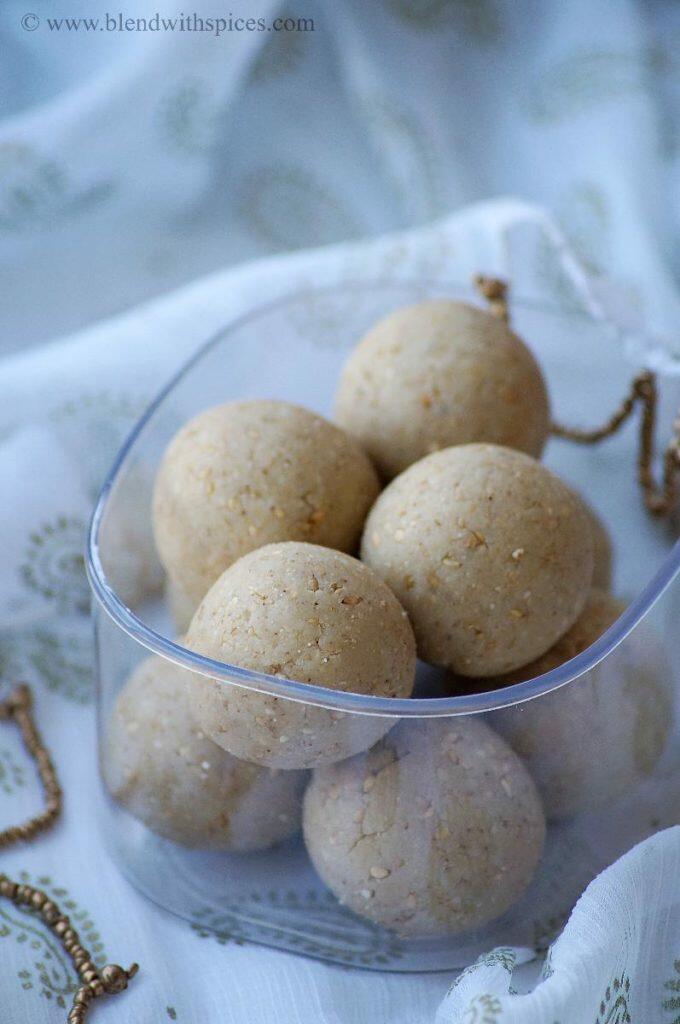
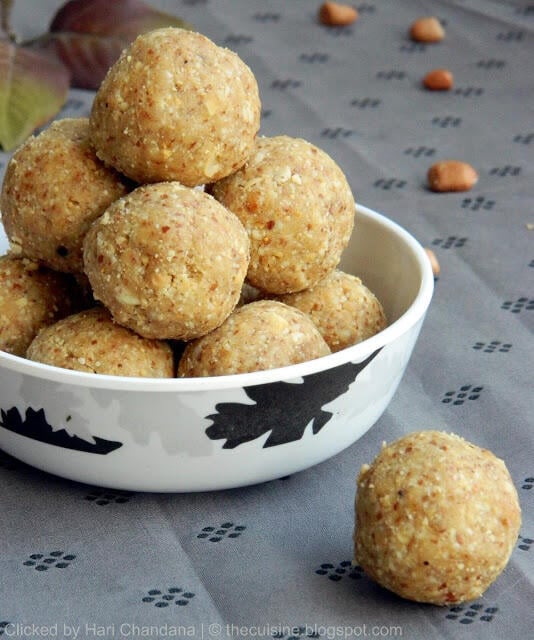
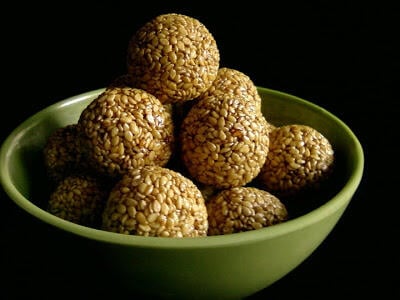
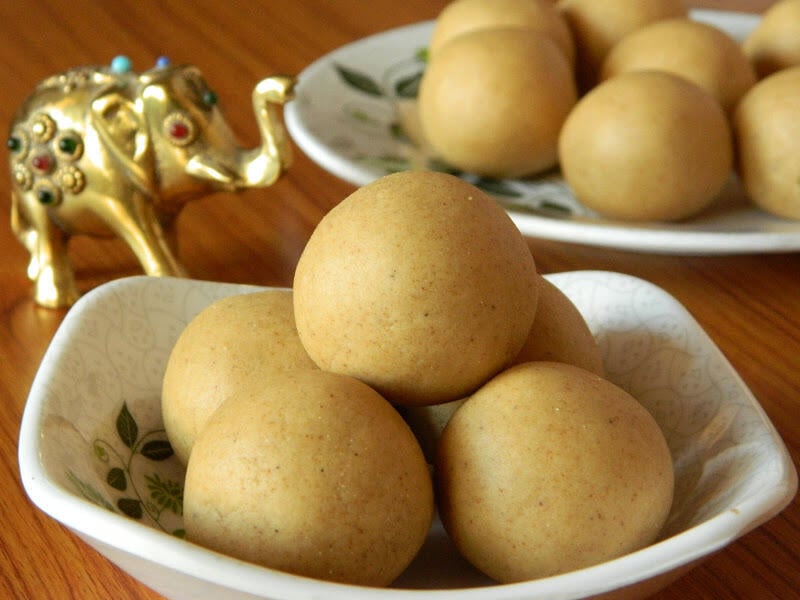
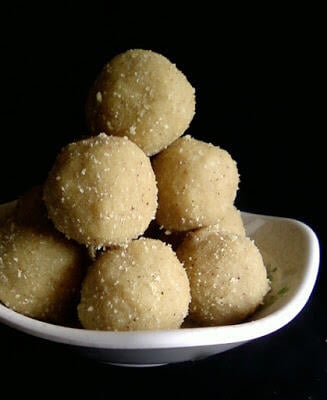
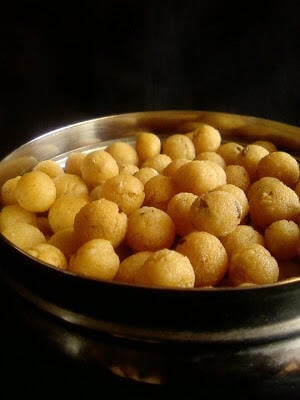
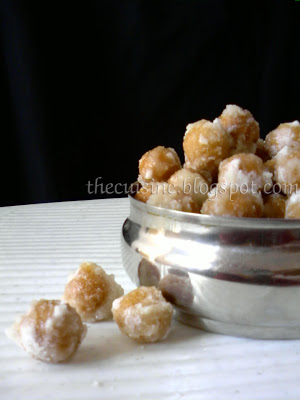
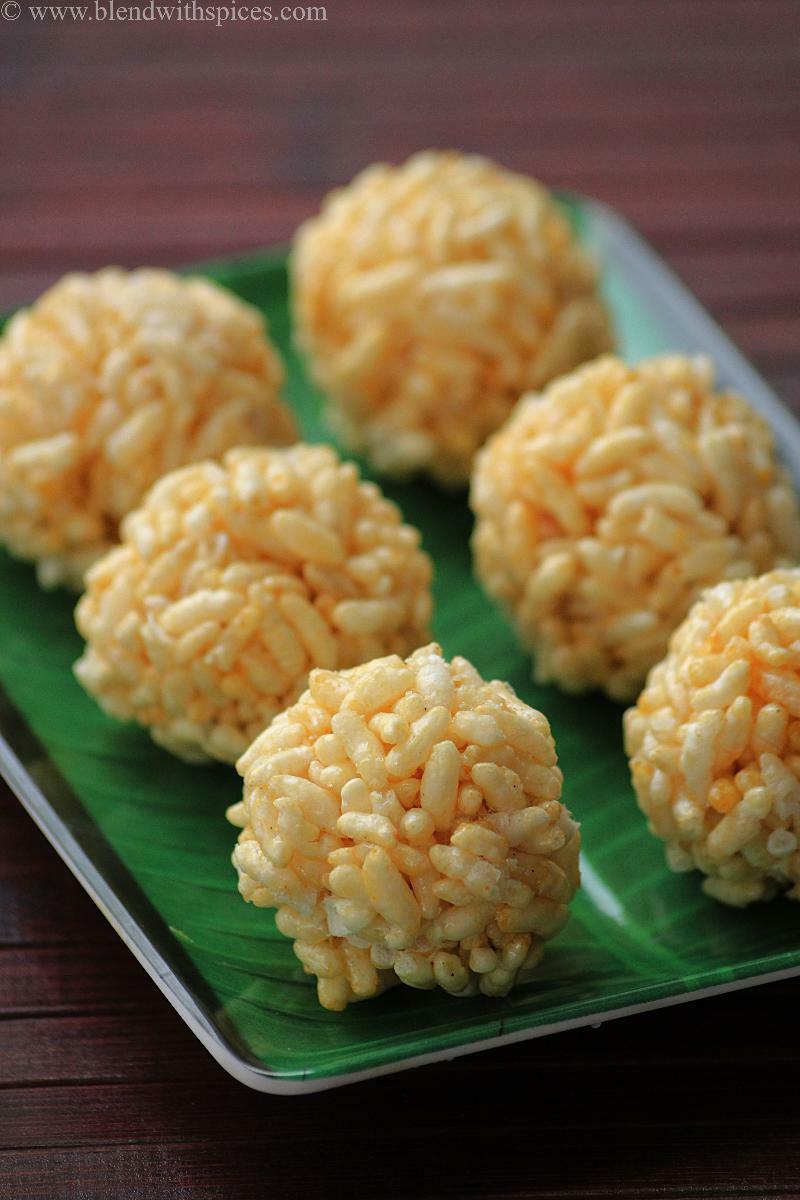
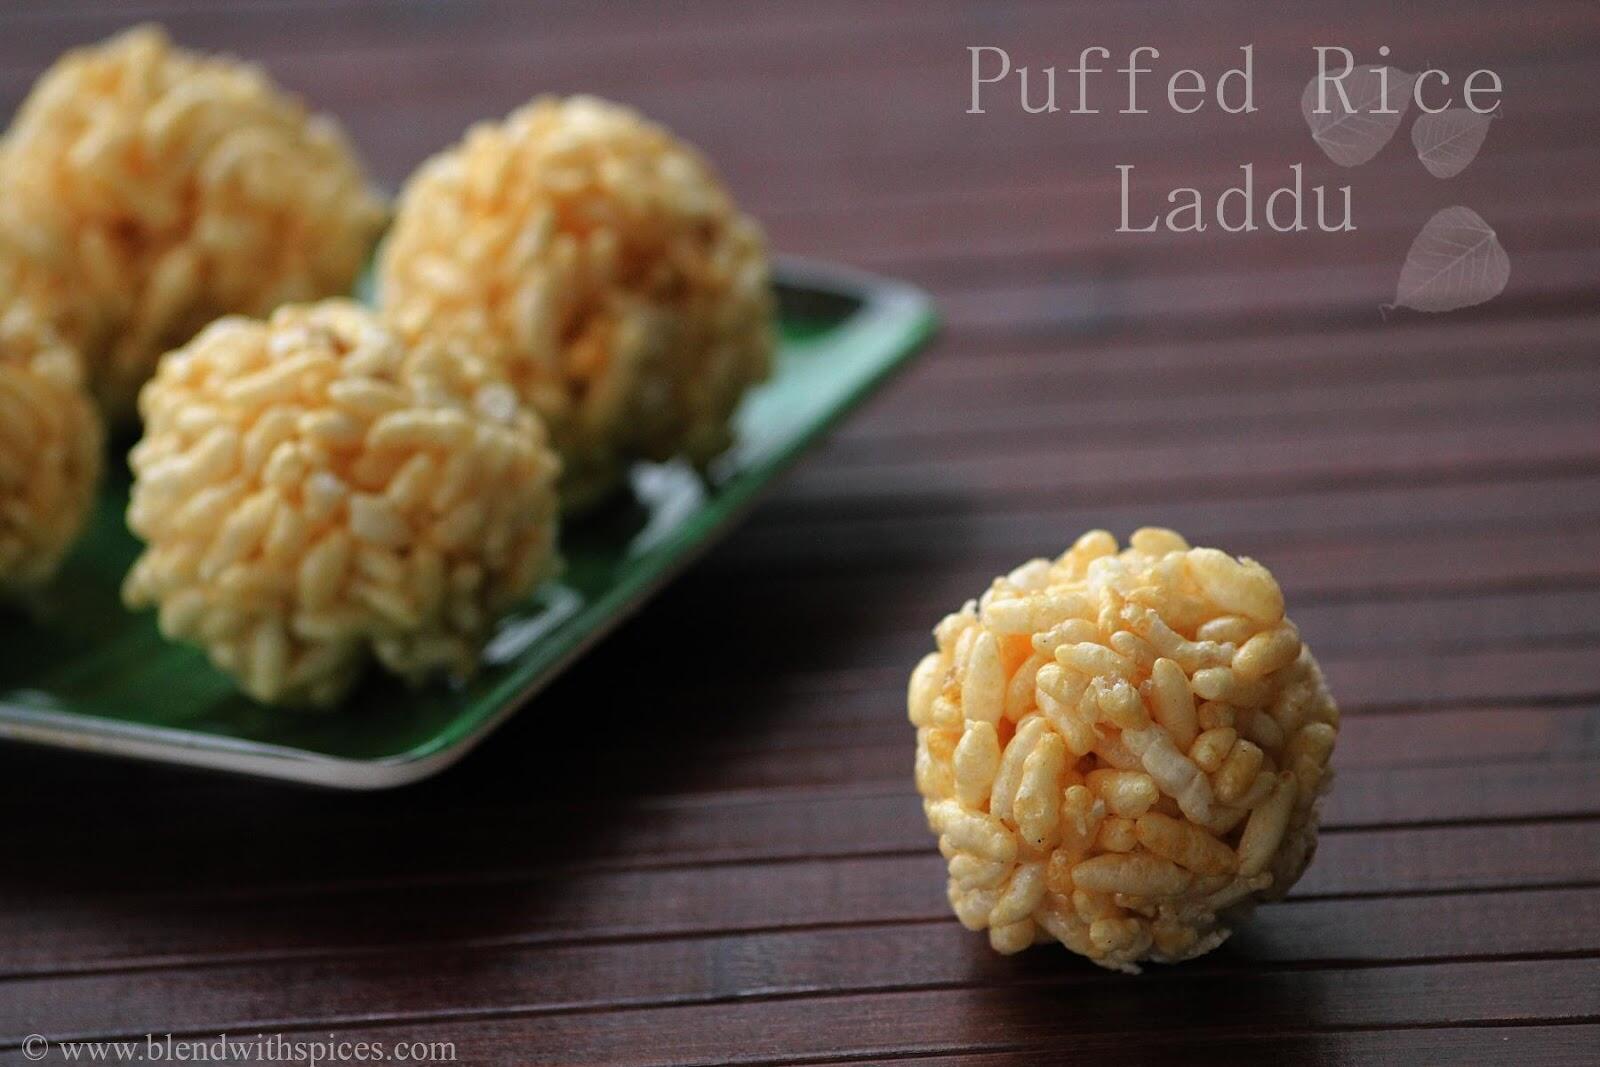
Pori Urundai is a traditional South Indian sweet snack made with puffed rice and jaggery. It's light, mildly sweet, crunchy, and easy to make at home. A perfect sweet snack for any occasion!
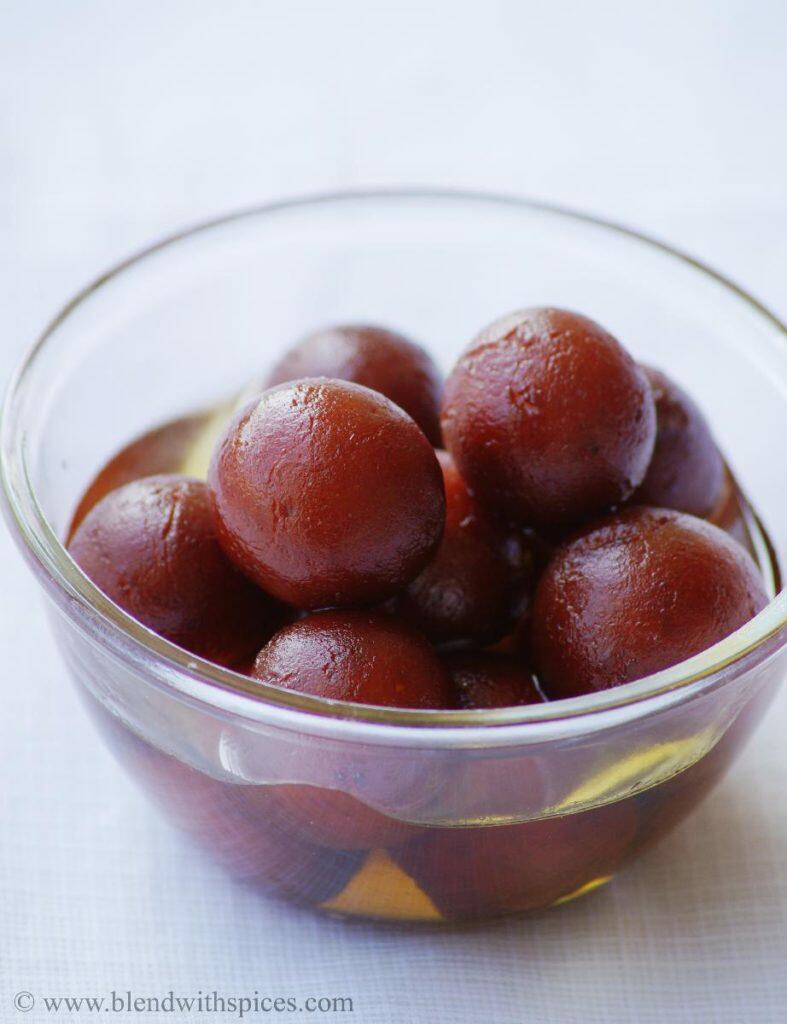
Love Indian sweets? Try my Gulab Jamun, Khoya Besan Ladoo, and Peanut Sesame Ladoo.
SUMMARIZE & SAVE THIS CONTENT ON
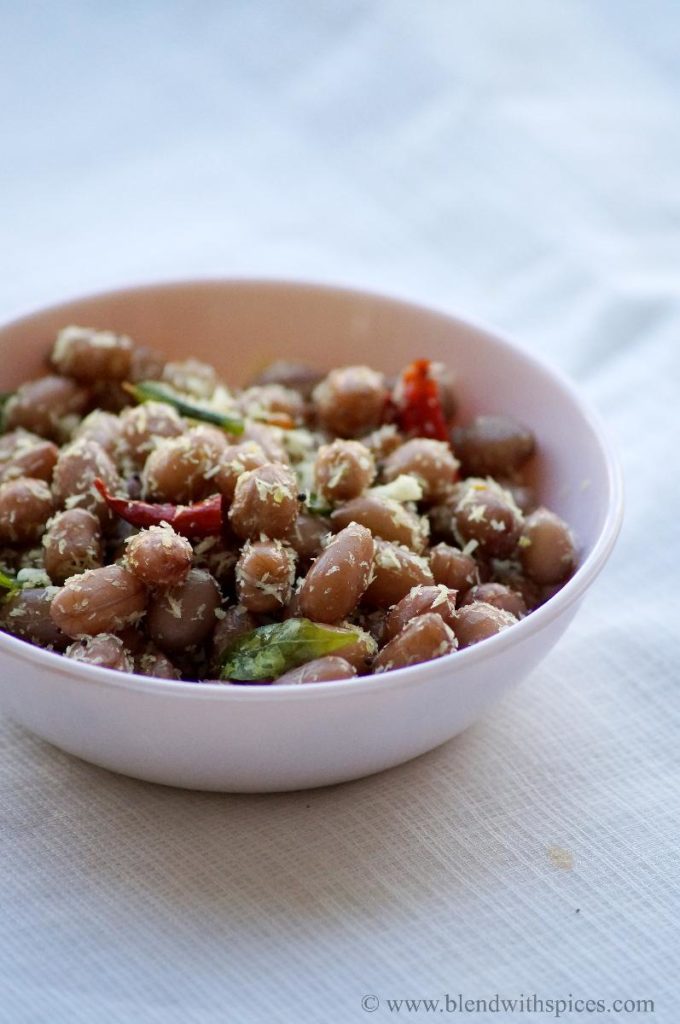
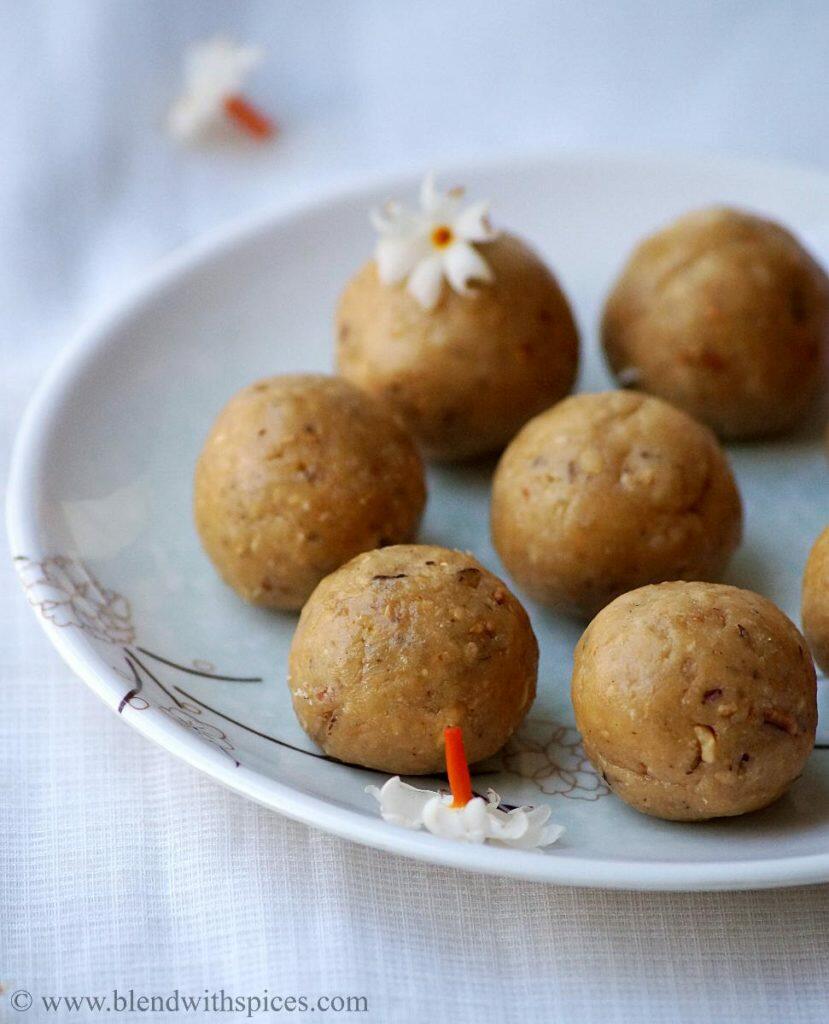
Pori Urundai is also known as Borugula Unda or Maramarala Undalu in Telugu, Puri Unde in Kannada and Murmura Laddu in Hindi. It is a traditional Indian sweet snack made by mixing crispy puffed rice with thick jaggery syrup and pressing it together into round balls while it's still warm.
What makes pori urundai special is how simple it feels. It is not rich like many Indian festival sweets like 7 Cup Burfi, Mohanthal or Moong Dal Ladoo. These are light, crunchy and just sweet enough. You won't feel heavy after eating a couple of murmura laddus.
Pori Urundai is usually made during Karthigai deepam, Krishnashtami and other South Indian festivals. This is one of the favorite childhood snacks that I grew up eating. It is a perfect and healthy snack for kids.
If you are looking for more healthy snacks for kids, try my Banana Chocolate Popsicles, Peanut Chaat, Chura Matar, and Mango Coconut Popsicles.
They are light and crunchy, not heavy or greasy.
Can be made easily at home with pantry ingredients in no time.
They have a really good shelf-life.
Homemade and healthy!
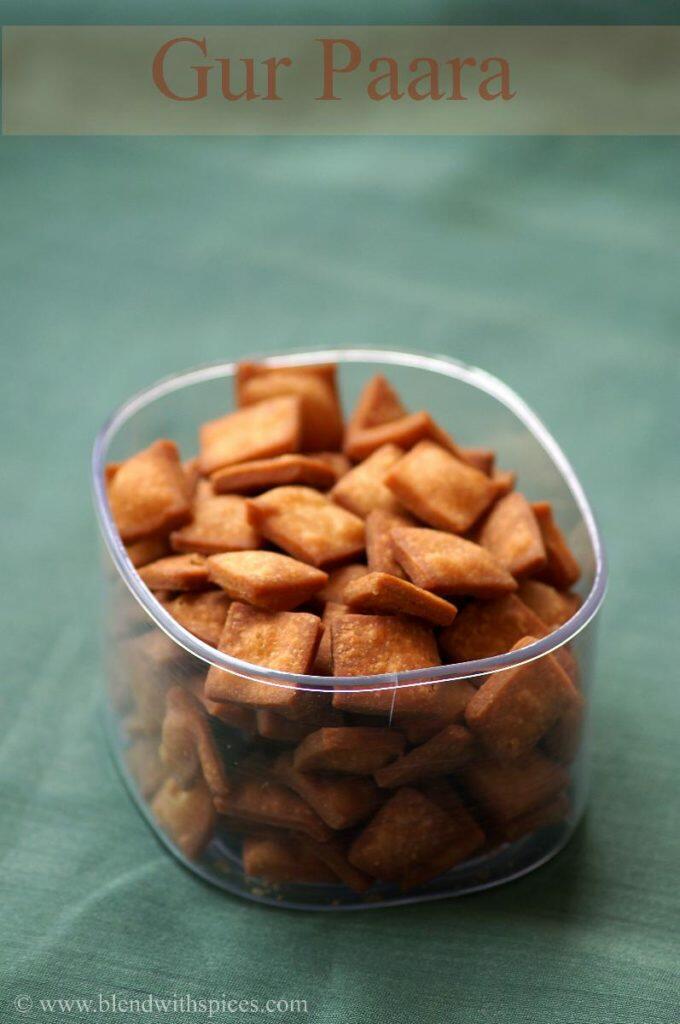
If you are looking to make sweets with jaggery, try my Mawa Coconut Jaggery Ladoo, Paal Kozhukattai, and Gur Para.
Puffed Rice - Use fresh and crispy Arisi Pori / Maramaralu. You can also use Nel Pori or Aval Pori instead of Rice Pori. If it feels slightly soft, you can roast it for a few minutes on a low flame to make it crisp again. You can get puffed rice / murmura from any Indian grocery store. If you don't find it, you can replace it with rice krispies for a similar taste and texture.
Jaggery - Jaggery gives sweetness and binds the laddus together. Use a good-quality jaggery for the best flavor and taste. Make sure you are using crushed, grated or powdered jaggery.
Cardamom - You just need a pinch of cardamom powder. It adds a wonderful aroma and festive flavor to pori urundai. Use freshly ground cardamom or a good-quality store-bought cardamom powder. It is optional.
Ghee - I used it to grease my hands while shaping the laddus. If you want to make vegan version of pori urundai, replace ghee with coconut oil or sunflower oil.
A full ingredient list with exact amounts can be found in the recipe card below.
Add a little bit of dry ginger powder along with cardamom for a different flavor profile.
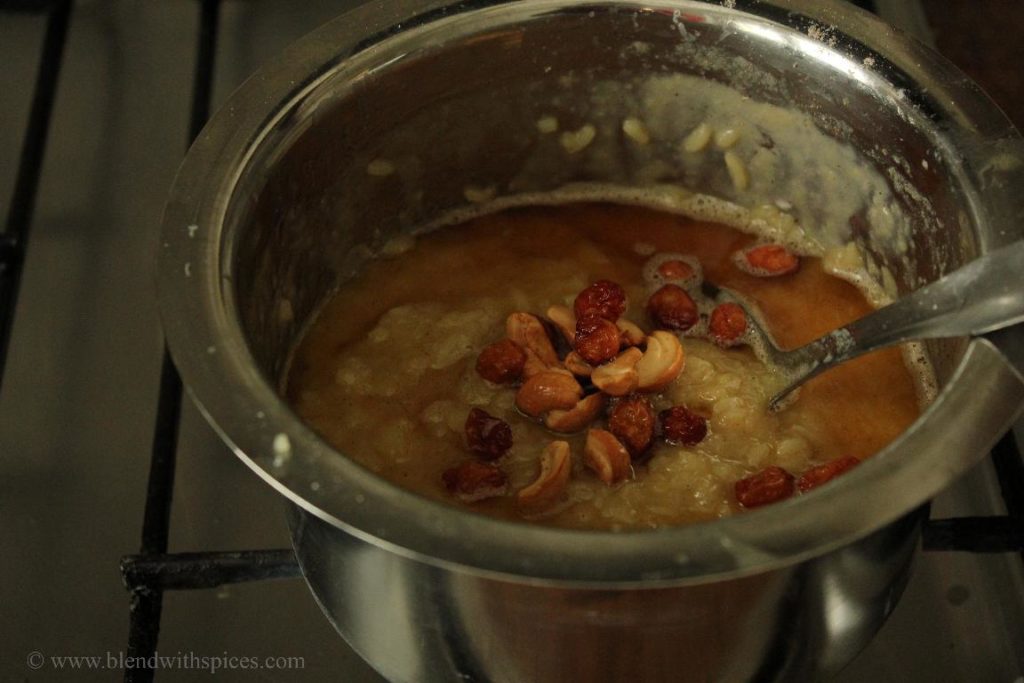
Add a handful of roasted peanuts, roasted almonds or roasted cashews along with puffed rice to increase the nutritional values and crispiness. You can also add a tablespoon of roasted sesame seeds or any of your favorite seeds for a nutty flavor.
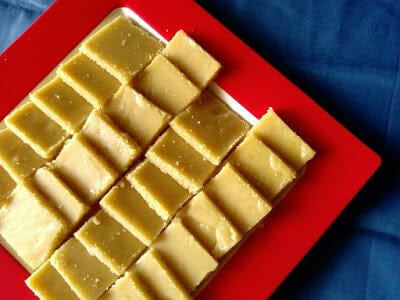
Instead of large laddus, shape the mixture into small bite-sized ladoos for easy serving during gatherings. You can also press the mixture into a square tin and cut into square pieces instead of shaping into round balls.
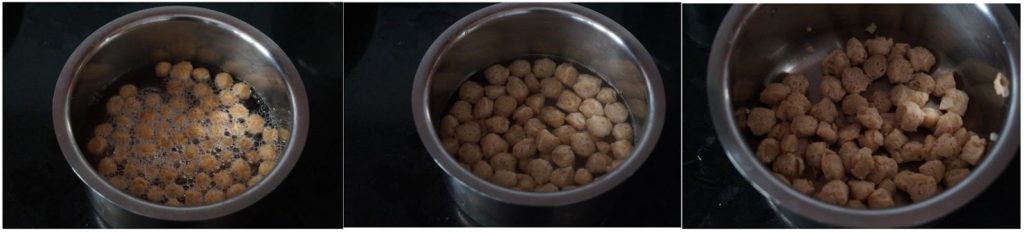
Use fresh and crisp puffed rice. If it feels slightly soft, dry roast it on a low flame for a few minutes or until it is crisp again.
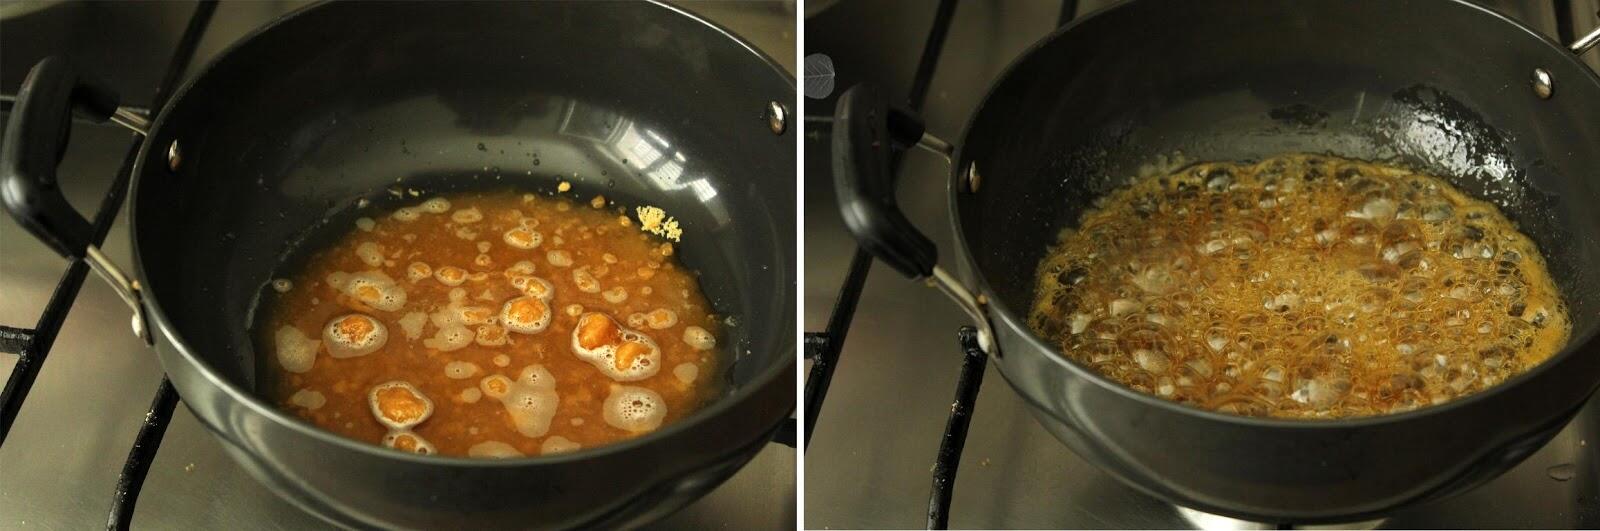
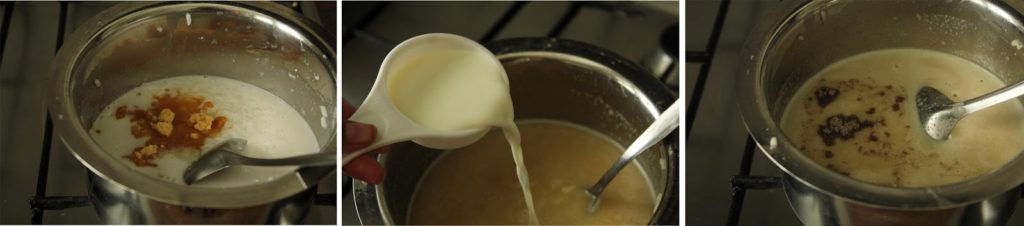
Add grated or powdered jaggery and a little water to a pan. The quantity of water should be just enough to immerse the jaggery. Let the jaggery dissolve completely.
Strain the jaggery syrup and return it to the pan, if there are any impurities.
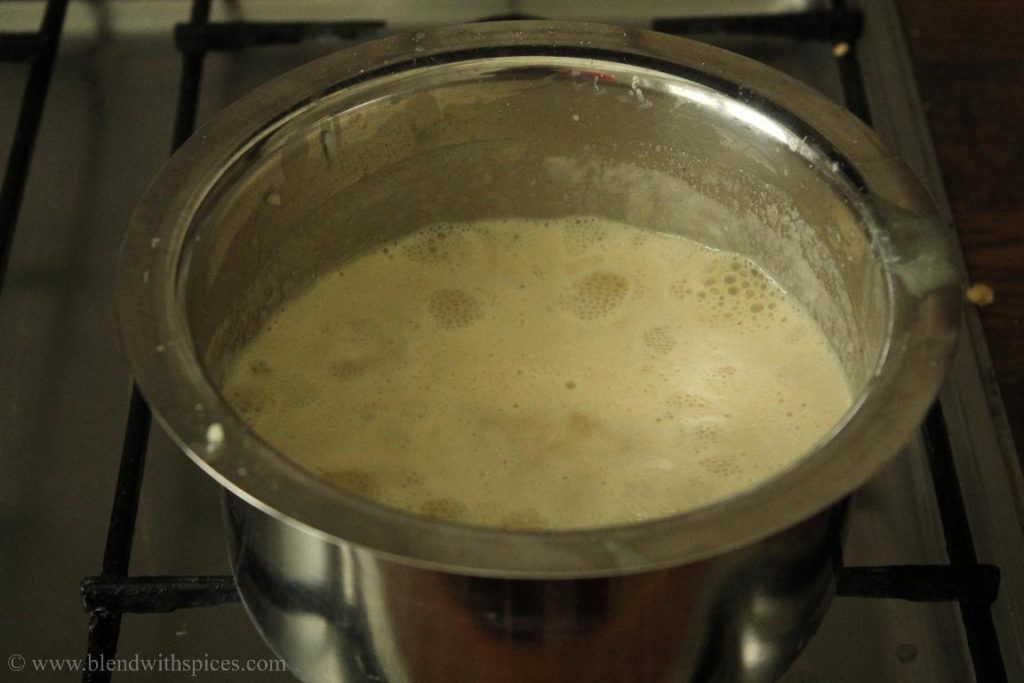
Add cardamom powder to the syrup. Let the jaggery syrup cook until it reaches a soft ball consistency.
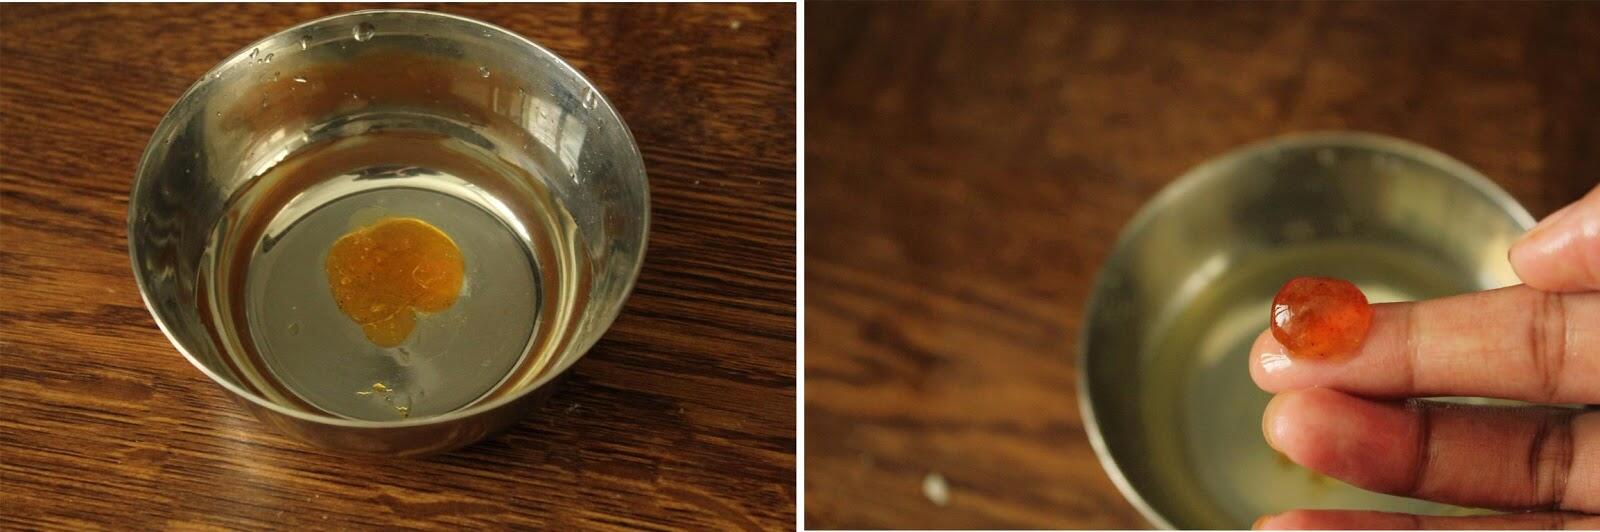
To check the consistency, take a little water in a cup and drop a few drops of jaggery syrup into the water. If it forms a firm ball that you can shape, it is ready. The syrup should not dissolve in water and you should be able to gather and form a non-sticky ball.
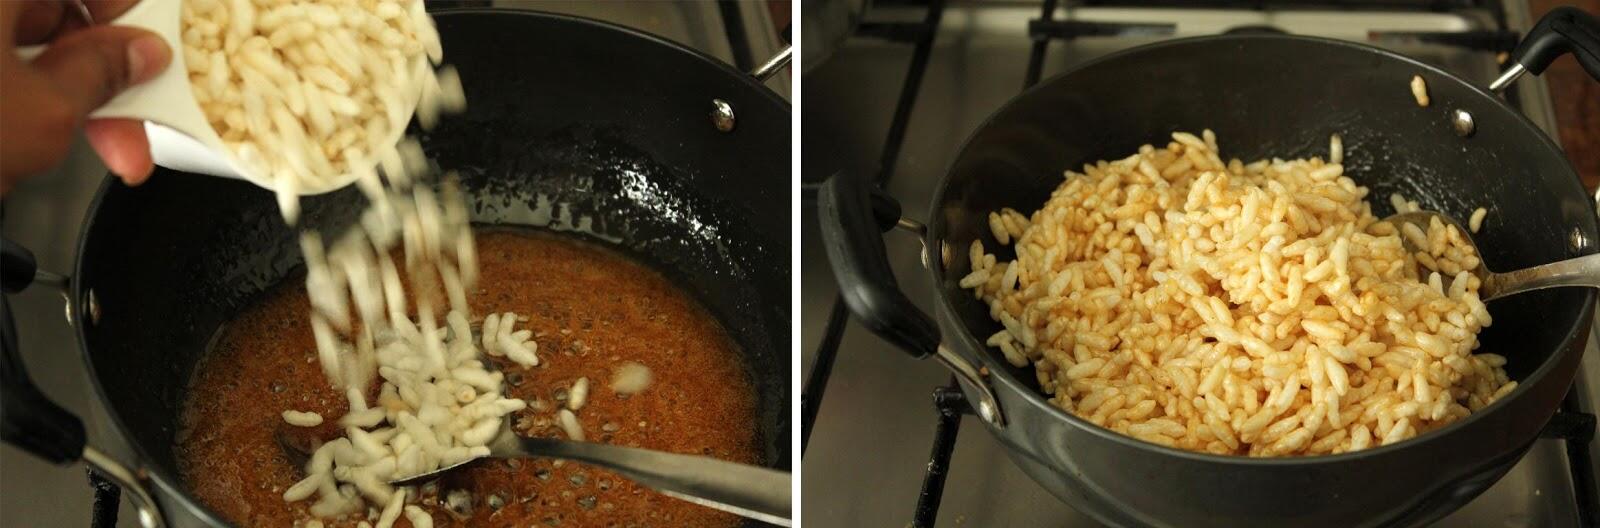
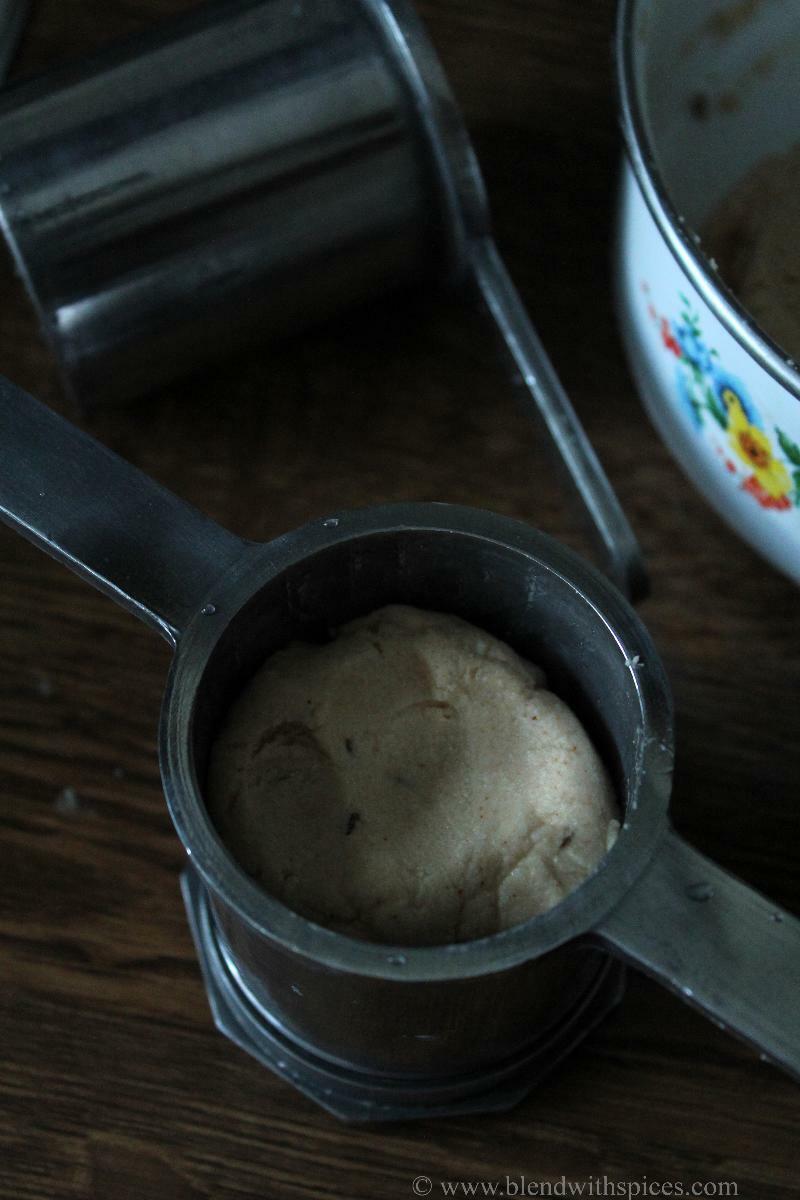
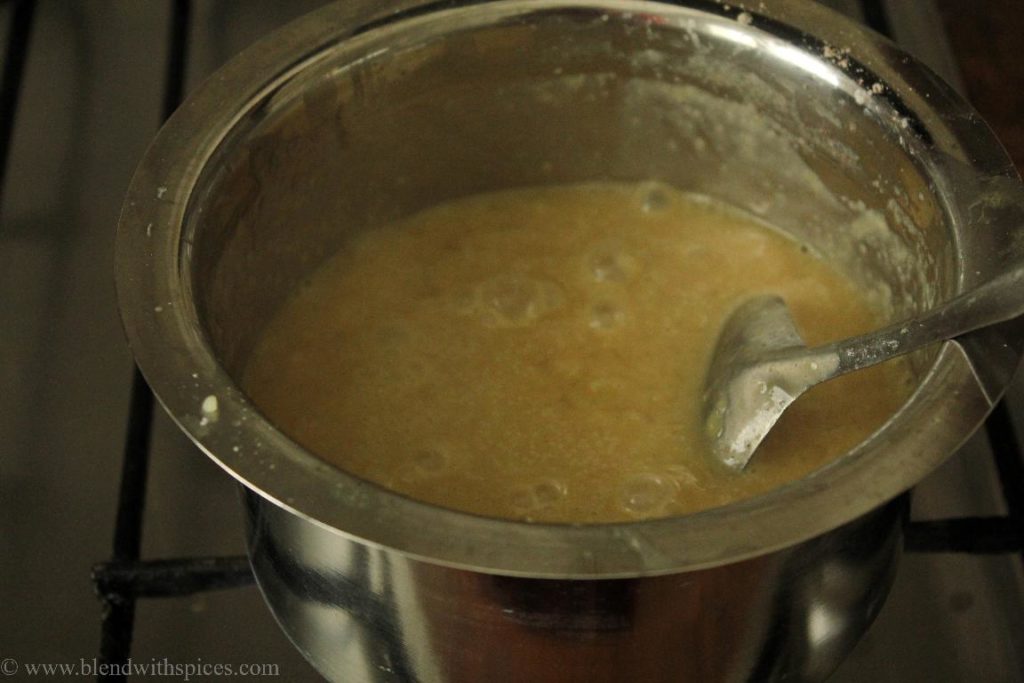
Reduce the flame to low and add puffed rice to the hot jaggery syrup. Mix everything well so the jaggery coats the puffed rice evenly. If you feel the laddu mixture is too sticky, add more puffed rice and mix.

Remove from the heat. When the mixture is still warm, grease your palms with ghee and roll the mixture tightly into round balls. Work quickly before the mixture cools and hardens.
Let them cool completely. Puffed rice laddu will firm up as it cools.
Pori urundai tastes best once it has completely cooked and firmed up. They are usually served as part of the festival offerings / prasadam.
These puffed rice laddus are light, so they can be served as a sweet after a meal or with a cup of coffee or tea in the evening.
If you want to make them fancy for birthday parties, serve them in cupcake liners or muffin liners similar to my Chocolate Crackles.
They are perfect and convenient to pack and share with friends.
They have a pretty good shelf life if stored properly. Store cooled pori urundai in an airtight container for up to 2 weeks. Make sure there is no moisture in the container, as humidity will make laddus soft and sticky. There is no need to refrigerate them.
If you tried this Pori Urundai Recipe or any other recipe on my blog please leave a 🌟 star rating and let me know how it went in the 📝 comments. Thanks for visiting my blog today!
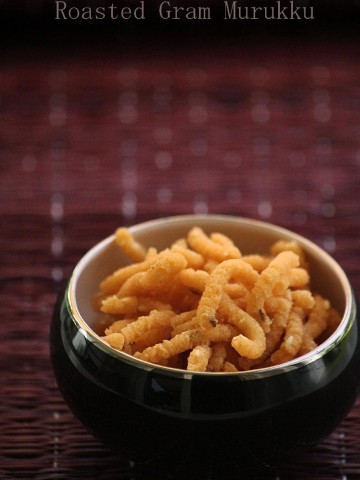
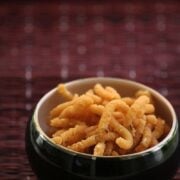
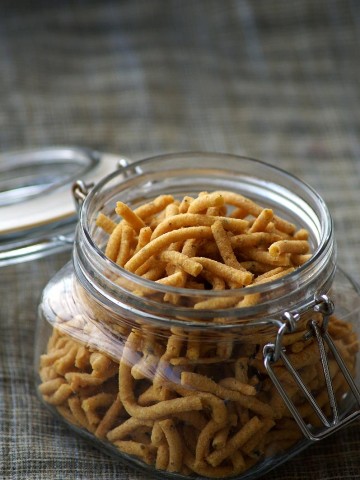
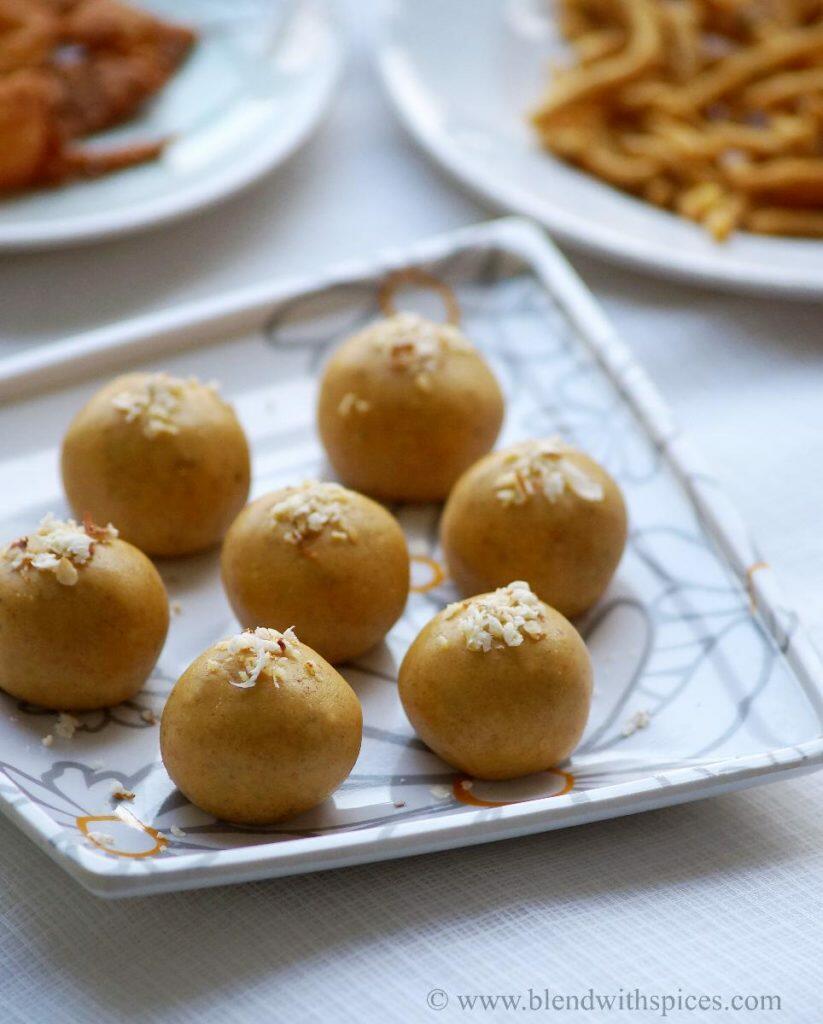
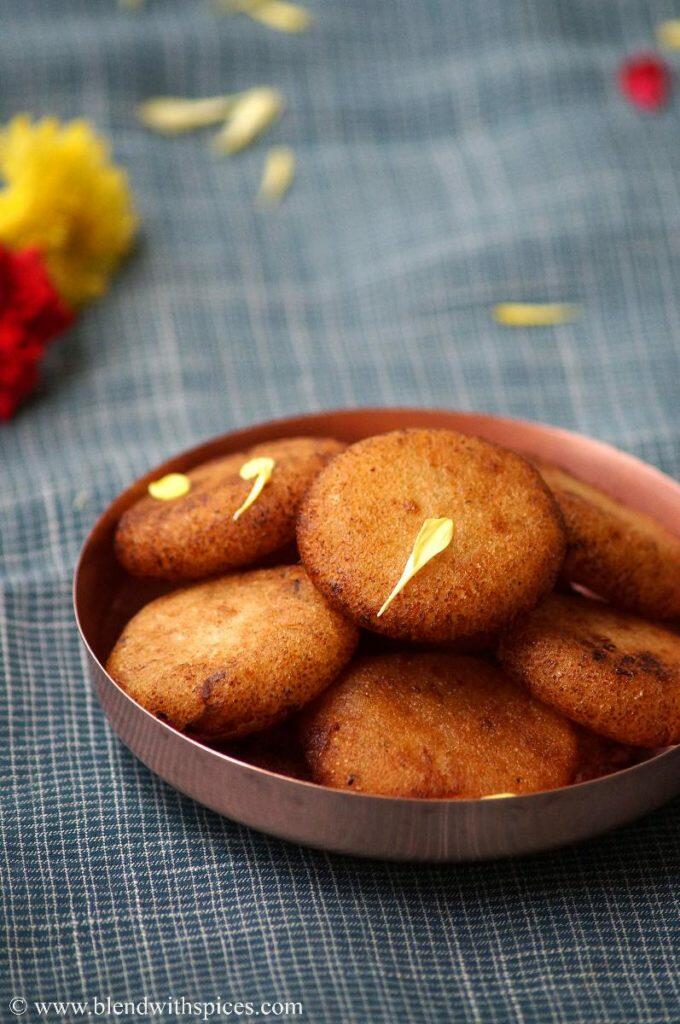
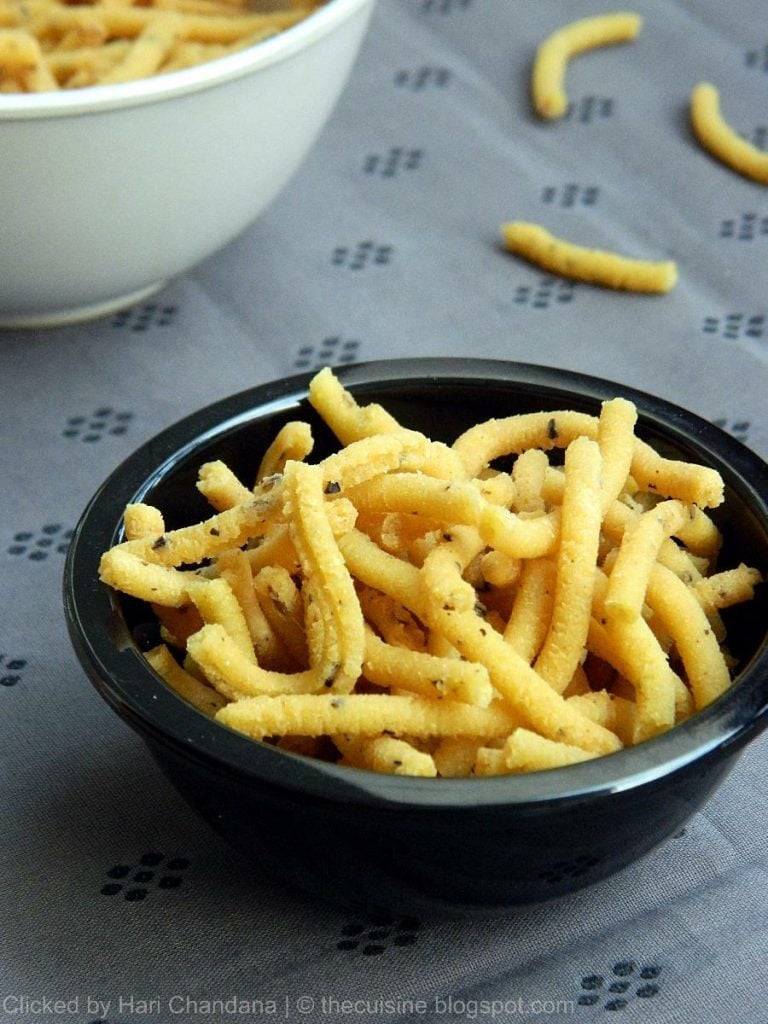
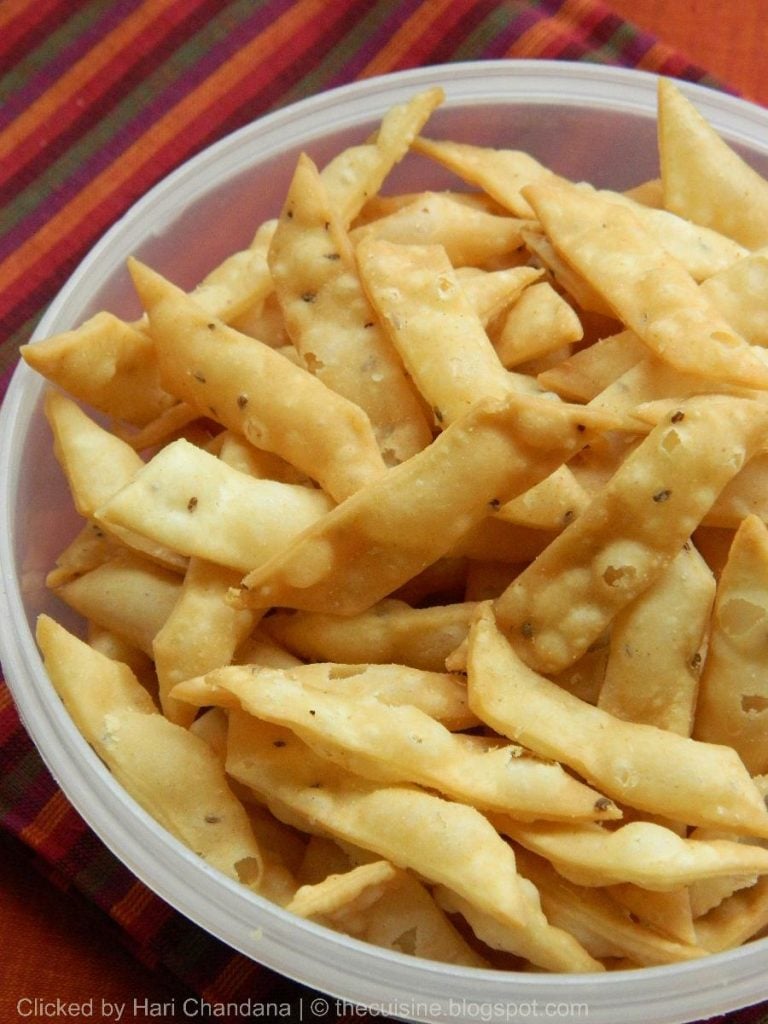
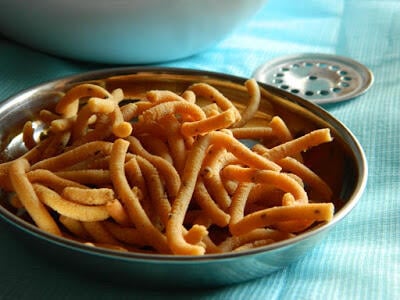
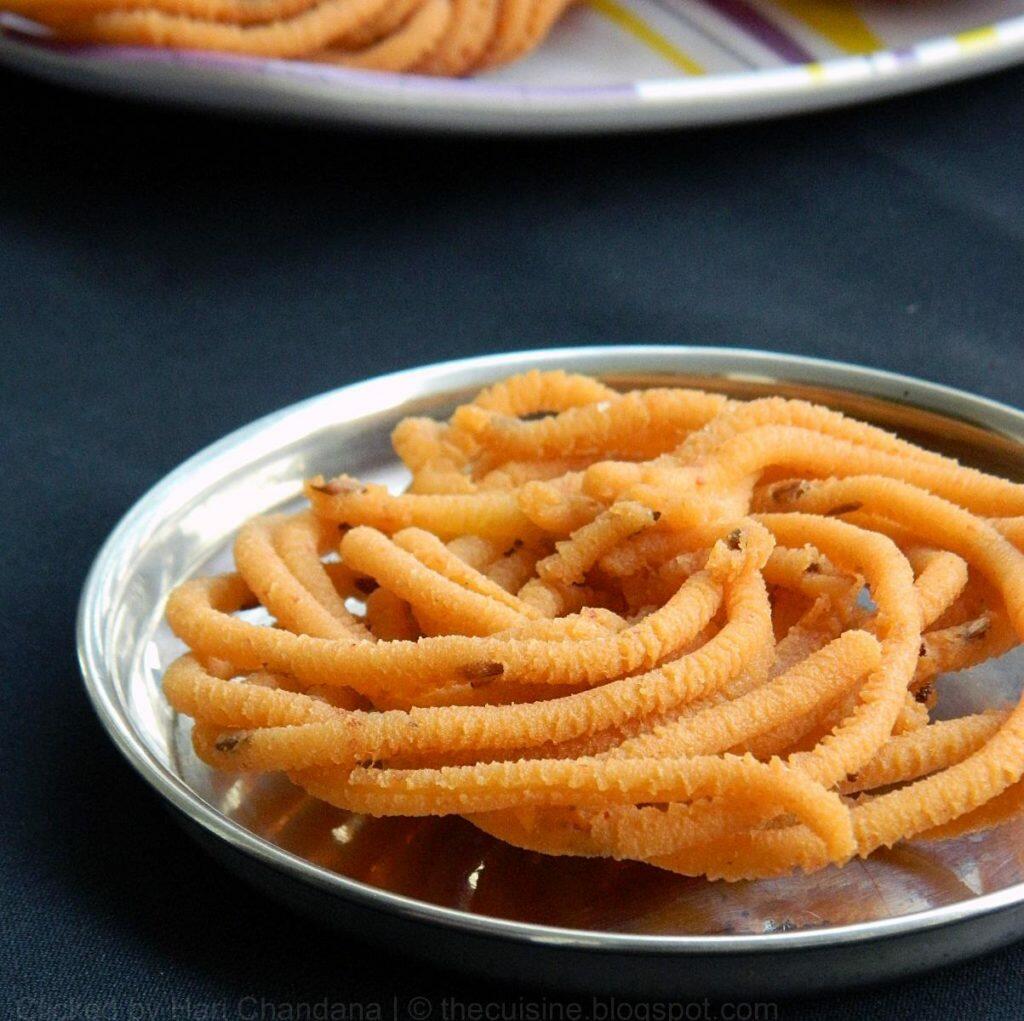
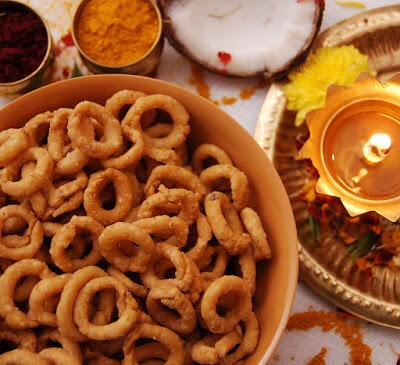
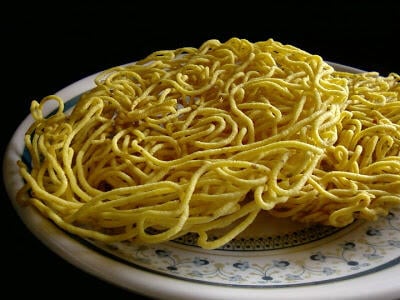
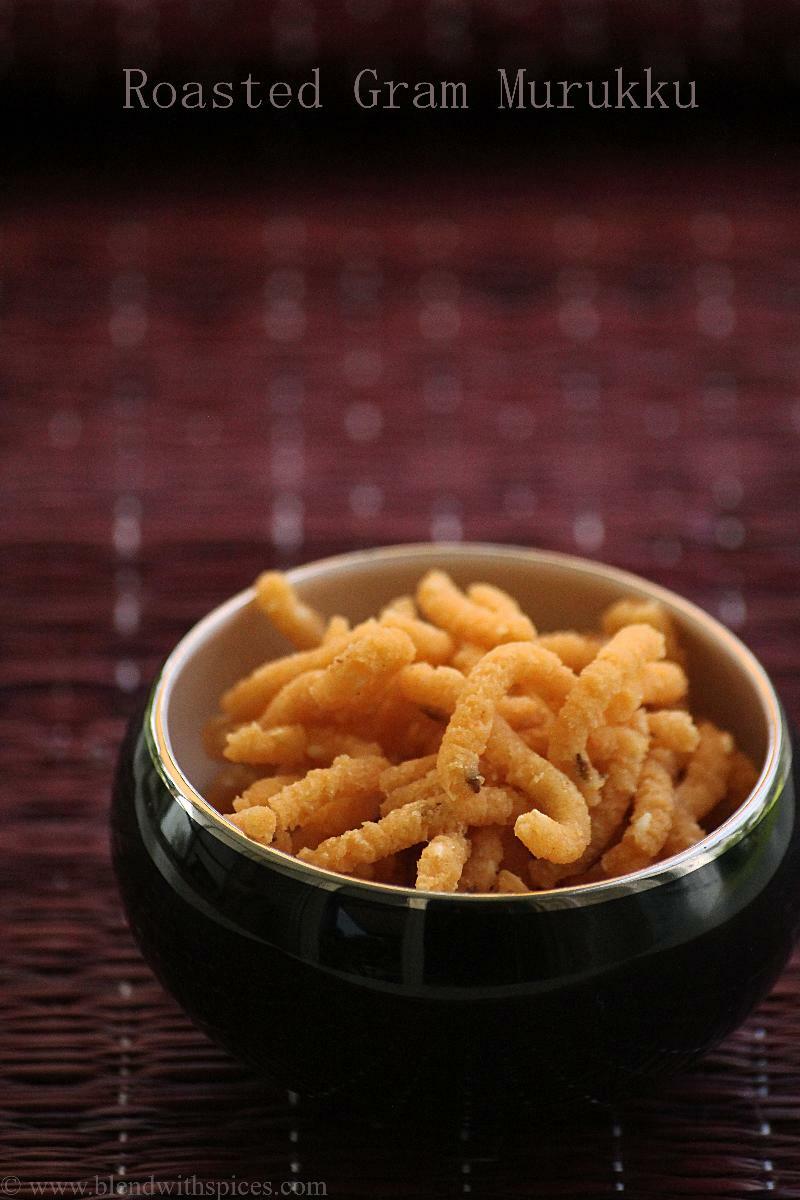
This Pottukadalai Murukku is an easy South Indian snack made with roasted gram flour, rice flour and spices. These are crunchy, flavorful and perfect for festivals, teatime, or anytime snacking.
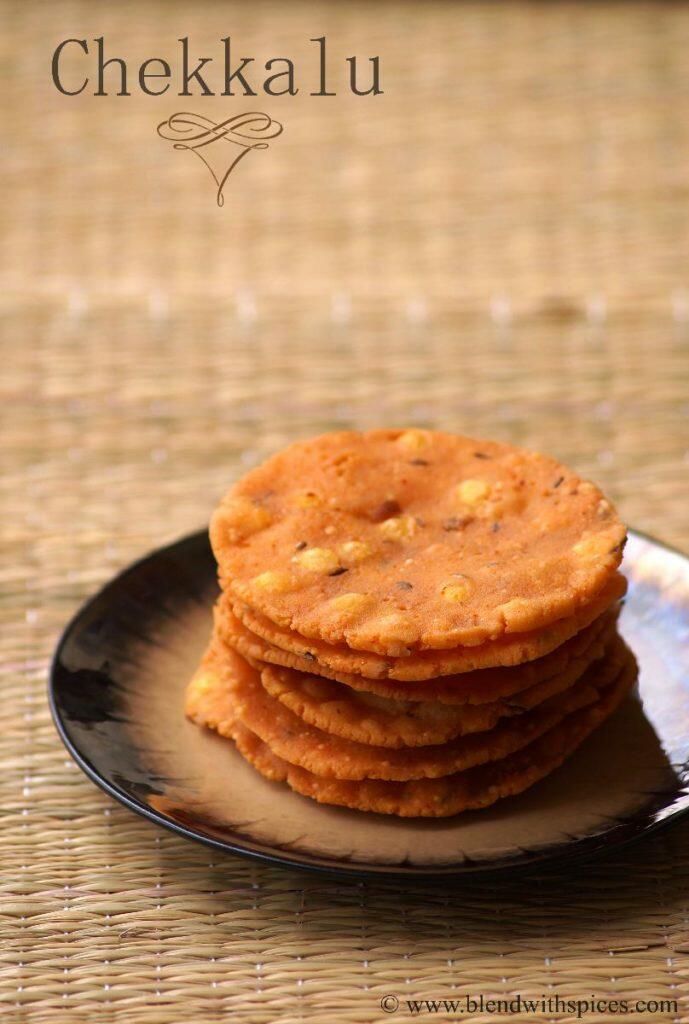
If you love South Indian snacks, you might also enjoy Chekkalu, Ola Pakoda, and Avarekalu Vada.
SUMMARIZE & SAVE THIS CONTENT ON
Pottukadalai Murukku, also known as Putnala Janthikalu in Telugu, is a traditional South Indian snack made with roasted gram flour also known as Pottukadalai Maavu in Tamil. I have posted so many variations of South Indian Murukku recipes on the blog like Aloo Murukku, Peanut Murukku, Butter Murukku, and this fried gram murukku is one of the easy murukku recipe among them all.
The roasted gram flour gives the murukku a light and crunchy texture. The rice flour and roasted gram flour are mixed with spices and sesame seeds into a dough, pressed into hot oil using a murukku press. The pressed spirals are fried until crisp, crunchy and golden brown. Murukku with pottukadalai is one of the easy savory snack recipes for beginners and those who are looking for an Instant murukku recipe without urad dal.
This murukku is commonly made during festivals like Diwali and Krishna Jayanthi, but it's also a popular tea-time snack to enjoy anytime.
If you are looking for more recipes using pottukadalai / roasted chana dal, try my Pottukadalai Kozhukattai, Pappula Podi, and Roasted Gram Coconut Ladoo.
Rice Flour - Rice flour is the base of the roasted gram murukku dough. Make sure you are using a good quality, fine rice flour for the best results.
Roasted Gram Flour - This adds lightness to the murukku. Make sure the flour is fine and fresh.
Red Chili Powder - Red chili powder adds heat and color. Adjust the quantity as per your taste preference. You can also replace it with ground black pepper.
Hing - Also known as Asafoetida. Hing adds a subtle flavor and helps in digestion. You just need a big pinch of hing. Use gluten-free hing if you want to make murukku gluten-free.
Sesame Seeds - Sesame seeds add a wonderful nutty flavor. You can use white or black sesame seeds. Skip if you don't like them.
Cumin Seeds - Adds aroma and helps in digestion. You can also replace them with ajwain seeds/carom seeds.
Increase or reduce the red chili powder to adjust the spice level. Swap it with ground black pepper for a different taste.
Add a little bit of garlic powder or crushed garlic to the murukku dough for a subtle garlic flavor.
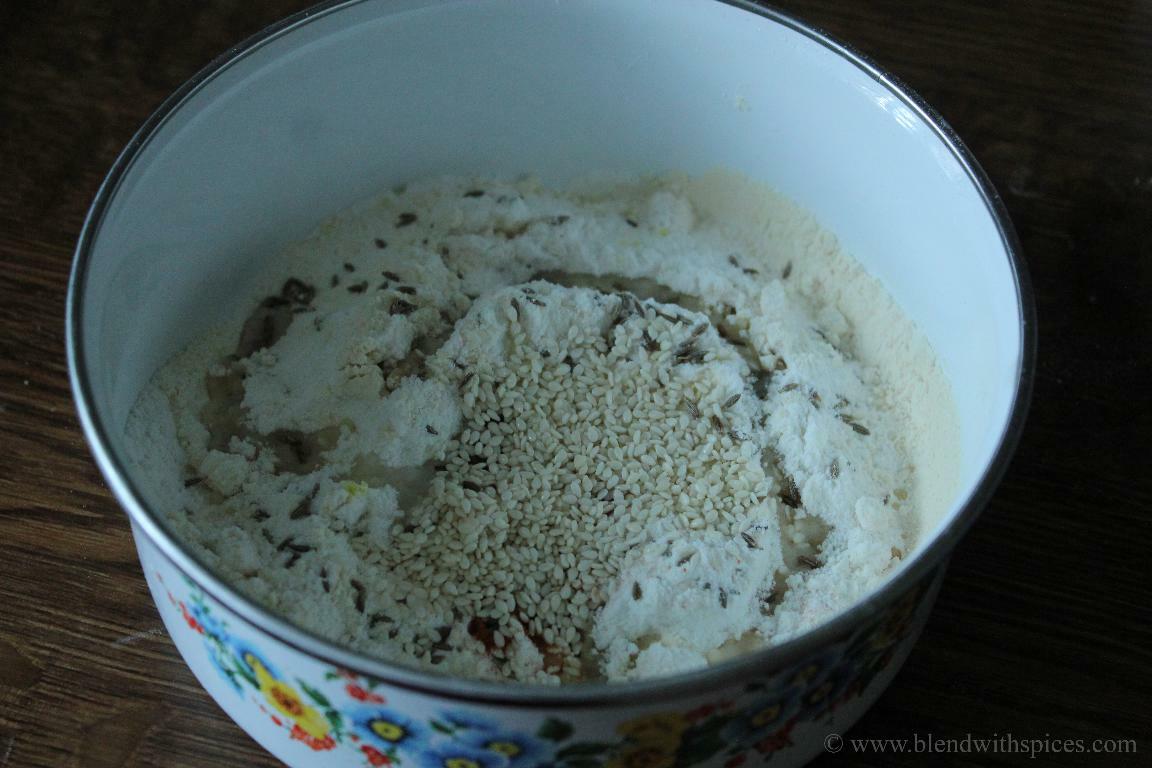
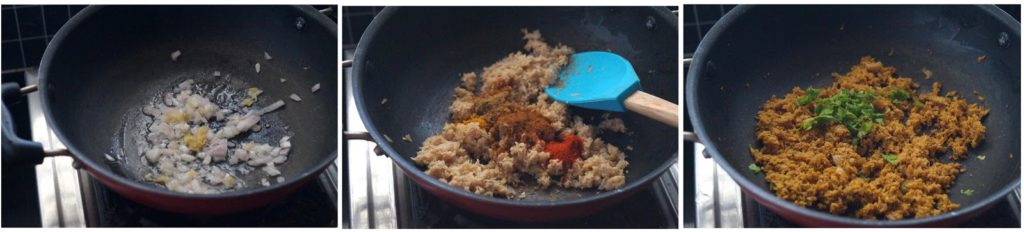
In a mixing bowl, combine rice flour, roasted gram flour, sesame seeds, cumin seeds, salt, red chili powder, a tablespoon of hot oil and hing.
Mix well so everything is evenly combined.

Add water little by little and bring everything to make a smooth dough.
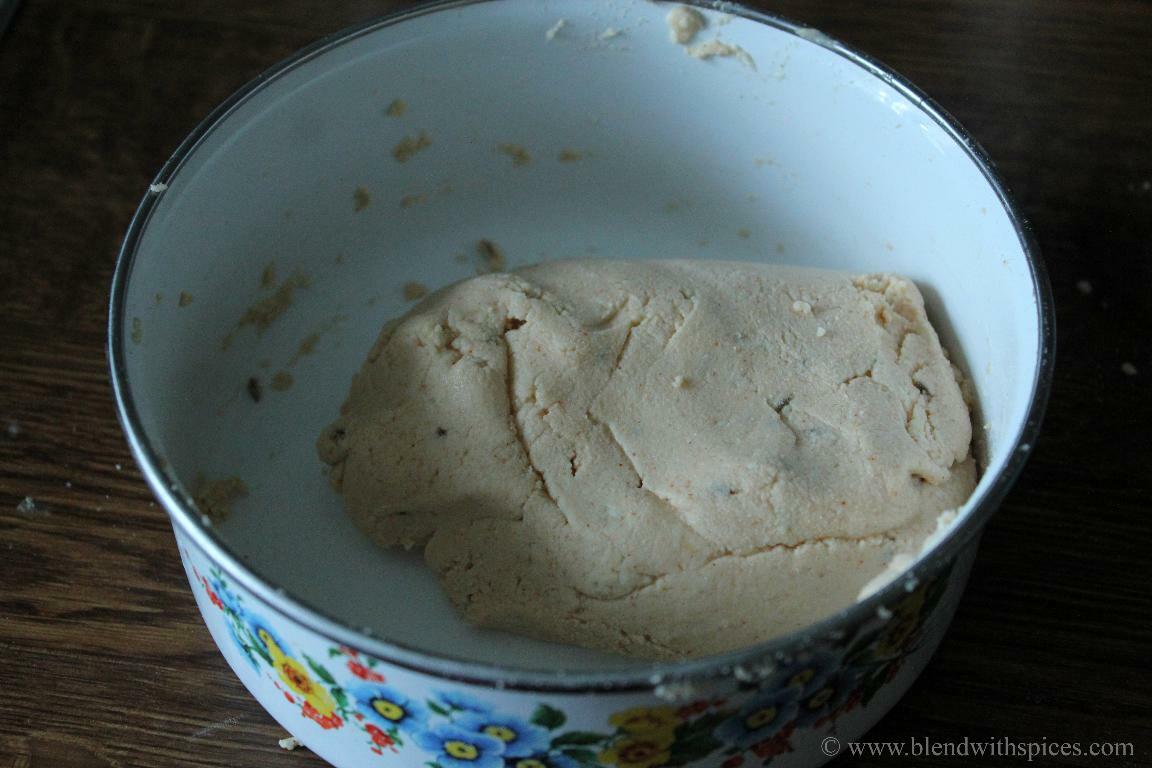
Knead the mixture to a soft dough. The dough should be soft but firm enough to hold its shape. It should not be sticky. Keep the dough covered to prevent it from drying out.
Heat oil for deep frying on medium heat. The oil should be hot but not smoking.
Take a small portion of the dough and fill it into the murukku press fitted with a star or round disc.
When oil is hot enough, gently press the murukku press into the hot oil in circular spirals.
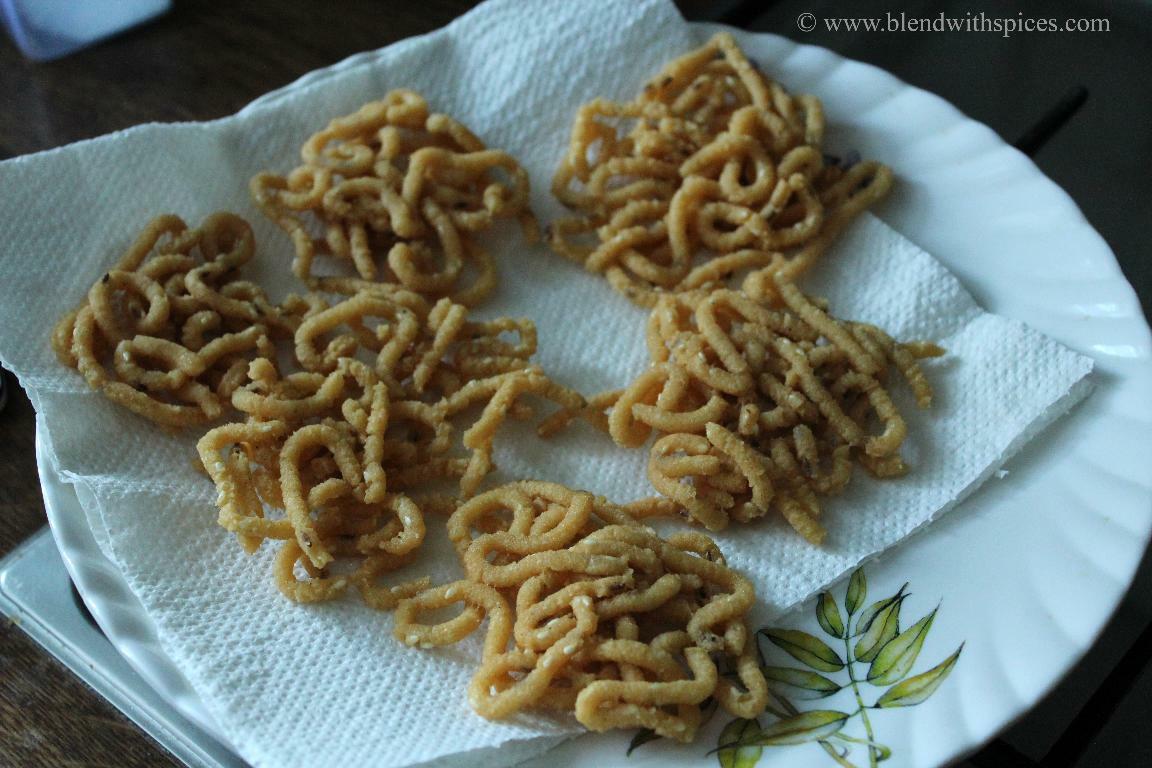
Deep fry them on medium-high flame, flipping occasionally, until they turn crisp and golden brown.
Remove the fried murukku from the oil and drain on a paper towel. Let them cool completely before storing. Break into pieces if needed.
Pottukadalai Murukku is best enjoyed once it has completely cooled. Serve it as a tea-time snack with Adrak Chai or filter coffee.
It is perfect for gifting during festivals like diwali along with other savory snacks like Namakpare, Garlic Karasev, and Gujarati Gathiya.
Once pottukadalai murukku is completely cooled, store it in an airtight container to retain its crispiness for a longer period of time. It stays fresh and crisp for up to 2 weeks if stored properly.
If you tried this Pottukadalai Murukku Recipe or any other recipe on my blog please leave a 🌟 star rating and let me know how it went in the 📝 comments. Thanks for visiting my blog today!
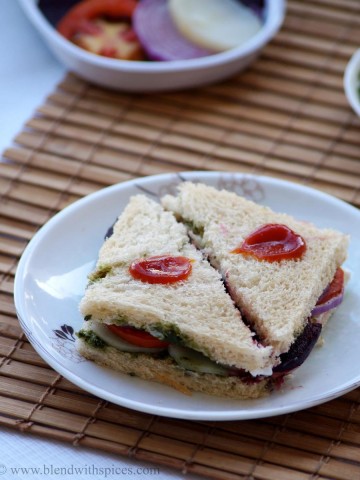
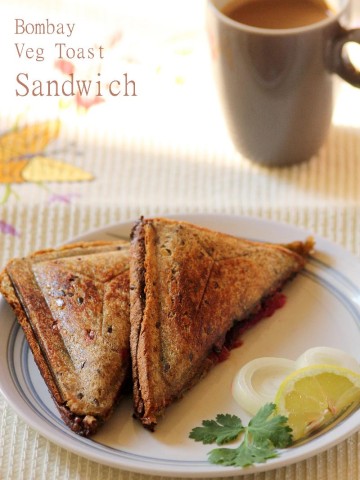
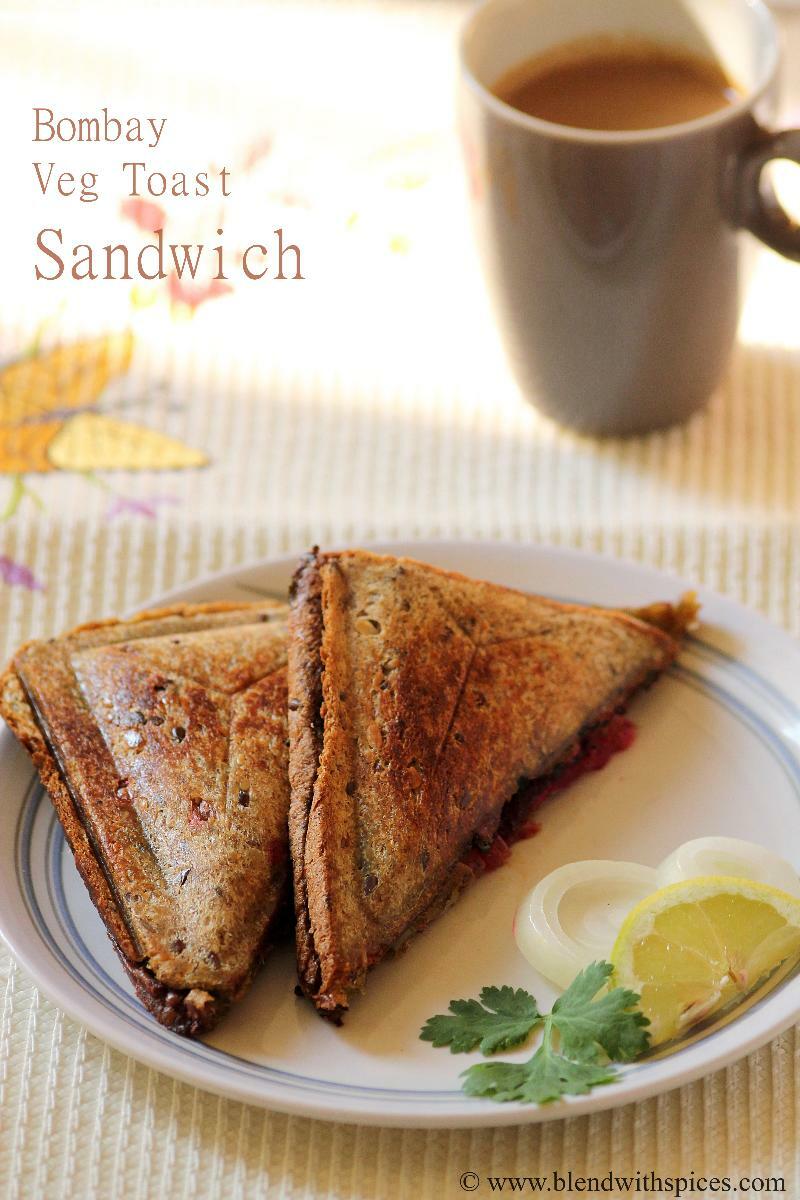
Bombay Grilled Sandwich is an Indian-style toasted sandwich made with layers of vegetables, mint and coriander chutney and a sprinkle of sandwich masala (spice blend). It's delicious, filling and perfect for any time of the day.
If you enjoy simple sandwich recipes, try my Paneer Bhurji Sandwich, Peanut Butter Strawberry Sandwich, and Brussels Sprouts Grilled Cheese Sandwich.
SUMMARIZE & SAVE THIS CONTENT ON
The bombay grilled sandwich is a popular street food from Mumbai. It is a layered sandwich made with bread, butter, vegetables, green chutney, and a generous sprinkle of sandwich masala. This sandwich is commonly served by street vendors across Mumbai, where is is assembled fresh and toasted until crisp. It is a variation of the classic bombay sandwich, but instead of serving it plain, the sandwich is toasted until it becomes crisp and golden brown.
The combination of green chutney, spices and vegetables makes the sandwich unique and flavorful. The making process is pretty much straightforward, the bread is first spread with butter and a layer of mint coriander chutney, which adds flavor and freshness. Then a mix of sliced boiled potatoes, beetroots, tomato, cucumber and onion are arranged in layers. Between each layer, sandwich masala or chat masala is sprinkled. Once assembled, it is toasted until crisp and golden brown, which enhances both texture and flavor.
This Indian grilled sandwich is delicious, healthy, filling and super easy to make with pantry staples. If you like Indian street food, try my Paneer Pav Bhaji, Masala Pav, Chura Matar, Shakarkandi Chat, and Bhutte Ka Kees.
Bread - Use regular white, brown or multi-grain bread. You can also use whole wheat bread if you want.
Vegetables - This sandwich recipe uses a combination of boiled potatoes, cooked beetroot, tomato, cucumber and onion. Slice all the vegetables thinly for even layering.
Green Chutney - Also known as mint coriander chutney. This is the star ingredient that gives the
Butter - Do not skip butter. You need to apply butter to the bread before adding chutney. It adds flavor and prevents the bread from becoming soggy. You can use salted or unsalted butter. Swap it with vegan butter for a vegan version.
Sandwich Masala - It is a unique spice blend. It gives a slightly spicy and tangy flavor. You can use Homemade Sandwich Masala or a store-bought one. You can also replace it with chaat masala. Sprinkle lightly between layers.
A full ingredient list with exact amounts can be found in the recipe card below.
Add grated cheese or a cheese slice before grilling for a richer version. It melts and pairs well with the vegetables and chutney.
You can serve it as plain without toasting if you prefer a softer texture.
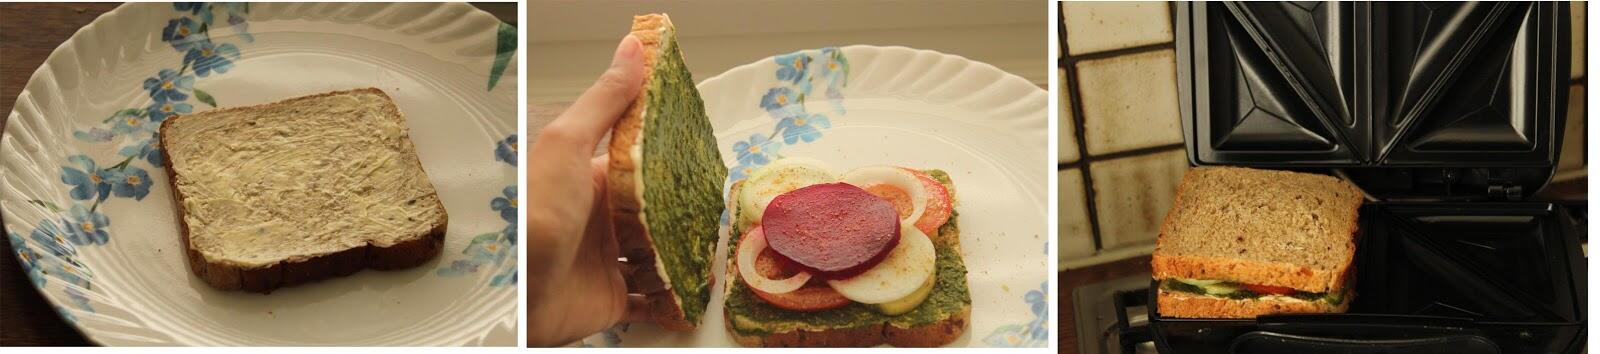
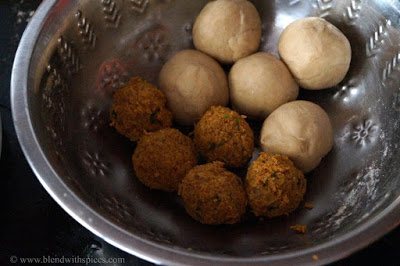
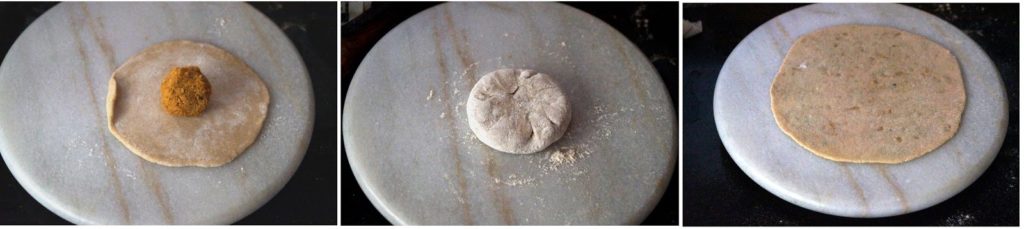
Trim the edges of each bread slice if you want. Apply butter evenly on one side of the bread slice. Then spread about a teaspoon of mint coriander chutney over the buttered side.
Arrange a few slices of potato on the bread and sprinkle a little sandwich masala over them.
Place 2 cucumber slices and 2 tomato slices. Sprinkle a little masala over this layer.
Arrange the final layer of 2 onion slices and 2 cooked beetroot slices. Sprinkle about ¼ teaspoon of sandwich masala or chat masala.
Place another bread slice on top and press it lightly.
Toast the sandwich in a toaster or sandwich maker until crisp and golden. You can also toast it in a pan or tawa.
Cut in half and serve hot with ketchup or chutney.
Serve them hot with mint coriander chutney or tomato ketchup on the side for dipping.
It can be served as a snack, breakfast or a light meal.
It pairs well with a cup of coffee or tea.
Toast them before serving and avoid storing toasted sandwiches. They lose their crispiness.
You can slice the vegetables and prepare the chutney in advance, then assemble and toast when needed.
If you tried this Bombay Grilled Sandwich Recipe or any other recipe on my blog please leave a 🌟 star rating and let me know how it went in the 📝 comments. Thanks for visiting my blog today!
You might also like to check these Festival Recipes:

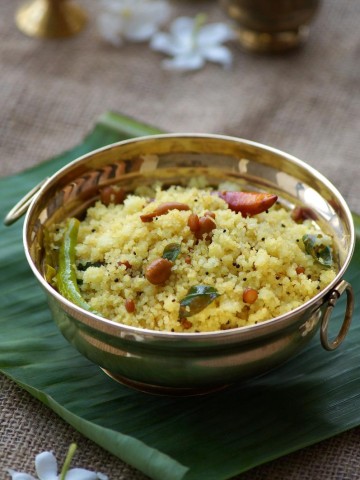
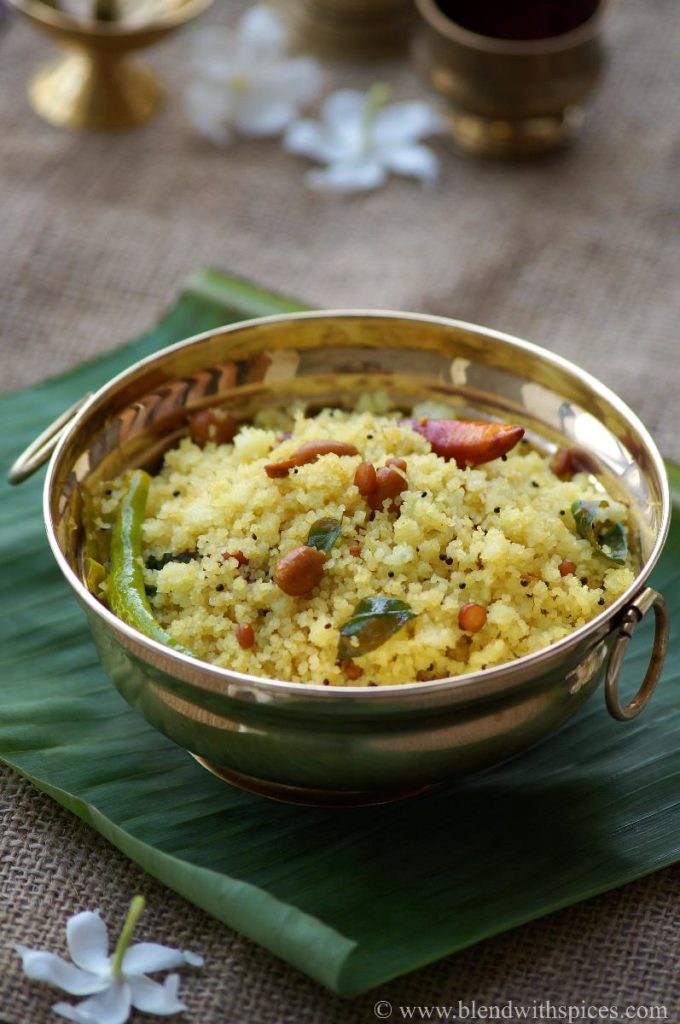
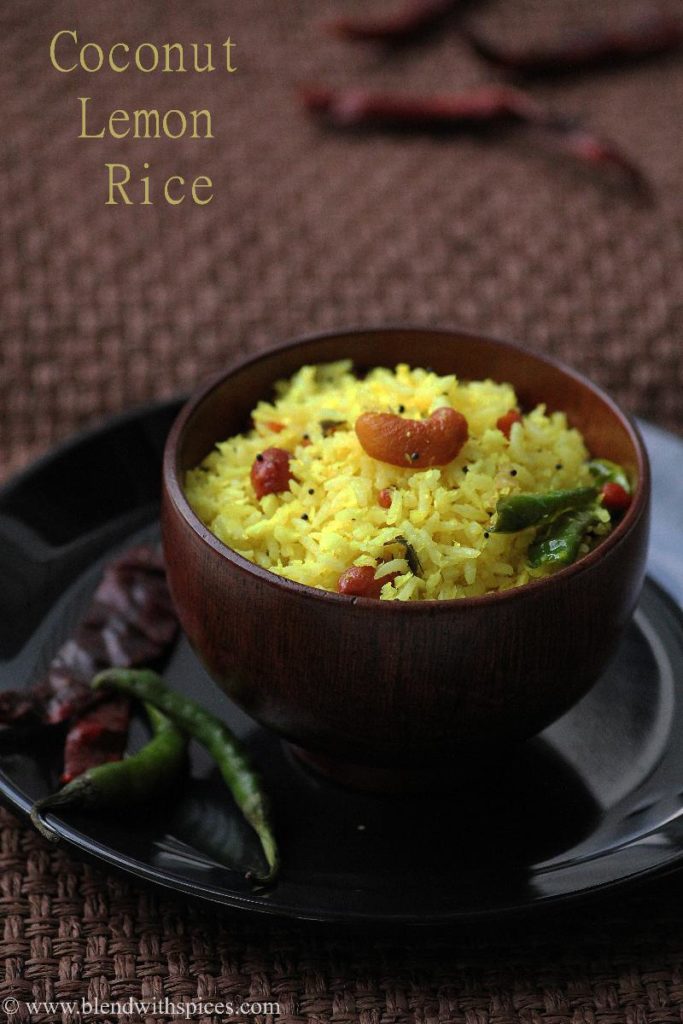
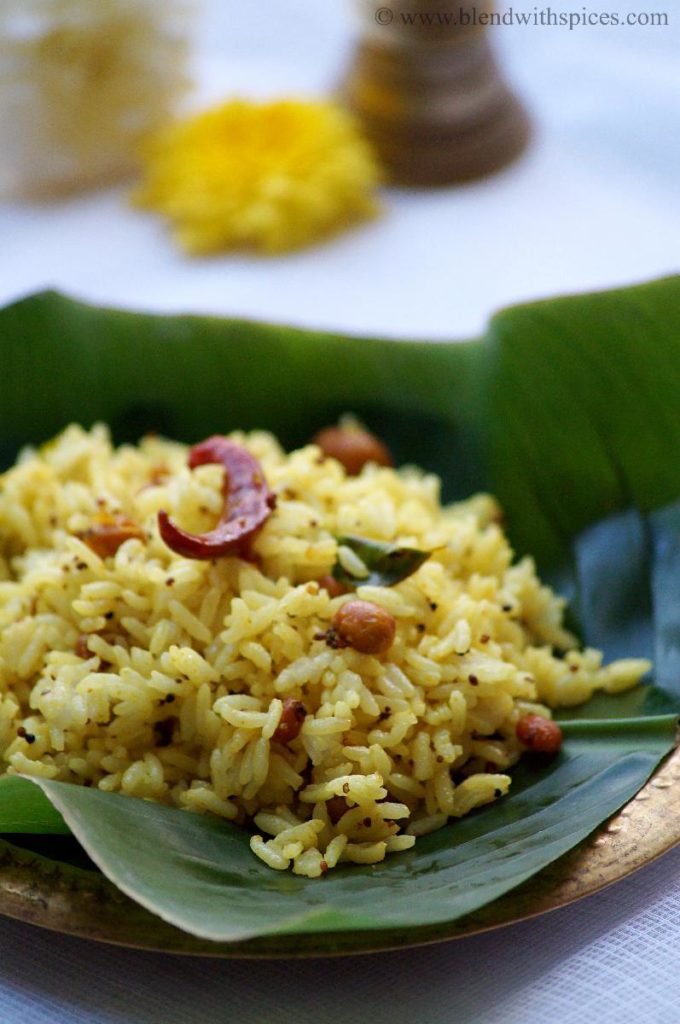
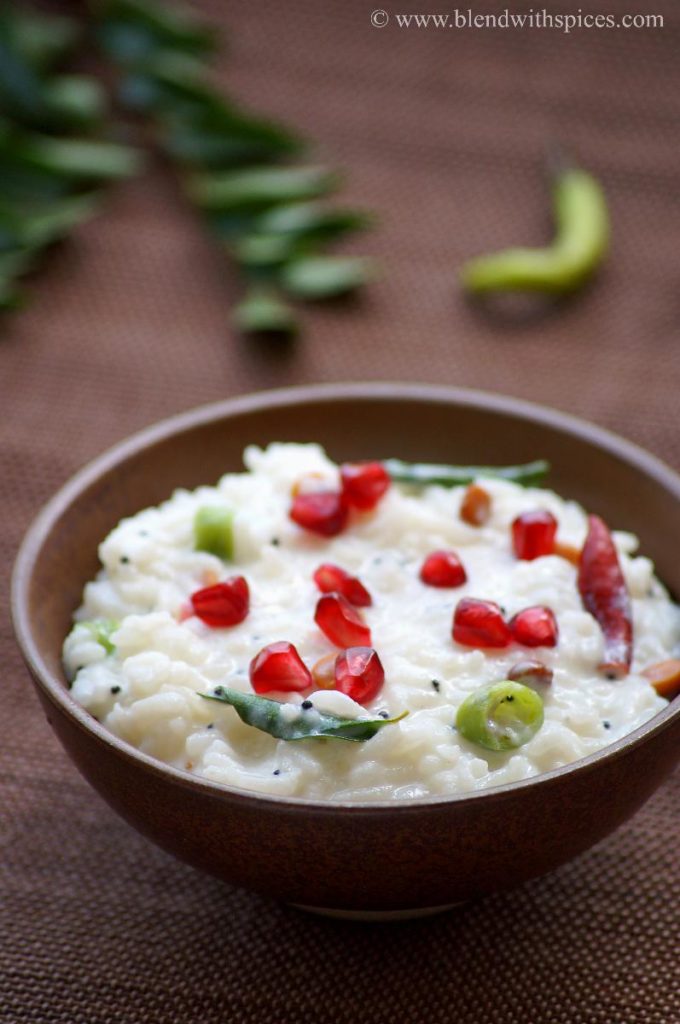
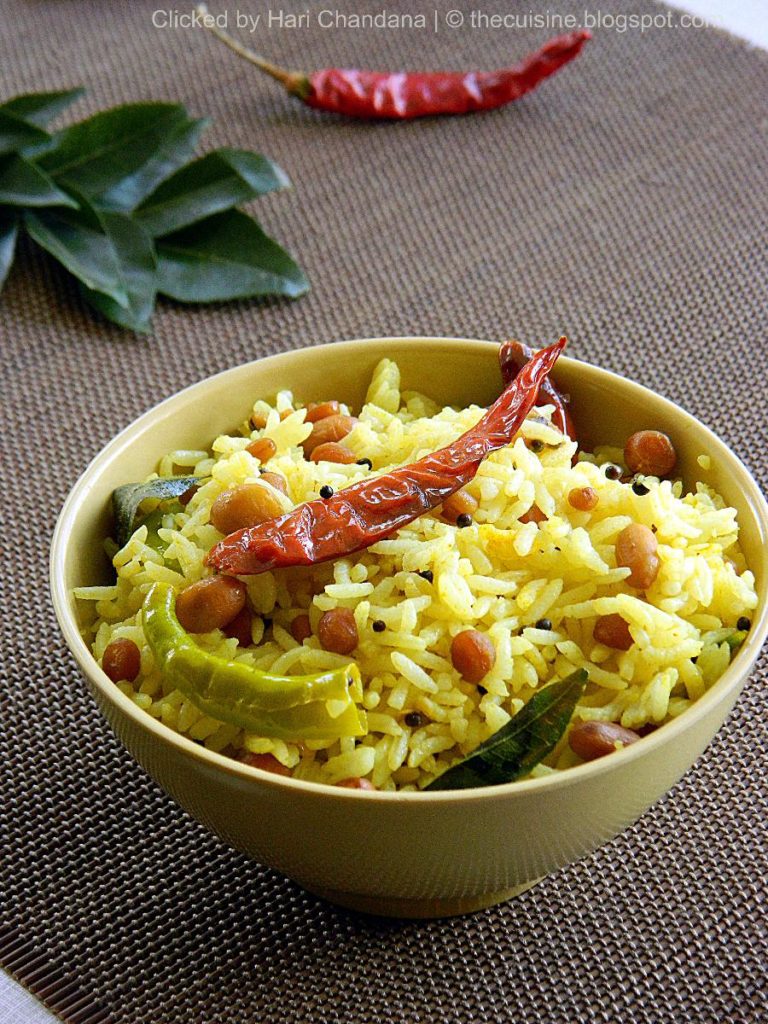
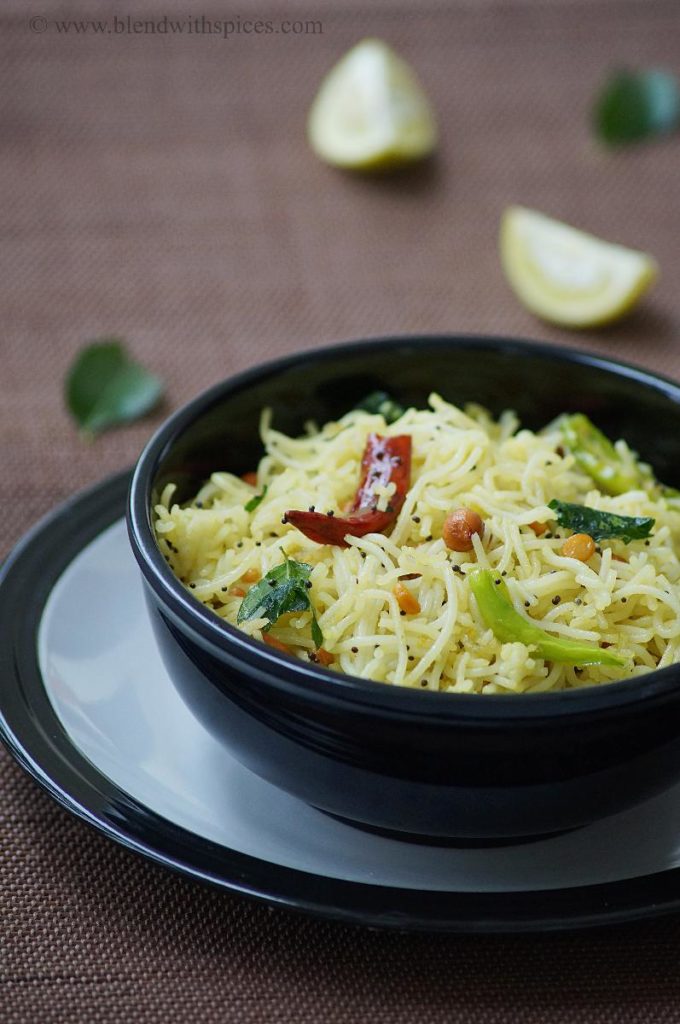
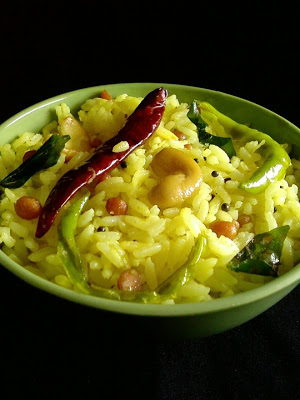
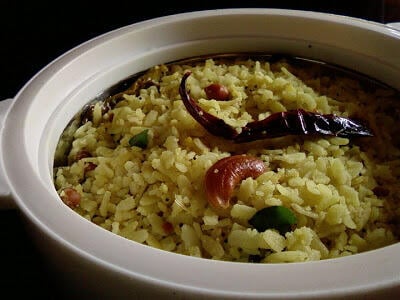
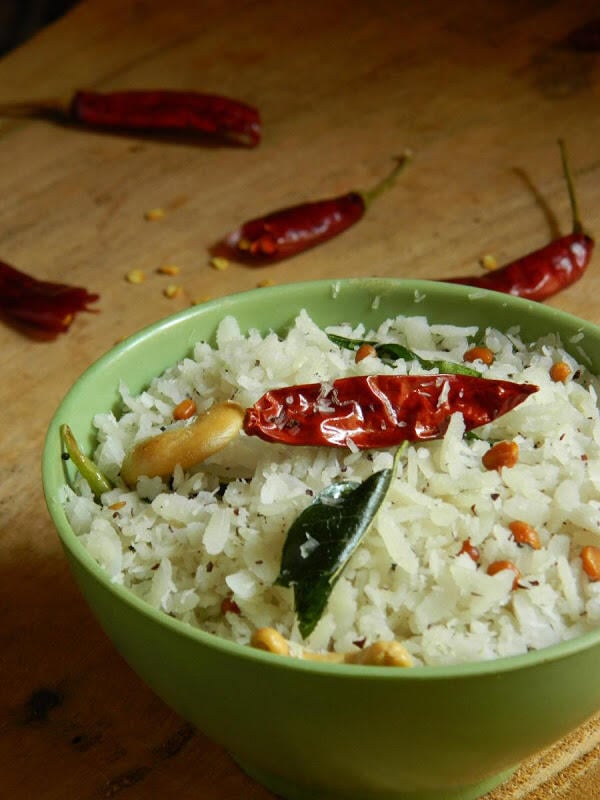
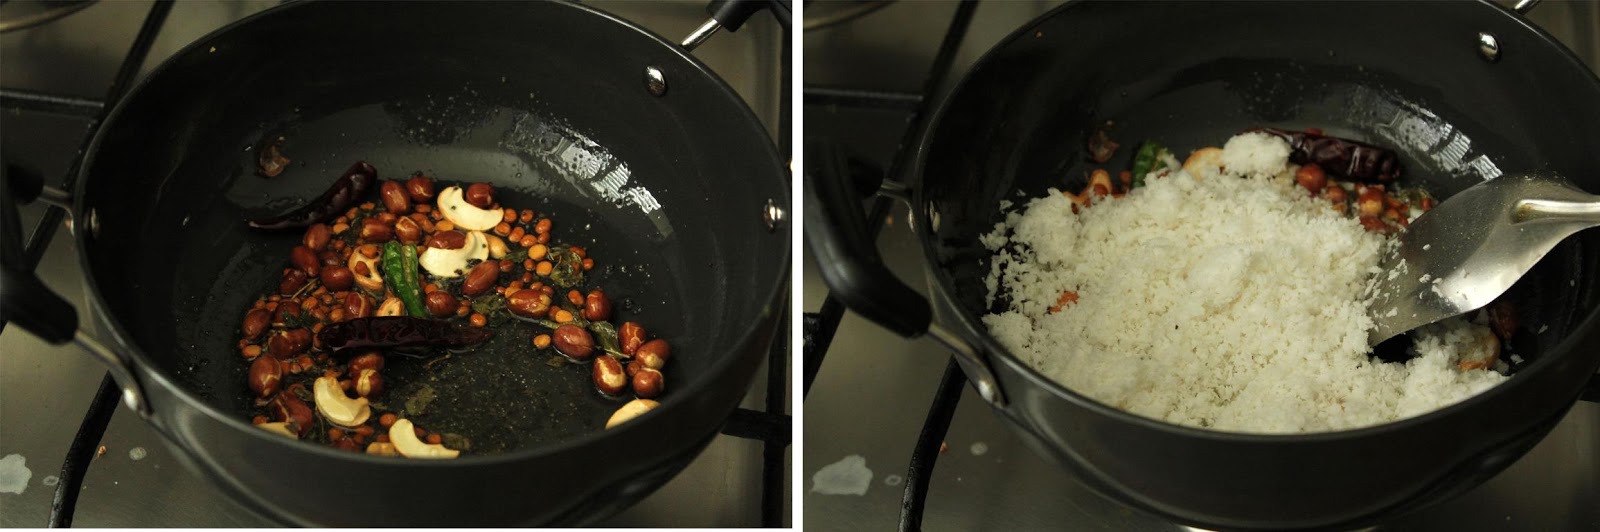
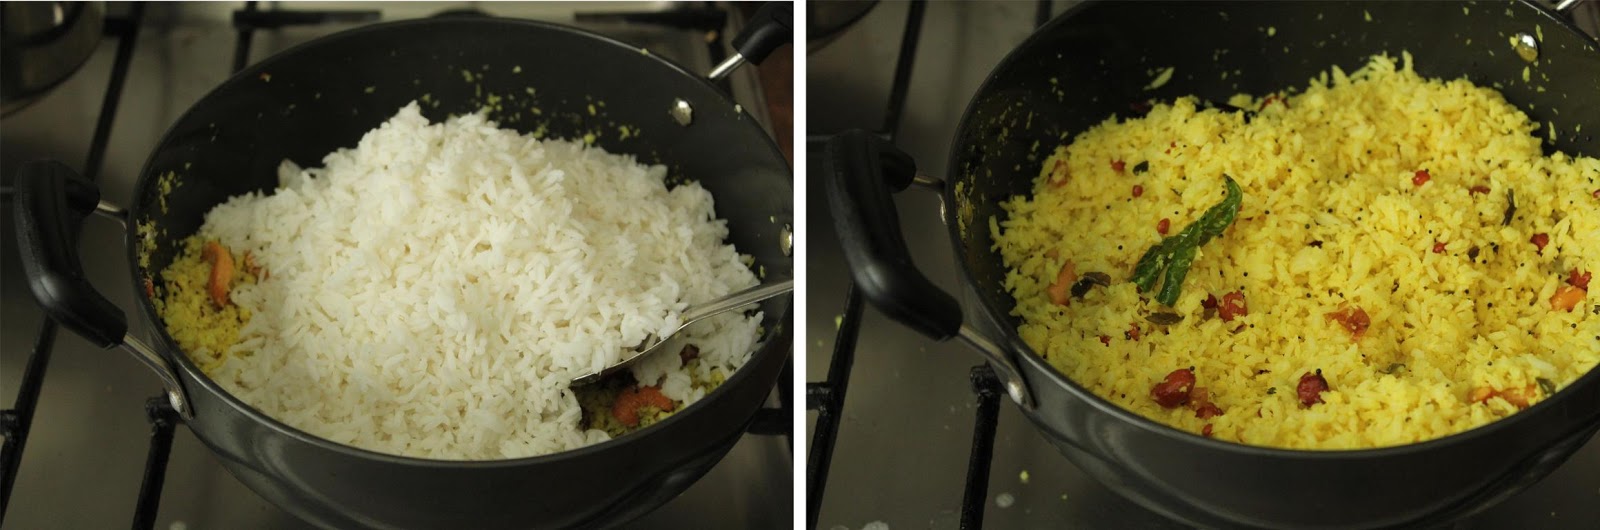
Lemon Rice is a traditional, easy and commonly made rice dish from South India. Today's recipe is another variety of lemon rice. I have given a twist to the traditional lemon rice recipe by adding freshly grated coconut. Anyone can make this rice in no time with usually available ingredients.
If you are looking for more coconut recipes then do check Paal Kozhukattai, Rava Modak, Gutti Vankaya Kobbari Karam, Mawa Coconut Jay Laddu, Coconut Biscuits, Pumpkin Thoran,Vella Kozhukattai and Curry Leaves Coconut Chutney.
If you love this recipe for lemon coconut rice, don't forget to give it a five star rating! 🙂
You might also like to check these Traditional Recipes:

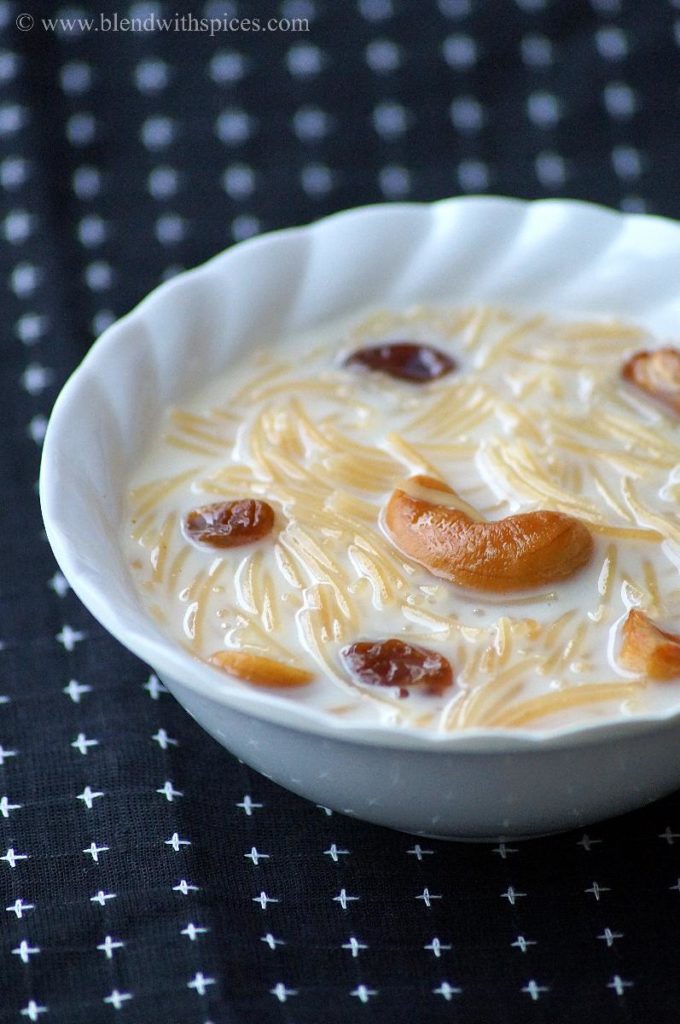
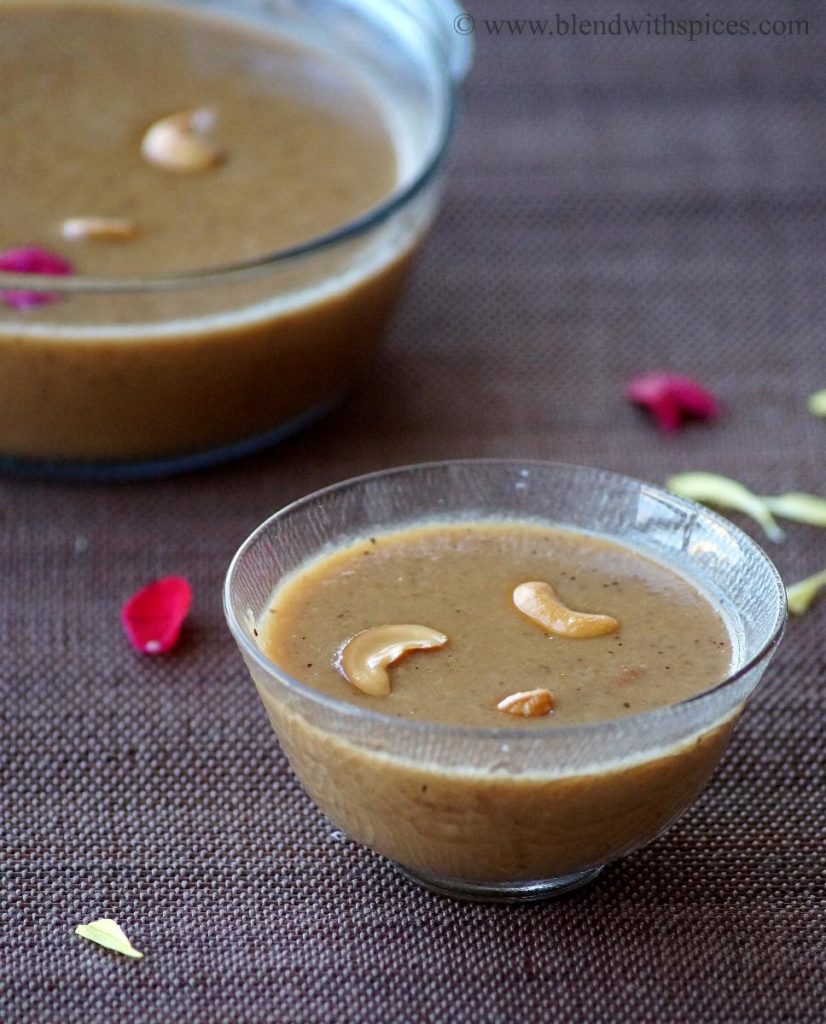
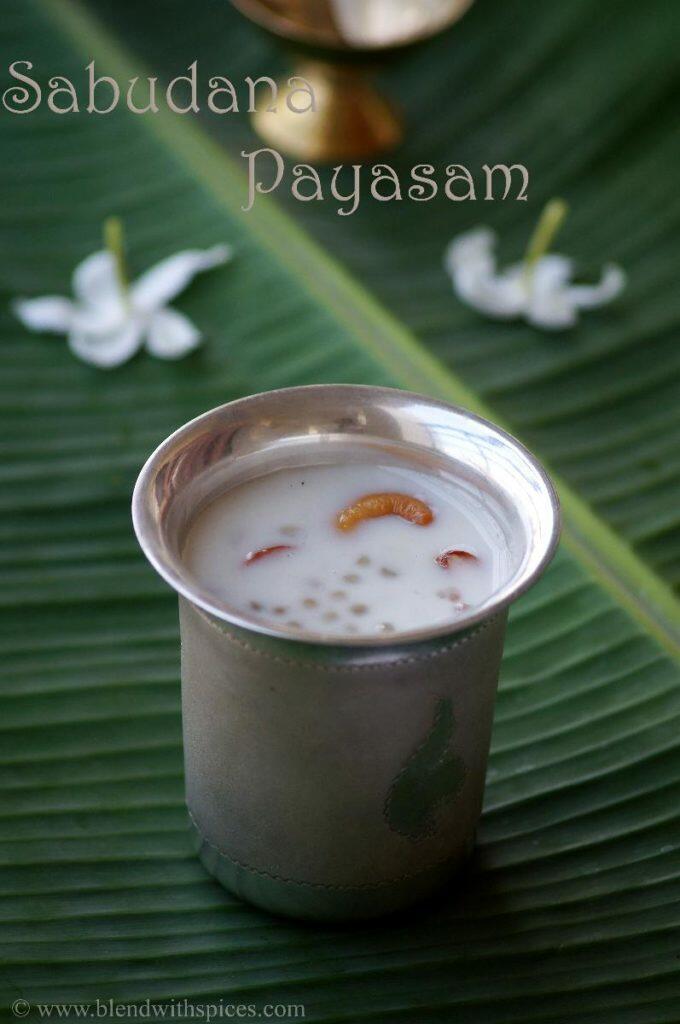
If you are looking for more Payasam Recipes then do check Godhuma Rava Kobbari Payasam, Rava Payasam, Semiya Payasam, Sabudana Kheer, Kobbari Payasam, Chana Dal Payasam, Ada Pradhaman, Pumpkin Payasam and Paneer Payasam.
Complete list of Varalakshmi Vratham Recipes.
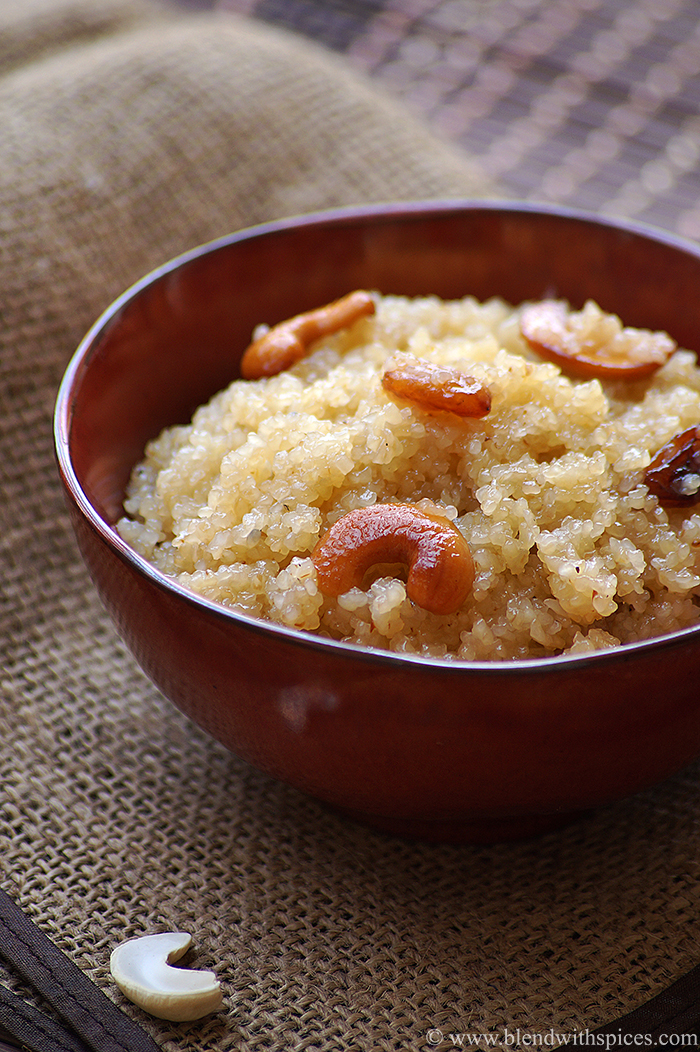
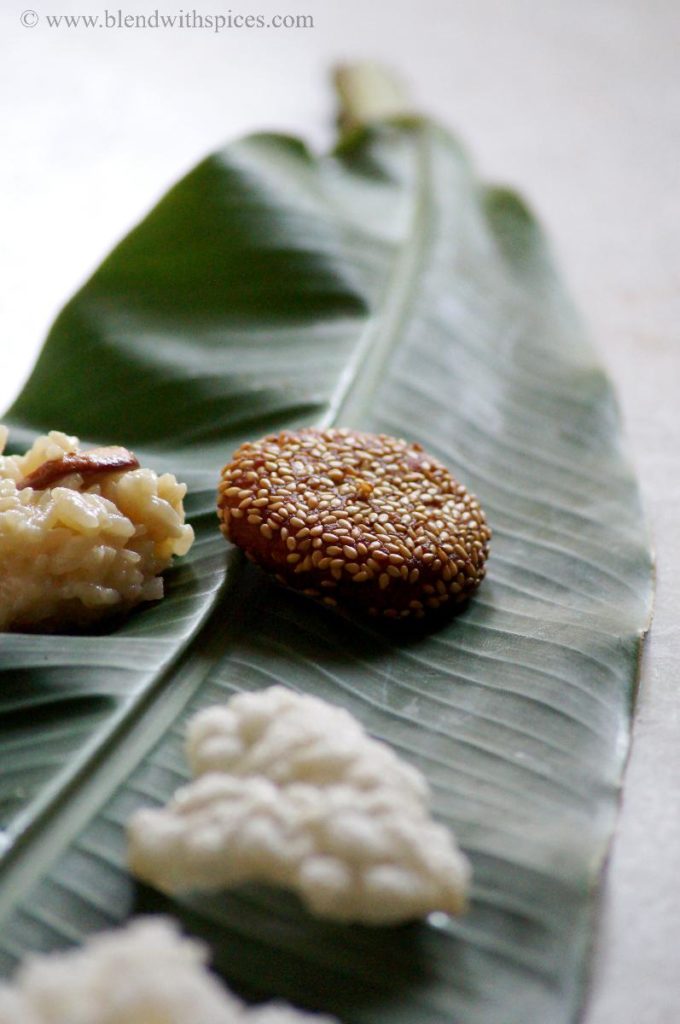
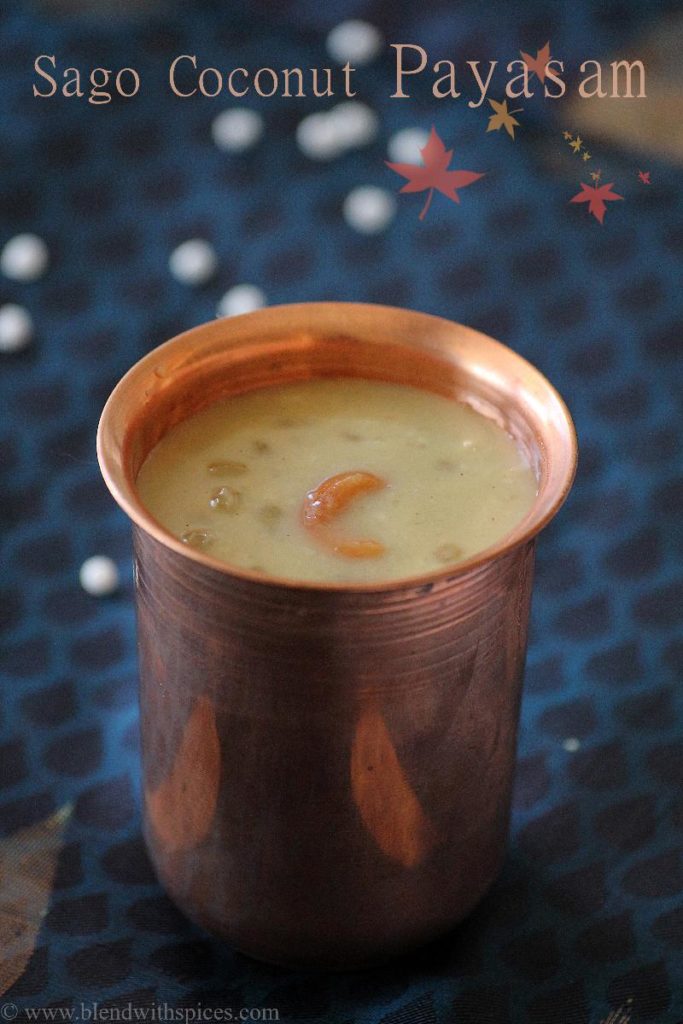
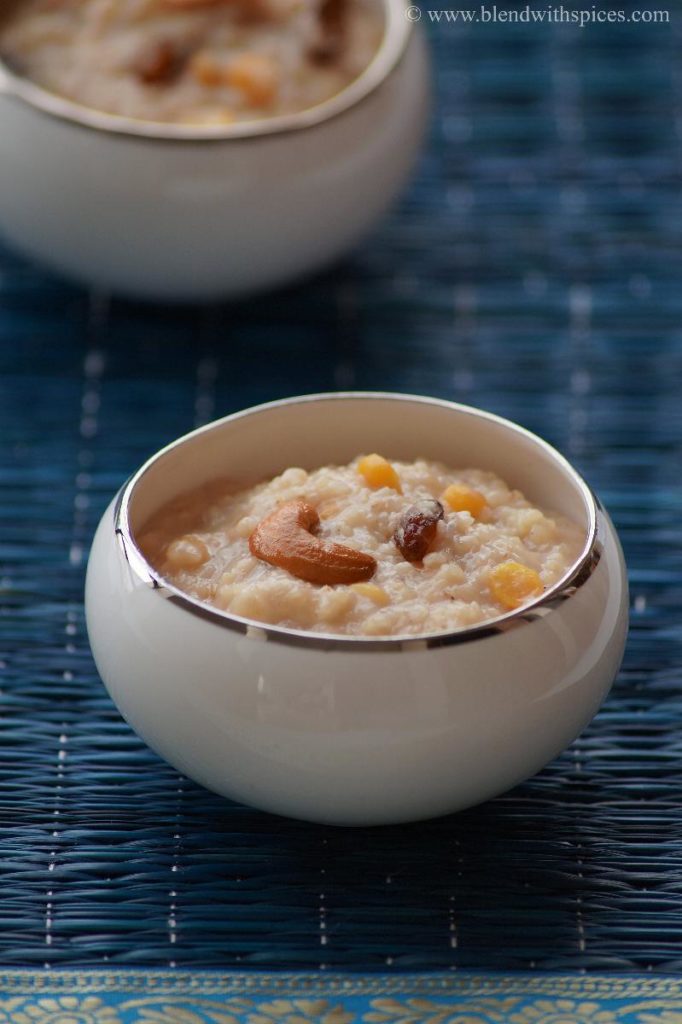
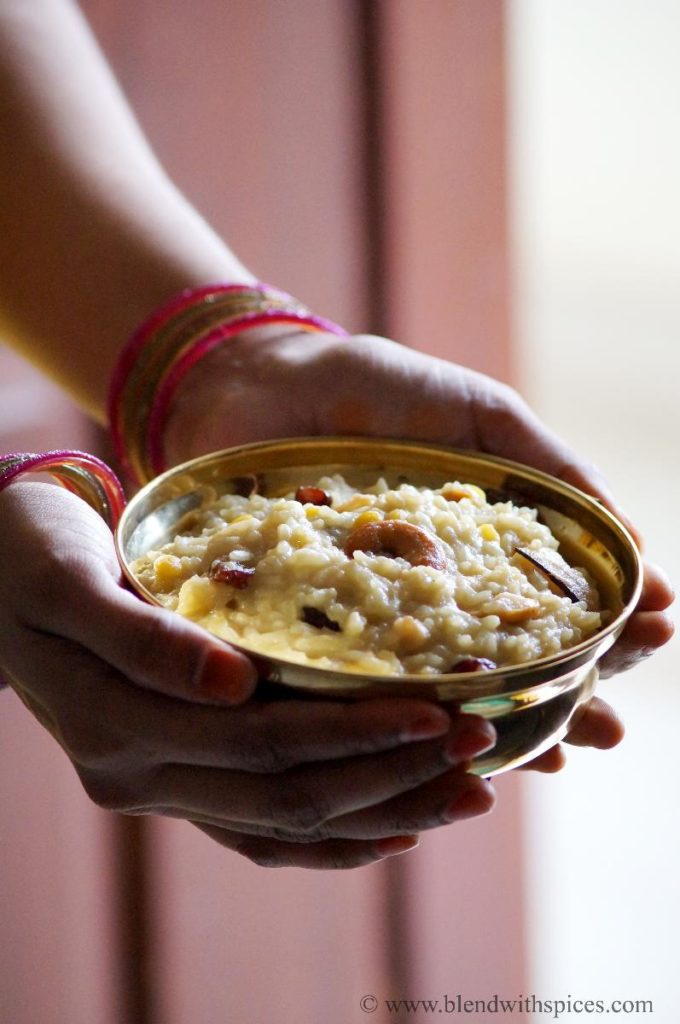
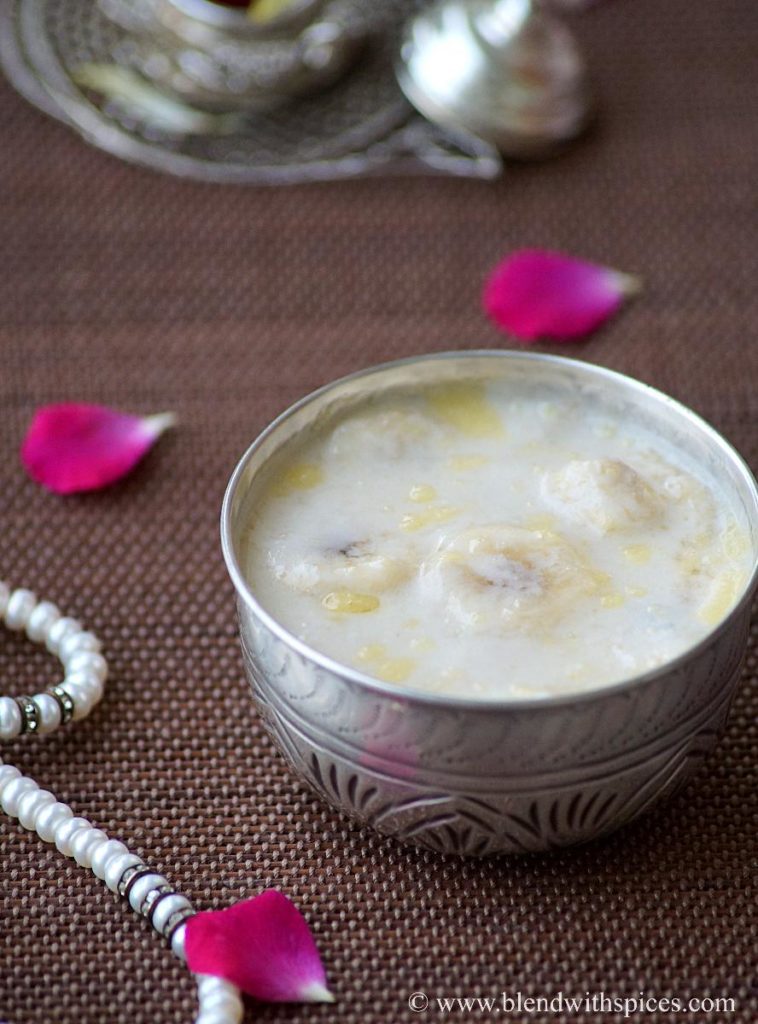
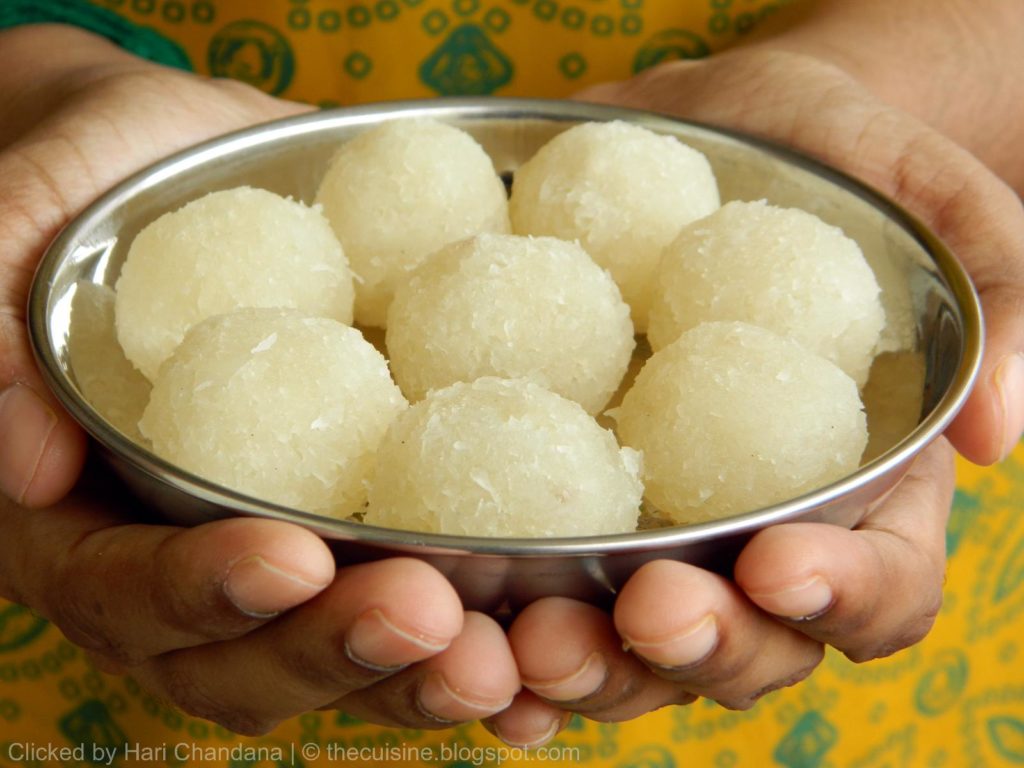
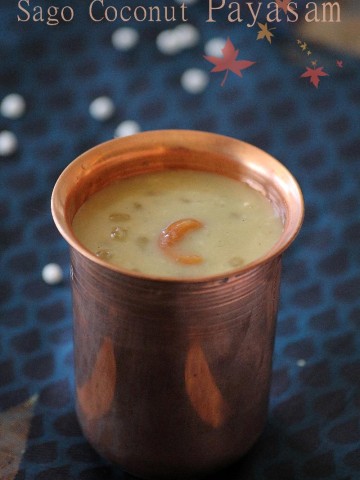
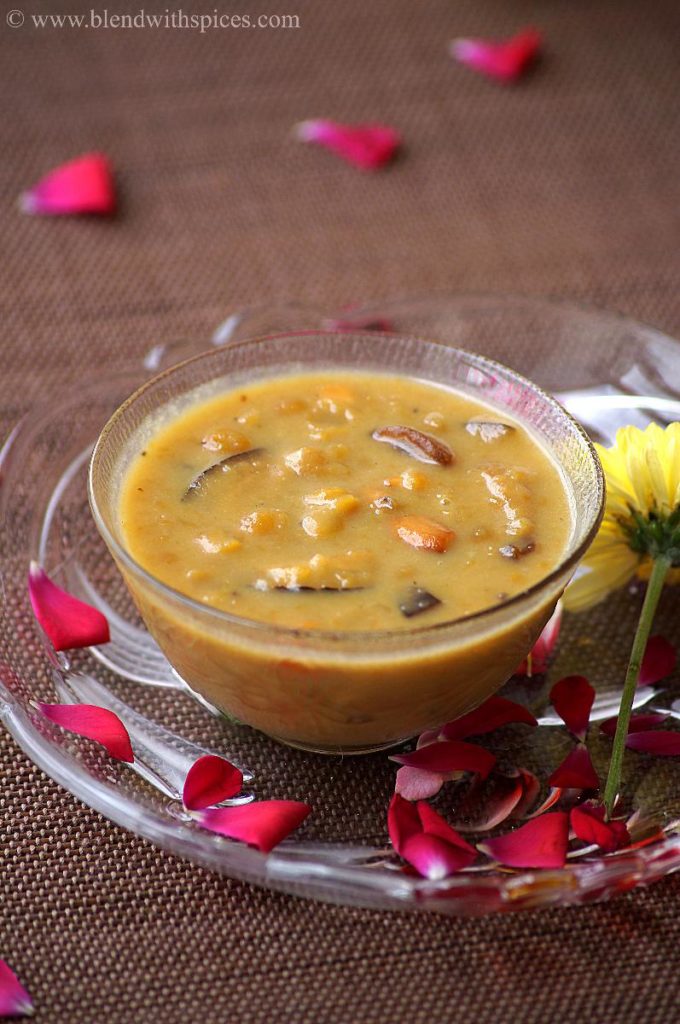
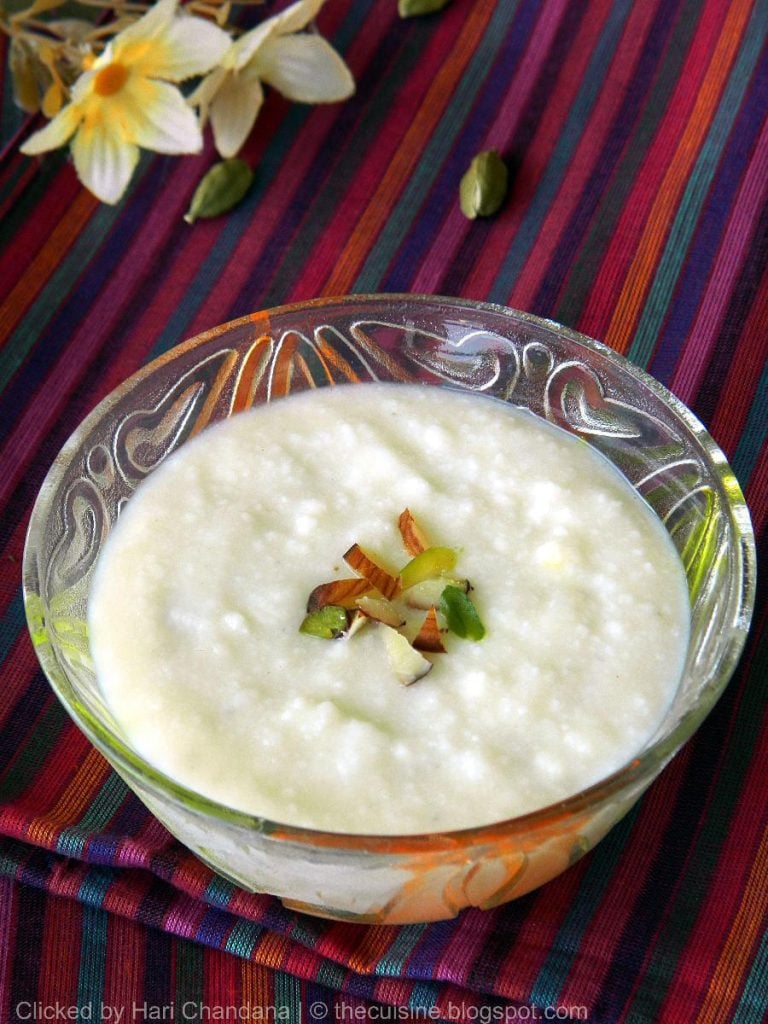
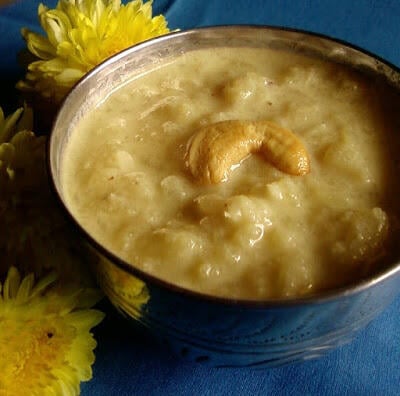
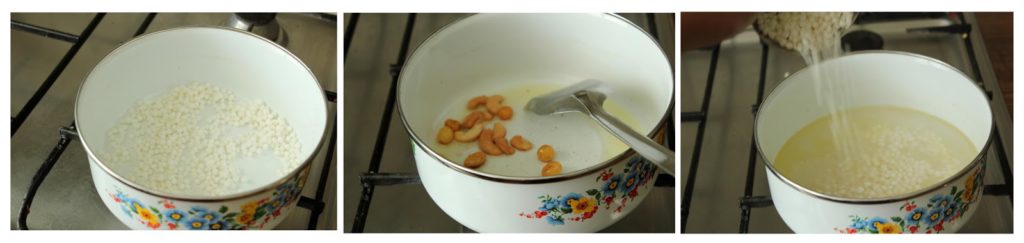
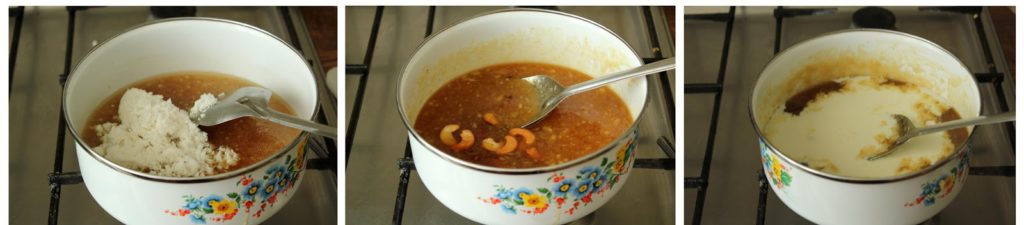
Sabudana Coconut Payasam Recipe with Jaggery
Prep Time: 5 mins | Cook time: 20 mins| Serves: 3
Author:Hari Chandana P
Cuisine: South Indian
Recipe type: Dessert
Ingredients:
Instructions:
You might also like to check these recipes:
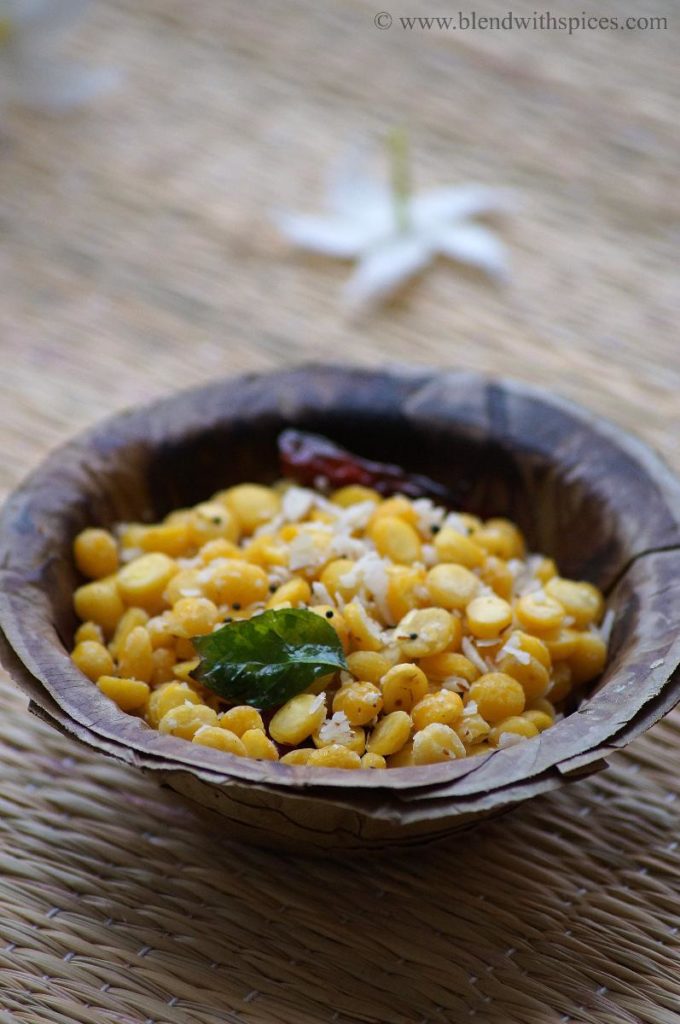
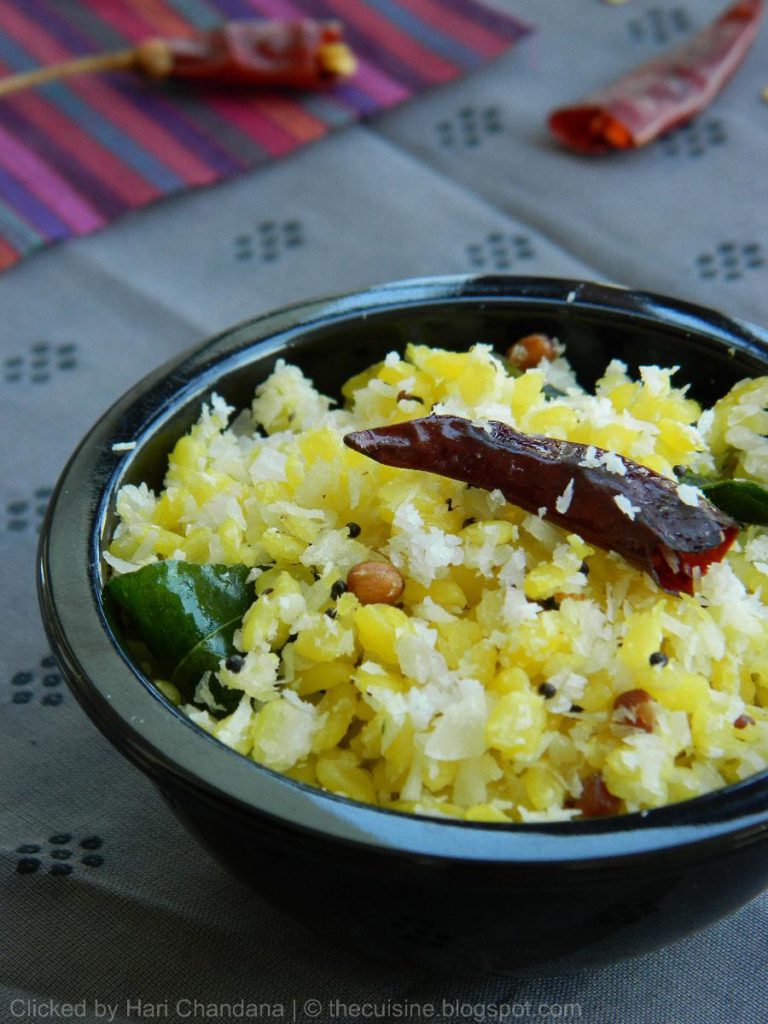
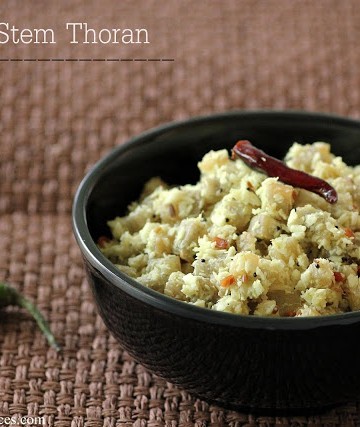
An easy, healthy and delicious South Indian stir-fry using banana stem, coconut, and spices. Perfect for Onam!

A delicious and healthy South Indian curry made with banana stem, coconut and spices. It is also known as vazhaithandu poriyal, vazha pindi thoran and arati doota koora.
It is a mildly spiced curry or side dish that can be served with rice or roti.
If you are looking for kerala onam sadya recipes, you can include this dish.

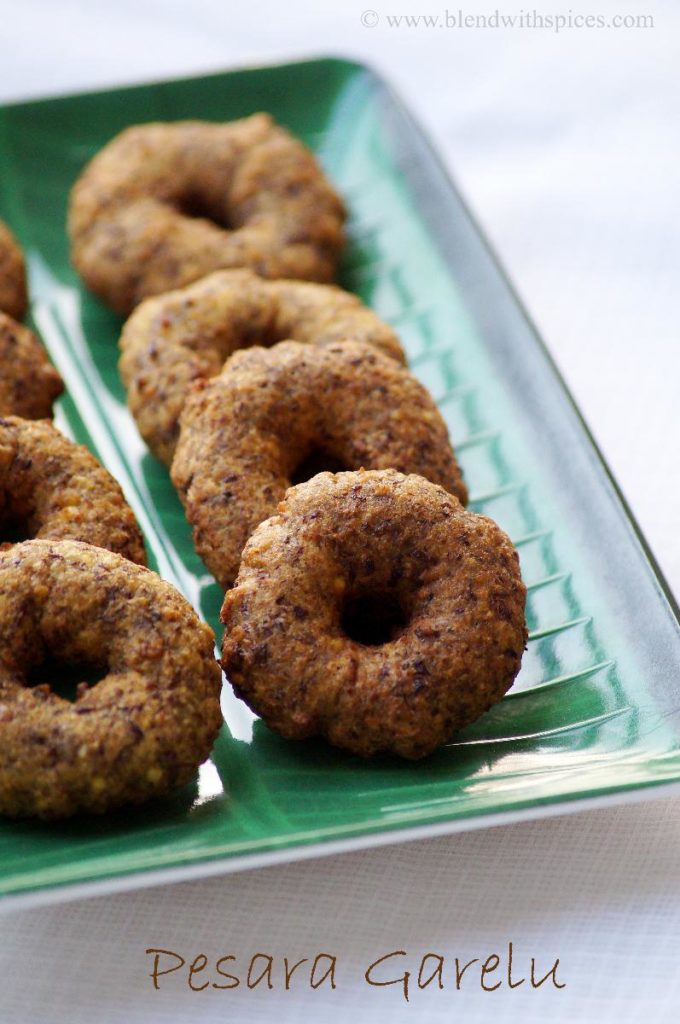
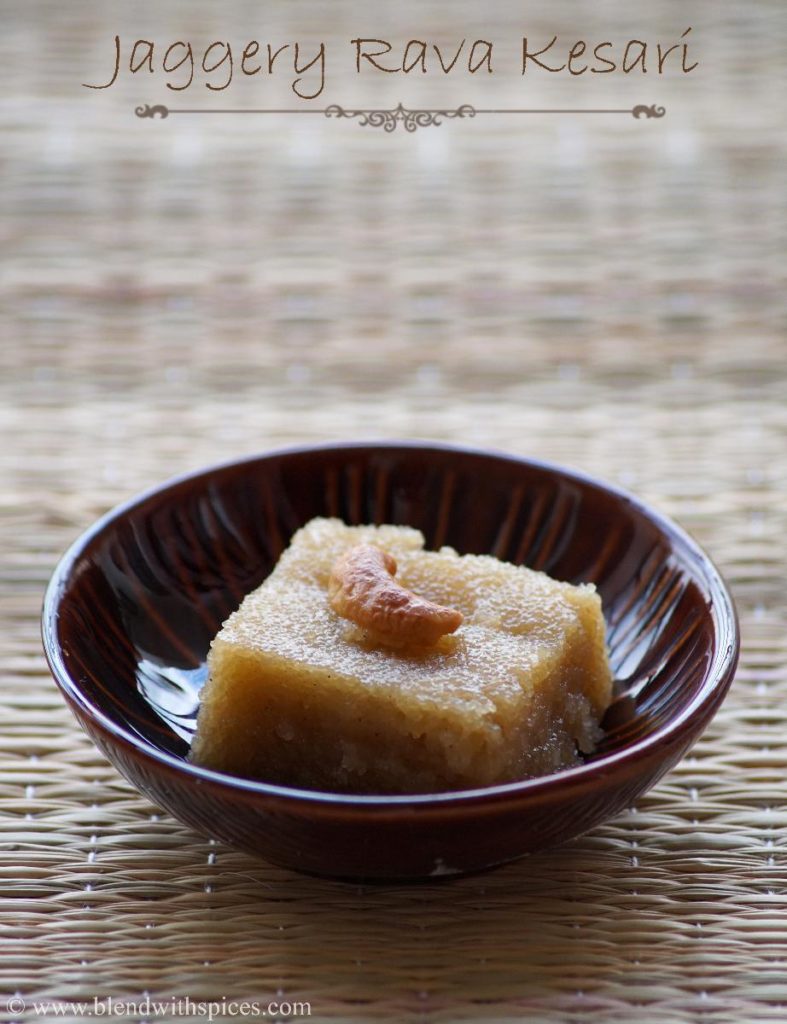
If you are looking for more festival recipes then do check Godhuma Rava Pongali, Paal Kozhukattai, Undrallu, Pala Munjalu, Pesara Garelu, Jaggery Rava Kesari, Bobbatlu and Modak.
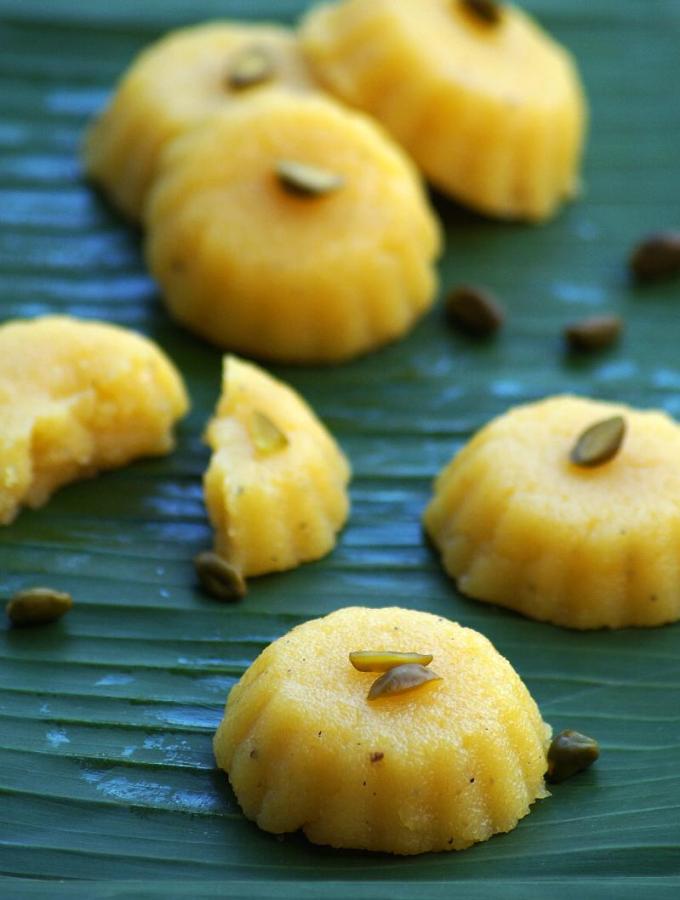
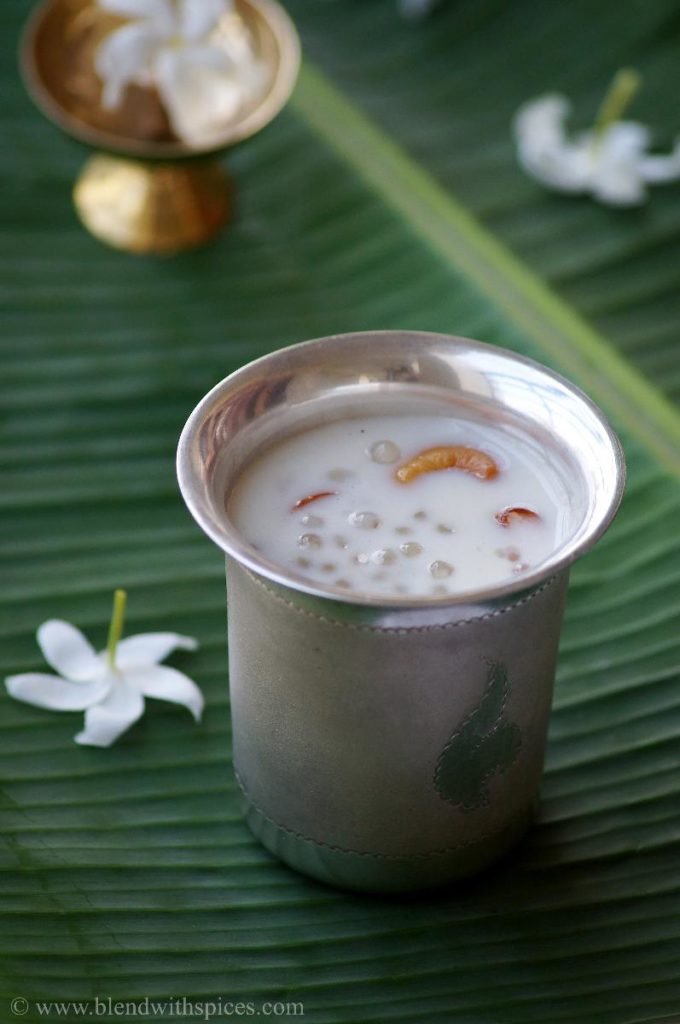
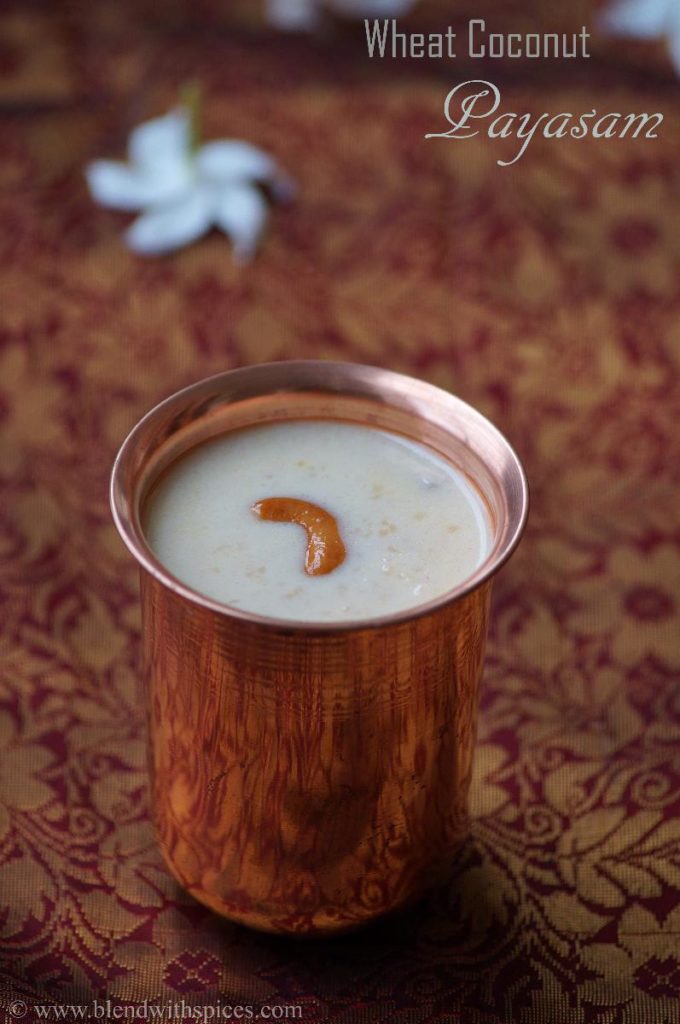
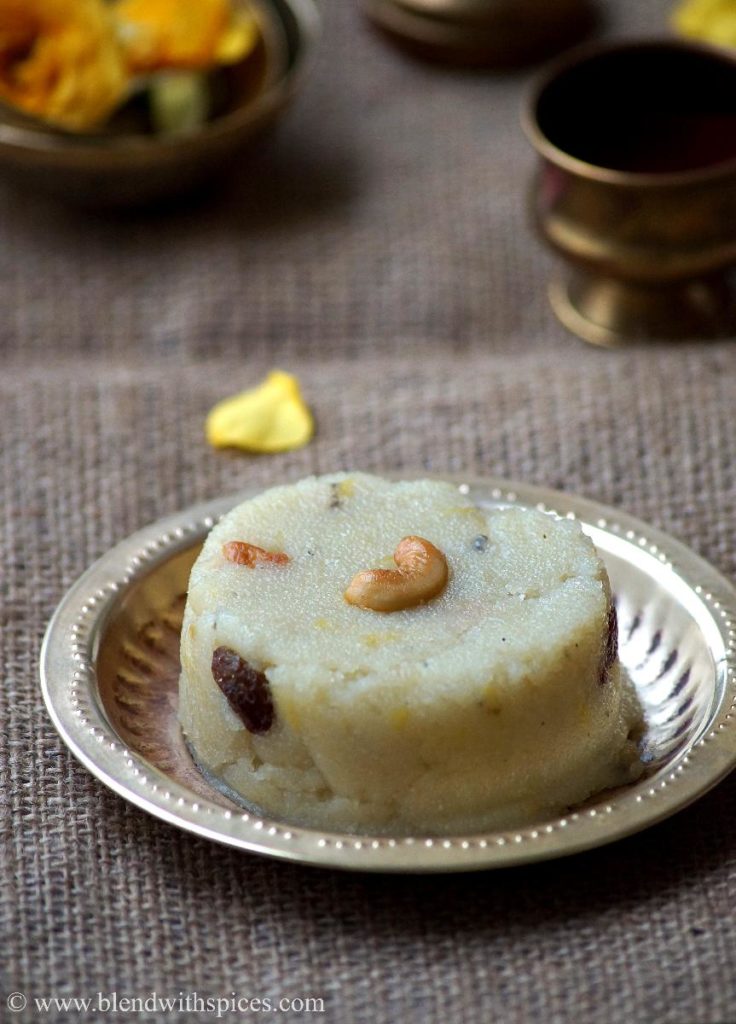
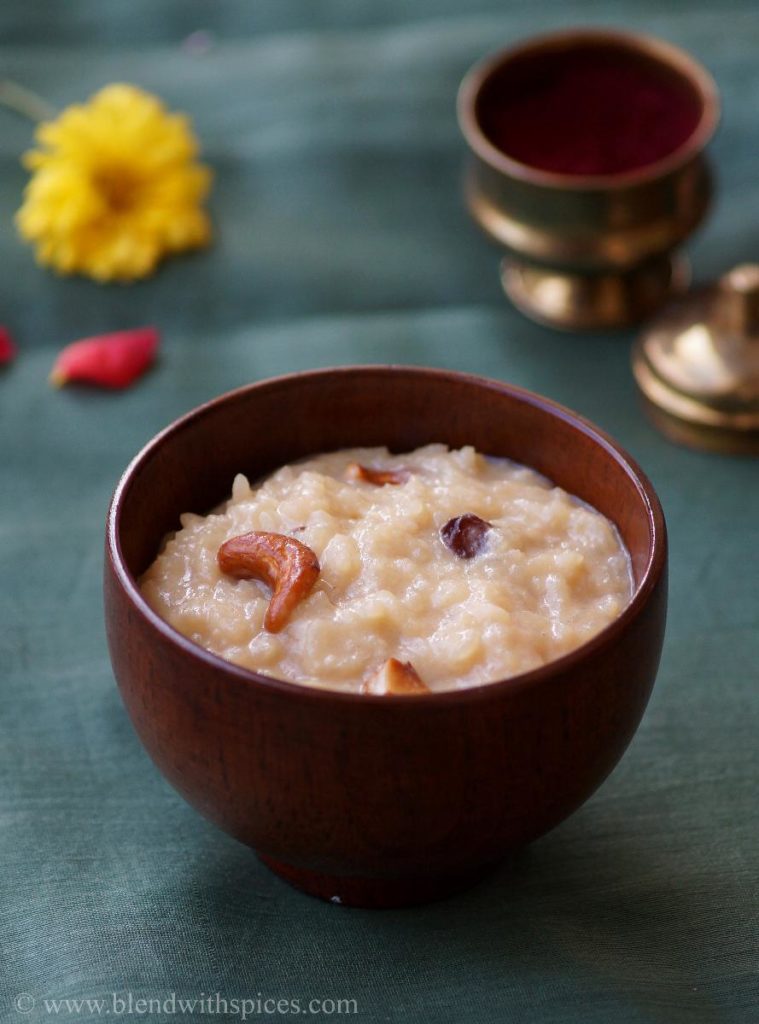
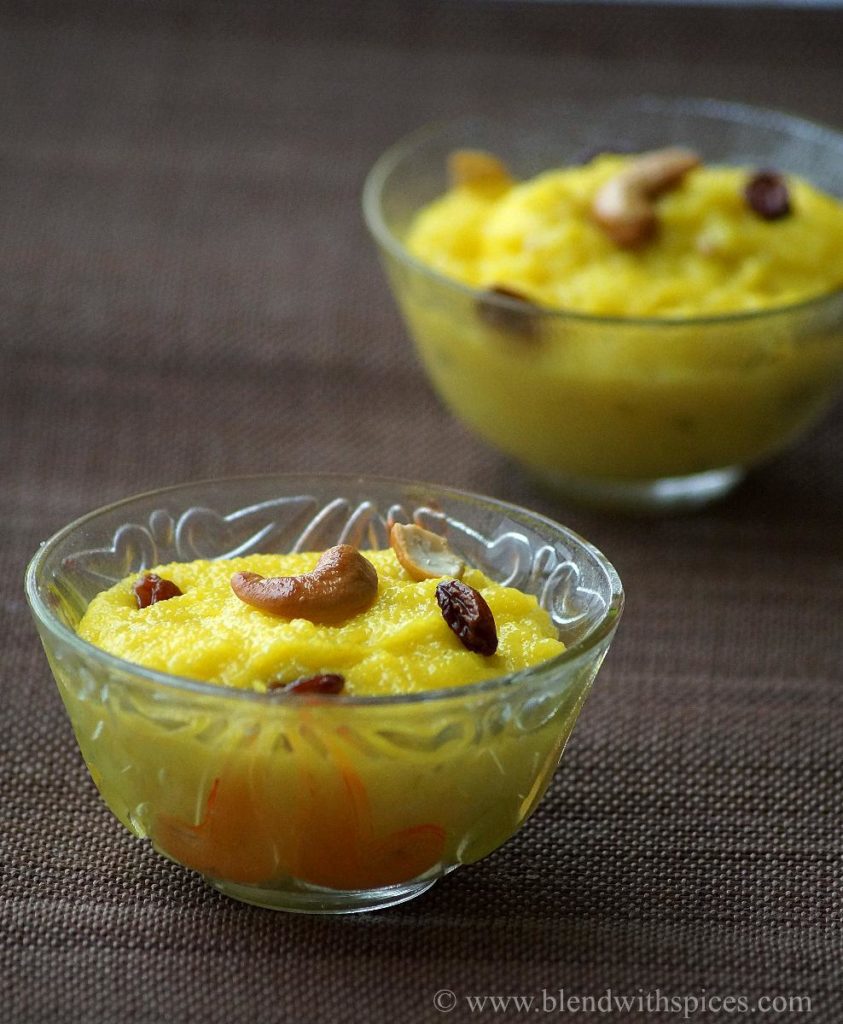
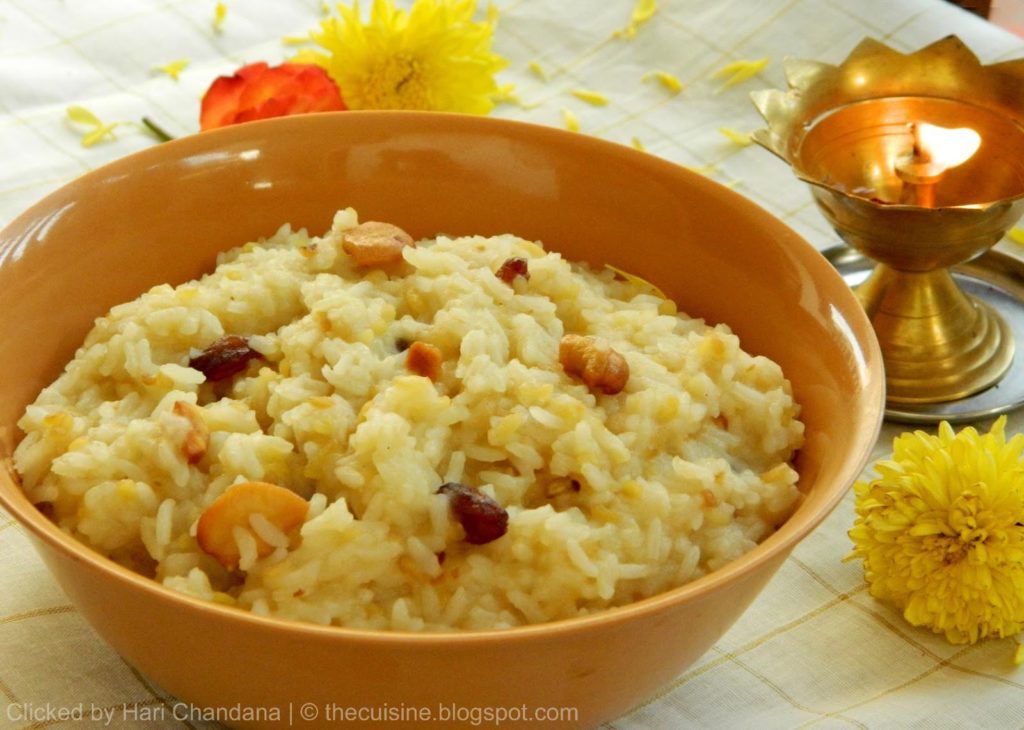
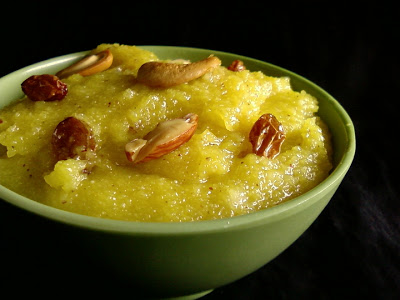
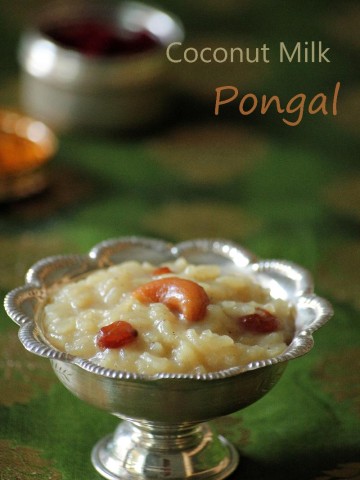
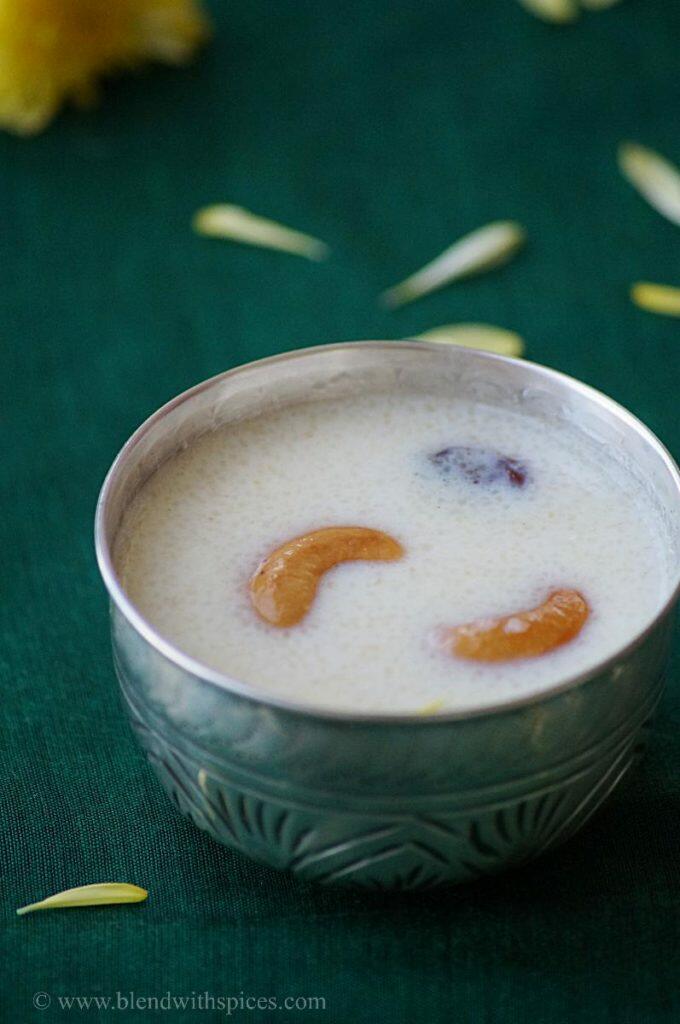
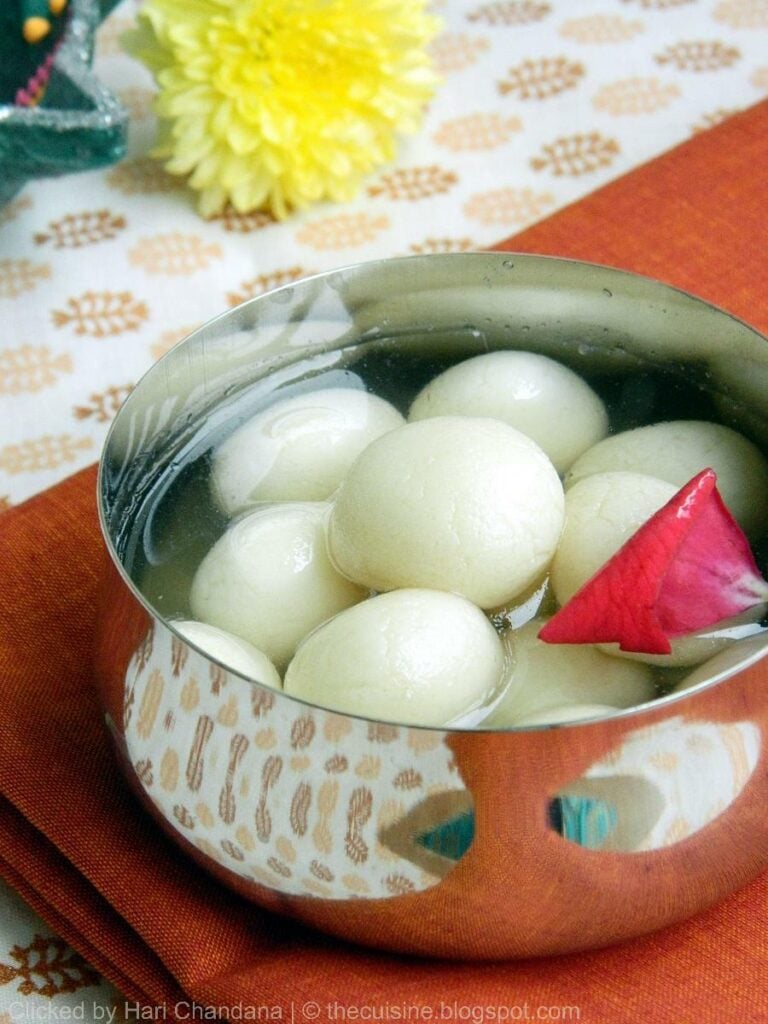
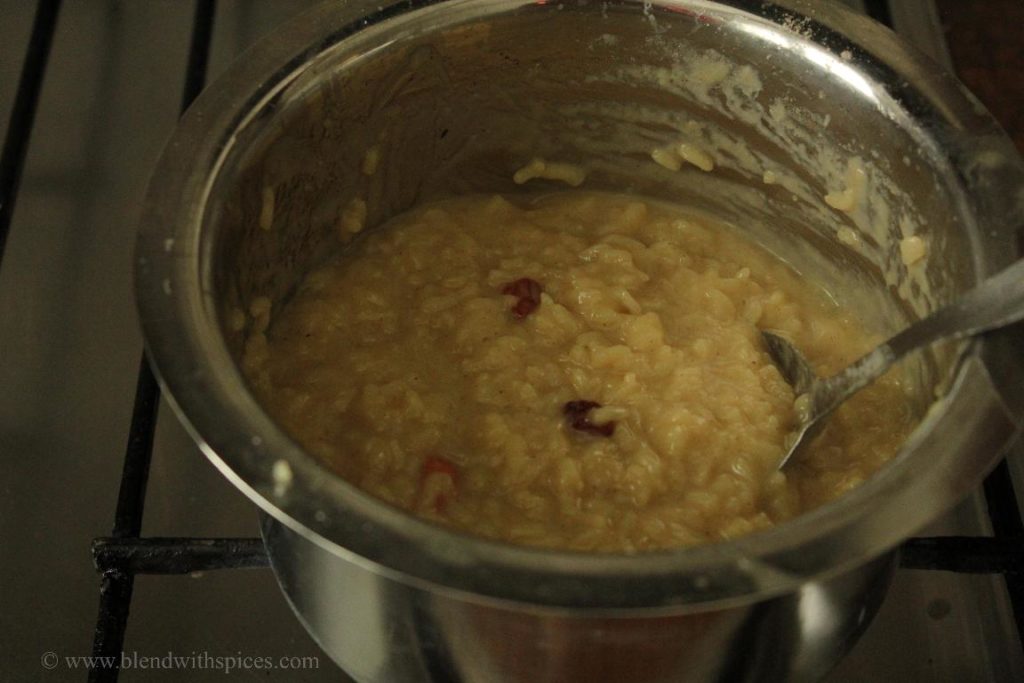
Kobbari Paala Paramannam Recipe
Prep Time: 10 mins | Cook time: 20 mins| Serves: 2 - 3
Author:Hari Chandana P
Cuisine: South Indian
Recipe type: Dessert
Ingredients:
Instructions:
You might also like to check these recipes:

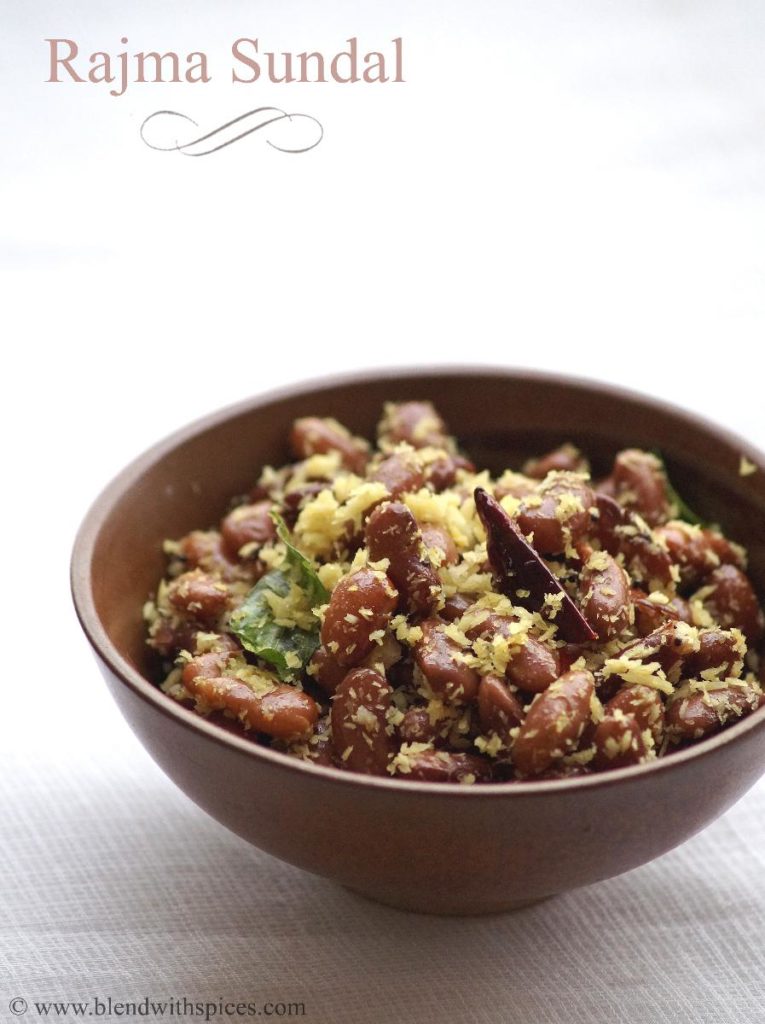
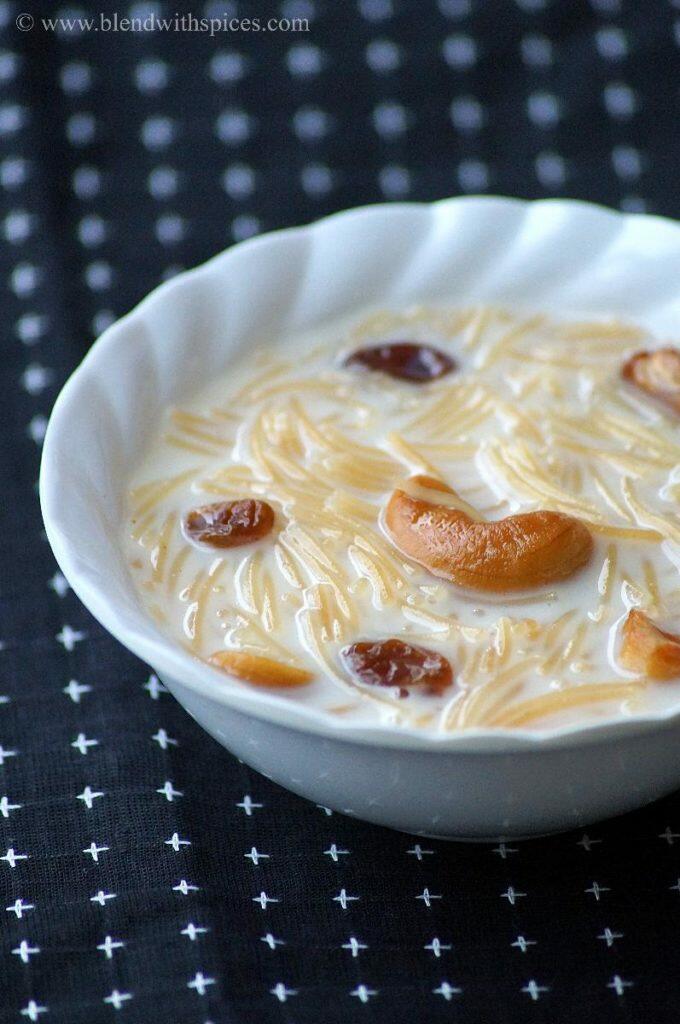
If you are looking for more festival recipes then do check Modak, Daddojanam, Javvarisi Payasam, Poornam Boorelu, Pesara Poornalu, Paramannam, Panchamrutham and Peanut Sundal.
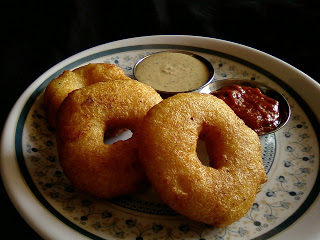
You might also like to check these Traditional Recipes:

Ingredients:
Instructions:
Adapted from Cusineart
You might also like to check these recipes:
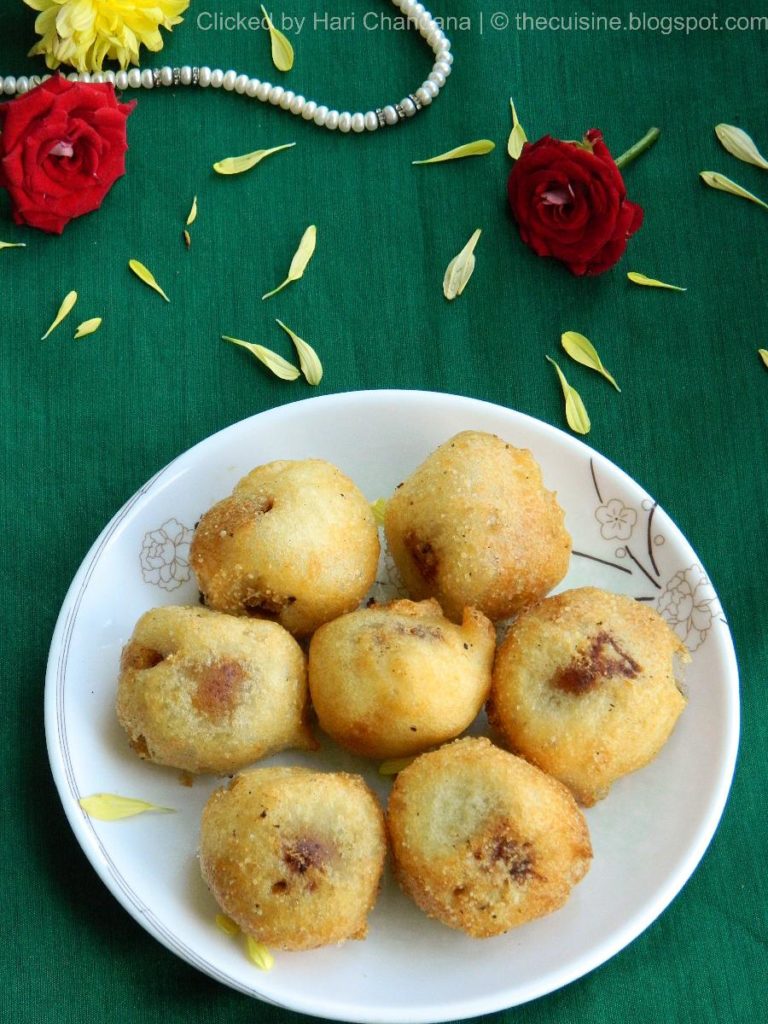
Ingredients:
For the Stuffing:
For the Outer Layer:

Instructions: