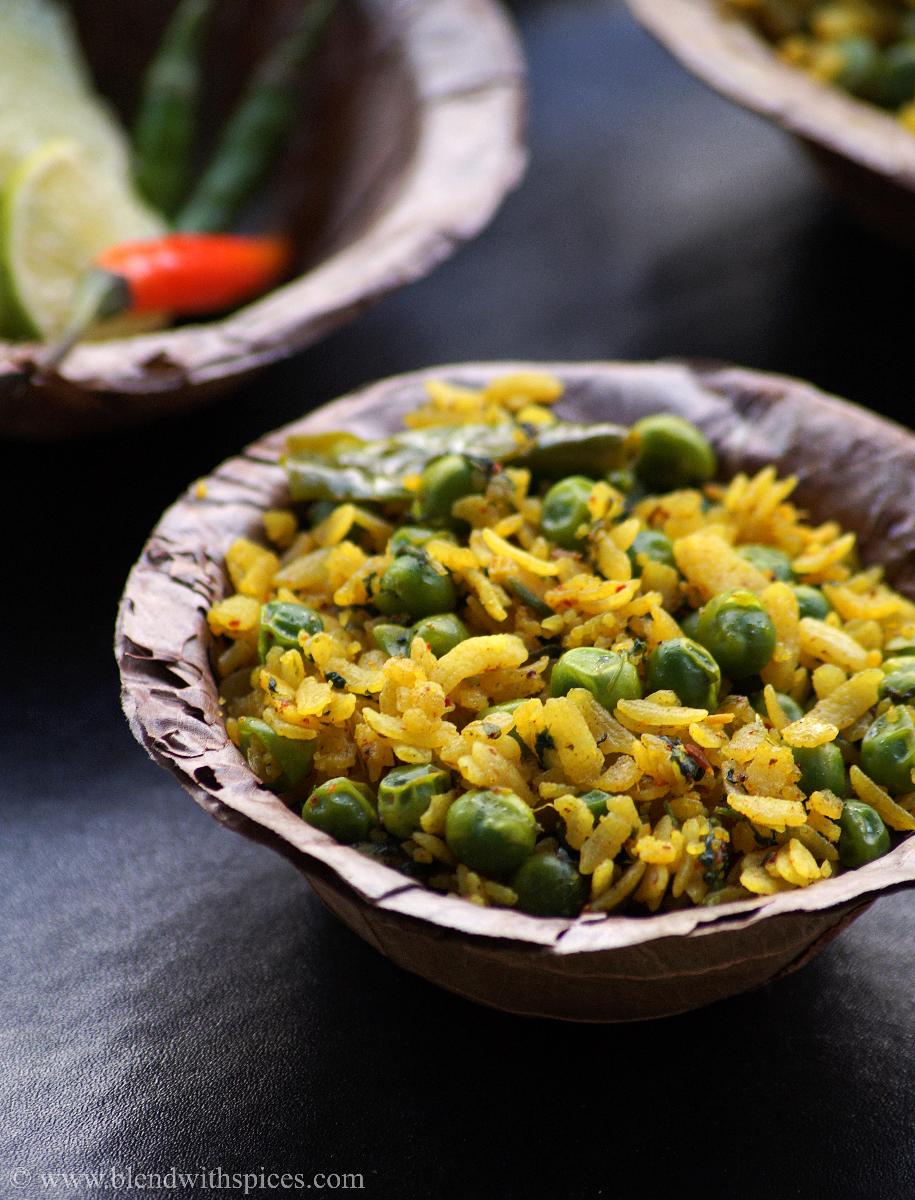

A super healthy and delicious Indian quinoa dish with lemon and spices.
What is Quinoa Lemon Pulihora?
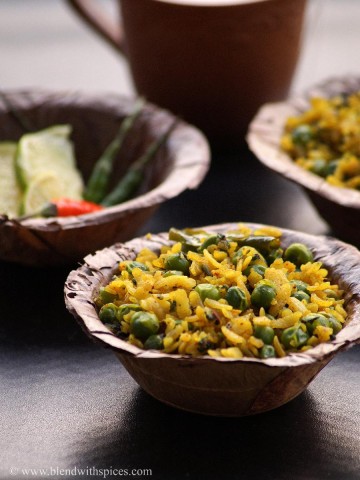
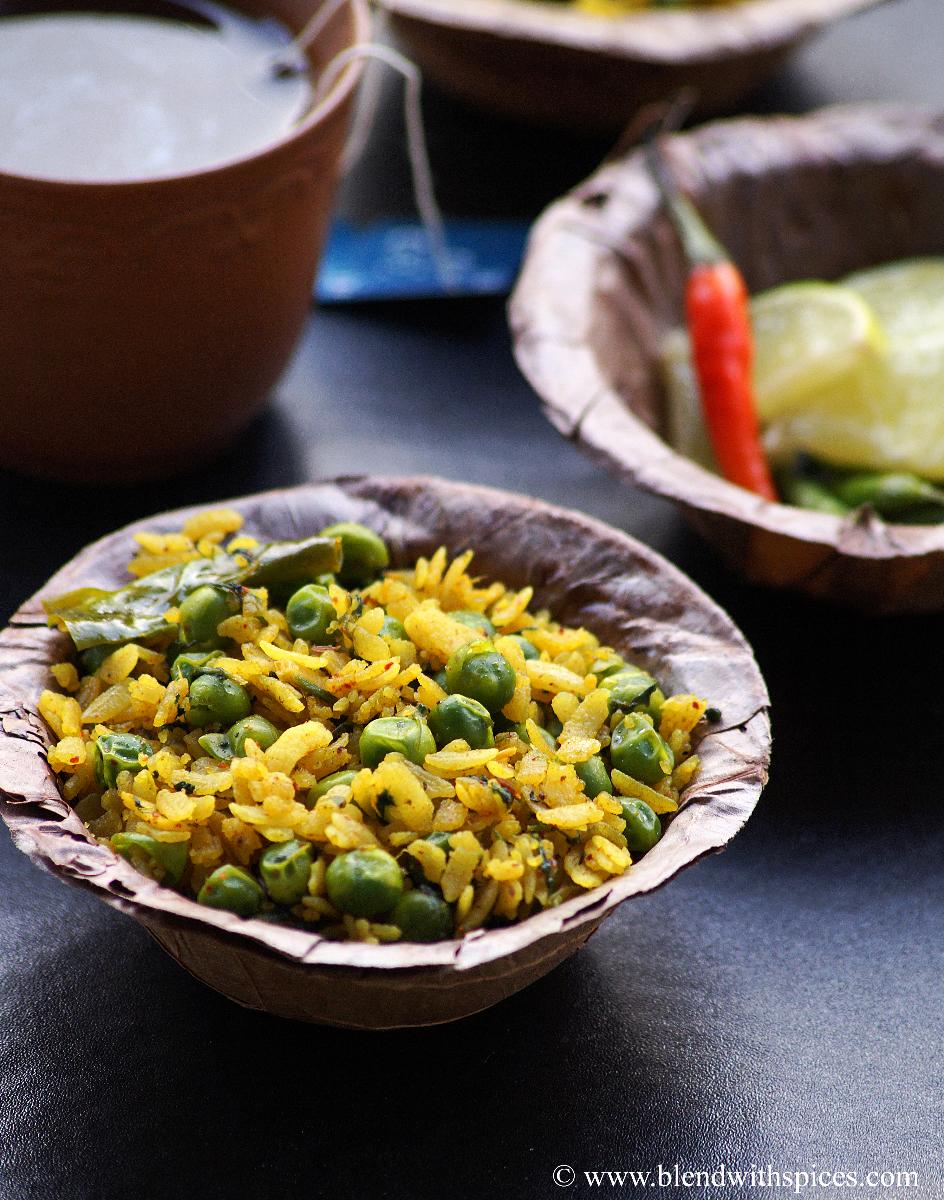
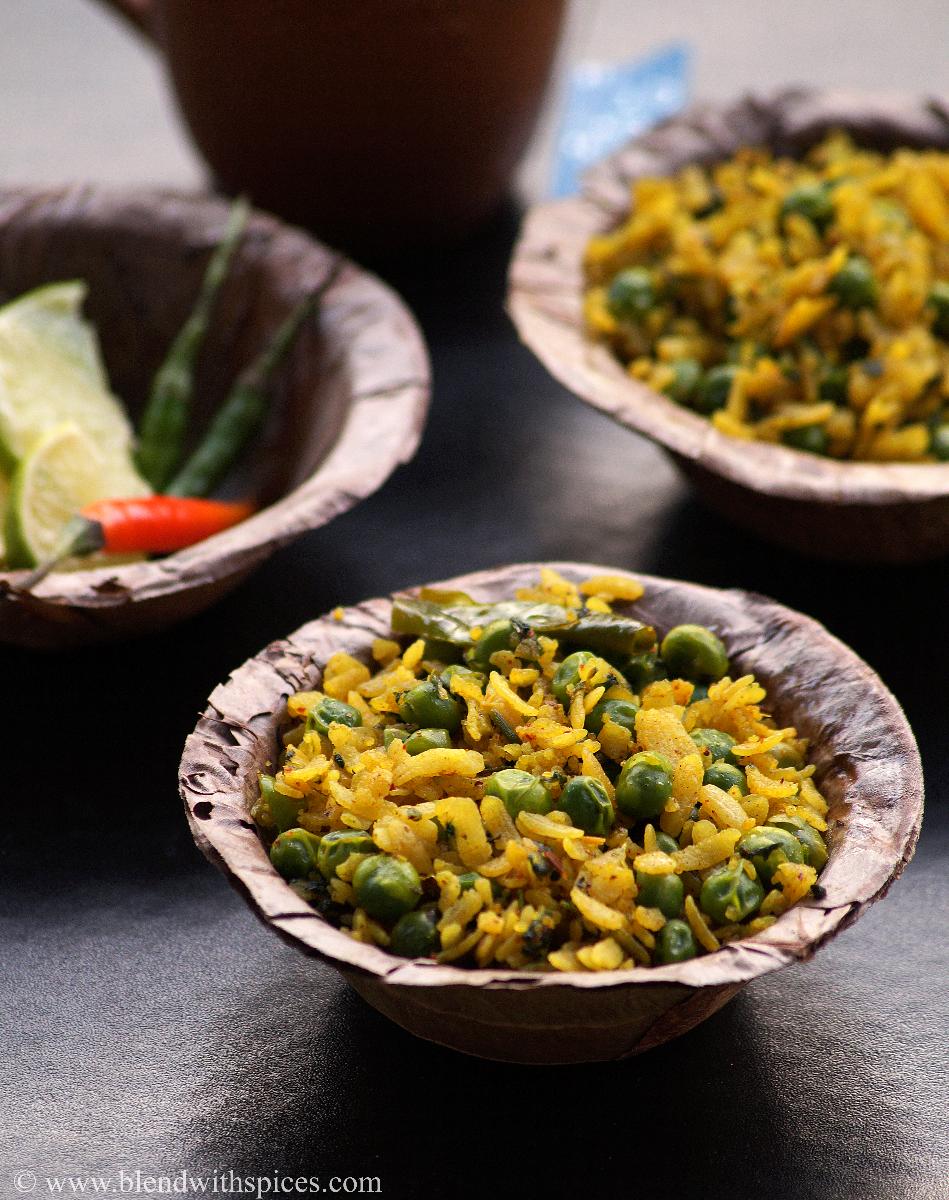
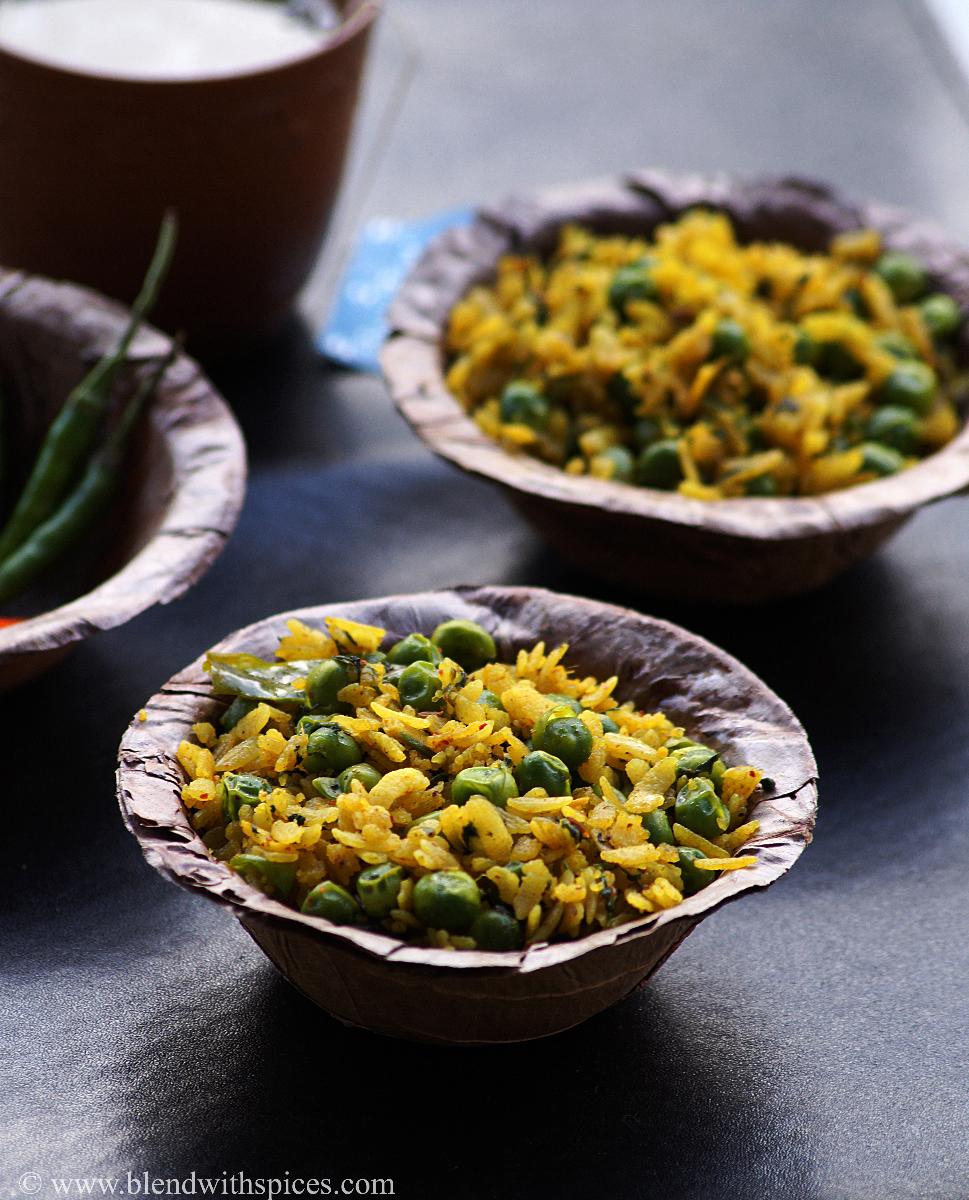
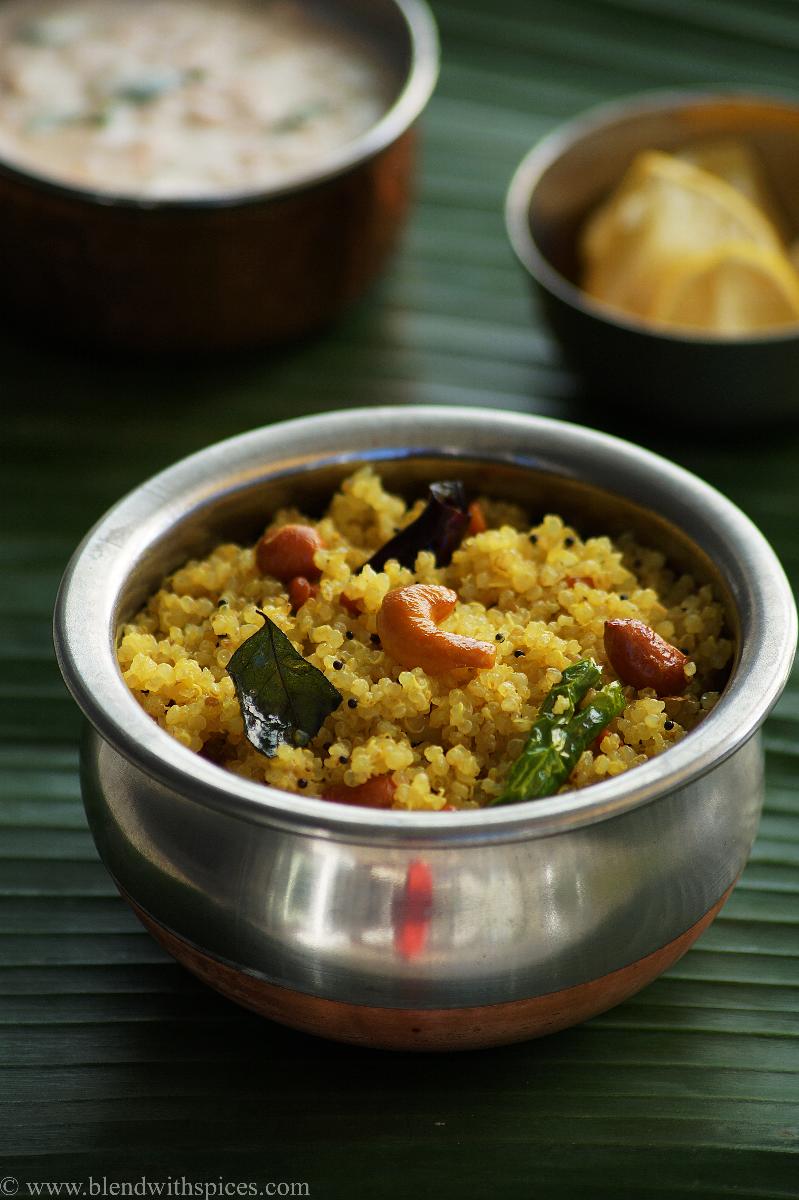
Lemon pulihora is a classic South Indian spicy and tangy dish usually made with rice, lemon and spices. I have replaced rice with cooked quinoa to make a South Indian style dish.
Quinoa is one of the super-foods as it is rich in protein and dietary fiber and has many more nutritional values. I always add it to my everyday cooking as it is super healthy.
If you are looking for more Indian quinoa recipes, check the below recipes.
Can I use frozen quinoa?
Yes, you can! Thaw it before adding to the seasoned ingredients.
Is it vegan?
Yes, this Indian dish is naturally vegan.
Serving suggestions:
If you are not vegan, serve it along with some plain yogurt or Indian raita. You can also use vegan yogurt such as soy yogurt.
It is served cold or warm and can be served at any time of the day.
Few tips:
- Do not skip adding hing or asafoetida for the authentic flavor.
- Once the quinoa is cooked, do not forget to fluff it with a fork and spread on a wide plate to separate the grains.
- Always add lemon juice after turning off the flame. Otherwise, it will turn bitter.
Step by step preparation:
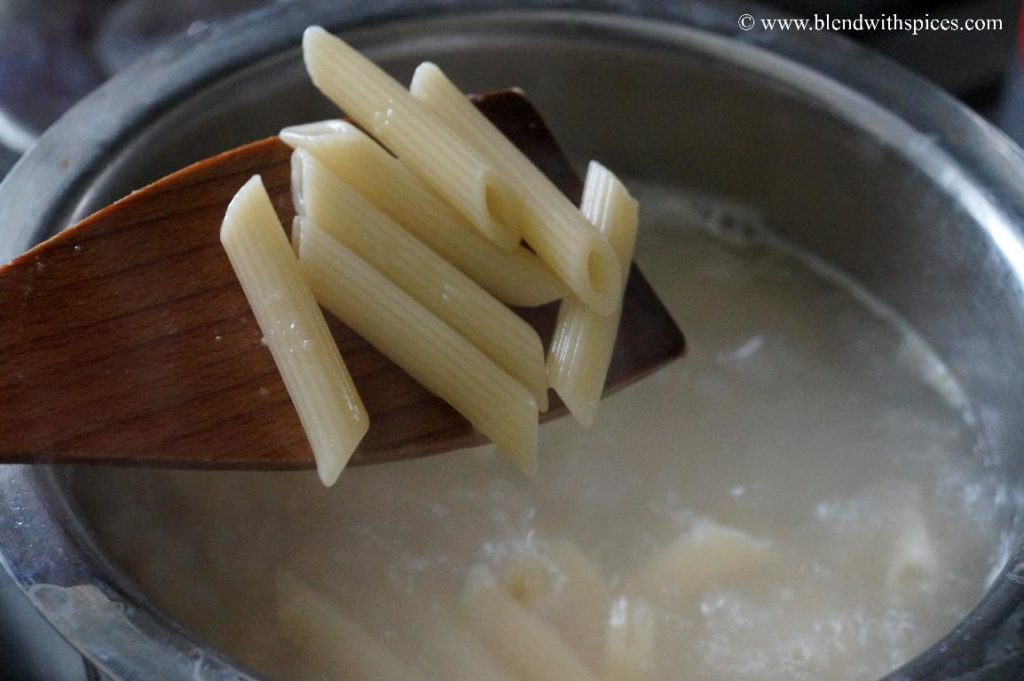
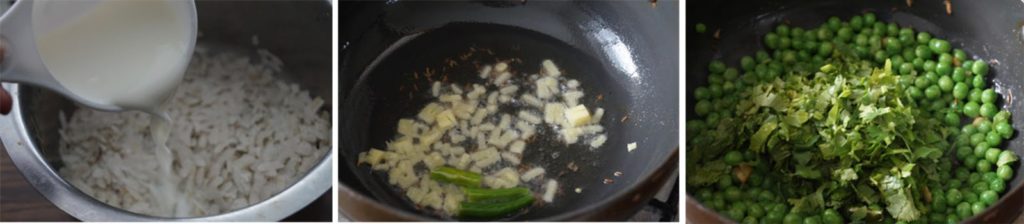
- Rinse quinoa with plenty of water and pressure cook it with one cup of water for 3 whistles. If you prefer stove-top cooking, you can cook it in a vessel with enough water until it is completely cooked and soft.
- Spread it on a wide plate and let it cool completely.
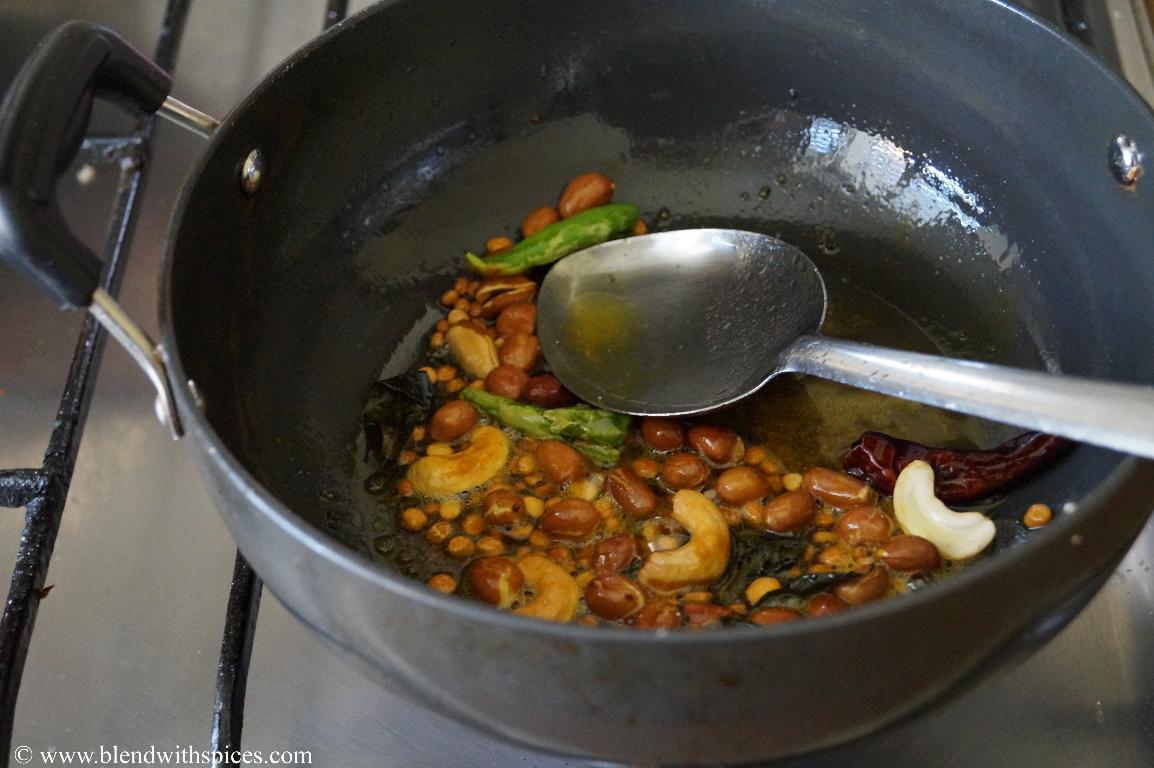
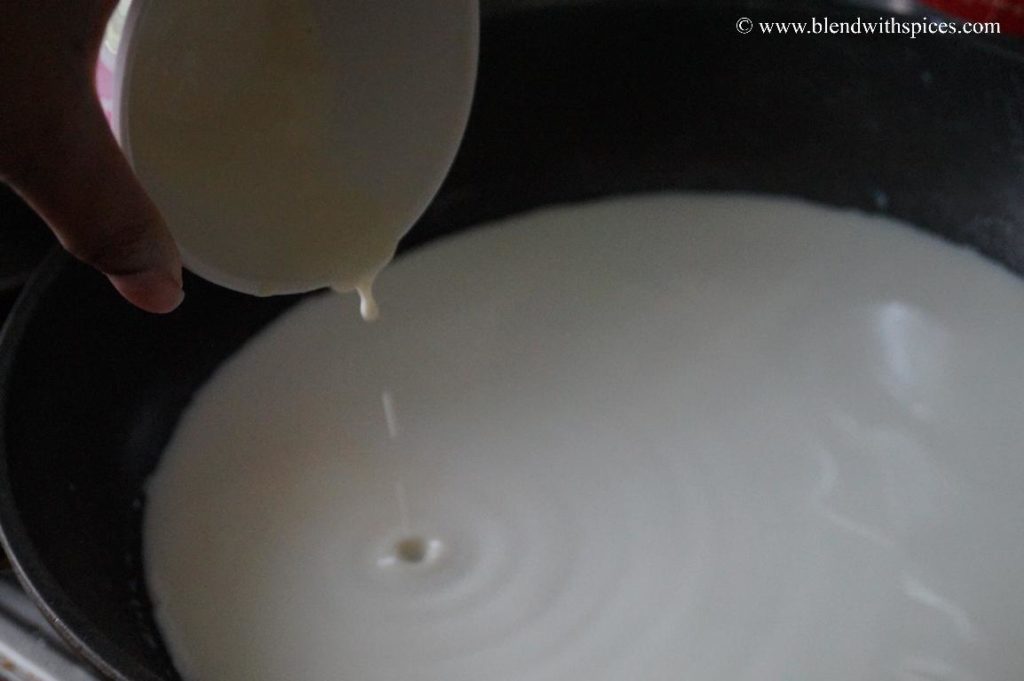
- Heat oil in a pan for seasoning.
- Add the mustard seeds, chana dal, urad dal, chana dal and peanuts and fry until light golden brown.
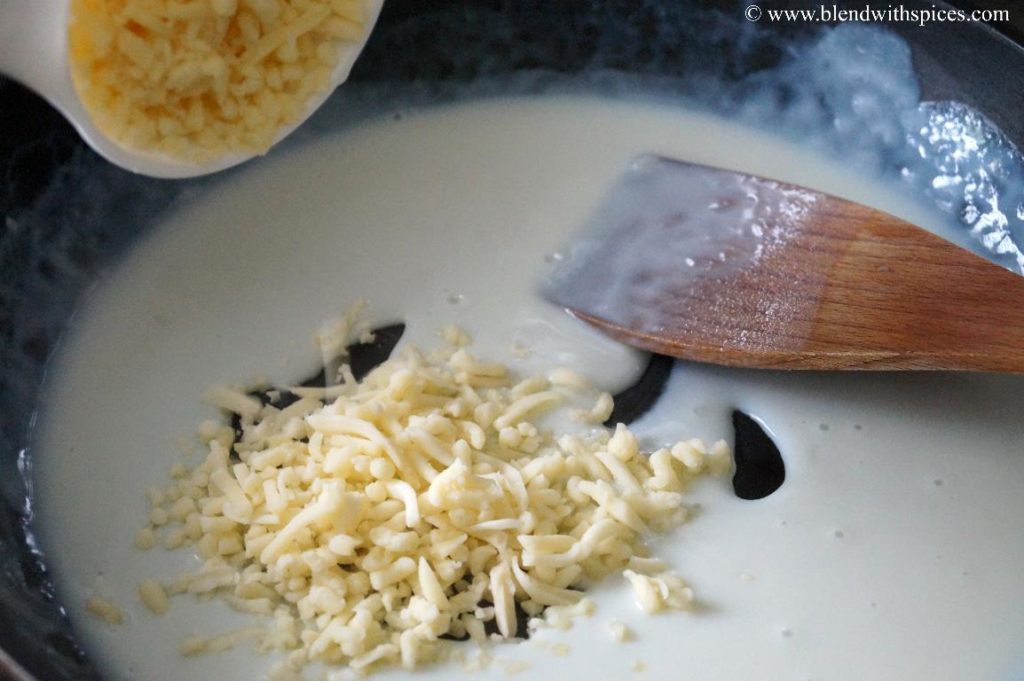
- Then add the cashews to it and saute until golden brown.
- Add the slit green chillies, red chilli and curry leaves and fry for a minute.
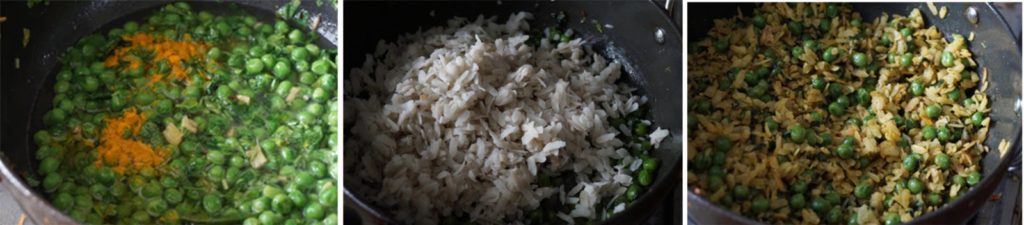
- Add turmeric powder and hing and stir for a few seconds.
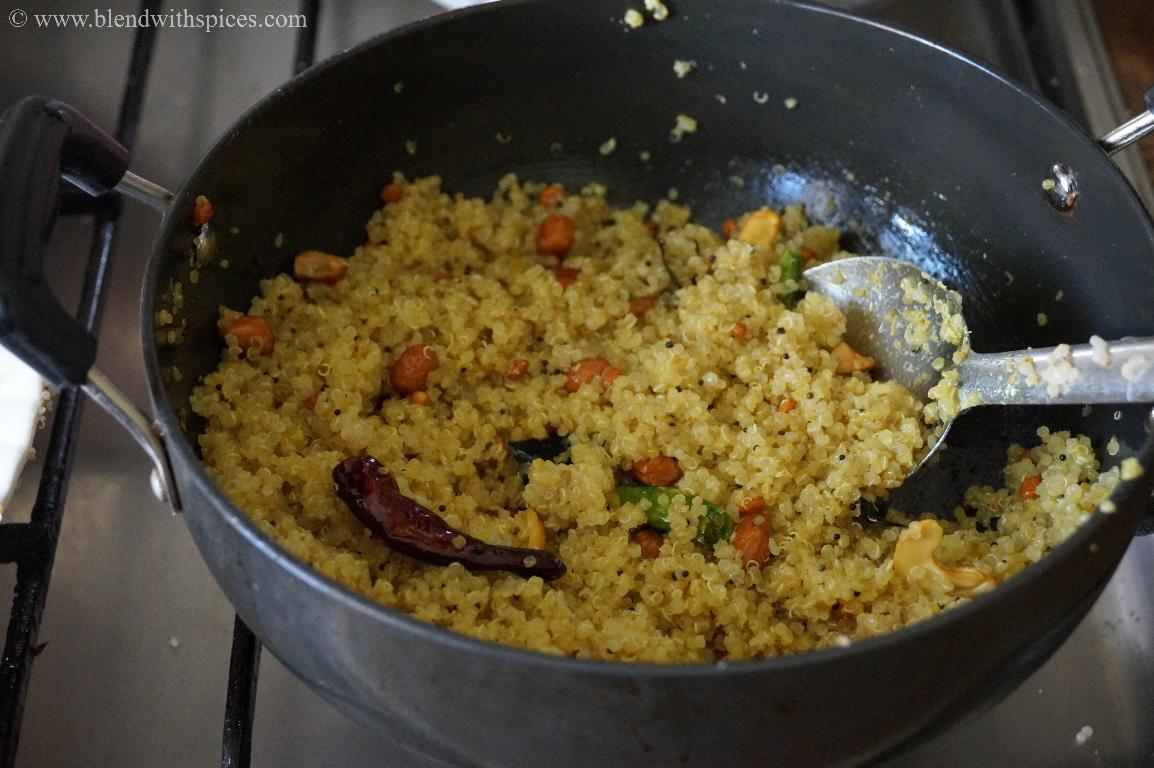
- Add the cooked quinoa and enough salt and mix until well combined.
- Turn off the flame and add the lemon juice to it.
- Combine well and serve!
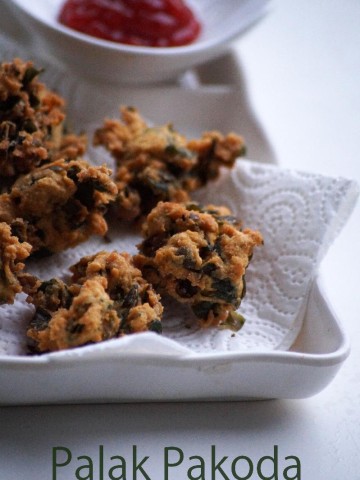
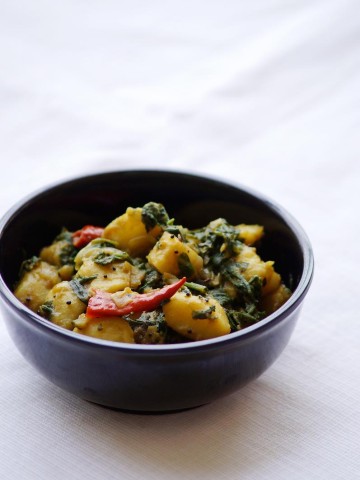
Few more recipes you will love:
- Quinoa Banana Almond Muffins
- Quinoa Chocolate Pudding
- Foxtail Millet Pongal
- Pudina Millet Rice
- Carrot Lemon Rice
- Avarekalu Chitranna
How to make Lemon Quinoa recipe below:

South Indian Lemon Quinoa
Ingredients
- ½ cup Quinoa
- 1 cup Water
- 2-3 tablespoon Lemon Juice
- ¾ teaspoon Mustard Seeds
- ½ teaspoon Urad Dal
- ½ teaspoon Chana Dal
- 2 tablespoon Peanuts
- Few Cashew Nuts
- Few Curry Leaves
- 2-3 Green Chillies
- 1 Dried Red Chilli
- ¼ teaspoon Turmeric Powder
- 2-3 tablespoon Oil
- A pinch of Hing
Instructions
- Rinse and pressure cook the quinoa with one cup water for 3 whistles.
- Spread the cooked quinoa on a wide plate and let it cool completely.
- Heat oil in a pan. Add the mustard seeds, chana dal, urad dal, chana dal and peanuts and fry until light golden brown.
- Then add the cashews to it and saute until golden brown.
- Add the slit green chillies, red chilli and curry leaves and fry for a minute.
- Add the turmeric powder and hing and stir for a few seconds.
- Add the cooked quinoa and salt and mix until well combined.
- Turn off the flame and add the lemon juice to it.
- Combine well and serve with yogurt or raita.
Nutrition